Home>Technology>Smart Home Devices>How To Put Ink Cartridge In HP Printer
Smart Home Devices
How To Put Ink Cartridge In HP Printer
Modified: October 28, 2024
Learn how to easily install an ink cartridge in your HP printer for seamless printing. Get expert tips on setting up smart home devices hassle-free!
(Many of the links in this article redirect to a specific reviewed product. Your purchase of these products through affiliate links helps to generate commission for Storables.com, at no extra cost. Learn more)
Introduction
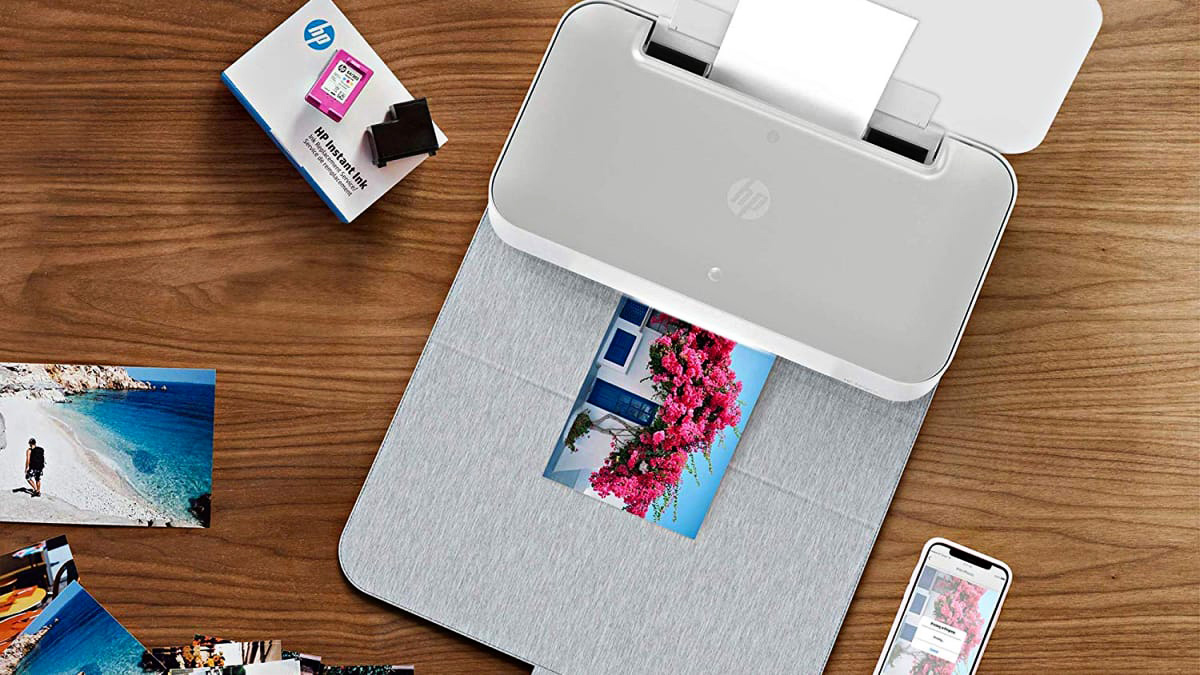
Welcome to the world of HP printers, where efficiency meets innovation. Whether you are a seasoned user or a newcomer to the realm of printing, knowing how to replace the ink cartridge in your HP printer is a valuable skill. This simple yet crucial task ensures that your printer continues to produce high-quality prints without interruptions.
In this guide, we will walk you through the step-by-step process of replacing the ink cartridge in your HP printer. From opening the ink cartridge access door to aligning the cartridges and testing the printer, we've got you covered. By following these instructions, you will be able to seamlessly replace the ink cartridge and resume your printing tasks with minimal downtime.
So, grab your new ink cartridge, and let's embark on this journey to keep your HP printer performing at its best.
Key Takeaways:
- Replacing the ink cartridge in your HP printer is easy! Just open the access door, install the new cartridge, align it, and test the printer for high-quality prints.
- After replacing the ink cartridge, make sure to align the cartridges and test the printer. This ensures that your HP printer continues to deliver exceptional print quality.
Read more: How To Bypass Ink Cartridge On HP Printer
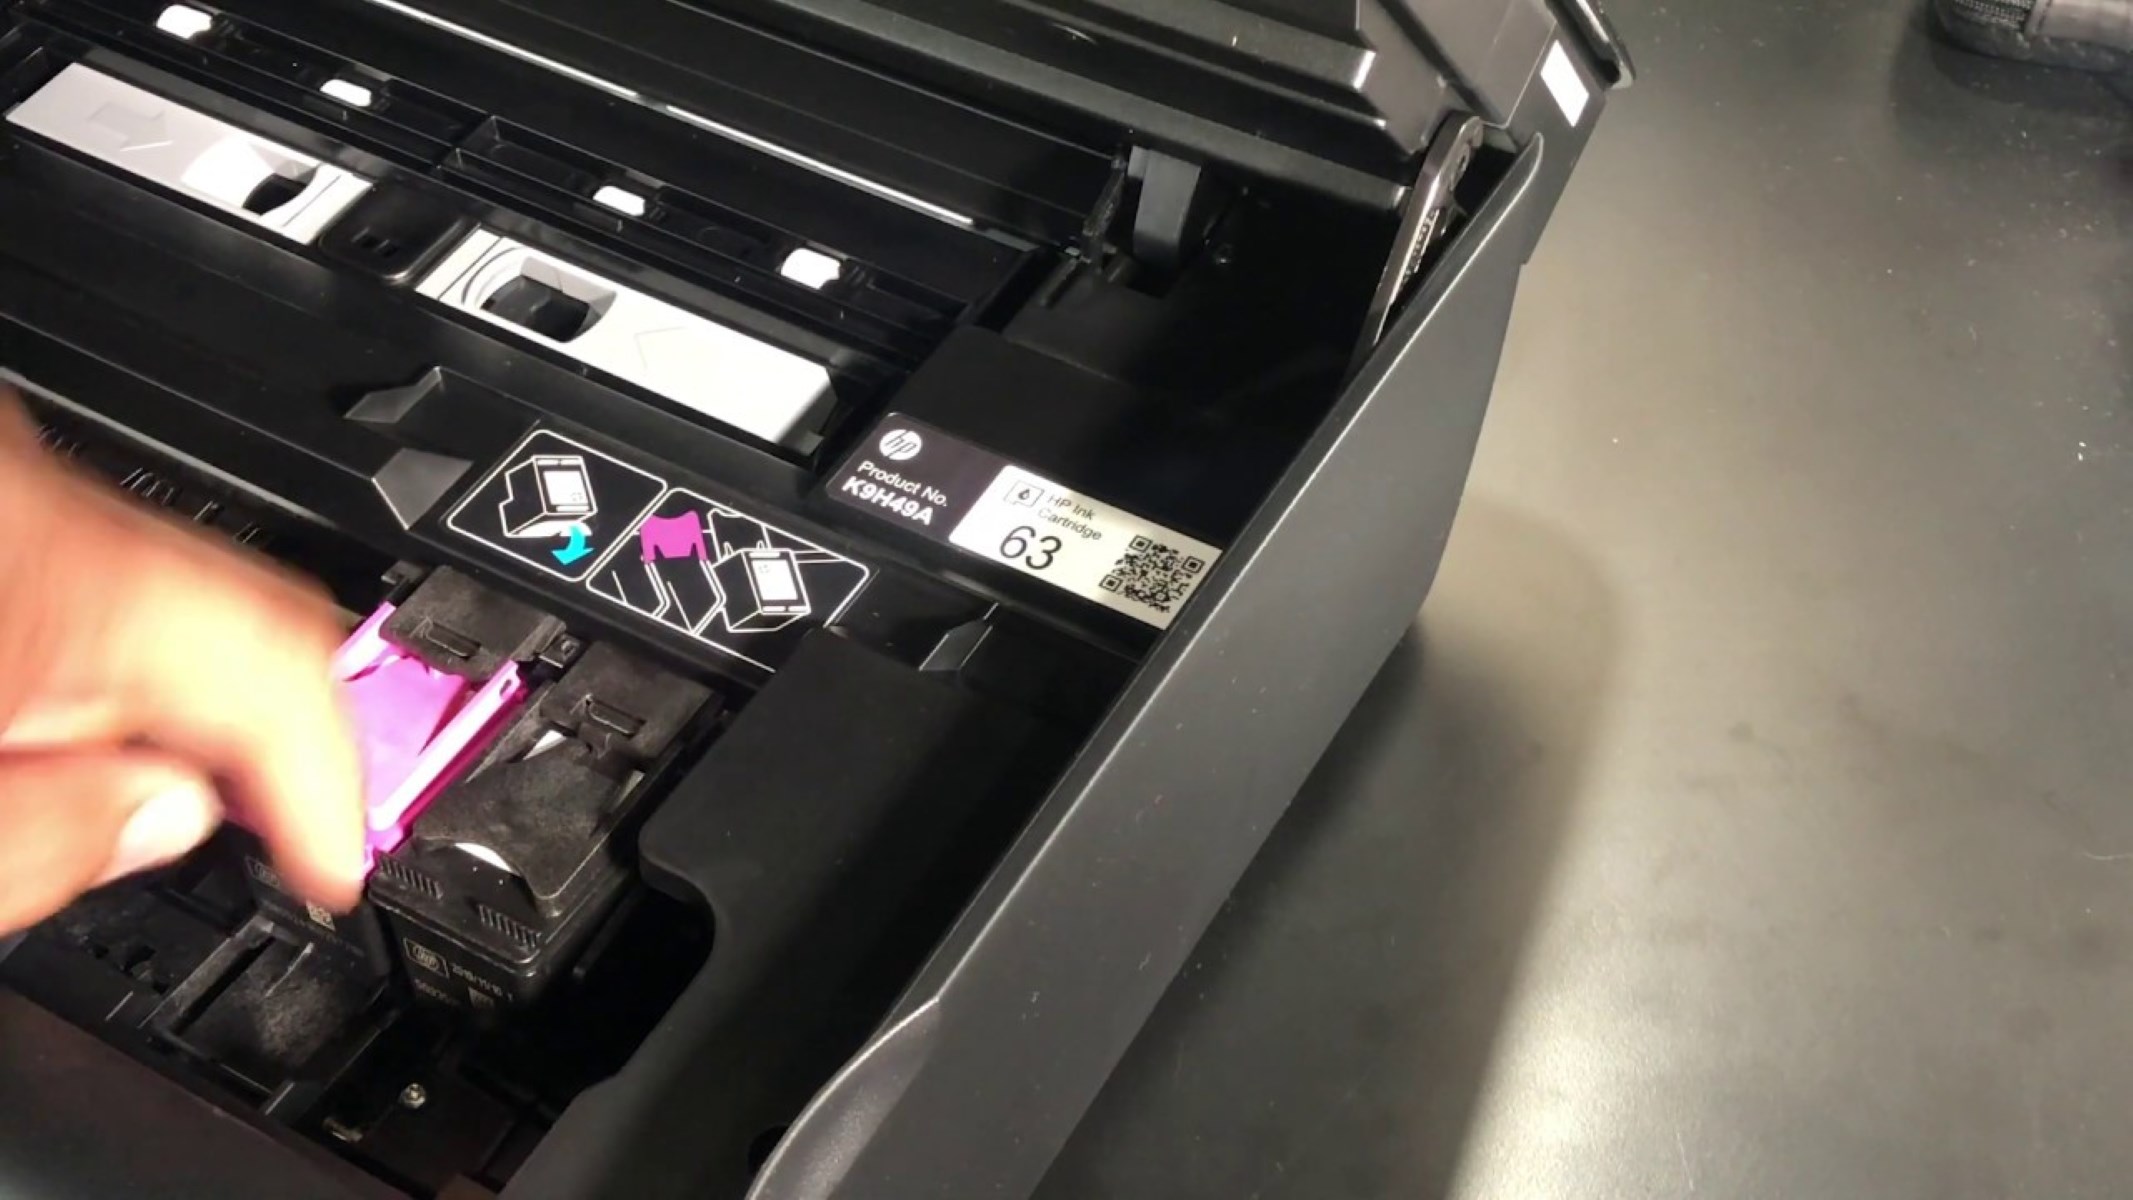
Step 1: Open the Ink Cartridge Access Door
The first step in replacing the ink cartridge in your HP printer is to open the ink cartridge access door. This door provides you with easy access to the ink cartridges, allowing you to perform the replacement process seamlessly.
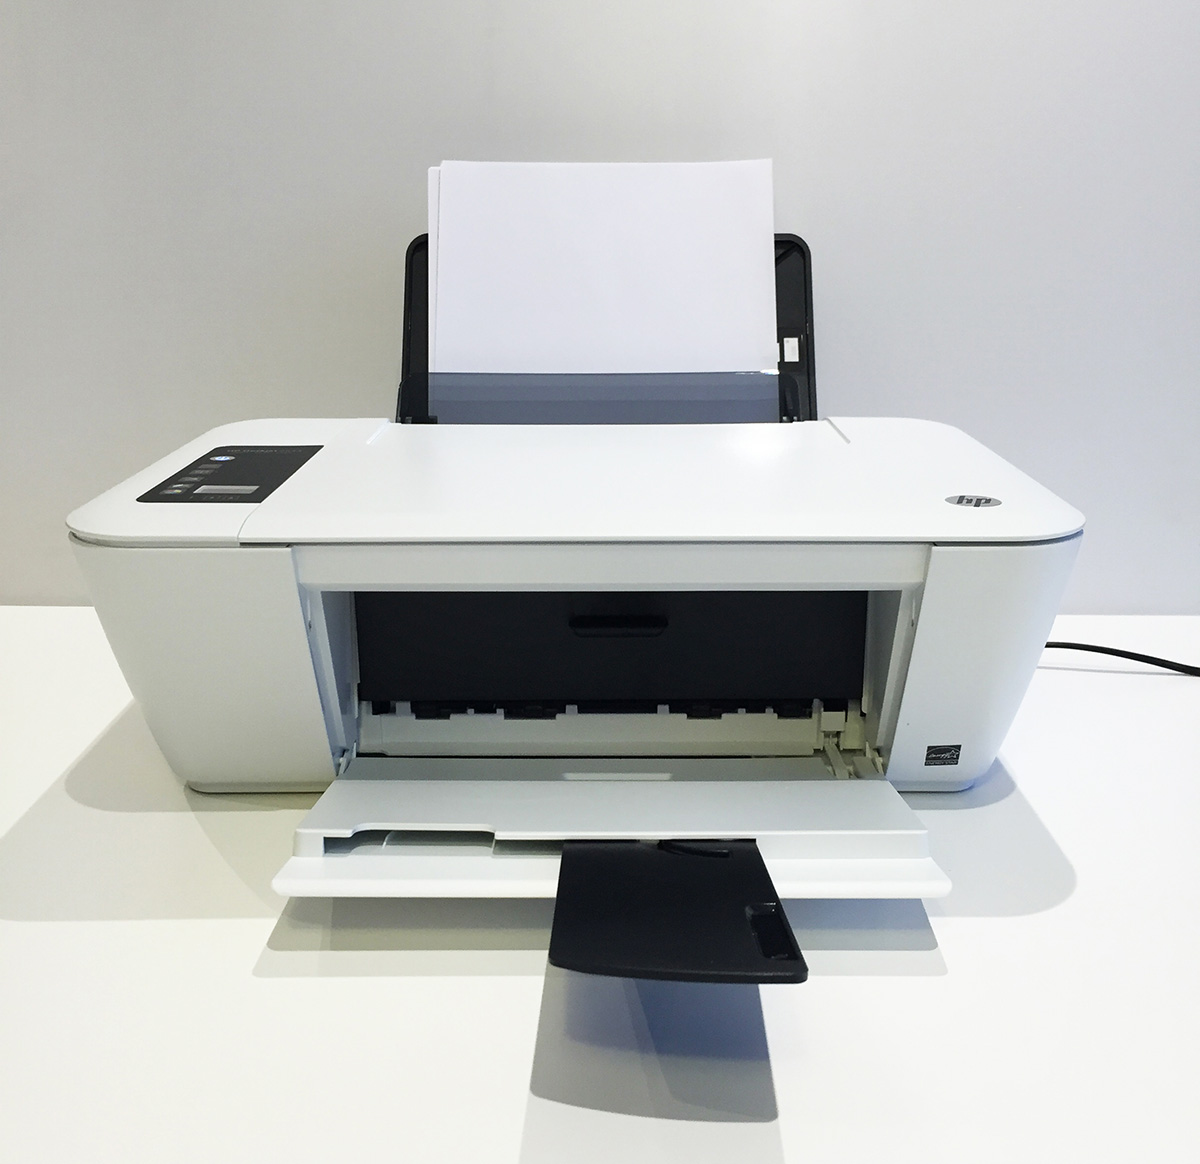
To begin, make sure that your HP printer is turned on. Once the printer is powered up, gently raise the ink cartridge access door. Depending on the model of your HP printer, the location of the access door may vary. However, most HP printers feature a convenient and easily accessible ink cartridge access door, typically located at the front or top of the printer.
Upon locating the ink cartridge access door, carefully lift or pull it open. Take note of any specific instructions or indicators provided near the access door, as they may offer guidance on handling the cartridges or replacing them. By opening the ink cartridge access door, you create a clear path to the ink cartridges, setting the stage for the next steps in the replacement process.
As you open the access door, be mindful of any internal components or mechanisms within the printer. Ensure that the printer is not in the midst of a printing task and that the ink cartridge carriage is stationary before proceeding further. This precautionary measure helps prevent any potential mishaps or disruptions during the ink cartridge replacement process.
With the ink cartridge access door open and the printer in a suitable state, you are now ready to proceed to the next step of installing the new ink cartridge. Let’s move on to the next phase of this replacement process and ensure that your HP printer continues to deliver exceptional print quality.
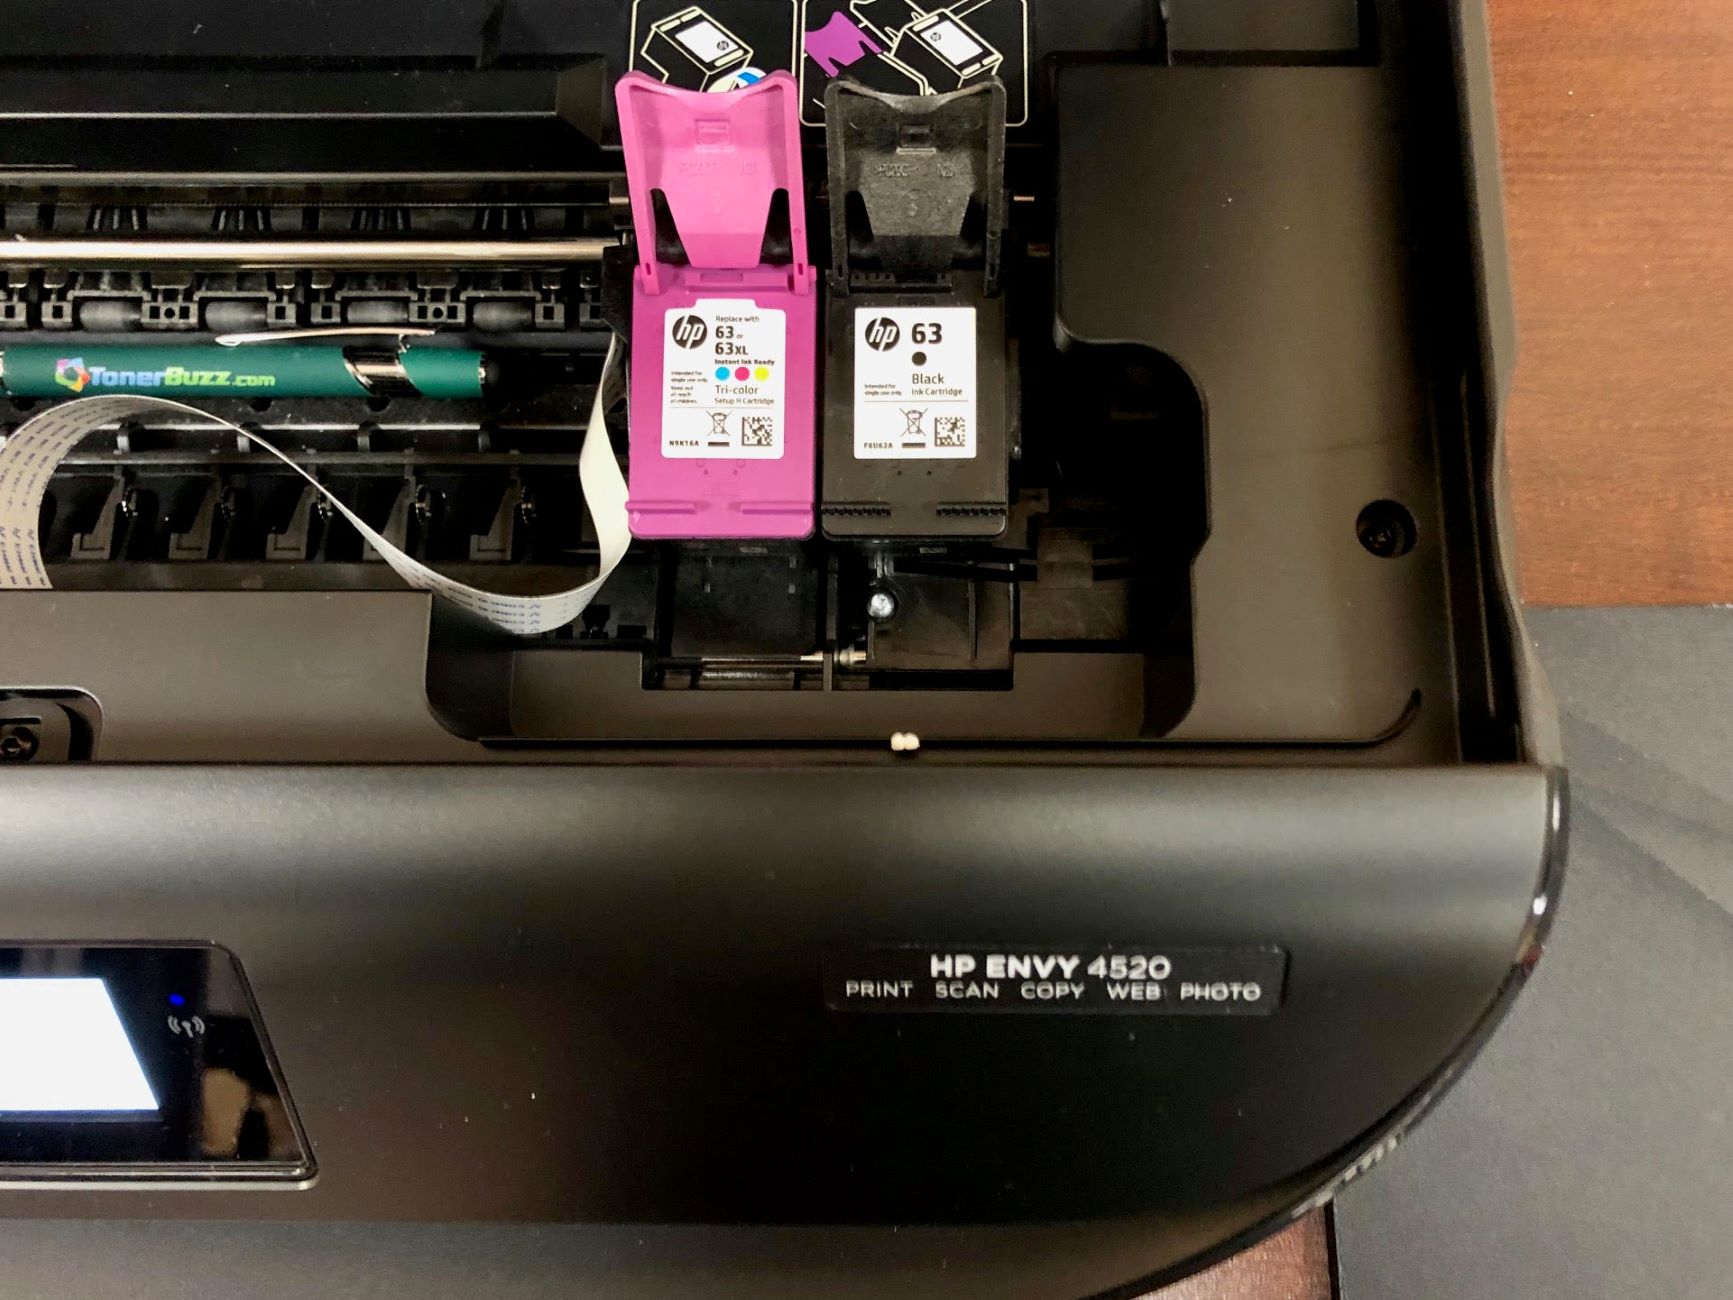
Step 2: Install the New Ink Cartridge
Now that you have accessed the ink cartridge compartment, it’s time to install the new ink cartridge into your HP printer. This step is essential for maintaining the printer’s performance and ensuring the consistent delivery of high-quality prints.
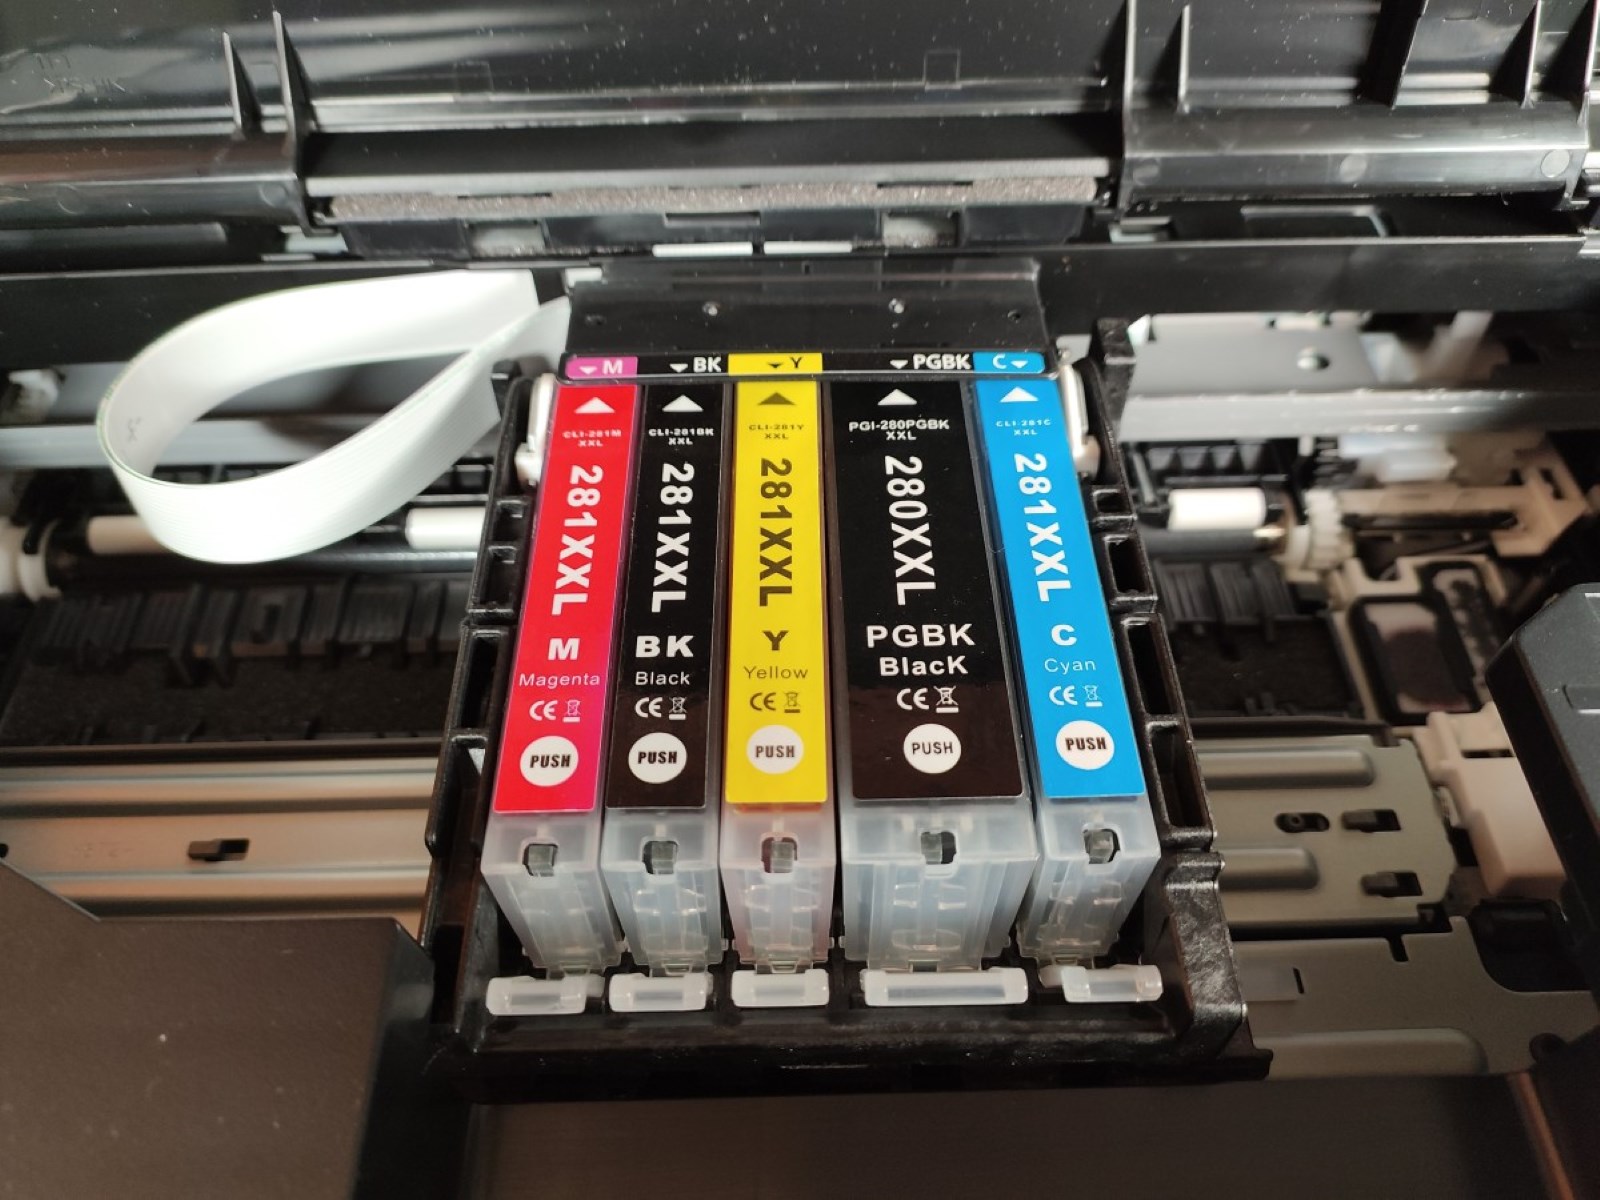
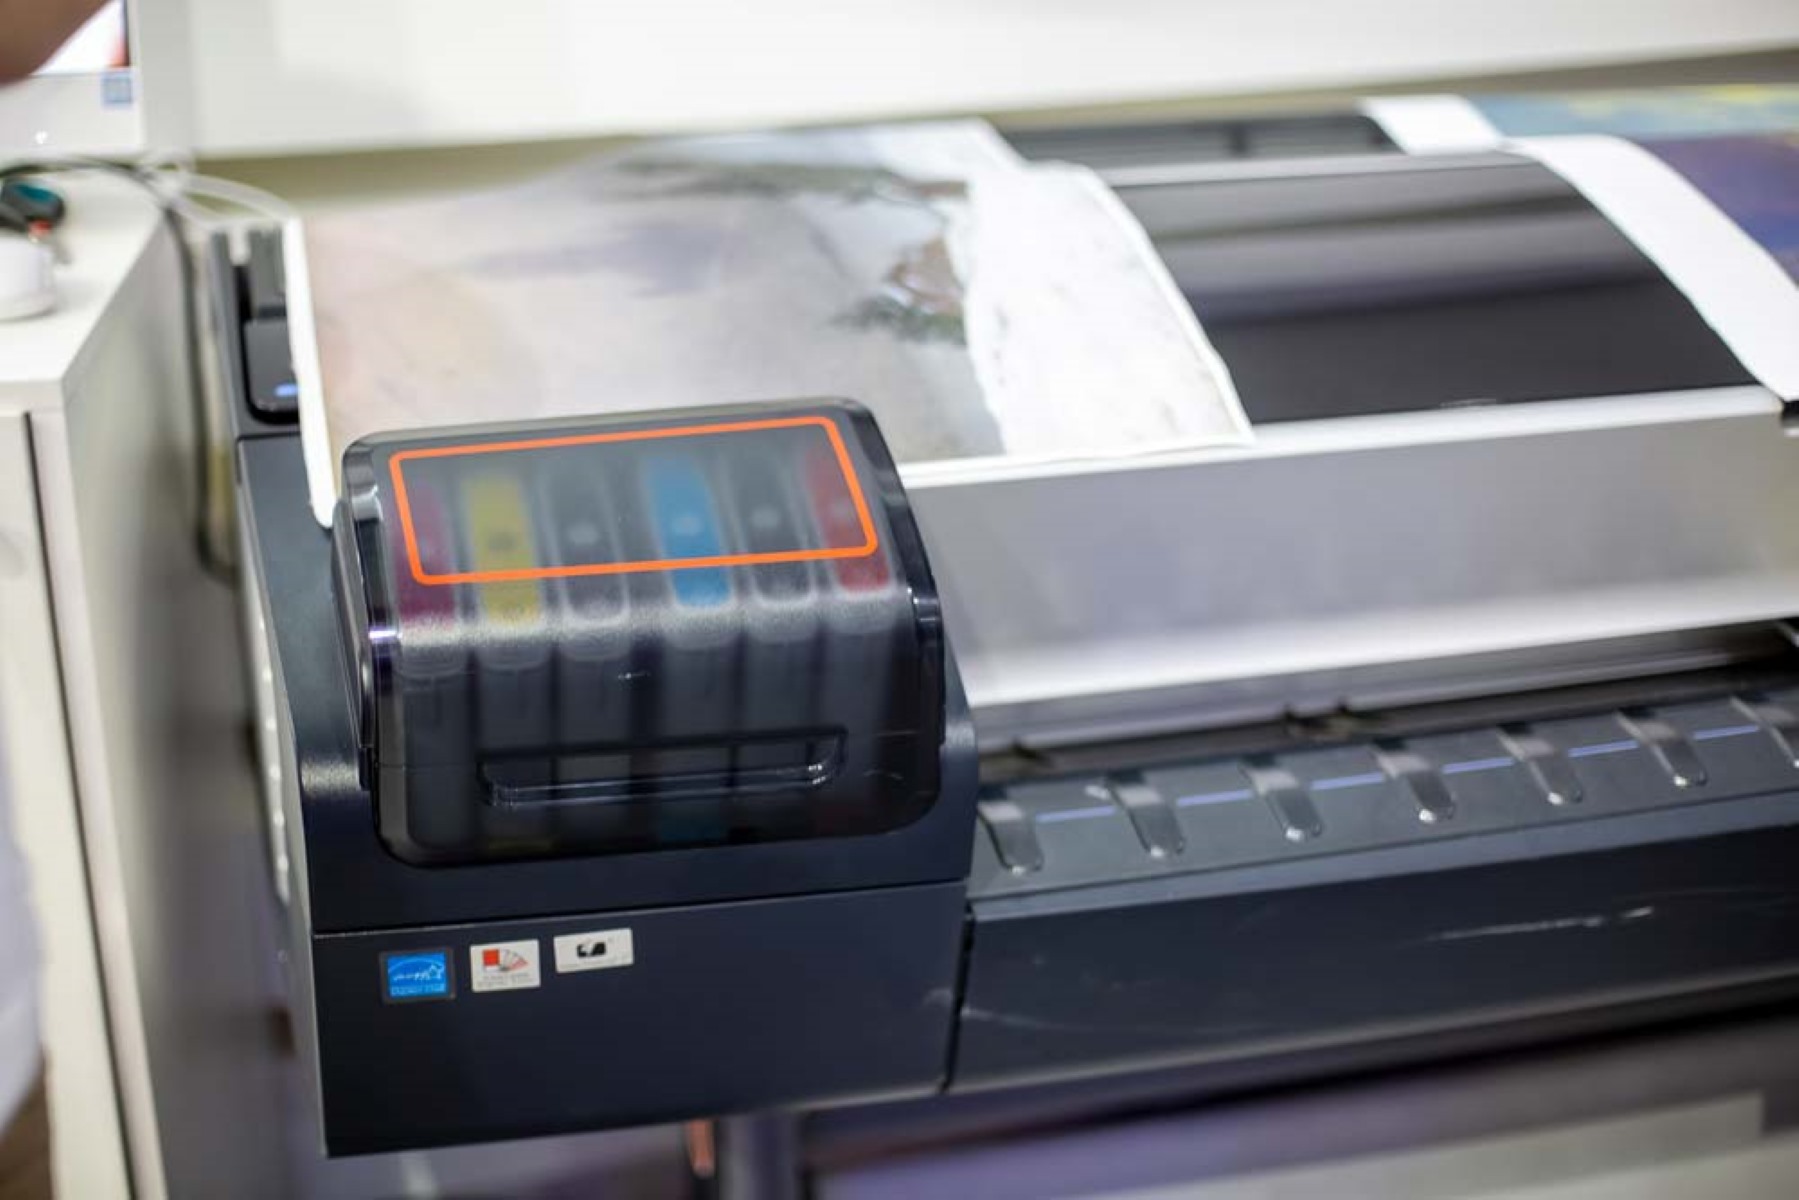
Begin by identifying the slot or slots where the ink cartridges are housed within your HP printer. Depending on the model, your printer may utilize individual slots for each ink color or a combined slot for multiple cartridges. Refer to your printer’s manual or on-screen instructions for specific details pertaining to your printer model.
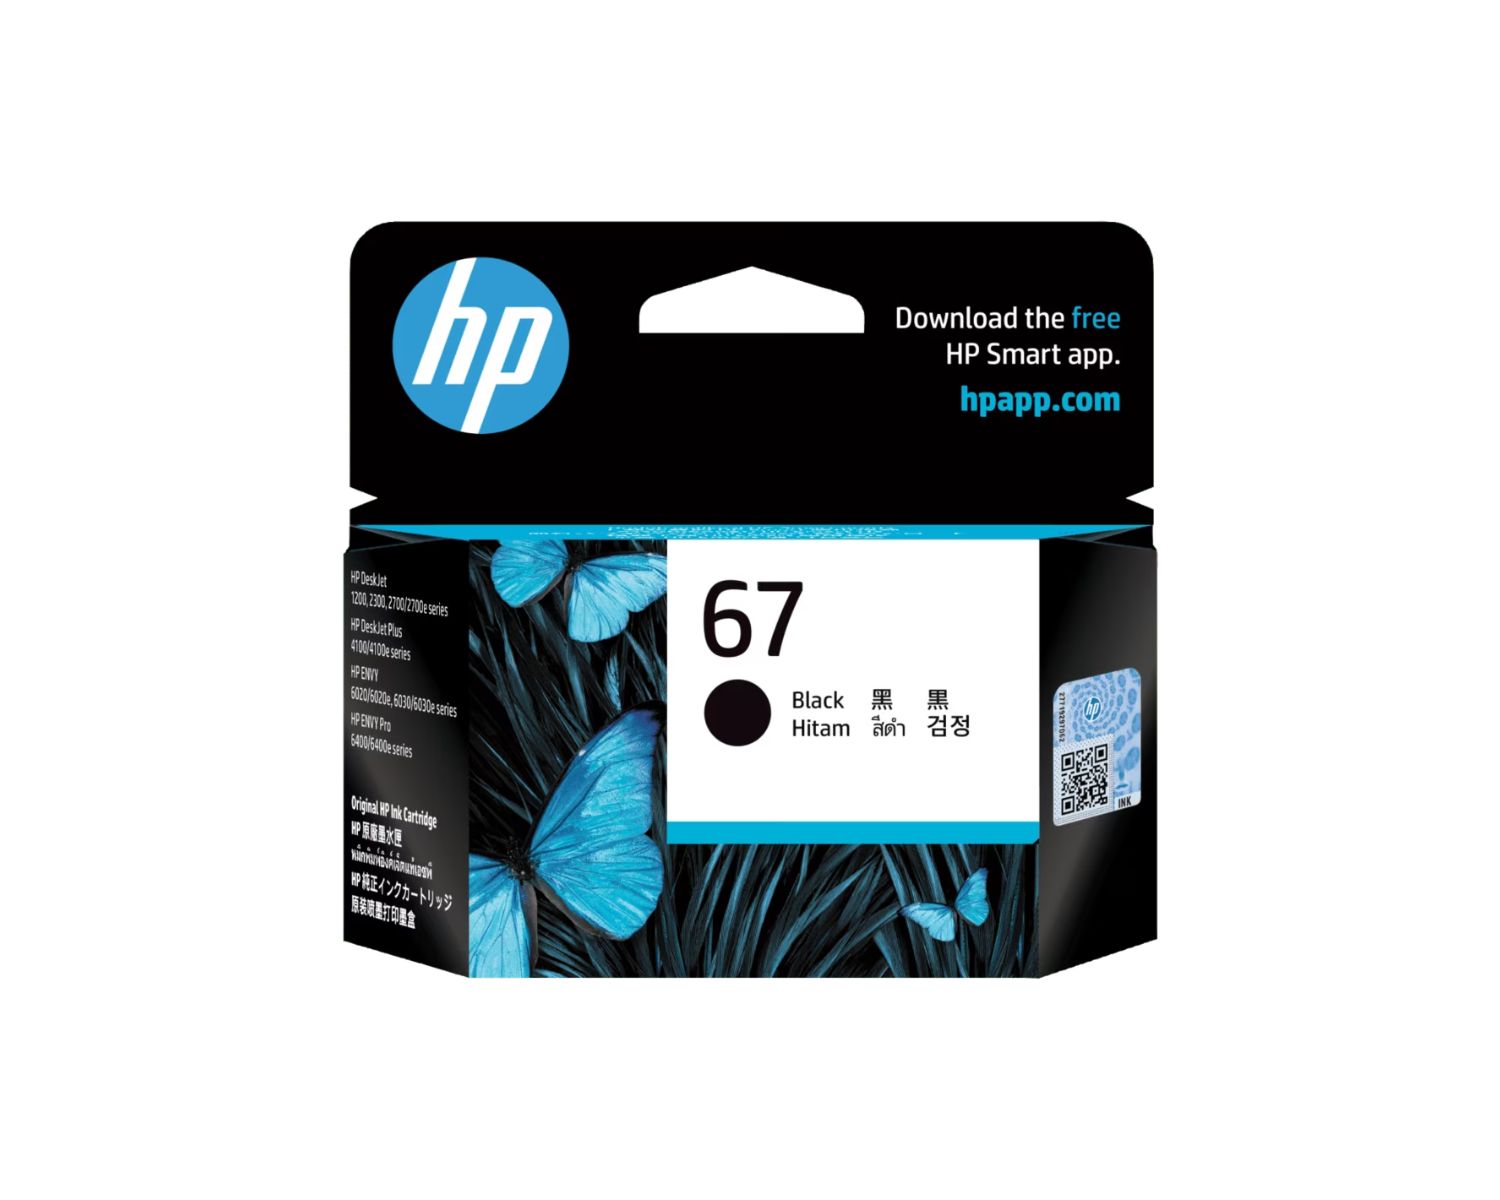
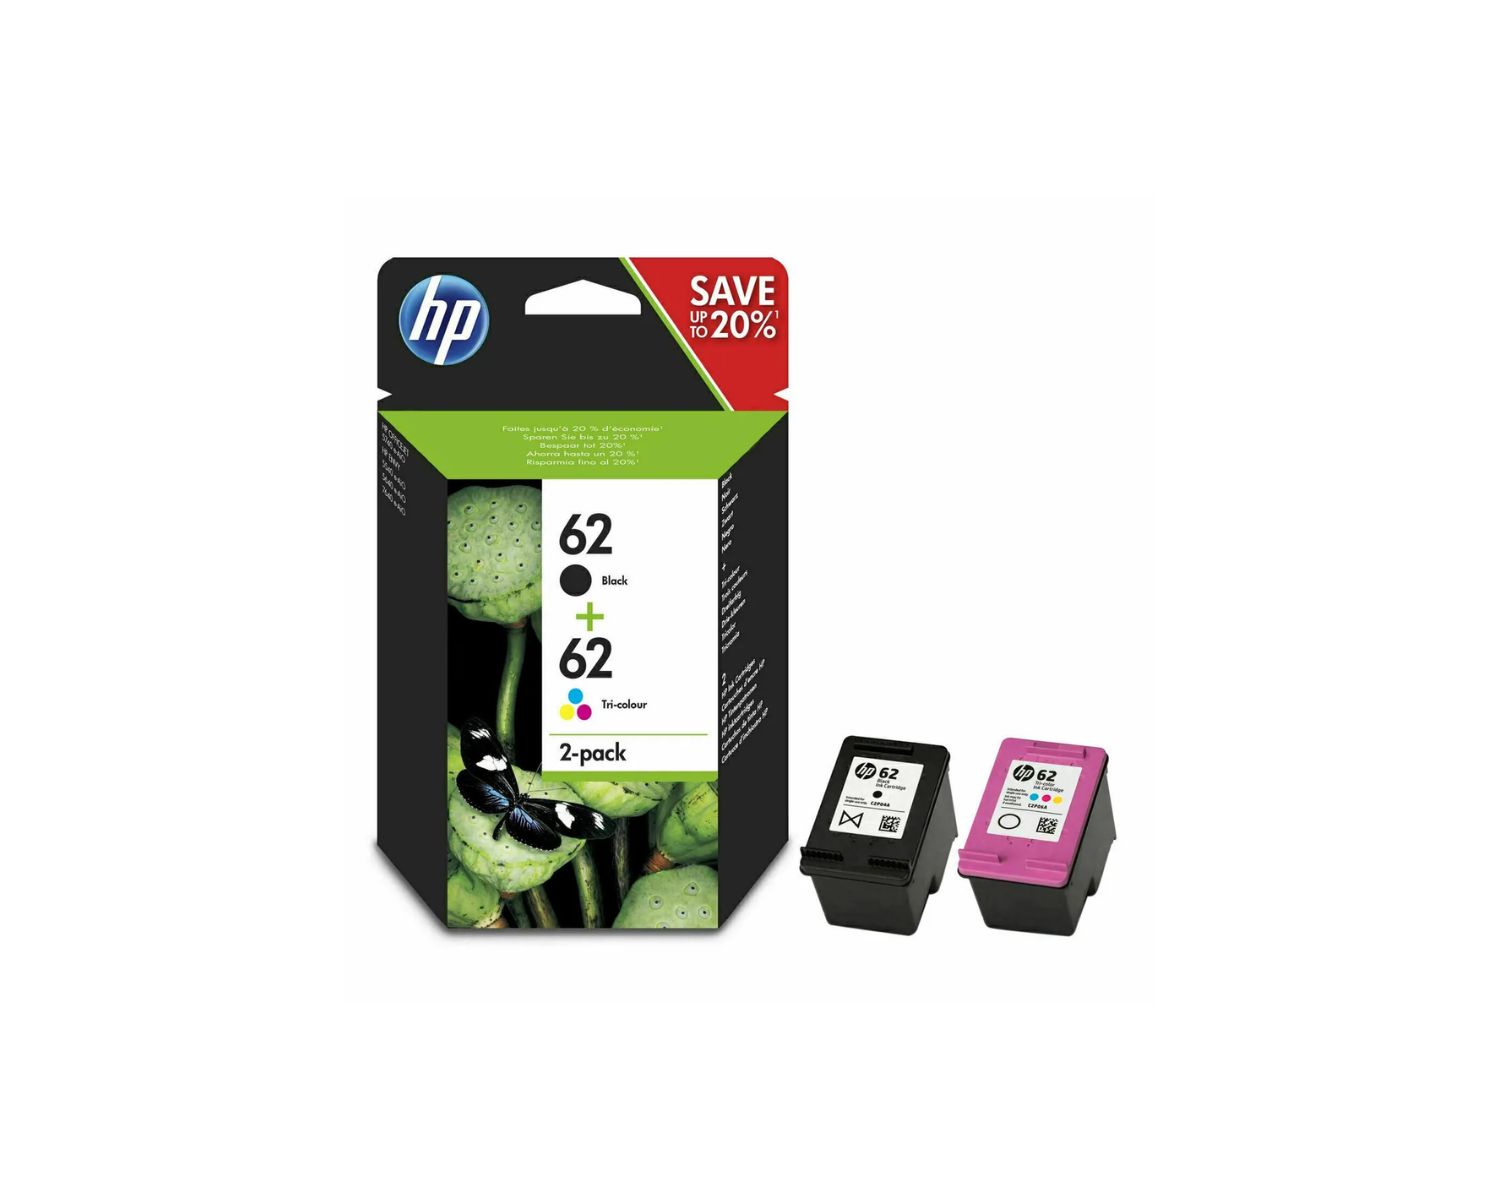
Before handling the new ink cartridge, it’s important to ensure that you have the correct replacement cartridge for your printer. HP printers typically require specific cartridge models that are compatible with the printer’s make and model. Verify that the replacement cartridge matches the required specifications to avoid any compatibility issues.
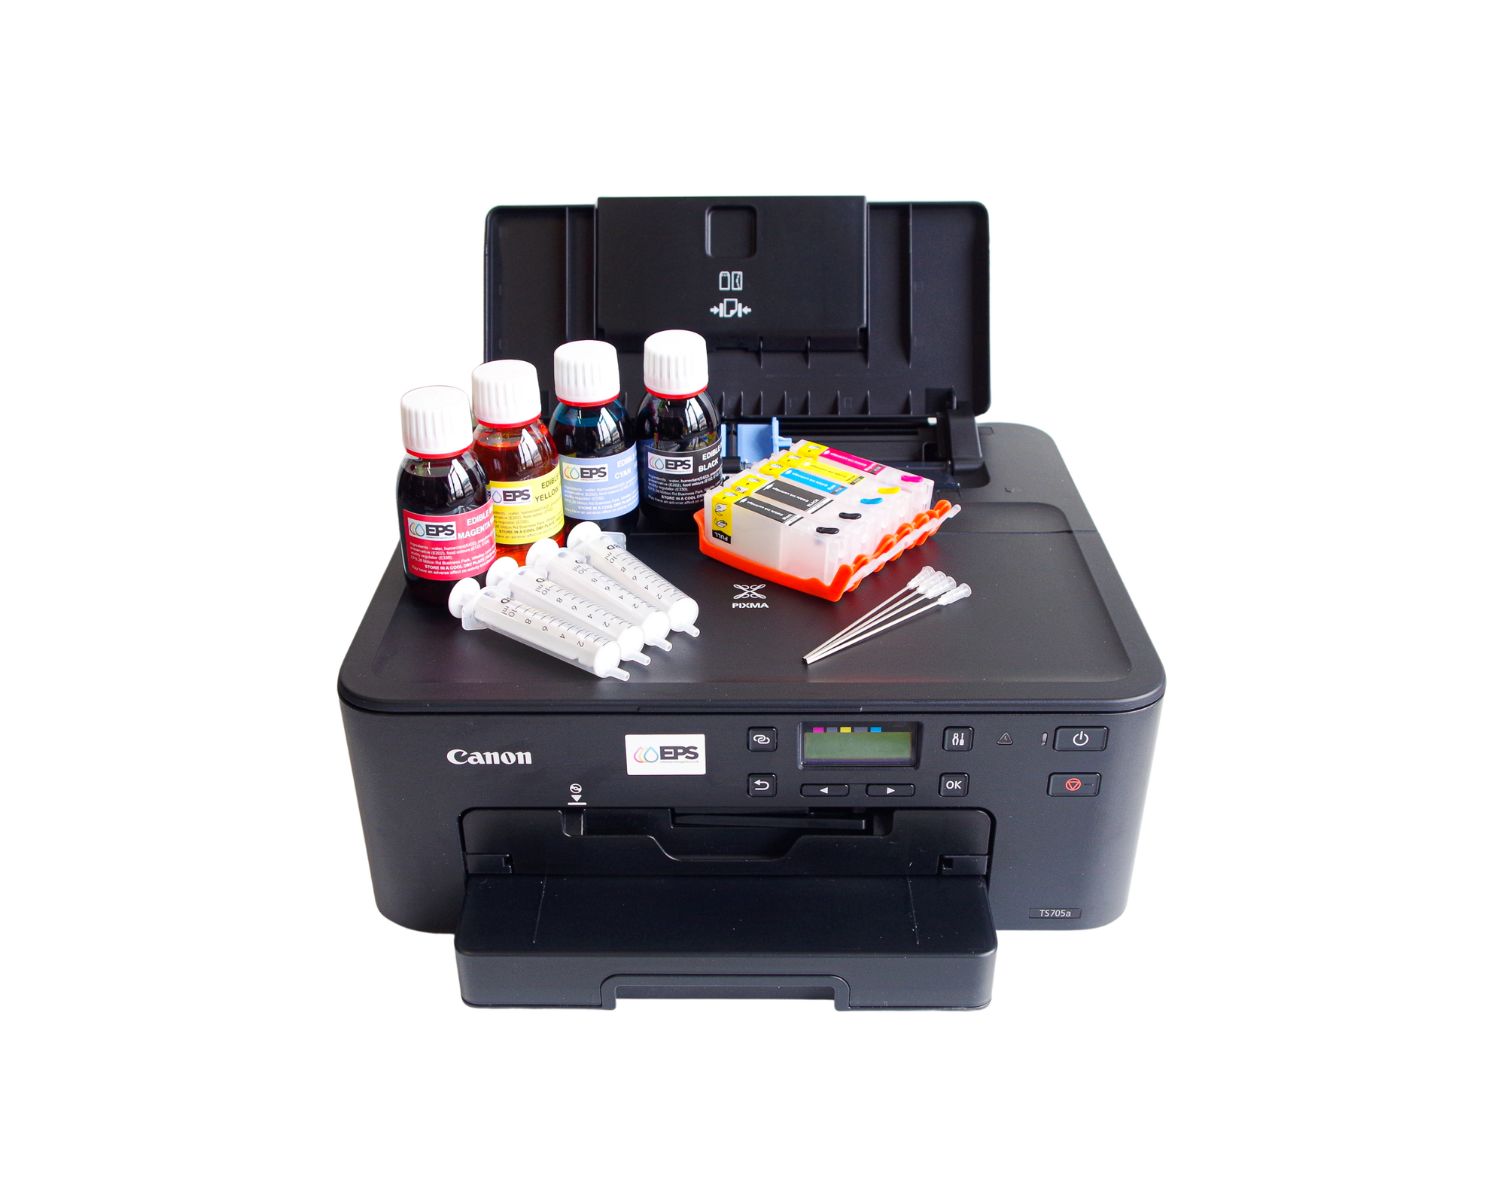
Once you have confirmed the compatibility of the new ink cartridge, carefully remove it from its packaging, being mindful not to touch the contacts or ink nozzles. Handling the cartridge with care helps maintain its integrity and prevents potential damage to the delicate components.
Next, gently remove the protective tape or tab from the new ink cartridge. This step is crucial as it prepares the cartridge for installation and ensures the proper flow of ink during the printing process. Take care to avoid touching the ink nozzles or the copper-colored contacts, as any contact with these components can affect the cartridge’s performance.
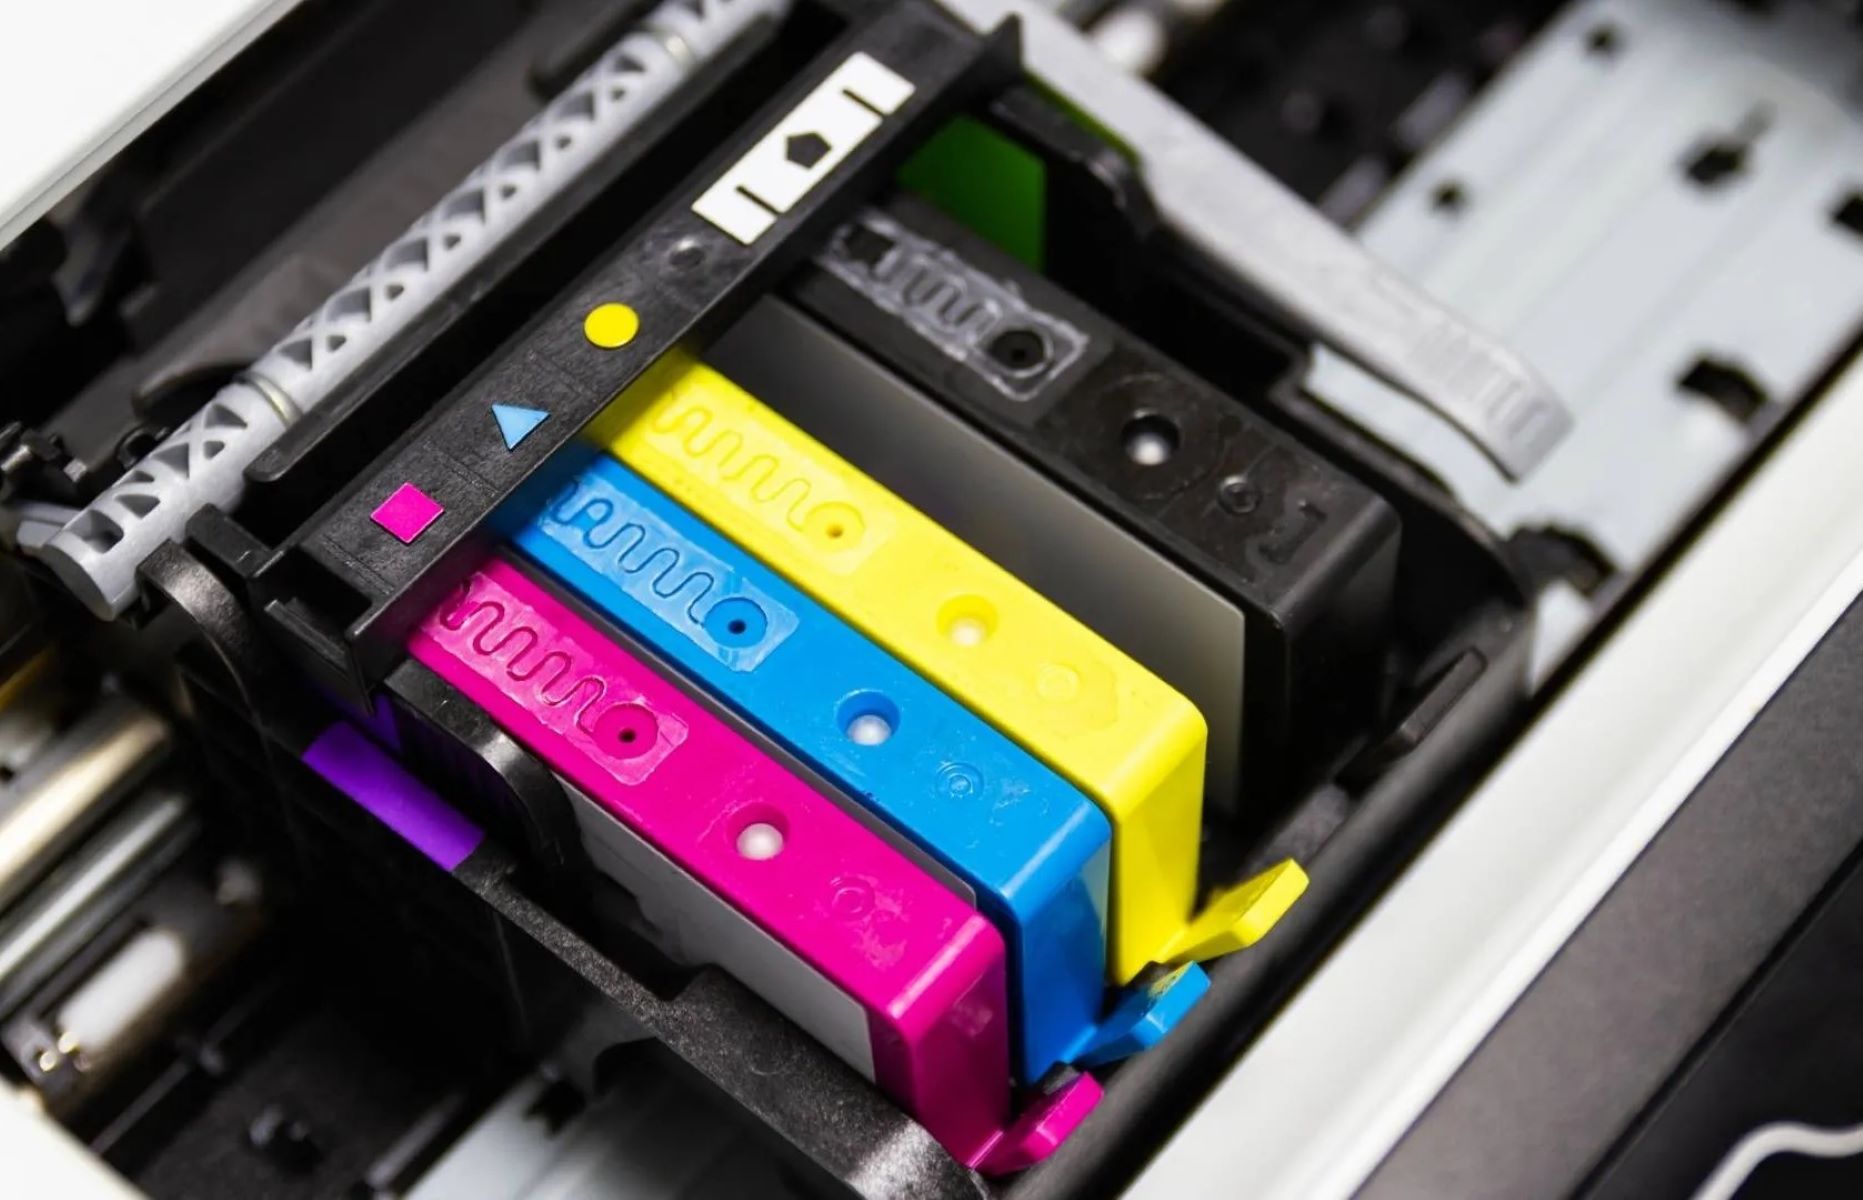
With the new ink cartridge prepared for installation, align it with the corresponding slot within the printer. Ensure that the cartridge is inserted at the correct angle and gently push it into place until it securely snaps into the slot. Listen for a distinct clicking sound, which indicates that the cartridge is properly seated.
As you install the new ink cartridge, be mindful of any color-coding or numbering that indicates the correct placement of each cartridge. Proper alignment and installation of the cartridges are essential for maintaining print quality and preventing potential errors or malfunctions.
With the new ink cartridge successfully installed, you have completed a crucial step in the replacement process. The next phase involves closing the ink cartridge access door and proceeding to align the ink cartridges to ensure optimal print performance. Let’s move on to the next step and continue the journey to rejuvenate your HP printer.
Make sure to turn on your HP printer and open the ink cartridge access door. Remove the old cartridge and carefully insert the new one, making sure it clicks into place. Close the access door and follow any on-screen prompts to complete the installation.
Step 3: Close the Ink Cartridge Access Door
After successfully installing the new ink cartridge, the next important step is to close the ink cartridge access door of your HP printer. This simple yet essential action ensures that the ink cartridges are securely housed within the printer, maintaining their integrity and protecting them from external elements.
Begin by gently lowering the ink cartridge access door back into its original position. Take care to align the door properly with the printer’s housing, ensuring a smooth and secure closure. As you lower the access door, be mindful of any resistance or obstructions that may hinder its proper closure.
Once the access door is in position, apply gentle pressure to secure it in place. Depending on the design of your HP printer, you may hear a subtle click or latch mechanism that indicates the door is securely closed. This step is crucial for maintaining the internal environment of the printer and safeguarding the ink cartridges from exposure.
As you close the ink cartridge access door, take a moment to inspect the surrounding area for any stray packaging materials or debris that may have been displaced during the cartridge replacement process. Clearing any such obstructions helps maintain the cleanliness of the printer and prevents potential issues during the printing process.
With the ink cartridge access door securely closed and the printer’s internal components protected, you have completed an important phase in the ink cartridge replacement process. The next step involves aligning the ink cartridges to optimize print quality and ensure consistent performance from your HP printer.
By following these steps with precision and care, you are contributing to the longevity and reliability of your HP printer. Let’s proceed to the next phase and align the ink cartridges to further enhance the printer’s performance and the quality of your printed materials.
Step 4: Align the Ink Cartridges
Once the new ink cartridge is installed and the access door is securely closed, the next crucial step in the ink cartridge replacement process for your HP printer is to align the ink cartridges. Proper alignment ensures that the printer produces high-quality prints with accurate color representation and precise details.
To initiate the alignment process, access your HP printer’s control panel or navigate to the printer’s settings on your computer. Depending on your printer model, the alignment option may be accessible through the printer’s display screen or within the printer software installed on your computer. Refer to your printer’s manual or online resources for specific instructions tailored to your printer model.
Within the printer settings, locate the option for ink cartridge alignment. This feature may be listed under maintenance or printer calibration settings, depending on the printer’s interface. Select the option to begin the ink cartridge alignment process, allowing the printer to adjust the cartridges for optimal print performance.
As the alignment process commences, your HP printer may prompt you to initiate a test print to assess the quality and accuracy of the alignment. Follow the on-screen instructions to complete the test print, and carefully evaluate the printed output for any discrepancies or imperfections in the print quality.
If the test print reveals any issues such as misaligned colors or inconsistent print quality, consider rerunning the alignment process to ensure optimal results. Properly aligned ink cartridges contribute to the overall print quality and the longevity of your printer, making this step essential for maintaining exceptional performance.
Upon successful completion of the ink cartridge alignment process and the verification of print quality, your HP printer is now primed to deliver outstanding prints with precision and clarity. By aligning the ink cartridges, you are enhancing the overall performance and reliability of your printer, ensuring that it continues to meet your printing needs with excellence.
With the ink cartridges aligned and the printer calibrated for optimal performance, you are one step closer to resuming your printing tasks with confidence. Let’s proceed to the final step and test the printer to confirm that the ink cartridge replacement has been executed successfully.
Step 5: Test the Printer
As the final step in the ink cartridge replacement process for your HP printer, testing the printer ensures that the new ink cartridge is functioning optimally and that the printer produces high-quality prints without any issues. This essential step allows you to verify the success of the ink cartridge replacement and confirm that your printer is ready for regular use.
To begin the testing process, initiate a test print from your computer or the printer’s control panel. Select a document, image, or test page to print, providing a representative sample of the types of materials you typically print. This allows you to assess the print quality and performance of the printer following the ink cartridge replacement.
As the test print is initiated, observe the printer as it begins the printing process. Pay close attention to the quality of the printed output, including the clarity of text, the accuracy of colors, and the overall appearance of the printed materials. This visual inspection provides valuable insights into the printer’s performance and the impact of the new ink cartridge on the print quality.
Examine the test print closely, checking for any issues such as streaks, smudges, or color inconsistencies. These indicators can reveal potential problems with the ink cartridge installation or alignment, prompting further adjustments or troubleshooting if necessary. A successful test print demonstrates that the printer is functioning as expected and that the ink cartridge replacement has been executed effectively.
If the test print meets your expectations in terms of print quality and accuracy, you can proceed with confidence, knowing that your HP printer is ready to fulfill your printing needs. However, if any issues are detected during the test print, consider reviewing the previous steps of the ink cartridge replacement process to identify and address any potential issues.
By conducting a comprehensive test of the printer following the ink cartridge replacement, you are ensuring that your HP printer is in optimal working condition and ready to deliver exceptional prints. This final step provides peace of mind and confirms that the ink cartridge replacement has been successful, allowing you to resume your printing tasks with confidence and reliability.
With the printer successfully tested and confirmed to be in excellent working order, you have completed the ink cartridge replacement process for your HP printer. Your diligence and attention to detail have contributed to the continued performance and reliability of your printer, ensuring that it remains a valuable tool for your printing needs.
Frequently Asked Questions about How To Put Ink Cartridge In HP Printer
Was this page helpful?
At Storables.com, we guarantee accurate and reliable information. Our content, validated by Expert Board Contributors, is crafted following stringent Editorial Policies. We're committed to providing you with well-researched, expert-backed insights for all your informational needs.

0 thoughts on “How To Put Ink Cartridge In HP Printer”