Home>Technology>Smart Home Devices>How To Take Out Ink Cartridge From HP Printer
Smart Home Devices
How To Take Out Ink Cartridge From HP Printer
Modified: October 28, 2024
Learn how to properly remove an ink cartridge from your HP printer with our step-by-step guide. Keep your smart home devices running smoothly!
(Many of the links in this article redirect to a specific reviewed product. Your purchase of these products through affiliate links helps to generate commission for Storables.com, at no extra cost. Learn more)
Introduction
Are you looking to replace the ink cartridge in your HP printer? Whether you're upgrading to a new cartridge or simply need to replace an empty one, knowing how to properly remove the ink cartridge is essential. In this guide, we'll walk you through the step-by-step process of safely and efficiently taking out the ink cartridge from your HP printer. By following these instructions, you'll be able to seamlessly complete this task and keep your printer running smoothly. Let's dive into the details and get started on this straightforward process.
Key Takeaways:
- Safely remove the ink cartridge from your HP printer by following simple steps like turning off the printer, opening the cartridge access door, and handling the cartridge with care to avoid spills and damage.
- Master the process of removing the ink cartridge to maintain and optimize your printing experience, ensuring your HP printer remains in optimal condition for high-quality prints and reliable performance.
Read more: How To Bypass Ink Cartridge On HP Printer
Step 1: Turn off the Printer
The first step in removing an ink cartridge from your HP printer is to ensure that the printer is turned off. This is a crucial safety measure that helps prevent any potential mishaps or damage to the printer. To power off your HP printer, locate the power button, typically positioned on the front or top of the printer. Press the power button to initiate the shutdown process. Wait for the printer to completely power down before proceeding to the next step.
Turning off the printer not only reduces the risk of ink spills but also safeguards the internal components of the printer. By following this simple yet important step, you can maintain the integrity of your printer and prepare it for the subsequent cartridge removal process.
Step 2: Open the Cartridge Access Door
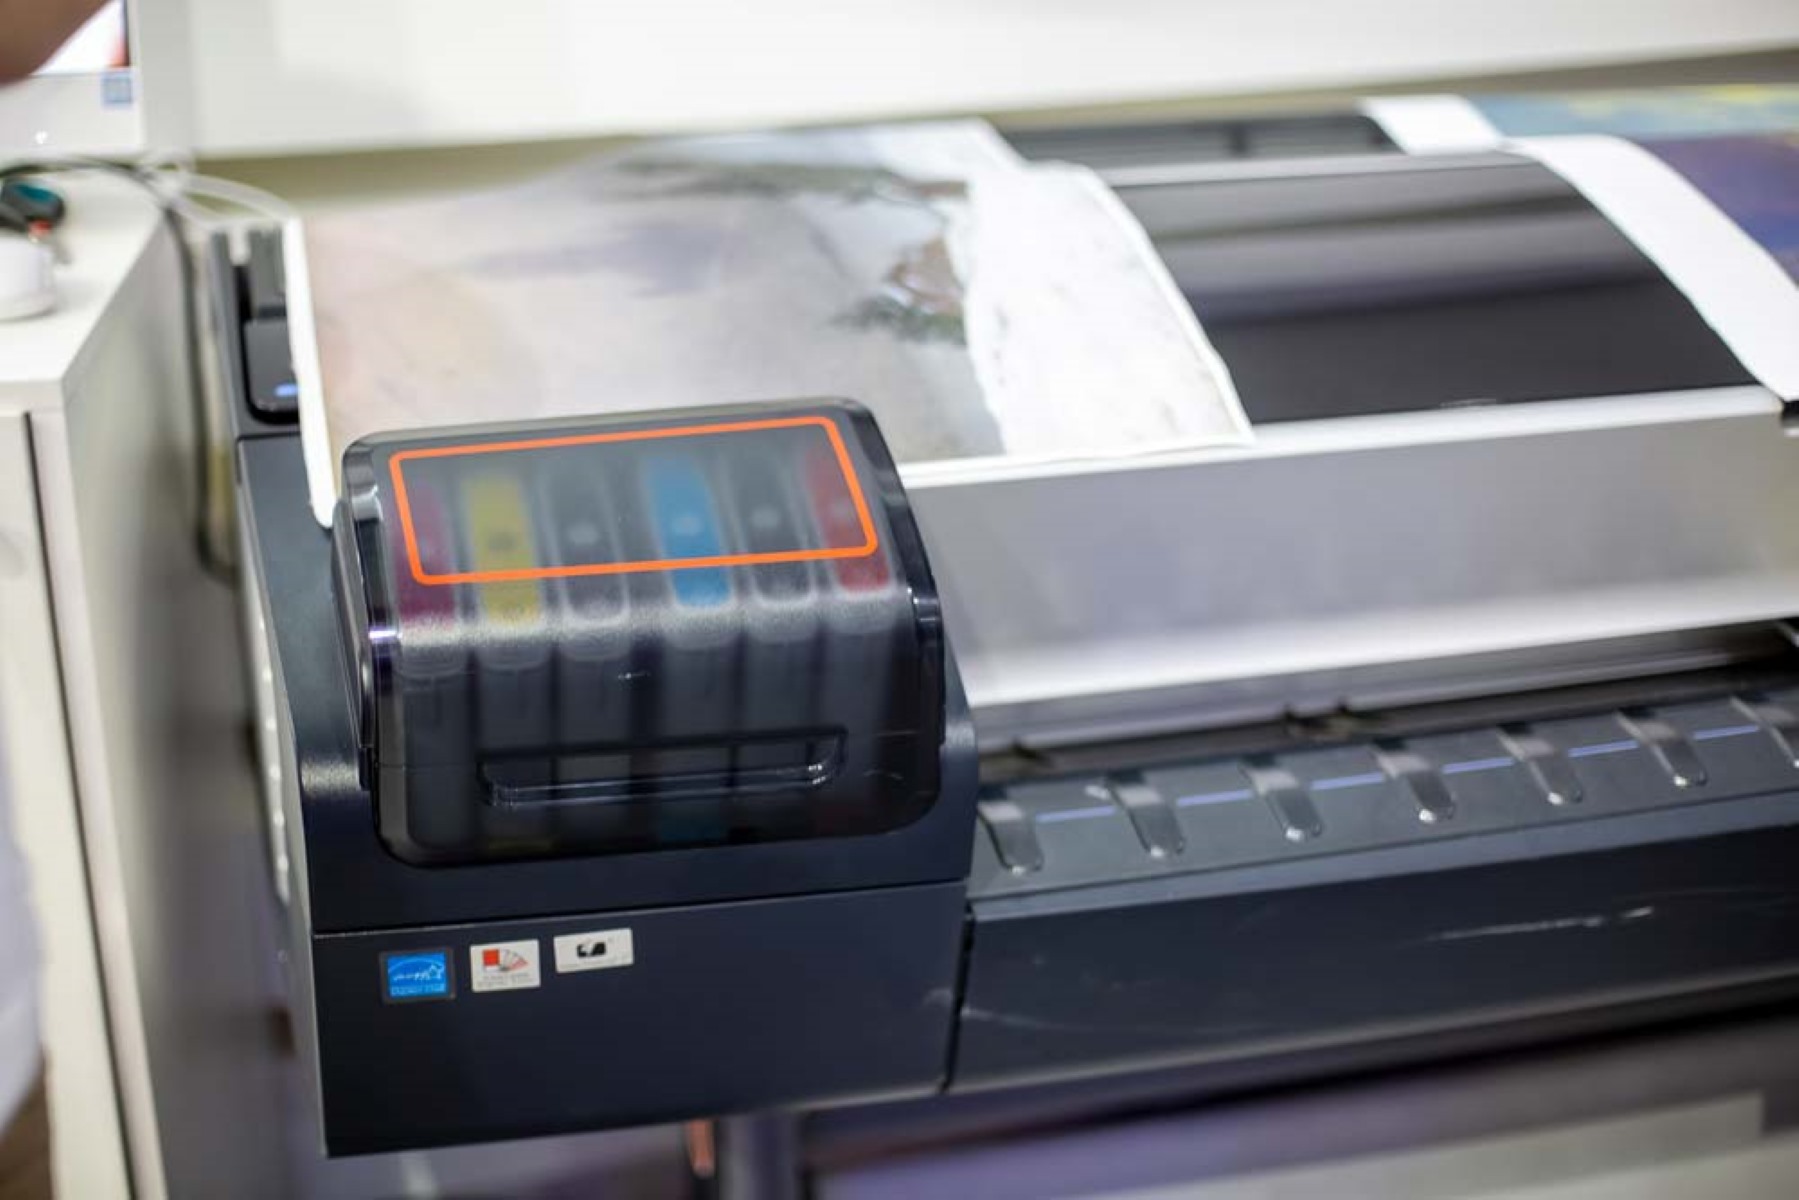
Once the printer is turned off, the next step is to open the cartridge access door. This door provides direct access to the ink cartridges housed within the printer. To locate the cartridge access door, refer to your printer’s manual or look for a designated indentation or handle on the printer’s exterior.
Upon locating the access door, gently open it to reveal the ink cartridges. Different HP printer models may have varying mechanisms for the cartridge access door, so be sure to consult your printer’s manual for specific instructions tailored to your device.
Opening the cartridge access door allows you to gain clear visibility and access to the ink cartridges, preparing you for the subsequent steps of removing the cartridge safely and efficiently.
To take out an ink cartridge from an HP printer, first open the printer cover and wait for the cartridge to stop moving. Press down on the cartridge to release it, then pull it out gently. Be careful not to touch the nozzles or contacts.
Step 3: Remove the Ink Cartridge
With the cartridge access door open, you are now ready to remove the ink cartridge from your HP printer. Before proceeding, it’s important to handle the cartridge with care to avoid any potential spills or damage.
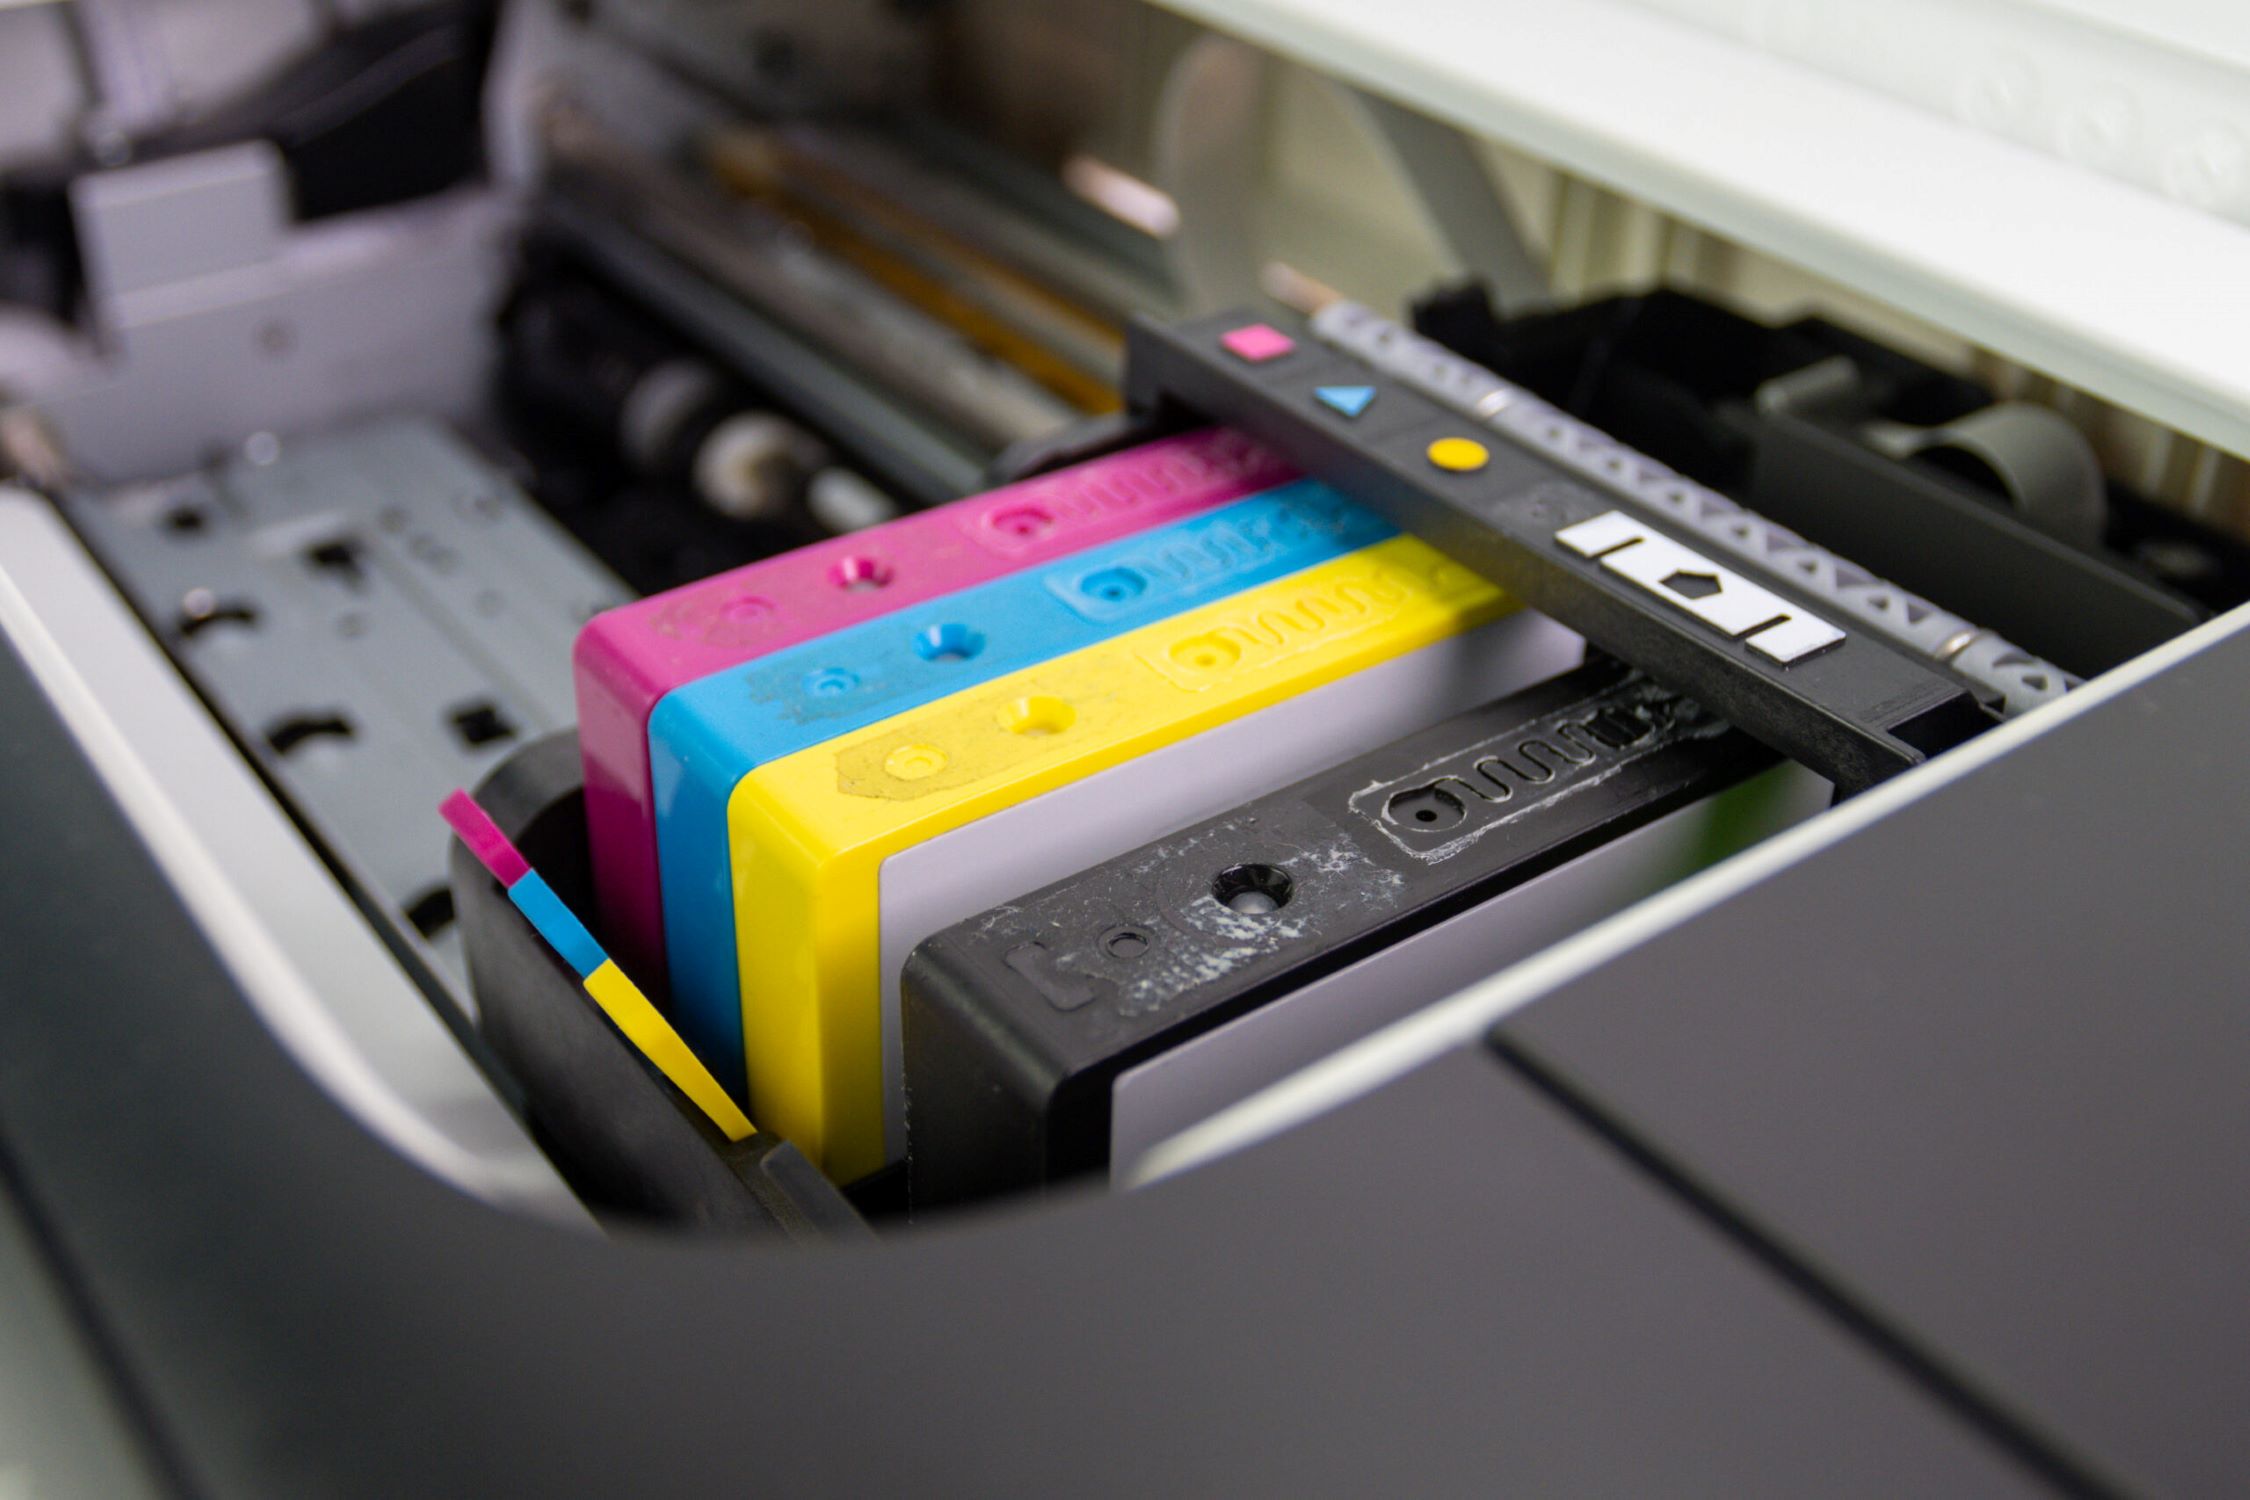
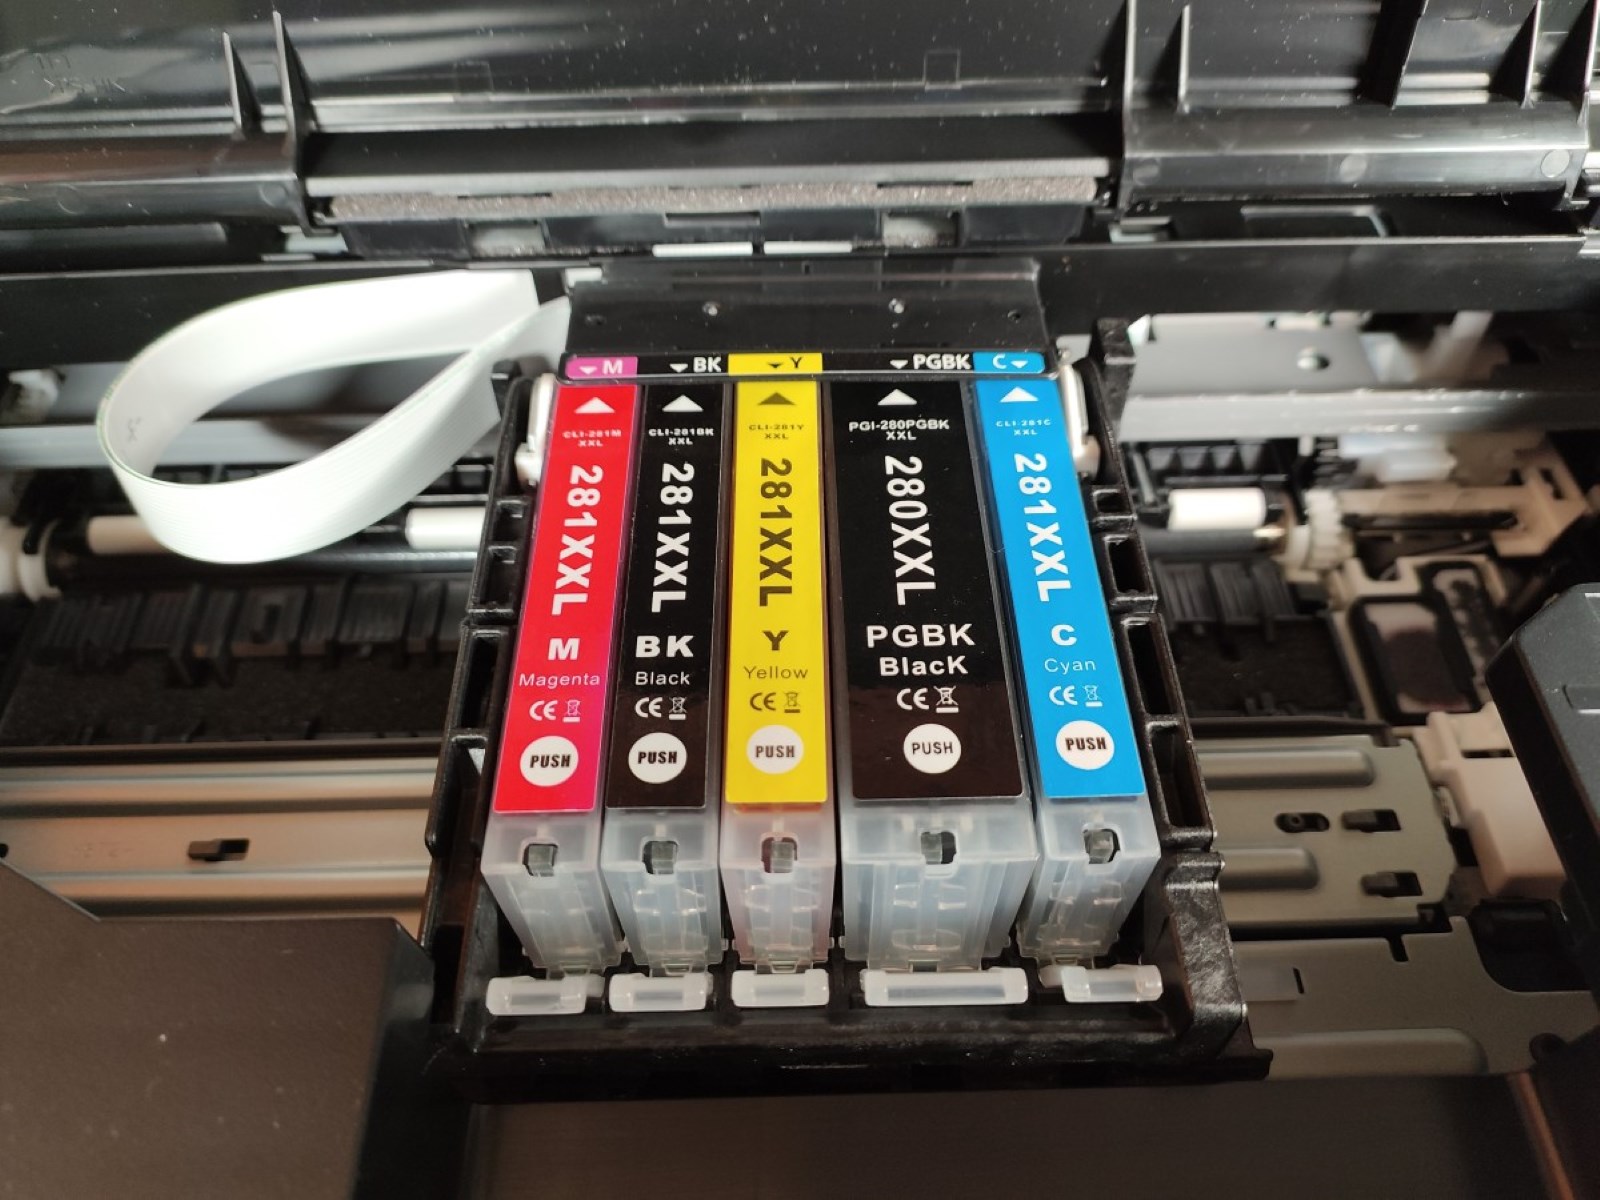
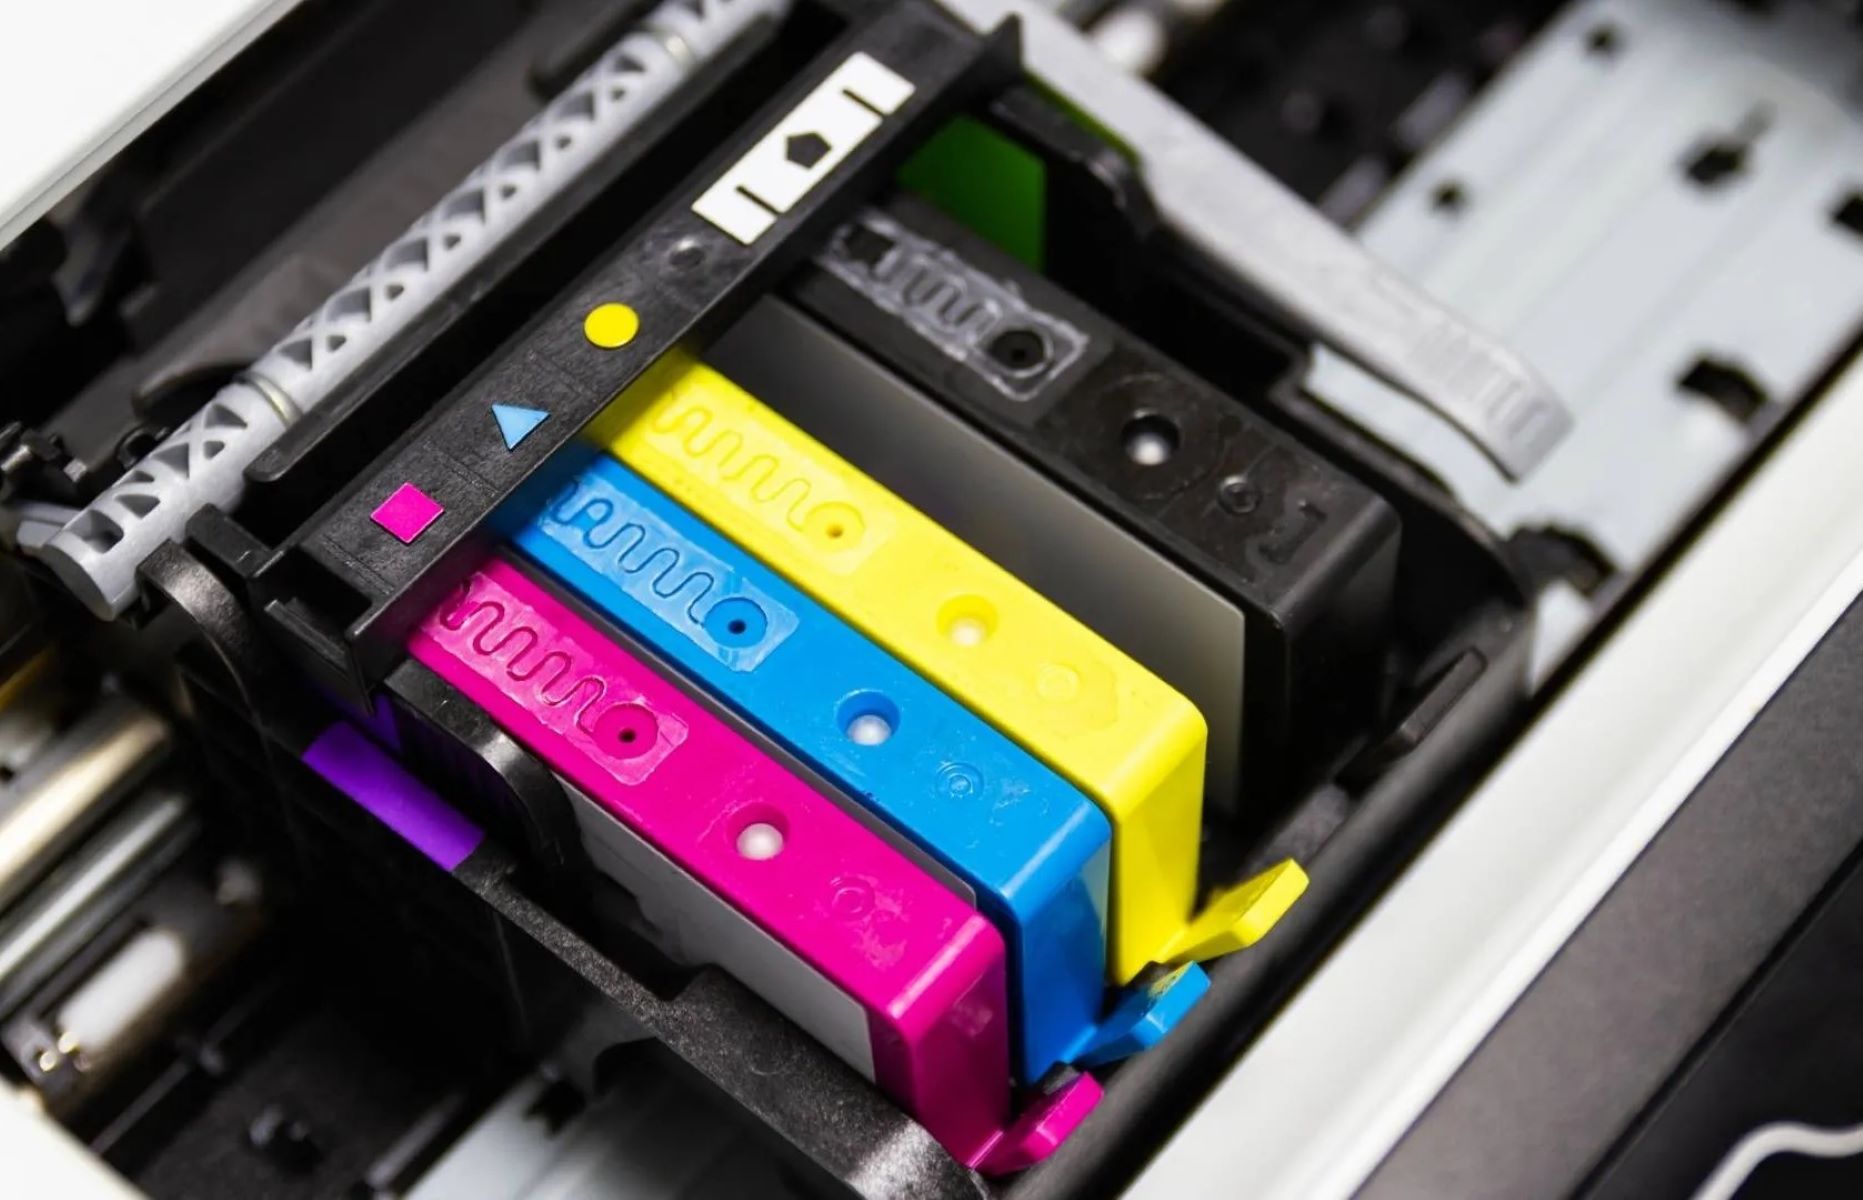
Begin by identifying the specific ink cartridge that needs to be replaced. HP printers typically have individual cartridges for different ink colors, such as black, cyan, magenta, and yellow. Once you’ve located the cartridge that requires removal, gently press down on the cartridge to release it from its slot. Most HP printers have a spring-loaded mechanism that disengages the cartridge, allowing for easy removal.
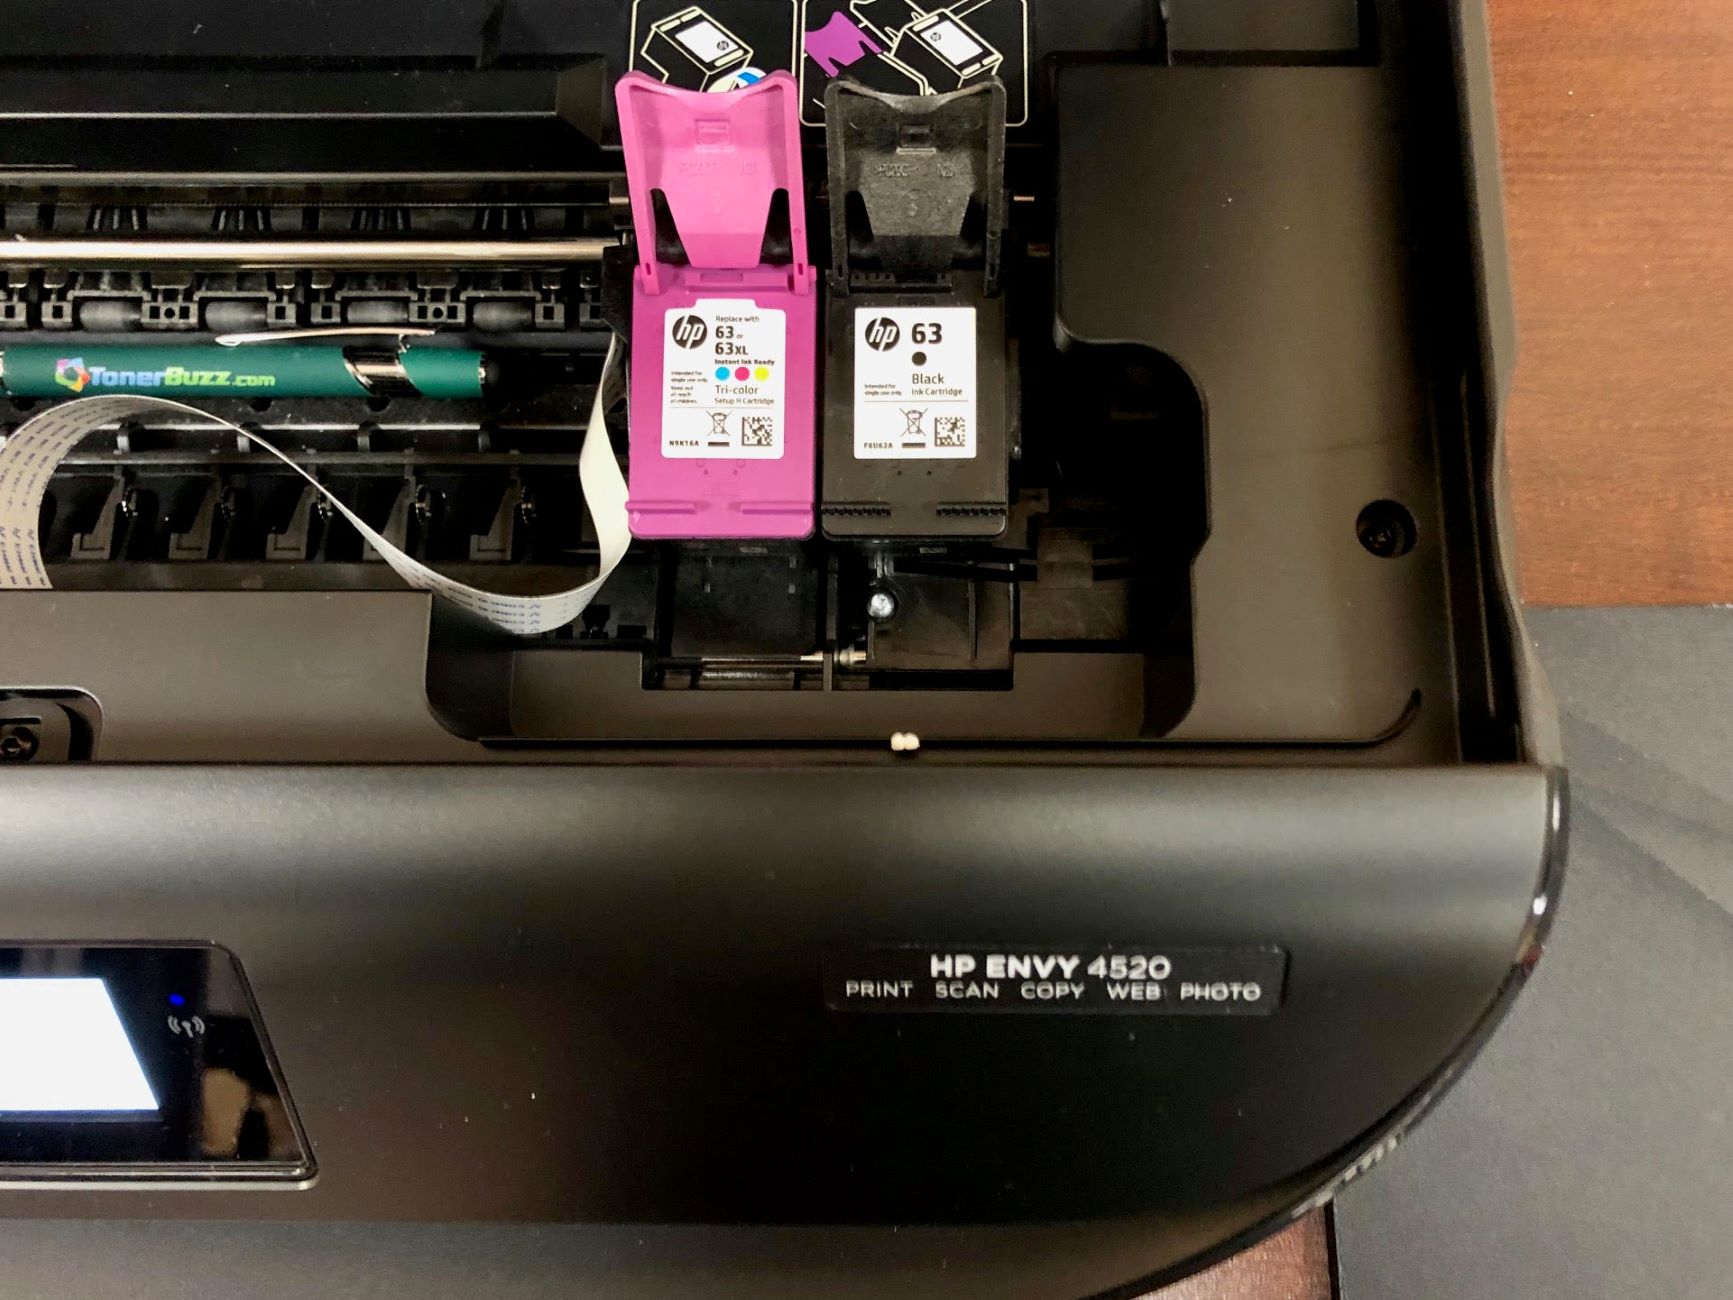
After releasing the cartridge, carefully grasp it by the sides and slowly pull it out of the printer. Be mindful of any clips or latches that may secure the cartridge in place, ensuring that you disengage them before attempting to remove the cartridge completely.
As you extract the ink cartridge, be cautious not to touch the ink nozzles or copper contacts to prevent potential smudging or damage. Place the removed cartridge on a flat surface away from direct sunlight or heat sources to maintain its integrity until you are ready to install a new cartridge.
By following these steps, you can safely and effectively remove the ink cartridge from your HP printer, setting the stage for the subsequent installation of a new cartridge or any necessary maintenance.
Step 4: Close the Cartridge Access Door
After successfully removing the ink cartridge from your HP printer, the next crucial step is to close the cartridge access door. This simple yet essential action helps maintain the integrity of the printer and protects the internal components from dust and debris.
Gently guide the cartridge access door back into its original position, ensuring that it securely latches or clicks into place. Take a moment to inspect the door and confirm that it is fully closed and aligned with the printer’s exterior. This step is vital for maintaining the optimal functioning of your printer and ensuring that the internal mechanisms are protected.
By closing the cartridge access door, you are also preventing any potential accidents or mishaps related to the exposed cartridge slots. This proactive measure helps safeguard the printer and contributes to its long-term reliability and performance.
With the cartridge access door securely closed, you have successfully completed the process of removing and securing the ink cartridge from your HP printer. This sets the stage for any subsequent maintenance or cartridge replacement, allowing you to proceed with confidence and the assurance that your printer is in optimal condition.
Read more: How To Put Ink Cartridge In HP Printer
Conclusion
Mastering the process of removing an ink cartridge from your HP printer is a valuable skill that empowers you to maintain and optimize your printing experience. By following the simple yet essential steps outlined in this guide, you can seamlessly navigate the cartridge removal process while safeguarding your printer and ensuring its continued functionality.
From powering off the printer and opening the cartridge access door to carefully removing the ink cartridge and closing the access door, each step plays a pivotal role in preserving the integrity of your HP printer. By handling the ink cartridges with care and attention to detail, you can mitigate the risk of spills and damage, ultimately prolonging the lifespan of your printer.
Whether you’re replacing an empty cartridge, conducting routine maintenance, or upgrading to a new ink supply, the ability to confidently remove the ink cartridge from your HP printer is a fundamental aspect of printer ownership. This knowledge equips you with the proficiency to navigate printer maintenance tasks with ease and efficiency.
By incorporating these steps into your printer maintenance routine, you can ensure that your HP printer remains in optimal condition, consistently delivering high-quality prints and reliable performance. Additionally, familiarizing yourself with the process of removing the ink cartridge contributes to a seamless and hassle-free printing experience, empowering you to address printer maintenance tasks with confidence.
With a clear understanding of the steps involved in removing the ink cartridge from your HP printer, you are well-positioned to maintain your printer’s functionality and prolong its longevity. By adhering to these guidelines, you can navigate the process with ease, setting the stage for a smooth and efficient printer maintenance experience.
Frequently Asked Questions about How To Take Out Ink Cartridge From HP Printer
Was this page helpful?
At Storables.com, we guarantee accurate and reliable information. Our content, validated by Expert Board Contributors, is crafted following stringent Editorial Policies. We're committed to providing you with well-researched, expert-backed insights for all your informational needs.

0 thoughts on “How To Take Out Ink Cartridge From HP Printer”