Home>Technology>Smart Home Devices>How To Change Ink In A HP Printer
Smart Home Devices
How To Change Ink In A HP Printer
Modified: October 28, 2024
Learn how to change ink in a HP printer to keep your smart home devices running smoothly. Follow our step-by-step guide for a hassle-free ink replacement.
(Many of the links in this article redirect to a specific reviewed product. Your purchase of these products through affiliate links helps to generate commission for Storables.com, at no extra cost. Learn more)
Introduction
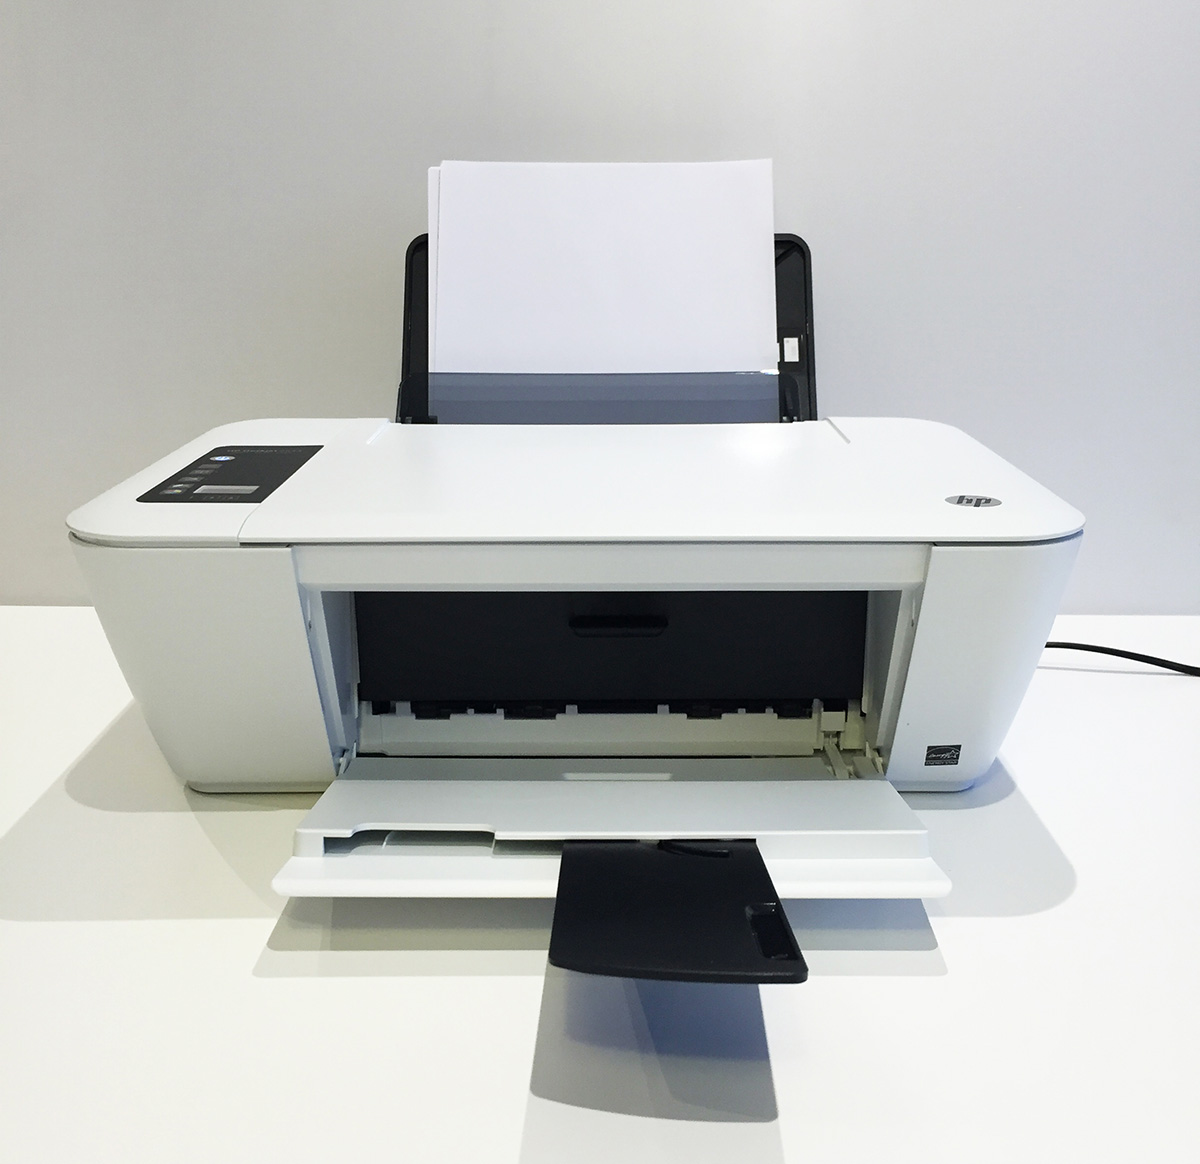
Welcome to the world of HP printers, where quality meets efficiency. HP printers are renowned for their exceptional performance and reliability, making them a popular choice for both home and office use. One of the essential maintenance tasks for keeping your HP printer in top condition is changing the ink cartridges. Whether you’re a seasoned printer user or new to the world of printing, learning how to change the ink in an HP printer is a valuable skill that can save you time and money.
In this comprehensive guide, we will walk you through the step-by-step process of replacing the ink cartridges in your HP printer. From preparing for the ink replacement to testing the printer after installation, we’ve got you covered. By following these instructions, you’ll be able to seamlessly replace the ink cartridges in your HP printer, ensuring that your prints maintain their high quality and clarity.
So, let’s dive in and learn how to change the ink in your HP printer, empowering you to keep producing stunning prints with ease.
Key Takeaways:
- Replacing ink cartridges in your HP printer is essential for maintaining print quality. Prepare by checking ink levels, ordering replacements, and choosing a suitable workspace. Properly align and test the printer for optimal results.
- When changing ink in your HP printer, follow step-by-step instructions to remove old cartridges and install new ones. Ensure proper alignment and conduct a test print to confirm successful replacement.
Read more: How To Change Ink On Canon Printer
Preparing for Ink Replacement
Before you begin the ink replacement process, it’s essential to gather the necessary supplies and prepare your printer for the task at hand. Here’s what you need to do to get ready for replacing the ink cartridges in your HP printer:
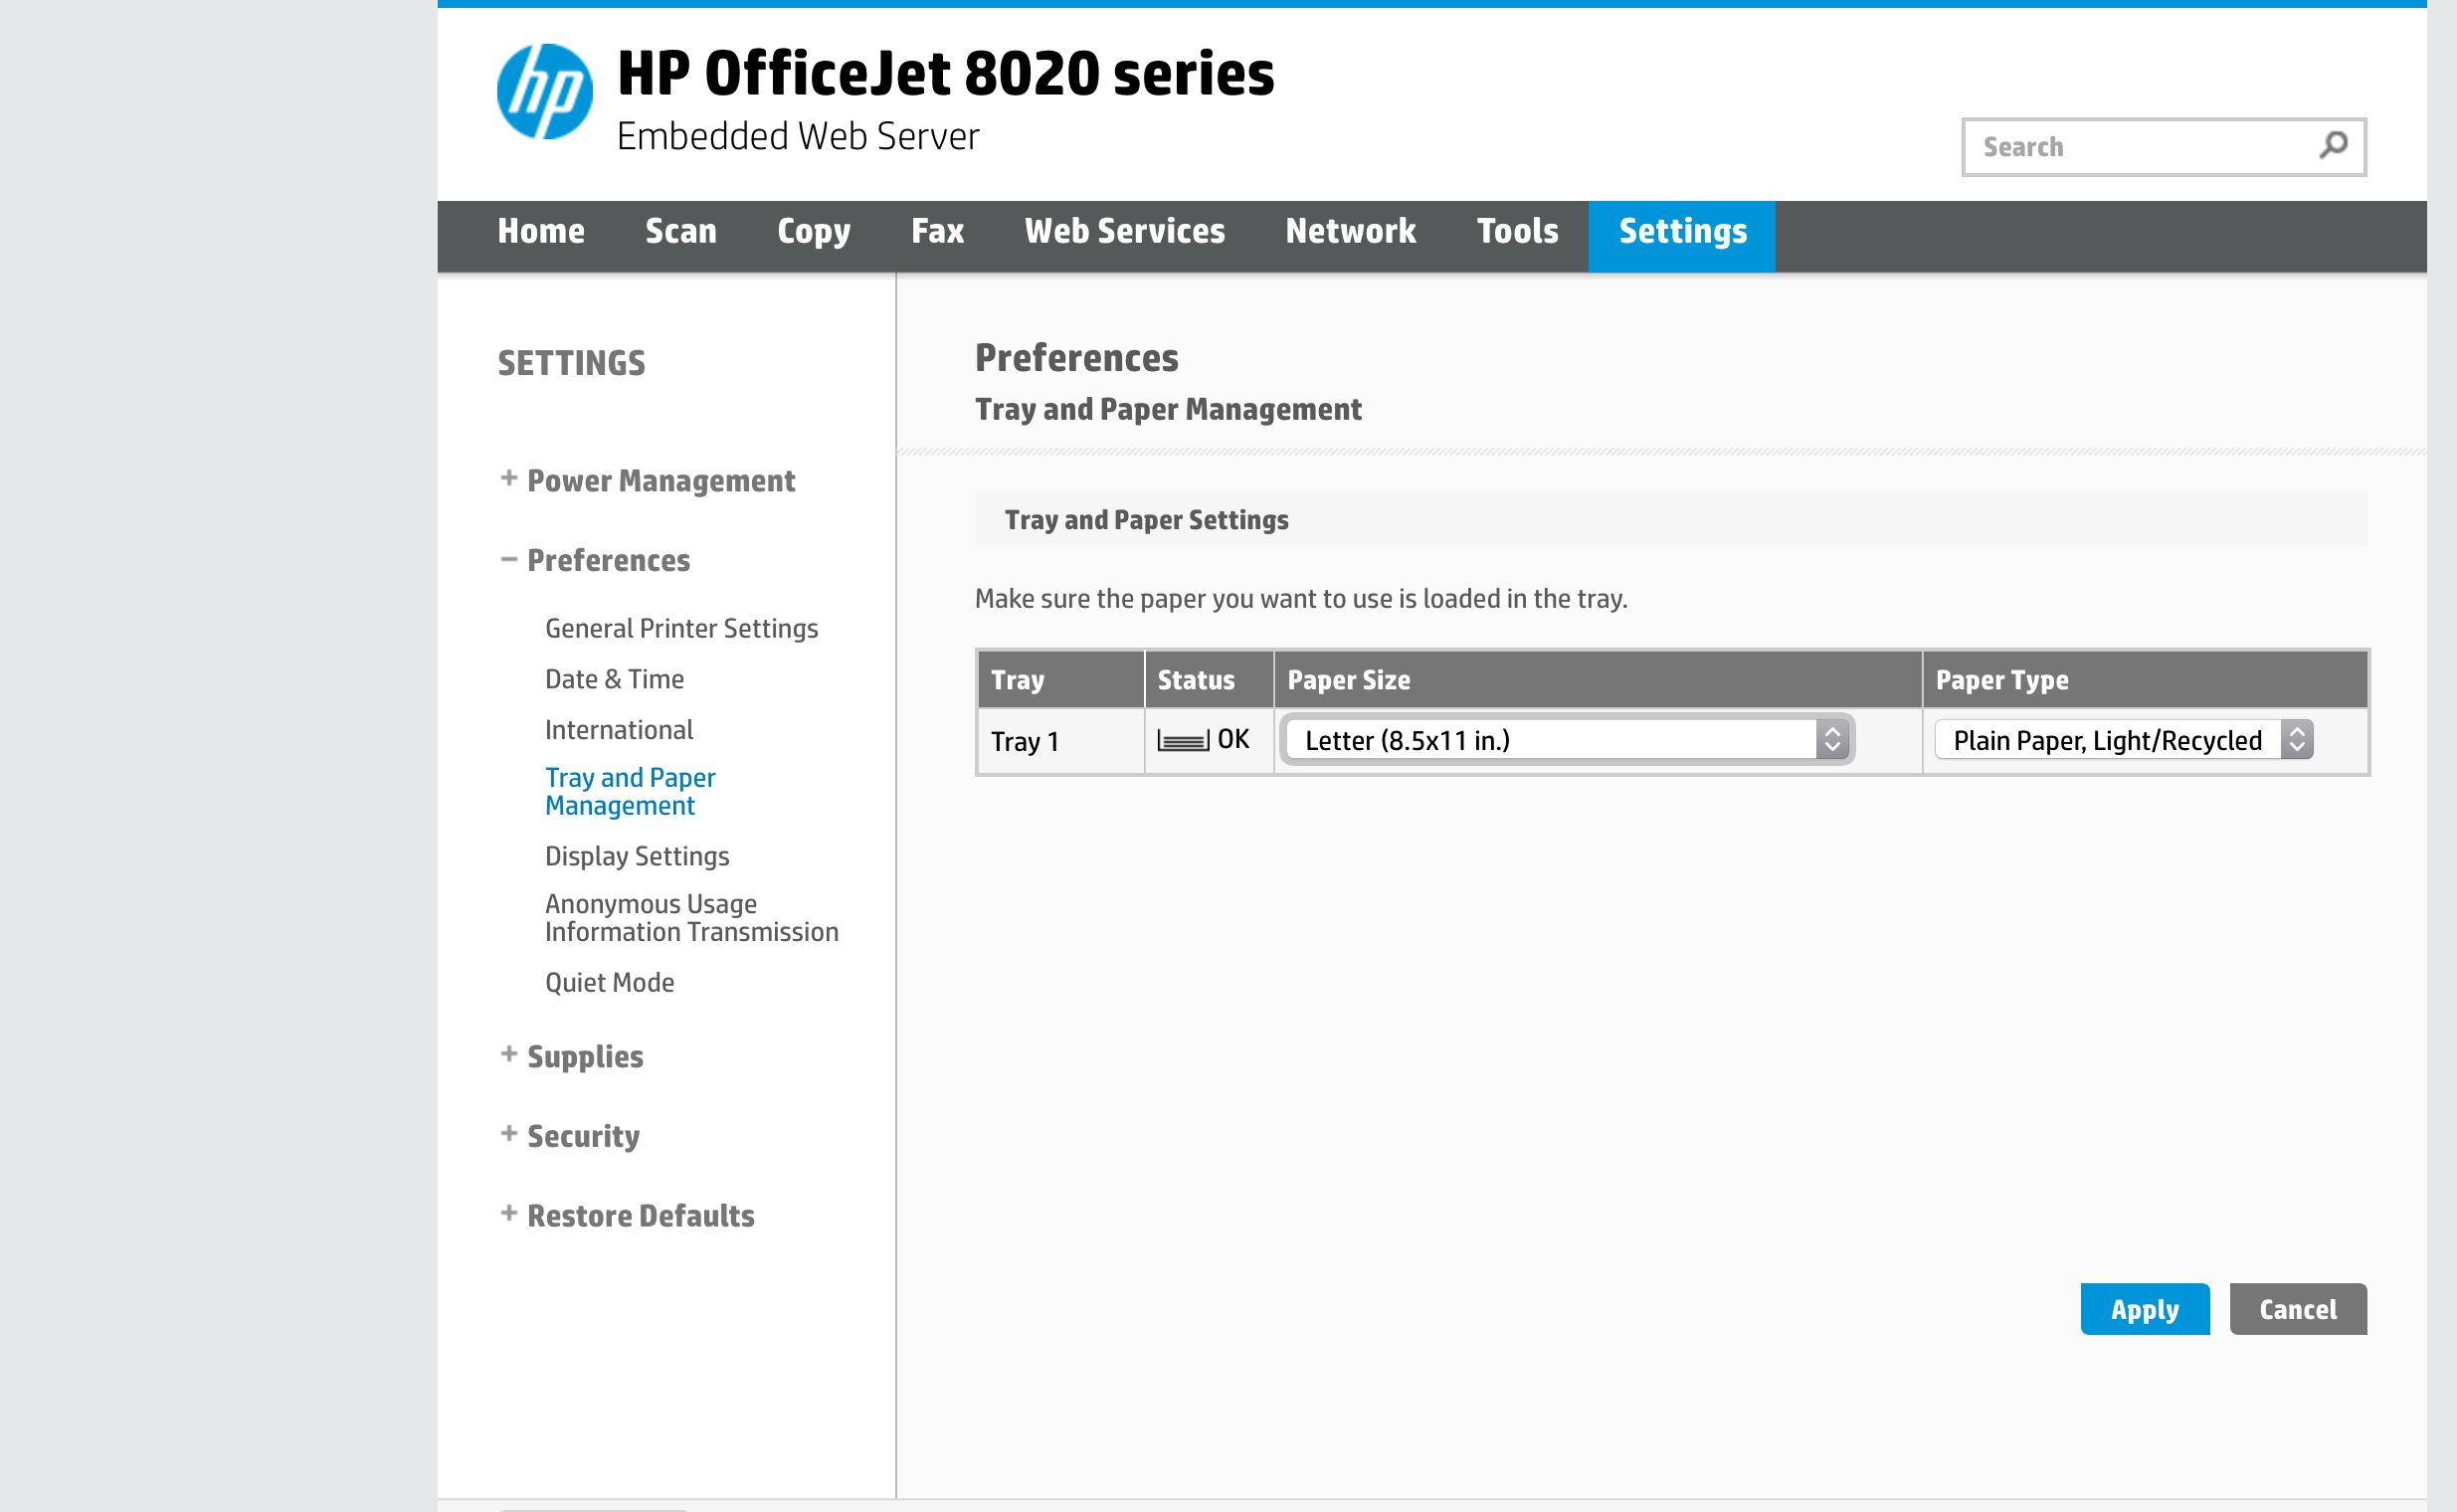
- Check Ink Levels: Start by checking the ink levels on your printer’s display panel or through the printer software on your computer. This will give you an idea of which ink cartridges need to be replaced.
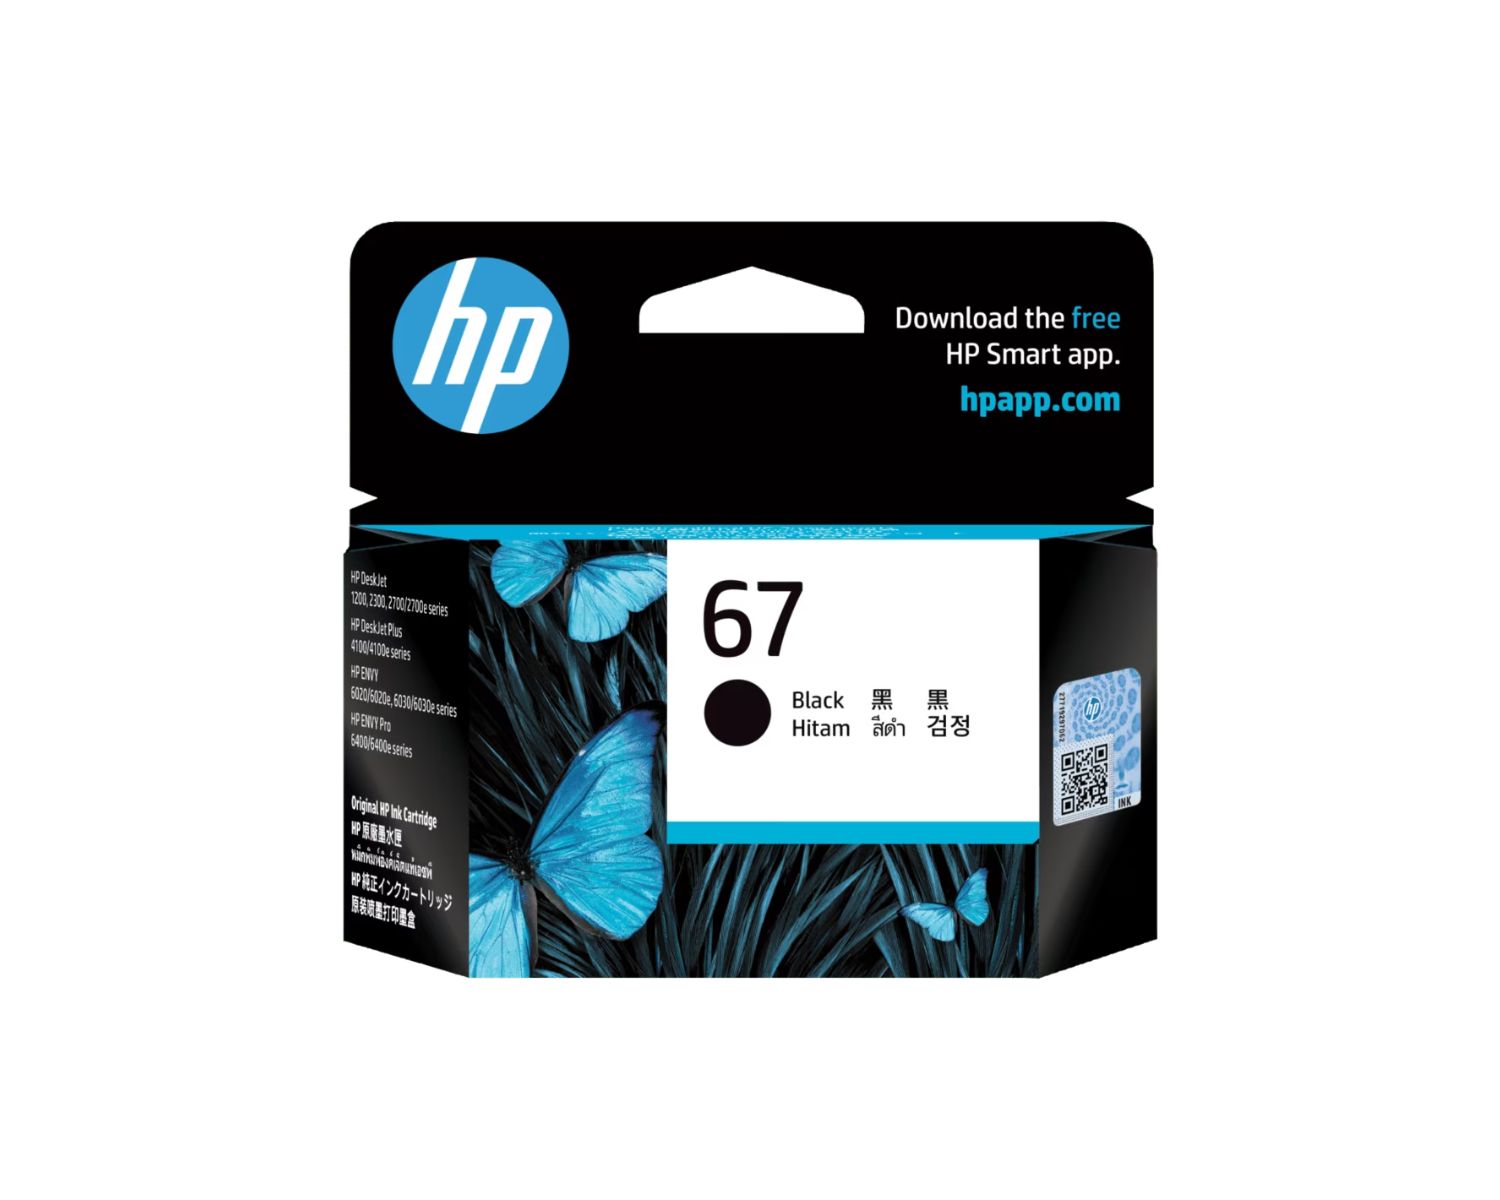
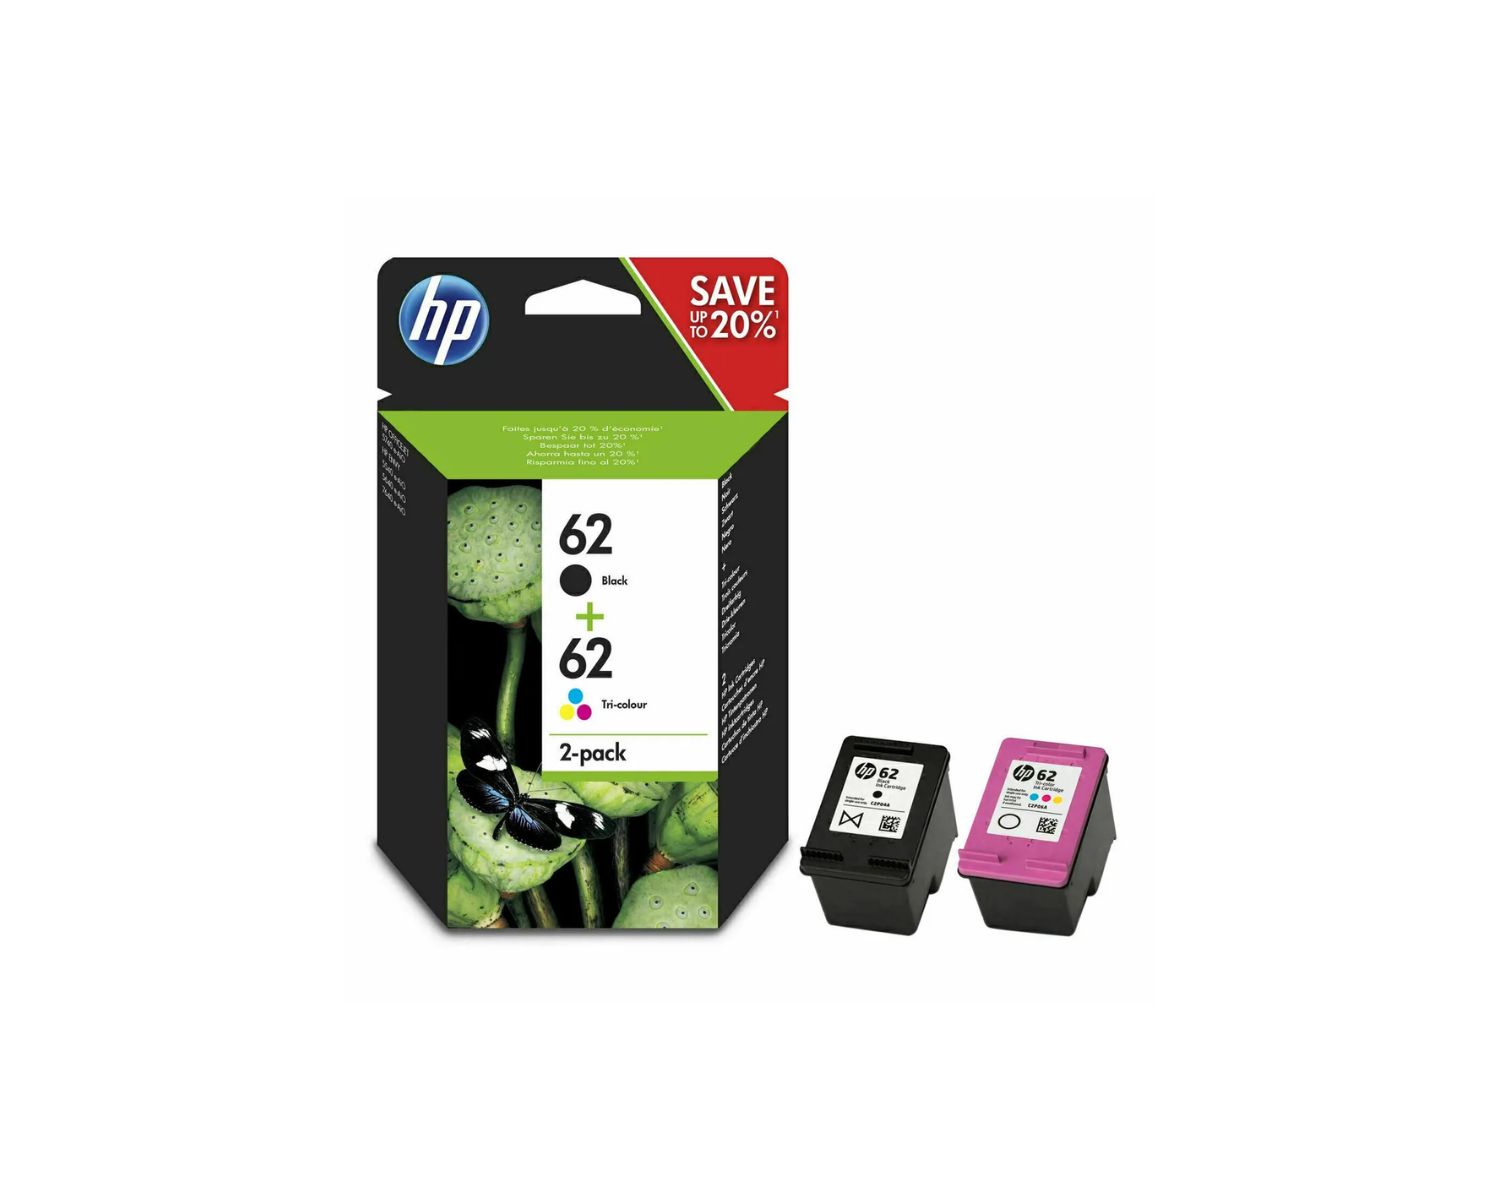
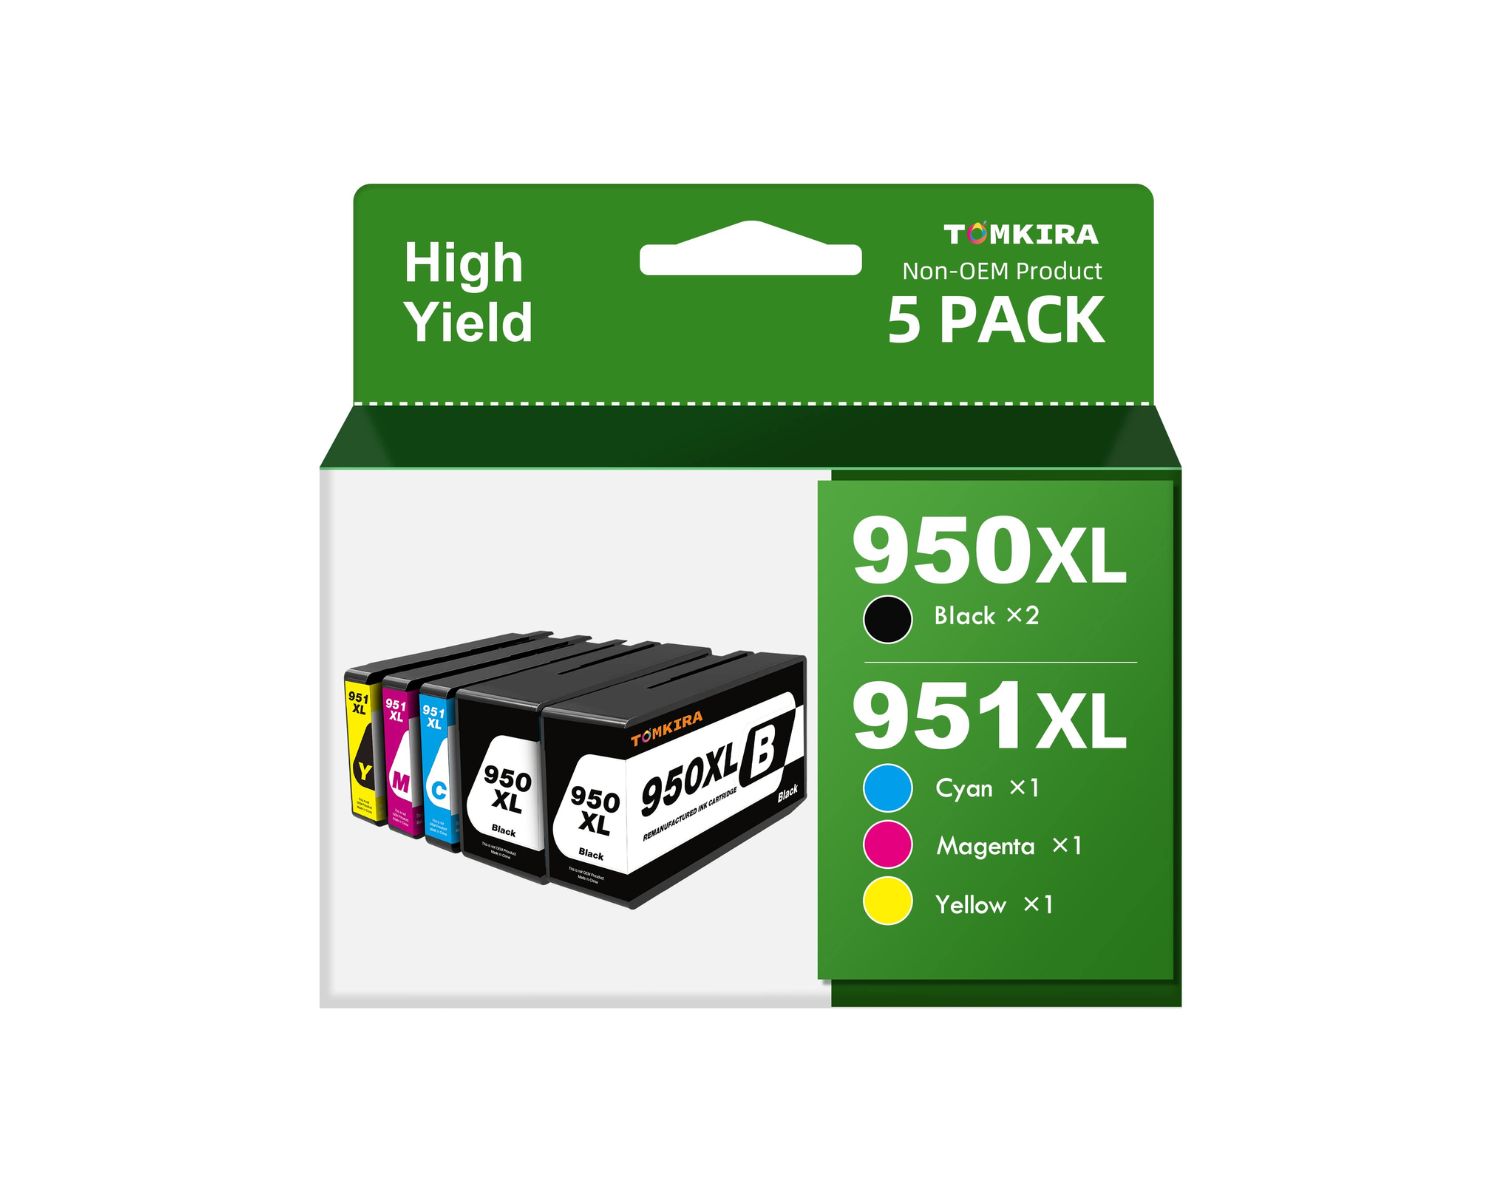
- Order Replacement Cartridges: If you’ve identified the ink cartridges that need replacing, make sure you have the new cartridges on hand. You can easily order genuine HP ink cartridges online or purchase them from authorized retailers.
- Choose a Suitable Workspace: Find a well-lit and spacious area to work on your printer. Having ample space and good lighting will make the ink replacement process more convenient.
- Gather Cleaning Supplies (Optional): While not always necessary, you may want to have some cleaning supplies, such as lint-free cloths and isopropyl alcohol, on hand to clean any ink residue that may be present during the replacement.
By taking these preparatory steps, you’ll set the stage for a smooth and efficient ink replacement process. Ensuring that you have the right supplies and a suitable workspace will help you tackle the task with confidence and precision.
Opening the Ink Cartridge Access Door
Before you can access the ink cartridges in your HP printer, you’ll need to open the ink cartridge access door. This step is crucial for gaining clear and unobstructed access to the cartridges. Here’s how you can open the ink cartridge access door on your HP printer:
- Power On the Printer: Ensure that your HP printer is powered on. If the printer is in a standby or sleep mode, wake it up by pressing the power button.
- Wait for the Carriage to Stop Moving: Once the printer is powered on, wait for the carriage – the component that holds the ink cartridges – to move to the center of the printer. This is the default position for accessing the cartridges.
- Open the Access Door: Locate the ink cartridge access door, which is typically positioned on the front of the printer. Gently grasp the handle or indentation on the door and open it. The door may swing open or be designed to be removed, depending on your printer model.
- Secure the Door (If Removable): If the access door is designed to be removed, set it aside in a safe place. Be sure to keep track of the door to facilitate its reattachment after replacing the ink cartridges.
By following these steps, you’ll successfully open the ink cartridge access door on your HP printer, granting you access to the ink cartridges. This sets the stage for the subsequent steps involved in replacing the old cartridges with new ones.
Removing the Old Ink Cartridge
Once you’ve opened the ink cartridge access door on your HP printer, the next step is to remove the old ink cartridges that need replacement. Properly removing the old cartridges is essential for ensuring a seamless transition to the new ones. Here’s a step-by-step guide to removing the old ink cartridges from your HP printer:
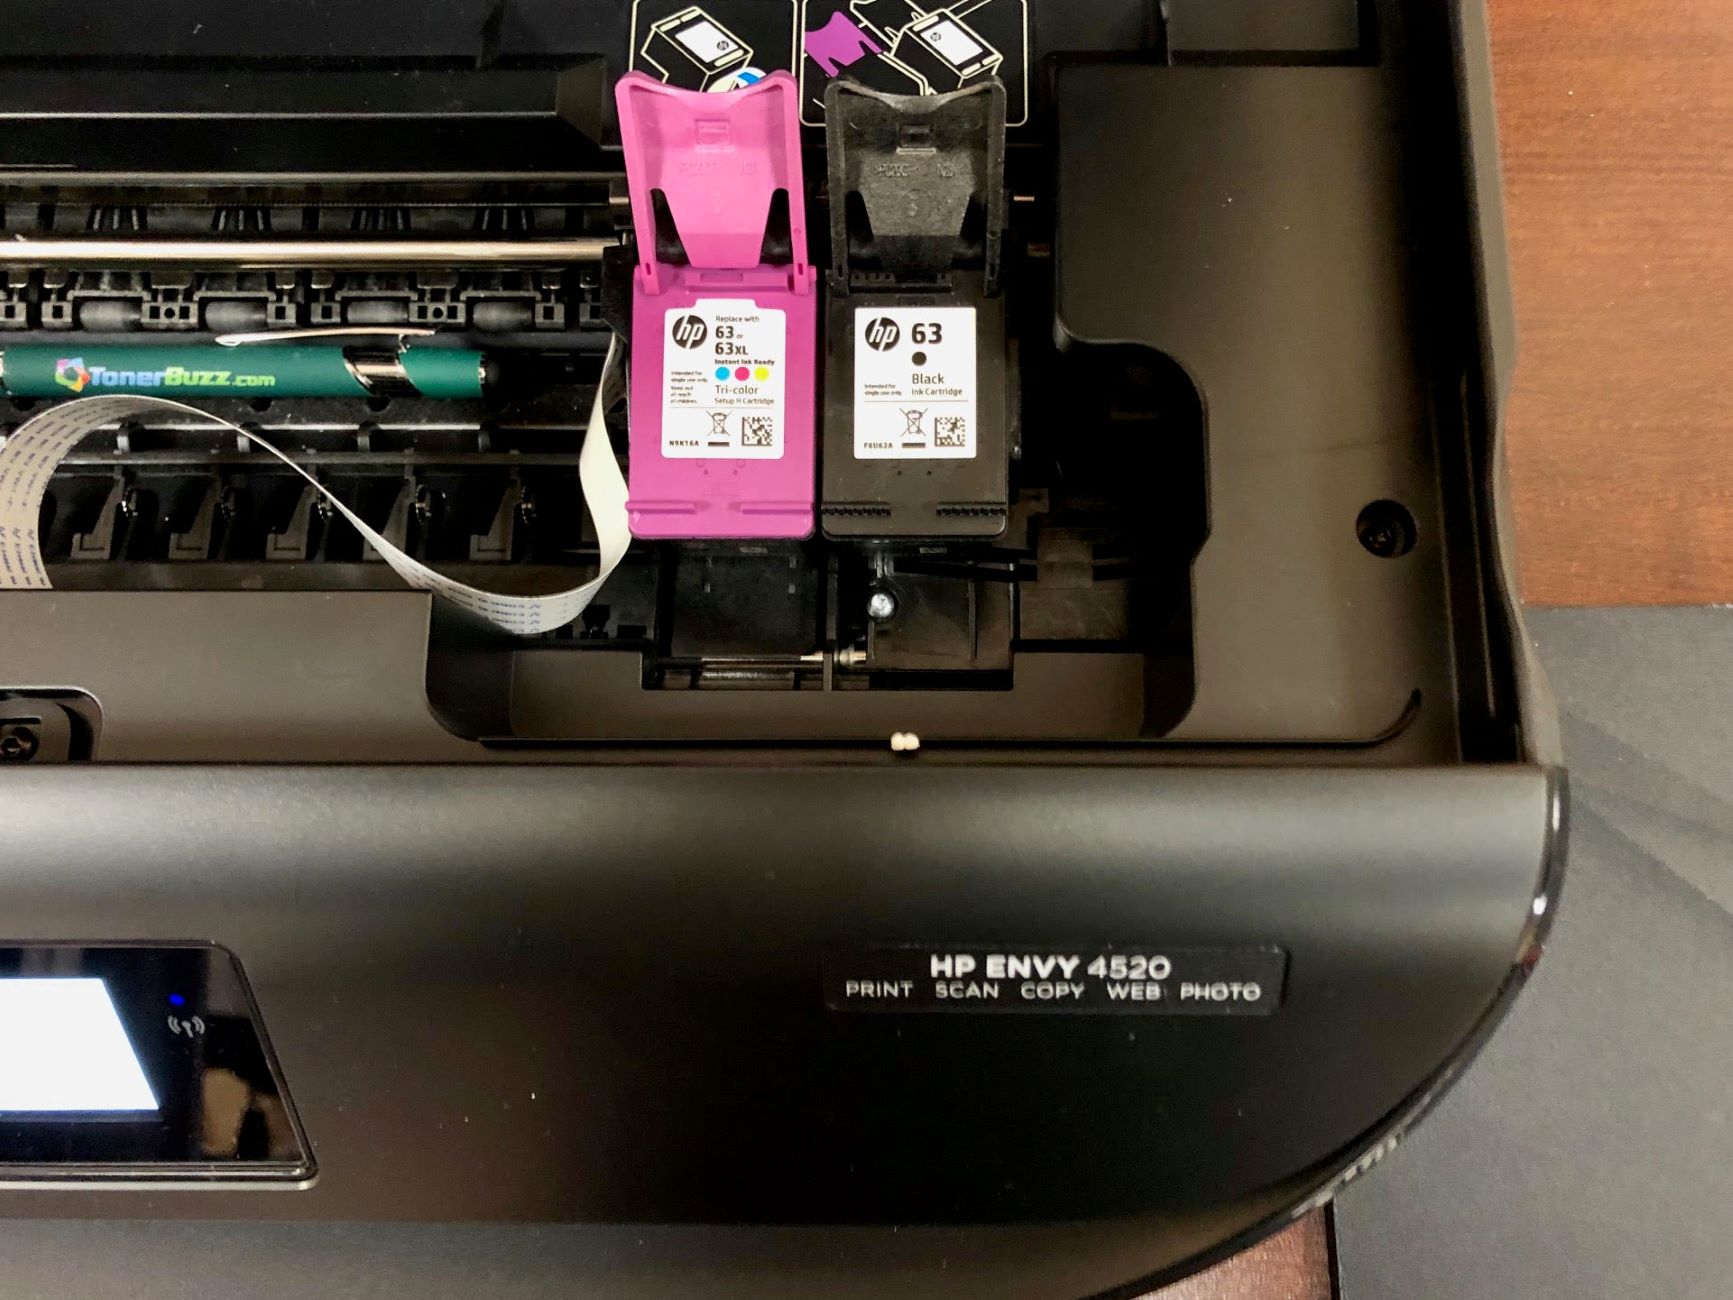
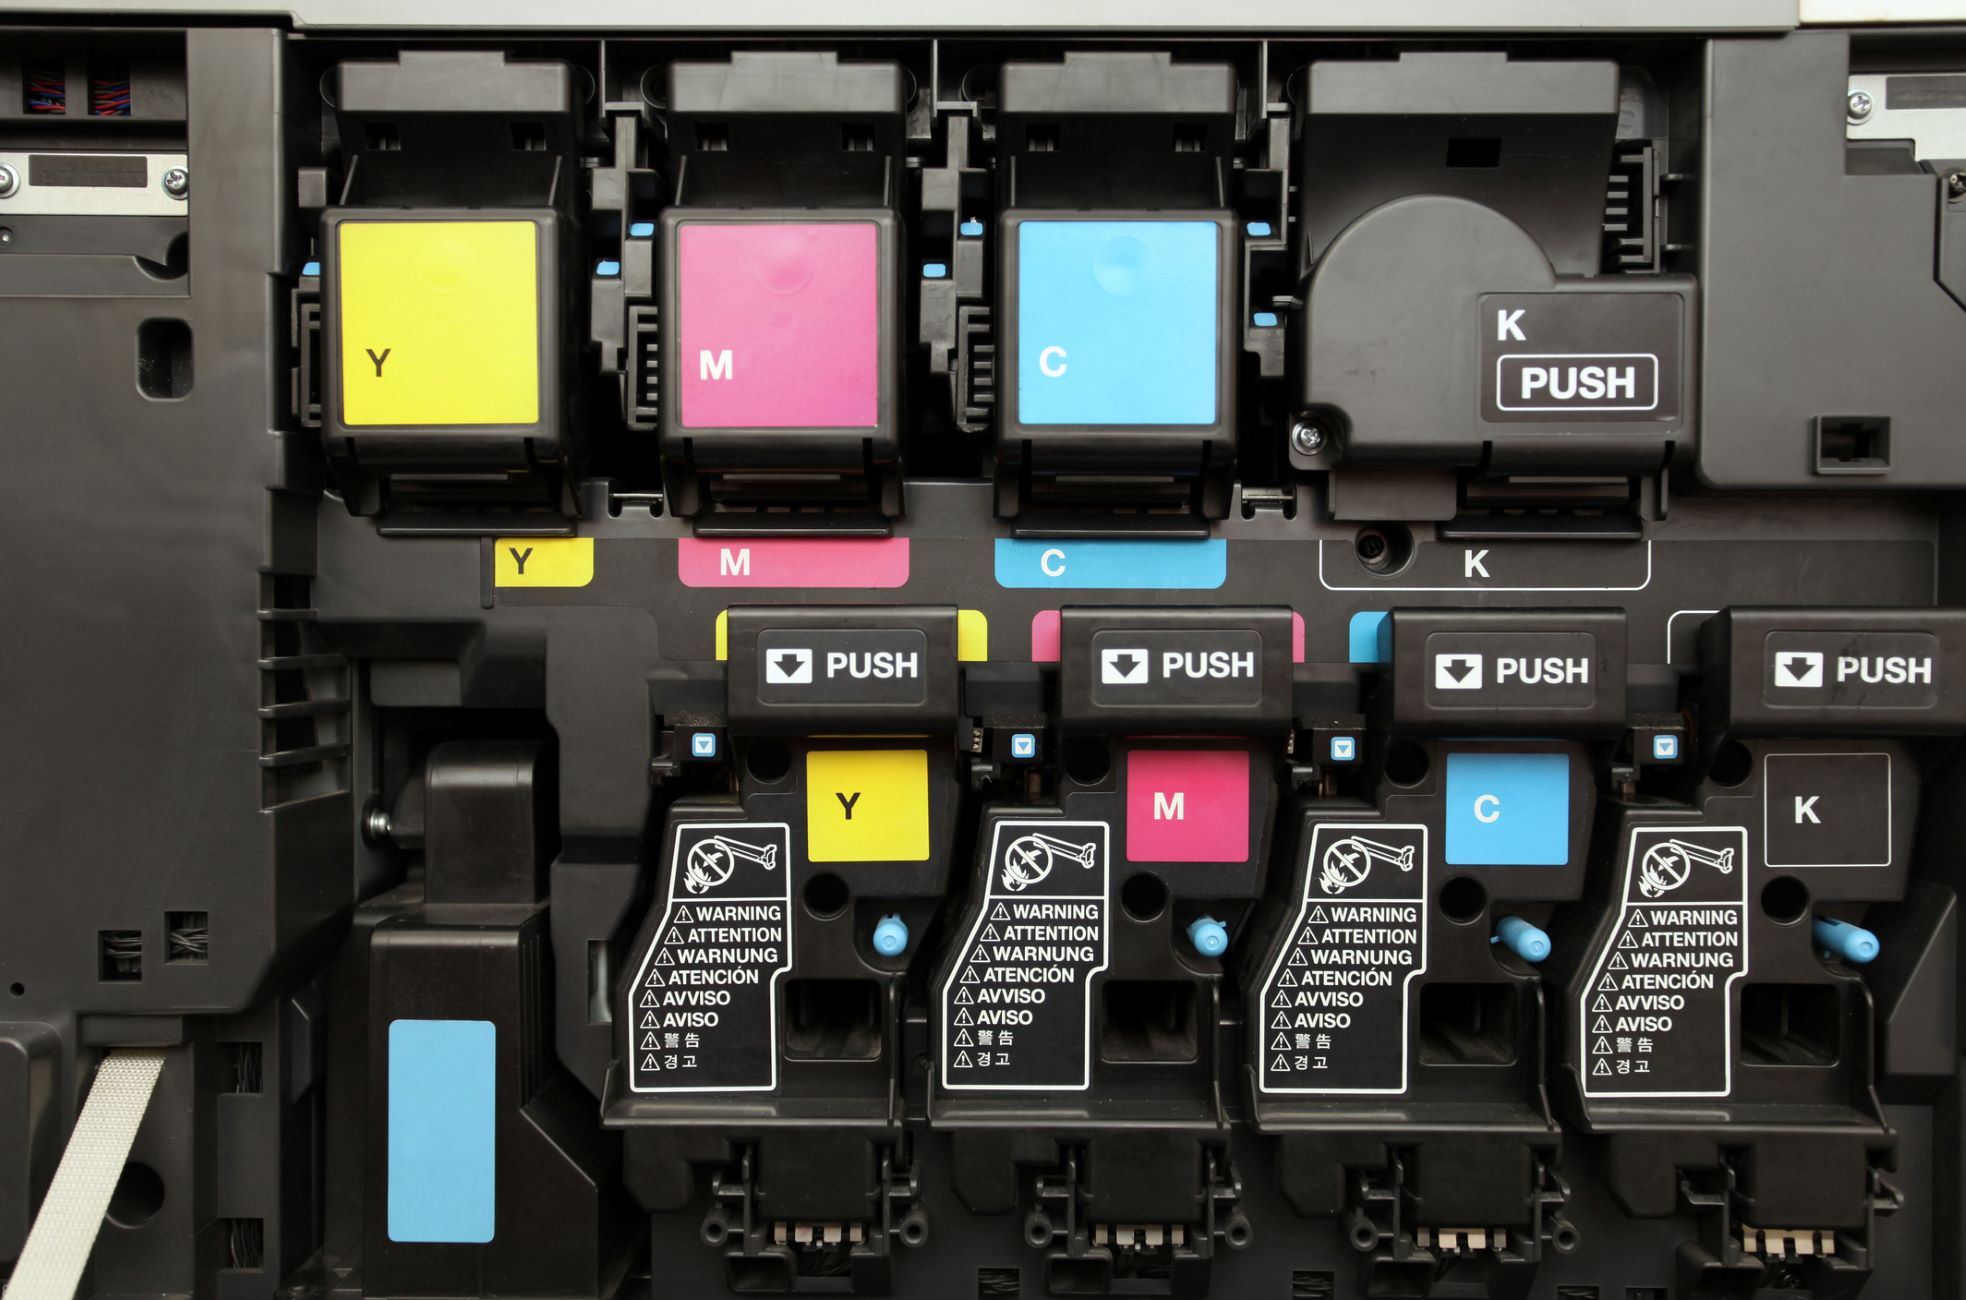
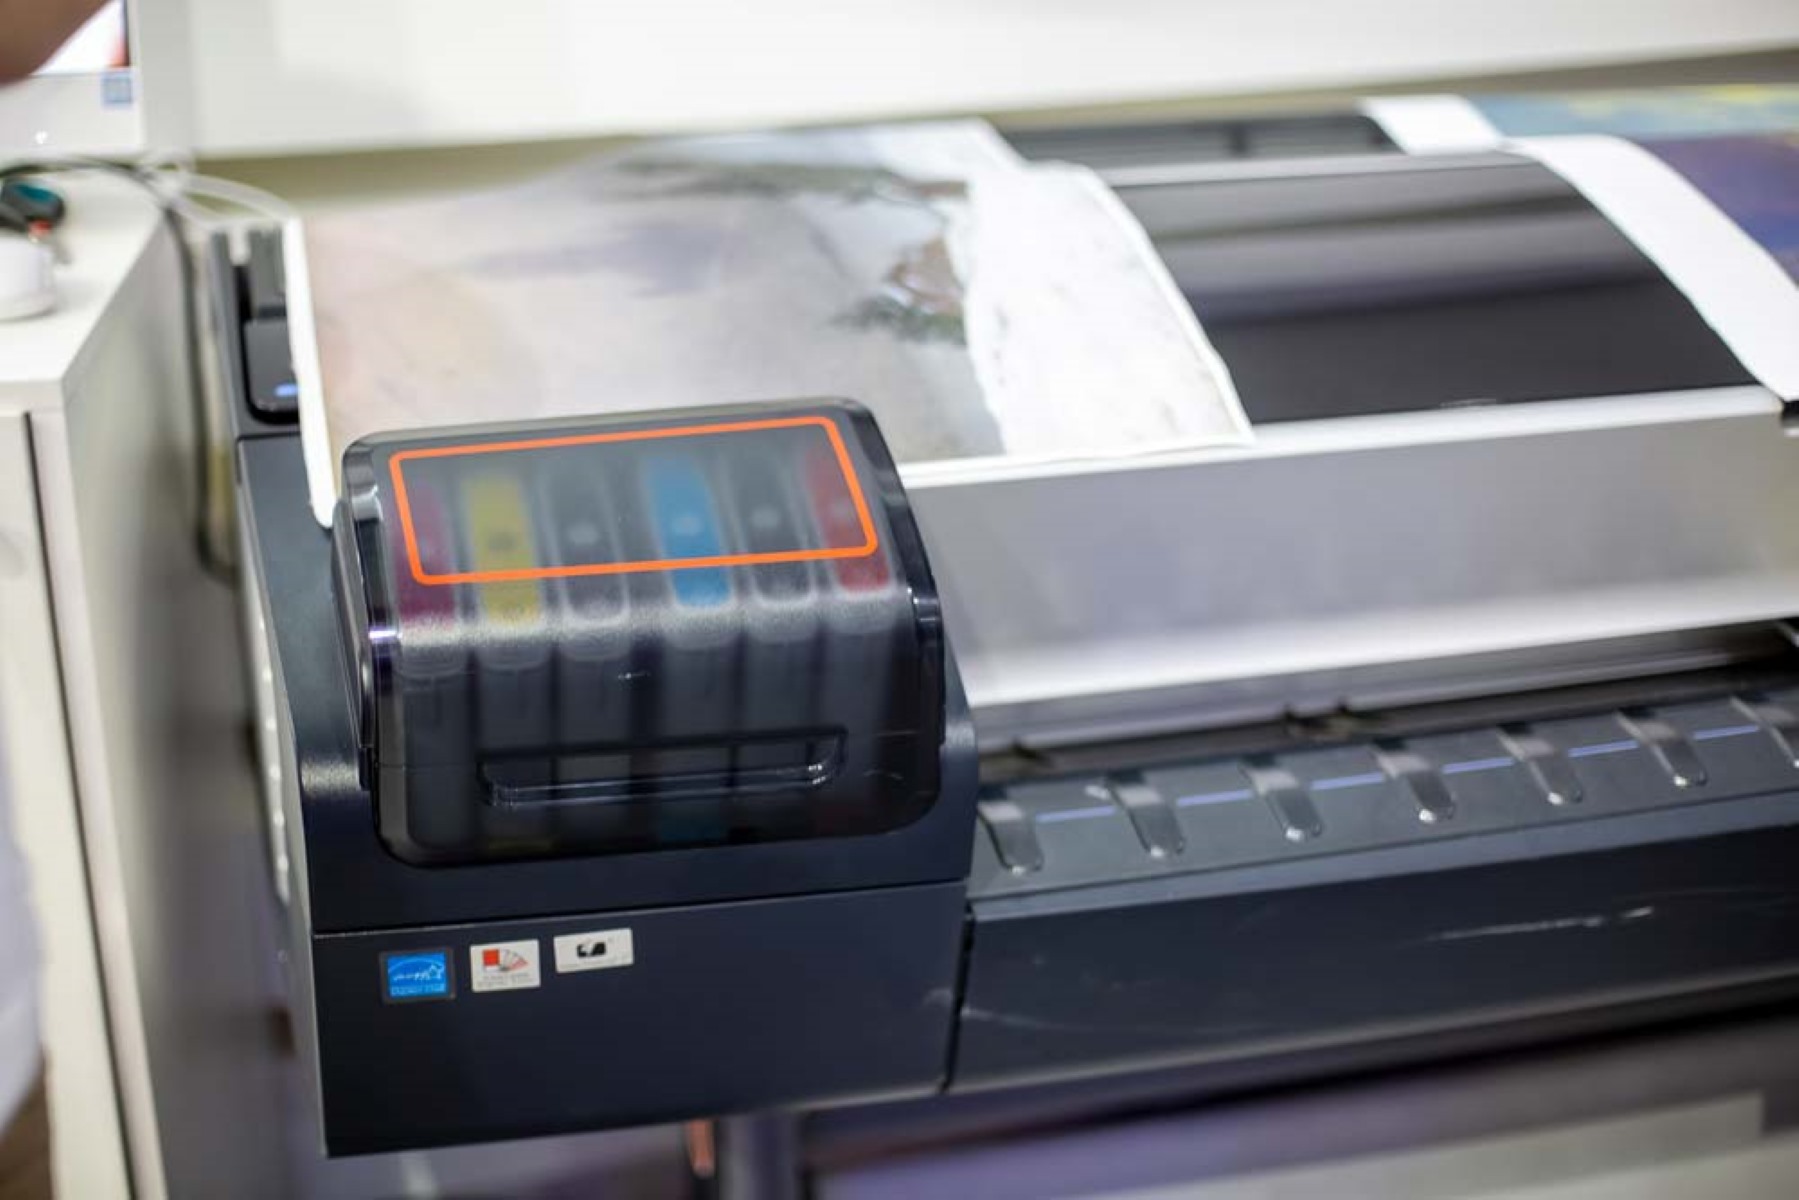
- Identify the Cartridge to Be Replaced: Take note of the specific ink cartridge that needs to be replaced. Most HP printers have individual cartridges for different ink colors, such as black, cyan, magenta, and yellow.
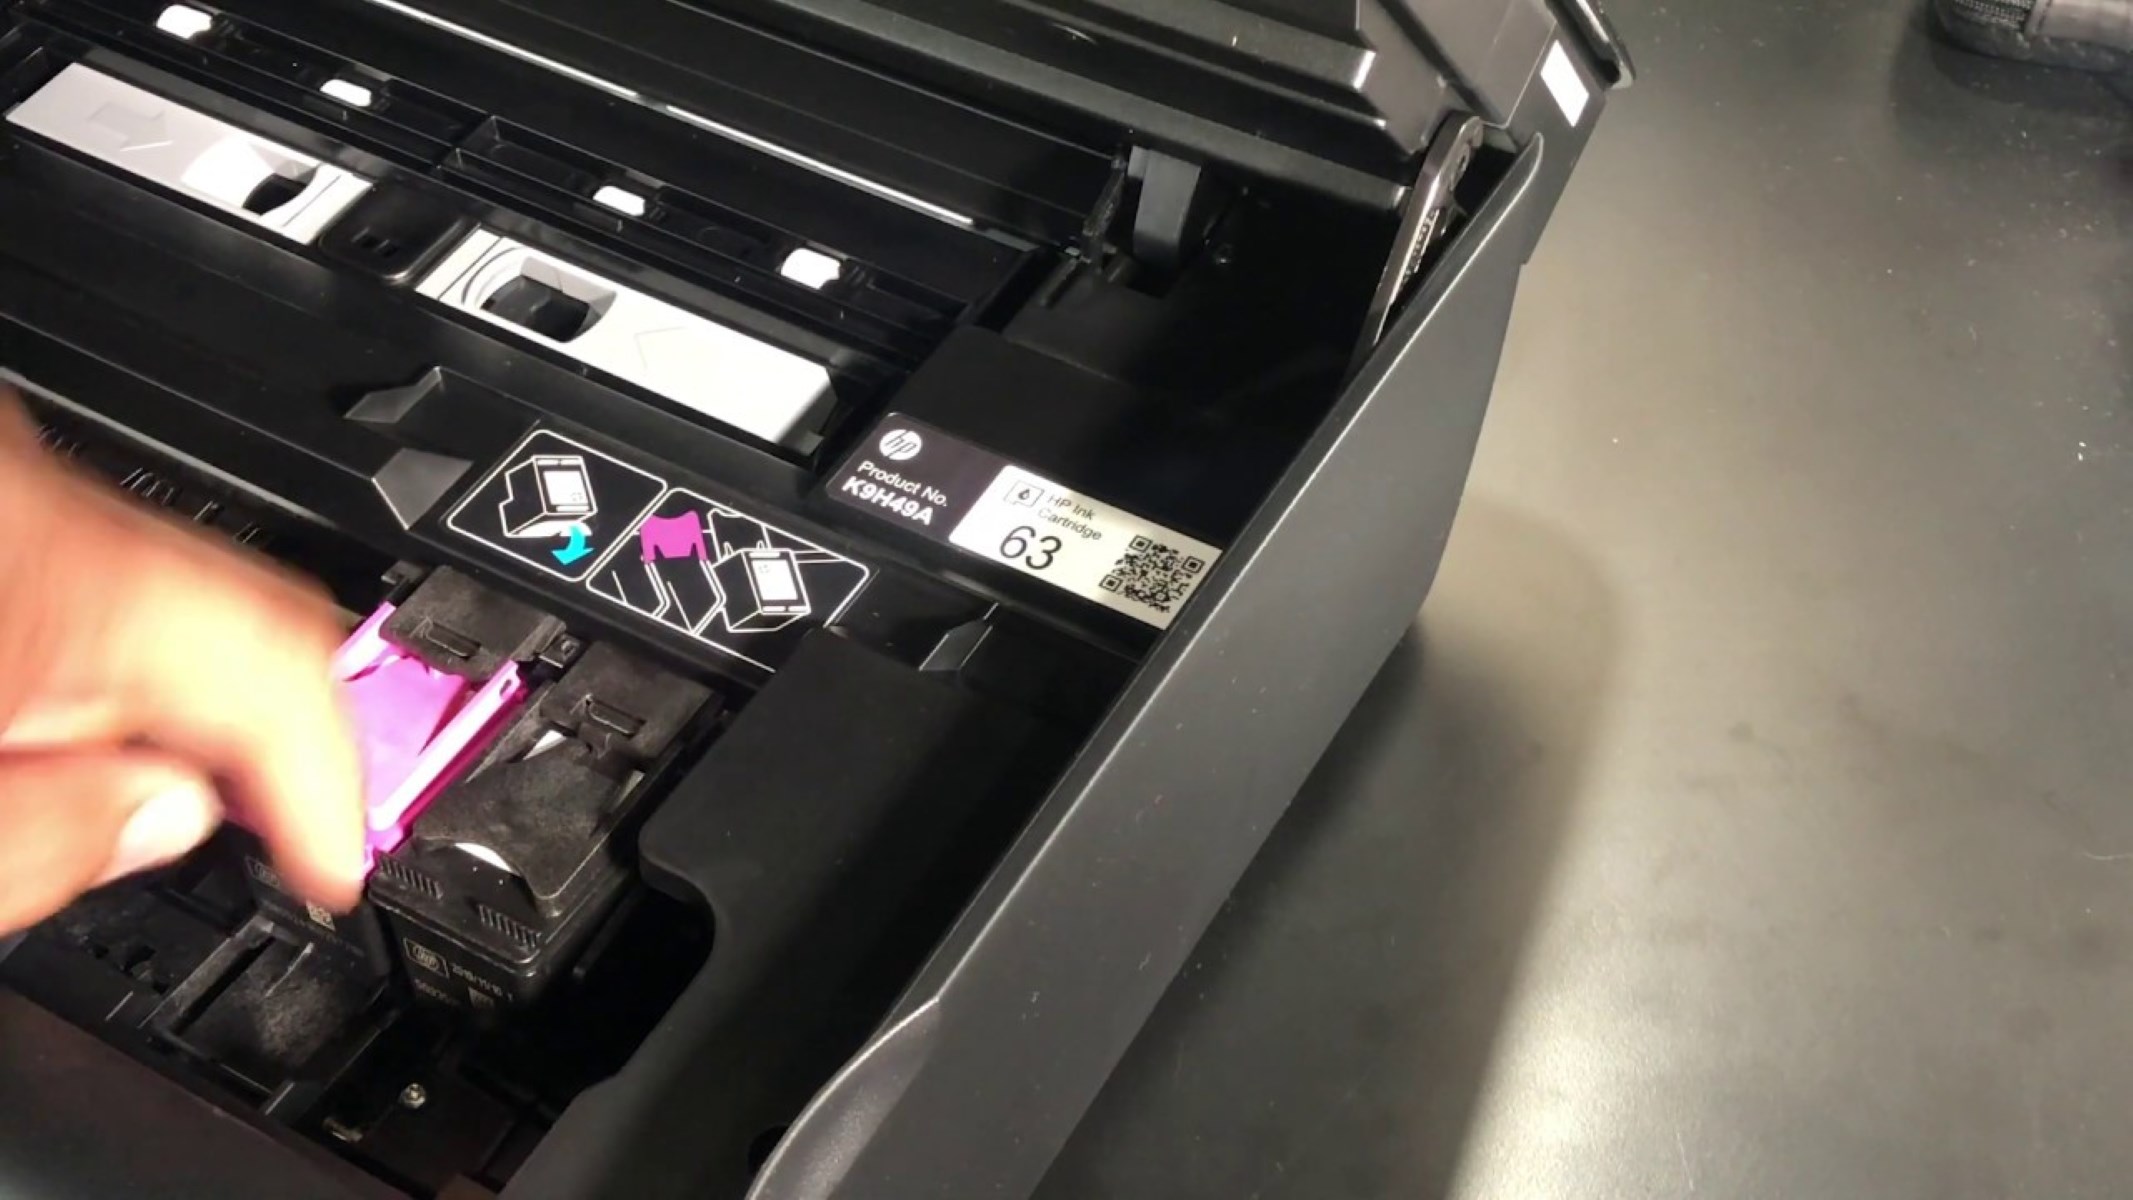
- Press the Cartridge Release Tab: Each ink cartridge is secured in place with a latch or release tab. Locate the old cartridge that requires replacement and gently press the release tab to unlock it. The release tab is typically located on the top of the cartridge.
- Remove the Cartridge: After pressing the release tab, carefully grasp the old ink cartridge and pull it out of its slot. Be mindful of handling the cartridge with care to prevent any ink spills or damage to the printer.
- Set Aside the Old Cartridge: Place the removed ink cartridge on a flat surface or a designated area. If the cartridge is empty or nearing the end of its life, it’s essential to recycle it responsibly in accordance with local regulations.
- Repeat for Additional Cartridges (If Necessary): If you have multiple ink cartridges to replace, repeat the above steps for each cartridge, ensuring that you handle each one with care and precision.
By following these instructions, you’ll successfully remove the old ink cartridges from your HP printer, paving the way for the installation of new, high-quality cartridges. Properly handling the removal process is key to maintaining the integrity of your printer and ensuring optimal print quality with the new cartridges.
When changing ink in a HP printer, make sure to turn off the printer and wait for the cartridges to stop moving. Open the cartridge access door, remove the old cartridge, and insert the new one. Close the door and turn the printer back on to complete the process.
Installing the New Ink Cartridge
With the old ink cartridges removed from your HP printer, it’s time to install the new cartridges to resume your printing tasks with vibrant and crisp results. Properly installing the new ink cartridges is essential for maintaining the performance and longevity of your printer. Follow these steps to seamlessly install the new ink cartridges in your HP printer:
- Unpack the New Cartridge: Start by unpacking the new ink cartridge from its packaging. Be sure to handle the cartridge carefully and avoid touching the contacts or ink nozzles to prevent potential issues with print quality.
- Remove the Protective Tape: Check the cartridge for any protective tapes or seals that cover the contacts or nozzles. If present, carefully remove these protective elements to ensure proper ink flow and electrical connectivity.
- Insert the Cartridge: Align the new ink cartridge with its corresponding slot in the printer. Ensure that the cartridge is positioned correctly, matching the color-coded or labeled indicators for each slot.
- Secure the Cartridge: Once aligned, gently push the new cartridge into its slot until it clicks into place. The clicking sound indicates that the cartridge is securely seated and ready for use.
- Repeat for Additional Cartridges (If Applicable): If you have multiple ink cartridges to replace, repeat the above steps for each cartridge, ensuring that you install them in their respective slots with precision.
By following these instructions, you’ll successfully install the new ink cartridges in your HP printer, setting the stage for vibrant and high-quality prints. Properly handling and installing the new cartridges is crucial for maintaining the efficiency and reliability of your printer, ensuring that it continues to deliver outstanding results with every print job.
Read more: How To Check Ink Levels On HP Printer
Closing the Ink Cartridge Access Door
After installing the new ink cartridges in your HP printer, the next crucial step is to close the ink cartridge access door. Properly securing the access door is essential for ensuring the safety of the cartridges and maintaining the optimal functioning of the printer. Here’s how you can effectively close the ink cartridge access door on your HP printer:
- Check Cartridge Alignment: Before closing the access door, double-check the alignment of the new ink cartridges within their respective slots. Ensure that each cartridge is securely seated and aligned correctly to prevent any issues during printing.
- Reattach the Access Door (If Applicable): If the ink cartridge access door was designed to be removed, carefully reattach it to the printer. Align the door with its hinges or slots and gently press it into place until it securely fastens to the printer.
- Close the Access Door: If the access door swings open, gently push it back into position until it closes securely. Ensure that the door is latched or fastened properly to prevent any accidental openings during printing.
- Verify Door Closure: Confirm that the ink cartridge access door is fully closed and latched. This will help maintain the integrity of the ink cartridges and prevent any potential issues related to the printer’s operation.
By following these steps, you’ll effectively close the ink cartridge access door on your HP printer, ensuring that the new ink cartridges are securely housed within the printer. Properly securing the access door is crucial for maintaining the printer’s functionality and protecting the ink cartridges from damage or exposure.
Aligning the Ink Cartridges
Once the new ink cartridges are installed in your HP printer and the ink cartridge access door is securely closed, it’s important to align the cartridges for optimal print quality. Cartridge alignment ensures that the printer can accurately deposit ink onto the paper, resulting in sharp and precisely rendered images and text. Here’s how you can align the ink cartridges in your HP printer:
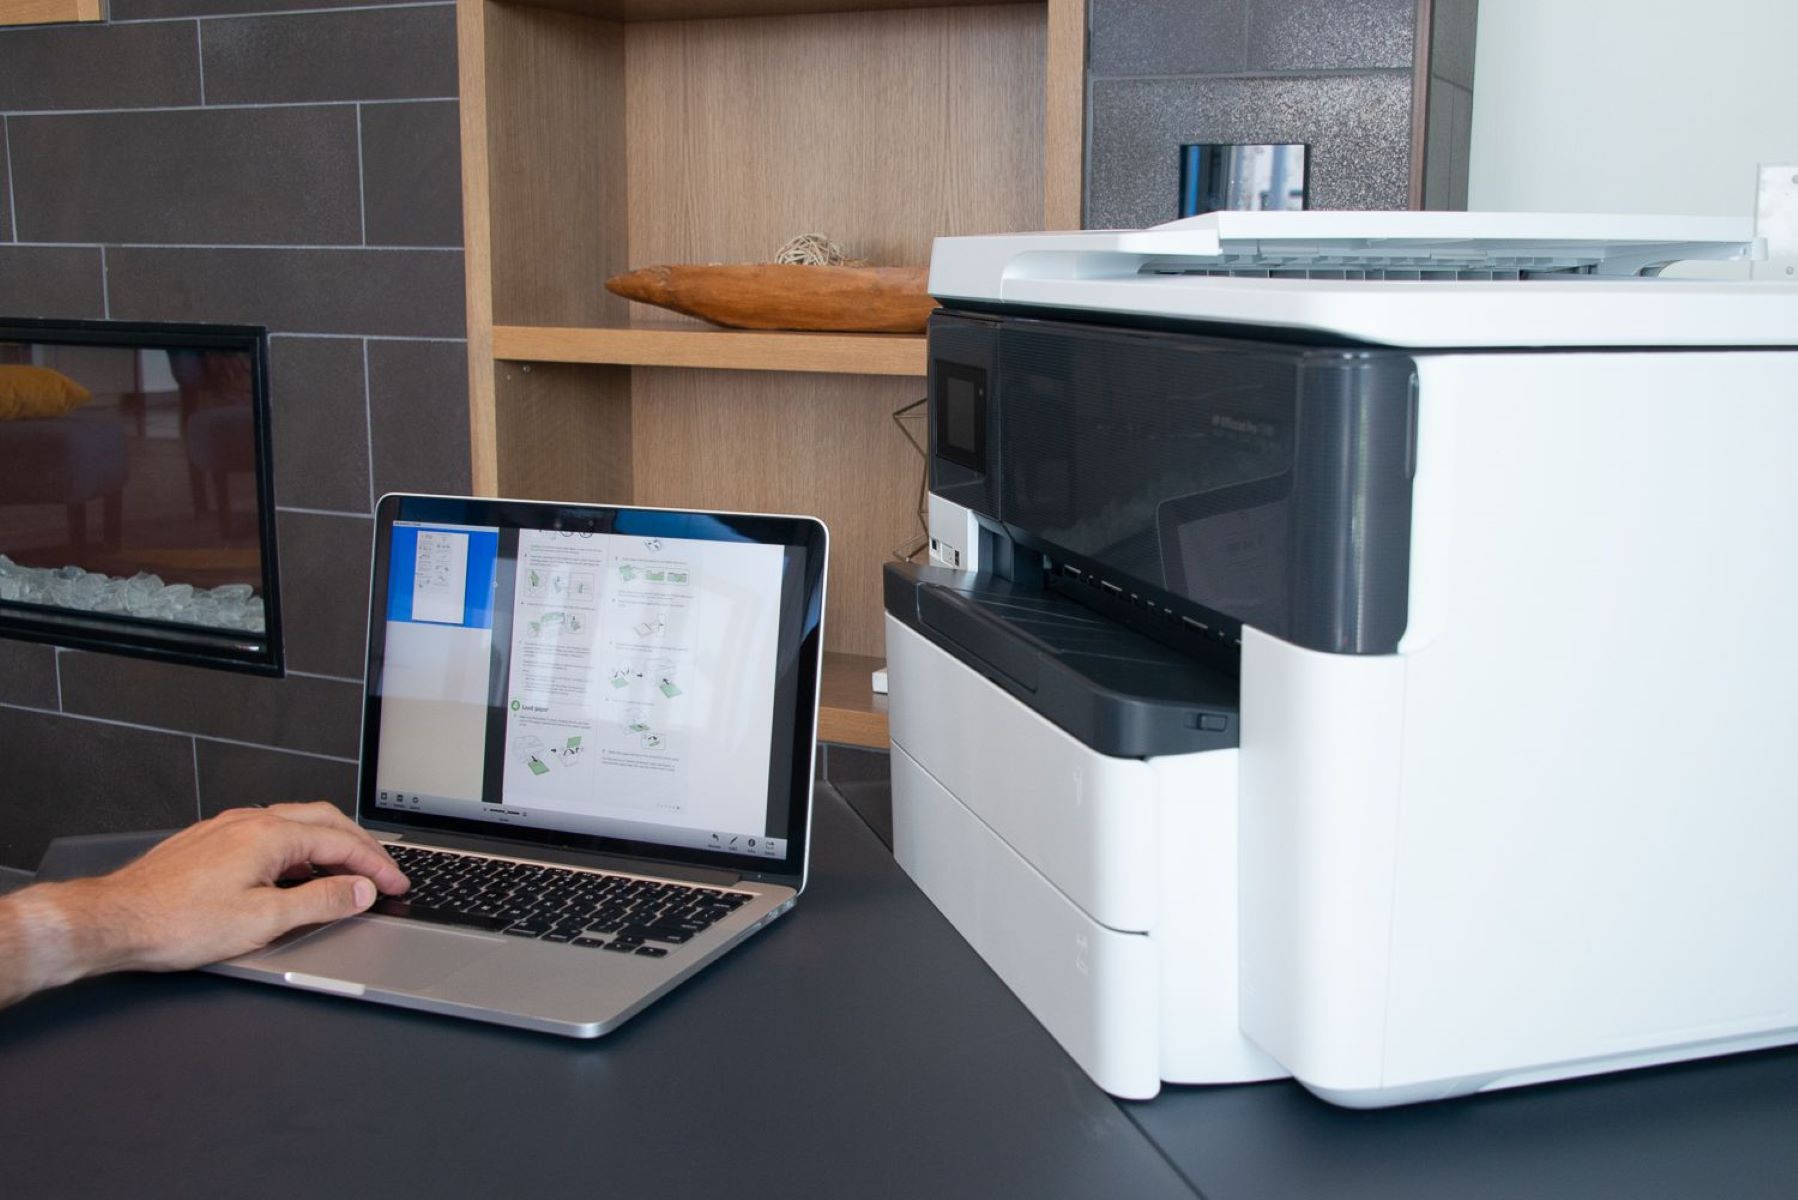
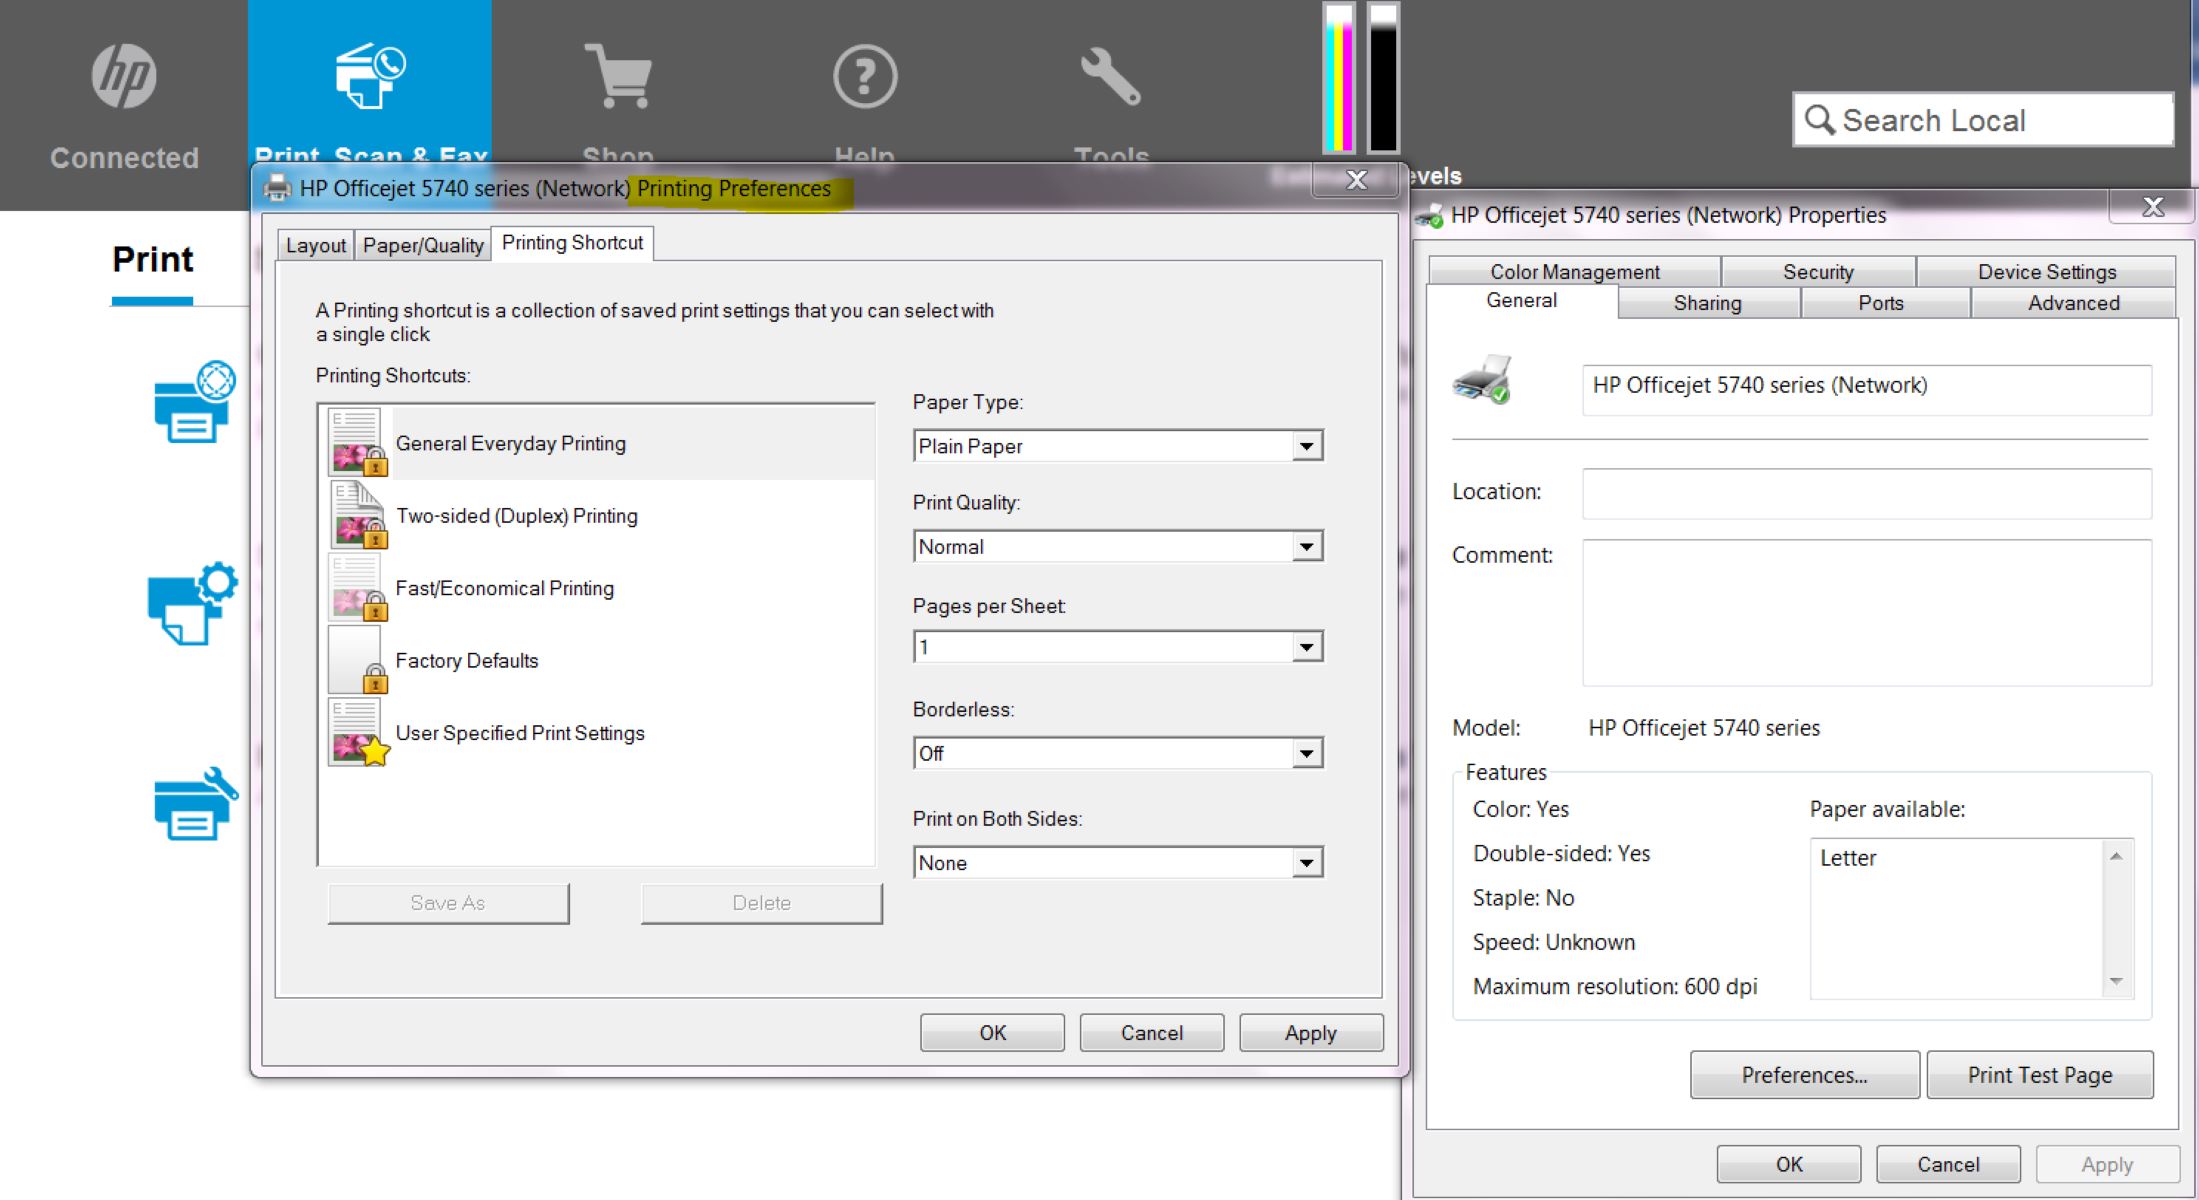
- Access the Printer Software: Use your computer to access the HP printer software. Depending on your printer model, you may need to open the HP Smart app or the HP printer software installed on your computer.
- Locate Alignment Options: Within the printer software, navigate to the settings or maintenance section to find the cartridge alignment options. Look for features such as “Align Cartridges” or “Print Quality Maintenance” to initiate the alignment process.
- Initiate Cartridge Alignment: Follow the on-screen prompts to initiate the cartridge alignment process. This may involve printing a test page that the printer will use to assess and adjust the alignment of the ink cartridges.
- Follow Calibration Instructions: If prompted, follow any additional calibration instructions provided by the printer software. This may involve scanning the printed test page using the printer’s scanning functionality to complete the alignment process.
- Confirm Alignment Completion: Once the alignment process is complete, the printer software will typically display a confirmation message. This indicates that the ink cartridges are now aligned for optimal print quality.
By aligning the ink cartridges as per the printer software’s instructions, you’ll ensure that your HP printer delivers consistent and high-quality prints with accurate color reproduction and precise text output. Proper cartridge alignment is a critical step in maintaining the performance and reliability of your printer.
Testing the Printer
After completing the ink cartridge replacement and alignment process, it’s essential to conduct a test to ensure that your HP printer is functioning optimally and producing high-quality prints. Testing the printer allows you to verify the print quality, check for any issues, and confirm that the new ink cartridges have been successfully installed. Here’s how you can effectively test your HP printer after replacing the ink cartridges:
- Print a Test Page: Use the printer software on your computer to initiate a test print. Look for the “Print Quality Test” or “Print Test Page” option within the printer settings to generate a test page.
- Assess Print Quality: Examine the test page for overall print quality, including text clarity, color vibrancy, and any potential issues such as streaks or smudges. This evaluation will help you determine if the printer is producing satisfactory results with the new ink cartridges.
- Check for Alignment: Verify that the text and images on the test page appear correctly aligned and that there are no noticeable misalignments or irregularities in the printout.
- Inspect for Ink Coverage: Assess the ink coverage and distribution on the test page to ensure that the printer is depositing ink evenly and consistently across the entire page.
- Address Any Issues: If you encounter any print quality issues during the test, such as faded text or uneven ink distribution, consider running a cleaning cycle through the printer software to address potential ink flow or nozzle issues.
By conducting a thorough test of your HP printer, you’ll be able to confirm that the ink cartridge replacement process was successful and that the printer is ready to deliver exceptional results for your printing needs. Regularly testing the printer after ink cartridge replacement helps maintain consistent print quality and identifies any potential issues that may require attention.
Frequently Asked Questions about How To Change Ink In A HP Printer
Was this page helpful?
At Storables.com, we guarantee accurate and reliable information. Our content, validated by Expert Board Contributors, is crafted following stringent Editorial Policies. We're committed to providing you with well-researched, expert-backed insights for all your informational needs.
0 thoughts on “How To Change Ink In A HP Printer”