Home>Technology>Smart Home Devices>How To Install A Zebra Printer
Smart Home Devices
How To Install A Zebra Printer
Modified: August 28, 2024
Learn how to easily install a Zebra printer for your smart home devices with our step-by-step guide. Ensure seamless printing for your smart home needs.
(Many of the links in this article redirect to a specific reviewed product. Your purchase of these products through affiliate links helps to generate commission for Storables.com, at no extra cost. Learn more)
Introduction
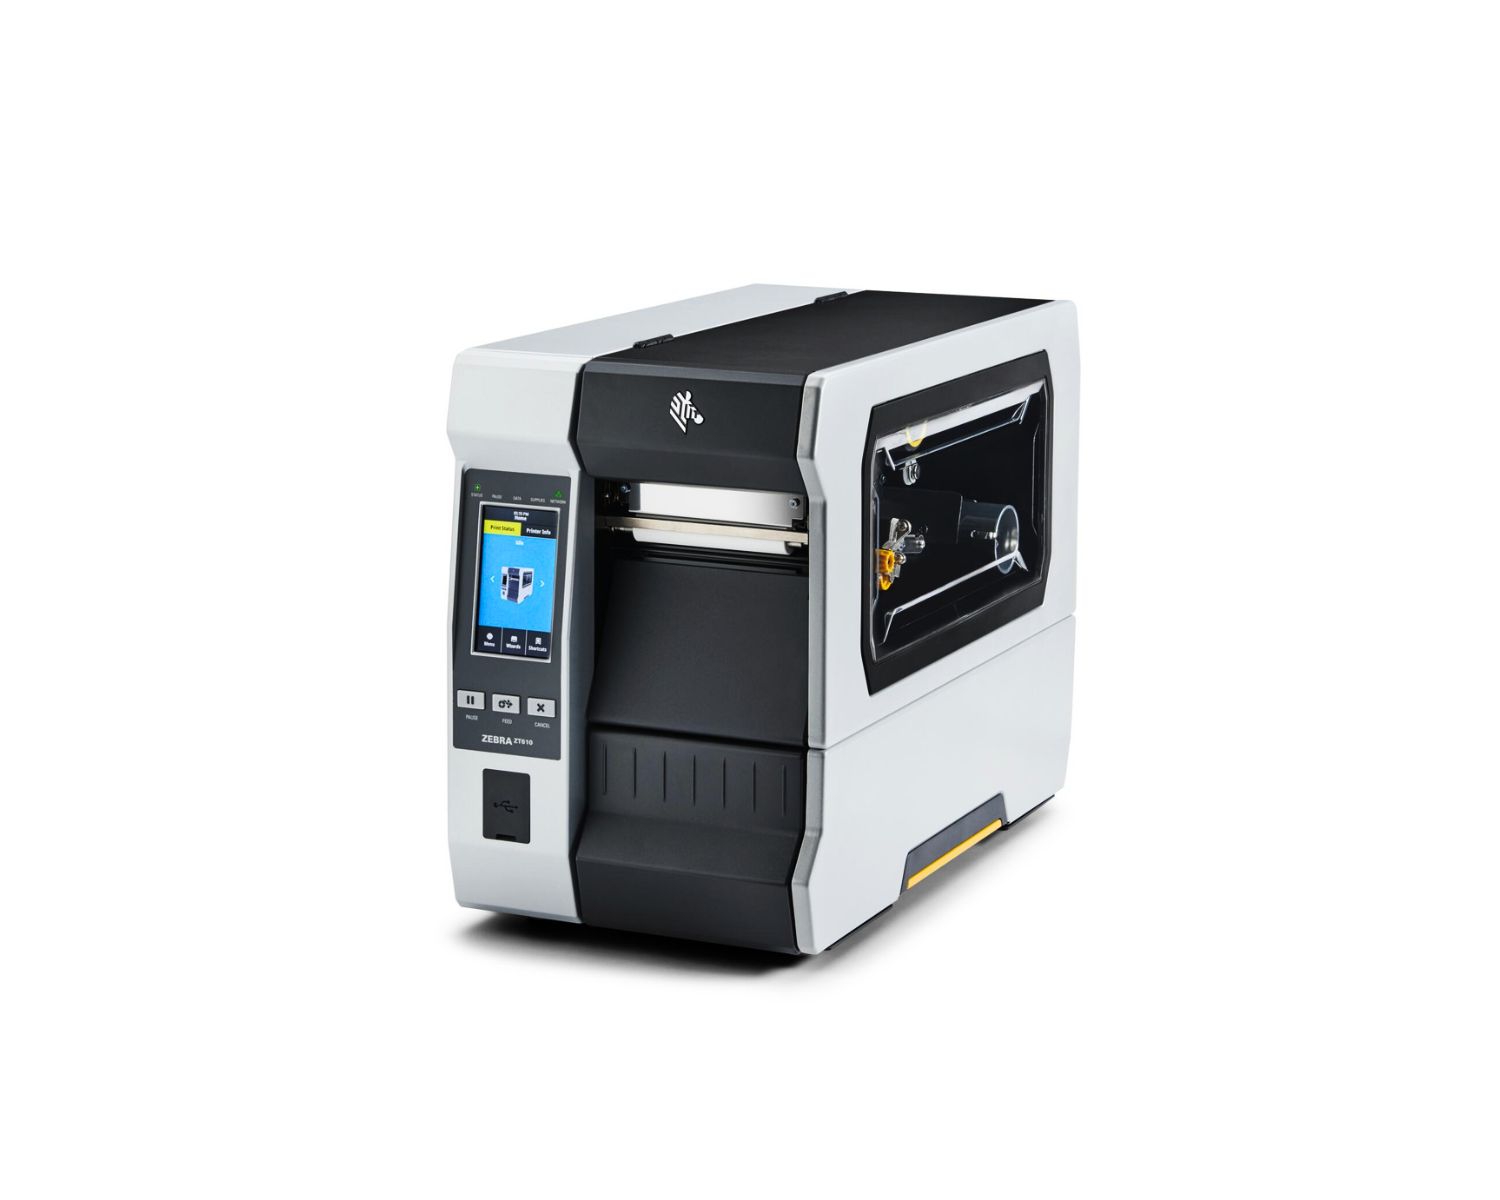
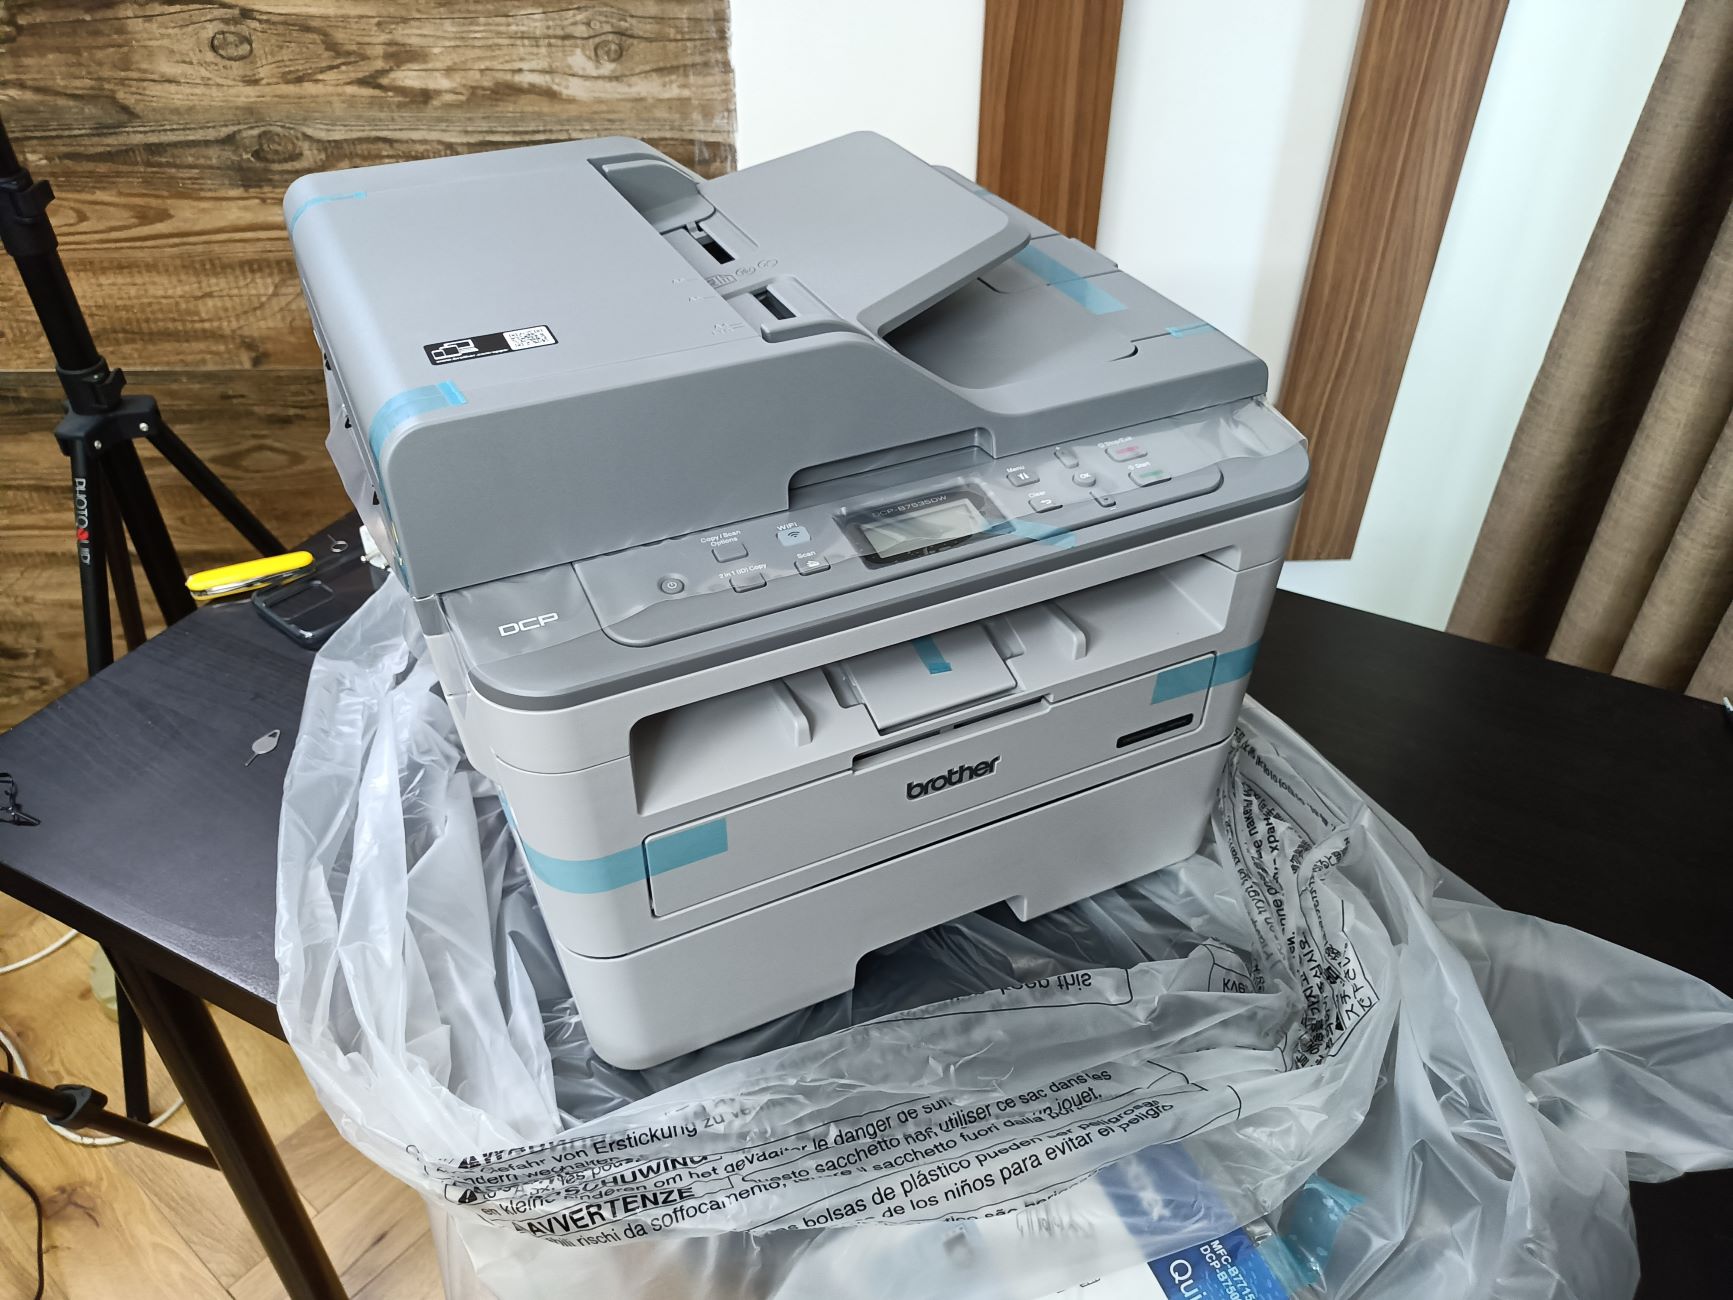
Welcome to the world of Zebra printers! These innovative devices have revolutionized the process of printing labels, receipts, and tags, offering exceptional precision and efficiency. Whether you are a small business owner, a warehouse manager, or an enthusiast looking to upgrade your home office, installing a Zebra printer is a straightforward process that can significantly streamline your operations.
In this comprehensive guide, we will walk you through the step-by-step process of installing a Zebra printer, from unboxing the device to testing its functionality. By following these instructions, you will be able to set up your Zebra printer with confidence and start leveraging its powerful features in no time.
So, let's embark on this exciting journey and unlock the potential of your Zebra printer! Whether you are a tech-savvy individual or a newcomer to the world of smart home devices, this guide is designed to provide clear, accessible instructions that will empower you to install your Zebra printer effortlessly. Let's dive in and get started!
Key Takeaways:
- Setting up a Zebra printer involves unboxing, connecting to power, loading labels, connecting to a computer, installing the printer driver, and testing. This ensures seamless printing for various tasks, from shipping labels to receipts.
- By following the step-by-step guide, anyone can confidently install and utilize the Zebra printer, whether for business or personal use. The process empowers users to streamline operations and maximize the printer’s capabilities.
Read more: How To Clean A Zebra Printer
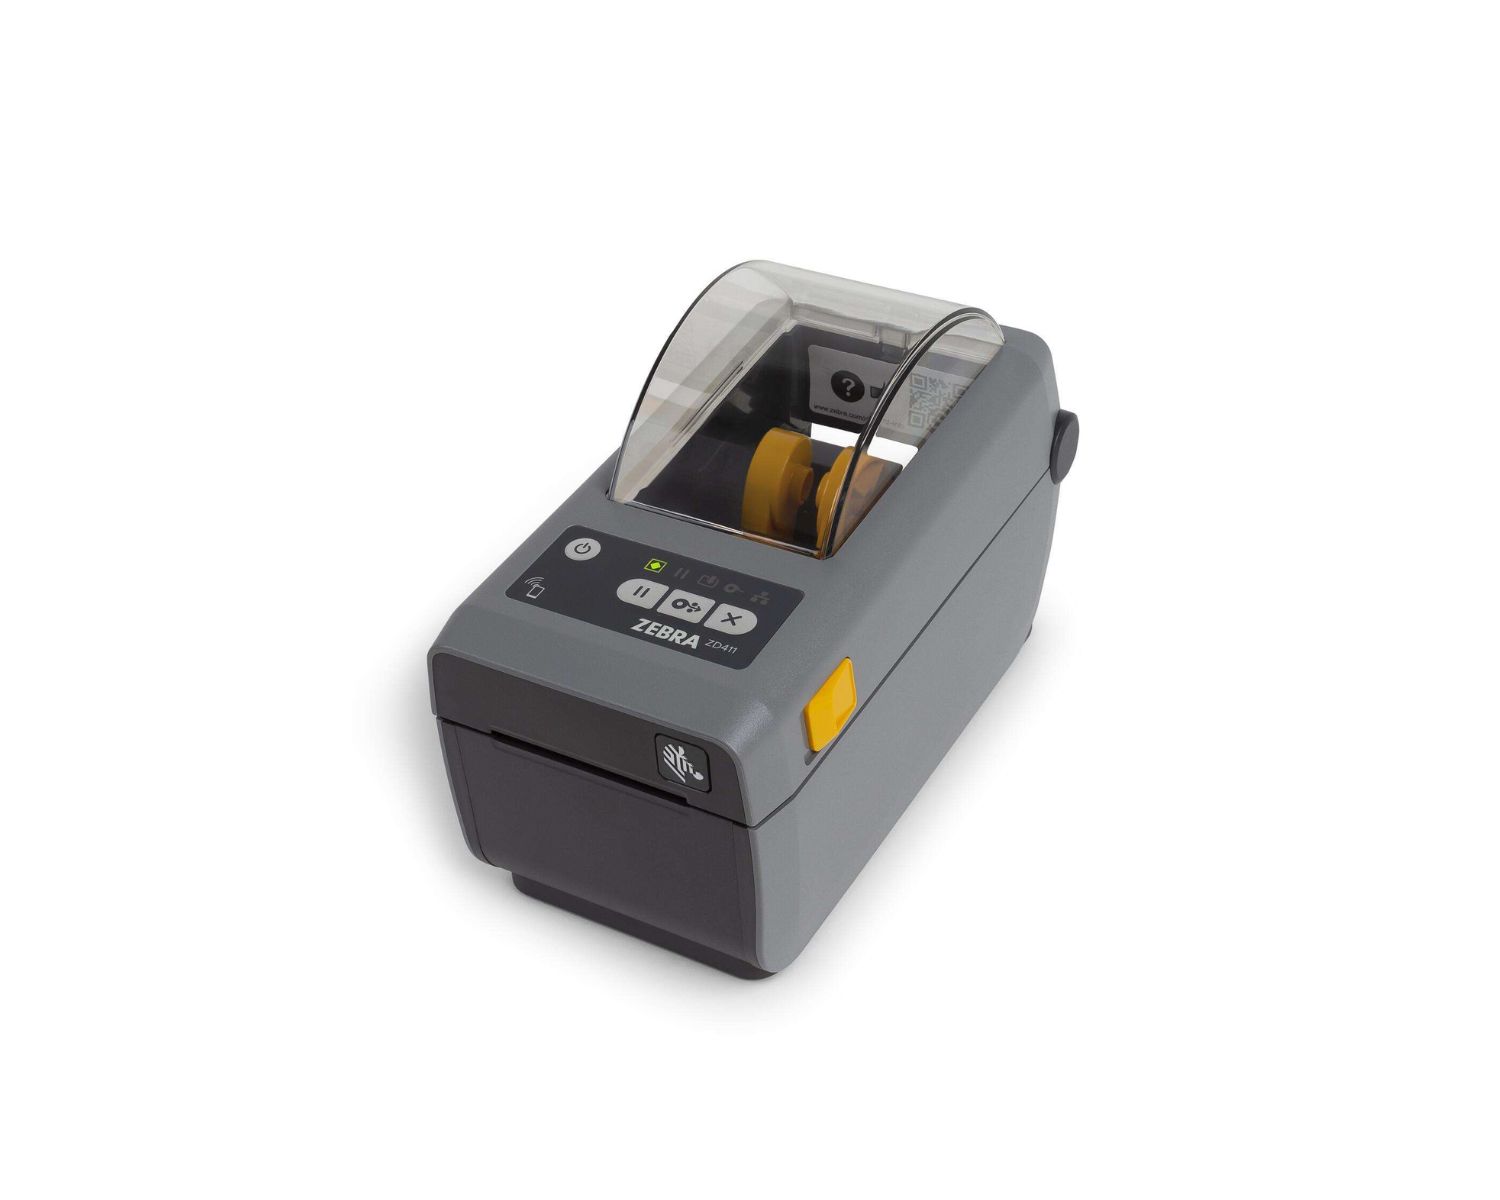
Step 1: Unboxing the Zebra Printer
Unboxing your new Zebra printer is an exciting first step towards integrating this cutting-edge device into your workspace. Upon receiving your Zebra printer, carefully inspect the packaging for any signs of damage during transit. Once you have confirmed that the package is intact, it’s time to unbox the printer and familiarize yourself with its components.
As you open the packaging, you will find the Zebra printer nestled securely within protective materials. Remove the printer from the box and place it on a clean, flat surface. Take a moment to appreciate the sleek design and compact form factor of the Zebra printer, which makes it an ideal addition to any professional or home environment.
Next, locate the accompanying documentation, which typically includes a user manual, warranty information, and important safety guidelines. It is essential to review the user manual thoroughly, as it contains valuable instructions for setting up and operating your Zebra printer. Familiarizing yourself with the contents of the user manual will empower you to make the most of your Zebra printer’s capabilities.
After unboxing the printer and reviewing the documentation, take inventory of the included accessories and components. Depending on the specific model of the Zebra printer, you may find items such as power cables, USB cables, label rolls, and calibration tools. Ensuring that all the components are present will enable you to proceed with the installation process without any hitches.
By completing the unboxing process meticulously and familiarizing yourself with the printer and its accompanying materials, you have taken the first step towards integrating the Zebra printer into your workflow. With the printer unboxed and ready for setup, you are now prepared to move on to the next step in the installation process.
Step 2: Connecting the Printer to Power
Once you have unboxed your Zebra printer and familiarized yourself with its components, the next crucial step is to connect the printer to a power source. Properly powering the printer is essential for initiating the setup process and ensuring that it functions optimally.
Begin by identifying the power cable that was included with your Zebra printer. This cable is designed to provide the printer with the necessary electrical power to operate efficiently. Locate a nearby power outlet that is easily accessible and compatible with the power requirements of the printer.
Before plugging in the power cable, take a moment to inspect it for any signs of damage, such as frayed wires or exposed insulation. It is crucial to use a power cable that is in pristine condition to prevent any electrical hazards during the setup process. Once you have confirmed that the power cable is in good condition, proceed to connect one end of the cable to the power input port on the Zebra printer.
With the printer’s power input port connected to the power cable, carefully plug the other end of the cable into the designated power outlet. Ensure that the power outlet is grounded and capable of delivering the required voltage to the printer. Avoid using extension cords or power strips unless they are specifically recommended for use with the Zebra printer.
Upon successfully connecting the printer to the power source, you may notice indicator lights or display screens on the printer illuminating, indicating that it is receiving power. This is an encouraging sign that the printer is ready to proceed to the next steps of the installation process.
By following these steps to connect your Zebra printer to a reliable power source, you have laid the foundation for a seamless installation experience. With the printer powered up and ready for action, you are now prepared to move on to the subsequent steps in the setup process, bringing you closer to harnessing the full potential of your Zebra printer.
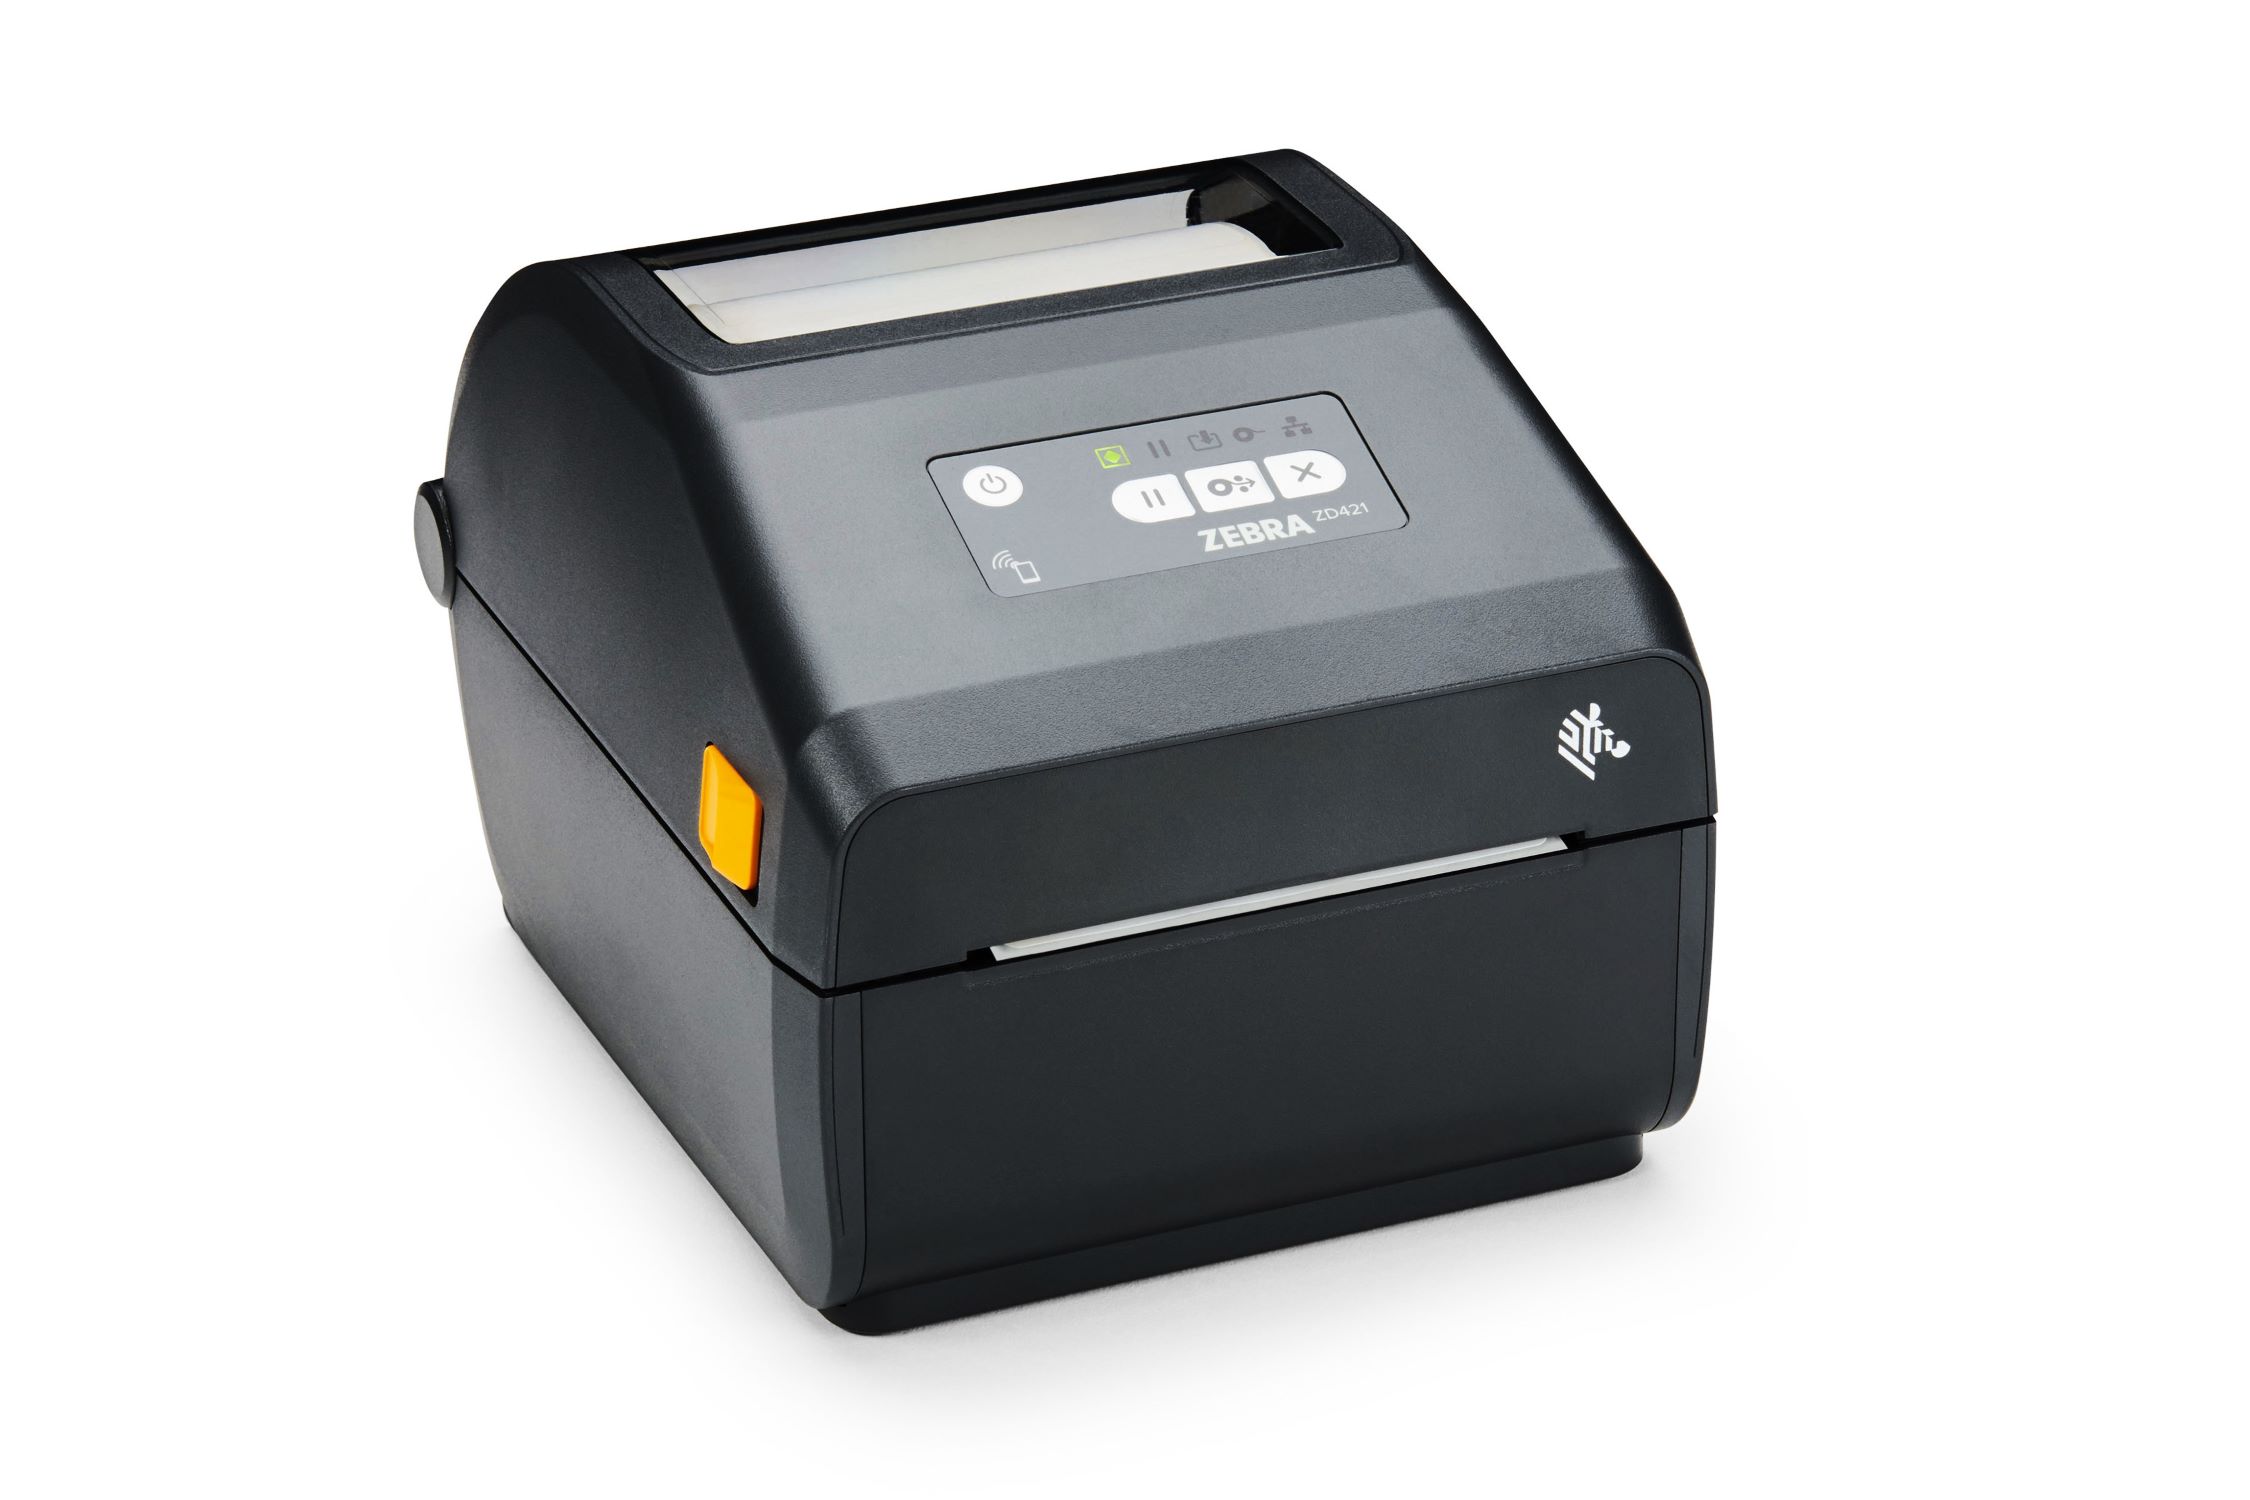
Step 3: Loading the Printer with Labels
As you embark on the installation journey with your Zebra printer, the next pivotal step involves loading the printer with labels, a fundamental component for its intended printing tasks. Properly loading the printer with labels is essential for ensuring smooth and accurate printing operations.
Before proceeding, it is crucial to select the appropriate labels that are compatible with your Zebra printer model. Zebra offers a wide range of label options tailored to diverse printing needs, including shipping labels, barcode labels, and product labels. Ensure that the labels you have selected are of high quality and suitable for the specific printing applications you intend to undertake.
Begin by opening the printer’s label compartment, typically located at the front or top of the printer, depending on the model. Follow the instructions provided in the user manual to access the label compartment and prepare it for loading. Some Zebra printers feature intuitive mechanisms for effortless label loading, simplifying this crucial step.
Once the label compartment is accessible, carefully insert the label roll into the designated slot, ensuring that the labels are aligned properly and securely seated within the printer. It is essential to follow the recommended loading orientation to prevent label misalignment and potential printing errors. Refer to the user manual for specific guidance on loading the labels based on your printer model.
After inserting the label roll, thread the leading edge of the labels through the printer’s label guides, ensuring a smooth and straight path for the labels to traverse during the printing process. Pay close attention to the alignment and tension of the labels to prevent any jams or misfeeds that could disrupt the printing workflow.
Upon successfully loading the printer with labels, close the label compartment securely, ensuring that the labels are positioned correctly and the compartment is sealed according to the manufacturer’s instructions. This marks a significant milestone in the installation process, bringing you closer to unleashing the printing capabilities of your Zebra printer.
By meticulously loading the printer with labels in accordance with the manufacturer’s guidelines, you have set the stage for seamless printing operations. With the printer primed and ready to utilize the loaded labels, you are now prepared to proceed to the subsequent steps in the installation process, propelling you closer to harnessing the full potential of your Zebra printer.
Before installing a Zebra printer, make sure to download the correct driver from the Zebra website to ensure compatibility with your computer.
Step 4: Connecting the Printer to Your Computer
Connecting your Zebra printer to your computer is a pivotal step that paves the way for seamless communication and printing capabilities. Whether you are using a desktop computer, a laptop, or a workstation, establishing a reliable connection between the printer and your computer is essential for leveraging the full potential of the Zebra printer.
Before initiating the connection process, ensure that your computer is powered on and ready to interface with the Zebra printer. Identify an available USB port on your computer, as most Zebra printers can be connected via a standard USB interface for quick and straightforward setup.
Retrieve the USB cable that was included with your Zebra printer, ensuring that it is in pristine condition and free from any damage. The USB cable serves as the conduit for data transmission between the printer and your computer, facilitating seamless printing operations.
With the USB cable in hand, proceed to connect one end of the cable to the designated USB port on the Zebra printer. Ensure that the connection is secure and snug to prevent any disruptions during data transfer. The printer’s user manual may provide specific guidance on the optimal USB port for your model.
Having connected the USB cable to the printer, carefully plug the other end of the cable into an available USB port on your computer. As the cable is securely inserted, your computer should detect the presence of the Zebra printer and initiate the necessary driver installation processes to enable seamless communication between the devices.
Depending on your computer’s operating system, you may receive on-screen prompts or notifications indicating that the Zebra printer is being recognized and its drivers are being installed. Follow any prompts or instructions provided by the operating system to ensure that the printer is configured correctly for use with your computer.
By establishing a direct connection between your Zebra printer and your computer, you have laid the groundwork for harnessing the printer’s powerful capabilities to streamline your printing tasks. With the printer and computer seamlessly linked, you are now prepared to move on to the subsequent steps in the installation process, bringing you closer to unlocking the full potential of your Zebra printer.
Read more: What Is A Zebra Printer
Step 5: Installing the Printer Driver
Installing the printer driver is a critical step that enables your computer to communicate effectively with the Zebra printer, facilitating seamless printing operations and ensuring compatibility with your printing applications. The printer driver acts as a bridge between your computer’s operating system and the Zebra printer, allowing you to harness its full range of features and functionalities.
Begin by ensuring that your computer is connected to the internet to facilitate the driver installation process. Access the Zebra printer’s official website or the manufacturer’s support portal to locate the latest printer driver specifically designed for your printer model and compatible with your computer’s operating system.
Download the appropriate printer driver from the manufacturer’s website, taking care to select the version that corresponds to your operating system, whether it is Windows, macOS, or Linux. It is essential to download the driver from a trusted source to ensure its authenticity and compatibility with your Zebra printer.
Once the driver file has been downloaded to your computer, locate the file and initiate the installation process by double-clicking on it. Follow the on-screen prompts and instructions provided by the driver installation wizard to proceed with the installation. It is important to carefully review any user agreements or license terms presented during the installation process.
As the installation progresses, the driver installation wizard will configure the necessary settings and components to integrate the Zebra printer driver seamlessly with your computer’s operating system. Depending on the complexity of the driver package, this process may take a few minutes to complete.
Upon successful installation, your computer will recognize the Zebra printer as a designated printing device, and you will be able to access its settings and preferences from within your printing applications. It is advisable to restart your computer after installing the printer driver to ensure that any system configurations related to the driver installation are finalized.
By installing the printer driver, you have equipped your computer with the essential software components required to communicate with and control the Zebra printer effectively. With the printer driver seamlessly integrated into your computer’s operating system, you are now prepared to move on to the subsequent steps in the installation process, bringing you closer to harnessing the full potential of your Zebra printer.
Step 6: Testing the Printer
Testing your Zebra printer is the final and crucial step in the installation process, allowing you to verify its functionality and ensure that it is ready to fulfill your printing needs. By conducting a comprehensive printer test, you can confirm that the printer is operating as intended and is capable of producing high-quality prints for your specific applications.
Begin by loading the printer with sample labels or receipt paper, depending on the type of printing tasks you intend to perform with the Zebra printer. Ensure that the labels or paper are positioned and aligned correctly within the printer’s media path to prevent any potential printing errors or misfeeds.
Once the printer is loaded with the appropriate media, initiate a test print from your computer using a sample document or label design. Access your preferred printing application, whether it is a dedicated label design software or a standard document editor, and select the Zebra printer as the designated printing device.
After selecting the Zebra printer, proceed to send a test print job to the printer, monitoring its operation and output closely. As the printer receives the print job, observe the printing process to ensure that the labels or documents are being printed accurately and with consistent quality.
Inspect the printed output for any anomalies, such as misaligned labels, faded printing, or smudged ink. Verify that the printer is producing clear, legible prints that meet your expectations in terms of resolution and precision. If any issues are identified during the test print, refer to the printer’s user manual or troubleshooting guide for guidance on resolving common printing problems.
Conduct multiple test prints with varying content and designs to assess the printer’s performance across different printing scenarios. This comprehensive testing approach allows you to evaluate the printer’s capabilities under diverse conditions and identify any potential areas for improvement or optimization.
By thoroughly testing the Zebra printer and scrutinizing its output, you can gain confidence in its reliability and performance, ensuring that it is poised to meet your printing requirements effectively. With the printer successfully tested and verified, you have completed the installation process and are now ready to leverage the full potential of your Zebra printer for a wide range of printing tasks.
Conclusion
Congratulations on successfully completing the installation of your Zebra printer! By following the comprehensive steps outlined in this guide, you have embarked on a journey to integrate this innovative printing device into your workflow, unlocking its powerful capabilities and streamlining your printing operations.
Throughout the installation process, you have unboxed the Zebra printer with care, connected it to a reliable power source, loaded it with labels, established a seamless connection to your computer, installed the essential printer driver, and conducted thorough testing to verify its functionality. Each step has contributed to laying the foundation for harnessing the full potential of your Zebra printer.
As you venture into the realm of Zebra printer usage, it is essential to explore the diverse printing applications and possibilities that this advanced device offers. Whether you are printing shipping labels for your e-commerce business, generating barcode labels for inventory management, or producing high-quality receipts for your retail operations, the Zebra printer stands ready to meet your diverse printing needs with precision and efficiency.
As you familiarize yourself with the features and capabilities of your Zebra printer, consider exploring additional resources and tutorials provided by the manufacturer to further enhance your understanding of its functionalities. Leveraging the wealth of information and support available, you can optimize your printing workflows and maximize the value derived from your Zebra printer.
By integrating the Zebra printer into your professional or personal environment, you are embracing a new level of efficiency and accuracy in your printing tasks. The seamless installation process you have completed serves as a testament to your commitment to leveraging cutting-edge technology to elevate your productivity and streamline your operations.
As you embark on this exciting journey with your Zebra printer, remember that ongoing maintenance and periodic updates are essential to ensure its continued optimal performance. Stay informed about firmware updates, driver enhancements, and best practices for printer care to preserve the longevity and reliability of your Zebra printer.
With the installation process behind you, it’s time to unleash the full potential of your Zebra printer and embark on a seamless, productive printing experience. Embrace the possibilities, explore the diverse printing applications, and witness the transformative impact of integrating the Zebra printer into your workflow.
Thank you for entrusting us with guiding you through the installation process. We are confident that your Zebra printer will become an invaluable asset, empowering you to achieve new heights of efficiency and precision in your printing endeavors.
Frequently Asked Questions about How To Install A Zebra Printer
Was this page helpful?
At Storables.com, we guarantee accurate and reliable information. Our content, validated by Expert Board Contributors, is crafted following stringent Editorial Policies. We're committed to providing you with well-researched, expert-backed insights for all your informational needs.


0 thoughts on “How To Install A Zebra Printer”