Home>Technology>Smart Home Devices>How To Print Cards On HP Printer
Smart Home Devices
How To Print Cards On HP Printer
Modified: August 28, 2024
Learn how to print cards on your HP printer and enhance your smart home devices. Step-by-step guide for seamless card printing at home.
(Many of the links in this article redirect to a specific reviewed product. Your purchase of these products through affiliate links helps to generate commission for Storables.com, at no extra cost. Learn more)
**
Introduction
**
Welcome to the world of personalized card printing with your HP printer! Whether you're creating custom greeting cards, business cards, or event invitations, your HP printer can be a versatile tool for bringing your designs to life. In this guide, we'll walk through the process of printing cards on an HP printer, from setting up the printer to troubleshooting common issues.
Printing cards at home offers a cost-effective and convenient way to express your creativity and share personalized messages with others. With the right materials and a few simple steps, you can produce professional-looking cards without the need for specialized printing services. By leveraging the capabilities of your HP printer, you can unleash your imagination and produce unique, high-quality cards for various occasions.
In the following sections, we'll cover the materials needed for card printing, the setup process for your HP printer, designing your cards using software or templates, the actual printing process, and troubleshooting tips to address any unexpected challenges. By the end of this guide, you'll have the knowledge and confidence to embark on your card printing journey with your HP printer as your trusted companion.
So, let's dive in and explore the exciting possibilities of card printing with your HP printer! Whether you're a seasoned DIY enthusiast or a newcomer to the world of home printing, this guide will equip you with the essential know-how to unleash your creativity and bring your card designs to life. Let's get started! **
**
**
Key Takeaways:
- Printing cards at home with your HP printer is a fun and creative way to make personalized cards for any occasion. You can express your unique style and share heartfelt messages with others, all from the comfort of your own home.
- Your HP printer is like a versatile and convenient creative companion, helping you bring your card designs to life with professional quality. With a little creativity and troubleshooting know-how, you can print custom cards that reflect your personality and make a lasting impression.
Read more: How To Cancel Prints On HP Printer
Materials Needed
**
Before diving into the process of printing cards on your HP printer, it's essential to gather the necessary materials to ensure a smooth and successful printing experience. Here's a comprehensive list of the materials you'll need:
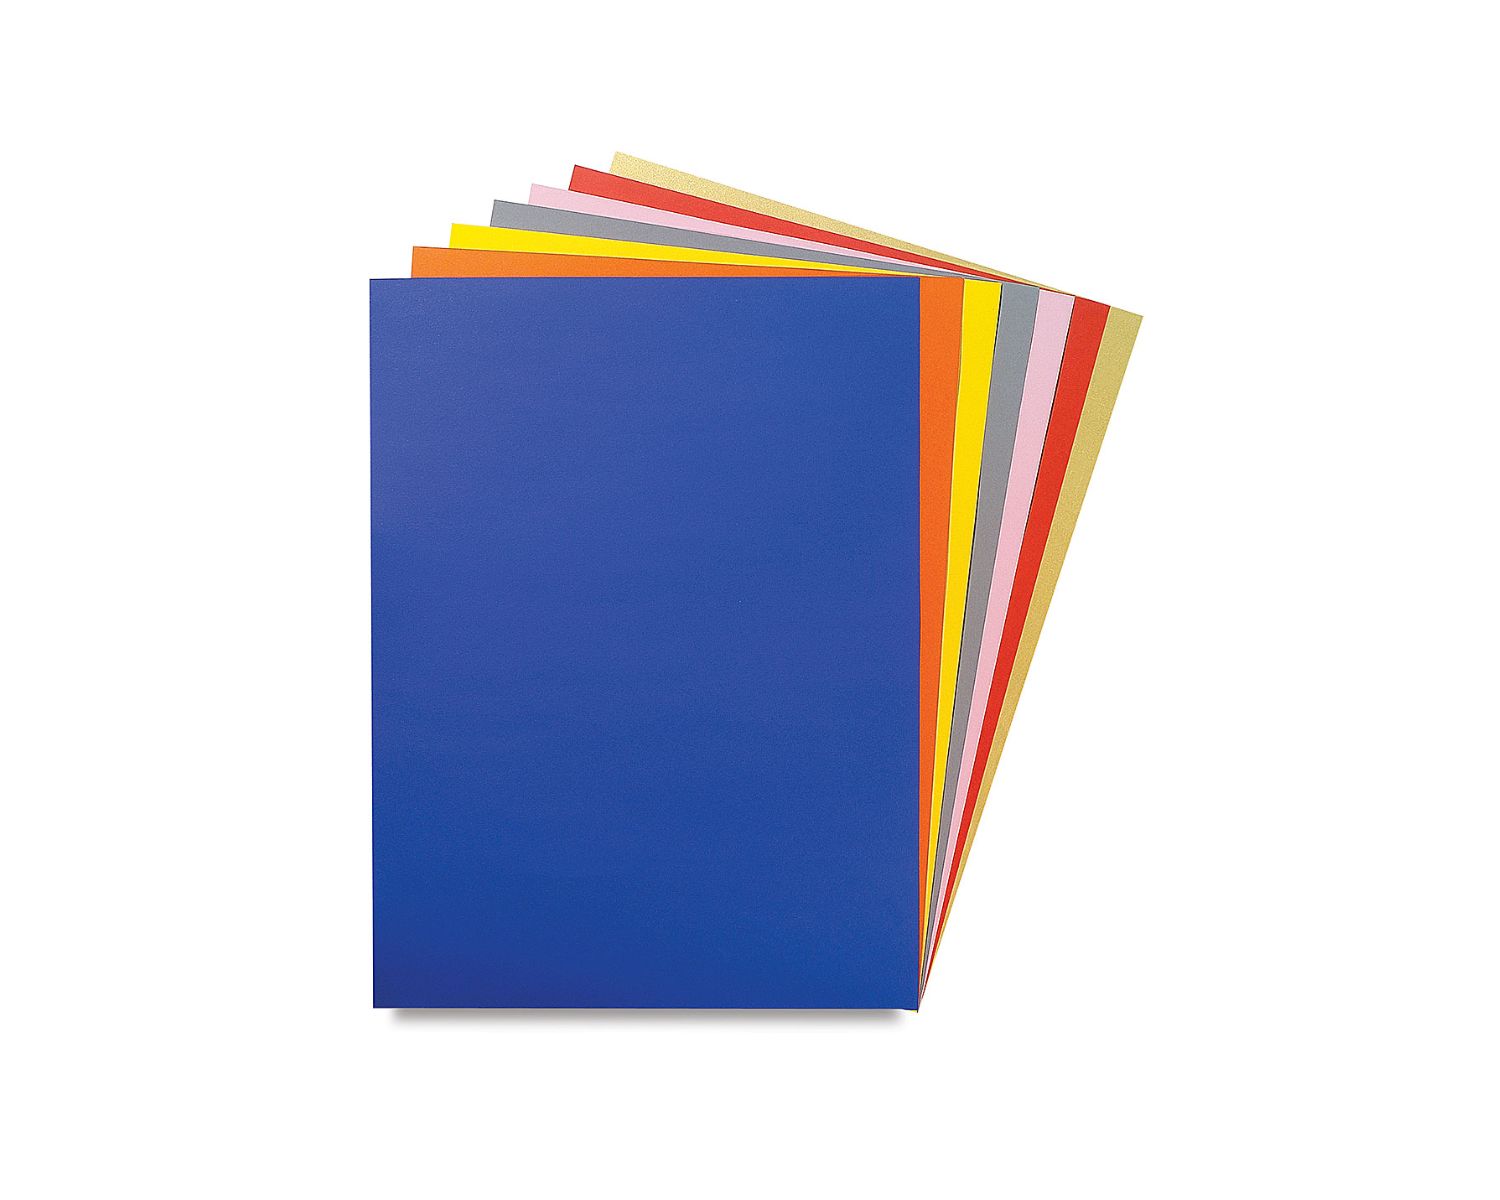
1. Cardstock Paper: Select high-quality cardstock paper in the appropriate weight and finish for your specific card project. Whether you're creating greeting cards, business cards, or invitations, choosing the right cardstock is crucial for achieving professional results.
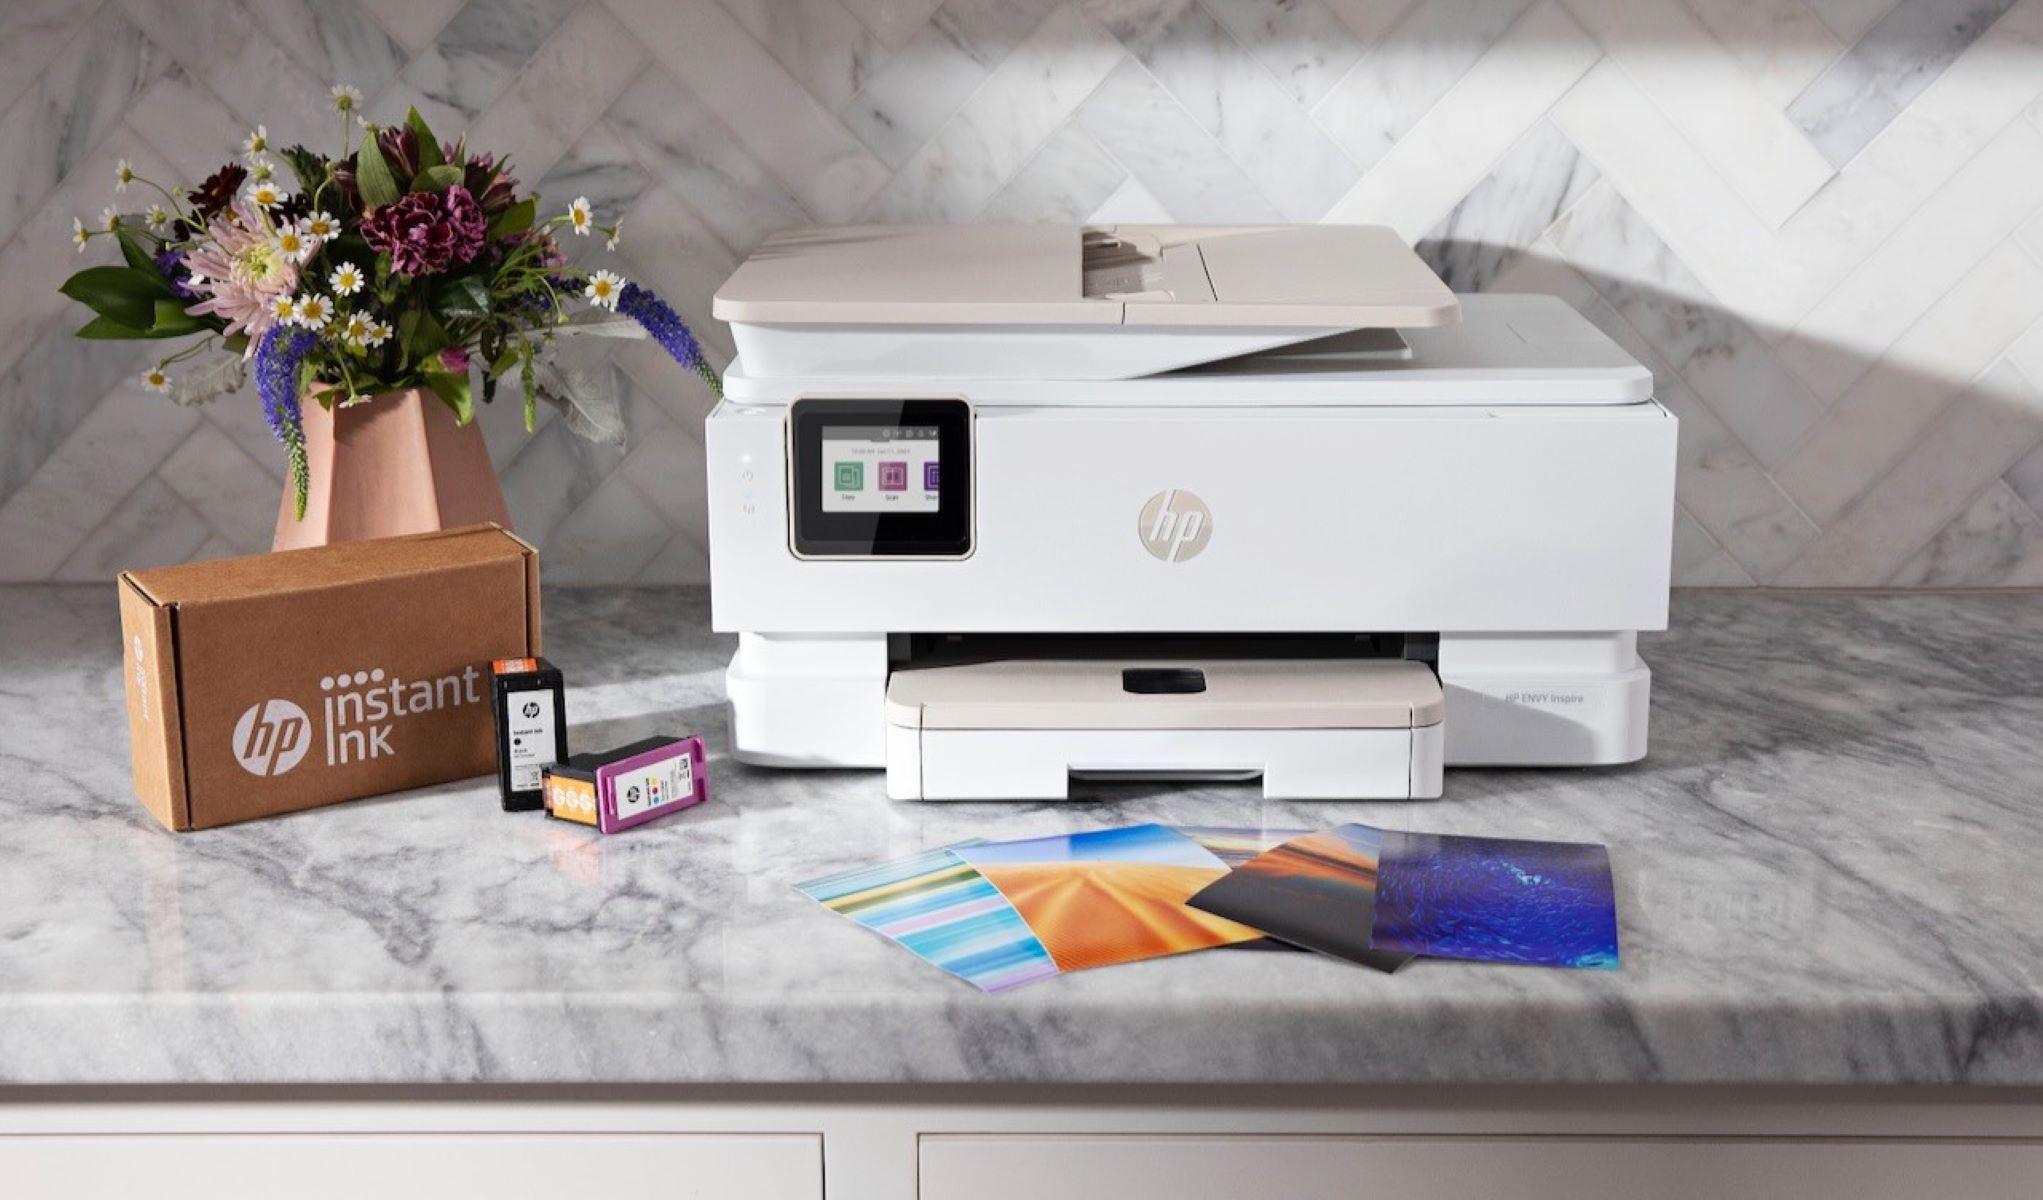
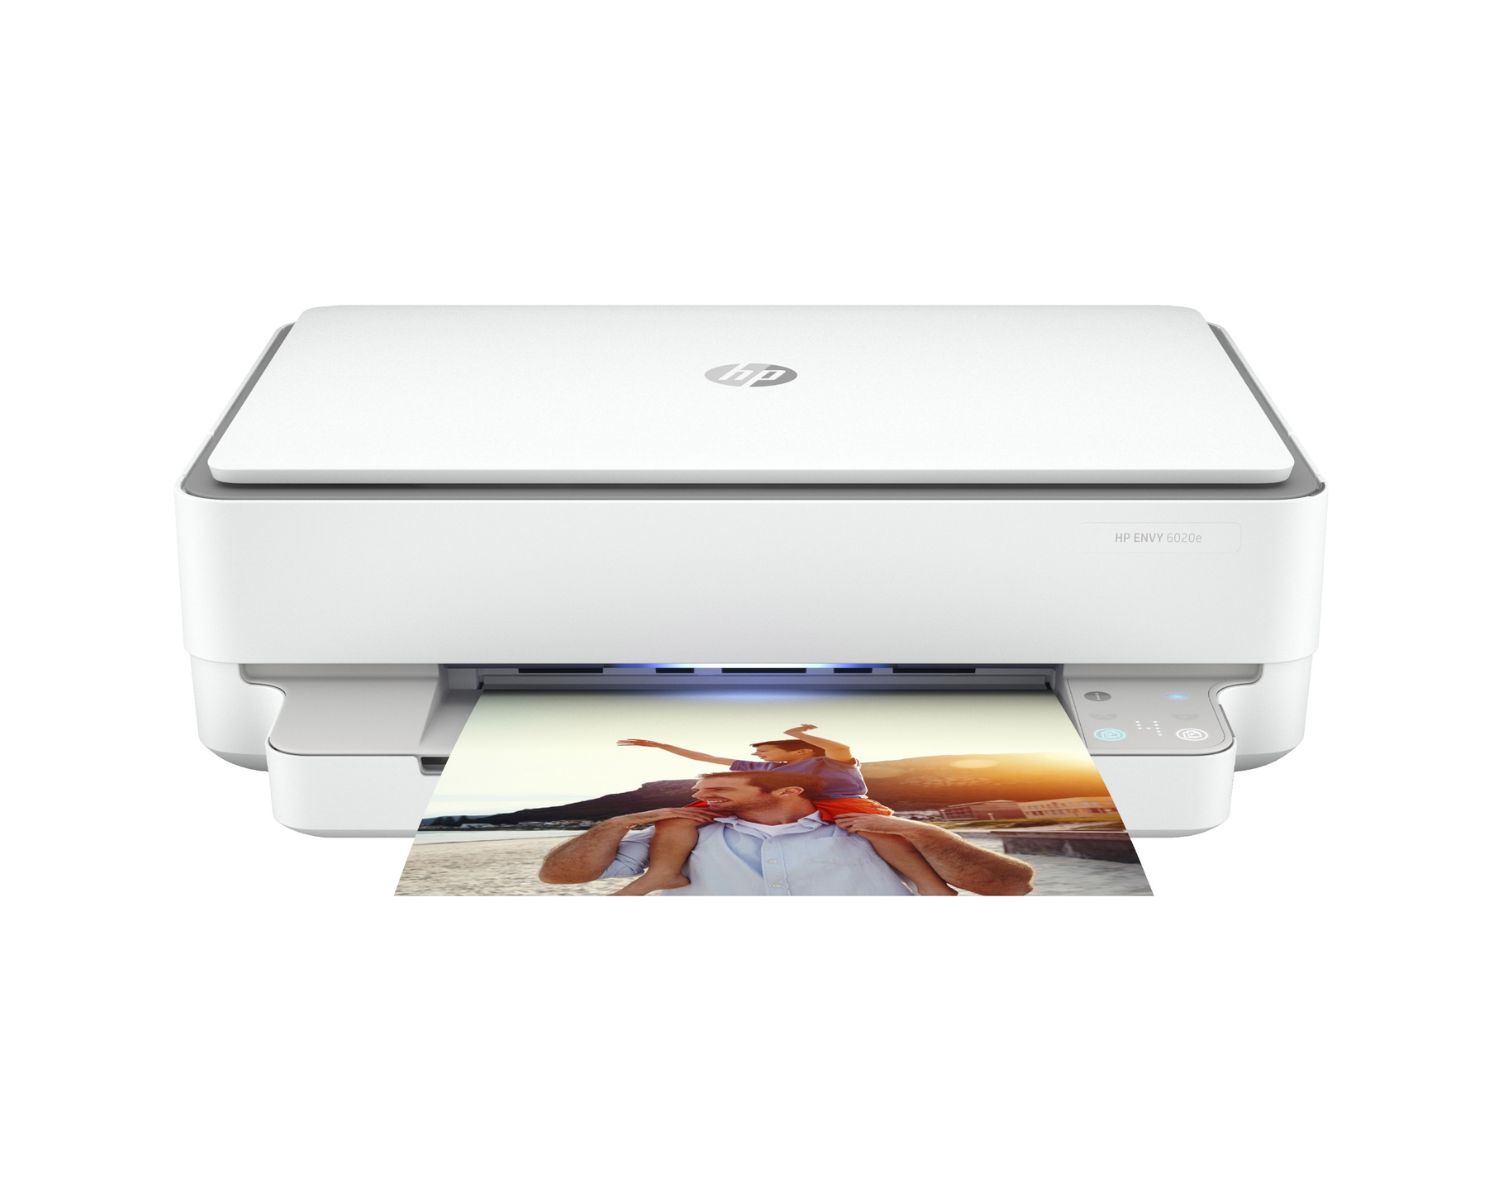
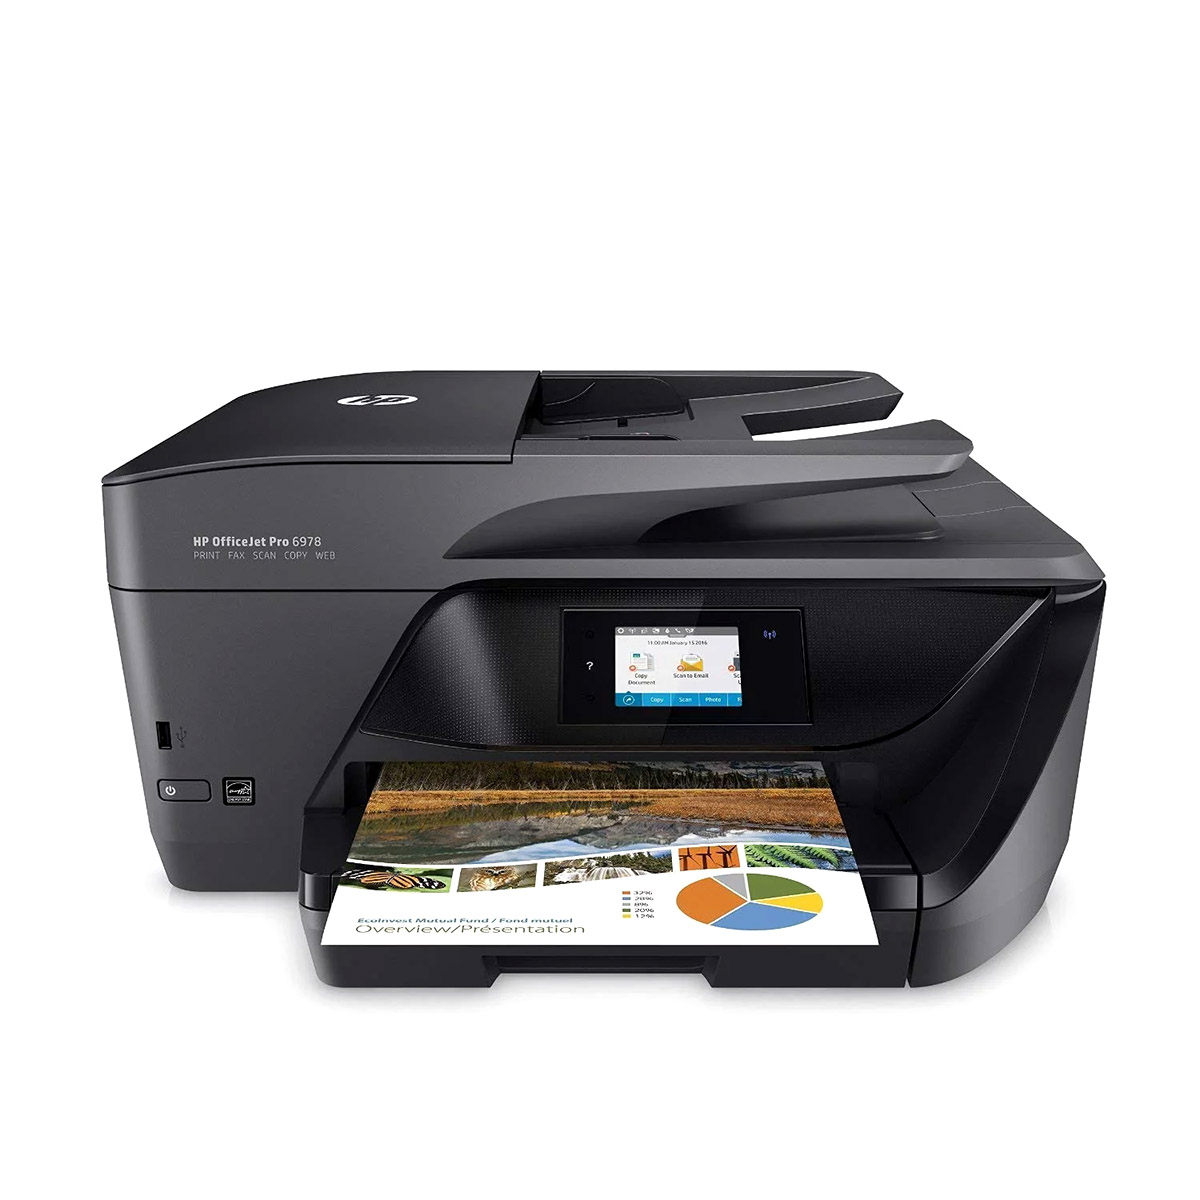
2. HP Printer: Ensure that your HP printer is in good working condition and has an adequate supply of ink or toner. It's essential to use a printer that is compatible with cardstock and offers reliable printing capabilities for your intended card designs.
3. Design Software or Templates: Depending on your design preferences, you may need access to design software such as Adobe Photoshop, Illustrator, or online design tools. Alternatively, you can utilize pre-designed card templates provided by HP or other sources to simplify the design process.
4. Graphics and Images: If your card designs incorporate graphics, images, or logos, ensure that you have the digital files or access to a library of high-quality visuals to enhance your cards.
5. Cutting Tools: For certain card designs, you may require cutting tools such as a paper trimmer or craft knife to achieve precise and clean edges after printing.
6. Envelopes (Optional): If your card project includes the need for envelopes, have an appropriate quantity of envelopes on hand that complement the size and style of your printed cards.
7. Internet Connection (If utilizing online design tools or templates): If you plan to use online design resources, ensure that you have a stable internet connection to access and download the necessary design assets.
By gathering these materials in advance, you'll be well-prepared to embark on your card printing journey with your HP printer. Having the right materials at your disposal will streamline the printing process and contribute to the overall quality of your printed cards. With the materials in hand, you're ready to move on to the next steps in the card printing process. **
Setting up Your HP Printer
**
Before you begin printing cards on your HP printer, it's important to ensure that the printer is properly set up and configured for optimal results. Follow these steps to prepare your HP printer for card printing:
1. Check Printer Compatibility: Verify that your HP printer is compatible with the type of cardstock you plan to use. Some printers may have specific guidelines for paper weight and thickness, so refer to the printer's manual or specifications to confirm compatibility.
2. Load Cardstock: Open the paper input tray of your HP printer and adjust the paper guides to accommodate the size of the cardstock. Ensure that the cardstock is loaded neatly and securely to prevent misfeeds or paper jams during printing.
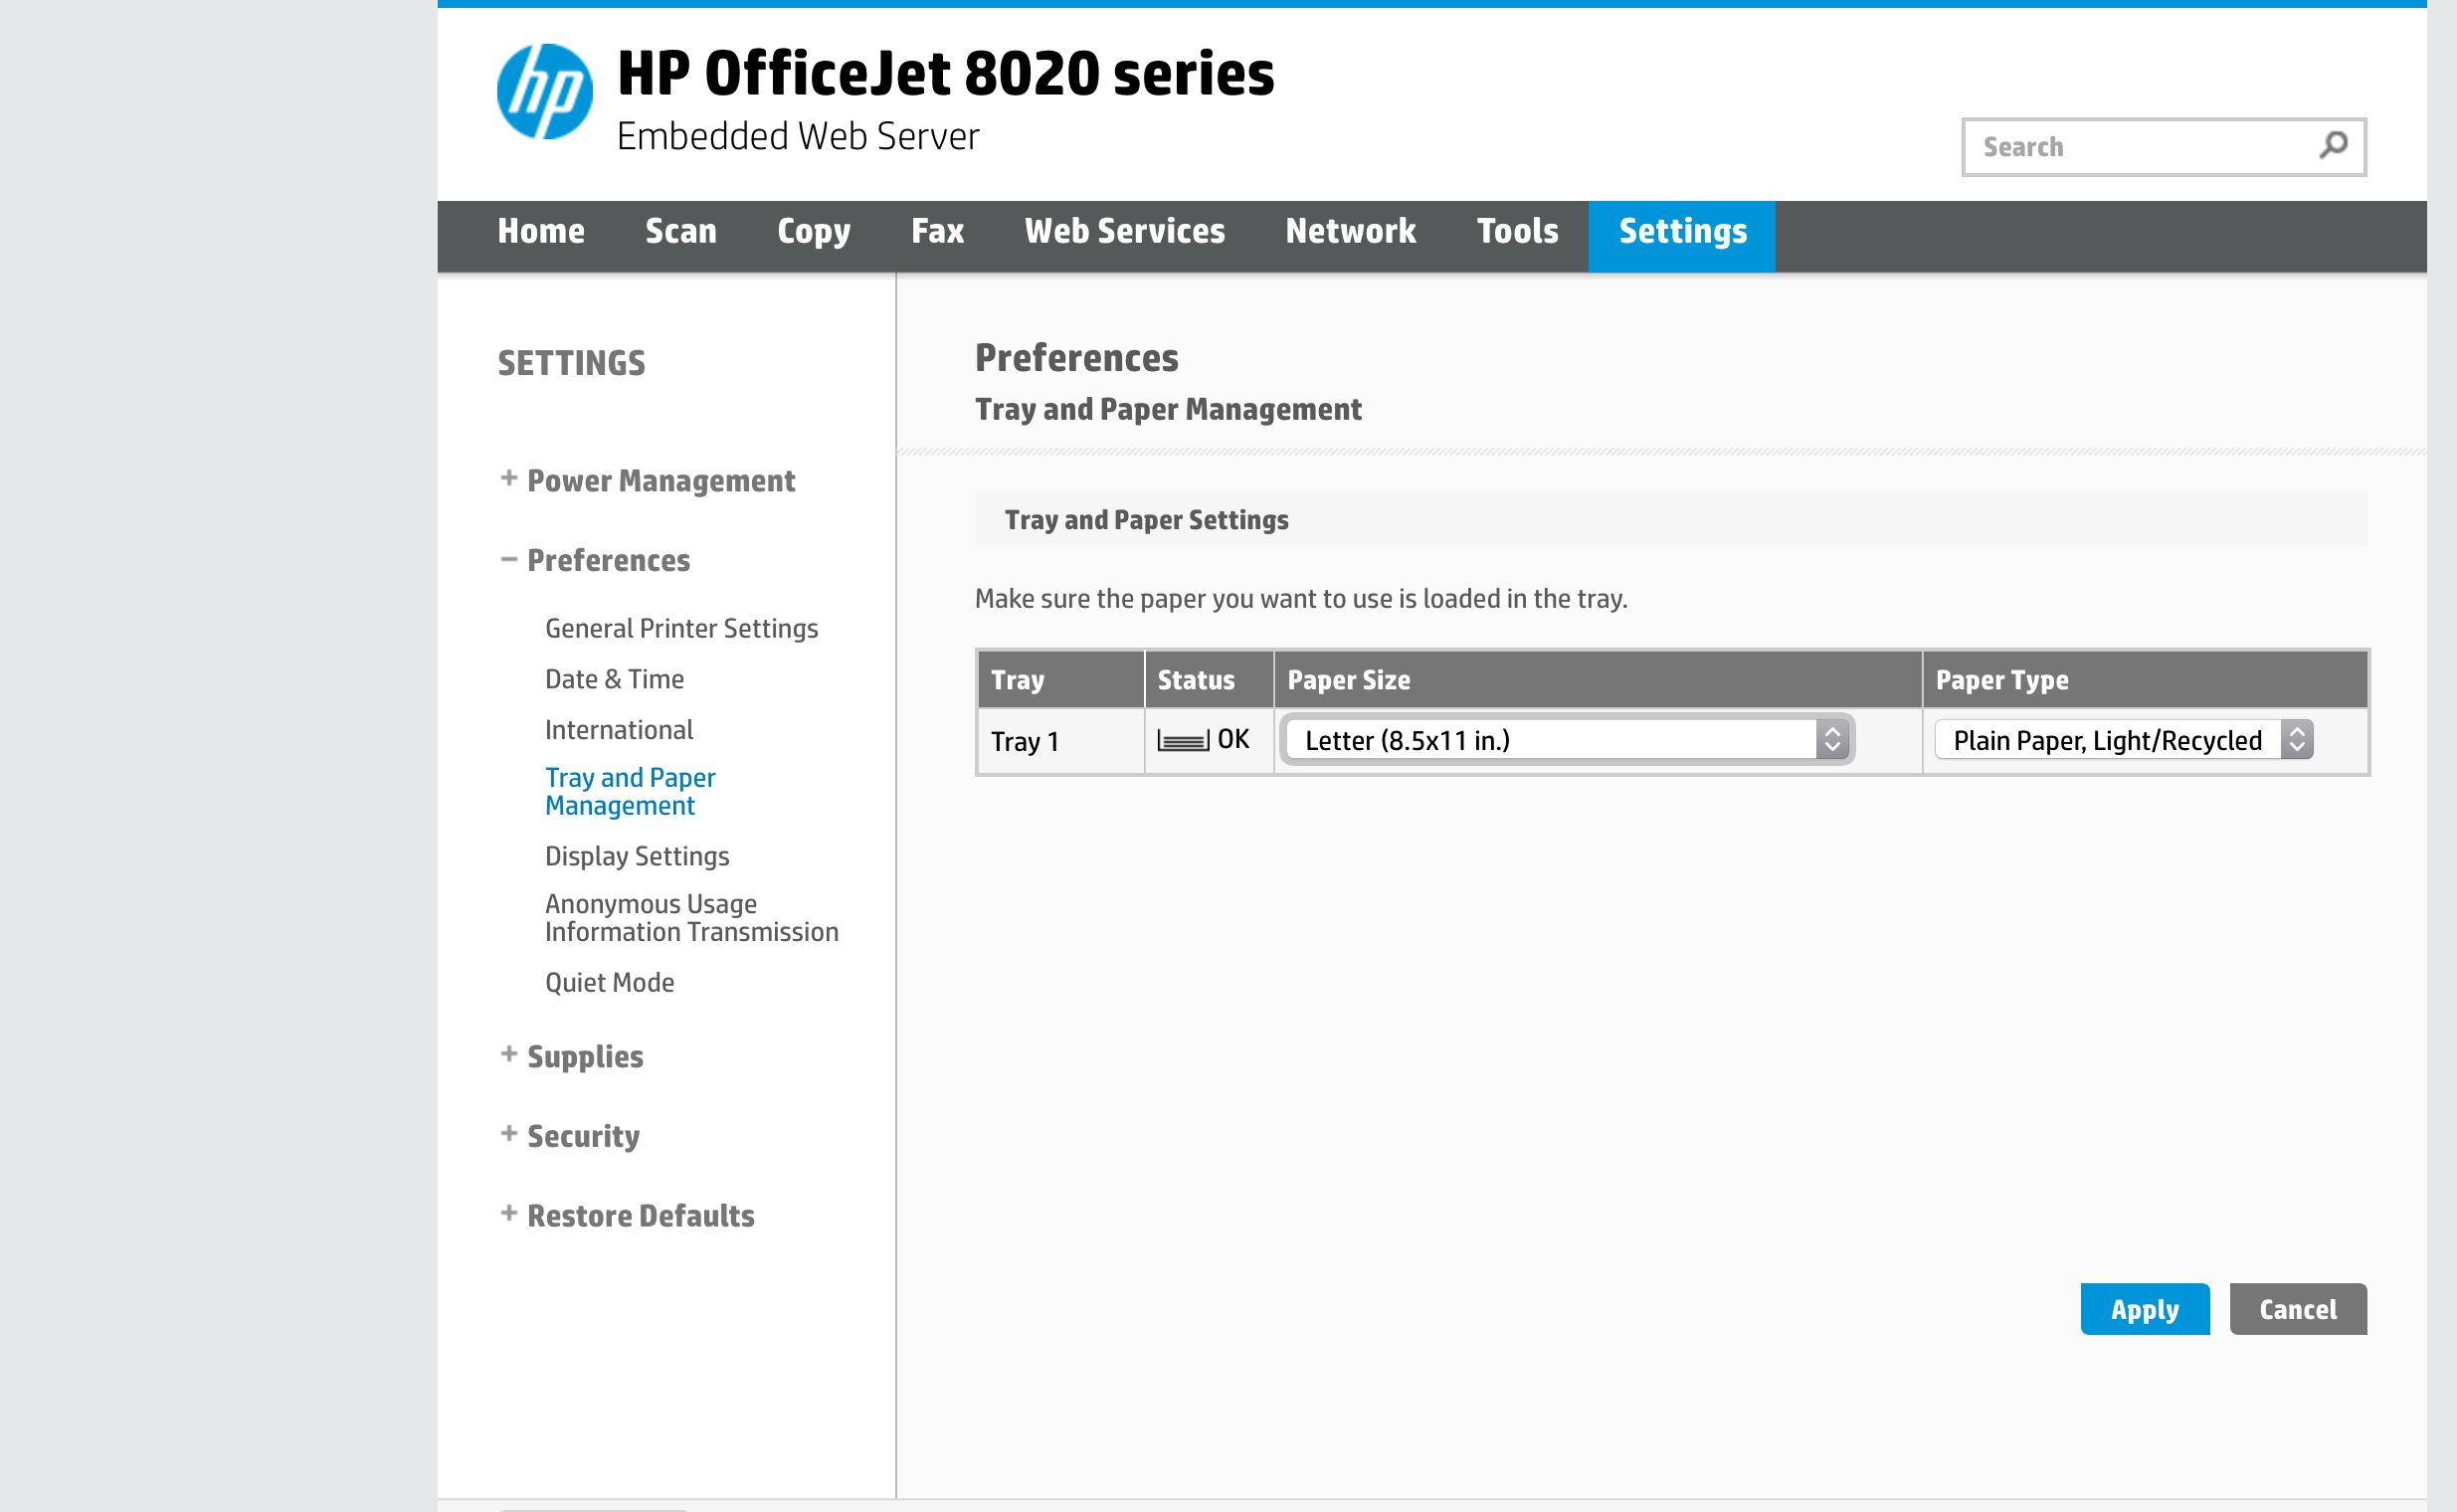
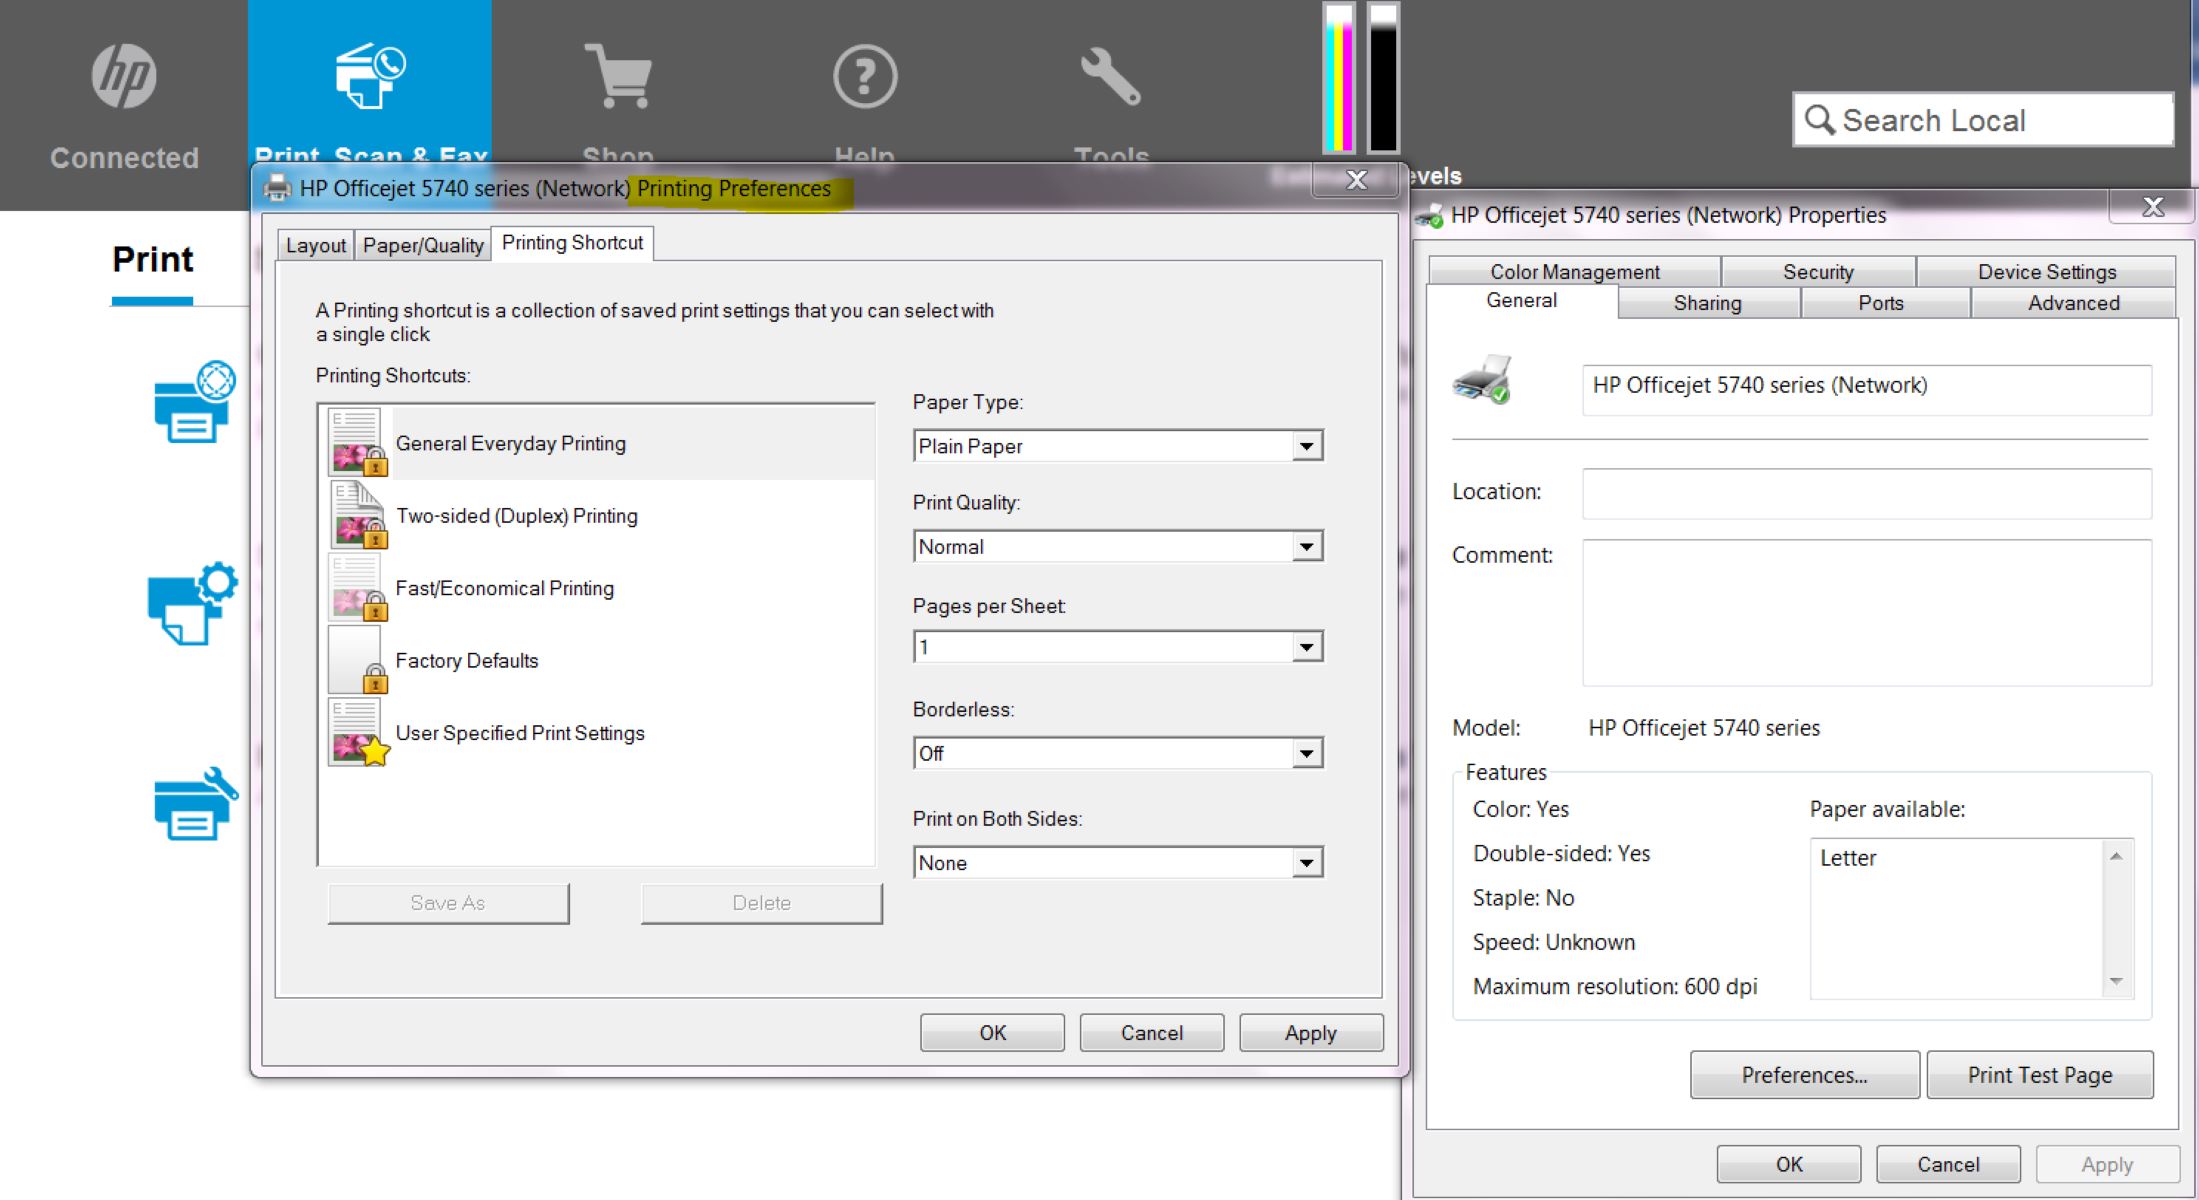
3. Adjust Printer Settings: Access the printer settings on your computer or the printer's control panel to adjust the paper type and quality settings. Select the appropriate paper type (e.g., cardstock or heavyweight paper) and choose the highest print quality for optimal results.
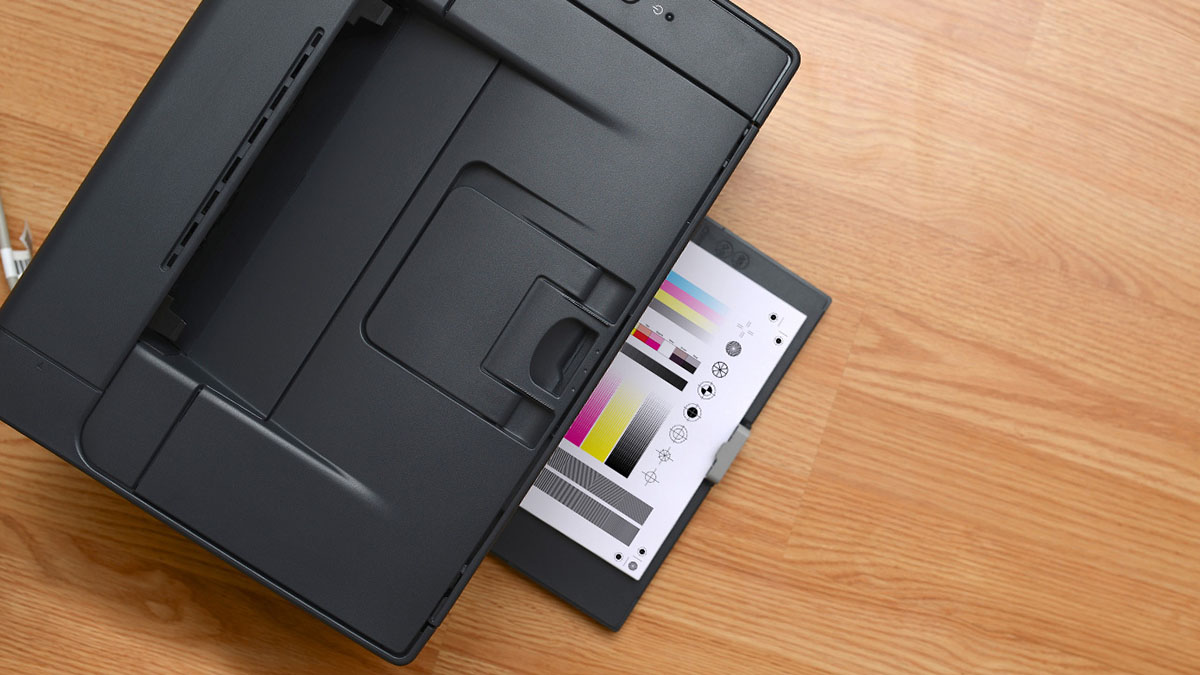
4. Print a Test Page: Before printing your actual cards, consider printing a test page on a regular sheet of paper to ensure that the printer settings and alignment are correct. This step can help you identify any adjustments needed before using the cardstock.
5. Install Updated Drivers (If Necessary): If you haven't updated your printer drivers recently, it's advisable to check for and install any available updates. Updated drivers can improve compatibility and performance, especially when printing on specialty paper such as cardstock.
6. Align Print Heads (If Applicable): For certain HP printers, aligning the print heads may be necessary to optimize print quality. Refer to the printer's manual or on-screen prompts to perform the print head alignment process.
7. Ensure Sufficient Ink or Toner: Check the ink or toner levels in your HP printer to ensure that you have an adequate supply for the number of cards you plan to print. Running out of ink or toner mid-print can disrupt the printing process.
By following these setup steps, you can prepare your HP printer for the specific requirements of card printing. Taking the time to properly set up your printer will contribute to the overall success and quality of your printed cards. Once your HP printer is configured for cardstock printing, you'll be ready to move on to the next stage of the card printing process. **
Designing Your Cards
**
Once your HP printer is set up for card printing, the next step is to unleash your creativity and design your custom cards. Whether you're crafting personalized greeting cards, business cards, or event invitations, the design process is where your imagination takes center stage. Here are the key steps for designing your cards:
1. Choose Design Software or Templates: If you prefer to design your cards from scratch, utilize design software such as Adobe Photoshop, Illustrator, or other graphic design tools. Alternatively, if you prefer a more streamlined approach, explore the selection of pre-designed card templates available through HP's design resources or other online platforms.
2. Incorporate Visual Elements: Enhance your cards with visually appealing elements such as graphics, images, and typography. Whether you're adding personal photos to greeting cards or creating a professional look for business cards, carefully select and position visual elements to convey your desired message.
3. Consider Card Layout and Dimensions: Pay attention to the layout and dimensions of your cards, ensuring that the design elements are well-proportioned and aligned. Take into account factors such as bleed areas, safe zones, and overall card dimensions to create a polished and professional appearance.
4. Personalize Content and Messaging: Tailor the content and messaging of your cards to suit the intended recipients and occasion. Whether you're adding heartfelt messages to greeting cards or essential contact information to business cards, personalized content adds a meaningful touch to your designs.
5. Review and Refine: Before finalizing your card designs, take the time to review and refine the layout, colors, and overall composition. Consider seeking feedback from others to gain valuable perspectives and make any necessary adjustments to enhance the visual impact of your cards.
6. Save and Prepare for Printing: Once you're satisfied with your card designs, save the files in the appropriate format for printing. If you're using design software, ensure that the files are saved in a high-quality, print-ready format such as PDF to preserve the integrity of your designs.
By following these steps, you can bring your card designs to life with creativity and precision, setting the stage for successful printing on your HP printer. Whether you're a seasoned designer or exploring card design for the first time, the design process is where your vision transforms into tangible, printed cards that reflect your unique style and message. With your card designs ready, it's time to move on to the exciting phase of printing your cards with your HP printer. **
When printing cards on an HP printer, use the appropriate cardstock paper that is recommended for your specific printer model. Adjust the printer settings to the correct paper type and thickness to ensure the best print quality.
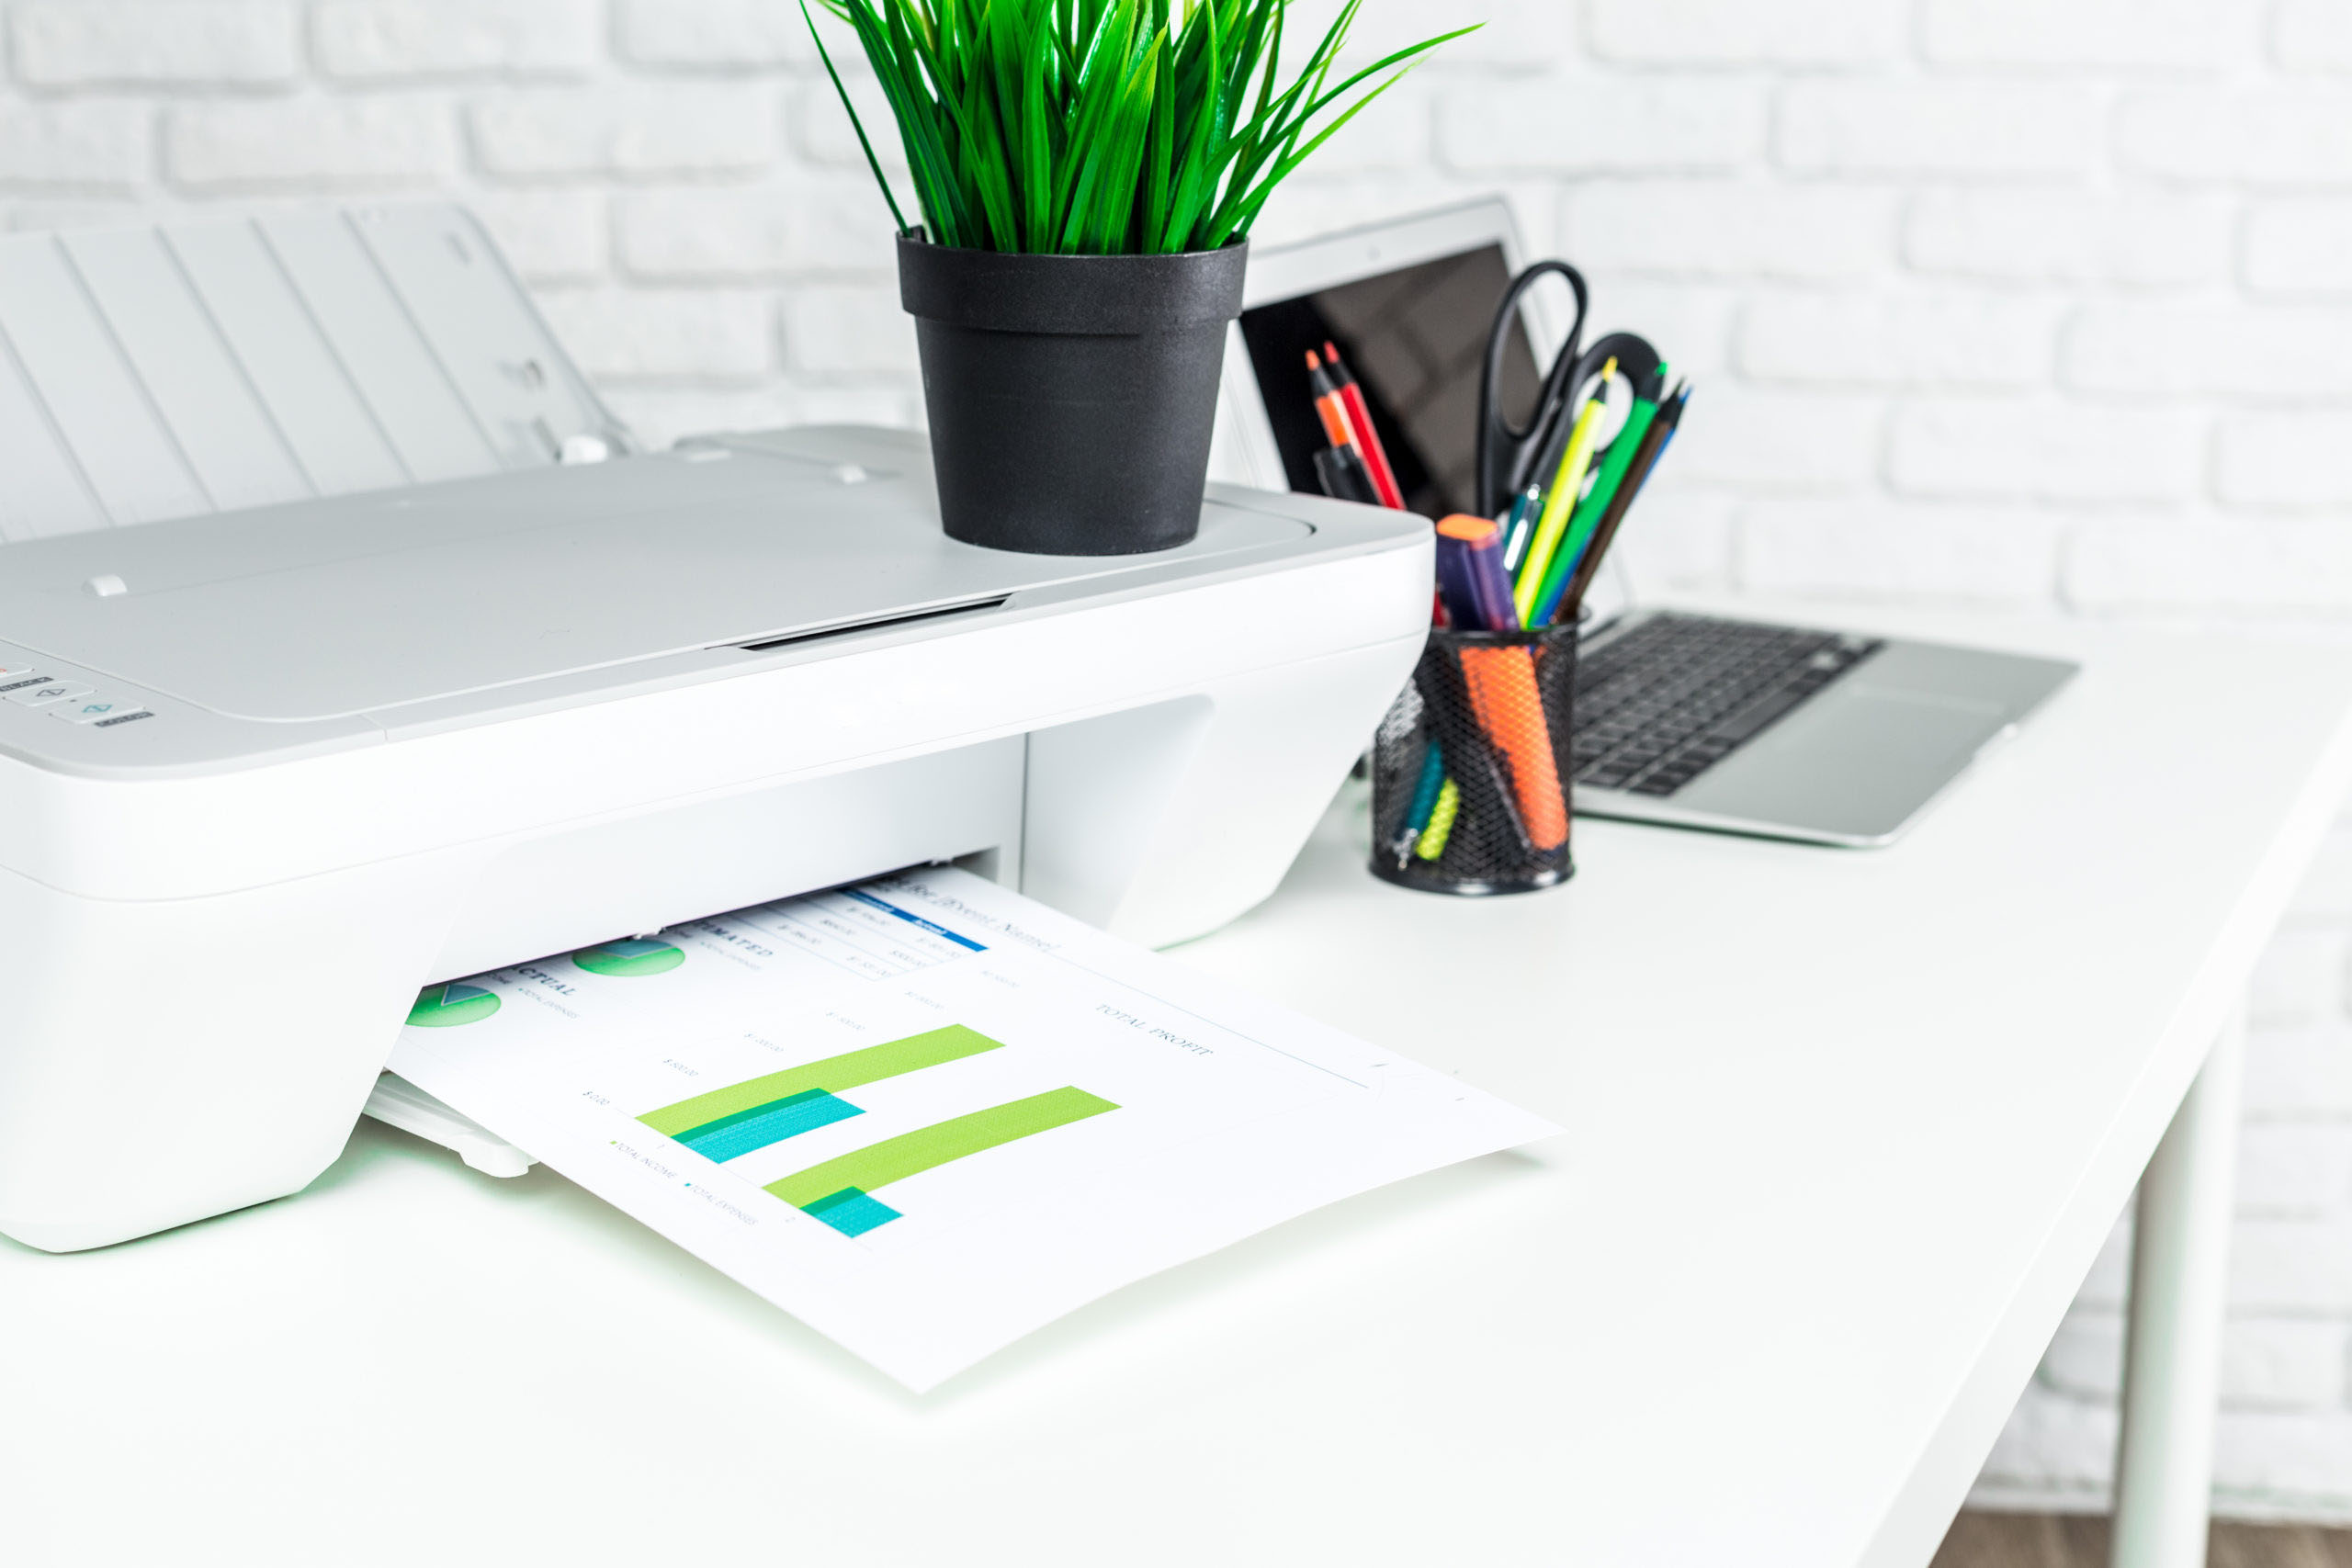
Printing Your Cards
**
With your meticulously crafted card designs at the ready, it's time to bring them to life through the printing process using your HP printer. Follow these steps to ensure a seamless and successful printing experience for your custom cards:
1. Select Print Settings: Access the print settings on your computer and choose the appropriate printer (your HP printer) and paper size. Verify that the print settings align with the dimensions of your card designs and the type of cardstock you're using.
2. Load Cardstock into the Printer: Open the paper input tray of your HP printer and carefully load the prepared cardstock. Adjust the paper guides to secure the cardstock in place, ensuring smooth and accurate feeding during printing.
3. Preview and Adjust Print Layout: Before proceeding with the actual printing, consider previewing the print layout to confirm that the designs are positioned correctly on the cardstock. Make any necessary adjustments to the print layout to ensure that the designs are accurately positioned on the cards.
4. Print a Sample: For the first print run, consider starting with a sample or single card to evaluate the print quality and alignment. This step allows you to make any final adjustments before printing the full batch of cards.
5. Print the Full Batch: Once you're satisfied with the sample print, proceed to print the full batch of cards. Depending on the quantity and complexity of your designs, monitor the printing process to ensure consistent quality across all cards.
6. Allow for Drying Time: After printing, allow the cards to dry completely before handling or further processing. This is particularly important if your designs incorporate heavy ink coverage or if you're using specialty finishes such as gloss or matte coatings.
7. Post-Printing Finishing (If Applicable): If your card designs require additional finishing touches such as cutting, scoring, or folding, carefully execute these steps to refine the appearance and functionality of the printed cards.
8. Quality Check: Once the cards are printed and any finishing processes are complete, perform a thorough quality check to ensure that the print quality, colors, and overall appearance meet your expectations.
By following these steps, you can navigate the printing process with confidence, knowing that your HP printer is capable of delivering professional-quality printed cards. Whether you're printing a small batch of personalized greeting cards or producing a set of business cards for professional use, the printing phase is where your designs transition from digital concepts to tangible, printed creations. With your cards now printed and ready for distribution, the next section will address troubleshooting tips to overcome any potential challenges that may arise during the card printing process. **
Read more: How To Print From A HP Printer
Troubleshooting
**
While printing cards on your HP printer can be a rewarding experience, it's not uncommon to encounter occasional challenges or issues along the way. By being prepared to troubleshoot common problems, you can address any unexpected hurdles and ensure a smooth printing process. Here are some troubleshooting tips to help you overcome potential issues when printing cards:
1. Paper Jams: If the printer experiences a paper jam during card printing, carefully remove the jammed cardstock, following the printer's manual or on-screen prompts. Ensure that the paper input tray is properly adjusted and that the cardstock is loaded securely to prevent future jams.
2. Print Quality Issues: If you notice issues such as streaks, smudges, or uneven ink distribution on the printed cards, perform a print head cleaning process using the printer's maintenance tools. Additionally, verify that the print settings and paper type selection align with the cardstock being used.
3. Alignment Problems: In the event of misaligned printing or inaccurate positioning of the designs on the cards, review the print settings and ensure that the cardstock is loaded correctly in the paper input tray. Adjust the print layout if necessary to realign the designs during the printing process.
4. Ink or Toner Issues: If the printed cards exhibit inconsistent or faded colors, check the ink or toner levels in your HP printer and replace any cartridges that are running low. Additionally, ensure that the printer settings prioritize color accuracy and quality for cardstock printing.
5. Connectivity and Software Errors: If you encounter connectivity issues or software errors when sending print jobs to your HP printer, restart the printer, check the connection between the printer and your computer, and verify that the printer drivers are up to date. Troubleshoot any software-related issues that may be hindering the printing process.
6. Smudging or Smearing: To address issues related to ink smudging or smearing on the printed cards, allow the cards to dry thoroughly before handling them. Consider adjusting the print settings to optimize drying time and ink adhesion for the specific cardstock being used.
By proactively addressing these common troubleshooting scenarios, you can minimize disruptions and maintain the quality of your printed cards when using your HP printer. Troubleshooting unexpected issues with patience and attentiveness allows you to maximize the potential of your printer and achieve consistent, professional results with your card printing endeavors. With these troubleshooting tips in mind, you're well-equipped to navigate the card printing process with confidence and resilience. **
Conclusion
**
Congratulations on completing the journey of printing your custom cards with your HP printer! From setting up the printer and designing your unique cards to navigating the printing process and troubleshooting potential challenges, you've embarked on a creative and fulfilling endeavor that has brought your card designs to life. As you reflect on this experience, consider the following key takeaways:
Empowerment Through Creativity: Printing cards at home with your HP printer has empowered you to express your creativity, share personalized messages, and bring your unique designs to fruition. The ability to craft custom cards for various occasions puts the power of personalization in your hands, allowing you to connect with others in meaningful ways.
Versatility and Convenience: Your HP printer has proven to be a versatile and convenient tool for printing a wide range of cards, from greeting cards that convey heartfelt sentiments to professional business cards that make a lasting impression. The convenience of home printing offers flexibility and control over the entire card production process.
Problem-Solving and Adaptability: By learning to troubleshoot common printing issues and overcome unexpected challenges, you've honed your problem-solving skills and demonstrated adaptability in navigating the intricacies of card printing. These experiences have equipped you with valuable insights for future printing projects.
Continued Exploration and Innovation: As you continue to explore the possibilities of card printing with your HP printer, consider embracing innovation and experimentation in your designs. Whether it's exploring new card formats, incorporating advanced printing techniques, or venturing into themed card collections, the journey of card printing is ripe with opportunities for continued exploration.
As you conclude this chapter of card printing with your HP printer, take pride in the personalized cards you've produced and the skills you've cultivated along the way. Whether you're printing cards for personal use, special events, or professional networking, the knowledge and experience gained from this endeavor will serve as a foundation for future creative pursuits. Embrace the joy of sharing your printed cards with others, knowing that each card carries a piece of your creativity and thoughtfulness.
With the insights and skills acquired from this guide, you're well-prepared to embark on future printing projects with confidence and enthusiasm. Your HP printer stands ready as a trusted companion, ready to bring your future card designs to life with precision and quality. As you continue your journey in the realm of DIY printing, may your creations inspire and delight those who receive them, leaving a lasting impression and fostering connections through the art of personalized card giving. **
**
Frequently Asked Questions about How To Print Cards On HP Printer
Was this page helpful?
At Storables.com, we guarantee accurate and reliable information. Our content, validated by Expert Board Contributors, is crafted following stringent Editorial Policies. We're committed to providing you with well-researched, expert-backed insights for all your informational needs.

0 thoughts on “How To Print Cards On HP Printer”