Home>Technology>Smart Home Devices>How To Print Pictures On HP Printer
Smart Home Devices
How To Print Pictures On HP Printer
Modified: January 18, 2024
Learn how to print pictures on your HP printer and enhance your smart home devices with ease. Follow our step-by-step guide for seamless printing.
(Many of the links in this article redirect to a specific reviewed product. Your purchase of these products through affiliate links helps to generate commission for Storables.com, at no extra cost. Learn more)
Introduction
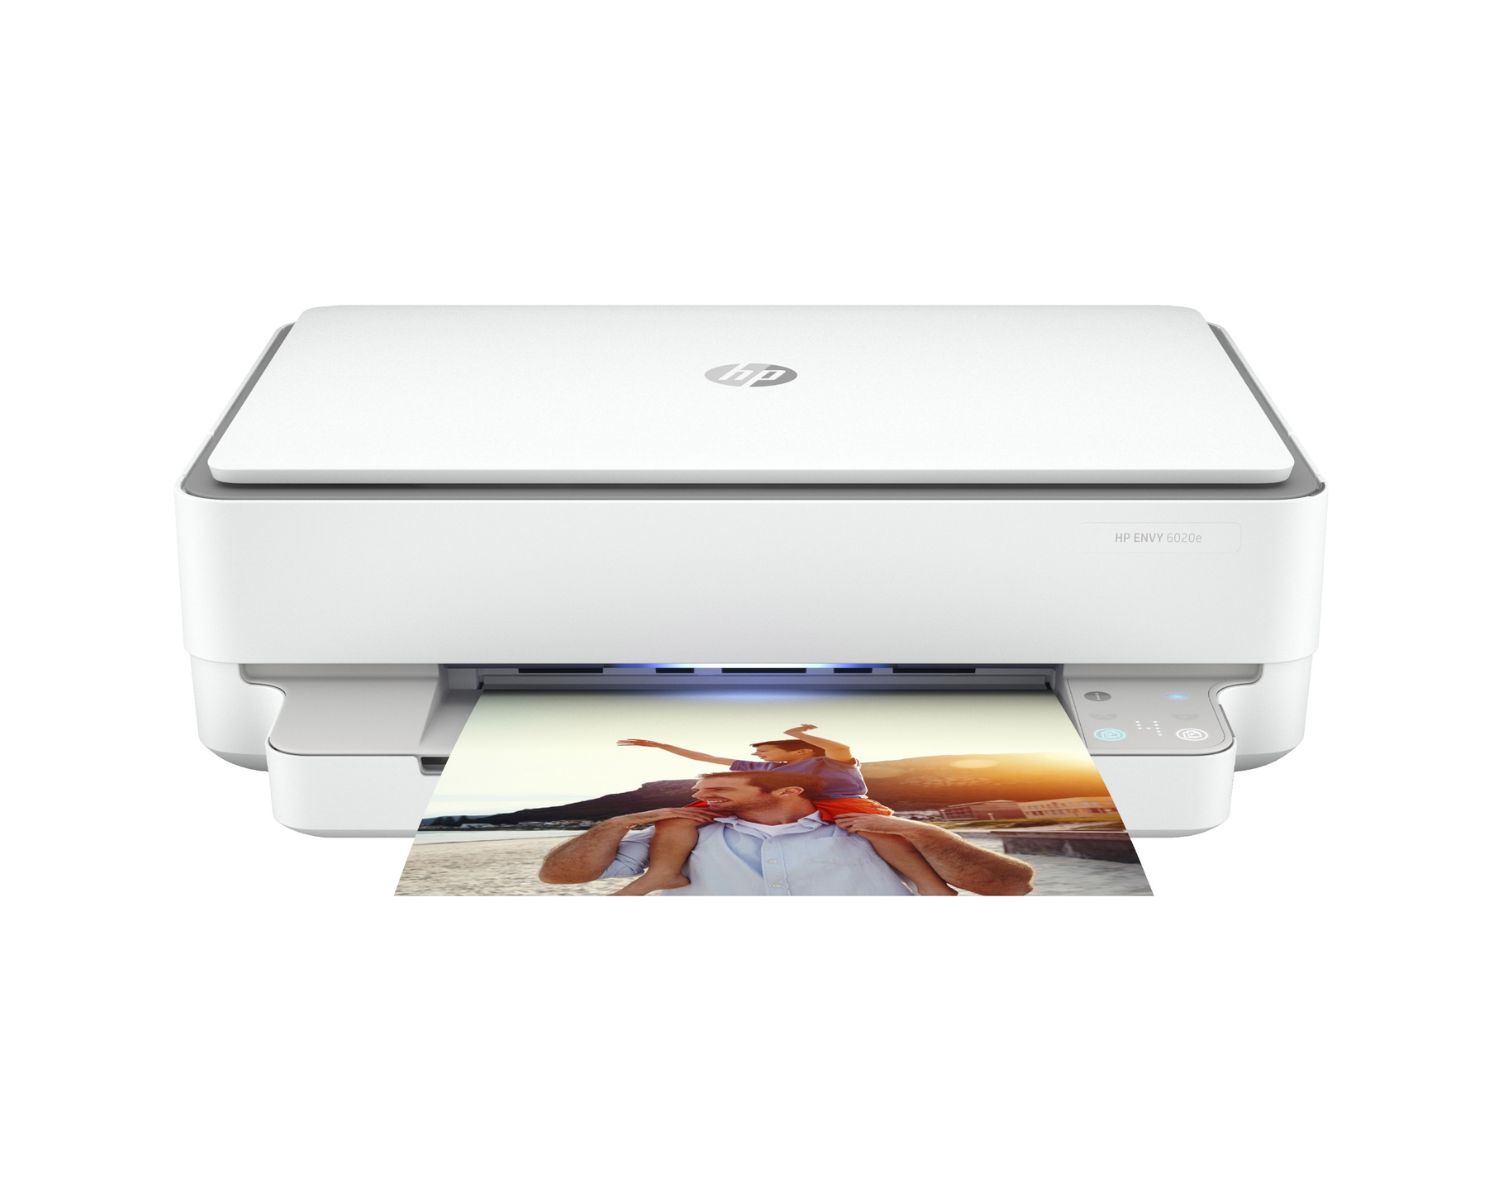
Welcome to the world of HP printers, where your cherished memories can come to life in vibrant, high-quality prints. Whether you're a photography enthusiast, a family archivist, or simply someone who appreciates the art of preserving moments, the ability to print pictures at home is a valuable convenience. With an HP printer, you can effortlessly transform digital images into tangible keepsakes, adding a personal touch to your living space or creating heartwarming gifts for loved ones.
In this guide, we'll explore the step-by-step process of printing pictures on an HP printer. From selecting the right paper to adjusting print settings, you'll learn the essential techniques to ensure that your printed photos reflect the true beauty of the original images. Whether you're printing snapshots of a memorable vacation, candid family portraits, or stunning landscapes, this guide will equip you with the knowledge and skills to achieve professional-looking results from the comfort of your own home.
Printing pictures on an HP printer is not just about producing physical copies of digital images; it's about preserving the emotions, colors, and details that make those moments special. With the right approach and a touch of creativity, you can transform your printer into a powerful tool for self-expression and storytelling. So, let's embark on this journey together and unlock the full potential of your HP printer for bringing your memories to life in vivid, tangible form.
Key Takeaways:
- Choosing the right paper and installing printer software are crucial steps in printing high-quality pictures on an HP printer. These steps ensure that your prints reflect the true beauty of your digital images.
- Loading the photo paper correctly and adjusting print settings are essential for achieving the best print quality. These steps help you bring your digital memories to life in vivid, tangible form.
Read more: How To Cancel Prints On HP Printer
Step 1: Selecting the Right Paper
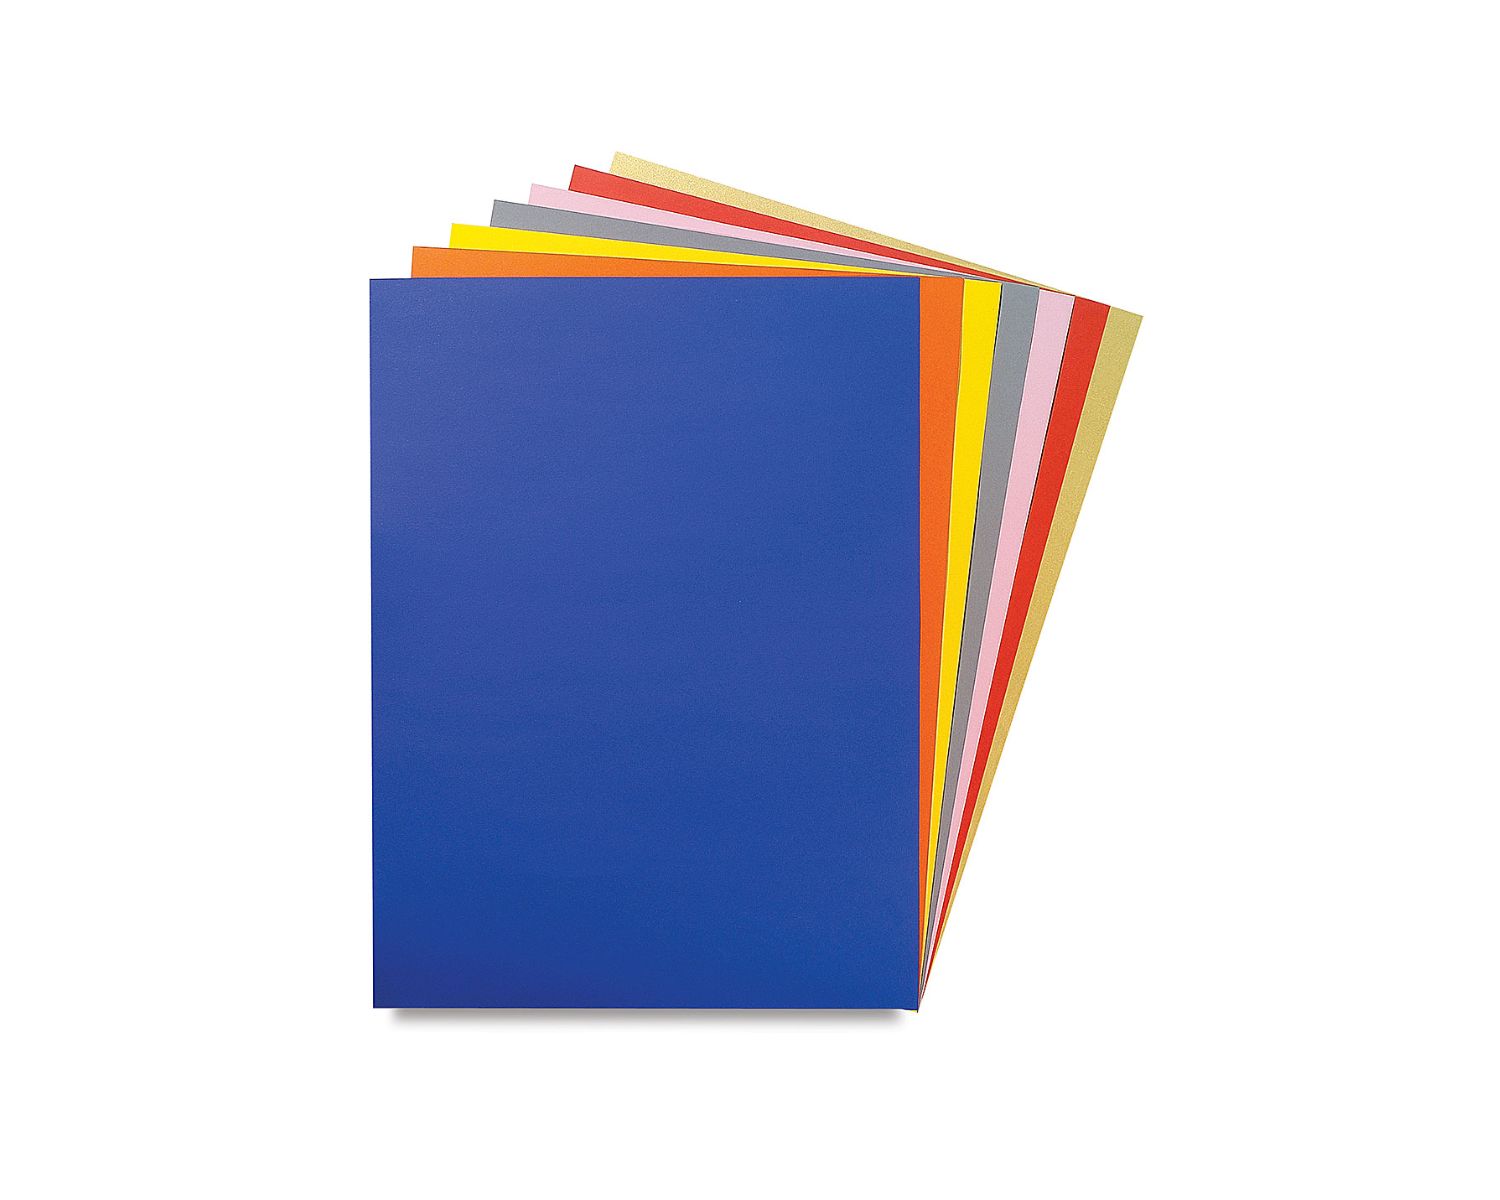
Choosing the appropriate paper for printing your pictures is a crucial first step in ensuring the quality and longevity of your prints. HP offers a wide range of photo papers designed to deliver exceptional results, catering to different preferences and printing needs. When selecting the right paper for your prints, consider factors such as paper finish, weight, and compatibility with your printer model.
Types of Photo Paper:
- Glossy Photo Paper: Ideal for vibrant, high-contrast images, glossy paper produces sharp and vivid prints with a reflective surface that enhances color saturation. It is well-suited for showcasing landscapes, portraits, and images with rich details.
- Matte Photo Paper: Matte paper offers a non-reflective finish, making it suitable for prints intended to be displayed without glare or fingerprints. It is a popular choice for black-and-white photos, artistic prints, and images with a softer, more subdued aesthetic.
- Semi-Gloss/Satin Photo Paper: This type of paper strikes a balance between the vibrant finish of glossy paper and the reduced glare of matte paper. It is versatile and can be used for a wide range of images, providing a compromise between sharpness and reduced reflection.
Considerations for Paper Selection:
When choosing photo paper for your prints, it’s essential to consider the following factors:
- Printer Compatibility: Ensure that the photo paper you select is compatible with your specific HP printer model. Different printers may have varying paper handling capabilities and requirements.
- Paper Weight: The weight of the paper, measured in grams per square meter (gsm), influences the thickness and sturdiness of the prints. Heavier paper typically results in more durable and professional-looking prints.
- Longevity and Archivability: Some photo papers are designed for long-term preservation of prints, offering resistance to fading, smudging, and discoloration over time. Consider archival-quality papers for cherished memories that you intend to display for years to come.
By carefully selecting the right photo paper for your printing projects, you can enhance the visual impact of your prints and ensure that they stand the test of time. The next step after choosing the paper is to install the printer software, which we’ll explore in the following section.
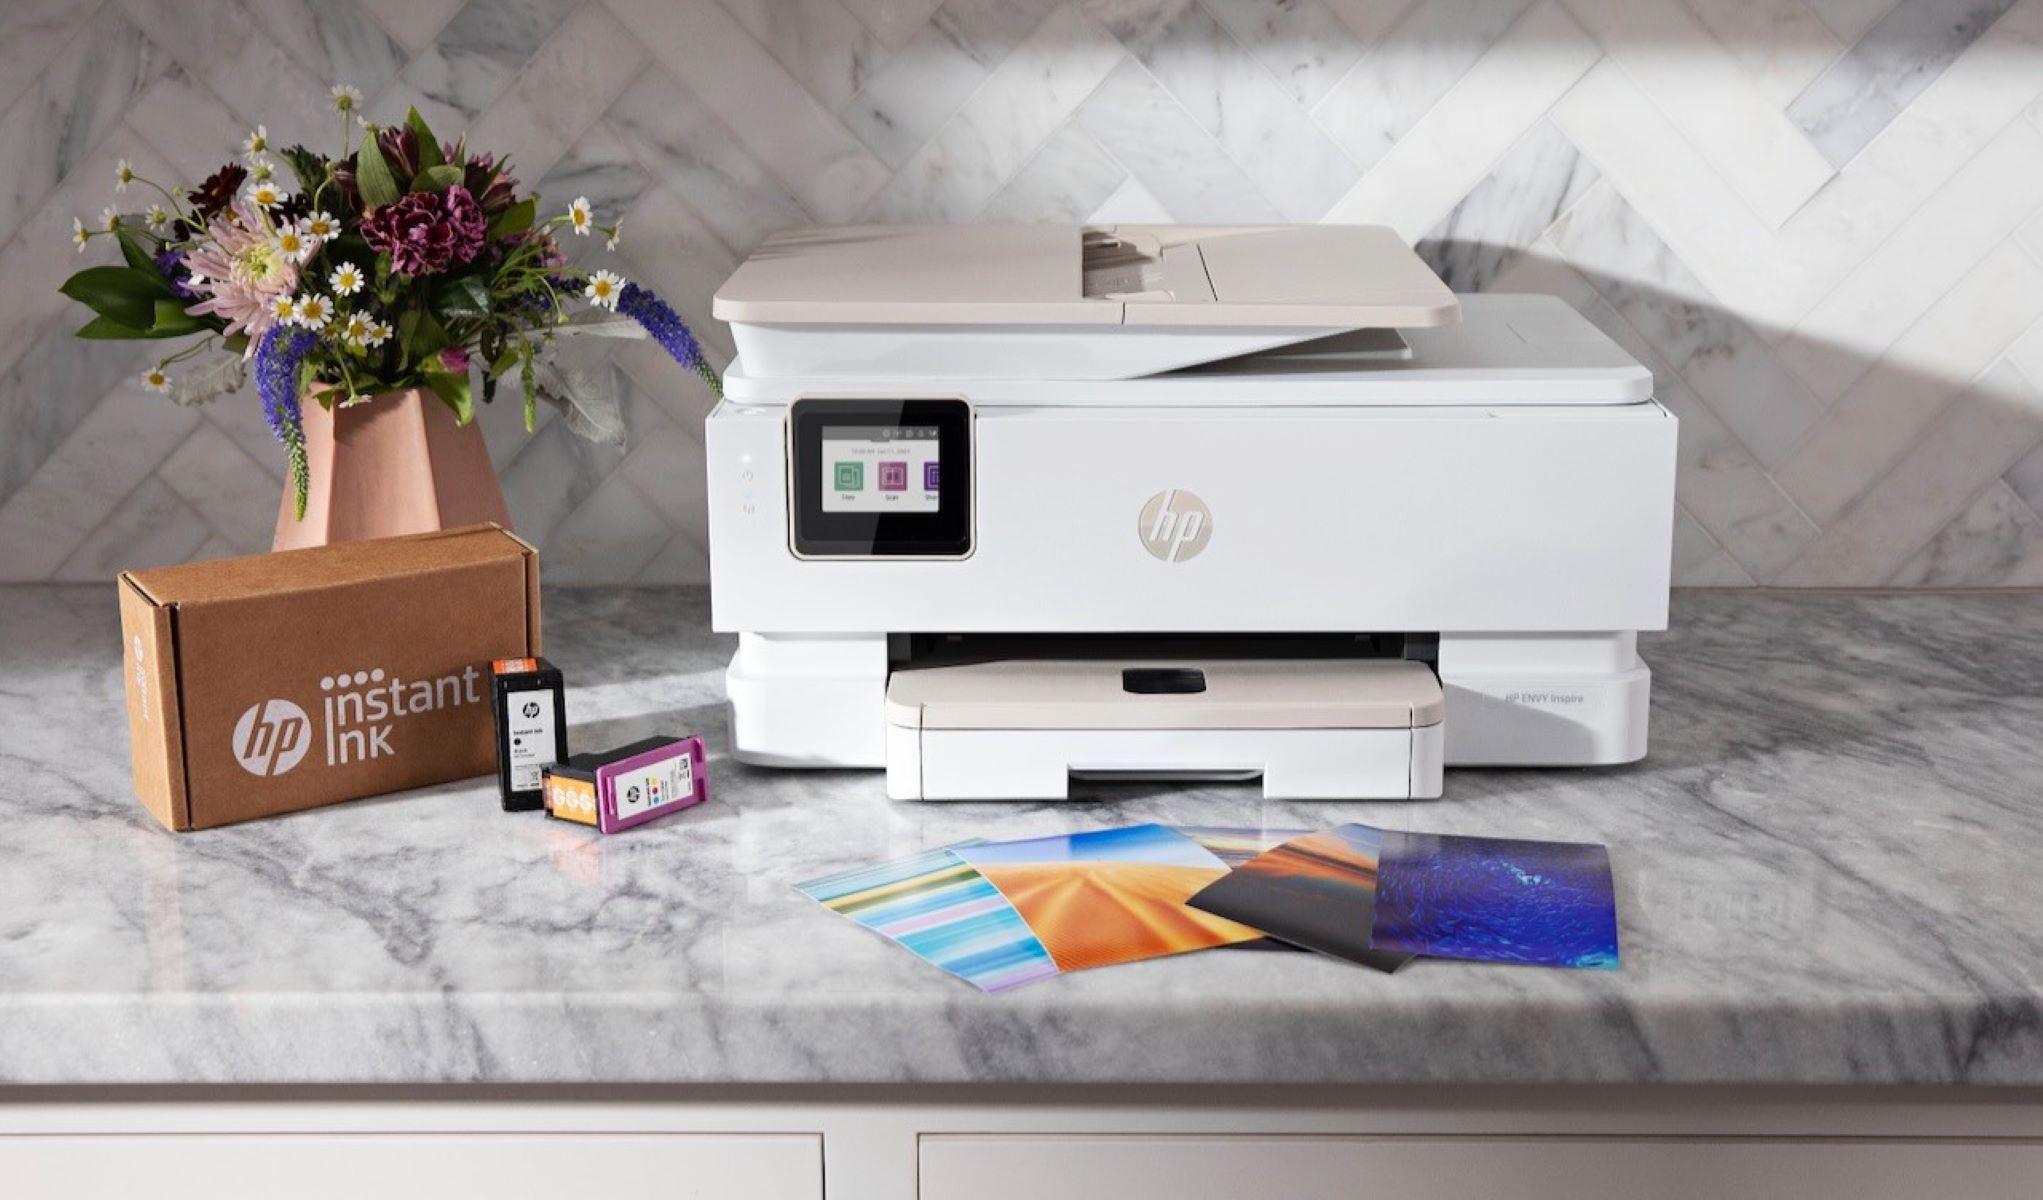
Step 2: Installing the Printer Software
Before diving into the printing process, it’s essential to ensure that your HP printer’s software is properly installed and configured on your computer. The printer software, also known as the printer driver, serves as the communication bridge between your computer and the printer, enabling you to send print jobs and customize print settings with ease.
Installation Methods:
HP provides user-friendly methods for installing the printer software, catering to different operating systems and user preferences. The two primary installation methods are:
- CD/DVD Installation: If your HP printer came with an installation CD or DVD, you can use it to initiate the installation process. Simply insert the disc into your computer’s optical drive and follow the on-screen instructions to install the necessary drivers and software.
- Online Installation (HP Smart App): Alternatively, you can opt for online installation using the HP Smart App, which streamlines the setup process by guiding you through the installation steps and providing access to additional printing features and resources.
Customizing Print Settings:
During the installation process, you’ll have the opportunity to customize print settings based on your preferences and printing requirements. These settings may include print quality, paper type, color management, and borderless printing options. By configuring these settings to align with your specific printing needs, you can optimize the output quality of your printed pictures.
Ensuring Software Updates:
After installing the printer software, it’s advisable to check for and install any available updates to ensure that your printer operates with the latest features, performance enhancements, and compatibility improvements. Regular software updates can contribute to a seamless printing experience and may address any known issues or vulnerabilities.
By completing the installation of the printer software, you establish a solid foundation for printing your pictures with precision and control. The next step in the process is to load the selected photo paper into the printer, preparing for the actual printing of your cherished images.
Step 3: Loading the Photo Paper
With the printer software successfully installed, it’s time to prepare the printer for the printing process by loading the selected photo paper. Properly loading the paper ensures smooth and accurate printing, allowing you to achieve the desired results without any paper-related issues.
Guidelines for Loading Photo Paper:
When loading photo paper into your HP printer, it’s important to follow these guidelines to ensure optimal print quality and prevent paper jams:
- Adjusting the Paper Guides: Before loading the paper, adjust the paper guides in the input tray to fit the dimensions of the photo paper. Proper alignment helps prevent misfeeds and ensures that the paper is held securely in place during printing.
- Using the Correct Side: Most photo papers have a printable side and a non-printable side. Ensure that you load the paper with the printable side facing down to receive the ink during printing. The non-printable side is often the smoother side of the paper.
- Avoiding Overloading: Be mindful not to overload the input tray with too much photo paper. Overfilling the tray can lead to feeding issues and may impact the printer’s ability to pick up the paper smoothly.
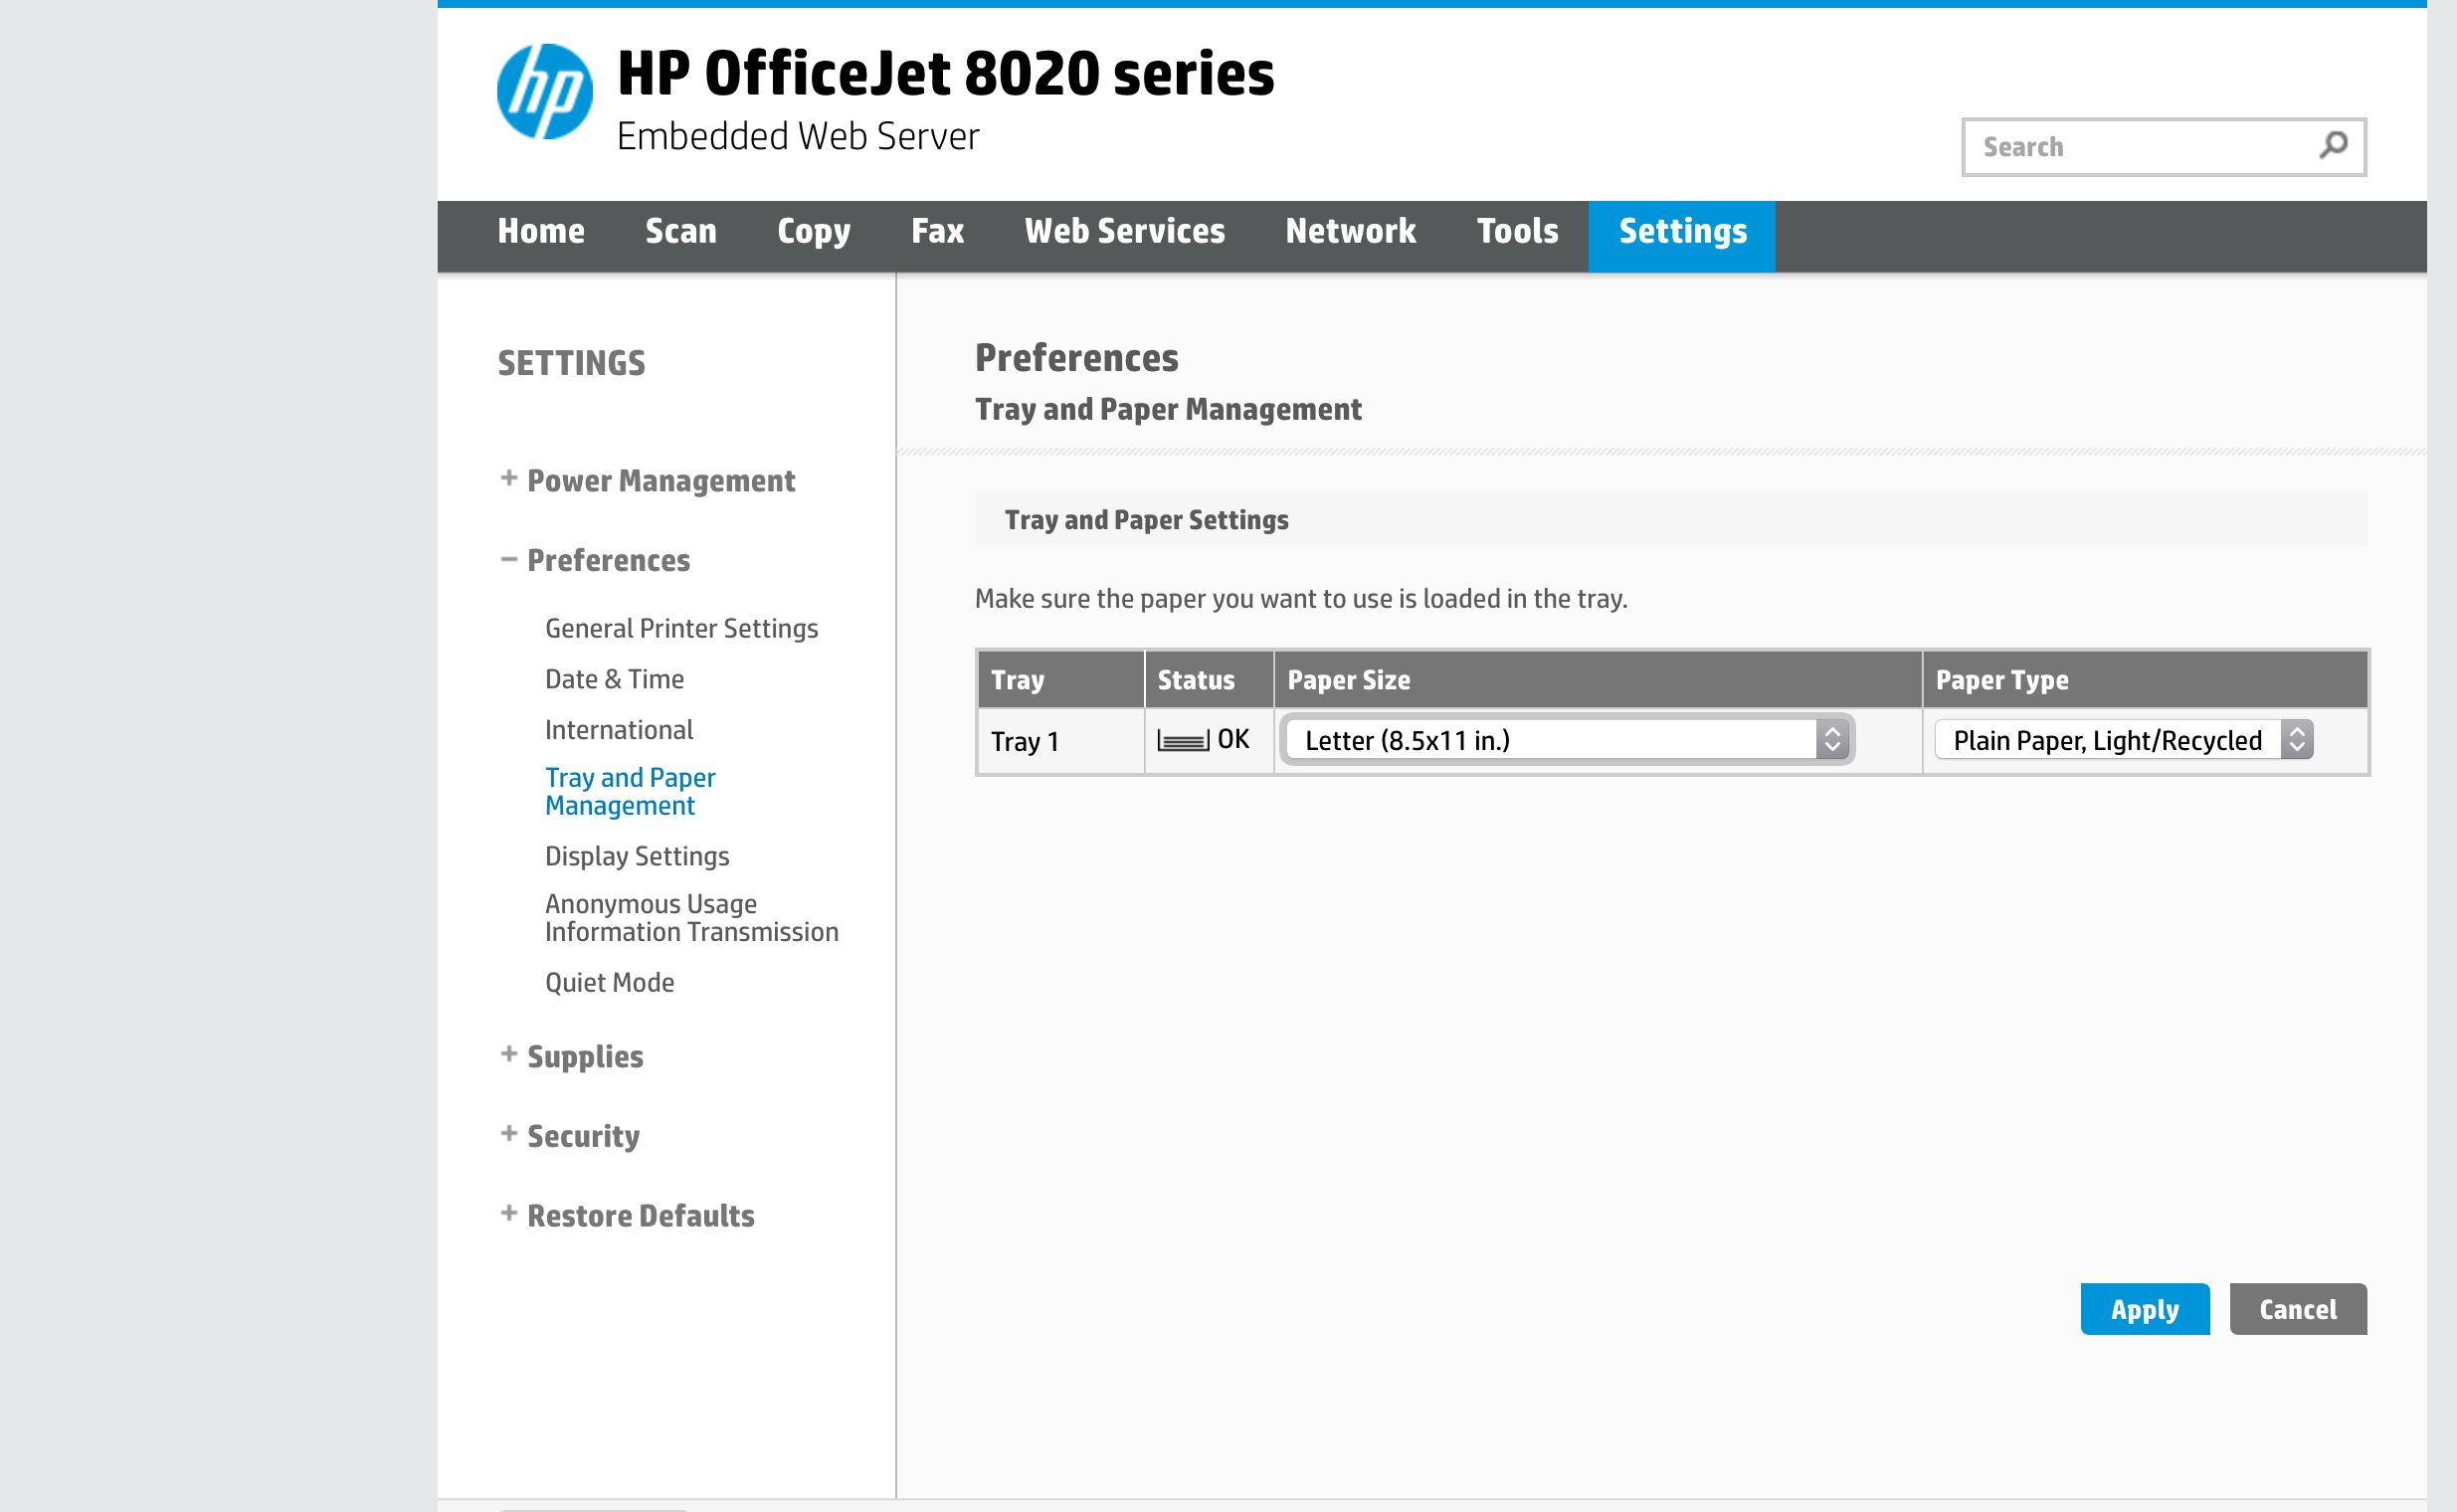
- Verifying Paper Type and Size: Confirm that the printer settings match the type and size of the loaded photo paper. This includes selecting the appropriate paper type and size in the printer’s settings or print dialog box on your computer.
Special Considerations for Specialty Papers:
If you’re using specialty photo papers, such as sticker-backed or magnetic photo paper, follow the specific loading instructions provided by the paper manufacturer. These specialty papers may have unique loading requirements to ensure proper feeding and printing.
Preparing for Printing:
Once the photo paper is loaded into the printer according to the guidelines, you’re ready to proceed with adjusting the print settings to match the paper type and initiating the printing process. Loading the paper correctly sets the stage for producing stunning prints that capture the essence of your digital images with precision and clarity.
With the photo paper loaded and the print settings adjusted, you’re now poised to bring your digital images to life through the printing process. The next step delves into fine-tuning the print settings to achieve the best possible output from your HP printer.
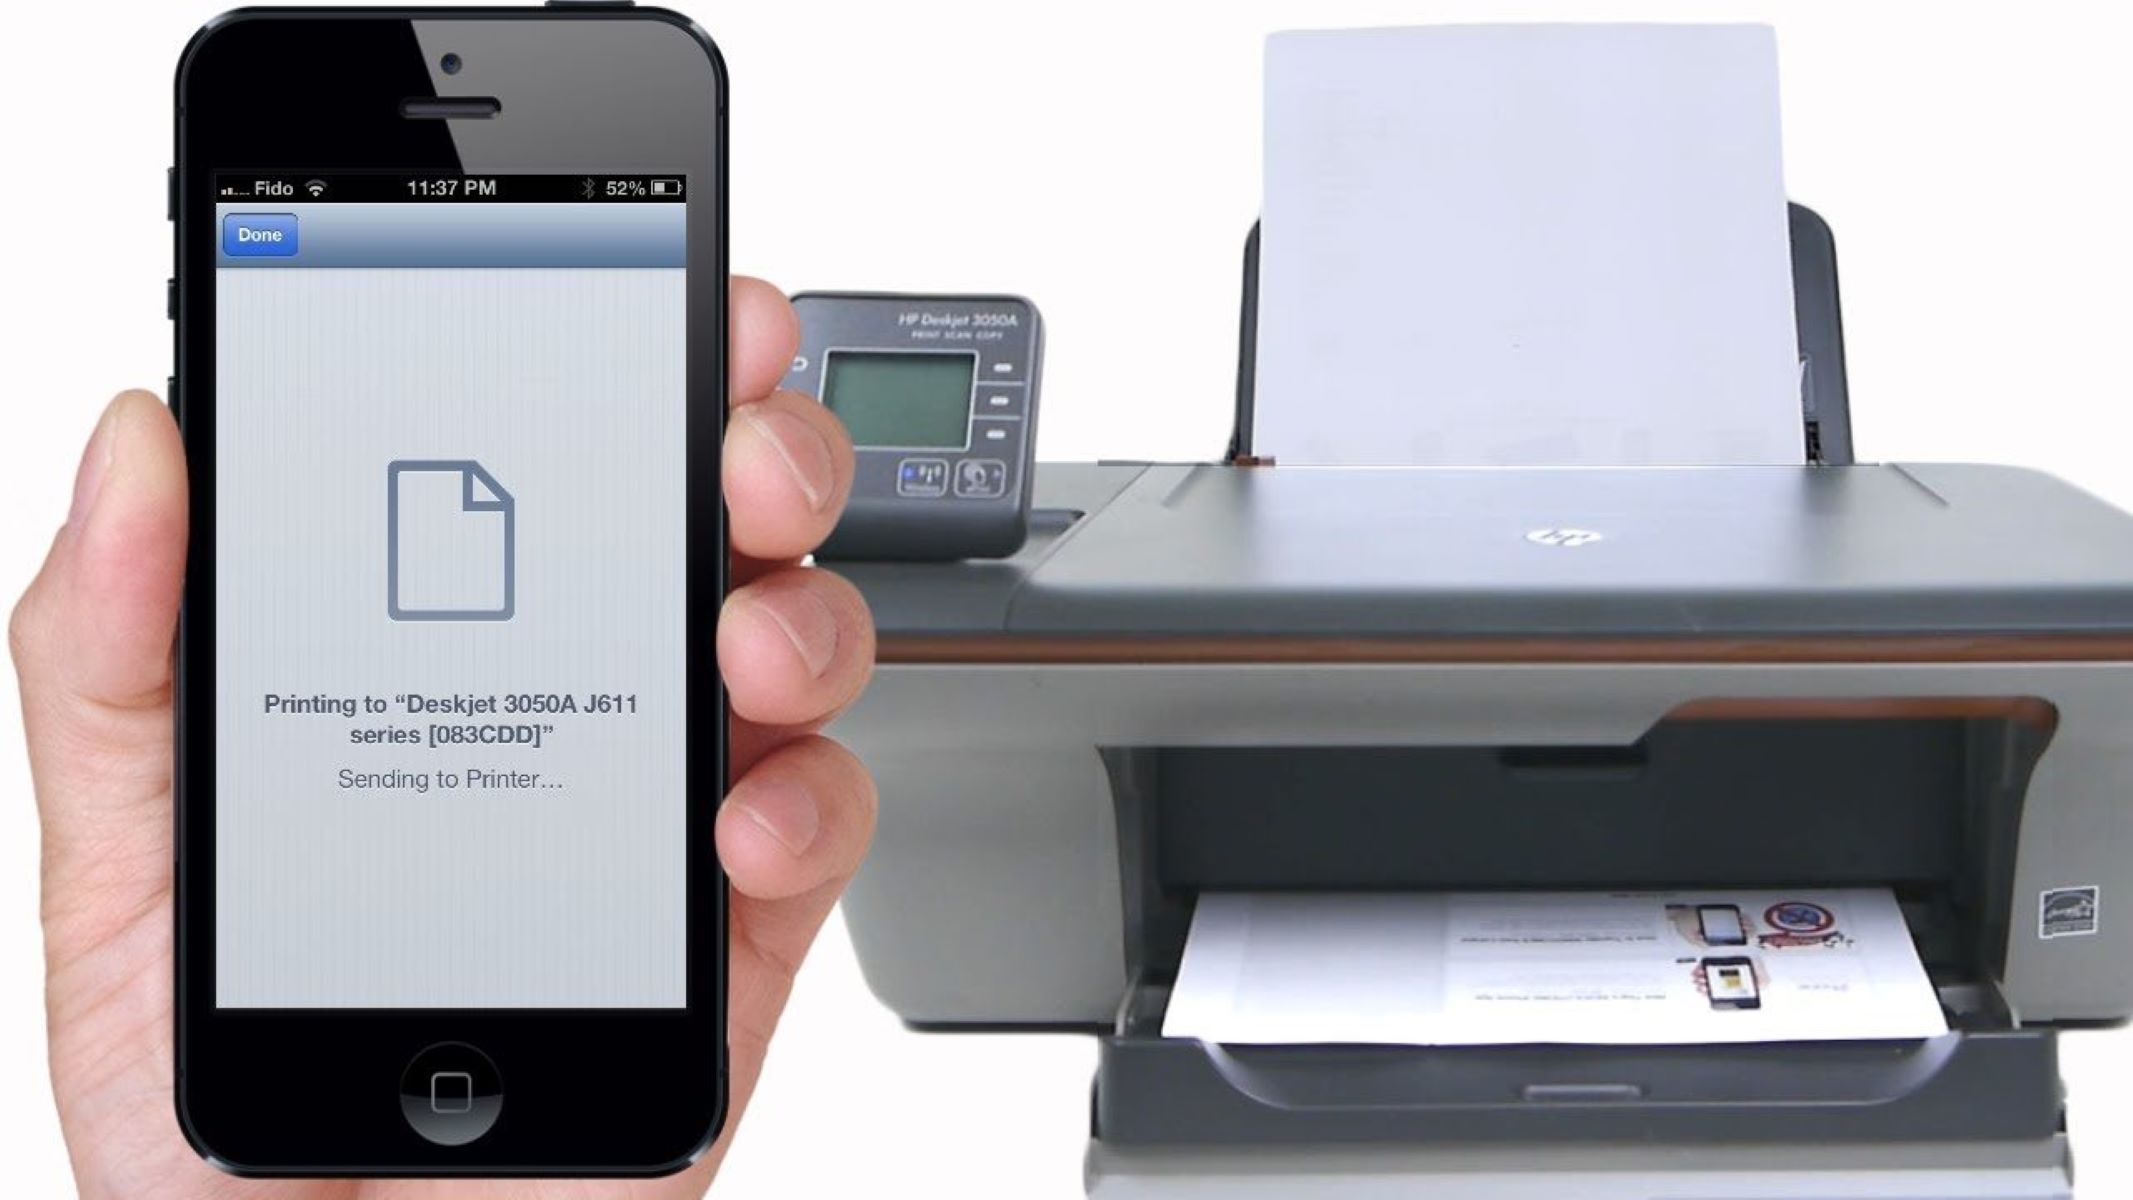
Make sure your HP printer is connected to your computer or mobile device. Open the picture you want to print and select “Print” from the options menu. Choose your HP printer from the list of available printers and adjust the print settings as needed. Then, click “Print” to start printing your picture.
Step 4: Adjusting Print Settings
Before initiating the printing process, it’s essential to fine-tune the print settings to align with the characteristics of the loaded photo paper and the specific attributes of the digital images you intend to print. Customizing the print settings allows you to optimize the output quality, color accuracy, and overall appearance of your printed pictures.
Key Print Settings to Consider:
When adjusting the print settings for your pictures, take into account the following key parameters to achieve the desired results:
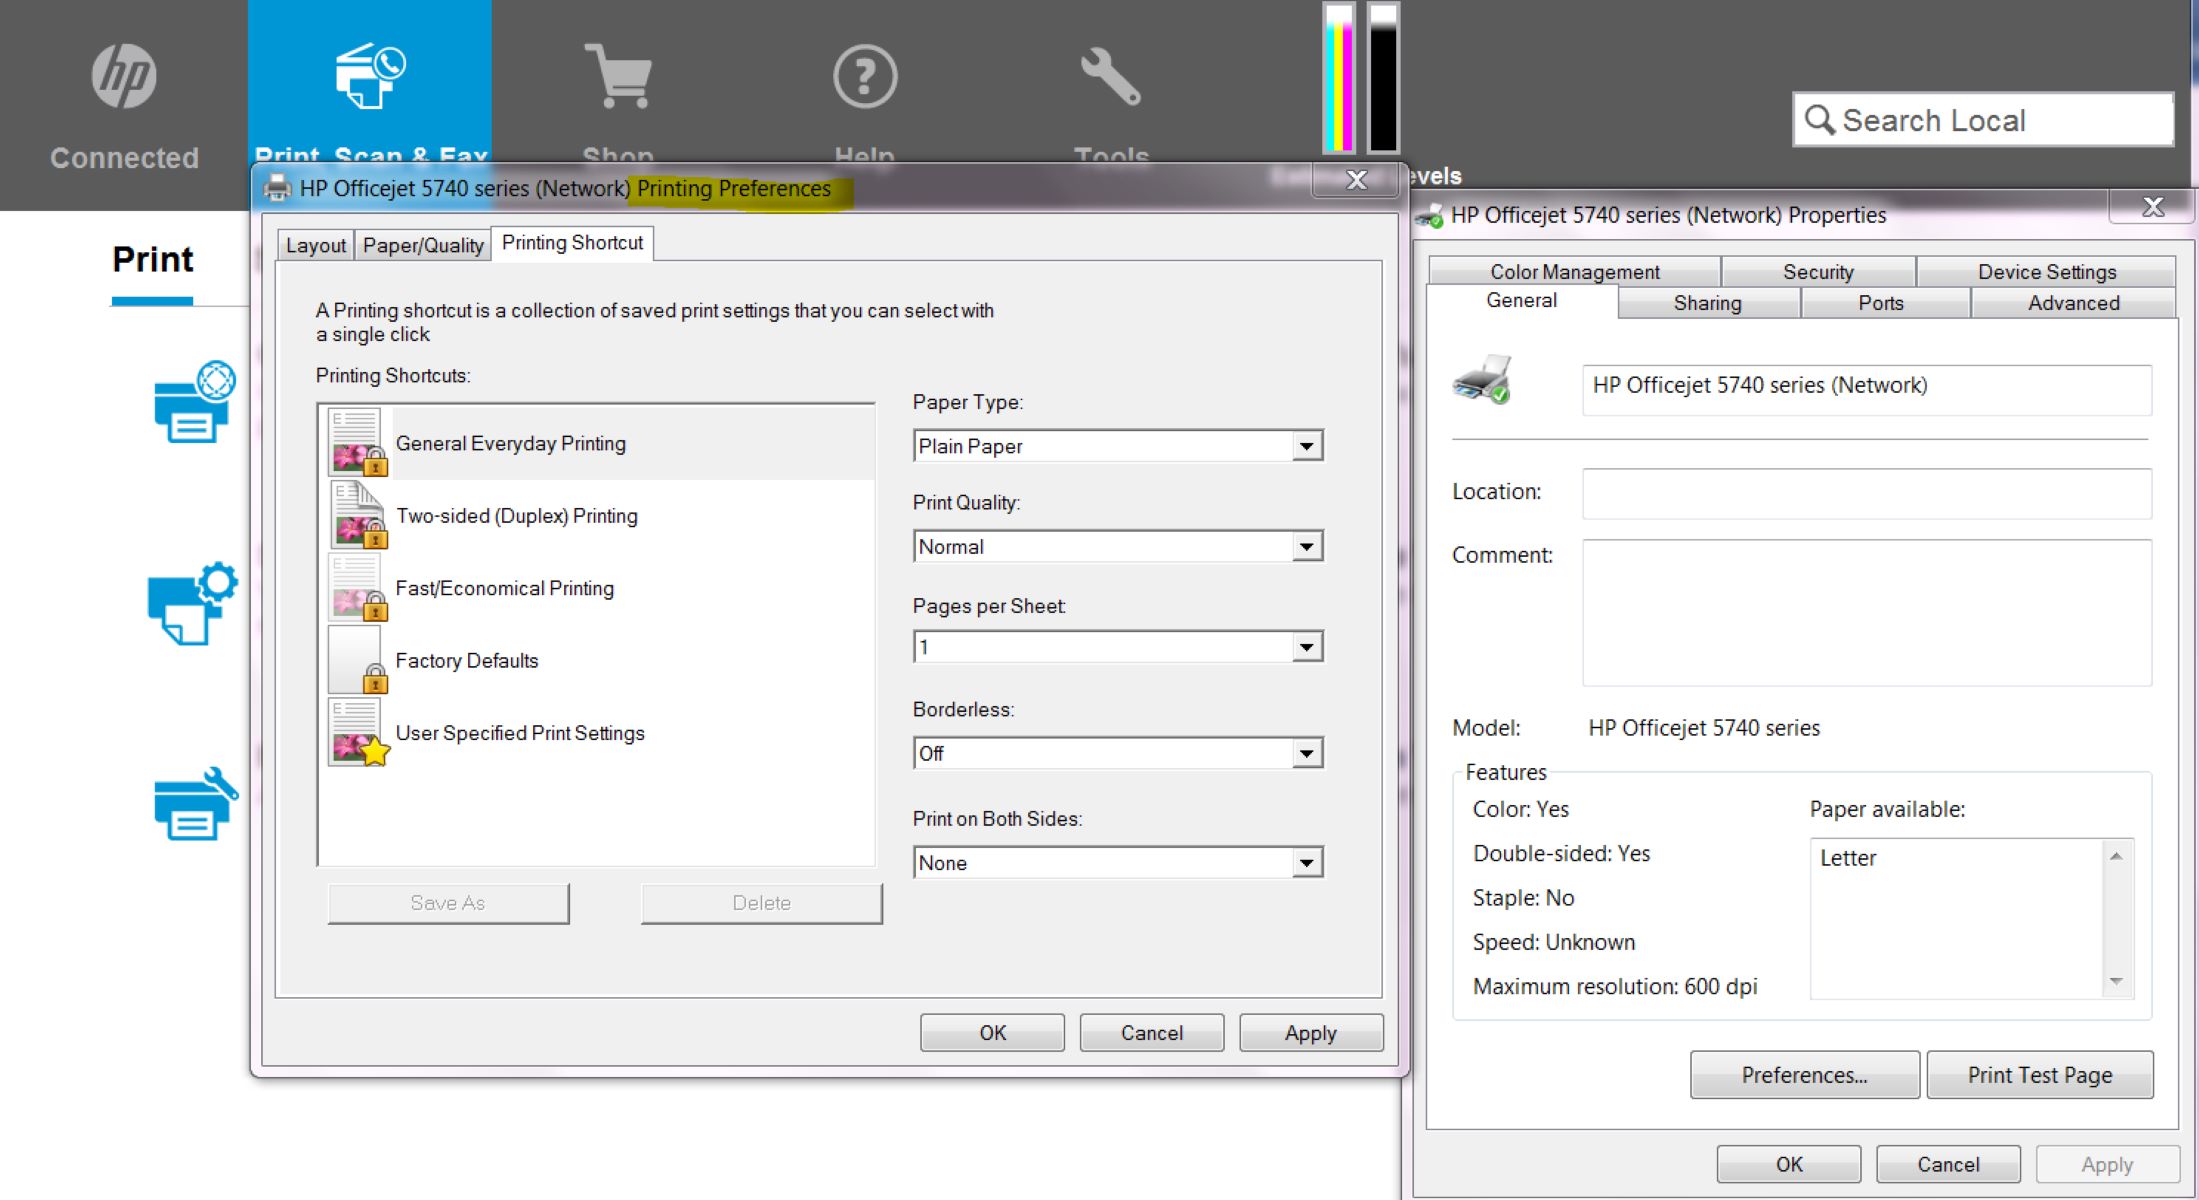
- Print Quality: Select the appropriate print quality setting based on the level of detail and sharpness you wish to achieve. Higher quality settings typically result in finer details and smoother color transitions, but may require longer printing times and more ink.
- Paper Type and Size: Ensure that the print settings match the type and size of the loaded photo paper. Select the corresponding paper type and size in the printer settings or print dialog box to optimize ink application and paper handling.
- Color Management: Consider adjusting color management settings to achieve accurate color reproduction that closely matches the original digital images. This may involve selecting color profiles or adjusting color balance and saturation as needed.
- Borderless Printing: If desired, enable the borderless printing option to ensure that the entire printable area of the photo paper is utilized, allowing for edge-to-edge prints without white borders.
Previewing and Adjusting Settings:
Many printer software interfaces provide a print preview feature that allows you to assess how the print settings will affect the final output before initiating the print job. Take advantage of this feature to make any necessary adjustments to the settings, ensuring that the prints align with your vision for the images.
Advanced Color Management:
For users seeking precise control over color accuracy and print quality, advanced color management tools and options may be available within the printer software. These tools can enable adjustments at a granular level, allowing for custom color profiles and fine-tuning of color rendition.
By customizing the print settings to suit the characteristics of the photo paper and the specific attributes of your digital images, you can ensure that the printed pictures faithfully capture the essence and visual impact of the original photographs. With the print settings adjusted, you’re now ready to commence the printing process and witness your images come to life on paper.
Read more: How To Print From A HP Printer
Step 5: Printing the Pictures
With the photo paper loaded, the printer software installed, and the print settings adjusted, you’re now poised to bring your digital images to life through the printing process. Printing pictures on an HP printer is an exciting culmination of creativity and technology, allowing you to transform virtual memories into tangible keepsakes with just a few simple steps.
Initiating the Print Job:
To begin the printing process, ensure that your printer is powered on and ready to receive the print job. From your computer or mobile device, select the images you wish to print and access the print dialog or options menu. Choose your HP printer as the designated printing device and verify that the print settings align with your preferences and the characteristics of the loaded photo paper.
Print Queue and Status:
Once the print job is initiated, it enters the print queue, where you can monitor the progress and status of the printing process. The print queue provides visibility into the order of print jobs, any potential issues or error messages, and the estimated time remaining for each print job to be completed.
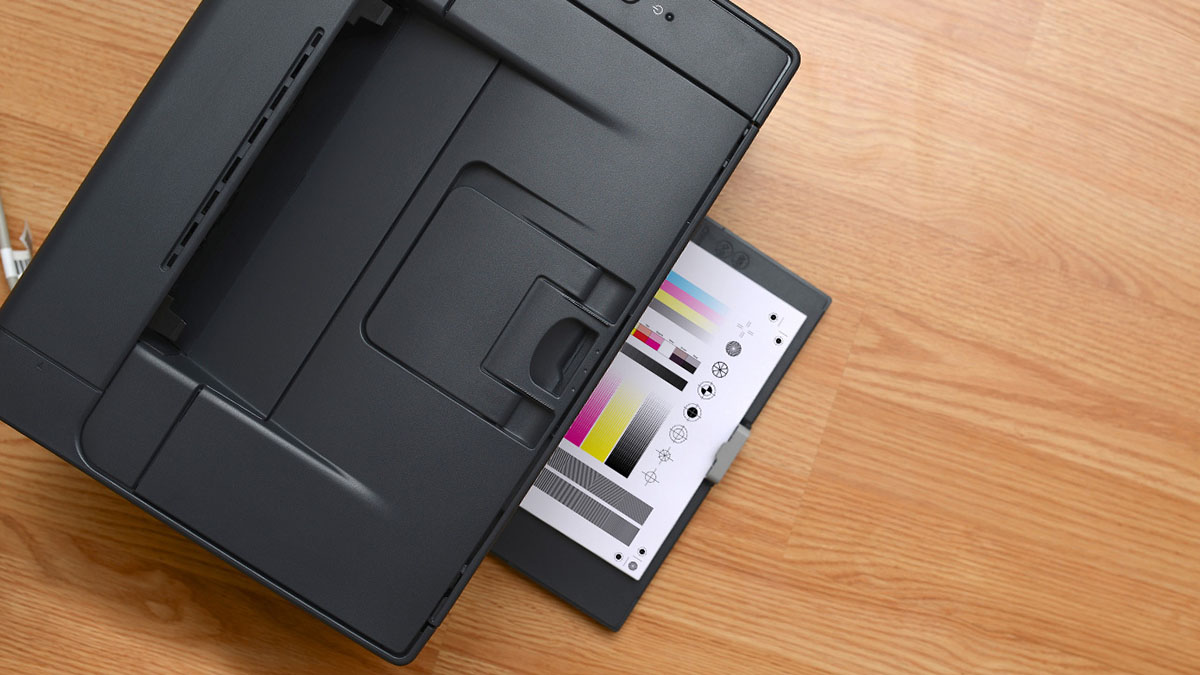
Monitoring the Print Output:
As the printer begins the printing process, take a moment to observe the initial stages of the output. Ensure that the images are rendering accurately on the photo paper and that the colors, details, and overall quality meet your expectations based on the selected print settings.
Post-Printing Considerations:
After the printing process is complete, allow the prints to dry and set for the recommended duration, especially if using specialty photo papers. Once the prints are dry, handle them with care to avoid smudging or fingerprints, and consider storing them in protective sleeves or albums to preserve their quality over time.
With the completion of the printing process, you now have tangible representations of your cherished memories, ready to be displayed, shared, or gifted to others. The ability to print pictures on an HP printer empowers you to curate your personal gallery of moments, bringing joy, nostalgia, and visual splendor into your everyday surroundings.
As you revel in the satisfaction of holding your printed pictures, remember that the journey from digital images to physical prints is a testament to the seamless integration of technology and creativity, offering a tangible manifestation of your digital storytelling. With the printing process accomplished, you’ve harnessed the power of your HP printer to preserve and share the moments that matter most.
Conclusion
Embarking on the journey of printing pictures on an HP printer unveils a world of creative possibilities, personal expression, and the art of preserving cherished memories. Through the meticulous selection of photo paper, the installation of printer software, and the fine-tuning of print settings, you’ve embarked on a transformative process that culminates in the tangible manifestation of your digital images.
Printing pictures on an HP printer transcends the act of producing physical prints; it encapsulates the essence of storytelling, nostalgia, and the visual celebration of life’s moments. Each printed picture becomes a testament to the seamless fusion of technology and emotion, where pixels are transmuted into vibrant, touchable fragments of personal history.
As you hold your printed pictures in hand, you witness the convergence of artistry and precision, where the hues, details, and emotions captured in your digital images are faithfully translated onto the photo paper. Your HP printer serves as a conduit for transforming pixels into palpable narratives, allowing you to curate your personal gallery of memories with unparalleled convenience and fidelity.
Moreover, the act of printing pictures on an HP printer is a testament to the enduring value of physical mementos in a digital age. While digital images offer accessibility and convenience, printed pictures imbue spaces with warmth, personality, and the timeless allure of printed photography. They become tangible tokens of connection, capable of evoking emotions and sparking conversations that transcend the confines of screens and devices.
In the realm of printing pictures, your HP printer emerges as a reliable ally, seamlessly bridging the realms of digital and physical, and empowering you to infuse your surroundings with evocative visual narratives. Whether adorning your living spaces, adorning scrapbooks, or serving as heartfelt gifts, the printed pictures from your HP printer embody the enduring power of storytelling through imagery.
As you continue to explore the art of printing pictures on your HP printer, remember that each print represents a chapter in your visual chronicle, a testament to the moments, emotions, and stories that shape your world. Embrace the process as a canvas for your creativity, a conduit for your memories, and a gateway to sharing the beauty of life’s snapshots with those around you.
With each print, you affirm the timeless allure of printed photography and the enduring resonance of personal narratives, encapsulated in the tangible allure of printed pictures from your HP printer.
Frequently Asked Questions about How To Print Pictures On HP Printer
Was this page helpful?
At Storables.com, we guarantee accurate and reliable information. Our content, validated by Expert Board Contributors, is crafted following stringent Editorial Policies. We're committed to providing you with well-researched, expert-backed insights for all your informational needs.

0 thoughts on “How To Print Pictures On HP Printer”