Home>Technology>Smart Home Devices>How To Reset Rollo Wireless Printer
Smart Home Devices
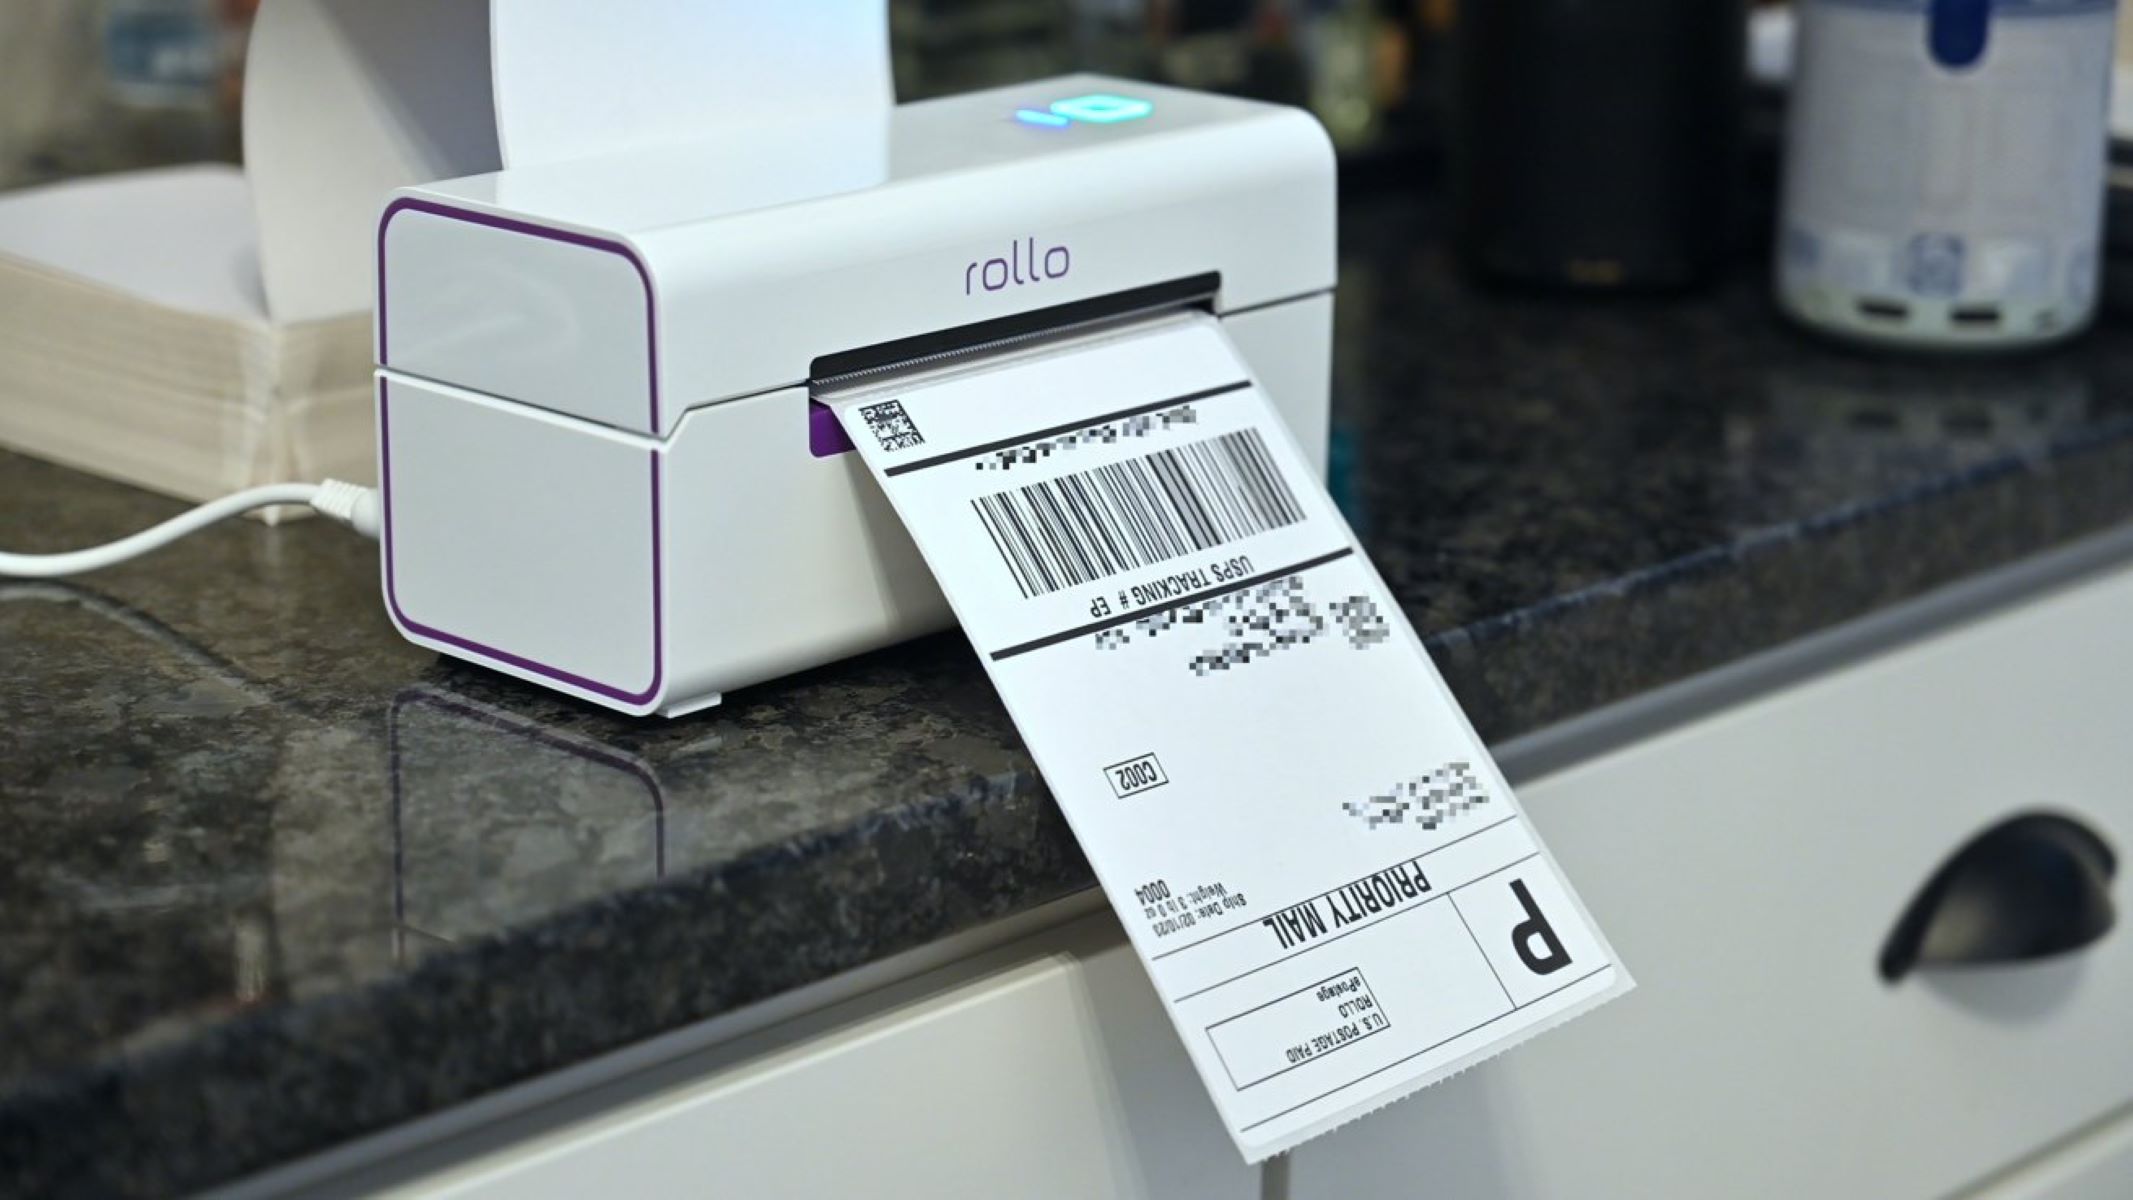
How To Reset Rollo Wireless Printer
Modified: August 17, 2024
Learn how to reset your Rollo wireless printer easily with our step-by-step guide. Keep your smart home devices running smoothly with our helpful tips.
(Many of the links in this article redirect to a specific reviewed product. Your purchase of these products through affiliate links helps to generate commission for Storables.com, at no extra cost. Learn more)
Introduction
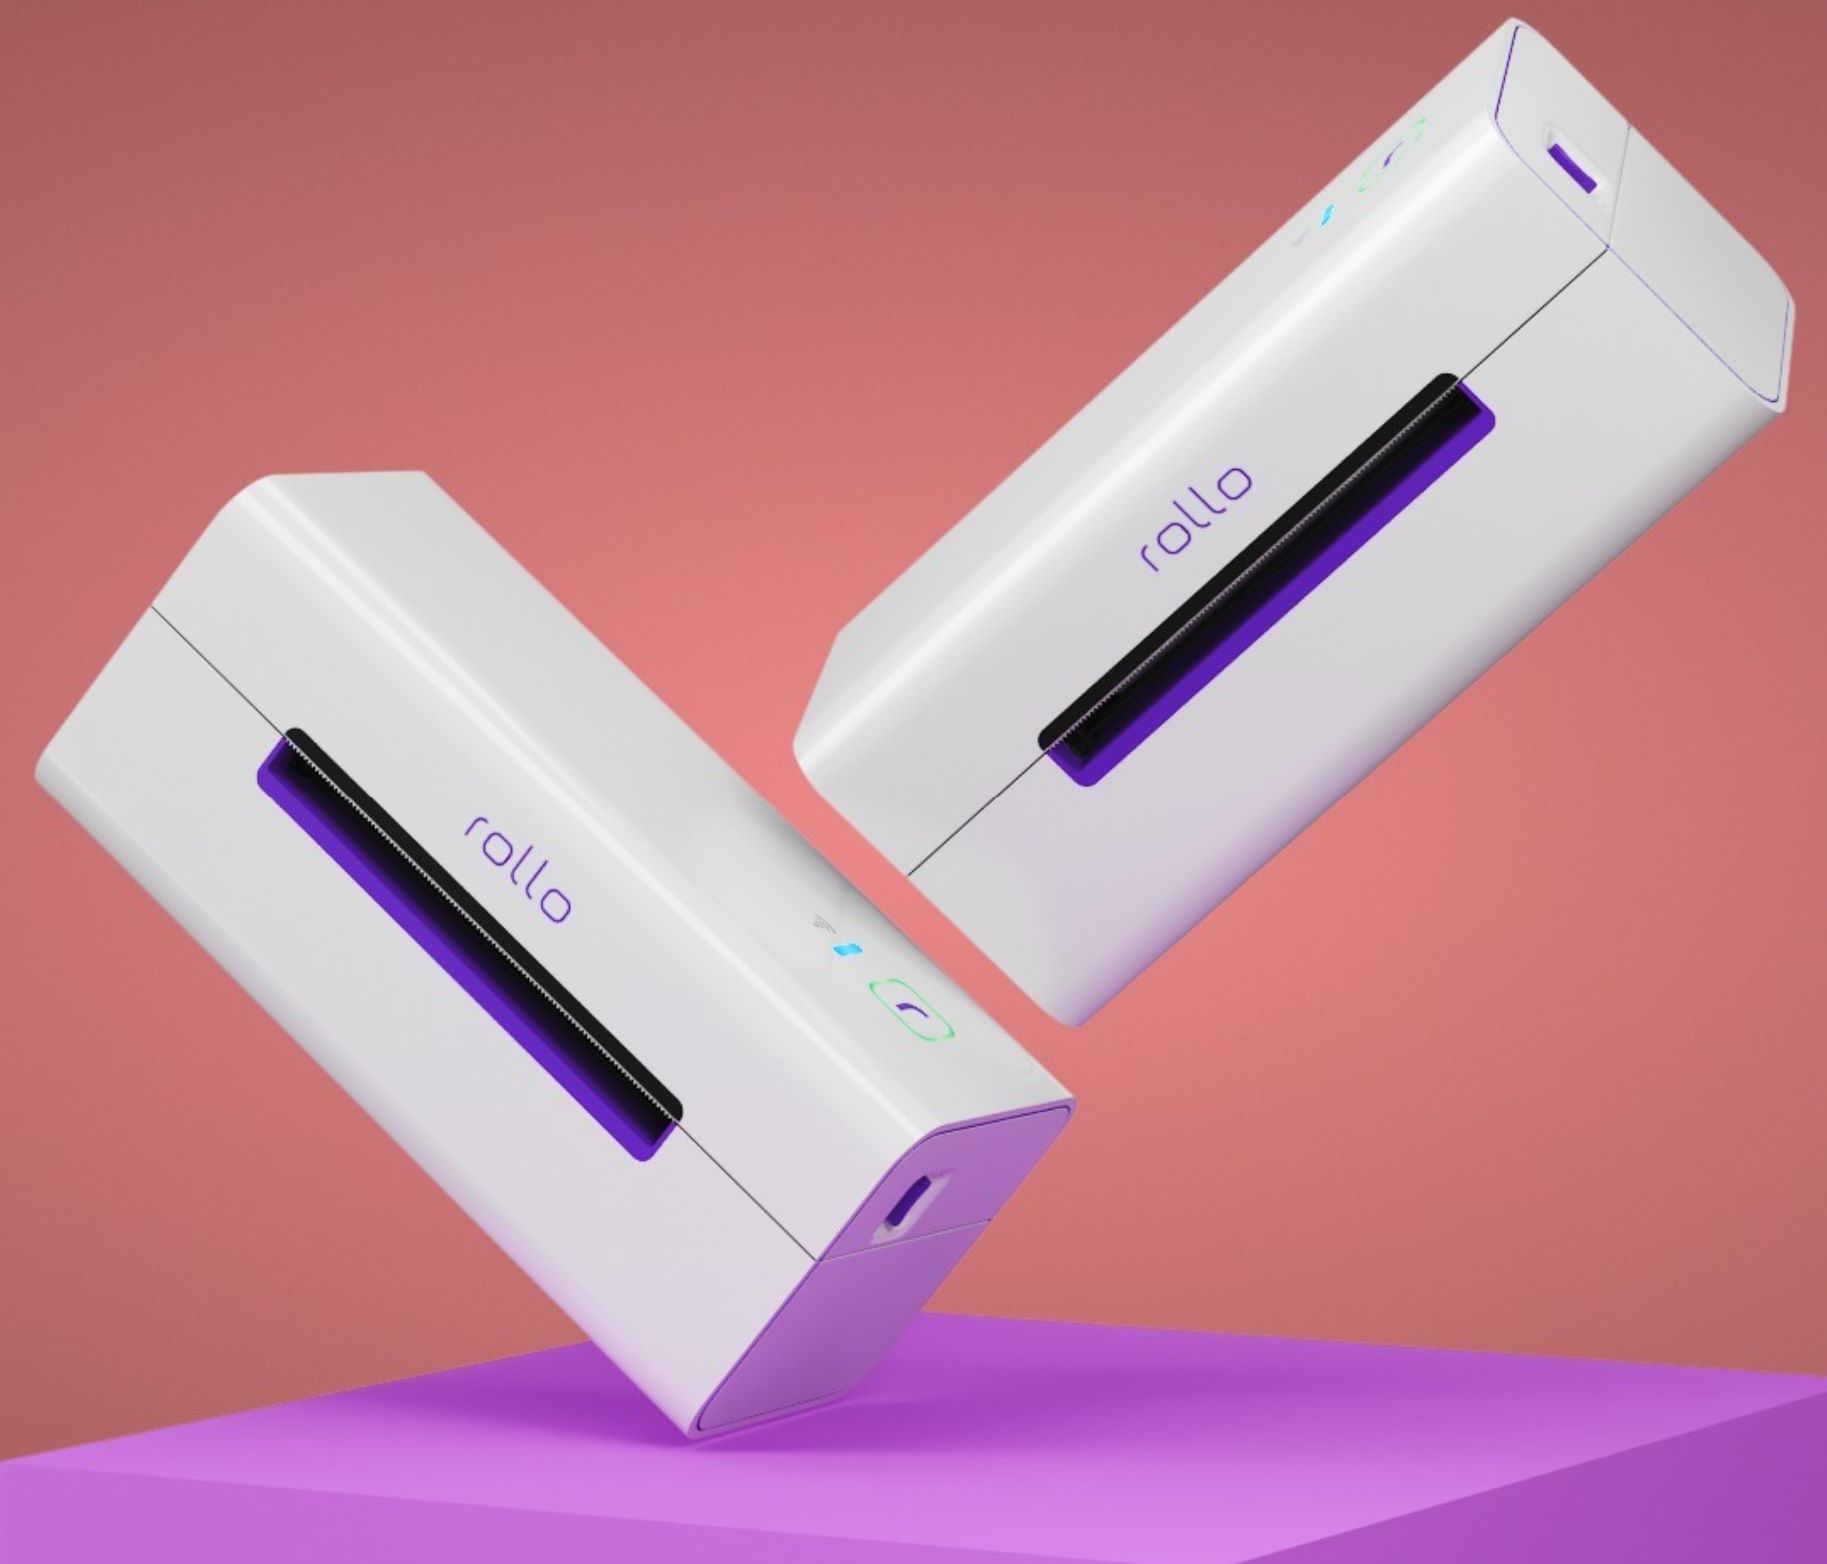
Welcome to the guide on resetting your Rollo wireless printer! Whether you are encountering connectivity issues, experiencing errors, or simply want to start afresh, resetting your Rollo wireless printer can be an effective solution. This comprehensive guide will walk you through the step-by-step process of resetting and reconnecting your Rollo printer to your Wi-Fi network, ensuring that you can resume printing with ease.
In the following sections, you will learn how to power off the printer, perform the reset, reconnect the printer to Wi-Fi, and test the printer connection. By following these instructions, you can troubleshoot common printer issues and optimize the performance of your Rollo wireless printer. Let's dive into the process and get your Rollo printer back up and running seamlessly!
Key Takeaways:
- Resetting your Rollo wireless printer is easy! Just power it off, press and hold the reset button, and reconnect to Wi-Fi for seamless printing.
- After resetting, reconnect your Rollo printer to Wi-Fi and test the connection to ensure high-quality prints. Troubleshoot and optimize for reliable performance.
Read more: How To Reset A Rollo Printer
Step 1: Powering Off the Printer
Before initiating the reset process, it is essential to power off your Rollo wireless printer. This ensures that the printer is completely disconnected from the power source, allowing for a clean reset. Follow these simple steps to power off your Rollo printer:
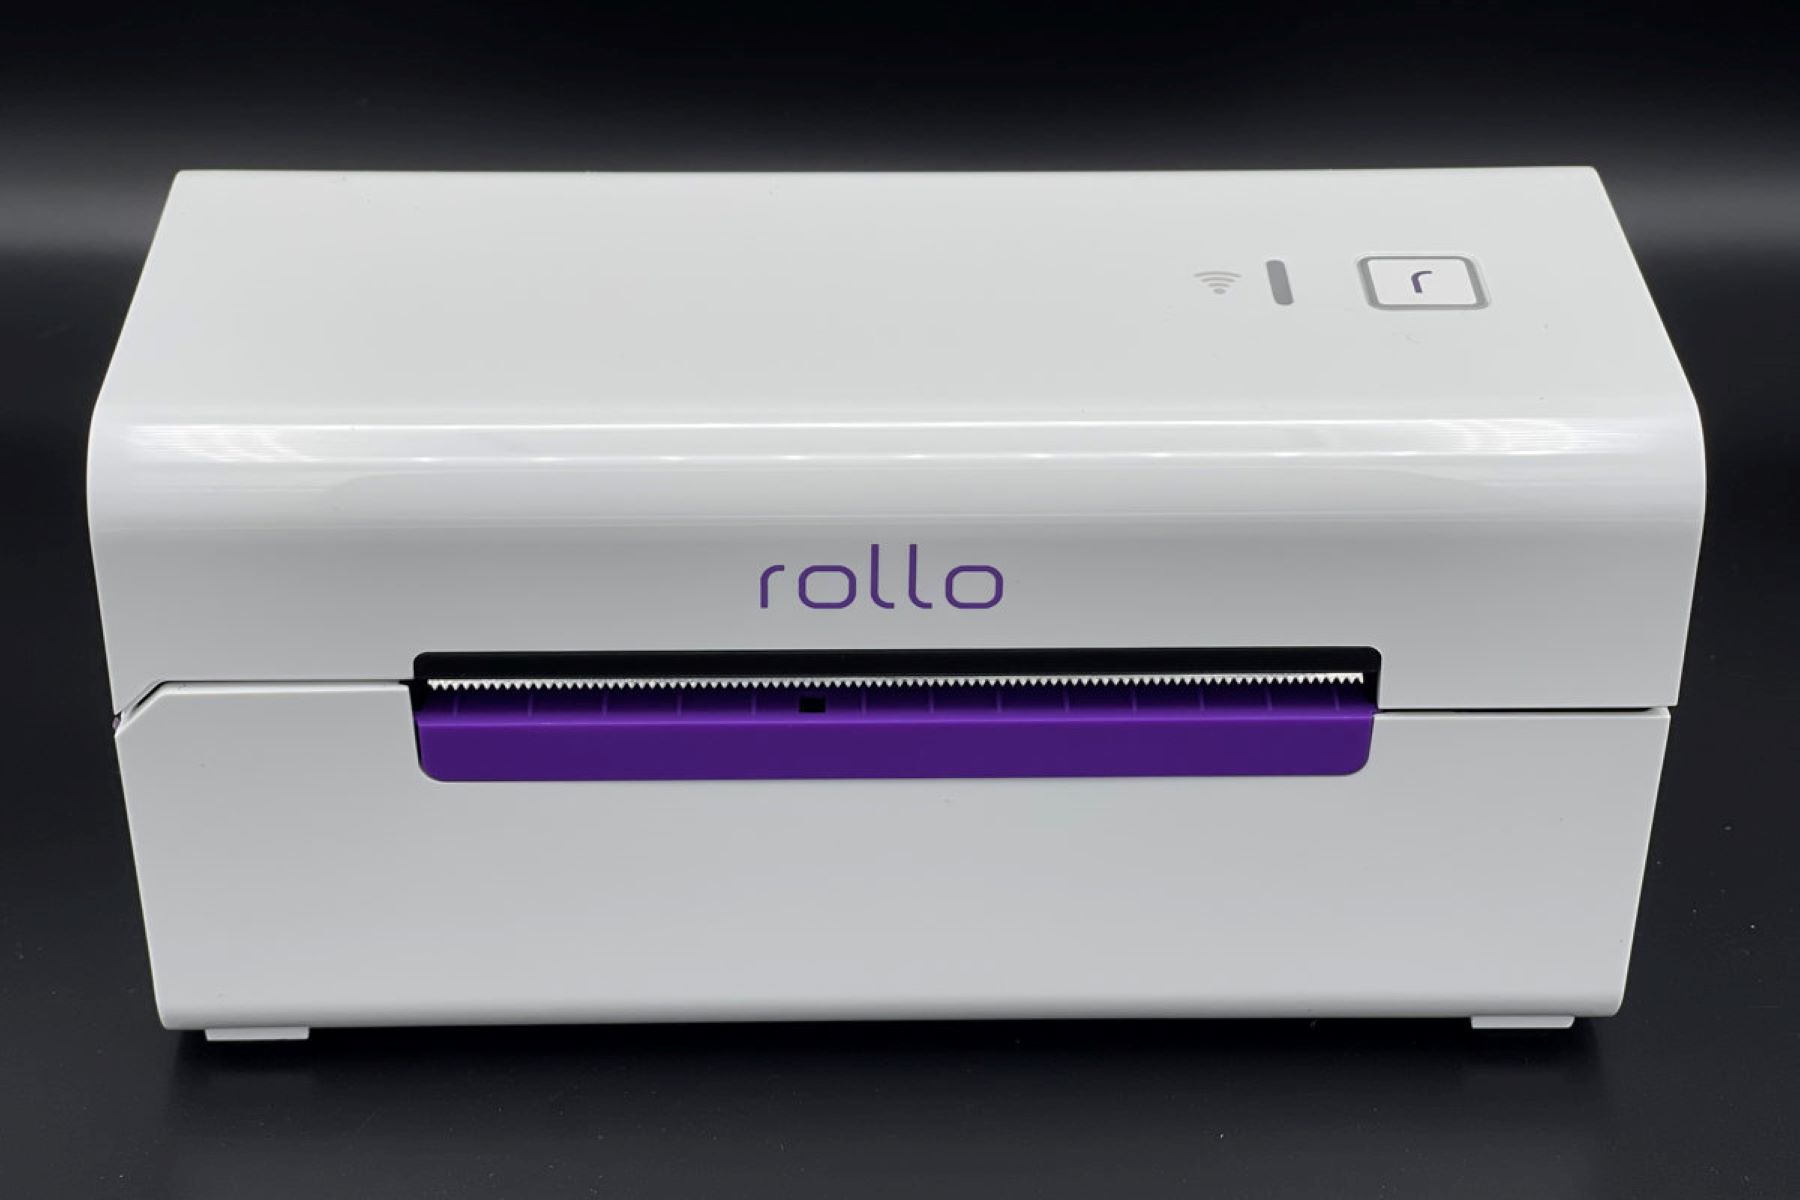
- Locate the Power Button: Depending on the model of your Rollo printer, the power button is typically located on the front or top of the device. It is often marked with the universally recognized power symbol.
- Press and Hold the Power Button: To power off the printer, press and hold the power button for a few seconds. This action initiates the shutdown process, and you may notice the printer’s indicator lights turning off.
- Unplug the Power Cord: Once the printer is powered off, safely unplug the power cord from the electrical outlet. This ensures that the printer is completely disconnected from the power source.
By following these steps, you can effectively power off your Rollo wireless printer in preparation for the reset process. Ensuring that the printer is completely disconnected from the power source is a crucial first step in the reset procedure, setting the stage for a successful reset and reconnection process.
Step 2: Resetting the Printer
Resetting your Rollo wireless printer is a straightforward process that allows you to restore the printer to its default settings, effectively clearing any existing configurations or connectivity issues. Follow these steps to perform a reset on your Rollo printer:
- Locate the Reset Button: Depending on the model of your Rollo printer, the reset button is typically situated on the back or side of the device. It may be labeled as “Reset” or indicated by a small circular cutout.
- Press and Hold the Reset Button: Using a small, pointed object such as a paperclip or pen, press and hold the reset button for approximately 10-15 seconds. This action initiates the reset process, and you may observe the printer’s indicator lights responding to the reset.
- Release the Reset Button: After holding the reset button for the specified duration, release it. The printer will now undergo the reset procedure, reverting to its default settings.
By performing these steps, you can effectively reset your Rollo wireless printer, clearing any existing configurations and preparing it for reconnection to your Wi-Fi network. The reset process is instrumental in addressing connectivity issues and ensuring that the printer can establish a stable connection with your network.
Following the reset, it is essential to proceed with reconnecting the printer to your Wi-Fi network, which will be covered in the subsequent step. By adhering to these instructions, you can streamline the reset process and optimize the performance of your Rollo wireless printer.
To reset a Rollo wireless printer, simply unplug the power cord for 10 seconds and then plug it back in. This will reset the printer and may resolve any issues you are experiencing.
Step 3: Reconnecting the Printer to Wi-Fi
Once you have successfully reset your Rollo wireless printer, the next crucial step is to reconnect it to your Wi-Fi network. This process enables the printer to establish a stable and reliable connection, allowing for seamless printing from your devices. Follow these steps to reconnect your Rollo printer to Wi-Fi:
- Access the Printer’s Wi-Fi Settings: Turn on the printer and access its settings menu. Navigate to the Wi-Fi or Network settings to initiate the reconnection process.
- Select Your Wi-Fi Network: Within the printer’s Wi-Fi settings, locate and select your Wi-Fi network from the available options. You will be prompted to enter your Wi-Fi password to authenticate the connection.
- Enter the Wi-Fi Password: Upon selecting your Wi-Fi network, enter the password using the printer’s interface. Ensure that the password is entered accurately to facilitate a successful connection.
- Confirm the Connection: Once the password is entered, confirm the connection settings. The printer will attempt to establish a connection to your Wi-Fi network, and you may observe indicator lights or on-screen prompts indicating the connection status.
By following these steps, you can effectively reconnect your Rollo wireless printer to your Wi-Fi network, enabling seamless communication between your devices and the printer. A stable Wi-Fi connection is essential for efficient printing and ensures that you can utilize the full functionality of your Rollo printer.
With the printer successfully reconnected to your Wi-Fi network, the final step involves testing the printer connection to verify its functionality, which will be covered in the subsequent section. By completing the reconnection process, you can optimize the performance of your Rollo wireless printer and resume printing with confidence.
Step 4: Testing the Printer Connection
After resetting and reconnecting your Rollo wireless printer to your Wi-Fi network, it is essential to test the printer connection to ensure that it is fully operational. This step allows you to verify the successful reconnection and address any potential issues before resuming regular printing tasks. Follow these steps to test the printer connection:
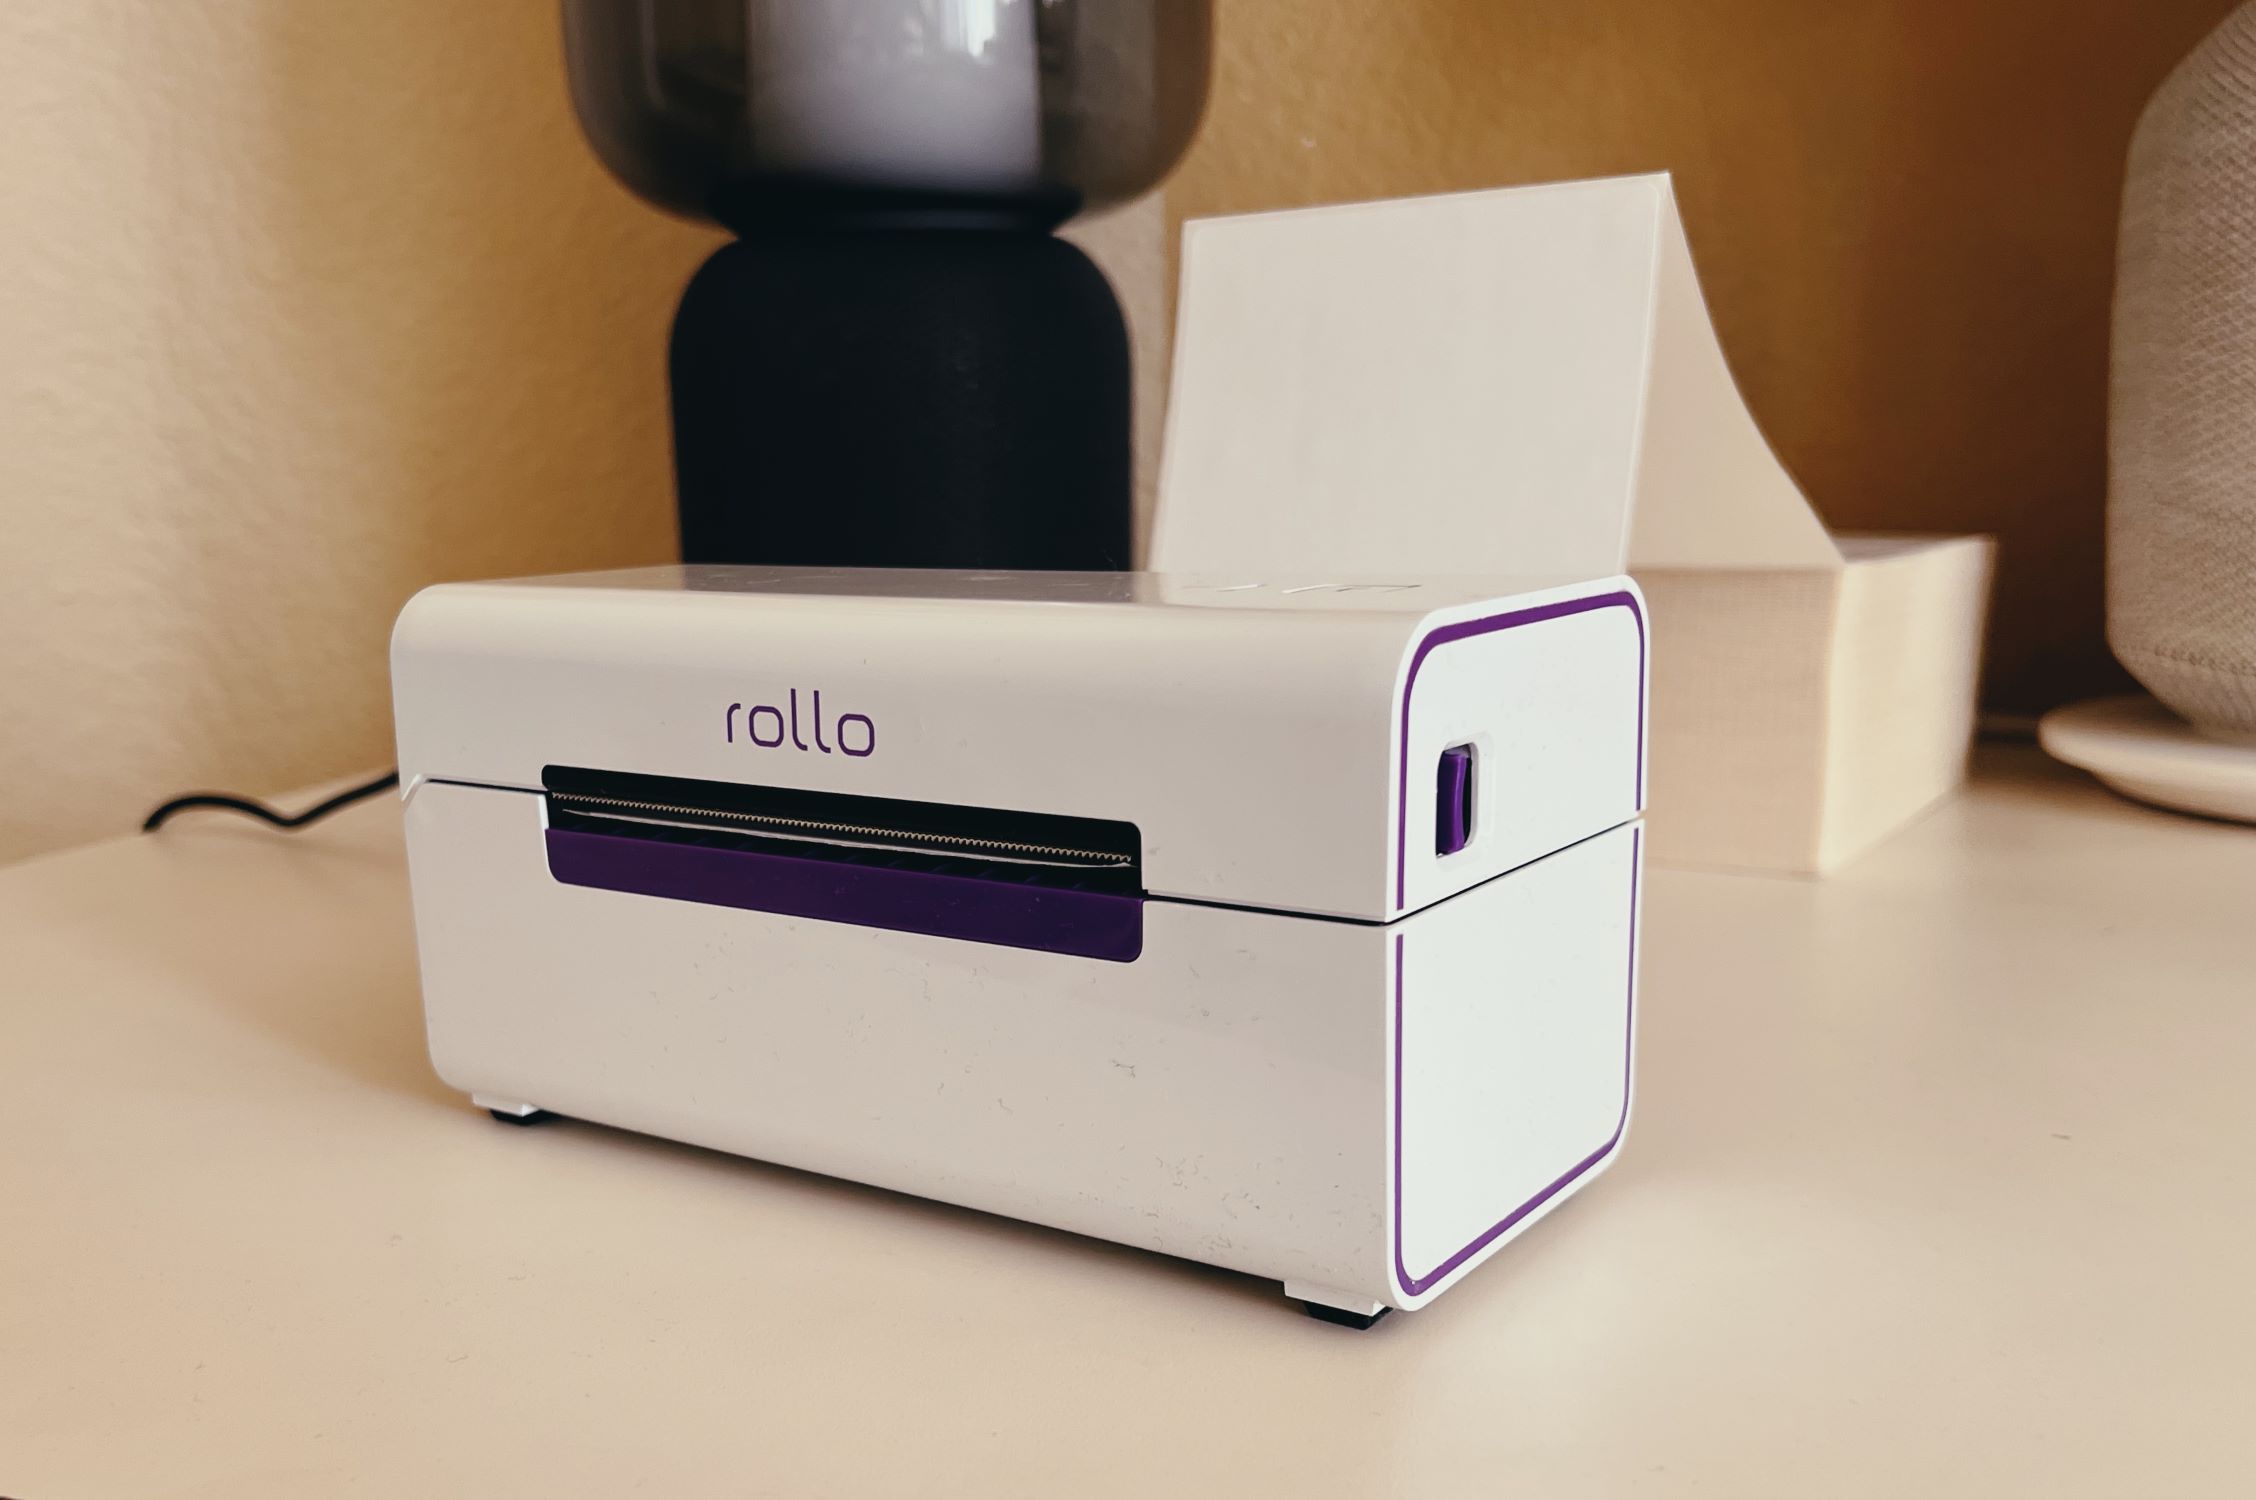
- Print a Test Page: Using a connected device such as a computer or mobile device, send a print command to the Rollo printer. This can be achieved by selecting a document or image and choosing the Rollo printer as the designated output device.
- Verify the Print Output: Once the print command is initiated, observe the printer as it processes the print job. Ensure that the printed output is clear, legible, and free from any distortions or errors.
- Check for Connectivity Issues: If the print job encounters any connectivity issues or the output is unsatisfactory, review the printer’s connectivity settings and ensure that it is securely connected to your Wi-Fi network.
- Addressing Print Quality Concerns: If the print output exhibits quality issues, such as faint text or incomplete images, consider performing maintenance tasks such as printhead cleaning to optimize print quality.
By following these steps, you can effectively test the printer connection of your Rollo wireless printer, ensuring that it is fully operational and capable of producing high-quality prints. Addressing any connectivity or print quality concerns at this stage allows you to fine-tune the printer’s settings and optimize its performance for future printing tasks.
With the printer connection successfully tested and verified, you can proceed with confidence, knowing that your Rollo wireless printer is ready to fulfill your printing needs effectively and reliably.
Read more: How To Add Rollo Printer
Conclusion
Congratulations on successfully resetting and reconnecting your Rollo wireless printer! By following the comprehensive steps outlined in this guide, you have effectively addressed connectivity issues and optimized the performance of your printer. Resetting the printer, reconnecting it to your Wi-Fi network, and testing the printer connection are essential processes that ensure seamless printing capabilities.
It is important to note that the reset and reconnection process may vary slightly based on the specific model of your Rollo printer. Always refer to the manufacturer’s instructions and guidelines for detailed information tailored to your printer model.
By adhering to the steps outlined in this guide, you have empowered yourself to troubleshoot common printer issues and maintain the optimal functionality of your Rollo wireless printer. Whether you are printing shipping labels, receipts, or other documents, a stable and reliable printer connection is essential for achieving consistent and high-quality results.
Should you encounter any persistent issues with your Rollo printer, consider reaching out to the manufacturer’s support resources for further assistance. Additionally, staying informed about firmware updates and maintenance recommendations can contribute to the long-term reliability and performance of your printer.
With your Rollo wireless printer reset, reconnected, and ready for action, you can confidently embark on your printing tasks, knowing that your printer is primed for optimal performance. Thank you for entrusting us with the opportunity to guide you through this process, and we wish you continued success in your printing endeavors!
Frequently Asked Questions about How To Reset Rollo Wireless Printer
Was this page helpful?
At Storables.com, we guarantee accurate and reliable information. Our content, validated by Expert Board Contributors, is crafted following stringent Editorial Policies. We're committed to providing you with well-researched, expert-backed insights for all your informational needs.
0 thoughts on “How To Reset Rollo Wireless Printer”