Home>Technology>Smart Home Devices>How To Install A Wireless Printer On Windows 8
Smart Home Devices
How To Install A Wireless Printer On Windows 8
Modified: January 9, 2024
Learn how to easily install a wireless printer on your Windows 8 computer and streamline your smart home devices setup. Simplify your printing process today!
(Many of the links in this article redirect to a specific reviewed product. Your purchase of these products through affiliate links helps to generate commission for Storables.com, at no extra cost. Learn more)
Introduction
Welcome to the exciting world of wireless printing! Setting up a wireless printer on your Windows 8 device is a convenient and efficient way to streamline your printing experience. By eliminating the need for cumbersome cables and allowing you to print from multiple devices, a wireless printer adds a new dimension of flexibility to your home or office setup.
In this comprehensive guide, we will walk you through the step-by-step process of installing a wireless printer on your Windows 8 system. Whether you're a tech-savvy enthusiast or a novice user, this article is designed to provide you with clear and concise instructions to ensure a smooth and successful installation.
So, grab your favorite beverage, settle into a comfortable chair, and let's embark on this wireless printing journey together. By the end of this guide, you'll be ready to unleash the full potential of your wireless printer and enjoy the convenience of printing from anywhere within your Wi-Fi network.
Key Takeaways:
- Setting up a wireless printer on Windows 8 is easy! Just follow the steps to prepare the printer, connect it to your Wi-Fi, install the software, and add it to your computer. Then, enjoy the freedom of wireless printing!
- With a wireless printer, you can print from anywhere within your Wi-Fi network. It’s convenient, flexible, and eliminates the need for cables. Embrace the world of wireless printing and unleash your creativity!
Read more: How To Connect A Printer To Windows 8
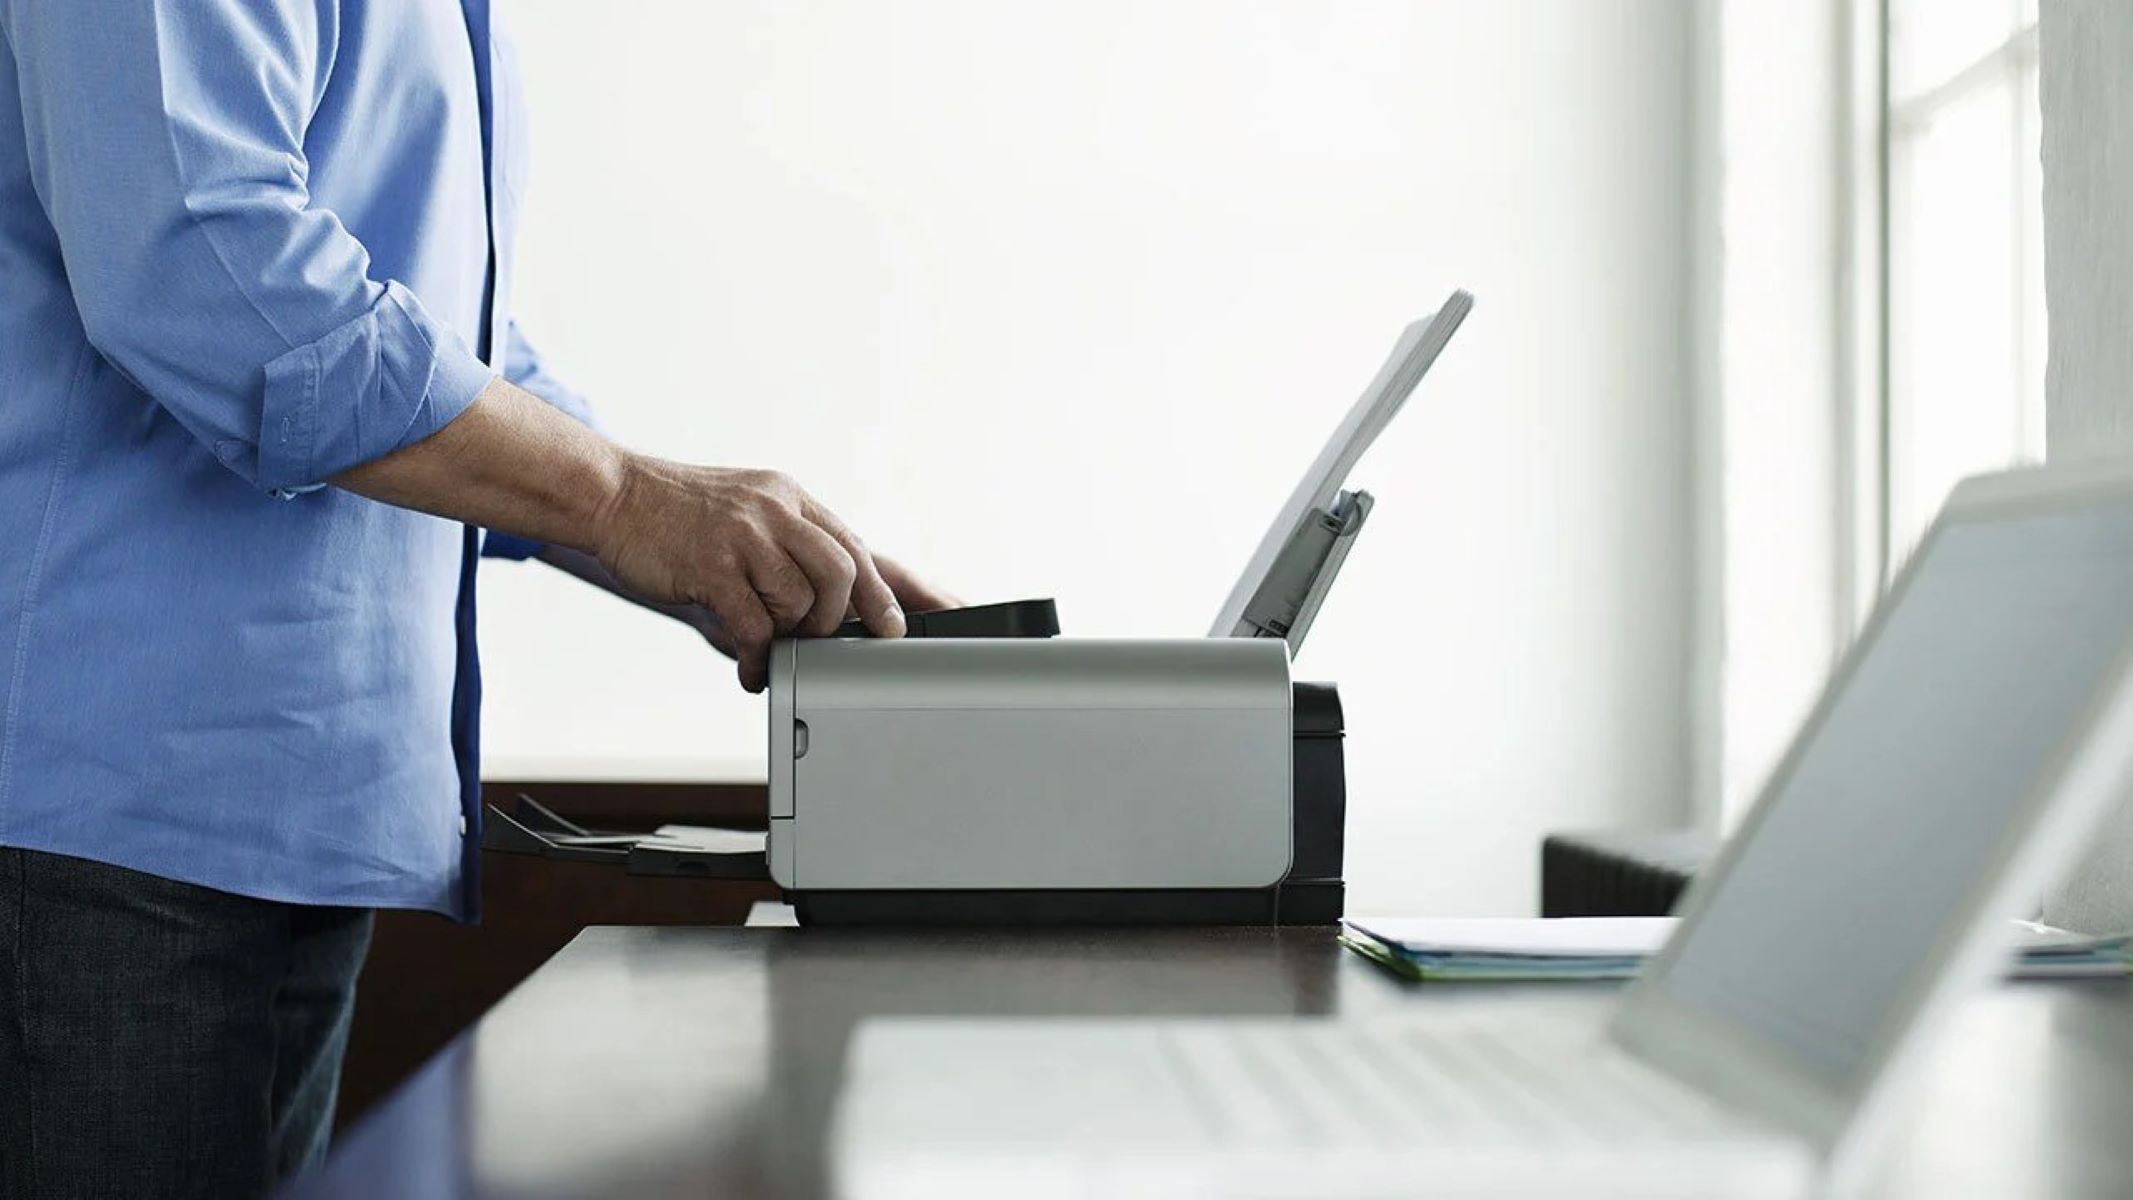
Step 1: Prepare Your Wireless Printer
Before diving into the installation process, it’s essential to ensure that your wireless printer is ready for setup. Here are the key preparatory steps to follow:
- Unboxing and Inspection: Carefully unbox your wireless printer and inspect it for any visible damage that may have occurred during shipping. Ensure that all the components, including the power cable, ink cartridges, and documentation, are present and in good condition.
- Placement: Select an optimal location for your printer within the range of your Wi-Fi network. It’s advisable to place the printer in a well-ventilated area with easy access for paper refills and maintenance.
- Power Connection: Connect the power cable to the printer and plug it into a power outlet. Power on the printer and allow it to initialize.
- Ink and Paper Installation: If your printer didn’t come pre-installed with ink cartridges and paper, carefully follow the manufacturer’s instructions to install the ink cartridges and load the paper into the input tray.
- Printer Display: If your printer features a display panel, navigate through the initial setup options to configure language, date, time, and any other relevant settings.
By completing these preparatory steps, you’ll ensure that your wireless printer is primed and ready for the subsequent phases of the installation process. With the groundwork laid, you’re now set to move on to the next crucial step: connecting the printer to your Wi-Fi network.
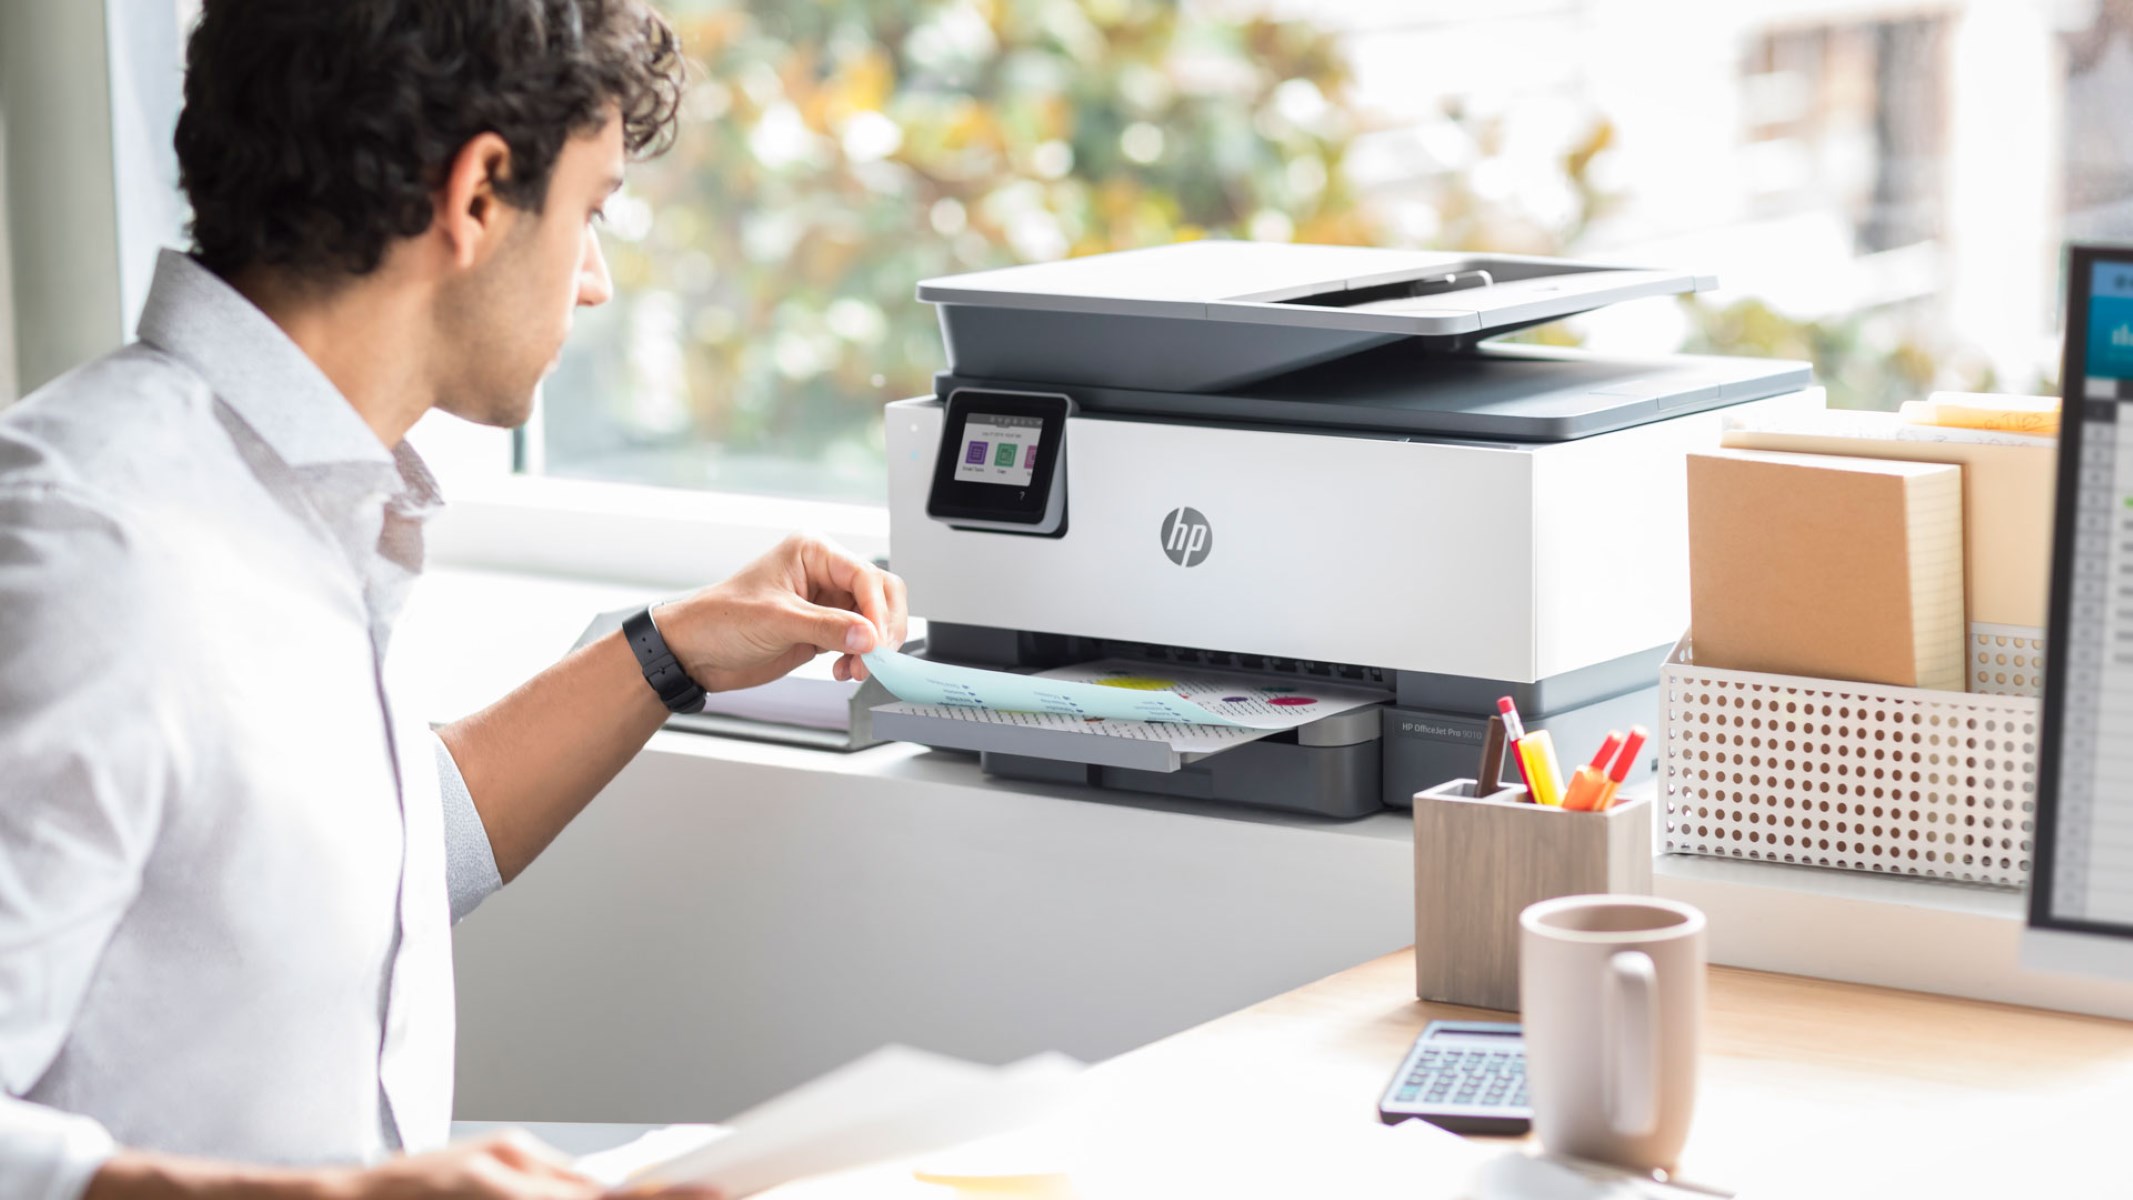
Step 2: Connect the Printer to Your Wi-Fi Network
Connecting your wireless printer to your Wi-Fi network is a pivotal stage in the installation process. By establishing this connection, you enable seamless printing from any device within the network. Here’s a detailed guide to help you through this essential step:
- Access the Printer’s Settings: On the printer’s control panel or display, locate the network or wireless settings. The exact navigation may vary depending on the printer model, so refer to the user manual for specific instructions.
- Wi-Fi Setup Wizard: Many modern wireless printers feature a Wi-Fi setup wizard that assists in connecting to your network. Follow the on-screen prompts to select your Wi-Fi network from the available options and enter the network password when prompted.
- Manual Network Configuration: If your printer doesn’t have a setup wizard or if you prefer manual configuration, you can enter your Wi-Fi network’s SSID (network name) and password directly into the printer’s settings. This information is typically found on the back or bottom of your router.
- Verification: Once you’ve entered the network details, the printer will attempt to connect to the Wi-Fi network. Verify that the connection is successful by checking for a confirmation message on the printer’s display or by printing a network configuration report.
After successfully connecting your wireless printer to the Wi-Fi network, it’s time to move on to the next step: installing the printer software on your Windows 8 system. This software will facilitate seamless communication between your computer and the wireless printer, enabling you to send print jobs effortlessly from your Windows 8 device.
Make sure your wireless printer is turned on and connected to the same Wi-Fi network as your Windows 8 computer. Then, go to the Control Panel, select “Devices and Printers,” and click “Add a printer.” Follow the on-screen instructions to complete the installation.
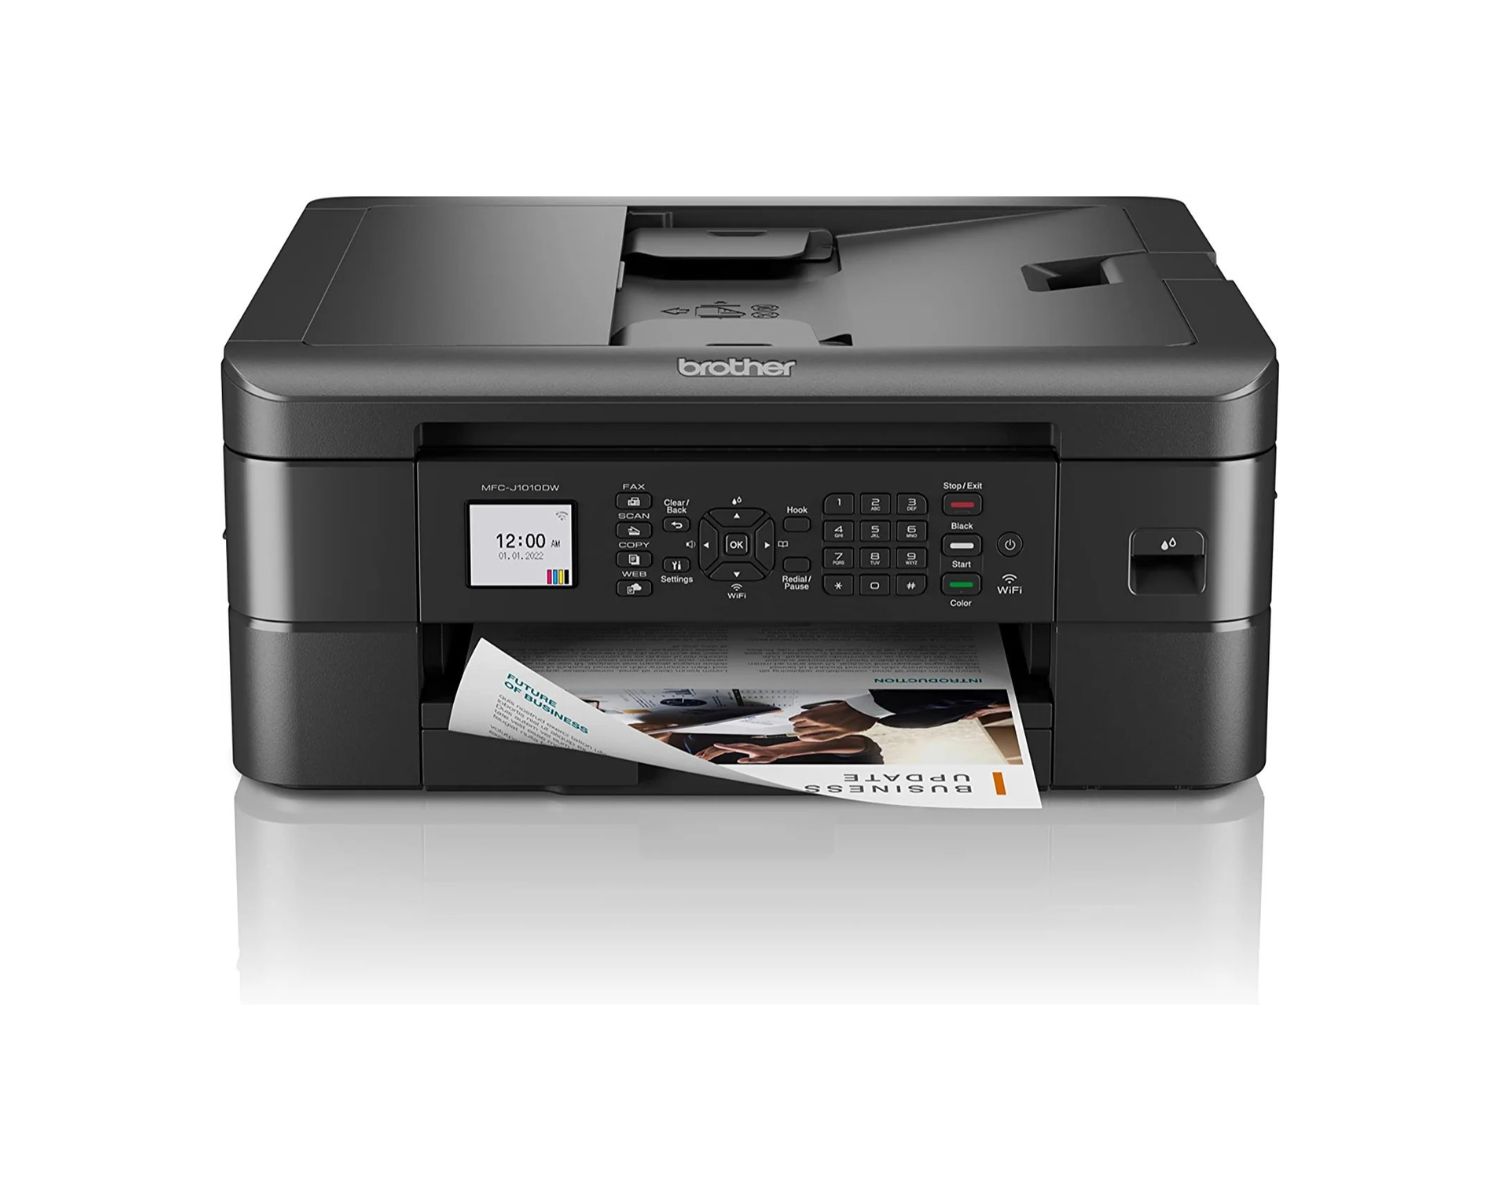
Step 3: Install Printer Software on Windows 8
Installing the printer software on your Windows 8 system is a crucial step that enables your computer to communicate effectively with the wireless printer. By following the manufacturer’s recommended software installation process, you can ensure a seamless printing experience. Here’s a detailed walkthrough to guide you through this essential phase:
- Download the Software: Visit the printer manufacturer’s official website to locate the appropriate software for your printer model. Look for the specific software package designed for Windows 8 compatibility. Download the software to a convenient location on your computer, such as the desktop or downloads folder.
- Run the Installer: Locate the downloaded software package and double-click to run the installer. Follow the on-screen prompts to initiate the installation process. It’s important to read and review any accompanying documentation or license agreements during the installation.
- Customize Installation (if applicable): Some printer software packages offer customization options during installation. You may be able to select specific components or features to install based on your preferences. Consider any additional software or utilities that may enhance your printing experience.
- Complete the Installation: Once the installation process is initiated, allow the software to complete the installation. This may involve driver installation, software configuration, and network setup. Ensure that your computer remains powered on and connected to the network throughout the installation.
- Verify Software Functionality: After the installation is complete, verify that the printer software is functioning correctly. You may find a new printer icon or utility in your Windows 8 system settings, indicating successful installation. Additionally, check for any available software updates or firmware upgrades for your printer.
With the printer software successfully installed on your Windows 8 system, you’re now ready to proceed to the final step: adding the wireless printer to Windows 8. This last phase will integrate your wireless printer seamlessly into your Windows 8 environment, allowing you to print effortlessly from your computer.
Step 4: Add Wireless Printer to Windows 8
Adding your wireless printer to your Windows 8 system is the final step in the installation process, bringing everything together to enable seamless printing from your computer. By following these steps, you’ll integrate your wireless printer into your Windows 8 environment, allowing you to print documents, photos, and more with ease.
- Open Devices and Printers: From the Windows 8 desktop, navigate to the Control Panel and select “Devices and Printers.” This section allows you to manage the devices connected to your computer, including printers.
- Add a Printer: Within the Devices and Printers window, select “Add a printer” from the top menu. Windows will begin searching for available printers on your network.
- Locate Your Printer: Windows will display a list of available printers detected on your network. Look for your wireless printer in the list. If it doesn’t appear, ensure that the printer is powered on and connected to the same Wi-Fi network as your Windows 8 computer.
- Install Printer Software (if prompted): If Windows prompts you to install the printer software, follow the on-screen instructions to complete the installation. This may involve downloading and installing additional drivers or software components to ensure proper functionality.
- Set as Default (Optional): Once your wireless printer is successfully added to Windows 8, you have the option to set it as the default printer. This means that any print jobs from your computer will be sent to this printer by default, unless specified otherwise.
With your wireless printer successfully added to your Windows 8 system, you’re now ready to enjoy the convenience of wireless printing. Whether you’re printing documents for work, school assignments, or creative projects, your wireless printer is poised to deliver exceptional printing performance with the flexibility of wireless connectivity.
Congratulations on completing the installation process! You’ve successfully integrated your wireless printer into your Windows 8 environment, unlocking a world of printing possibilities right at your fingertips.
Read more: How To Get A Printer Online On Windows 8
Conclusion
Congratulations on successfully installing your wireless printer on your Windows 8 system! By following the comprehensive steps outlined in this guide, you’ve empowered yourself to enjoy the convenience and flexibility of wireless printing. With your wireless printer seamlessly integrated into your Windows 8 environment, you’re now equipped to unleash your creativity and productivity without the constraints of traditional wired connections.
Embracing wireless printing opens up a world of possibilities, allowing you to print from multiple devices within your Wi-Fi network effortlessly. Whether it’s printing documents, photos, or creative projects, your wireless printer is ready to bring your ideas to life with exceptional printing quality and reliability.
As you embark on your wireless printing journey, remember to keep your printer software up to date and explore the various printing options and settings available to optimize your printing experience. Additionally, consider leveraging the convenience of mobile printing apps and cloud printing services to further expand your printing capabilities.
Should you encounter any challenges or have questions about your wireless printer in the future, don’t hesitate to refer back to this guide for troubleshooting tips or seek assistance from the printer manufacturer’s support resources. With the right knowledge and resources at your disposal, you can continue to enjoy seamless printing experiences with your wireless printer.
Thank you for joining us on this wireless printing adventure. We hope this guide has provided you with valuable insights and practical instructions to make the most of your wireless printer on your Windows 8 system. Here’s to effortless printing and the freedom of wireless connectivity!
Frequently Asked Questions about How To Install A Wireless Printer On Windows 8
Was this page helpful?
At Storables.com, we guarantee accurate and reliable information. Our content, validated by Expert Board Contributors, is crafted following stringent Editorial Policies. We're committed to providing you with well-researched, expert-backed insights for all your informational needs.


0 thoughts on “How To Install A Wireless Printer On Windows 8”