Home>Technology>Smart Home Devices>How To Connect IPad To A Wireless Printer

Smart Home Devices
How To Connect IPad To A Wireless Printer
Modified: February 18, 2024
Learn how to easily connect your iPad to a wireless printer and start printing from your smart home devices. Streamline your printing process with these simple steps.
(Many of the links in this article redirect to a specific reviewed product. Your purchase of these products through affiliate links helps to generate commission for Storables.com, at no extra cost. Learn more)
Introduction
In today's digital age, the ability to seamlessly connect and print from various devices has become a necessity. With the increasing reliance on mobile technology, the demand for printing from iPads has surged. Whether it's for school projects, work documents, or personal use, being able to connect an iPad to a wireless printer offers unparalleled convenience.
The process of connecting an iPad to a wireless printer may seem daunting at first, but with the right guidance, it can be a straightforward and rewarding experience. This comprehensive guide will walk you through the essential steps to effortlessly connect your iPad to a wireless printer. By following these steps, you can unlock the full potential of your iPad and streamline your printing tasks with ease.
So, if you're ready to delve into the world of wireless printing and harness the power of your iPad, let's embark on this enlightening journey together. Get ready to revolutionize the way you print and embrace the seamless integration of your iPad with a wireless printer.
Key Takeaways:
- Embrace the convenience of wireless printing from your iPad by ensuring your printer is AirPrint-compatible and connected to your Wi-Fi network. Install the official printer app for enhanced features and seamless printing experience.
- Seamlessly bridge the digital and physical worlds by following simple steps to print from your iPad to a wireless printer. Enjoy the versatility and convenience of producing tangible outputs from your digital content.
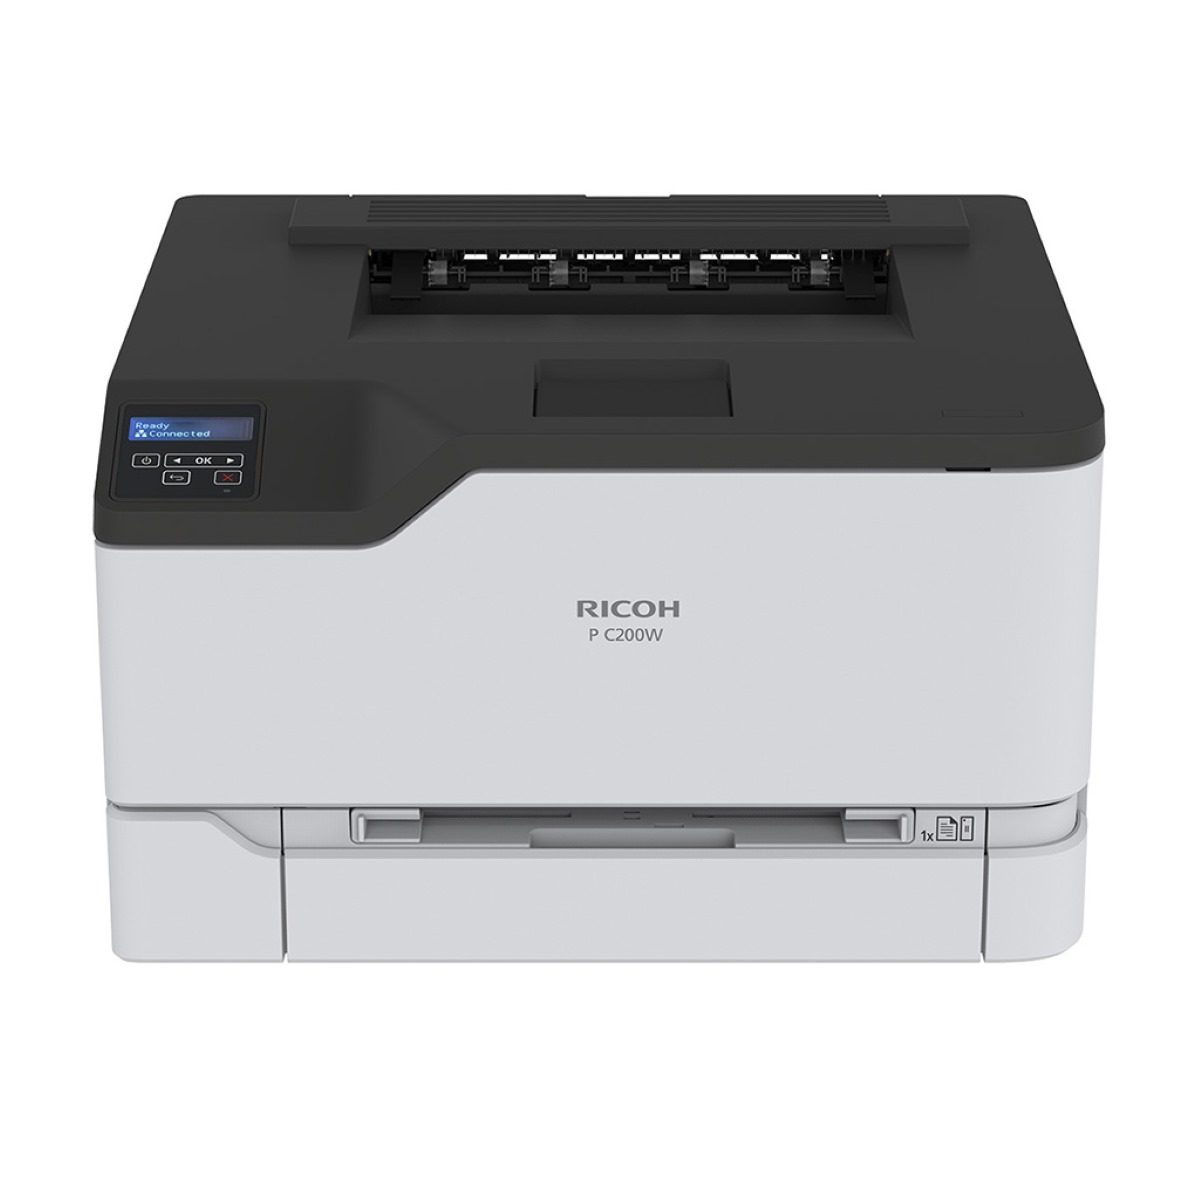
Step 1: Check Printer Compatibility
Before initiating the connection process, it is crucial to ensure that your printer is compatible with wireless printing from an iPad. Most modern wireless printers are designed to be compatible with mobile devices, including iPads, but it's always wise to double-check.
Firstly, ascertain that your printer supports AirPrint, which is Apple’s proprietary wireless printing technology. AirPrint-compatible printers seamlessly integrate with iPads and other Apple devices, allowing for effortless printing without the need for additional software or drivers.
To confirm compatibility, refer to the printer’s specifications and documentation. Look for references to AirPrint or wireless printing capabilities. Additionally, you can visit the printer manufacturer’s website or contact their customer support for detailed information on compatibility with iPads.
If your printer does not support AirPrint, don’t fret. There are alternative methods to enable wireless printing from your iPad, such as using third-party printing apps or setting up the printer through a wireless network. However, for the smoothest and most user-friendly experience, opting for an AirPrint-compatible printer is highly recommended.
By ensuring that your printer is compatible with wireless printing from an iPad, you can lay a solid foundation for a seamless and hassle-free printing experience. With compatibility confirmed, you are ready to proceed to the next step of connecting your printer to your Wi-Fi network.
Step 2: Connect Printer to Wi-Fi Network
Connecting your wireless printer to your Wi-Fi network is a pivotal step in enabling seamless printing from your iPad. This process varies depending on the printer model, but the general principles remain consistent.
Begin by ensuring that your printer is powered on and ready for setup. Access the printer’s control panel or display screen to navigate to the wireless or network settings. Here, you will find the option to connect the printer to your Wi-Fi network.
Next, select your Wi-Fi network from the available list of networks displayed on the printer’s interface. If prompted, enter the Wi-Fi network password to authenticate the connection. Once the printer successfully connects to the Wi-Fi network, it is ready to receive print jobs from your iPad over the same network.
It is important to note that some printers may require the installation of specific software or drivers on a computer to facilitate the Wi-Fi setup process. Refer to the printer’s manual or online resources for detailed instructions tailored to your printer model.
After completing the Wi-Fi setup, it is advisable to print a test page from a computer or any device connected to the same Wi-Fi network to confirm that the printer is successfully linked to the network and operational.
With your printer seamlessly connected to your Wi-Fi network, you have cleared a significant hurdle in the journey towards enabling wireless printing from your iPad. The next step involves installing a compatible printer app on your iPad to facilitate the printing process.
Make sure your iPad and wireless printer are connected to the same Wi-Fi network. Then, go to the “Settings” on your iPad, select “Wi-Fi,” and choose your printer from the list of available devices. Follow the on-screen instructions to complete the setup.
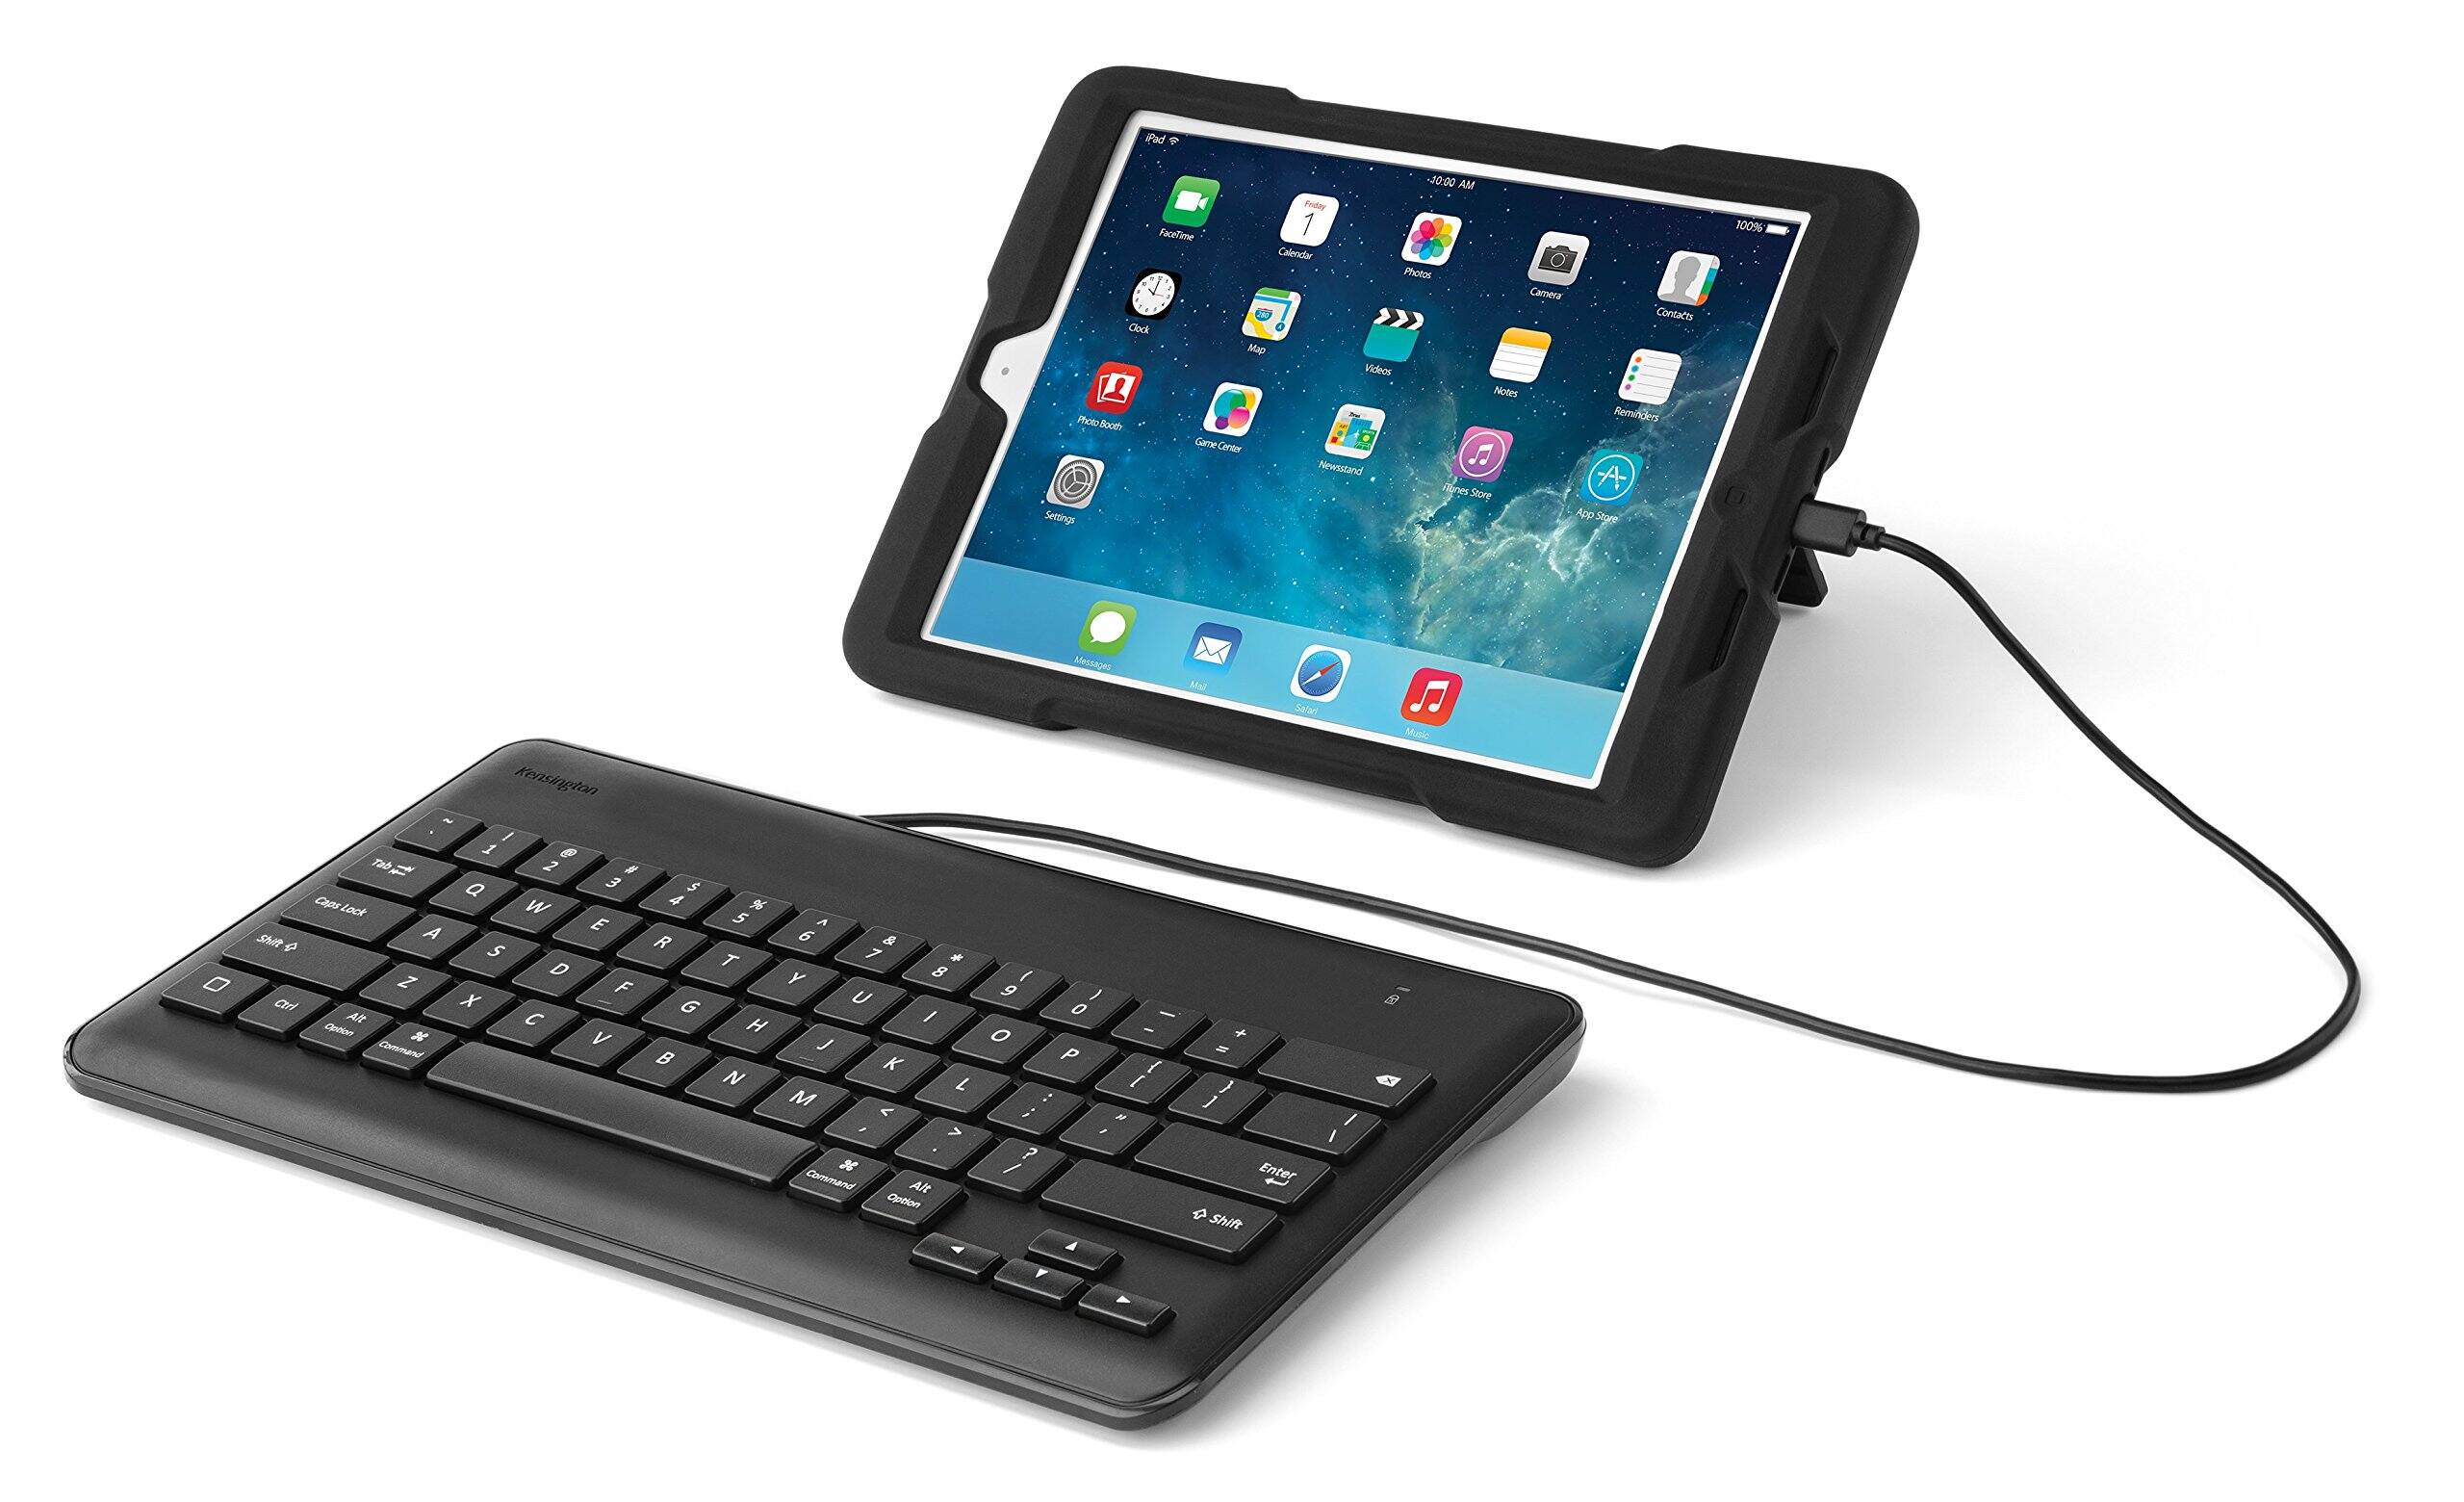
Step 3: Install Printer App on iPad
With your wireless printer connected to the Wi-Fi network, the next crucial step is to install a compatible printer app on your iPad. While iPads are equipped with built-in support for AirPrint, installing the corresponding printer app can enhance the printing experience by offering additional features and customization options.
Start by accessing the App Store on your iPad and search for the official app provided by the manufacturer of your wireless printer. Many leading printer manufacturers offer dedicated apps designed to seamlessly integrate their printers with iOS devices, providing a user-friendly interface for managing print jobs and accessing advanced printing settings.
Once you have identified the official printer app, proceed to download and install it on your iPad. During the installation process, ensure that the app is granted the necessary permissions to access your iPad’s network and printing capabilities.
After the installation is complete, launch the printer app and follow any on-screen prompts to configure the app to work with your specific printer model and your Wi-Fi network. This may involve selecting your printer from a list of available devices and confirming the network connection settings.
Additionally, the printer app may offer features such as ink or toner level monitoring, maintenance alerts, and the ability to print directly from cloud storage services or email attachments. Familiarize yourself with the app’s functionalities to leverage its full potential for efficient and convenient printing from your iPad.
By installing the official printer app on your iPad, you are enhancing the printing capabilities of your device and ensuring seamless compatibility with your wireless printer. With the app in place, you are now poised to embark on the final step of printing from your iPad with ease and efficiency.
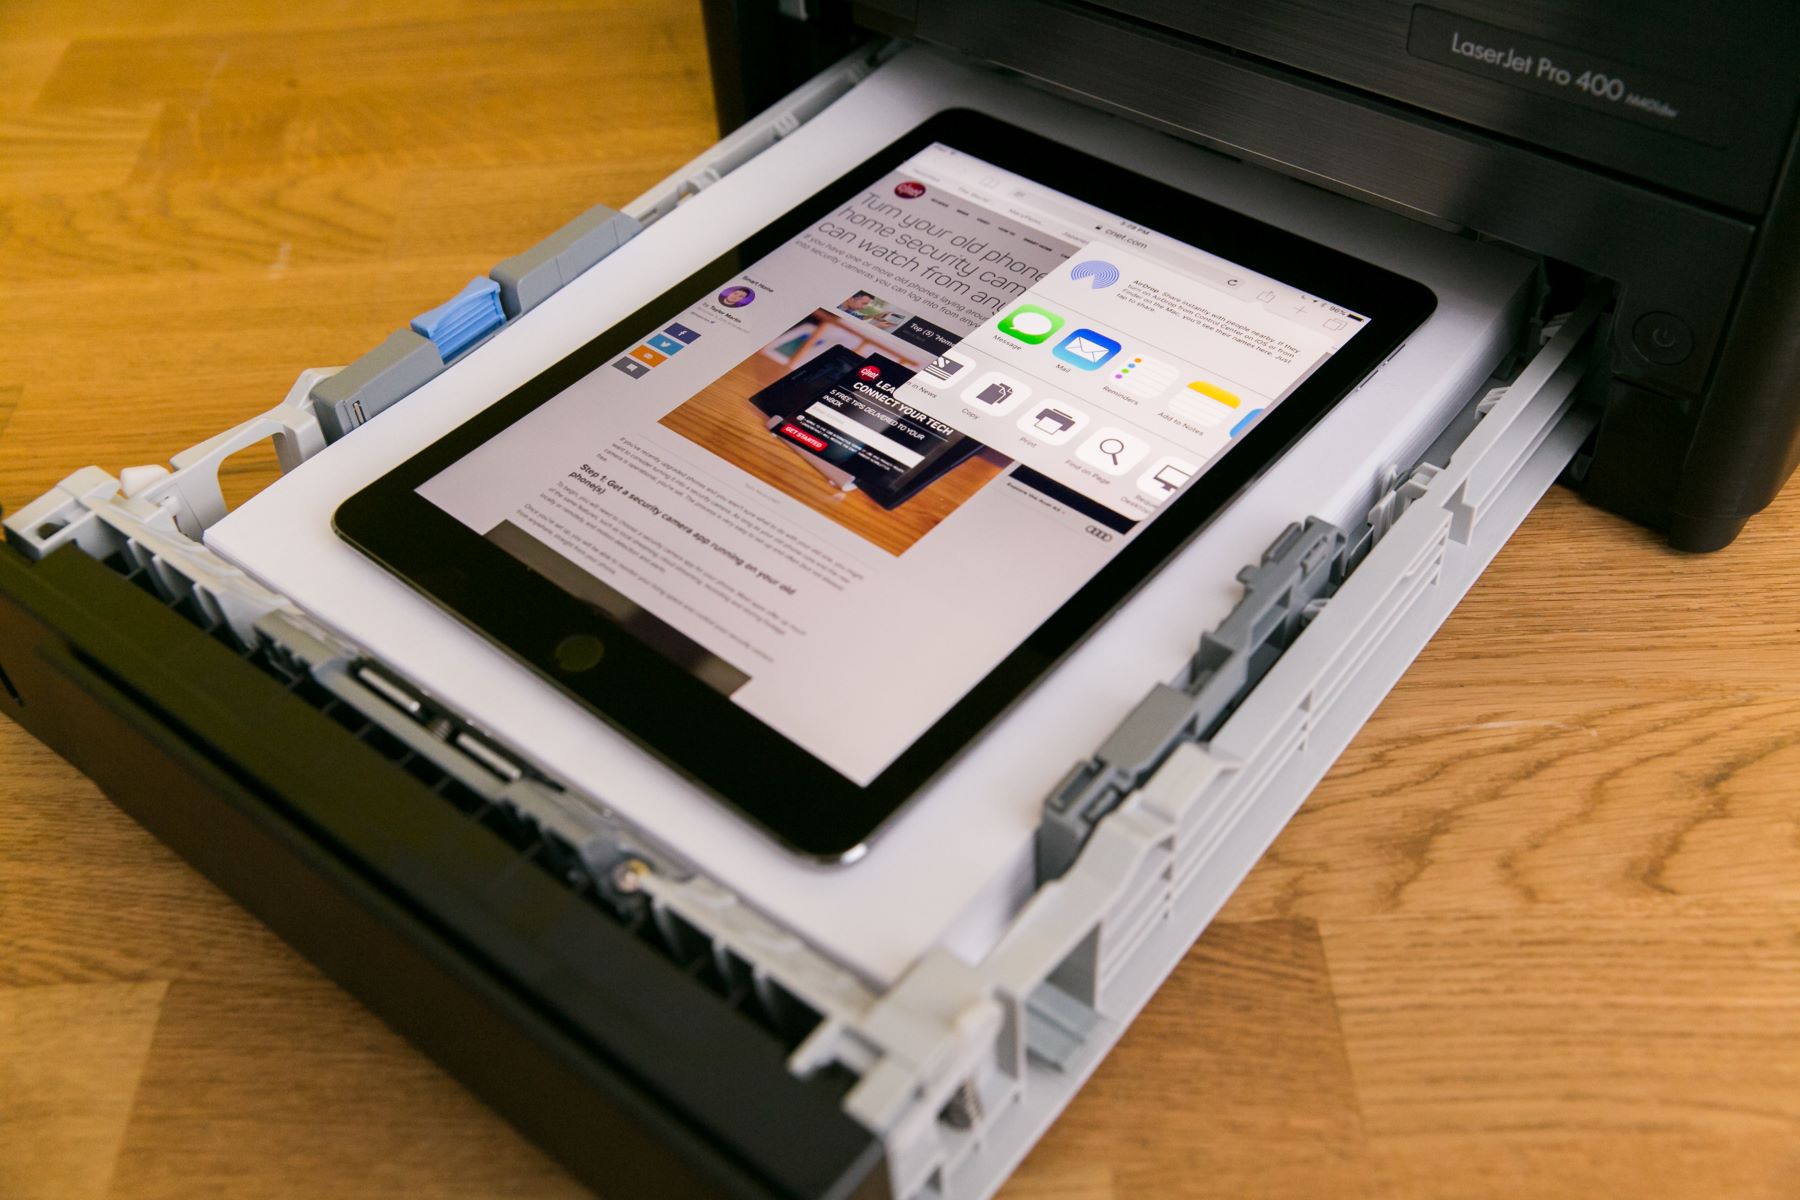
Step 4: Print from iPad
Having completed the essential preparatory steps, you are now ready to experience the seamless convenience of printing from your iPad to your wireless printer. With the printer app installed and your printer connected to the Wi-Fi network, initiating a print job from your iPad is a straightforward process.
Begin by opening the document, photo, email, or web page that you wish to print on your iPad. Once the content is displayed on the screen, locate and tap the “Share” or “Action” icon, typically represented by a square with an arrow pointing upwards.
From the options displayed, select “Print” to initiate the printing process. This action will launch the printing interface, allowing you to customize the print settings and select the desired printer from the available list of devices. Ensure that your wireless printer, which should be listed as an option, is selected for the print job.
Depending on the app and content being printed, you may have the ability to adjust settings such as the number of copies, paper size, orientation, and color options. Take advantage of these settings to tailor the print job to your specific requirements.
Once you have configured the print settings, tap “Print” to send the print job to your wireless printer. The printer app will communicate with the selected printer over the Wi-Fi network, and the print job will be queued for processing. Shortly thereafter, your wireless printer should spring into action, producing a physical copy of the content from your iPad.
With the print job successfully completed, you have seamlessly bridged the digital and physical realms, harnessing the power of your iPad to produce tangible outputs with the aid of your wireless printer. Whether it’s documents, photos, emails, or web pages, the ability to print from your iPad offers unparalleled convenience and versatility for a diverse range of printing needs.
By following the steps outlined in this guide, you have unlocked the potential of wireless printing from your iPad, empowering you to effortlessly translate digital content into tangible, printed material. Embrace this newfound capability and revolutionize the way you engage with your iPad, transforming it into a versatile tool for both digital and physical expression.
Frequently Asked Questions about How To Connect IPad To A Wireless Printer
Was this page helpful?
At Storables.com, we guarantee accurate and reliable information. Our content, validated by Expert Board Contributors, is crafted following stringent Editorial Policies. We're committed to providing you with well-researched, expert-backed insights for all your informational needs.


0 thoughts on “How To Connect IPad To A Wireless Printer”