Home>Articles>Carbon Monoxide Detector: How To Change Battery
Articles
Carbon Monoxide Detector: How To Change Battery
Modified: February 24, 2024
Learn how to change the battery in your carbon monoxide detector. Our articles provide step-by-step instructions to ensure your safety and peace of mind.
(Many of the links in this article redirect to a specific reviewed product. Your purchase of these products through affiliate links helps to generate commission for Storables.com, at no extra cost. Learn more)
Introduction
Welcome to our comprehensive guide on how to change the battery in a carbon monoxide detector. Carbon monoxide (CO) is a colorless and odorless gas that can be extremely dangerous if not detected in time. Since it is virtually impossible to detect CO without the help of a carbon monoxide detector, it is crucial to ensure that your detector is in proper working condition at all times.
One of the most common reasons why carbon monoxide detectors fail to function is due to a depleted or faulty battery. Changing the battery is a simple and essential maintenance task that can be easily performed at home. By regularly replacing the battery in your carbon monoxide detector, you can ensure that it continues to effectively monitor your indoor air quality and keep you and your loved ones safe from the harmful effects of carbon monoxide poisoning.
In this guide, we will walk you through the step-by-step process of changing the battery in a carbon monoxide detector. We will also discuss how often the battery should be changed and provide some precautions to keep in mind while performing this task. So, let’s dive in and learn how to keep your carbon monoxide detector in optimal working condition.
Key Takeaways:
- Regularly changing the battery in your carbon monoxide detector is crucial for maintaining functionality, prolonging its lifespan, and ensuring round-the-clock protection against the silent threat of carbon monoxide.
- Take precautions, such as turning off the device, wearing protective gloves, and proper battery orientation, when changing the battery in your carbon monoxide detector to ensure a smooth and safe process.
Why is it important to change the battery in a carbon monoxide detector?
The battery is the lifeblood of a carbon monoxide detector. It provides the necessary power for the device to operate and alert you in the event of a potential carbon monoxide leak. Therefore, it is crucial to change the battery regularly to ensure the detector’s effectiveness. Here are a few reasons why changing the battery is so important:
- Maintaining functionality: A carbon monoxide detector with a dead or low battery is as good as not having one at all. If the battery is not replaced, the detector will not be able to detect and sound an alarm when it senses elevated levels of carbon monoxide in the air. Regularly changing the battery ensures that the device remains functional and can perform its life-saving role.
- Prolonging the device lifespan: Neglecting to change the battery can lead to the deterioration of the detector’s internal components. A weakened battery can cause the detector to malfunction or provide inaccurate readings. By regularly replacing the battery, you can extend the lifespan of the carbon monoxide detector and maximize its performance.
- Ensuring round-the-clock protection: Carbon monoxide leaks can occur at any time of the day or night, and it is crucial to have uninterrupted protection against this deadly gas. By promptly changing the battery, you can ensure that the detector remains operational 24/7, providing continuous monitoring and protection for your household.
- Peace of mind: Knowing that your carbon monoxide detector has a fresh battery gives you peace of mind. It allows you to sleep better at night and go about your daily activities without worrying about the silent threat of carbon monoxide. Regularly changing the battery helps you maintain confidence in the effectiveness of the detector, knowing that it is always ready to alert you in case of danger.
Changing the battery in a carbon monoxide detector is a small investment of time and effort that pays off in terms of safety and peace of mind. It ensures that your detector is ready to detect the presence of carbon monoxide and keep you and your loved ones safe from the dangers of this deadly gas.
How often should the battery be changed?
The frequency at which you should change the battery in your carbon monoxide detector depends on several factors. While it is recommended to follow the manufacturer’s instructions for your specific model, here are some general guidelines:
- Check the battery annually: It is a good practice to check the battery in your carbon monoxide detector at least once a year. This ensures that the battery is still functioning properly and has sufficient power to operate the detector. Conducting an annual battery check can help prevent unexpected battery drain and ensure that your detector is always ready to protect you.
- Replace the battery every 1-2 years: As a general rule, it is recommended to replace the battery in your carbon monoxide detector every 1-2 years, even if it appears to be functioning correctly. This helps to maintain the reliability and accuracy of the detector over time. Some detectors come with a built-in battery life indicator or a low-battery alert feature, which can help you determine when it is time for a replacement.
- Consider battery type: Different carbon monoxide detectors may use different types of batteries, such as alkaline, lithium, or rechargeable. The longevity of these batteries can vary. Lithium batteries generally have a longer lifespan and may only need to be replaced every 5-7 years. Check the manufacturer’s recommendations to determine the appropriate battery replacement interval for your specific model.
- Be mindful of warning signs: Pay attention to any warning signs or malfunction indicators on your carbon monoxide detector. If the detector beeps intermittently or displays error codes, it might indicate a low battery, even if it has not been the recommended time frame for replacement. In such cases, it is essential to replace the battery immediately to ensure the detector’s functionality.
It is important to note that these guidelines are general recommendations, and it is crucial to refer to the manufacturer’s instructions specific to your carbon monoxide detector. The manufacturer’s guidelines take into account the specific features and battery requirements of their devices, ensuring optimal performance and safety.
Remember, the frequency of battery replacement is crucial for maintaining a functional carbon monoxide detector. Following the recommended guidelines and staying vigilant about battery health will help ensure that your detector remains ready to detect carbon monoxide and protect you from this silent and deadly gas.
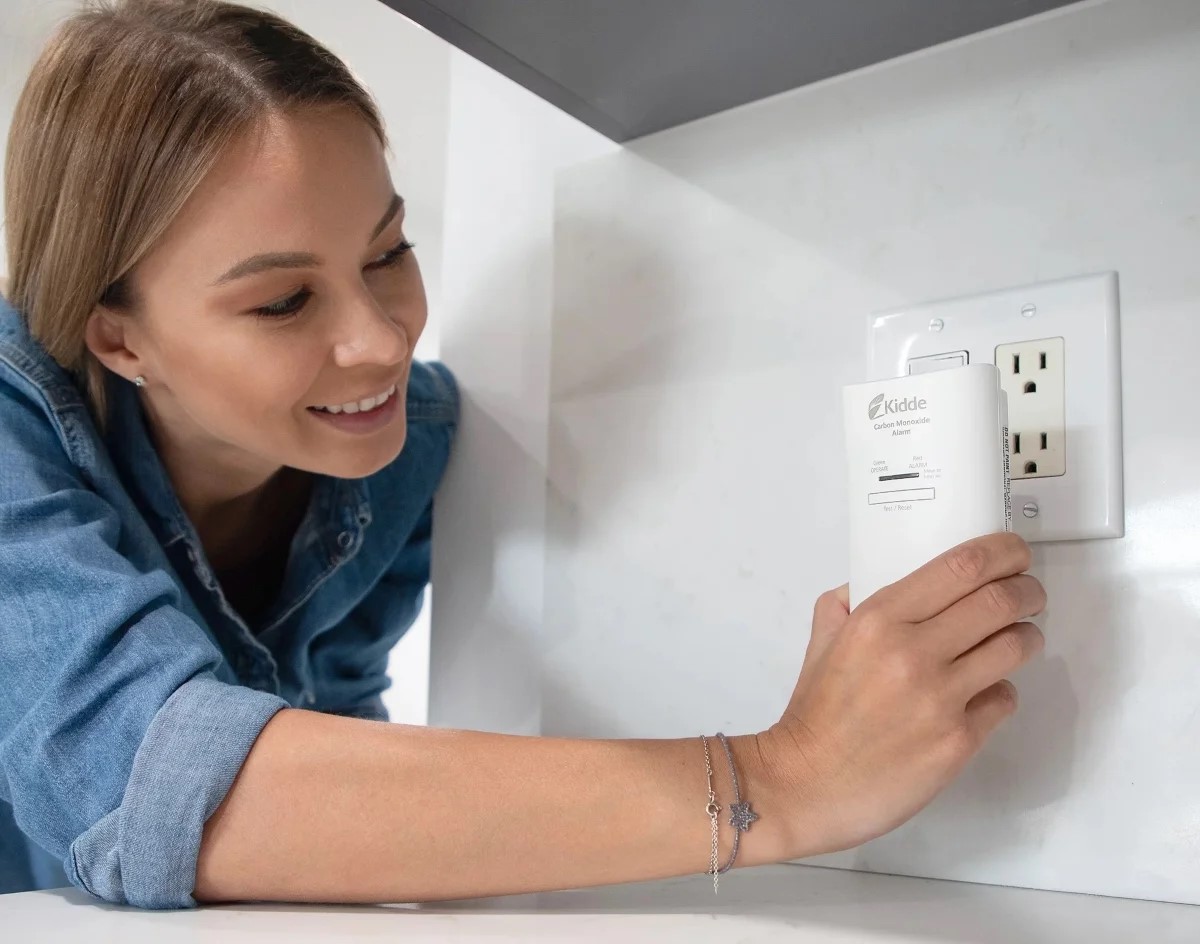
Step-by-step guide on changing the battery in a carbon monoxide detector
Changing the battery in a carbon monoxide detector is a relatively simple process that can be done at home. Here’s a step-by-step guide to help you through the process:
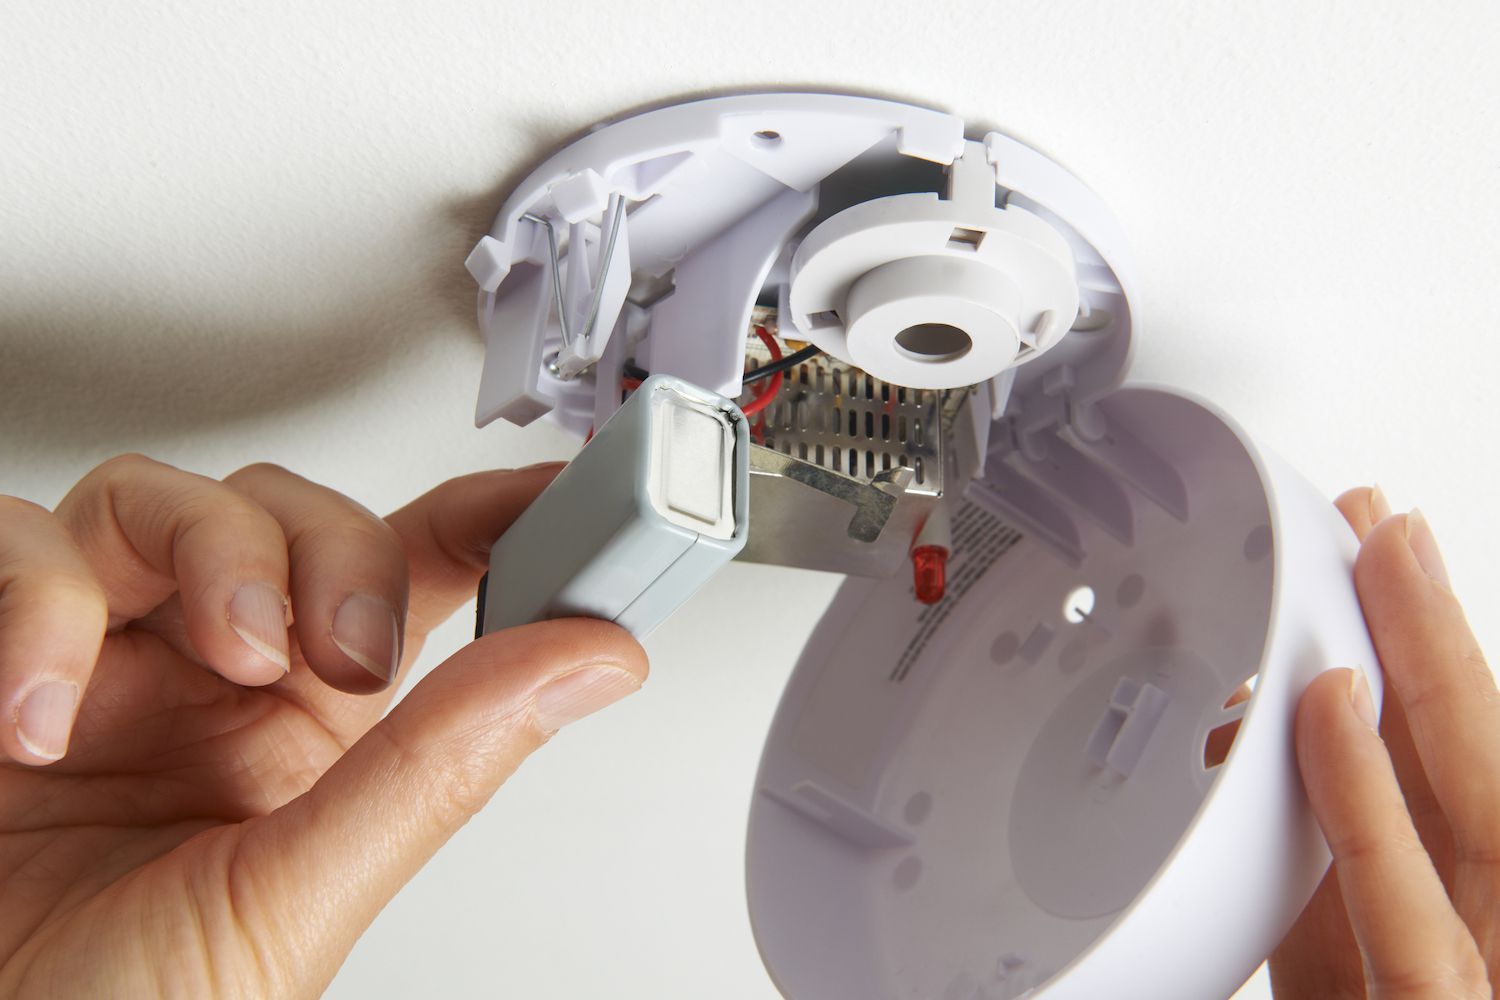
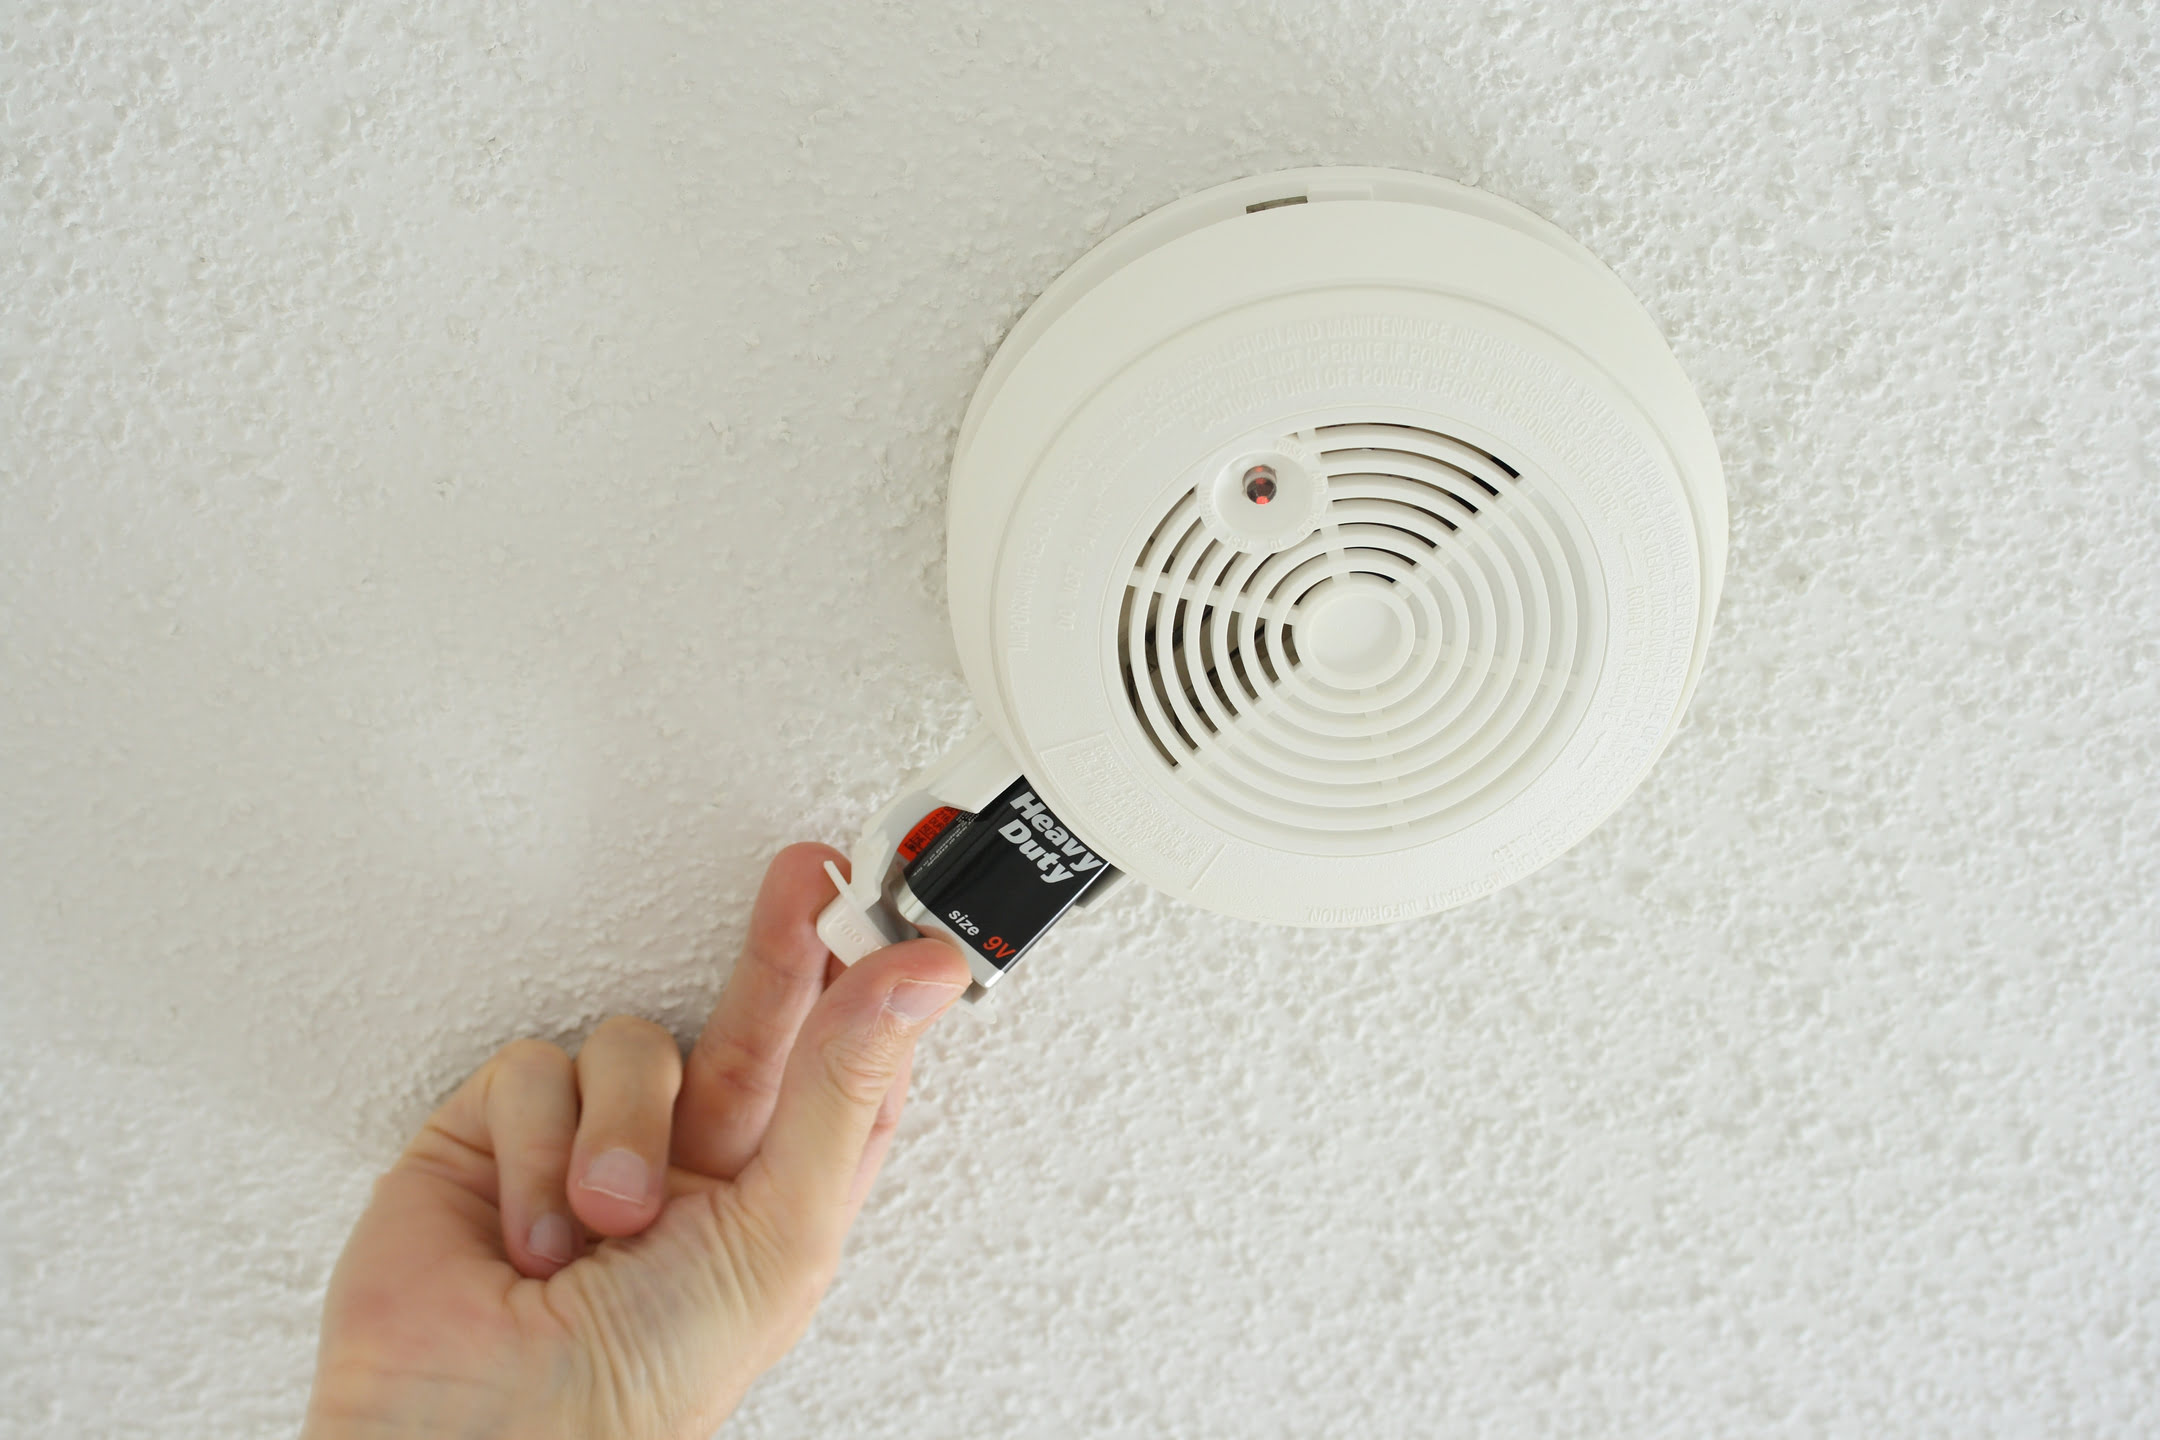
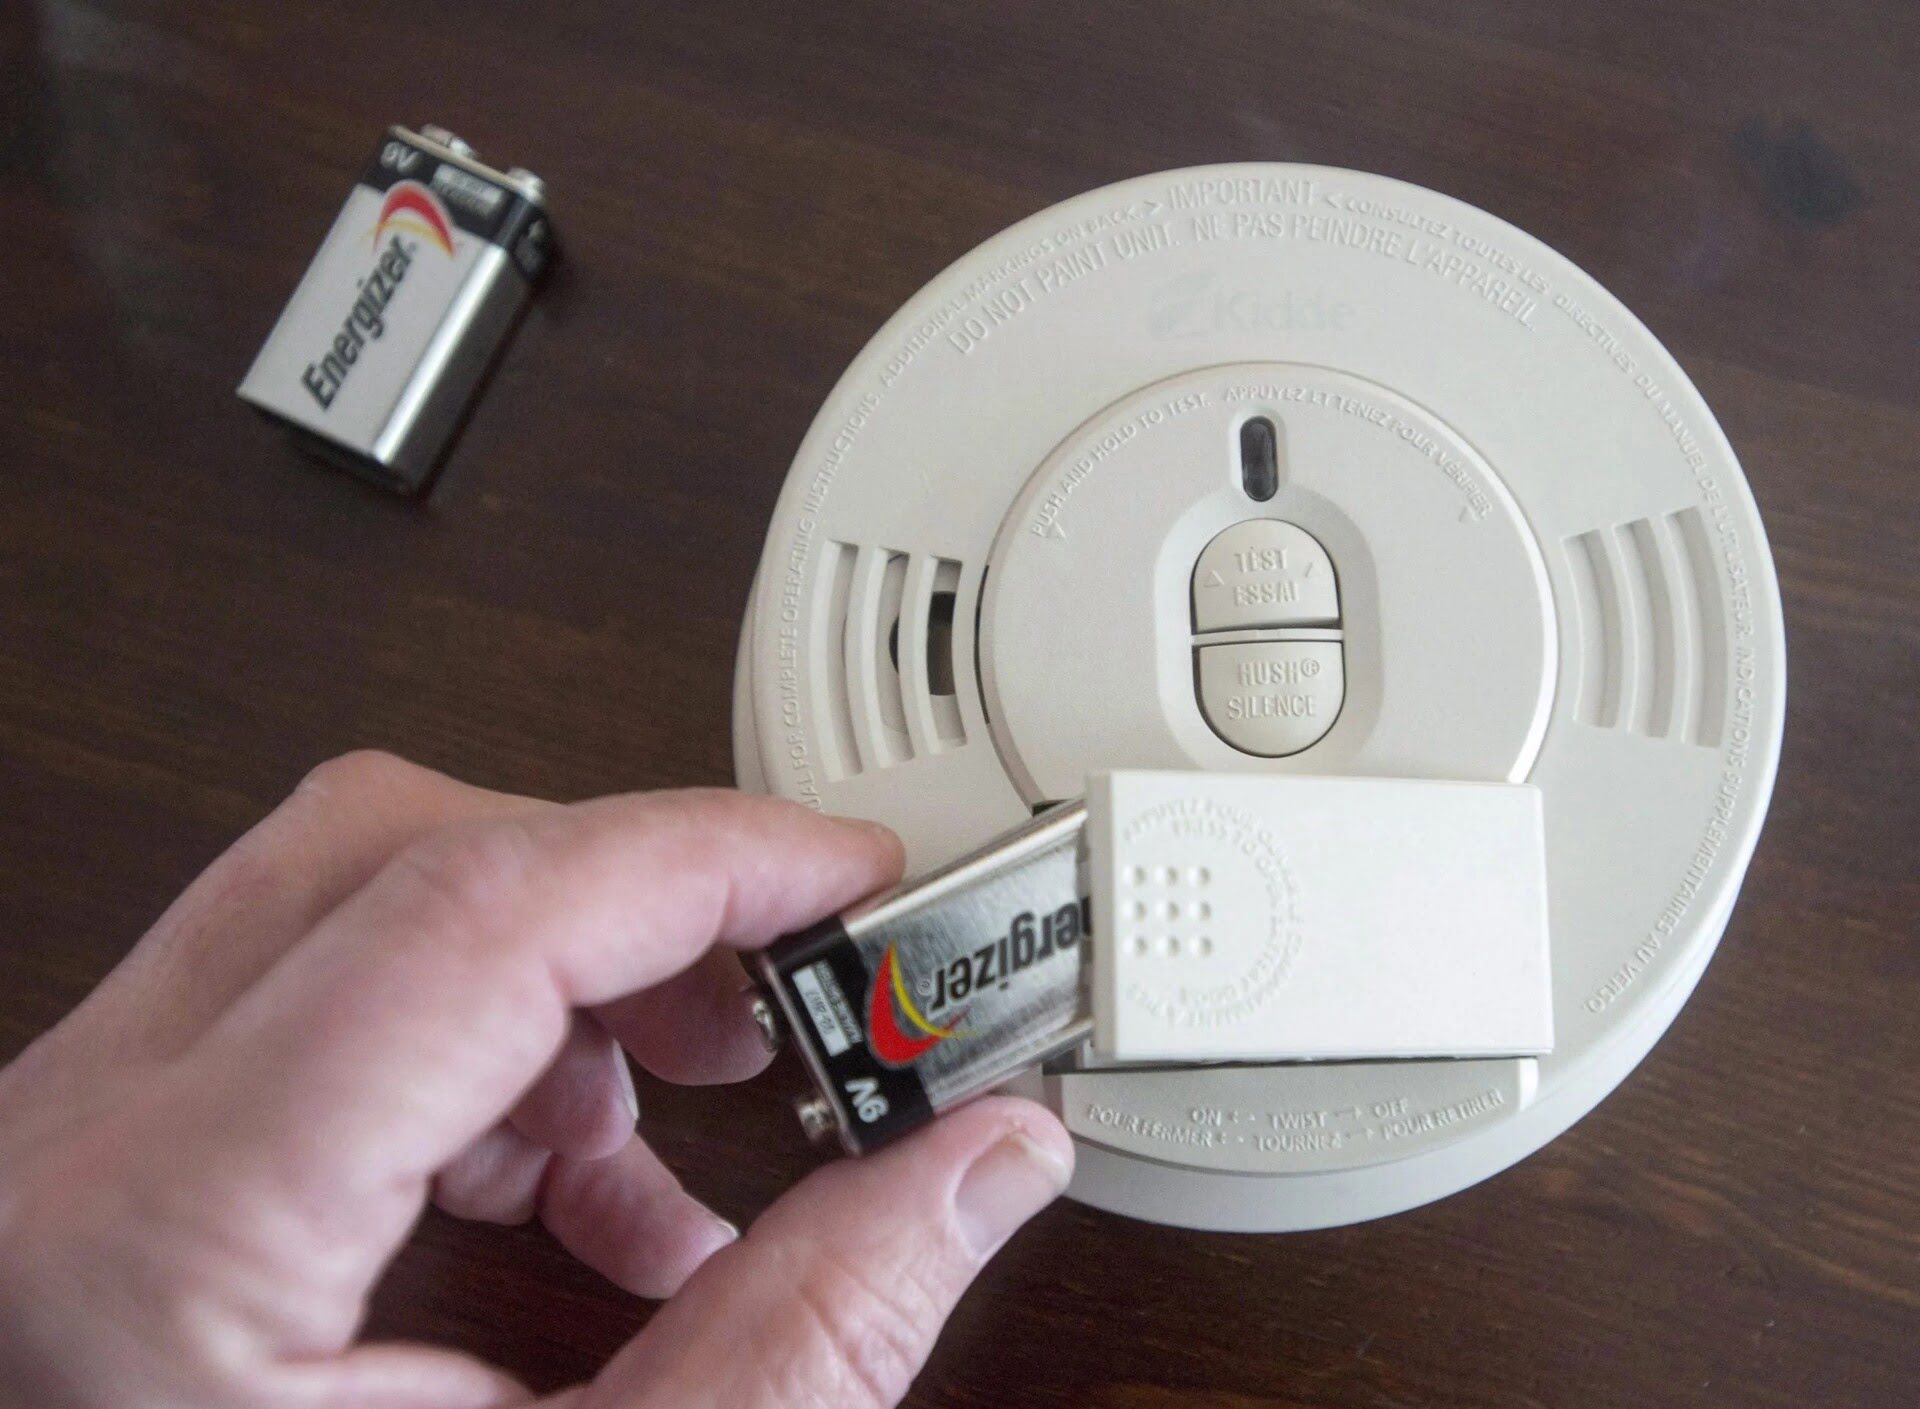
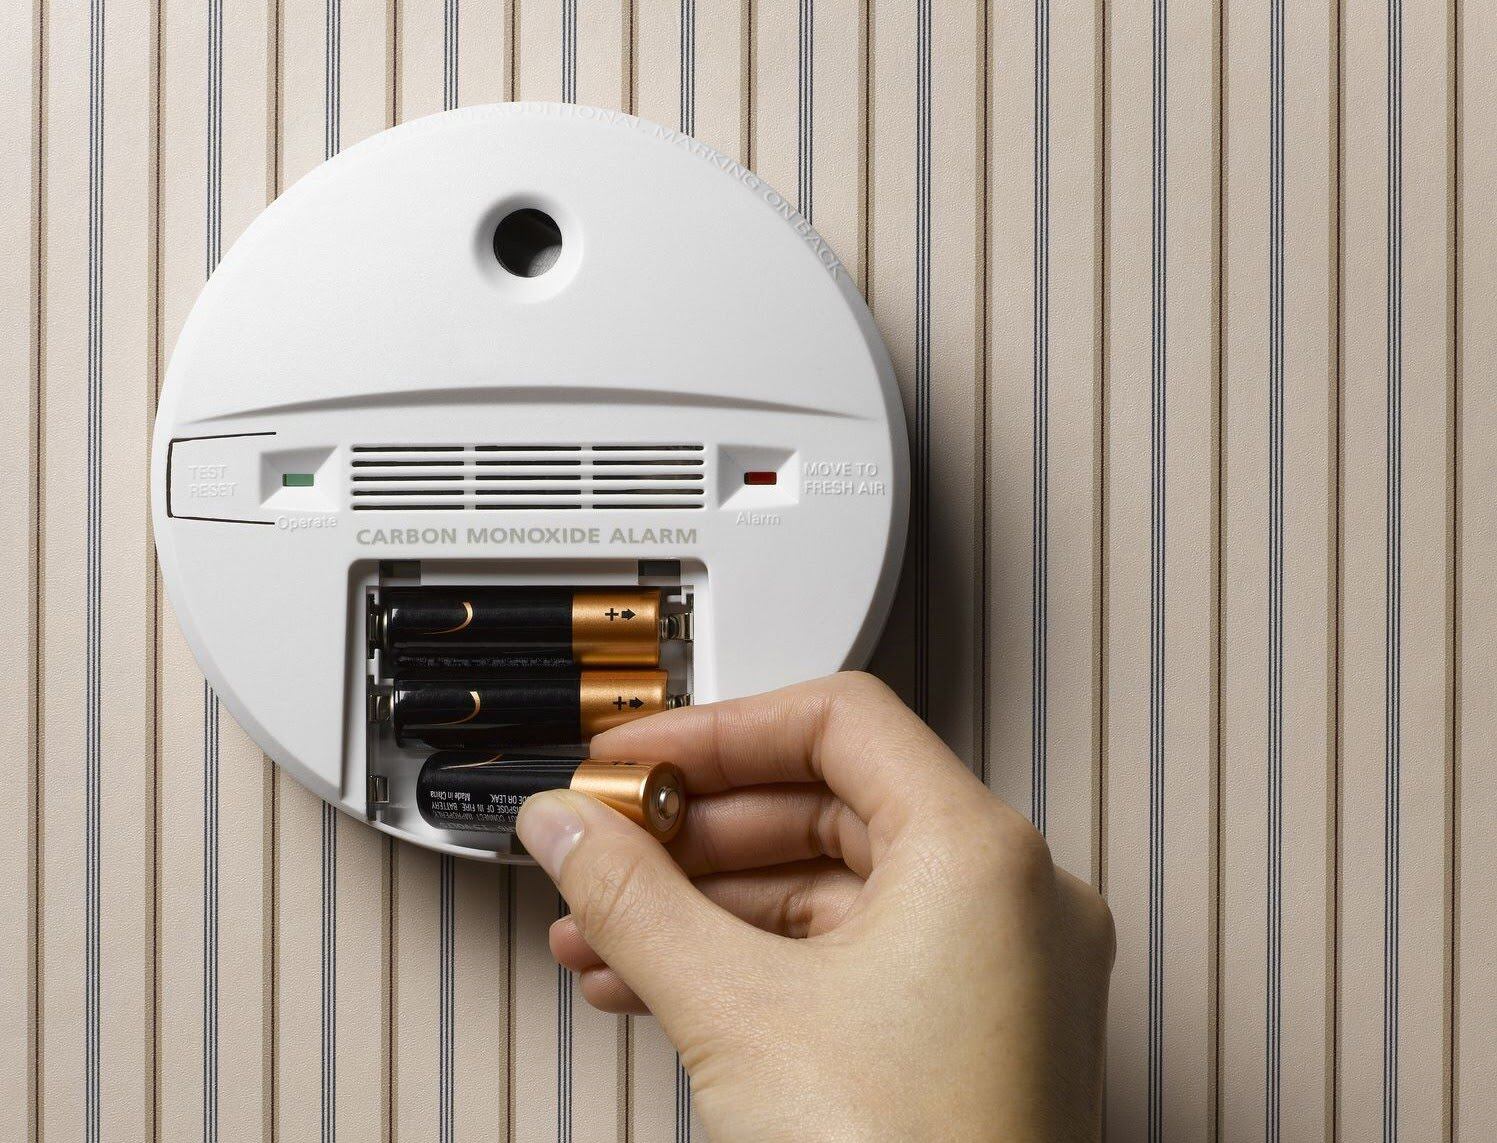
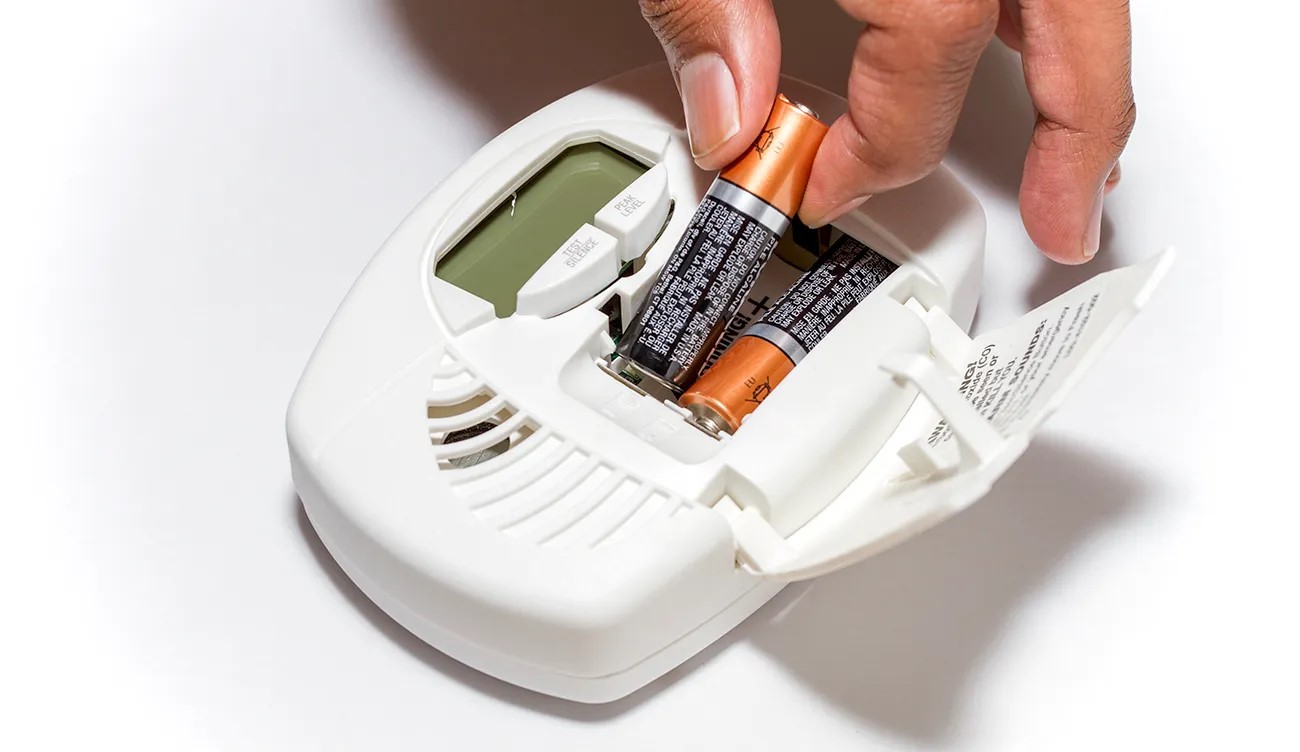
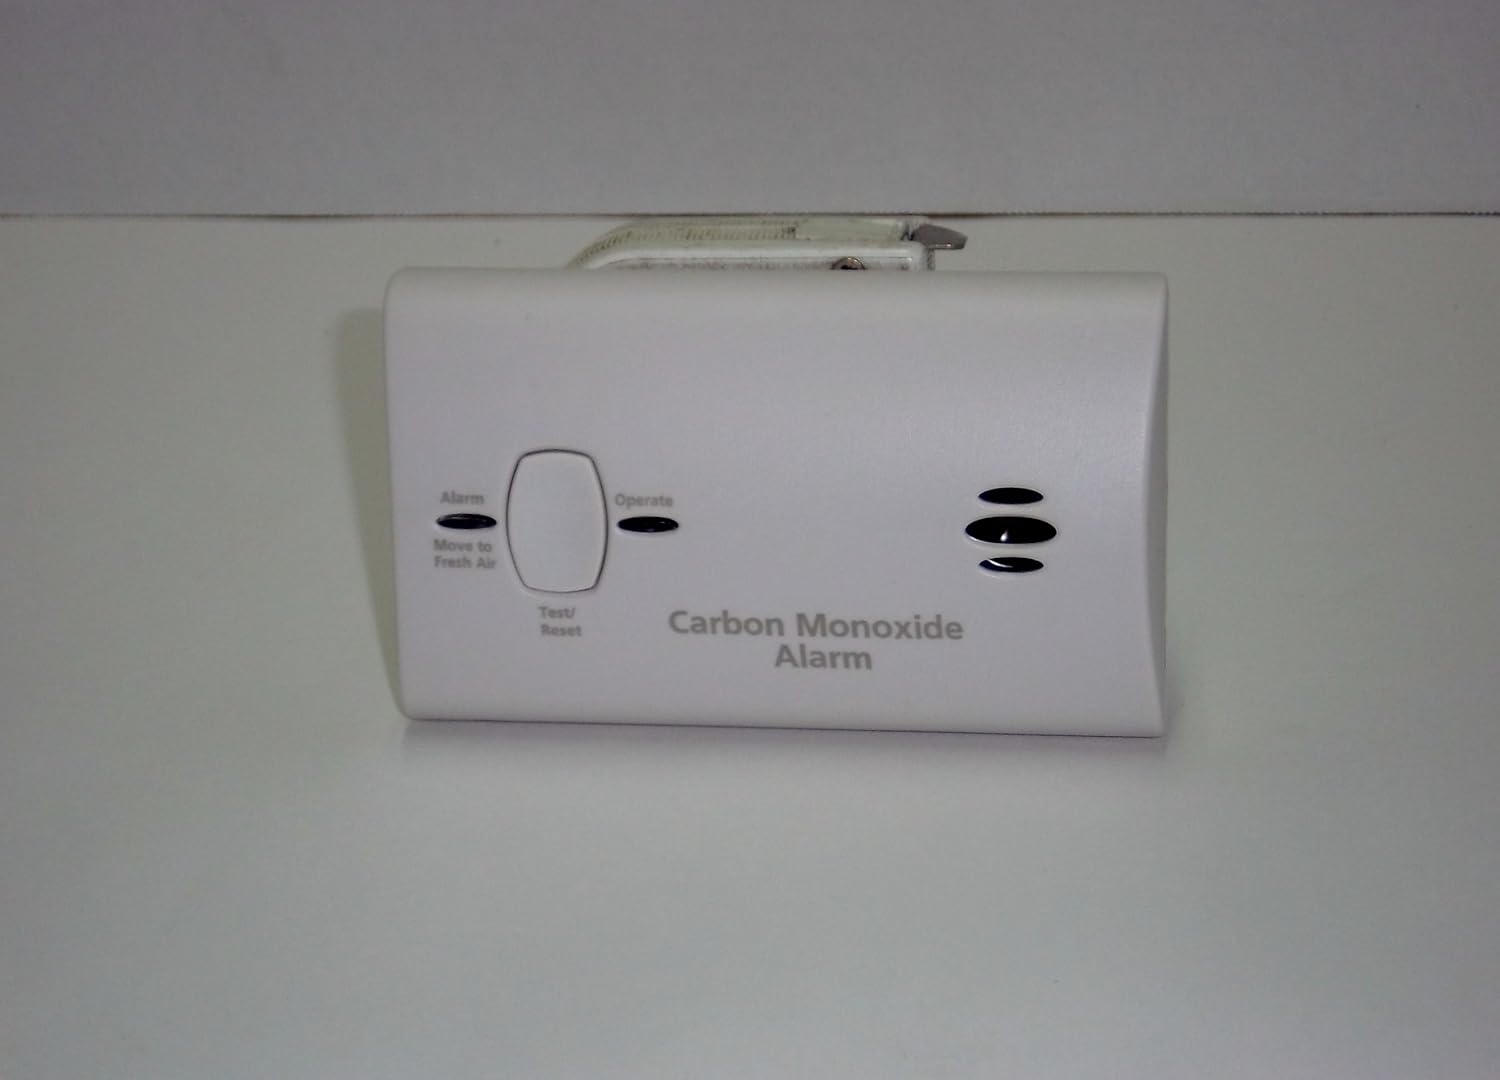
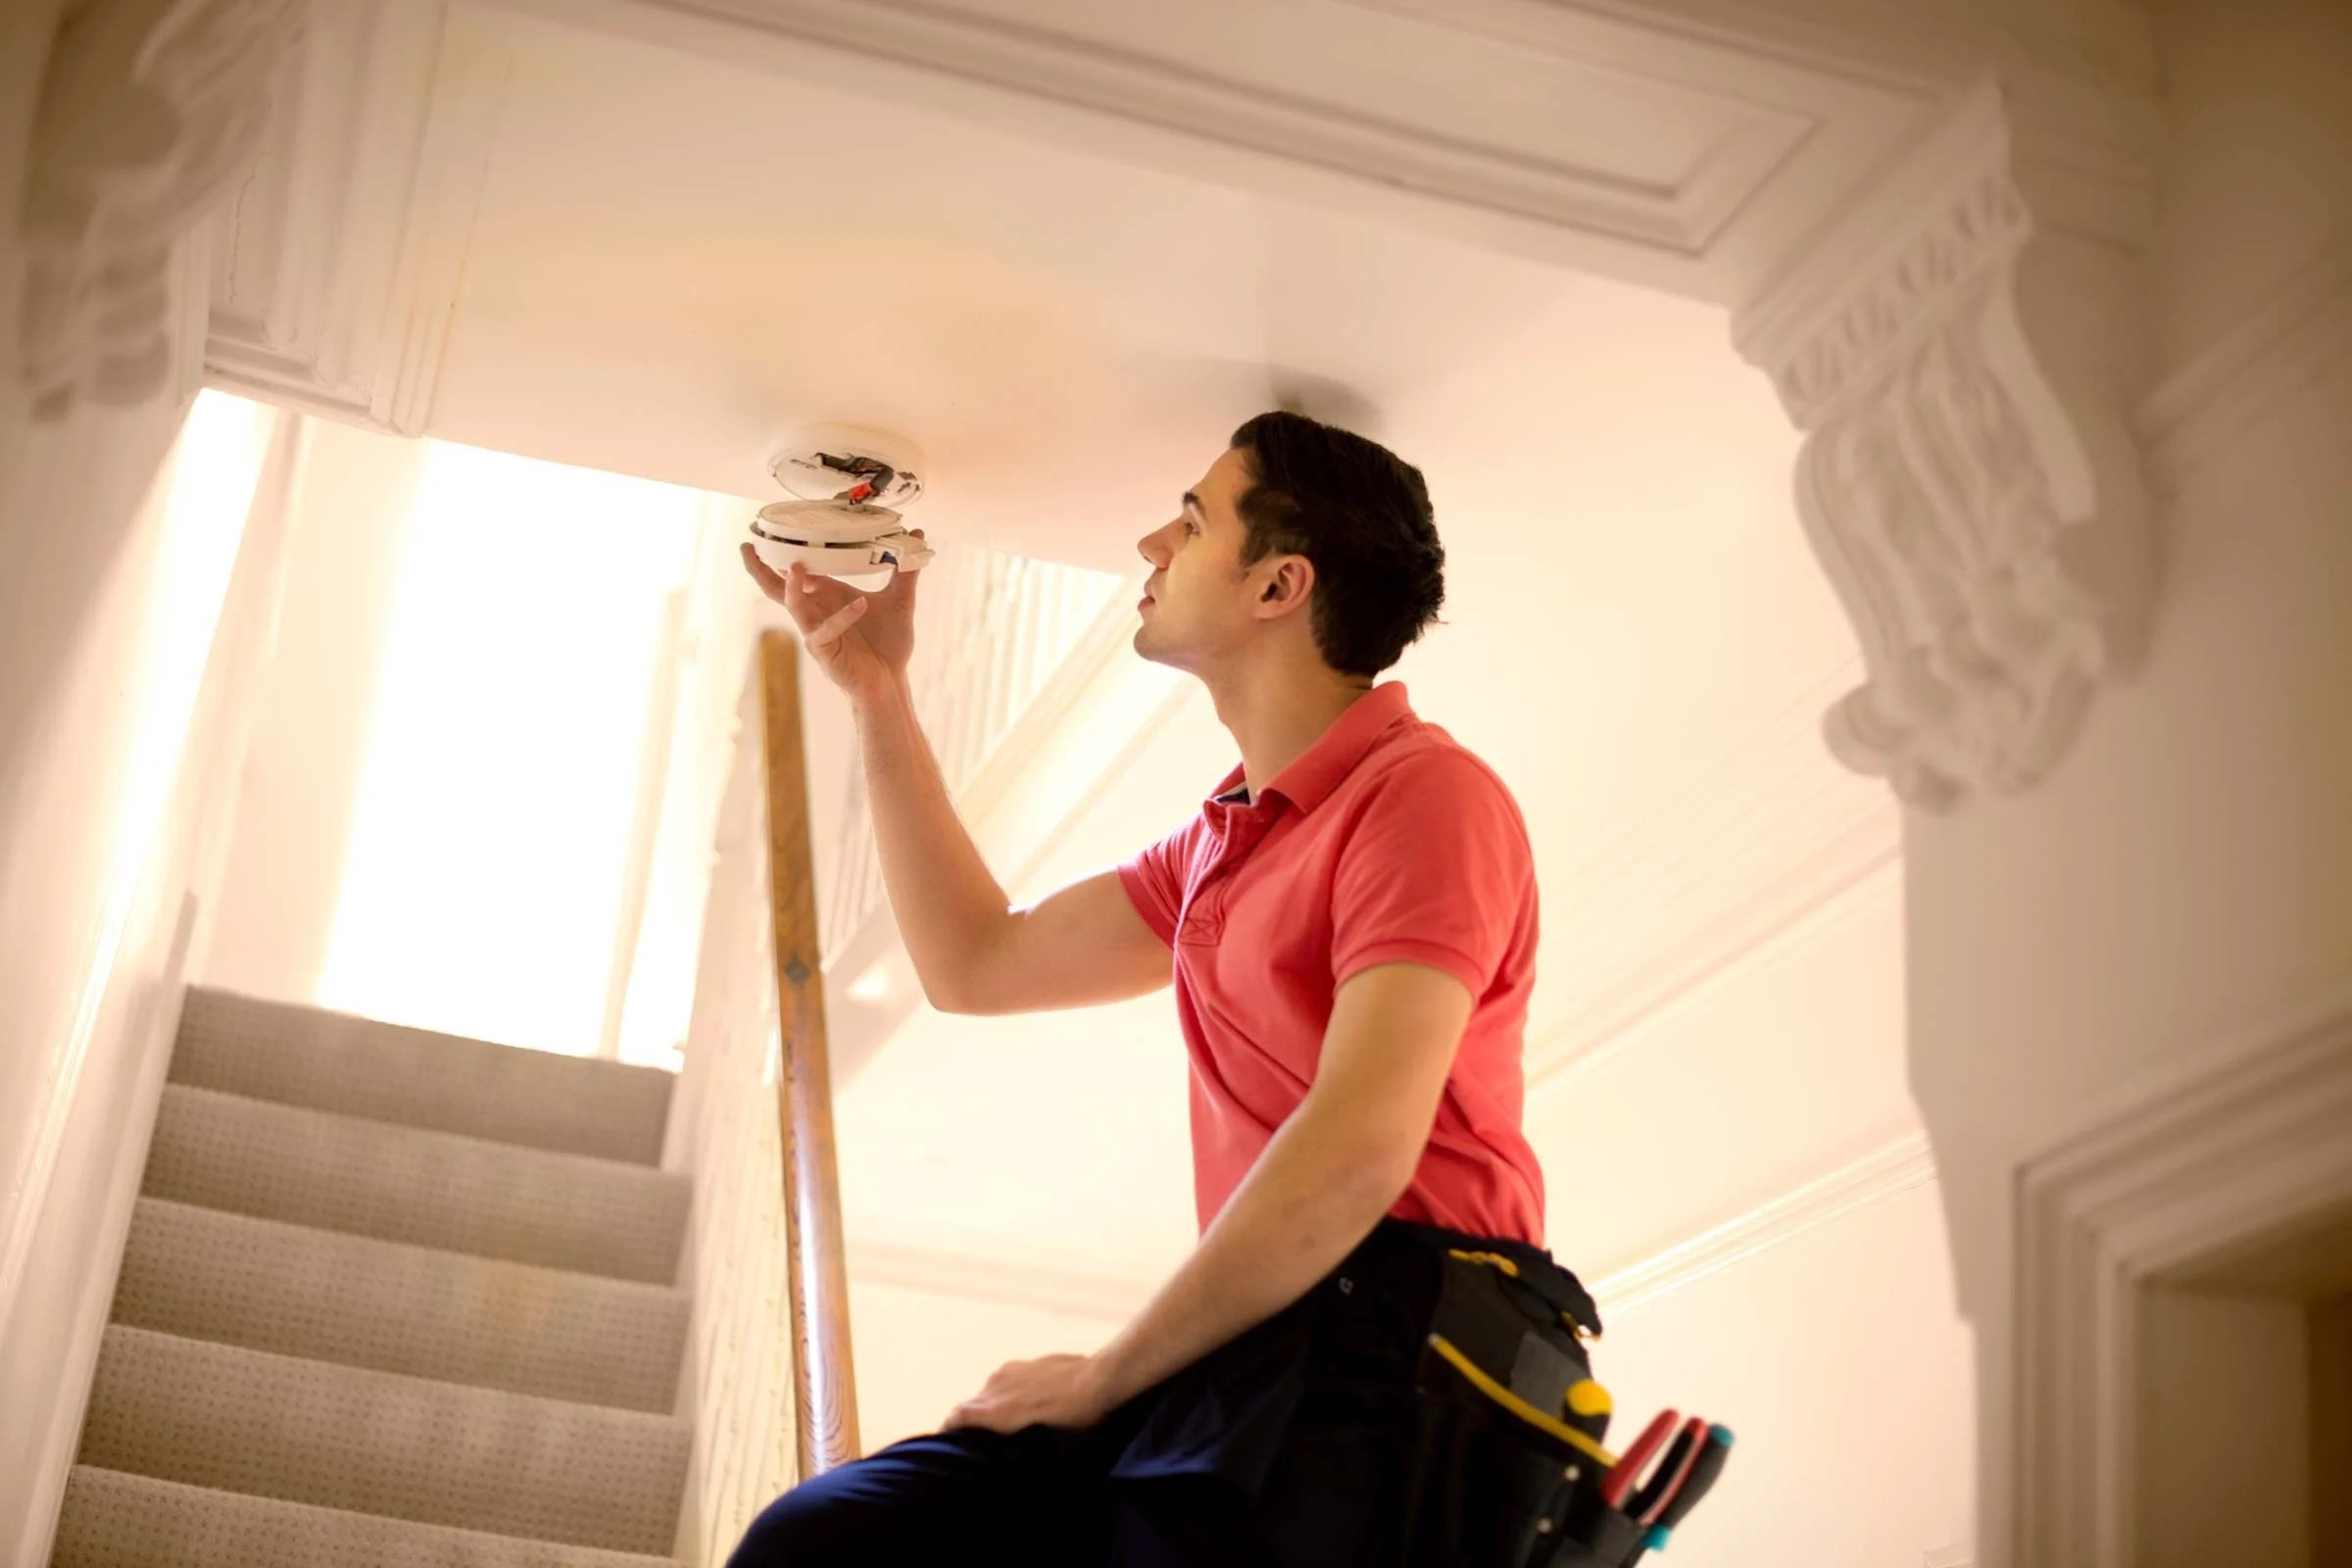
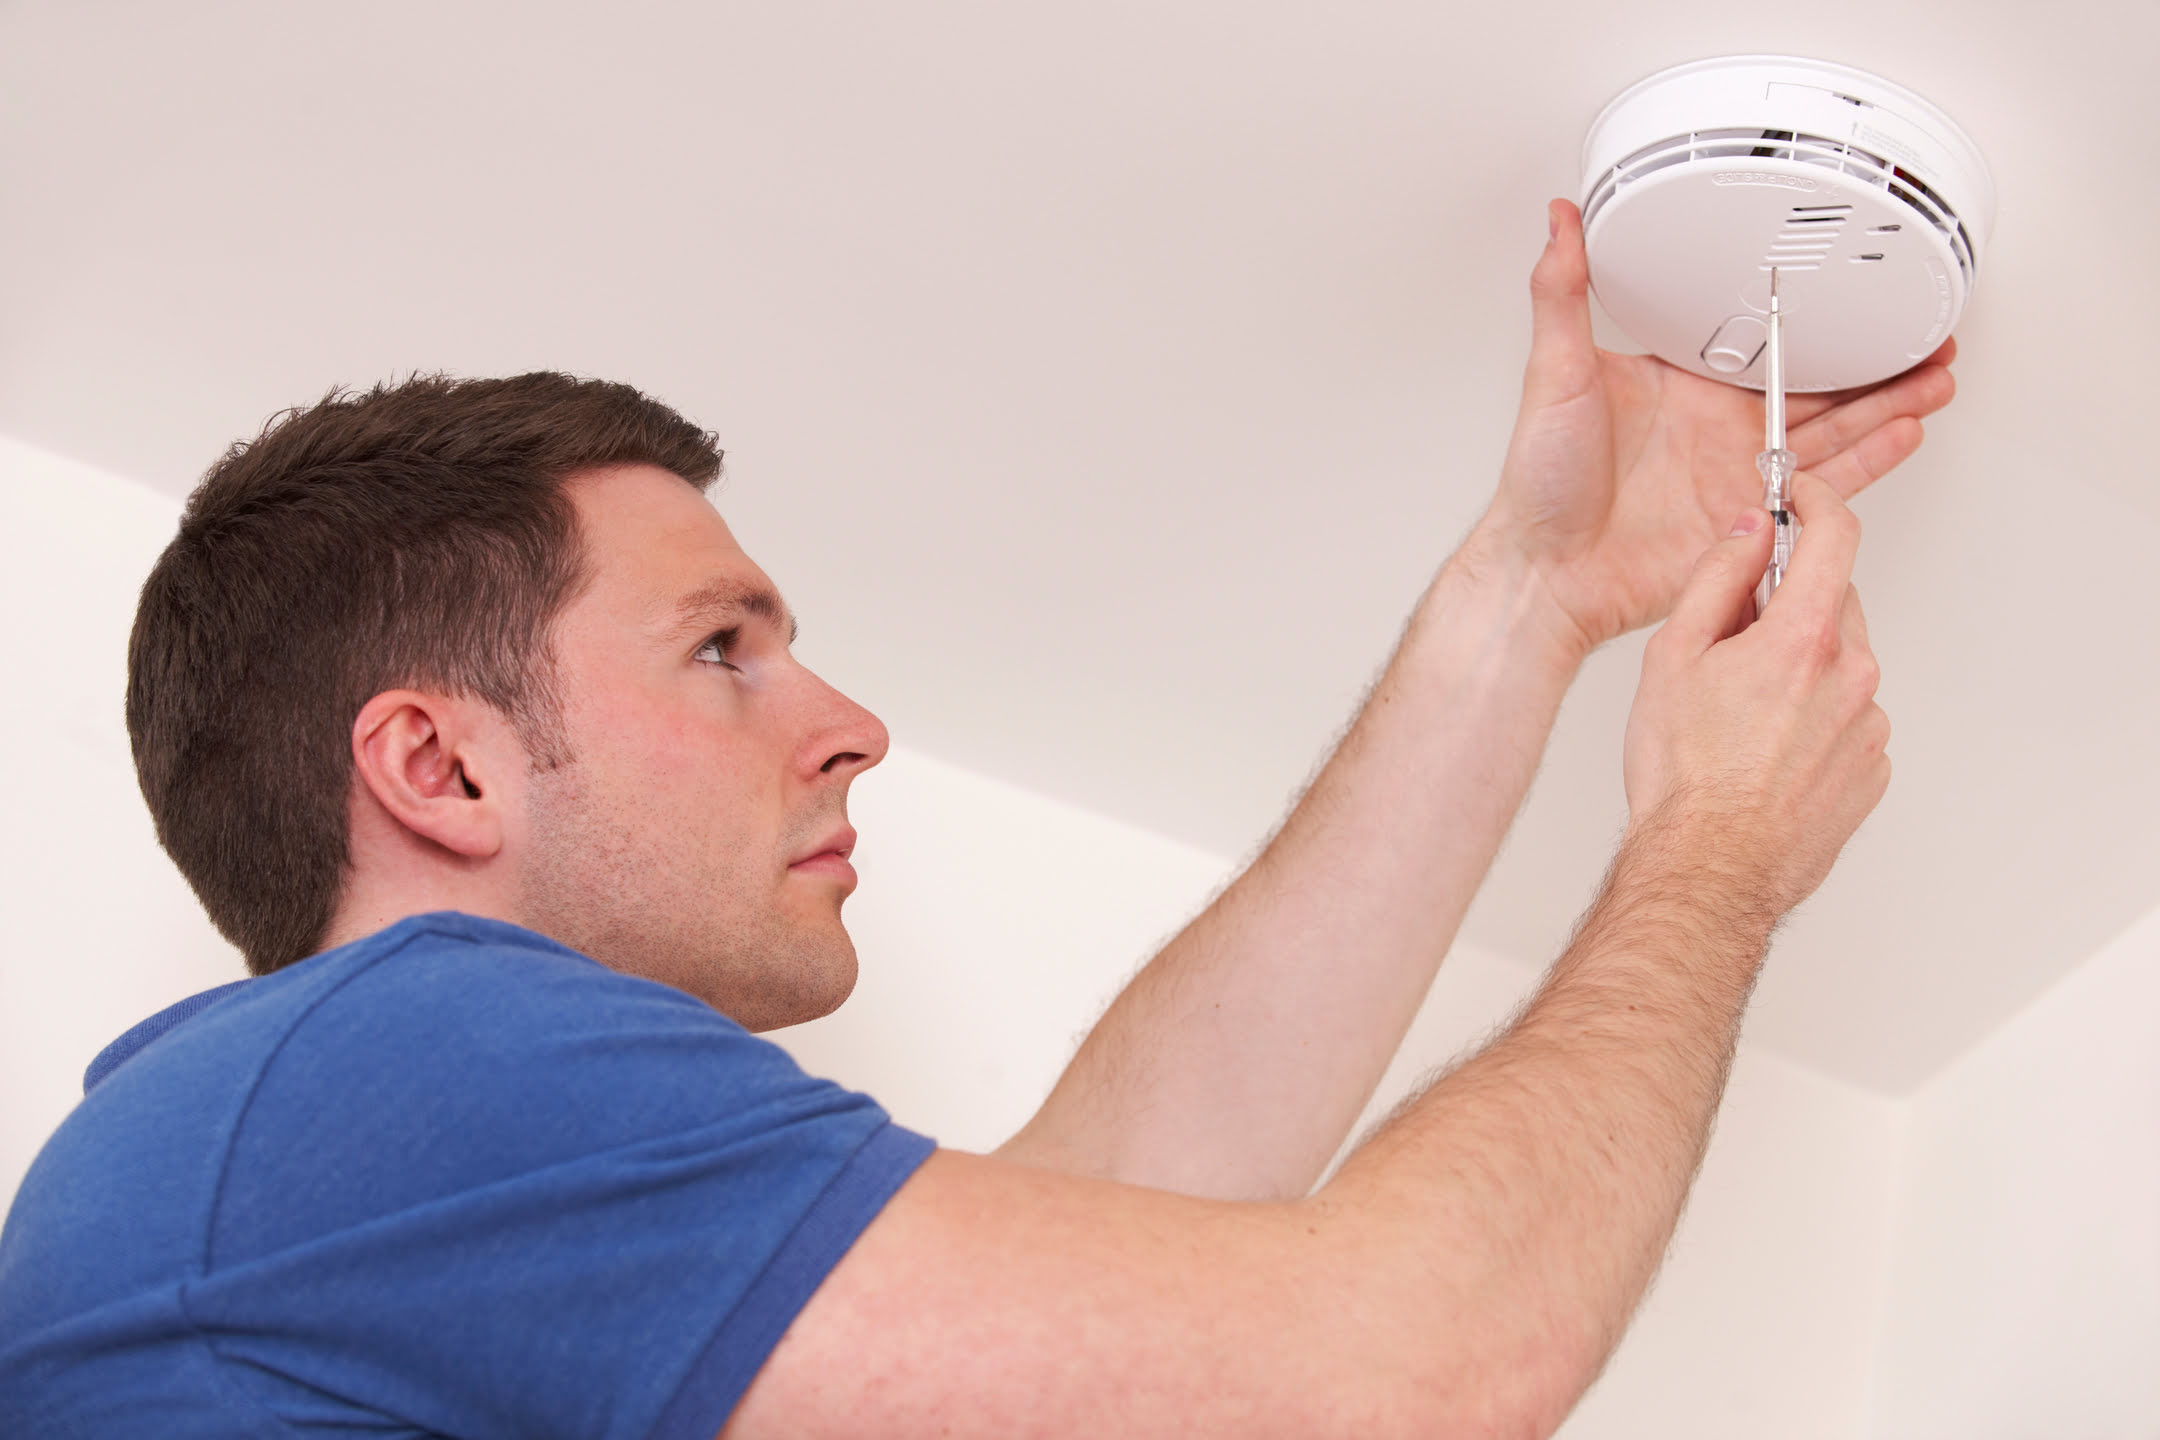
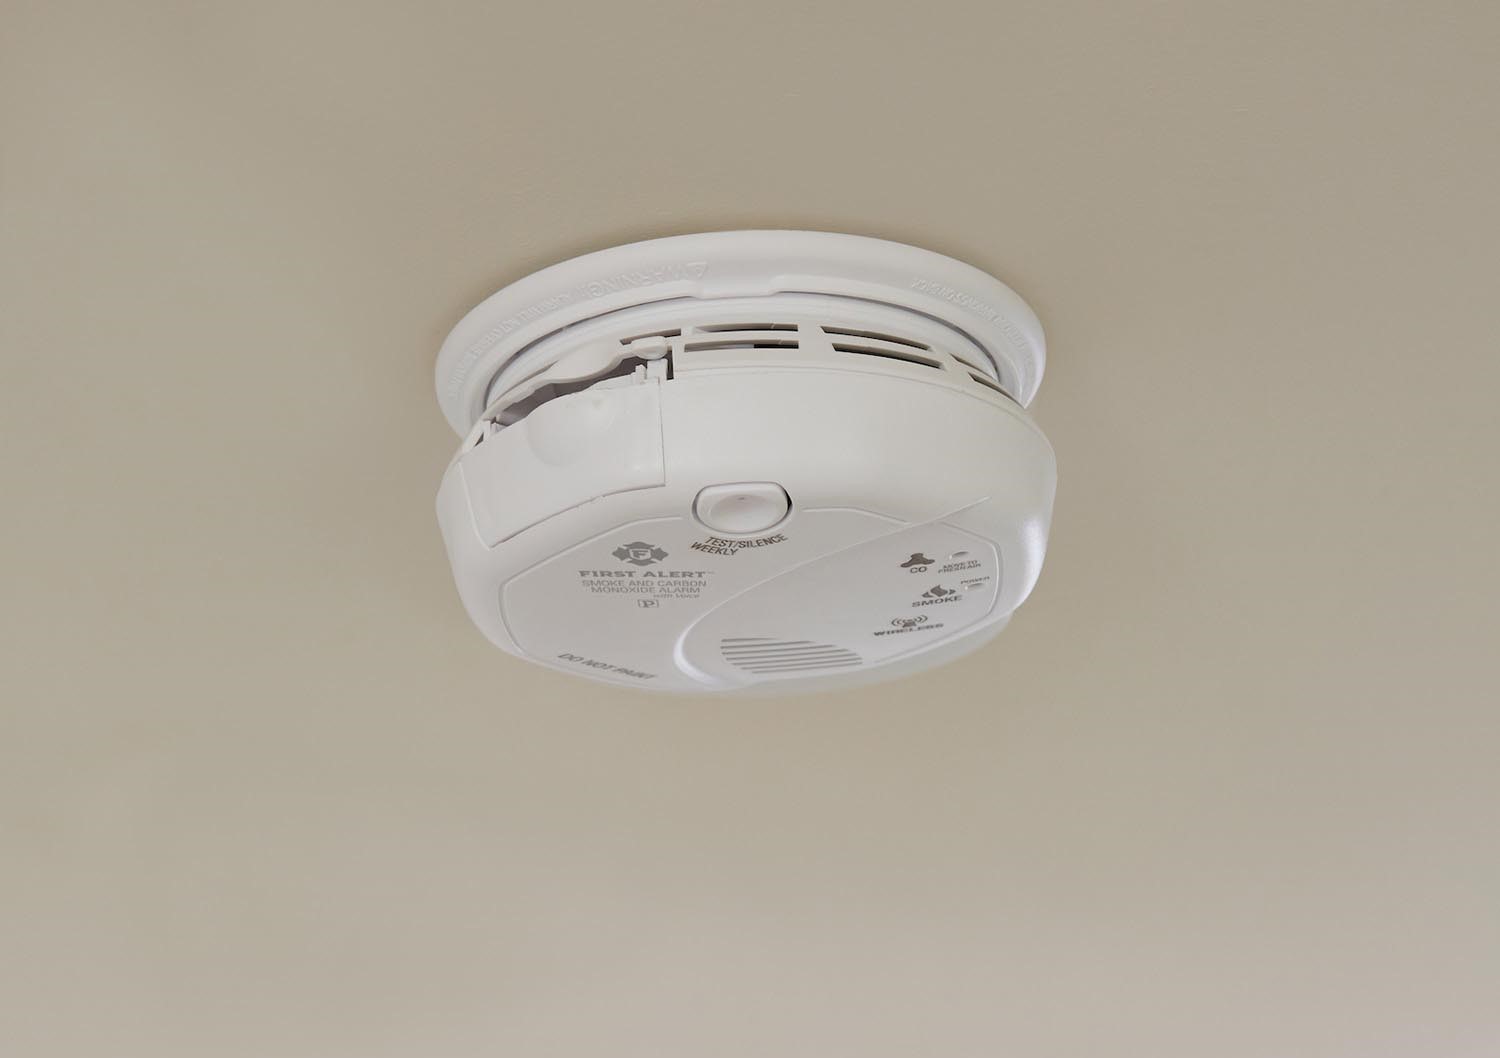
- Locate the battery compartment: Start by identifying the battery compartment on your carbon monoxide detector. It is typically located on the back or bottom of the device. Some models may require you to remove a screw or slide a cover to access the battery compartment.
- Prepare the new battery: Before removing the old battery, make sure you have a new battery on hand. Check the manufacturer’s instructions or the old battery to determine the correct type and size needed. It is important to use the recommended battery for your specific carbon monoxide detector model to ensure optimal performance.
- Remove the old battery: Carefully remove the old battery from the compartment. If the battery is held in place with a clip or connector, release it carefully by sliding or lifting it as instructed by the manufacturer. Be cautious not to damage any internal components or pull on any wires.
- Insert the new battery: Take the new battery and insert it into the compartment, making sure to align the positive (+) and negative (-) ends correctly. Follow any markings or diagrams inside the compartment to ensure proper installation. Gently push the battery into place until it fits securely.
- Closing the compartment: If there was a cover or screw to access the battery compartment, now is the time to put it back in place. Ensure that the cover or screw is securely fastened to prevent any accidental openings. This will help protect the battery and ensure the proper functioning of the detector.
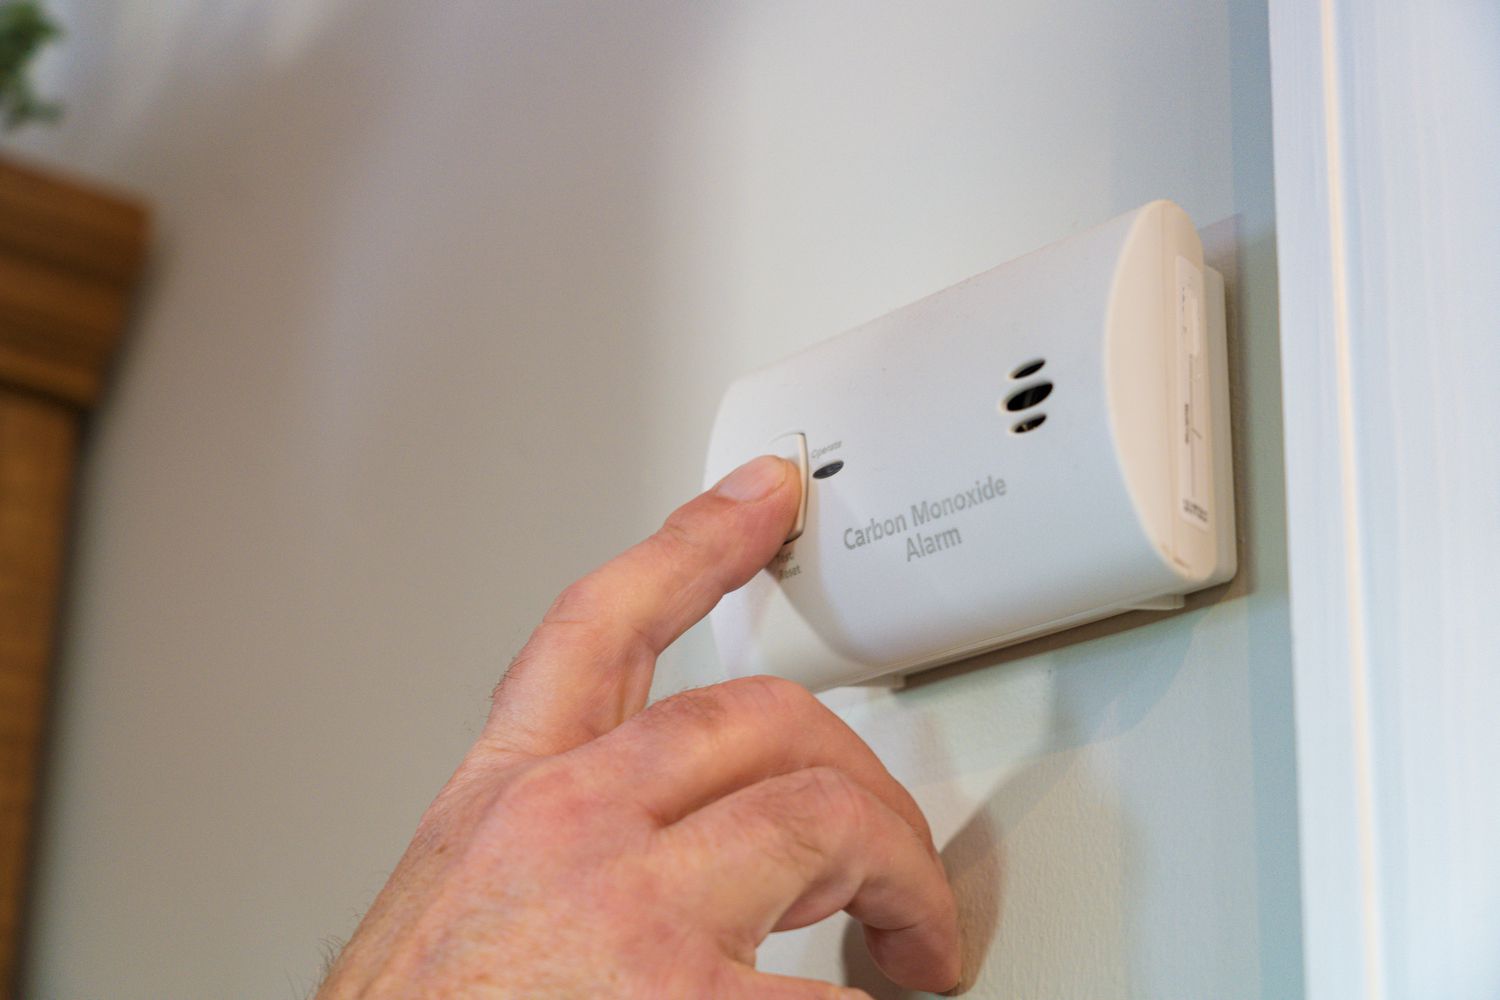
- Test the detector: Once you have replaced the battery and closed the compartment, it is important to test the carbon monoxide detector to ensure that it is functioning correctly. Follow the manufacturer’s instructions for testing, which usually involves pressing a designated button or combination of buttons. Listen for the alarm or check the display to verify that the test is successful.
- Set a reminder for future battery changes: To ensure that you remember to replace the battery in a timely manner, set a reminder for the next battery change. Use a calendar, smartphone app, or any other method that will help you remember to replace the battery according to the manufacturer’s recommended interval.
That’s it! By following these simple steps, you can easily change the battery in your carbon monoxide detector and maintain its effectiveness in detecting the presence of carbon monoxide in your home. Regularly replacing the battery ensures that your detector is always ready to function and provide you with the protection you need.
When changing the battery in your carbon monoxide detector, always use the type of battery recommended by the manufacturer. Test the detector after replacing the battery to ensure it is functioning properly.
Precautions to take while changing the battery
While changing the battery in a carbon monoxide detector is a relatively straightforward task, it is important to take some precautions to ensure your safety and the proper functioning of the device. Here are some precautions to keep in mind:
- Read the manufacturer’s instructions: Before attempting to change the battery, carefully read the manufacturer’s instructions specific to your carbon monoxide detector model. This will provide you with any specific precautions or guidelines related to the battery replacement process.
- Turn off the device: Before removing the old battery or inserting the new one, it is important to turn off the carbon monoxide detector. This helps prevent accidental activation of the alarm or interference with the internal circuitry during the battery replacement process.
- Wear protective gloves: While it is not mandatory, wearing protective gloves during the battery replacement process is a good idea. This helps prevent any potential contact with battery acid or other harmful substances that may be present on the battery or inside the detector.
- Ensure proper battery orientation: When inserting the new battery, pay close attention to the correct orientation. The positive (+) and negative (-) ends of the battery must align with the corresponding markings or terminals in the battery compartment. Incorrect insertion of the battery can lead to malfunctioning or damage to the detector.
- Avoid touching internal components: Take care not to touch or disturb any internal components of the carbon monoxide detector while changing the battery. Avoid pulling on any wires or cables as this can cause damage to the detector and affect its performance.
- Dispose of old batteries properly: Always dispose of old batteries in accordance with local regulations and guidelines. Many communities have designated recycling centers or collection points for proper battery disposal. Do not throw old batteries in the trash, as they can be harmful to the environment.
- Test the detector after battery replacement: Once you have replaced the battery and closed the compartment, conduct a test by following the manufacturer’s instructions. This ensures that the detector is functioning correctly and can detect the presence of carbon monoxide in your home.
- Keep a spare battery on hand: It is a good idea to keep a spare battery of the appropriate type and size for your carbon monoxide detector. This way, you are prepared in case the battery needs to be replaced unexpectedly or during times when it may be difficult to acquire a new battery.
By taking these precautions, you can ensure a smooth and safe battery replacement process for your carbon monoxide detector. Remember, your safety is paramount, and proper maintenance of the detector ensures its effectiveness in detecting carbon monoxide and protecting you and your loved ones from potential harm.
Testing the carbon monoxide detector after changing the battery
After you have changed the battery in your carbon monoxide detector, it is important to conduct a test to ensure that the device is functioning correctly. Testing the detector after battery replacement is essential for your safety and peace of mind. Here’s how you can test your carbon monoxide detector:
- Refer to the manufacturer’s instructions: Every carbon monoxide detector has specific instructions for testing. These instructions may involve pressing a designated button or a combination of buttons, or using a test mode on the device. Consult the manufacturer’s instructions provided with your detector to understand the specific testing procedure.
- Clear the surrounding area: Before testing, ensure that the immediate area around the carbon monoxide detector is free from any potential sources of carbon monoxide, such as appliances or vehicles. This will help prevent false alarms during the testing process and ensure accurate results.
- Press the test button: Locate the test button on your carbon monoxide detector. Press and hold the button for a few seconds or as instructed by the manufacturer. You should hear a loud, distinct sound, indicating that the alarm is working correctly. If the alarm does not sound, there may be an issue with the detector, and further troubleshooting may be required.
- Check the display: Some carbon monoxide detectors have a digital display that shows readings or information about the current CO levels. After pressing the test button, check the display to ensure that it shows the appropriate message, such as “Test,” “OK,” or similar. If there are any error messages or the display does not respond as expected, consult the manufacturer’s instructions for troubleshooting steps.
- Verify alarm sensitivity: Consider testing the detector’s sensitivity by using a carbon monoxide test kit, which can be purchased at hardware stores or online. Follow the instructions provided with the test kit to release a small amount of simulated carbon monoxide near the detector. Observe the detector’s response, including the alarm activation and any readings displayed on the digital screen.
- Regular testing: Testing your carbon monoxide detector should not be a one-time occurrence. It is essential to establish a regular testing routine to ensure that the detector is still functioning properly. Follow the manufacturer’s guidelines for the recommended testing frequency, which is typically once every month or as specified.
By regularly testing your carbon monoxide detector after changing the battery and establishing a routine testing schedule, you can have confidence in the device’s ability to detect the presence of carbon monoxide in your home. Remember, a properly functioning detector is a valuable tool in ensuring your safety and that of your loved ones.
Conclusion
Regularly changing the battery in your carbon monoxide detector is a crucial maintenance task that ensures the device’s effectiveness in detecting this silent and deadly gas. By following the step-by-step guide outlined in this article, you can easily replace the battery and keep your detector in optimal working condition.
Remember the importance of changing the battery in your carbon monoxide detector, as it helps maintain functionality, prolongs the detector’s lifespan, and provides round-the-clock protection. By adhering to the recommended battery replacement interval, checking the battery annually, and being mindful of warning signs, you can stay ahead of any potential issues and ensure uninterrupted safety for yourself and your loved ones.
Furthermore, it is important to take precautions while changing the battery, such as turning off the device, wearing protective gloves, and ensuring proper battery orientation. These precautions help prevent accidents and maintain the integrity of your carbon monoxide detector.
After replacing the battery, it is vital to test the carbon monoxide detector to ensure its proper functioning. Clear the surrounding area, press the test button, and check the alarm sound or digital display for indications of correct operation. Regular testing, along with establishing a testing schedule, can give you peace of mind and confidence that your detector is always ready to protect you.
In conclusion, changing the battery in a carbon monoxide detector is a simple yet crucial task that should not be overlooked. By being proactive and following the guidelines outlined in this article, you are taking an important step towards maintaining a safe and healthy living environment.
Remember, your safety and the safety of your loved ones should always be a top priority. By regularly changing the battery in your carbon monoxide detector and taking the necessary precautions, you can ensure the continued effectiveness of this life-saving device.
Frequently Asked Questions about Carbon Monoxide Detector: How To Change Battery
Was this page helpful?
At Storables.com, we guarantee accurate and reliable information. Our content, validated by Expert Board Contributors, is crafted following stringent Editorial Policies. We're committed to providing you with well-researched, expert-backed insights for all your informational needs.

0 thoughts on “Carbon Monoxide Detector: How To Change Battery”