Articles
How To Replace A Carbon Monoxide Detector
Modified: August 26, 2024
Learn how to replace a carbon monoxide detector with our informative articles. Ensure the safety of your home and loved ones.
(Many of the links in this article redirect to a specific reviewed product. Your purchase of these products through affiliate links helps to generate commission for Storables.com, at no extra cost. Learn more)
Introduction
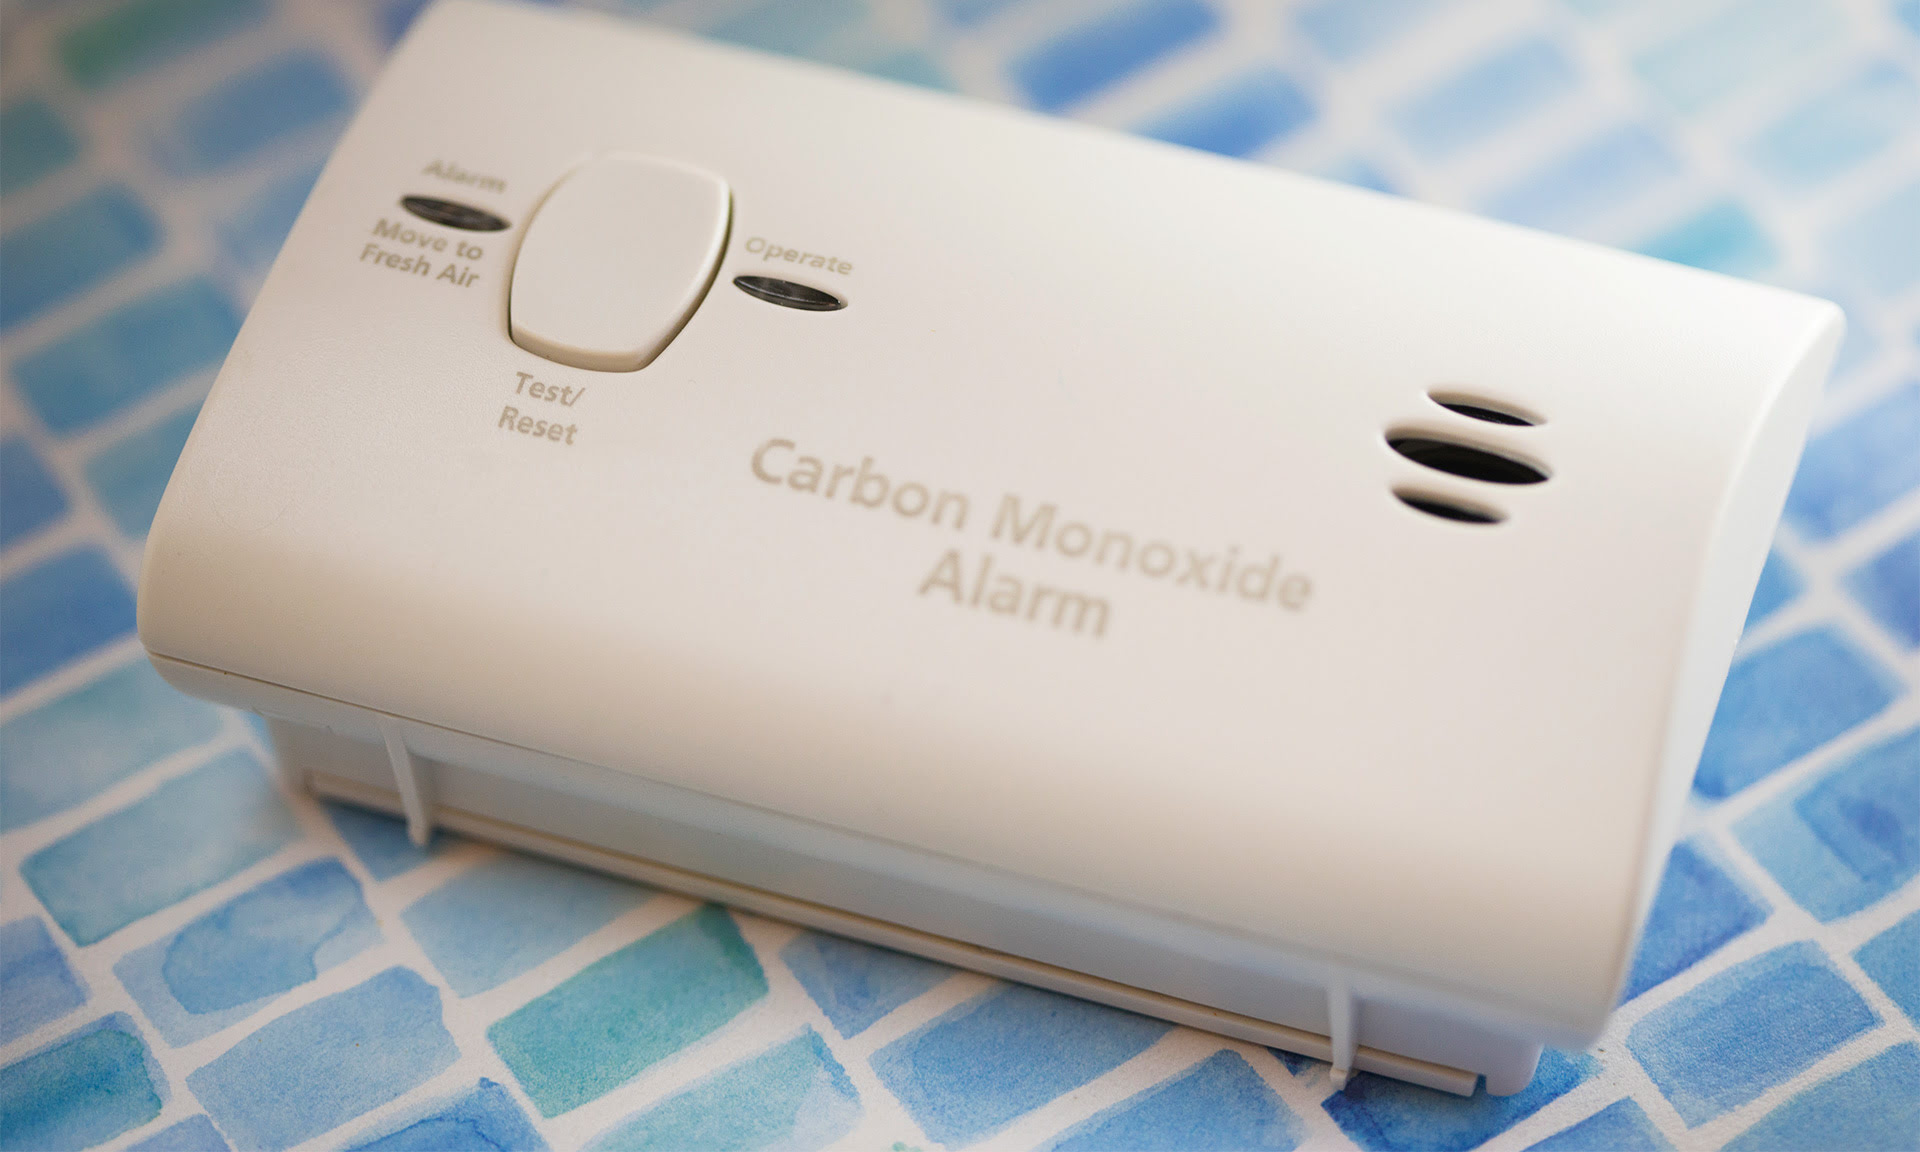
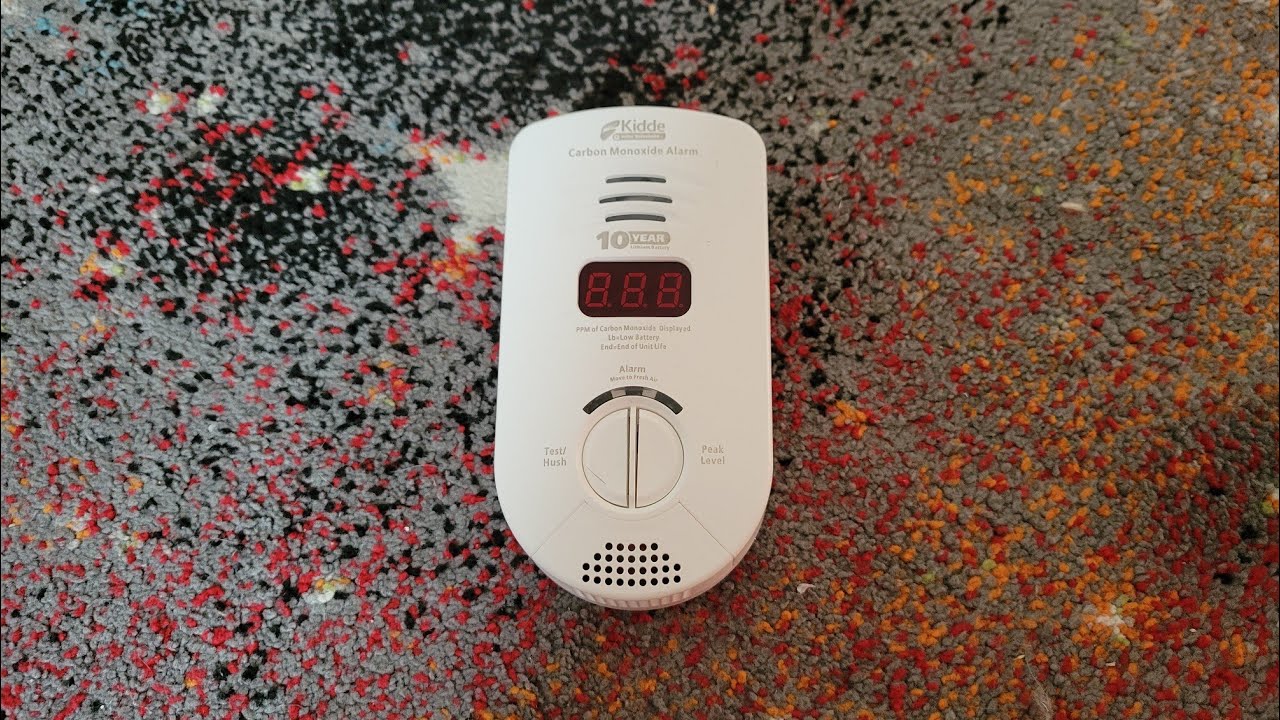
Carbon monoxide (CO) is a colorless, odorless gas that can be deadly if not detected in a timely manner. Carbon monoxide detectors are essential for maintaining the safety of your home or workplace. Over time, these detectors may become outdated or malfunction. It is important to replace them to ensure continuous protection against the harmful effects of carbon monoxide.
In this article, we will guide you through the step-by-step process of replacing a carbon monoxide detector. By following these instructions, you can ensure the safety of your living or working space and provide peace of mind for you and your loved ones.
Key Takeaways:
- Ensure safety by following step-by-step instructions to replace a carbon monoxide detector. Prioritize proper disposal of the old detector to safeguard the environment and prevent potential harm.
- Take proactive steps to maintain a safe living or working space by regularly testing and replacing carbon monoxide detectors. Prioritize safety and well-being for yourself and your loved ones.
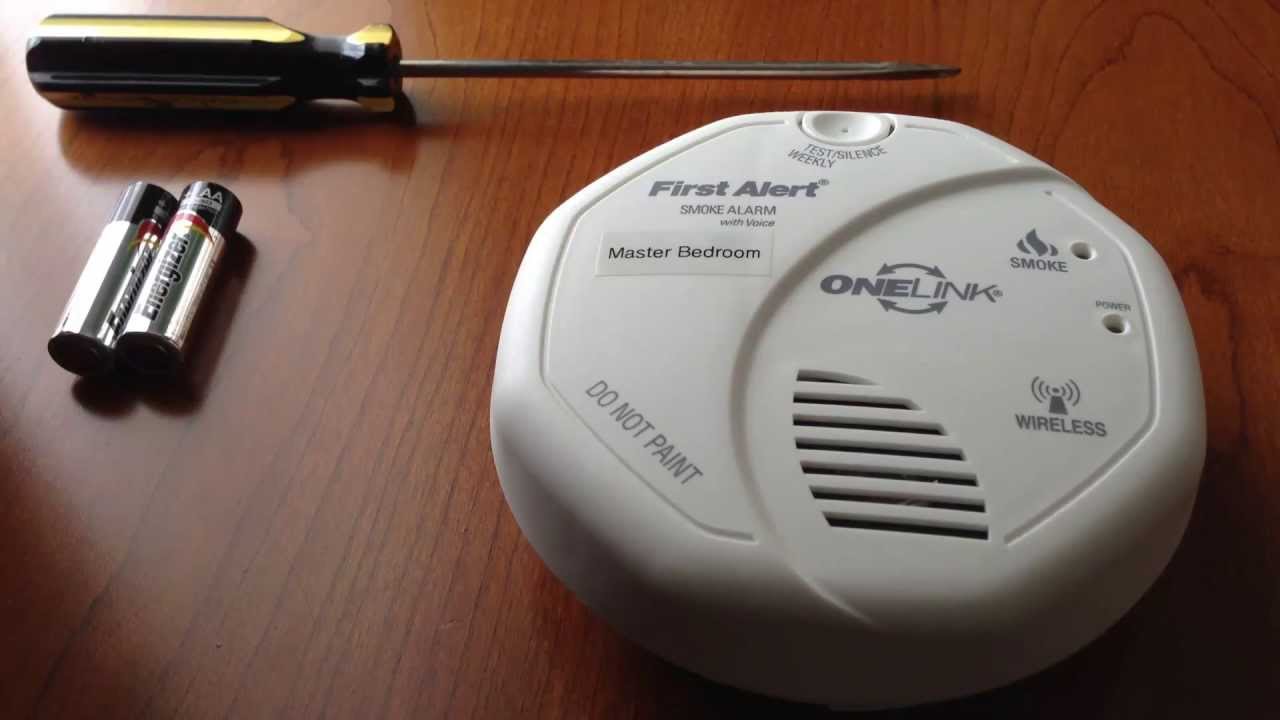
Step 1: Gather Necessary Tools and Materials
Before you begin the process of replacing your carbon monoxide detector, it is important to gather all the necessary tools and materials. This will ensure that you have everything you need at hand, making the installation process smoother and more efficient.
Here is a list of the tools and materials you will need:
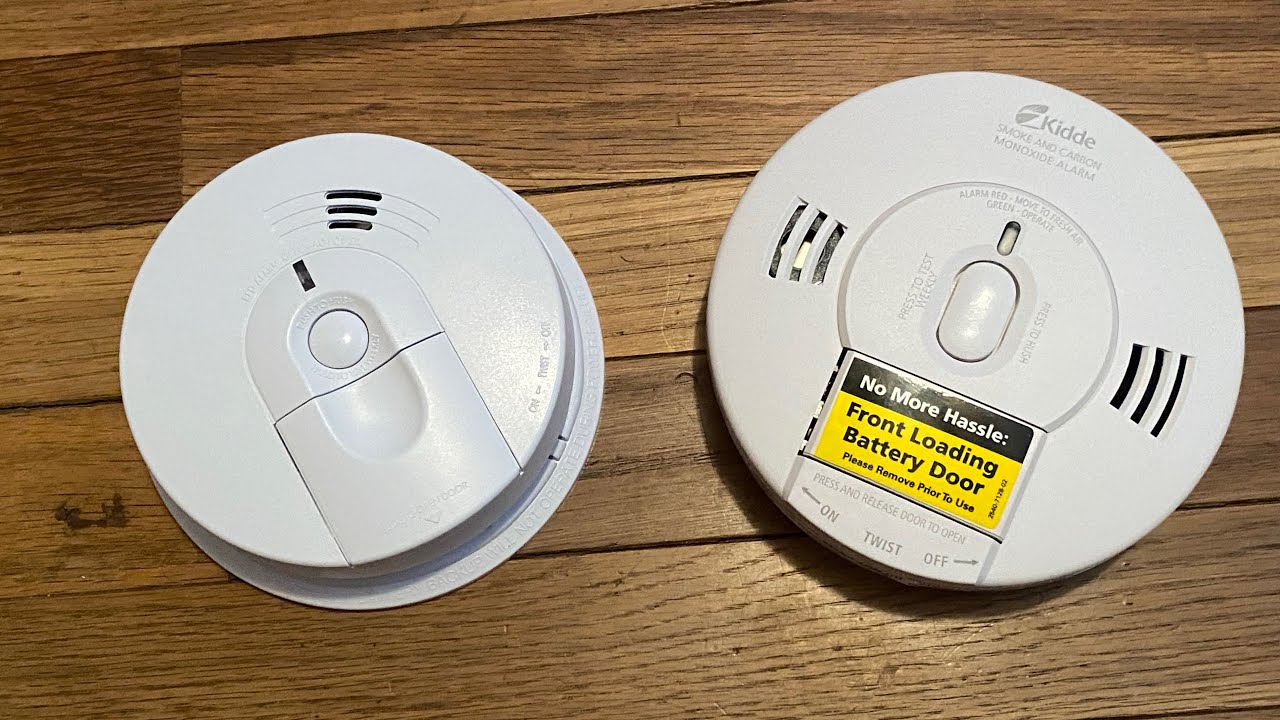
- New carbon monoxide detector
- Screwdriver
- Wire stripper
- Wrench or pliers
- Twist-on wire connectors
- Electrical tape
- Mounting screws
Ensure that you have these items ready before proceeding to the next step.
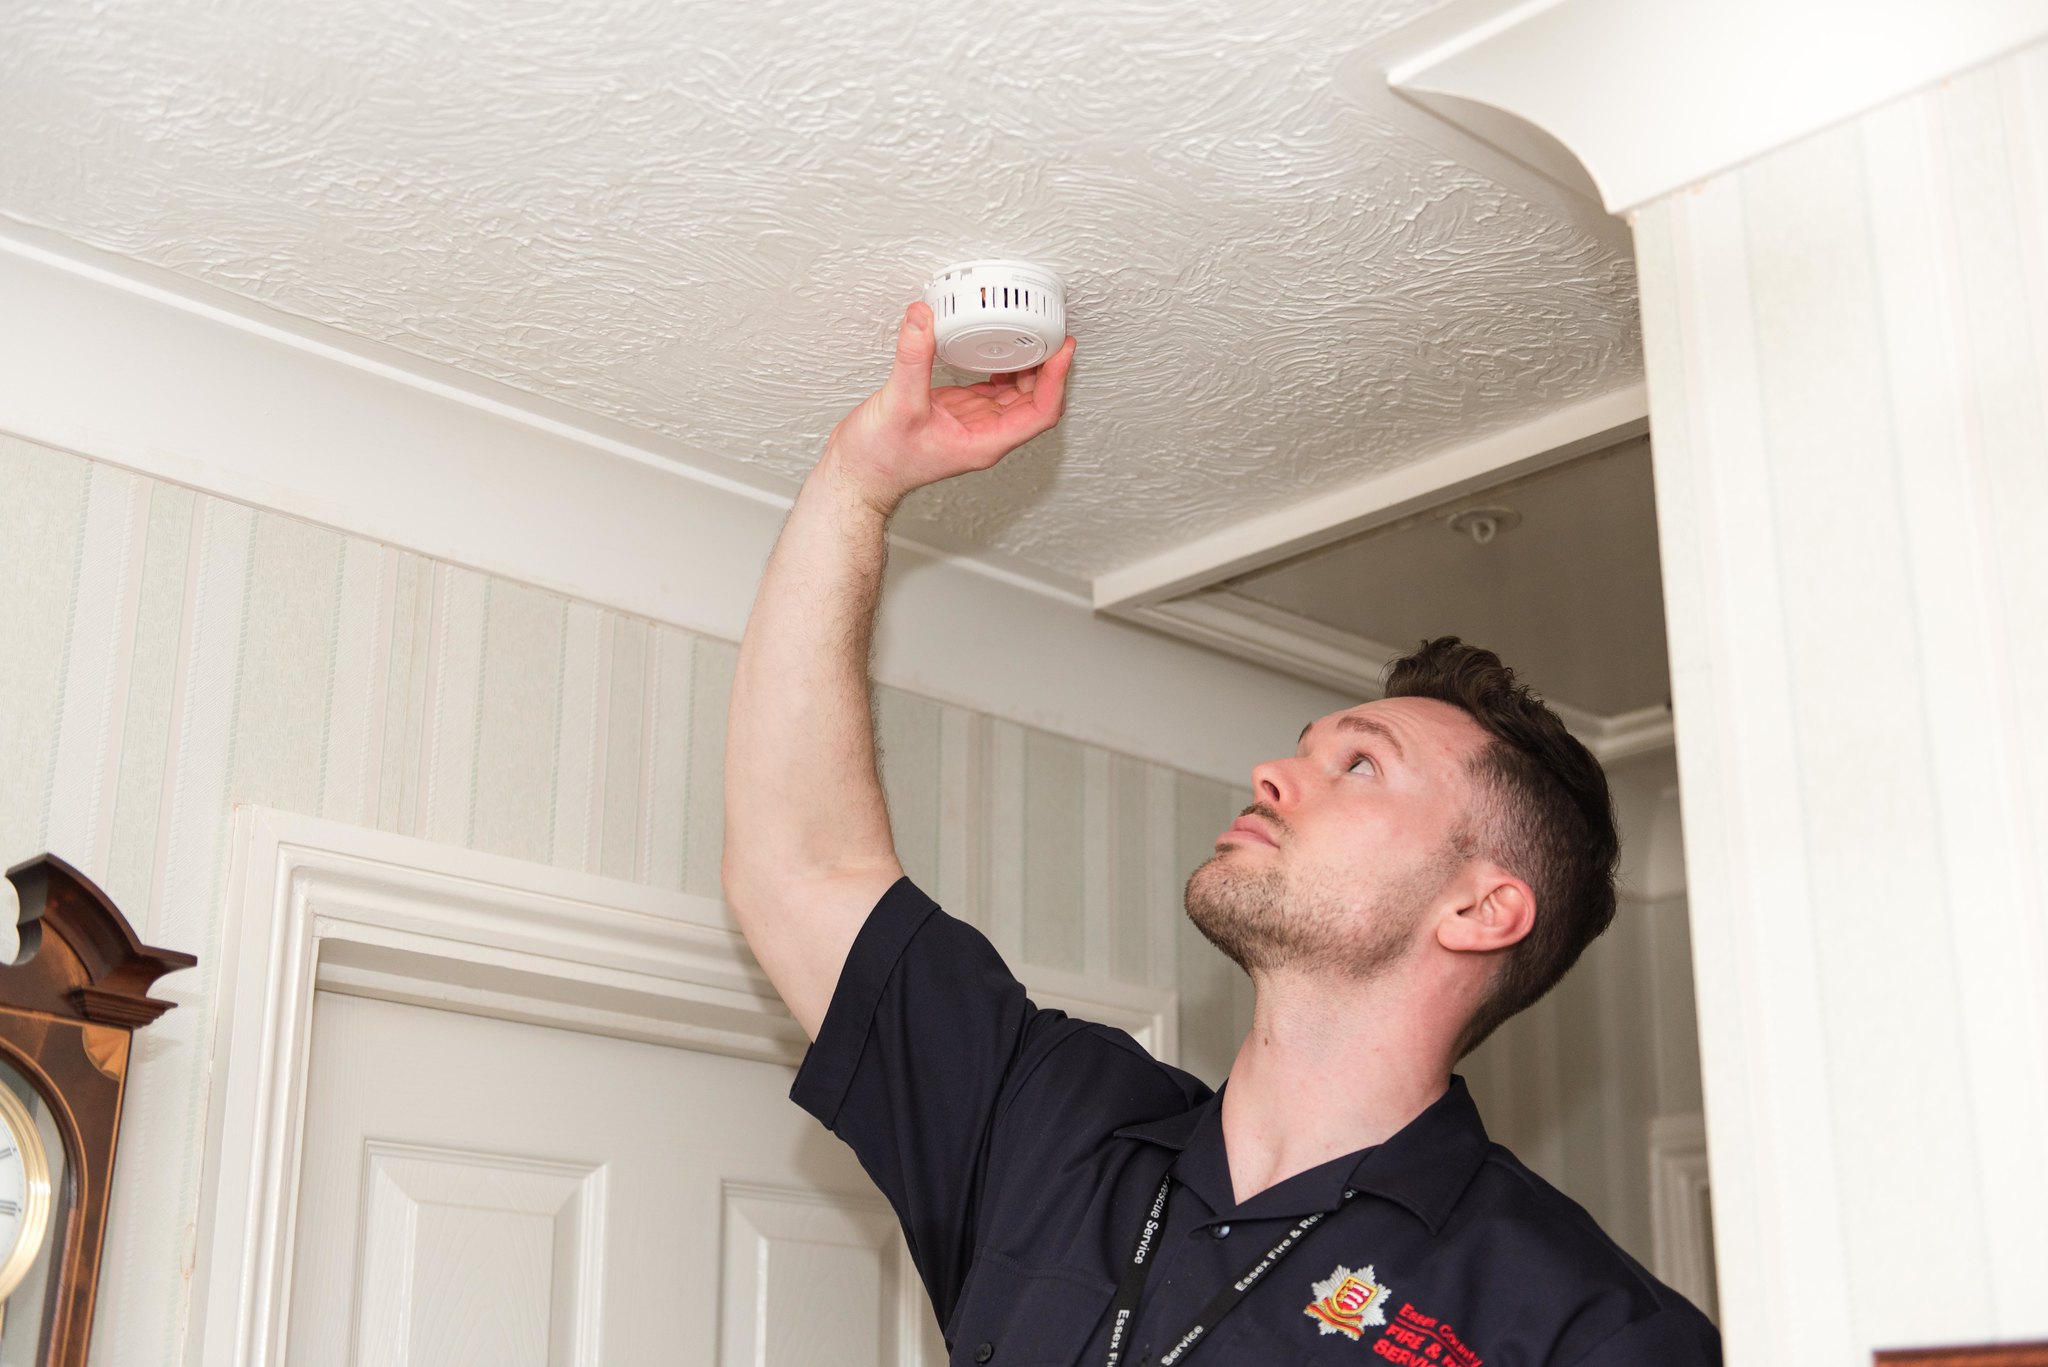
Step 2: Turn Off Power to the Detector
Before you begin removing the old carbon monoxide detector, it is crucial to turn off power to the device. This will not only protect you from any potential electrical hazards but also allow you to safely disconnect the wires.
To turn off power to the detector, locate the circuit breaker or fuse panel in your home or workplace. Look for the breaker or fuse that corresponds to the area where the detector is installed. Switch off the breaker or remove the fuse to cut off power to the detector.
It is important to double-check that the power is truly off before proceeding. You can do this by testing the detector to ensure it is no longer functioning. If the detector does not light up or emit any sounds when tested, it means the power has been successfully turned off.
Remember, safety should always be your top priority when working with electrical components. Take the necessary precautions and proceed to the next step once you are confident that the power to the detector has been completely shut off.
Step 3: Remove the Old Carbon Monoxide Detector
Now that you have turned off the power to the detector, it is time to remove the old carbon monoxide detector from its mounting location. Follow these steps to safely remove the detector:
- Use a screwdriver to remove any screws or mounting brackets securing the detector to the wall or ceiling. Set these aside for later use if they are still in good condition.
- Gently pull the detector away from the mounting surface, being careful not to damage any wires or connections.
- If the detector is hardwired into the electrical system, you will need to disconnect the wires. Use a wire stripper to strip the insulation from the ends of the wires, exposing the metal. Detach the wires from the terminals of the detector.
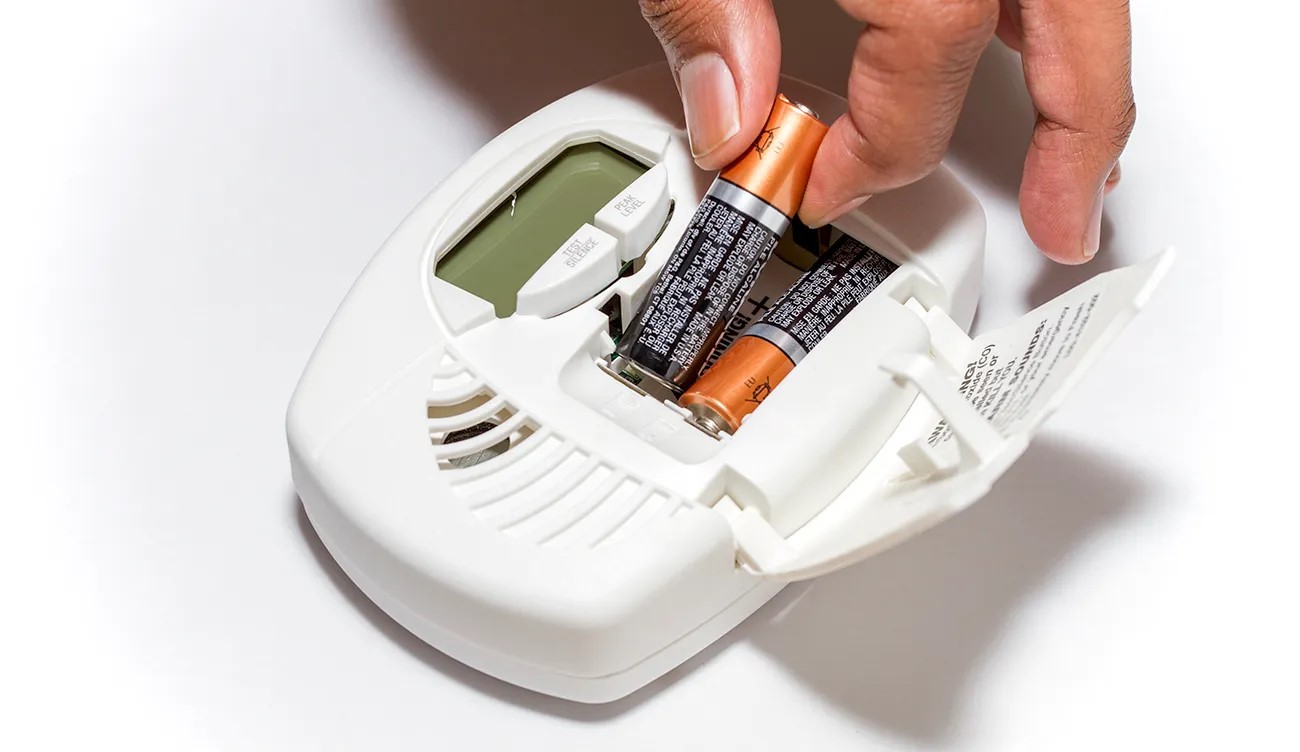
- If the detector is battery-powered, simply remove the batteries from the back of the unit.
Once you have successfully removed the old carbon monoxide detector, set it aside for proper disposal. Do not throw it in the regular trash, as it may contain hazardous materials. Check with your local waste management facility for the proper disposal method in your area.
With the old detector removed, you are now ready to install the new carbon monoxide detector in the next step.
Step 4: Disconnect Wires and Remove Mounting Bracket
With the old carbon monoxide detector removed, it’s time to prepare for the installation of the new detector. In this step, we will guide you through the process of disconnecting the wires and removing the mounting bracket.
- Start by taking a closer look at the wiring connected to the old detector. Identify the different colored wires and their corresponding terminals.
- Using a screwdriver, carefully loosen the screws or connectors holding the wires in place. Gently pull the wires out of the terminals, ensuring not to tug on them too forcefully.
- Next, examine the mounting bracket that was used to secure the old detector to the wall or ceiling. Use a screwdriver or wrench to remove any screws or bolts attaching the bracket to the mounting surface.
- Once the screws or bolts are removed, carefully take out the mounting bracket and set it aside. Check the condition of the bracket. If it is in good shape, you can reuse it for the installation of the new detector. If it is damaged or worn out, you may need to purchase a new one.
By disconnecting the wires and removing the mounting bracket, you are now ready to proceed with the installation of the new carbon monoxide detector in the following step.
When replacing a carbon monoxide detector, be sure to choose a model that is approved by a recognized testing laboratory and follow the manufacturer’s instructions for installation and placement.
Step 5: Install the New Carbon Monoxide Detector
Now that you have removed the old carbon monoxide detector and prepared the space, it’s time to install the new detector. Follow these steps for a successful installation:
- Take the new carbon monoxide detector and position it on the mounting surface. Ensure that it is level and aligned correctly.
- If you are using the same mounting bracket from the previous detector, attach it to the new detector using the provided screws or bolts. If you need a new bracket, follow the manufacturer’s instructions for installation.
- Once the mounting bracket is securely in place, carefully route the wires through the back of the detector. Make sure to match the colors of the wires to the corresponding terminals.
- Using your screwdriver, tighten the screws or connectors to secure the wires in place. Double-check that the connections are snug but not overly tightened.
- If the new detector is battery-powered, insert the batteries into the designated compartment on the back of the unit.
- Gently push the detector against the mounting surface, ensuring it is securely in place.
By following these steps, you have successfully installed the new carbon monoxide detector. However, the installation process is not complete without properly connecting the wires and mounting bracket, which we will cover in the next step.
Step 6: Connect Wires and Mounting Bracket
Now that the new carbon monoxide detector is in place, it is time to connect the wires and mounting bracket to ensure a secure and functional installation. Follow these steps to complete the process:
- If you had removed the mounting bracket in earlier steps, align it with the pre-drilled holes on the mounting surface. Secure the bracket using screws or bolts, tightening them firmly but not excessively.
- Take a closer look at the wires protruding from the back of the detector. Align the colored wires with their corresponding terminals.
- Using your screwdriver or pliers, tighten the screws or connectors to establish a secure connection between the wires and terminals. Ensure that the wires are firmly attached, as loose connections can affect the proper functioning of the detector.
- Once all the wires are securely connected, tuck any excess wire into the junction box or use twist-on wire connectors to organize and secure them.
- Carefully push the detector against the mounting surface, ensuring that it is snugly attached and aligned with the mounting bracket.
- Double-check that all screws, bolts, and connectors are tightened securely, but avoid overtightening, as it may damage the detector or the mounting surface.
By following these steps, you have successfully connected the wires and mounting bracket, completing the installation process of the new carbon monoxide detector.
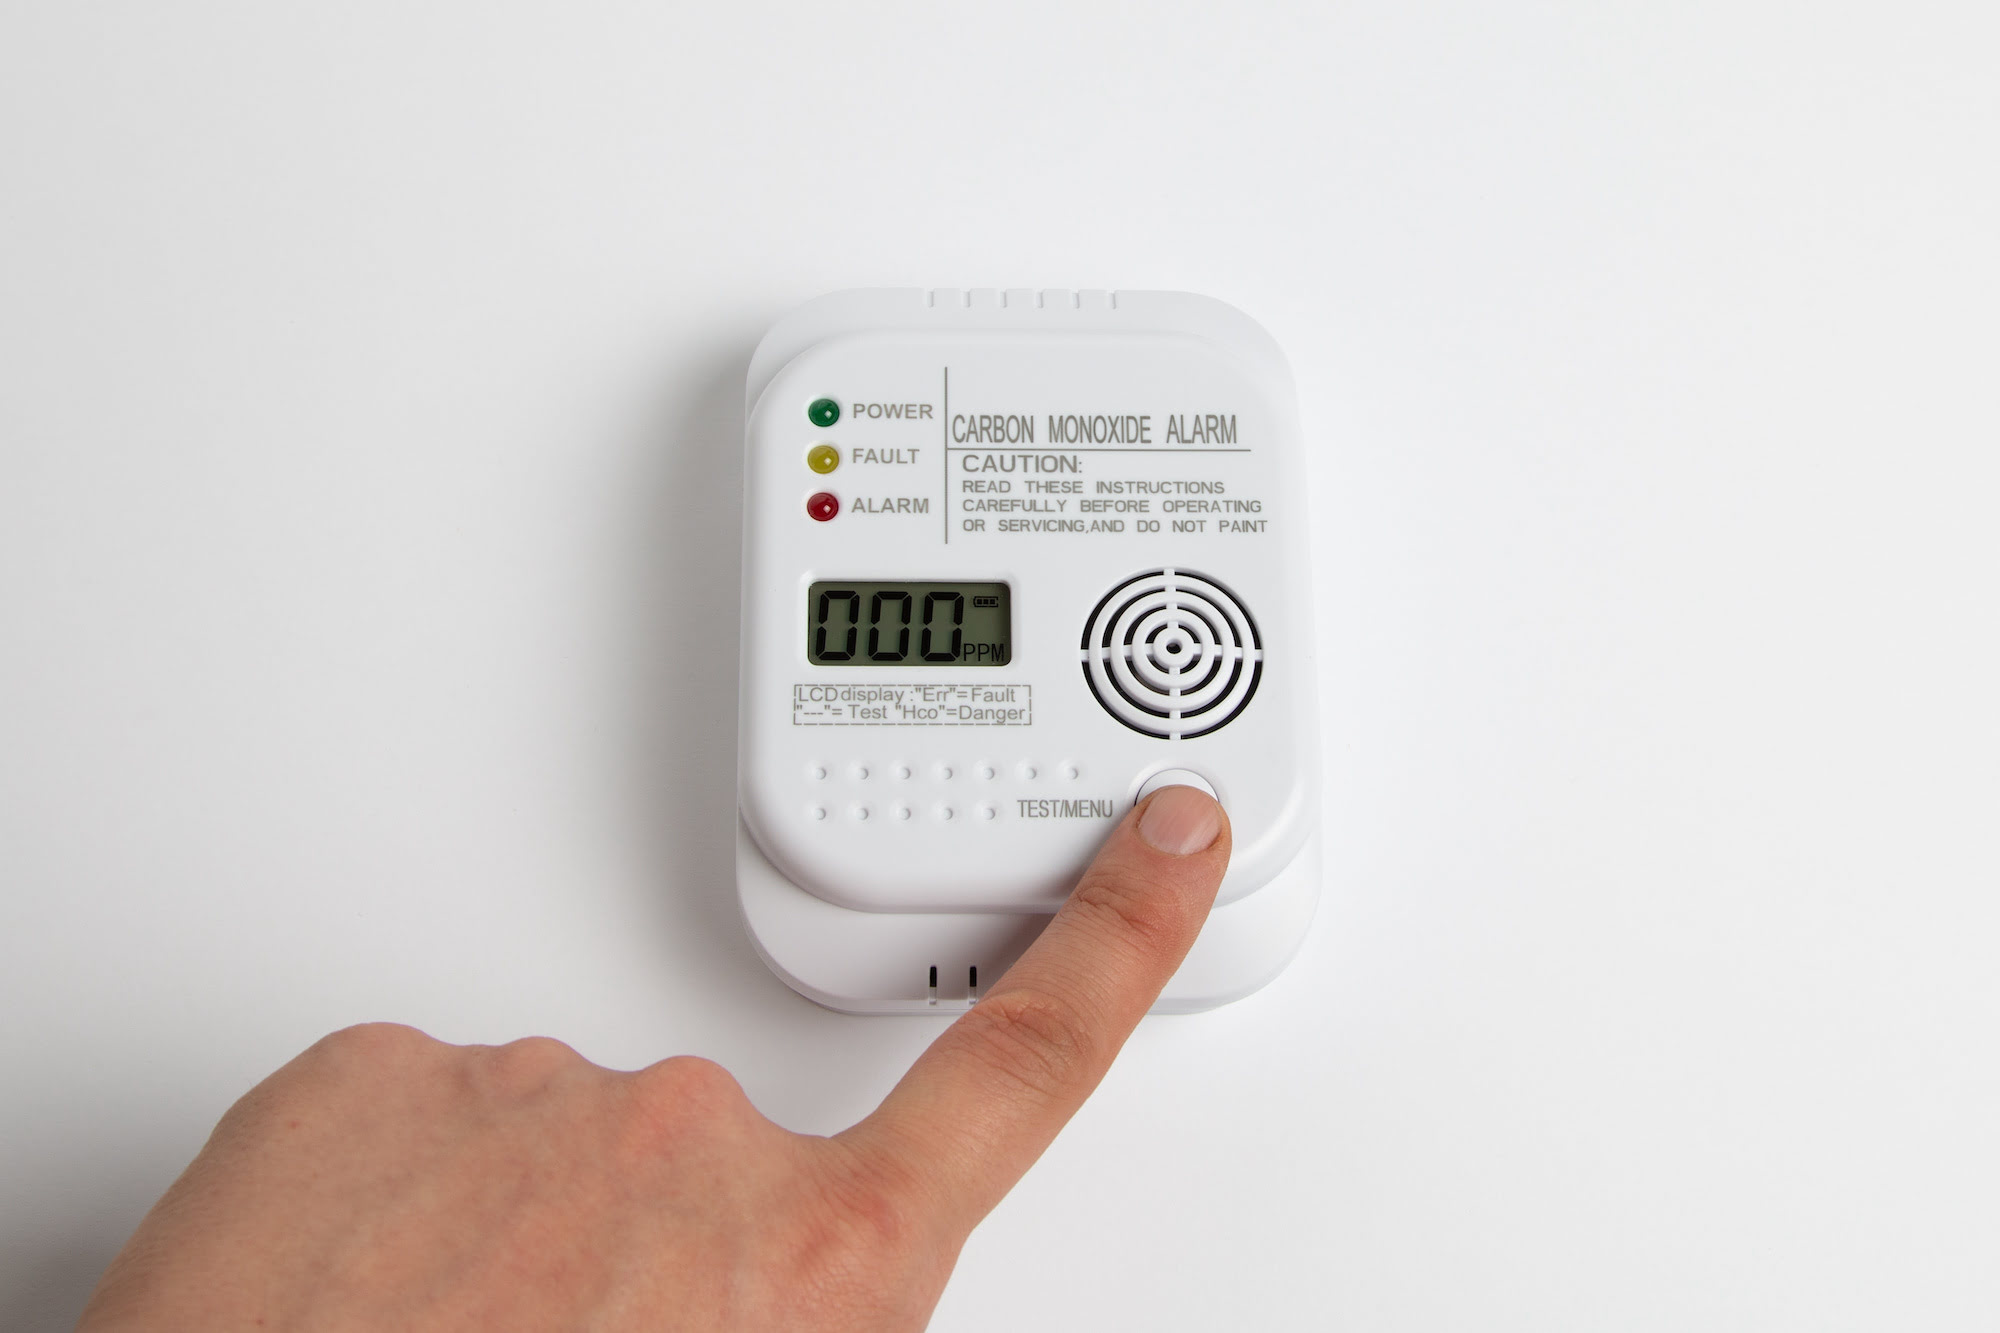
Step 7: Turn On Power and Test the Detector
Now that the new carbon monoxide detector is installed and all the connections are secure, it’s time to turn on the power and test the functionality of the detector. Follow these steps to ensure that the detector is working correctly:
- Locate the circuit breaker panel or fuse box in your home or workplace.
- Identify the breaker or fuse that corresponds to the area where the carbon monoxide detector is installed.
- Switch on the breaker or reinstall the fuse to restore power to the detector.
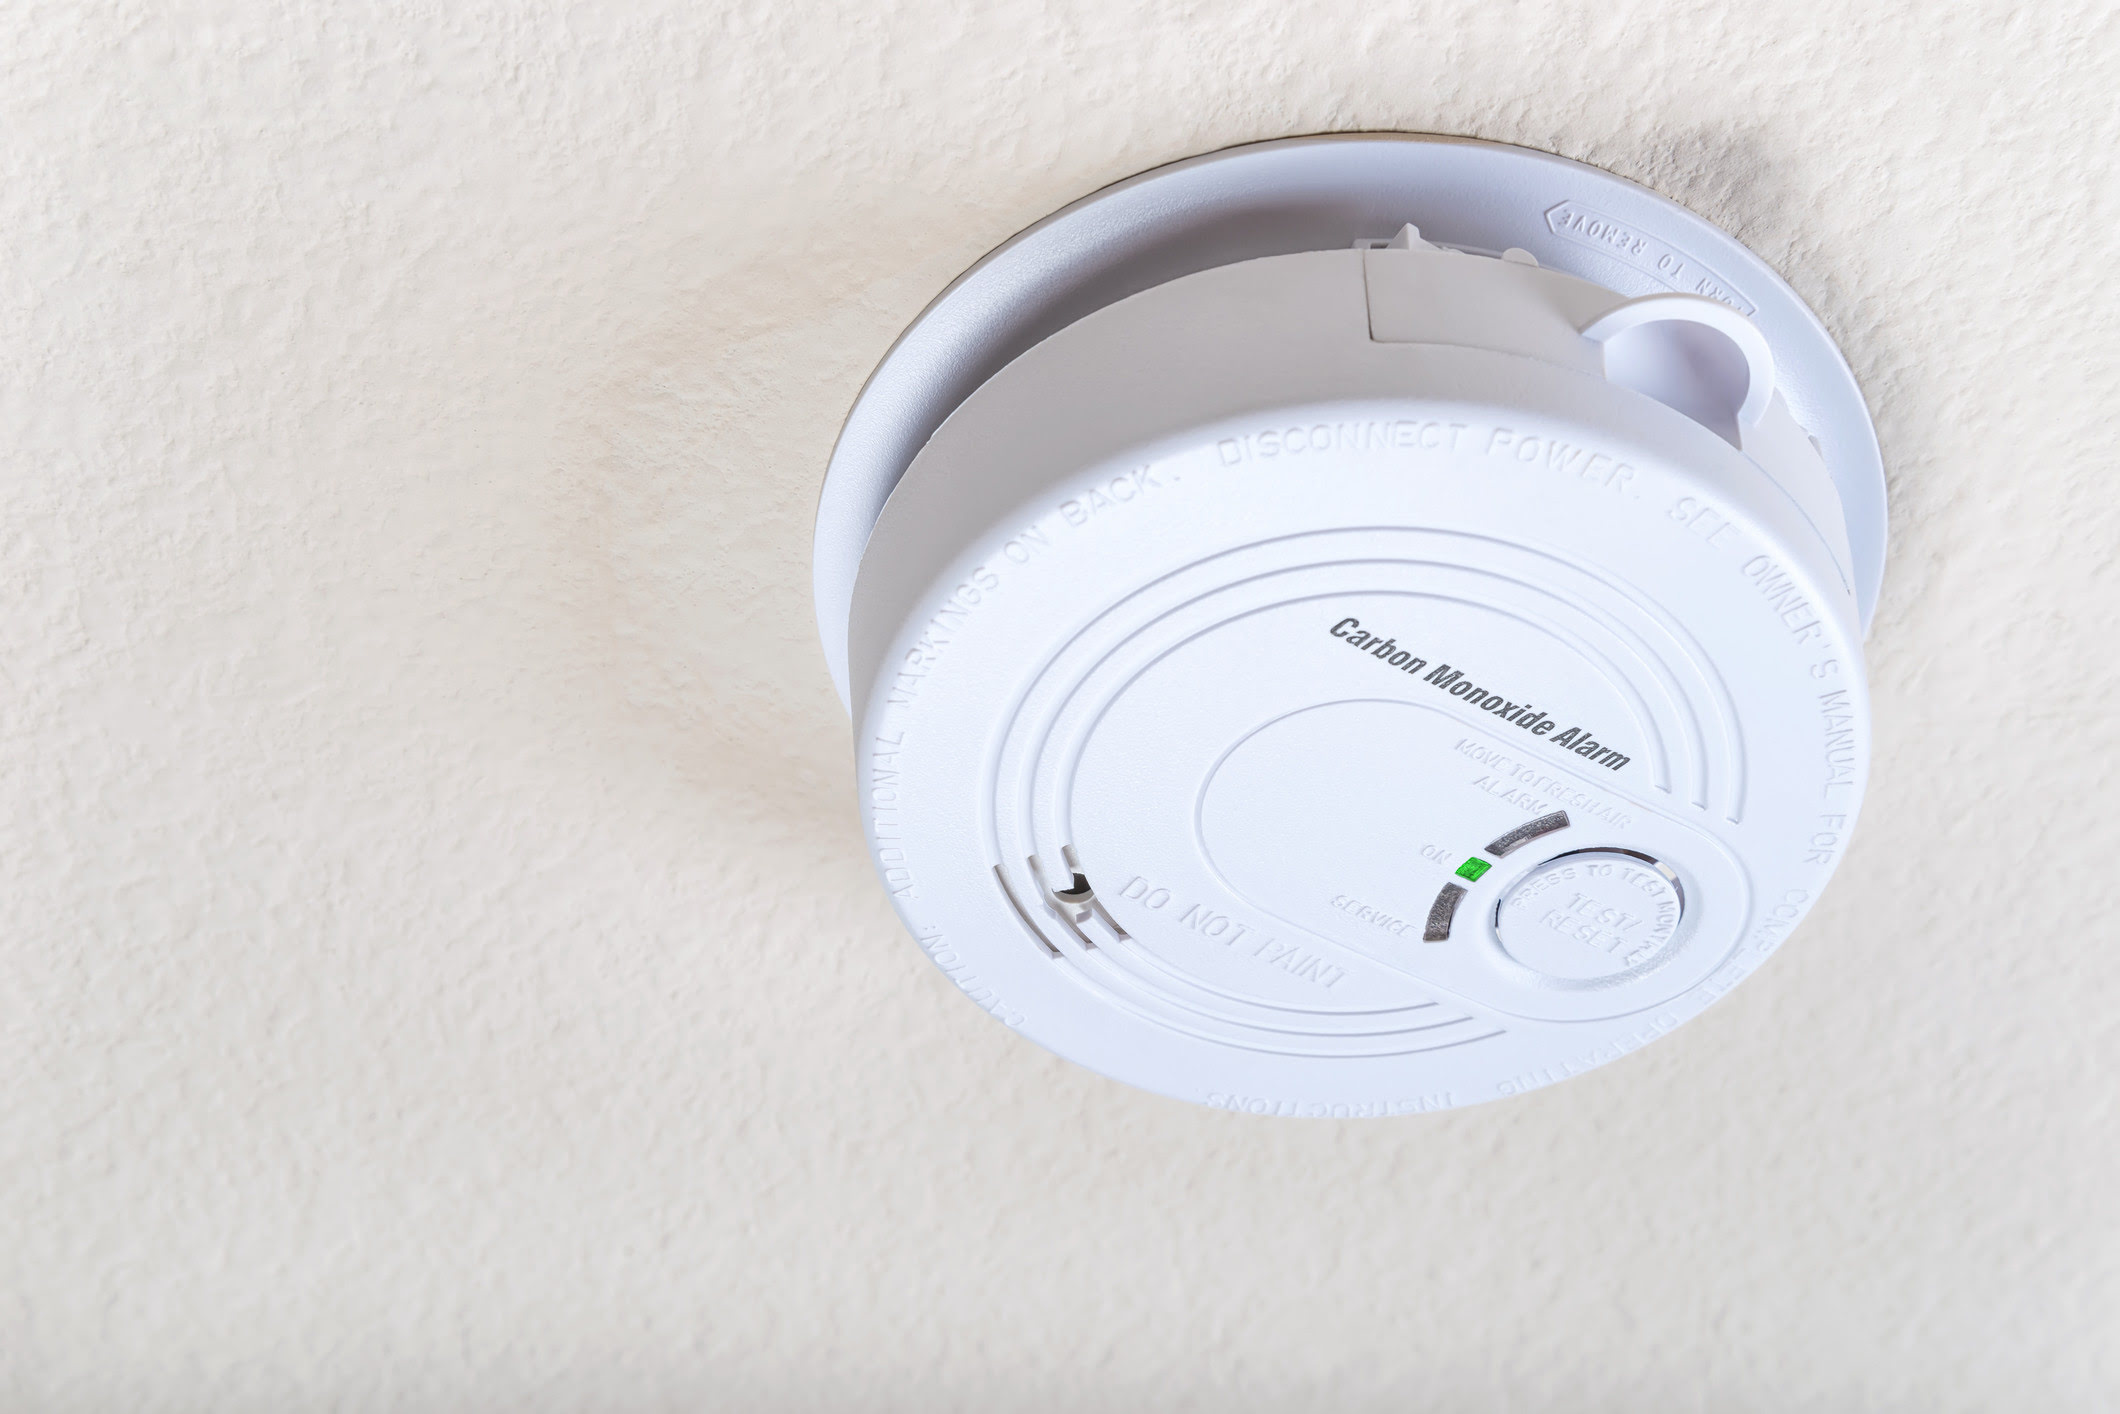
- Once the power is restored, observe the new detector for any signs of activation, such as lights flashing or audible beeping.
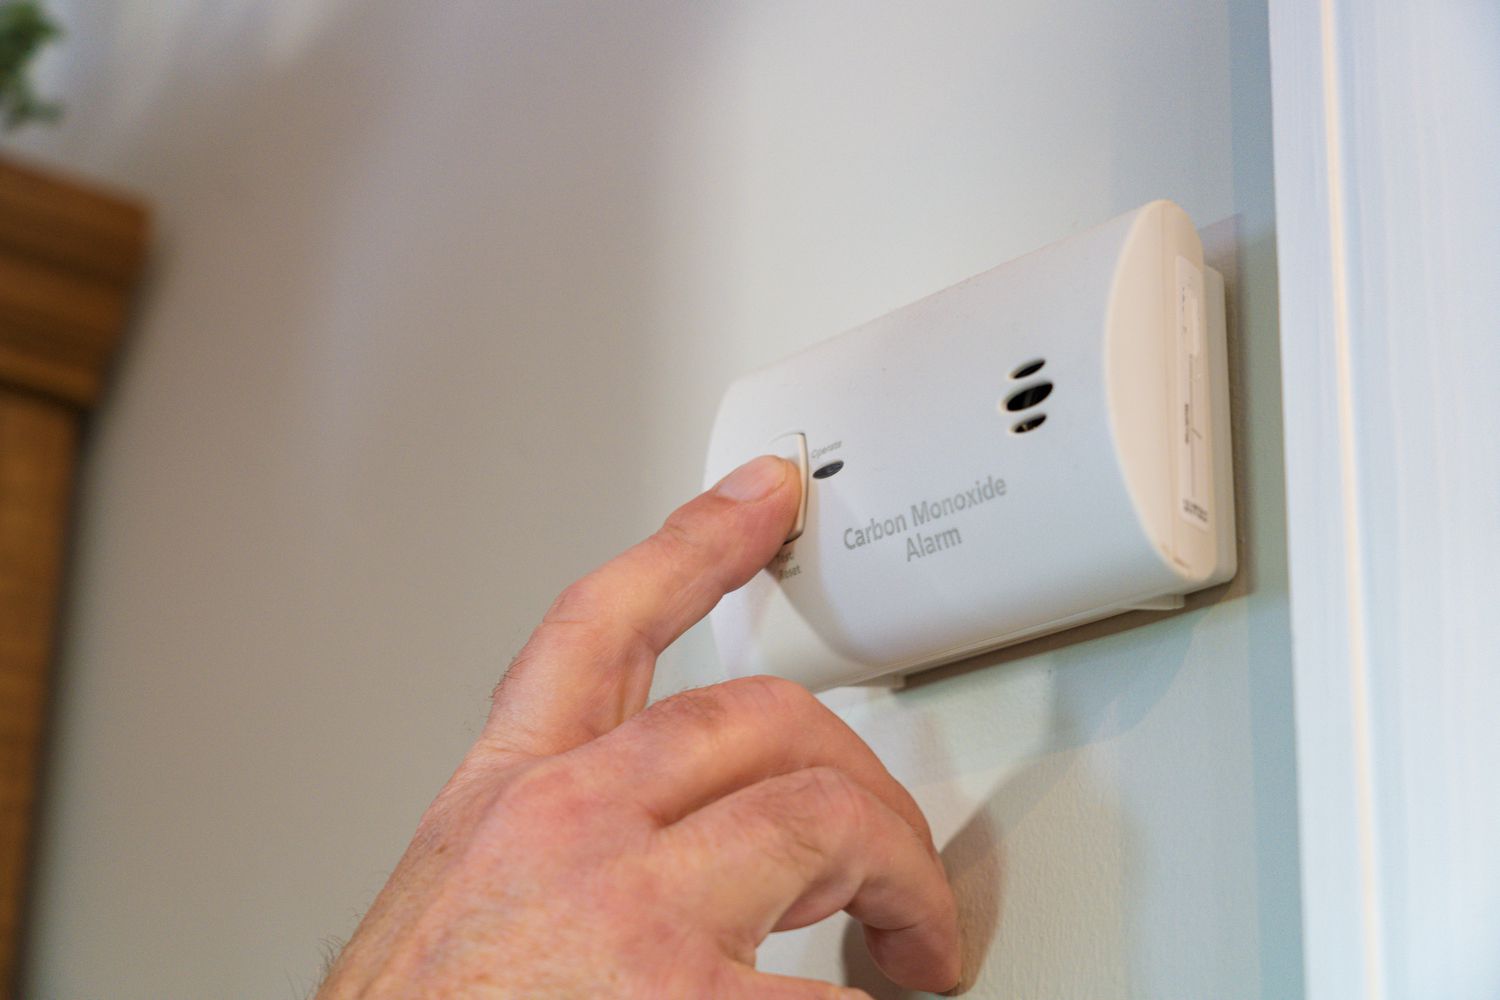
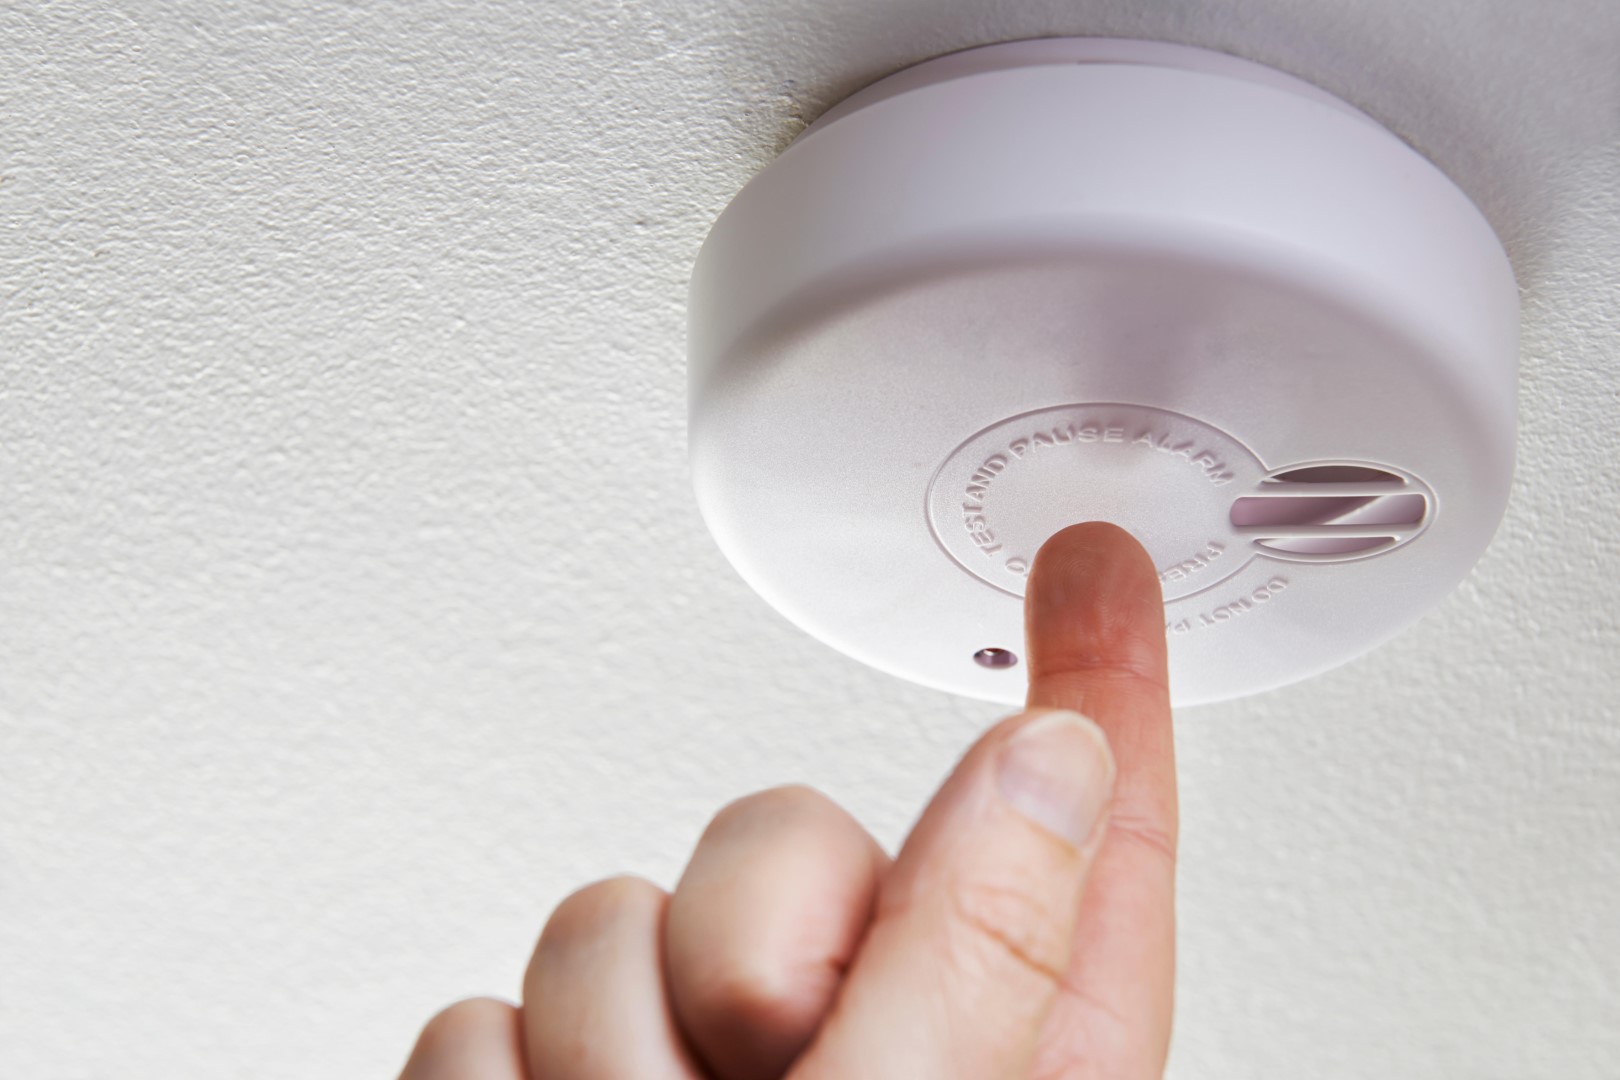
- Perform a test of the detector according to the manufacturer’s instructions. This may involve pressing a test button on the detector to simulate the presence of carbon monoxide.
- Observe if the detector accurately detects carbon monoxide and triggers an alarm.
- If the detector does not activate or if the alarm is not loud enough, double-check all connections and ensure that the batteries (if applicable) are correctly installed.
It is crucial to test your carbon monoxide detector regularly to ensure its proper functioning. Follow the manufacturer’s instructions for routine testing and maintenance.
Congratulations! You have successfully turned on the power and tested the new carbon monoxide detector.
Step 8: Dispose of the Old Detector Properly
Now that you have successfully installed the new carbon monoxide detector, it is essential to dispose of the old detector properly. Disposing of it in the correct manner helps to safeguard the environment and prevent any potential harm.
Here are the steps to dispose of the old carbon monoxide detector:
- Check the manufacturer’s instructions or the label on the detector for any specific disposal guidelines. Some manufacturers may have specific recommendations for safe disposal.
- Do not throw the old detector in the regular trash, as it may contain hazardous materials. Contact your local waste management facility or consult your community’s guidelines for proper disposal methods.
- In some areas, there may be recycling programs or hazardous waste collection centers that accept old detectors. Check with these facilities to see if they accept carbon monoxide detectors.
- If there are no local options for disposal, it may be necessary to contact the detector manufacturer or a hazardous waste collection service for guidance on proper disposal methods.
- When transporting the old detector to a designated disposal facility, take precautions to prevent any accidental leakage or damage. Place the detector in a sealed bag or container to contain any potential harmful substances.
Following these steps will ensure that the old carbon monoxide detector is disposed of safely and in accordance with local regulations.
By disposing of the old detector properly, you have completed the entire process of replacing a carbon monoxide detector.
Read more: How To Remove A Carbon Monoxide Detector
Conclusion
Replacing a carbon monoxide detector is an important task to ensure the safety of your home or workplace. By following the step-by-step process outlined in this article, you can successfully replace your old detector with a new one and provide continuous protection against the harmful effects of carbon monoxide.
Remember, safety should always be your top priority when working with electrical components. Take the necessary precautions, such as turning off the power and following the manufacturer’s instructions, to ensure a safe and successful installation.
Gathering the necessary tools and materials, turning off the power, removing the old detector, disconnecting wires and removing the mounting bracket, installing the new detector, connecting wires and mounting bracket, turning on power and testing the detector, and properly disposing of the old detector are the key steps to follow in the replacement process.
Regularly testing and maintaining your carbon monoxide detector is essential to ensure its proper functioning. Follow the recommended testing and maintenance schedule provided by the manufacturer to keep your detector in optimal condition.
By taking proactive steps to replace your carbon monoxide detector, you are prioritizing the safety and well-being of yourself, your family, and those around you. Stay vigilant and aware of the potential dangers of carbon monoxide, and always be prepared to take necessary precautions.
Remember, carbon monoxide is a silent killer, but with a properly installed and functional detector, you can have peace of mind knowing that you are effectively safeguarding your living or working space from this deadly gas.
Frequently Asked Questions about How To Replace A Carbon Monoxide Detector
Was this page helpful?
At Storables.com, we guarantee accurate and reliable information. Our content, validated by Expert Board Contributors, is crafted following stringent Editorial Policies. We're committed to providing you with well-researched, expert-backed insights for all your informational needs.


0 thoughts on “How To Replace A Carbon Monoxide Detector”