Home>Articles>How To Replace Battery In A Kidde Carbon Monoxide Detector
Articles
How To Replace Battery In A Kidde Carbon Monoxide Detector
Modified: October 20, 2024
Learn how to replace the battery in a Kidde carbon monoxide detector with this helpful articles. Ensure the safety of your home with step-by-step instructions.
(Many of the links in this article redirect to a specific reviewed product. Your purchase of these products through affiliate links helps to generate commission for Storables.com, at no extra cost. Learn more)
Introduction
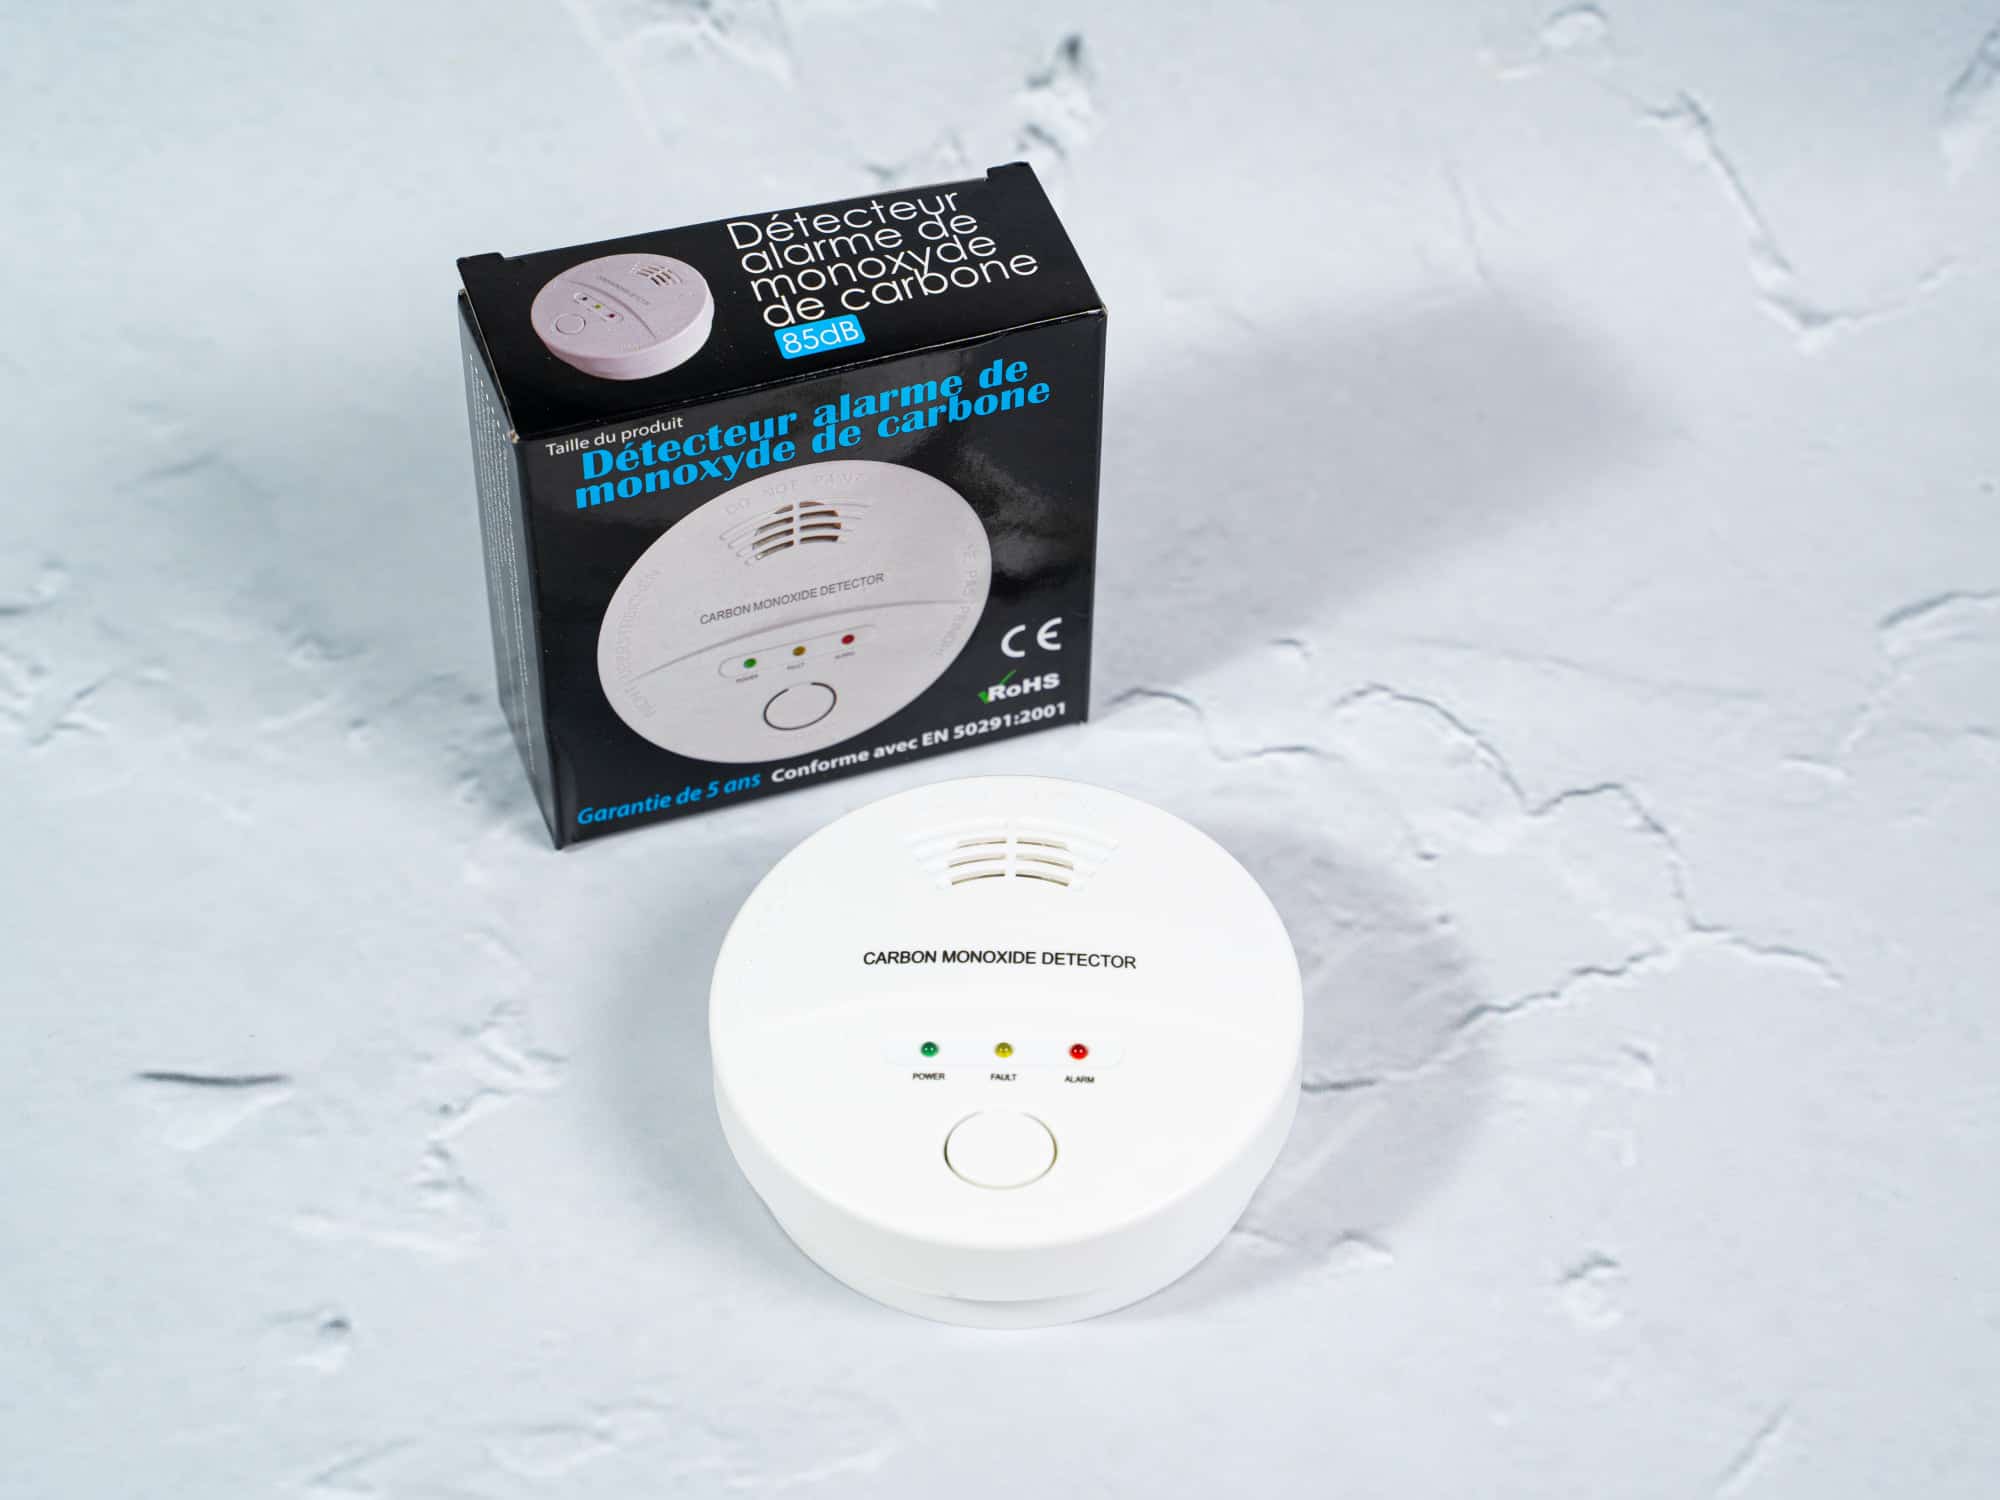
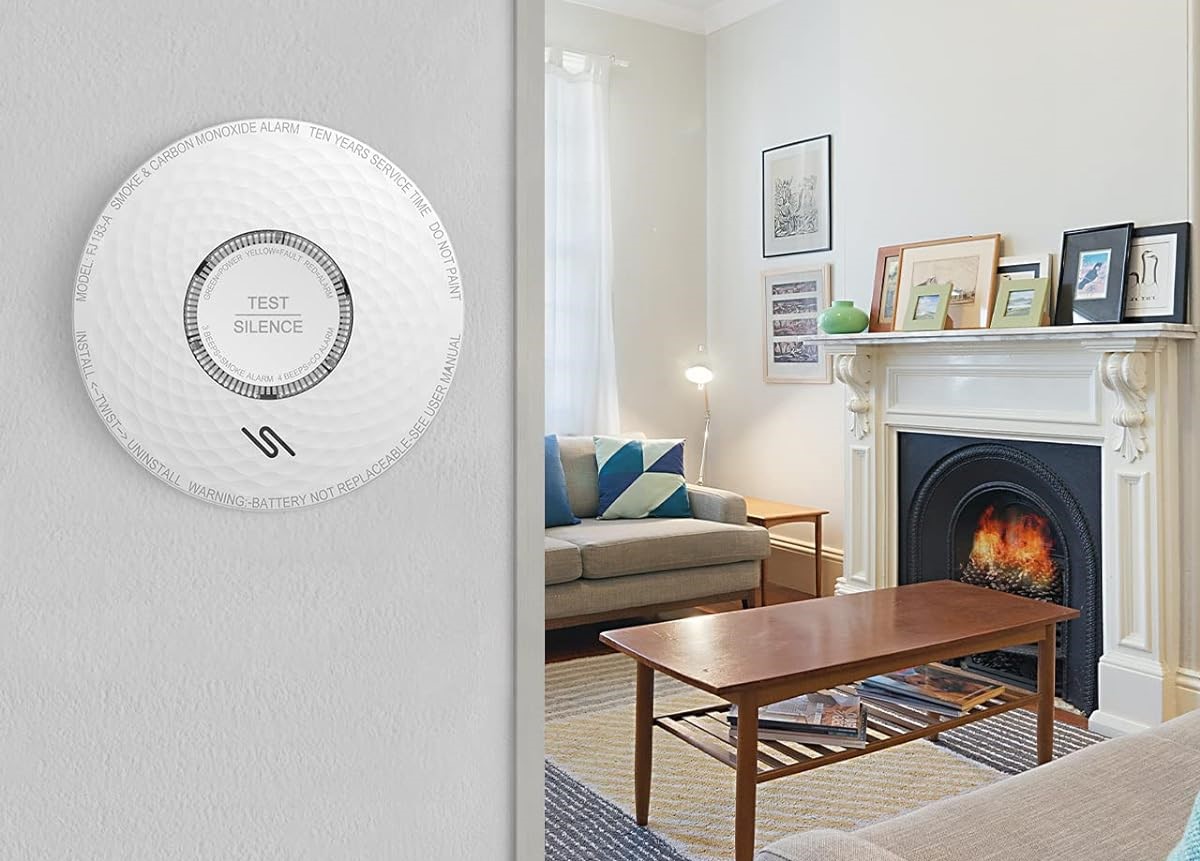
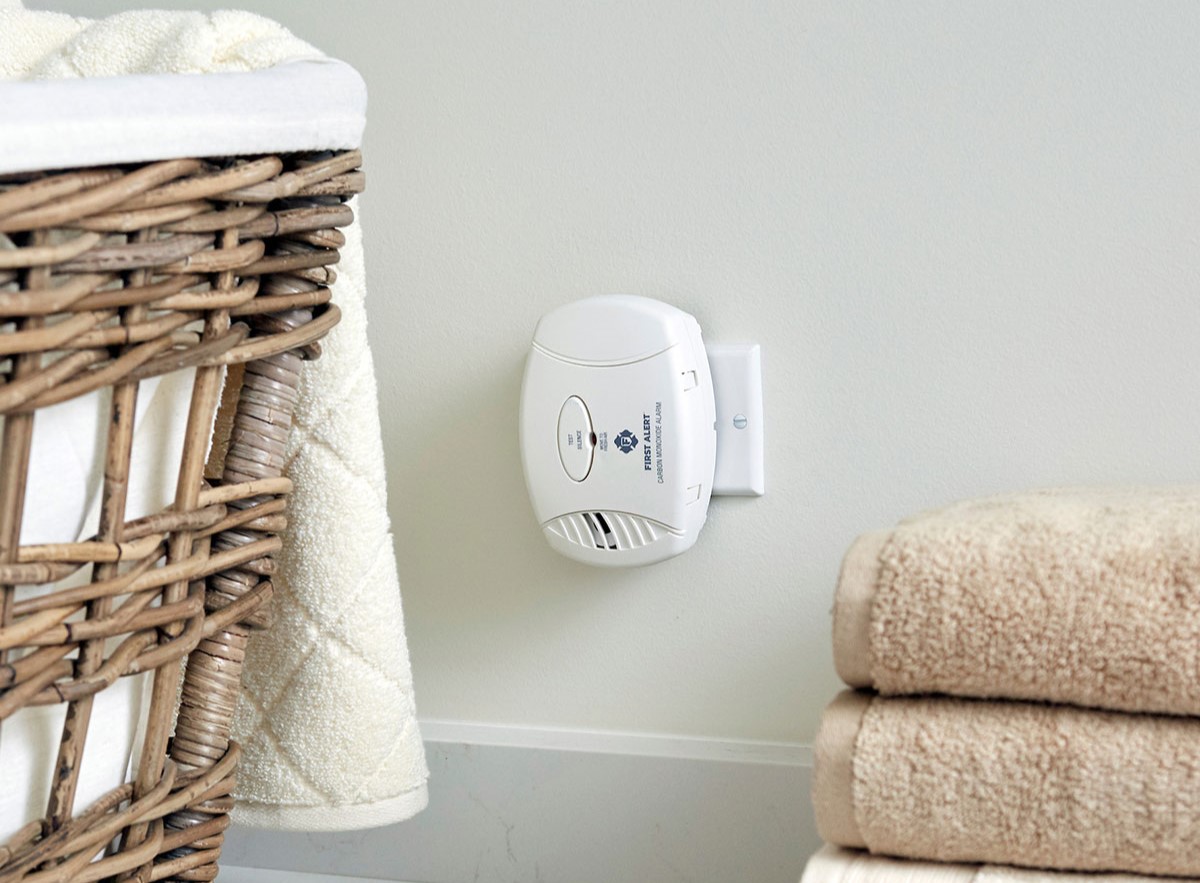
Welcome to our guide on how to replace the battery in a Kidde carbon monoxide detector. Carbon monoxide detectors play a crucial role in keeping our homes safe by alerting us to the presence of this odorless and potentially deadly gas. To ensure that your carbon monoxide detector functions properly, it is important to replace the battery regularly.
A carbon monoxide detector is designed to detect the level of carbon monoxide gas in the air. When the battery in your detector is low, it can affect the device’s ability to accurately measure and detect carbon monoxide. This is why it is essential to replace the battery when needed.
In this guide, we will walk you through the step-by-step process of replacing the battery in a Kidde carbon monoxide detector. We will provide you with all the information you need to gather the necessary tools and materials, prepare the detector, remove the old battery, insert the new battery, test the detector, and reassemble it.
By following these simple steps, you can ensure that your carbon monoxide detector remains in optimal working condition and provides you and your family with the protection you need against the dangers of carbon monoxide gas.
Before we begin, it’s important to note that every carbon monoxide detector model may have slightly different specifications and instructions. Therefore, we recommend consulting the user manual specific to your model for detailed information. With that said, let’s dive into the process of replacing the battery in a Kidde carbon monoxide detector.
Key Takeaways:
- Regularly replacing the battery in your Kidde carbon monoxide detector is crucial for maintaining its accuracy in detecting carbon monoxide gas and ensuring the safety of your home and loved ones.
- Properly preparing, handling, and testing your carbon monoxide detector during the battery replacement process is essential for its optimal functioning and reliable performance.
Read more: How To Test A Kidde Carbon Monoxide Detector
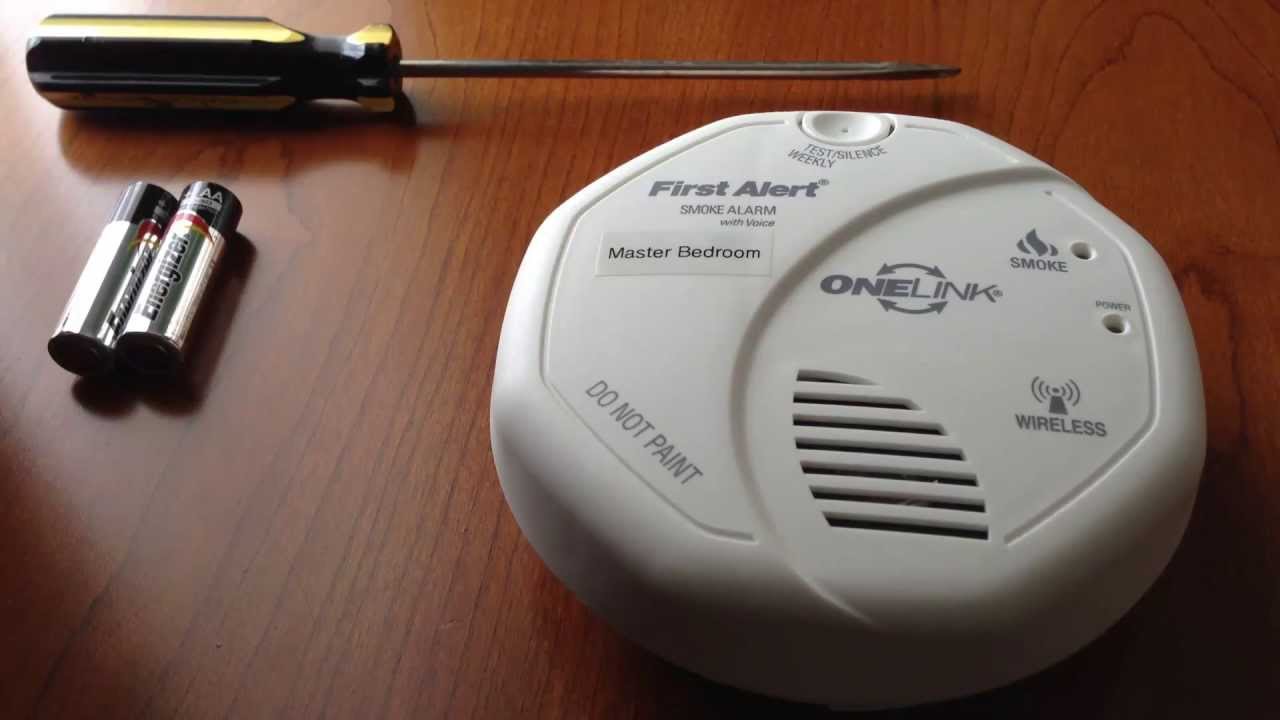
Step 1: Gather the necessary tools and materials
Before you begin replacing the battery in your Kidde carbon monoxide detector, make sure you have all the required tools and materials. Having everything ready will ensure a smooth and hassle-free battery replacement process.
Here are the tools and materials you will need:
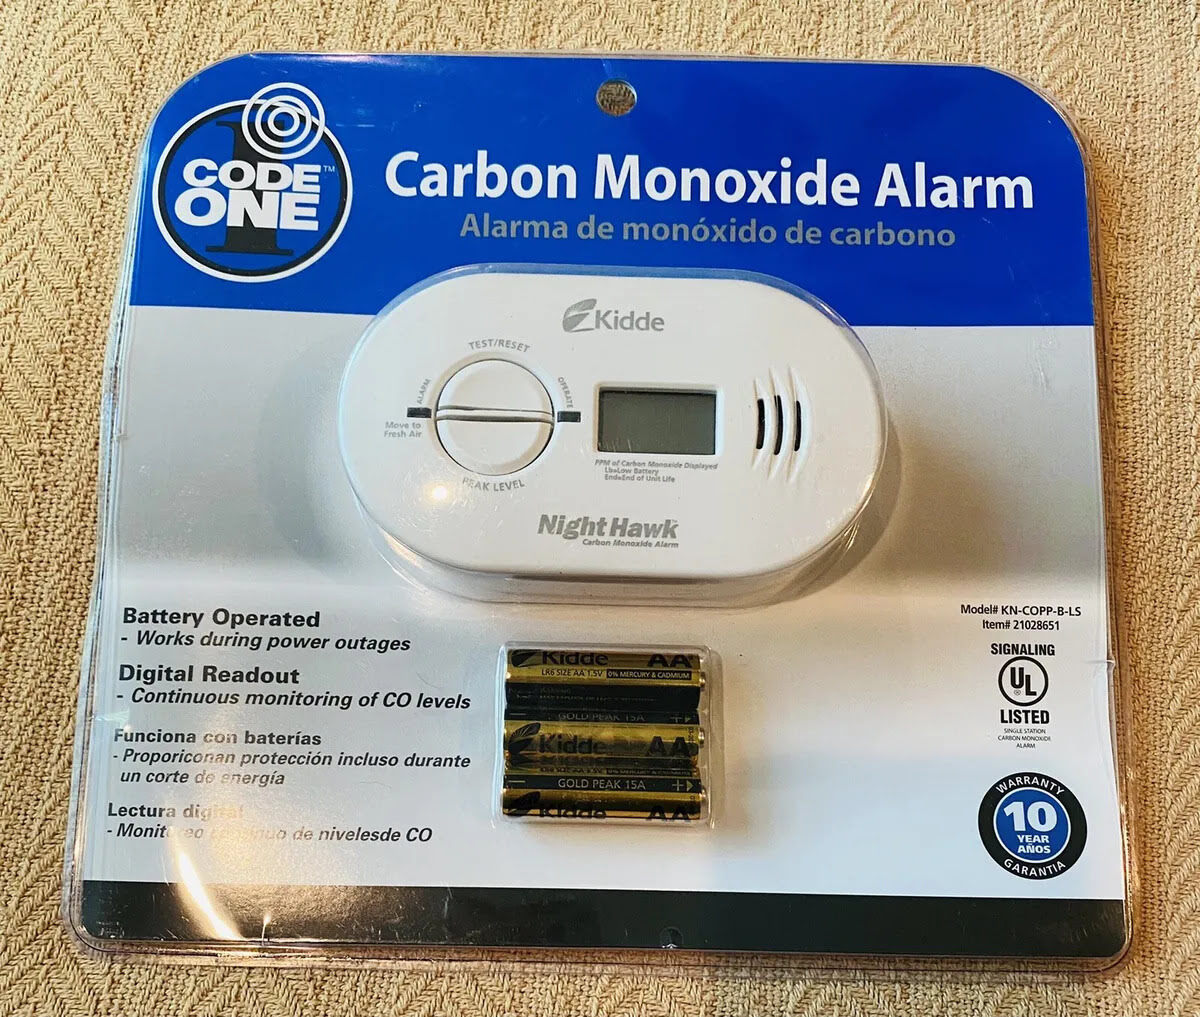
- A new battery: Check the user manual or the label on your carbon monoxide detector to determine the type of battery required. Most Kidde carbon monoxide detectors use 9-volt batteries, but it’s always best to confirm.
- Screwdriver: You may need a screwdriver to remove the cover of your carbon monoxide detector.
- Clean cloth or tissue: A clean cloth or tissue will come in handy to wipe away any dust or debris that may have accumulated on the detector.
Once you’ve gathered all the necessary tools and materials, ensure that you are working in a well-lit area with good ventilation. It’s also a good idea to test the new battery before replacing it to ensure it has a full charge.
Gathering the required tools and materials beforehand will save you time and ensure a smooth battery replacement process. Once you have everything ready, you can proceed to the next step of preparing the carbon monoxide detector.
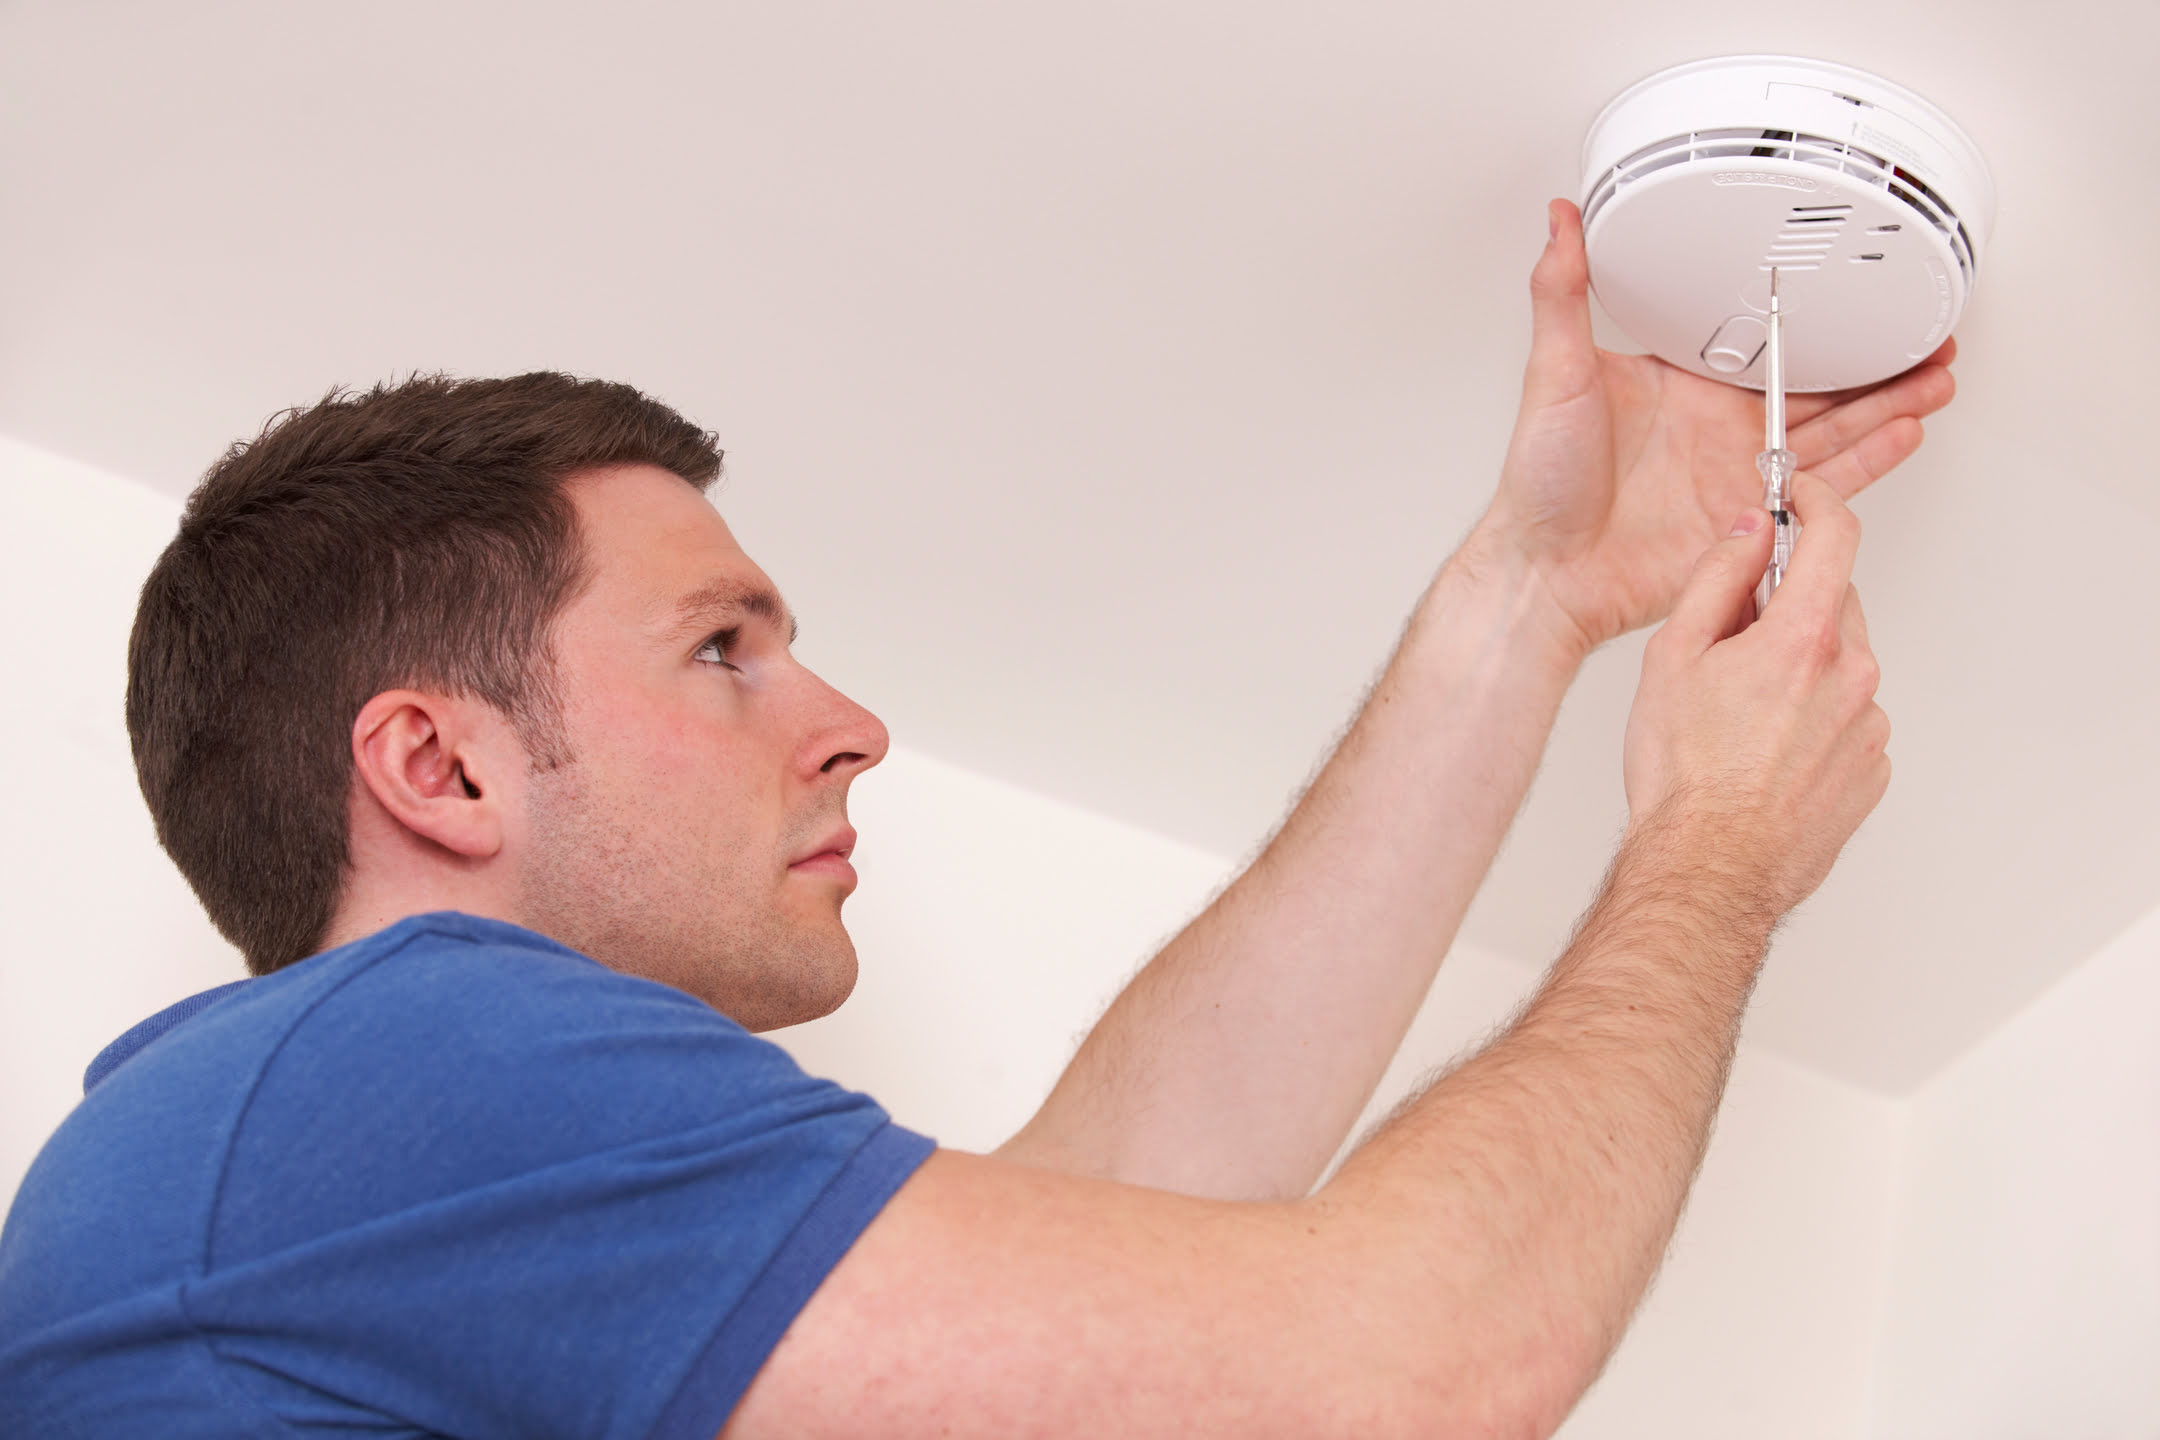
Step 2: Prepare the carbon monoxide detector
Before you can replace the battery in your Kidde carbon monoxide detector, you need to prepare the device for the battery replacement process. This step involves ensuring that the detector is turned off and taking precautions to avoid any potential accidents.
Here are the steps to prepare the carbon monoxide detector:
- Locate the power button or switch on the detector. It is usually located on the front or side of the device.
- Press the power button or switch to turn off the detector. This step is crucial to prevent any false alarms or disturbances during the battery replacement process.
- Place the carbon monoxide detector on a flat surface, ensuring it is stable and secure. This will prevent any accidental drops or damage to the device.
- Use a clean cloth or tissue to gently wipe the exterior of the detector. This will help remove any dust or debris that may have accumulated on the surface.
Once you have completed these steps, your carbon monoxide detector should be properly prepared for the battery replacement process. It is important to note that disconnecting the power source by turning off the detector is a crucial safety measure to prevent false alarms or electrical accidents during the battery replacement process.
Now that your carbon monoxide detector is ready, you can proceed to the next step of removing the old battery.
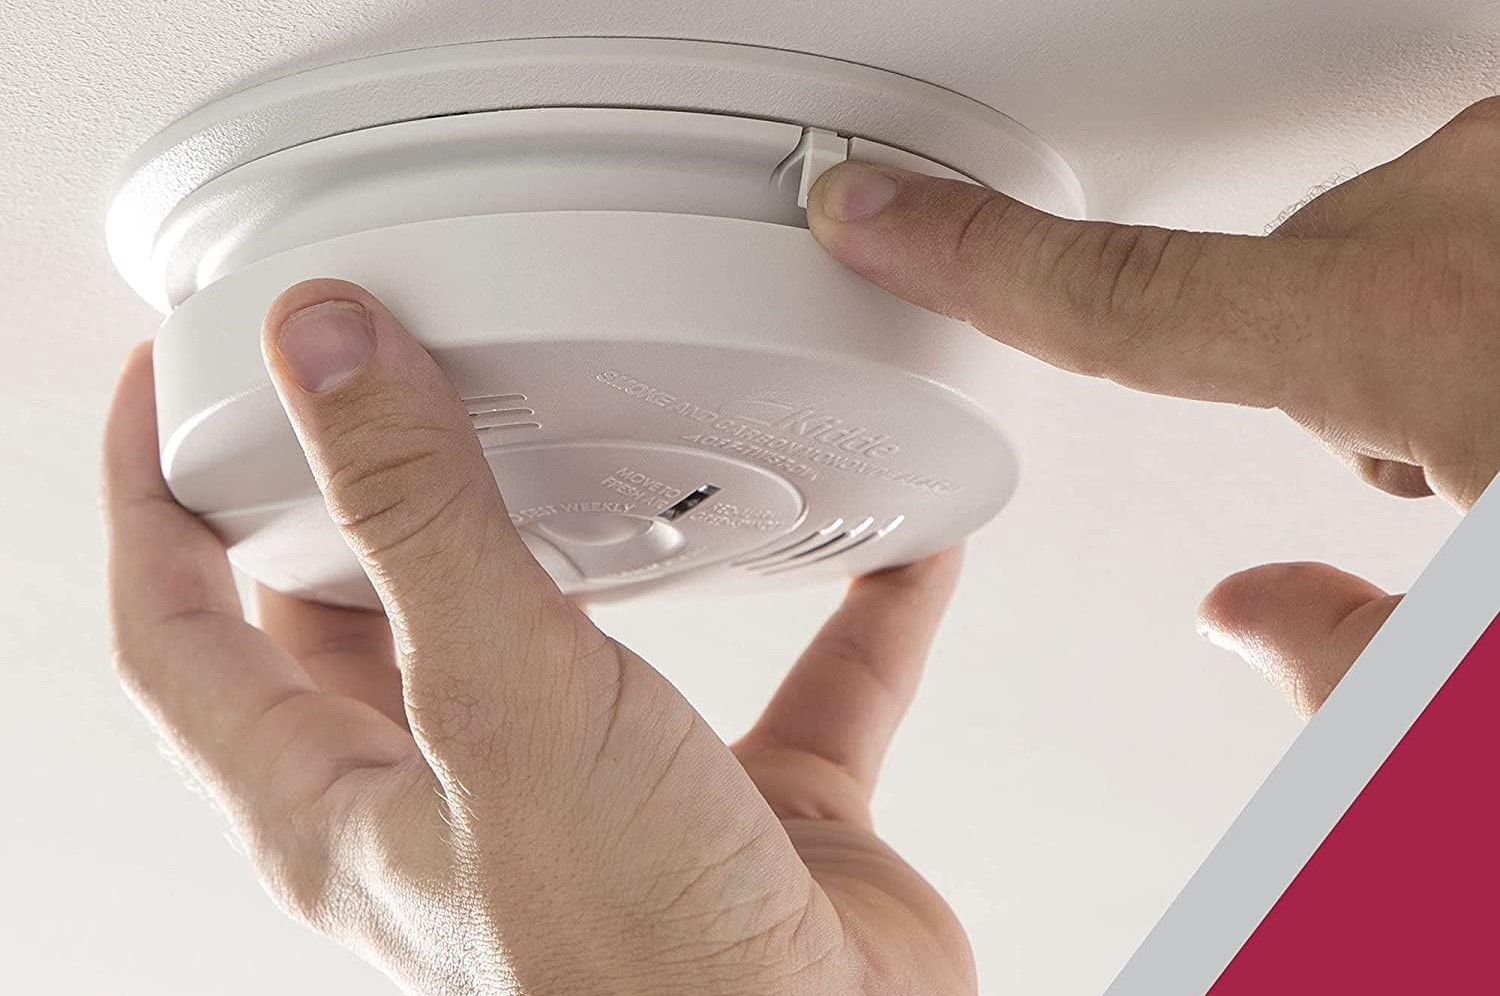
Step 3: Remove the old battery
Now that your Kidde carbon monoxide detector is prepared, it’s time to remove the old battery. Removing the old battery is a straightforward process, but it’s important to follow the correct steps to ensure safety and avoid any damage to the device.
Follow these steps to remove the old battery:
- Locate the battery compartment on your carbon monoxide detector. In most Kidde models, the battery compartment is located on the back of the device.
- If there are any screws securing the battery cover, use a screwdriver to remove them. This will allow you to access the battery compartment.
- Gently pull or slide out the battery from the compartment. Take care not to apply too much force or damage the battery or the contacts inside the compartment.
- Inspect the battery compartment for any signs of corrosion or damage. If you notice any corrosion, use a clean cloth or a small brush to carefully clean the contacts before proceeding.
- Dispose of the old battery properly according to local regulations. Many communities have recycling centers or designated collection points for batteries.
Once you have successfully removed the old battery and inspected the compartment, you are ready to move on to the next step: inserting the new battery.
Remember to handle the old battery with care, as it may still contain some charge. By properly disposing of the old battery and keeping the compartment clean, you ensure the safe and efficient operation of your carbon monoxide detector.
When replacing the battery in a Kidde Carbon Monoxide Detector, always use the type of battery recommended by the manufacturer and follow the instructions in the user manual to ensure proper installation and functionality.
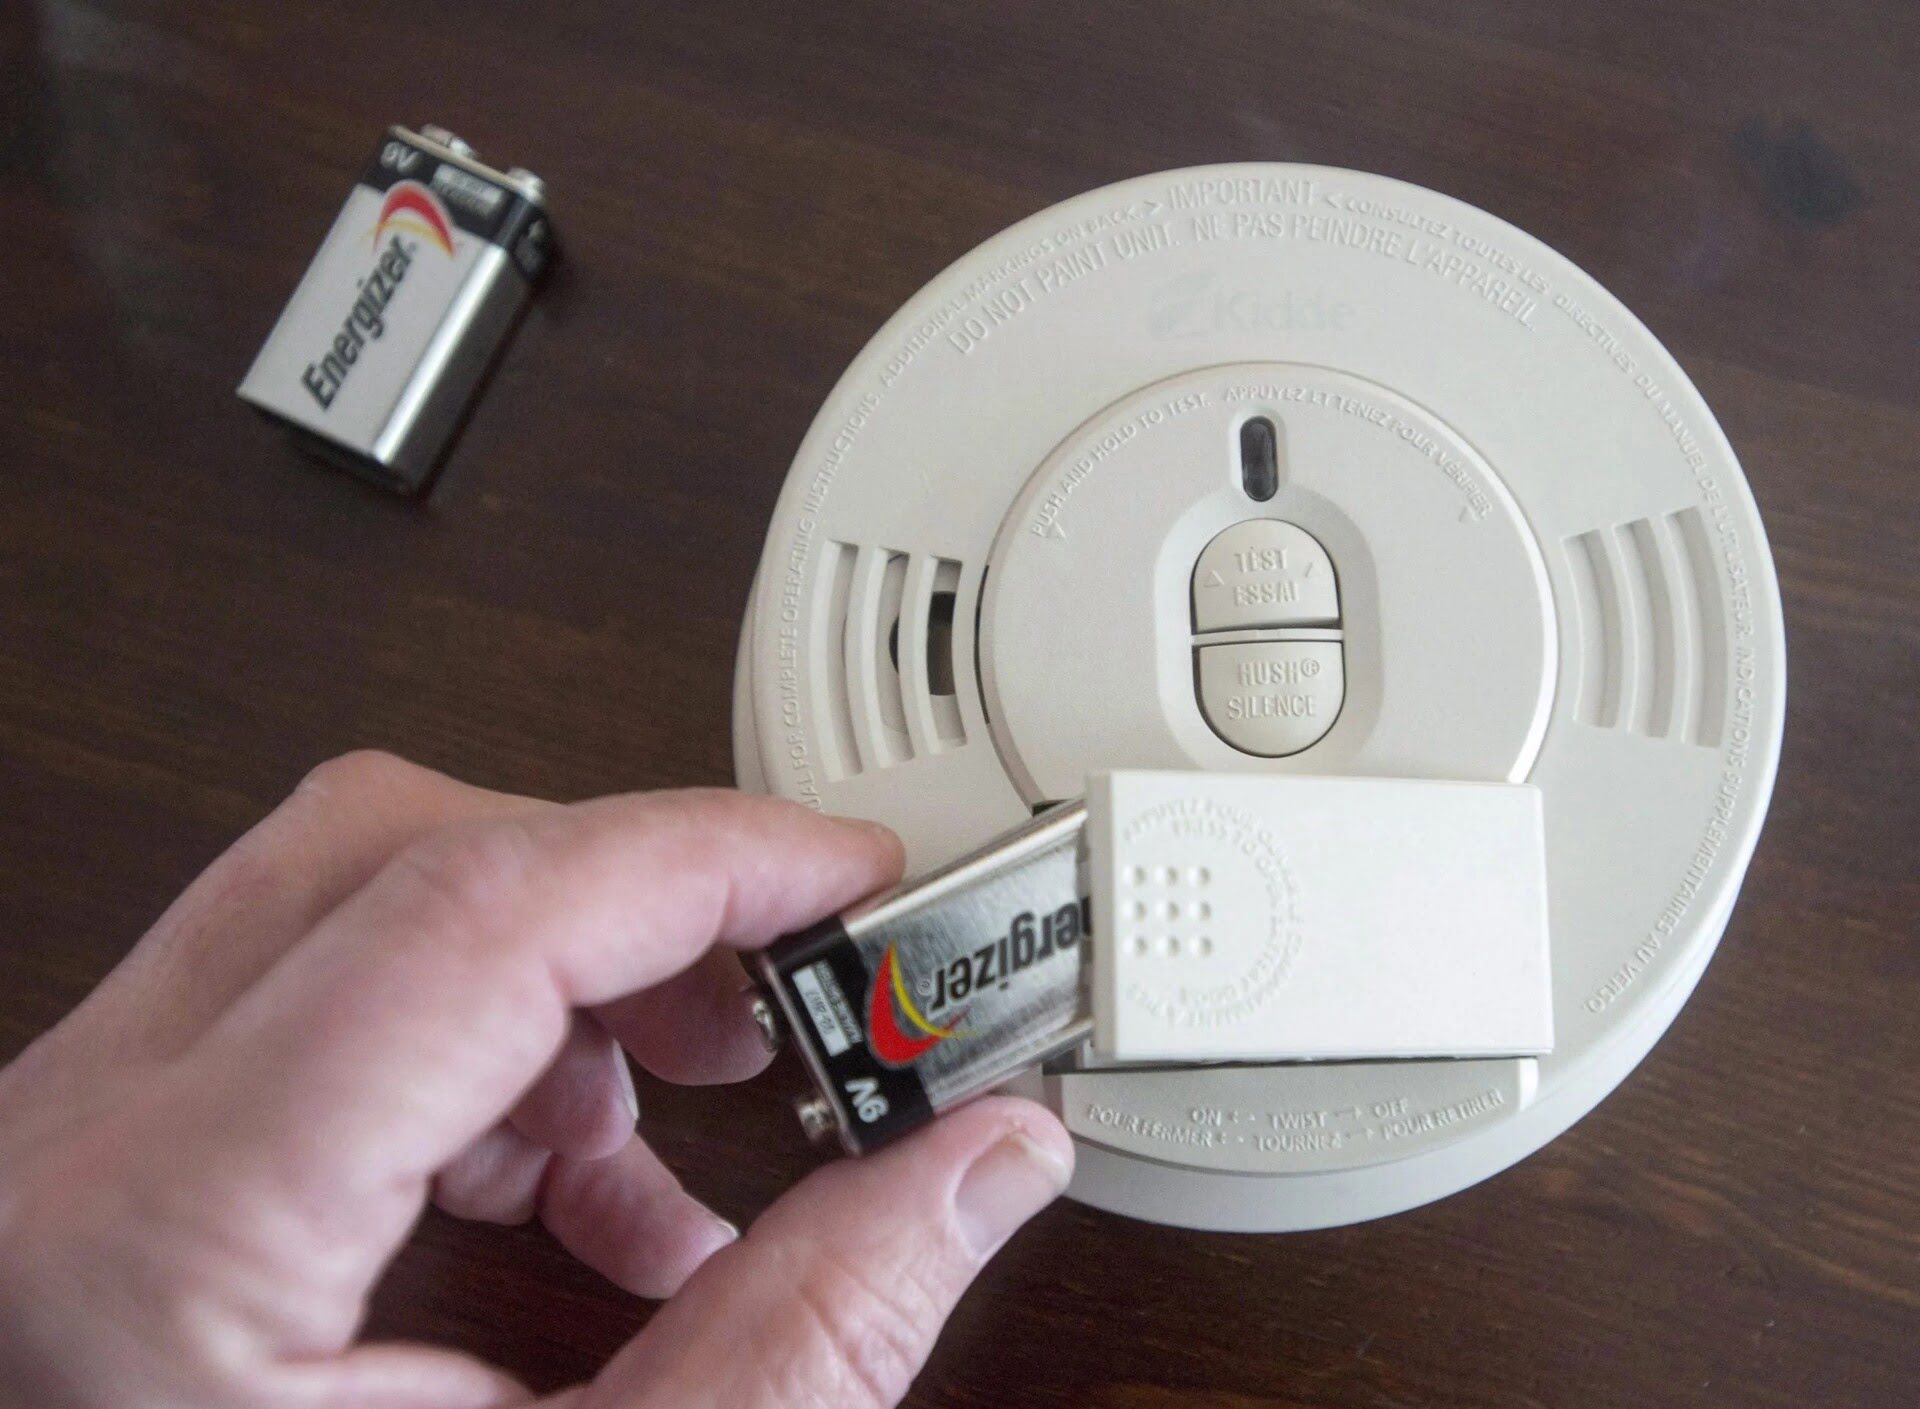
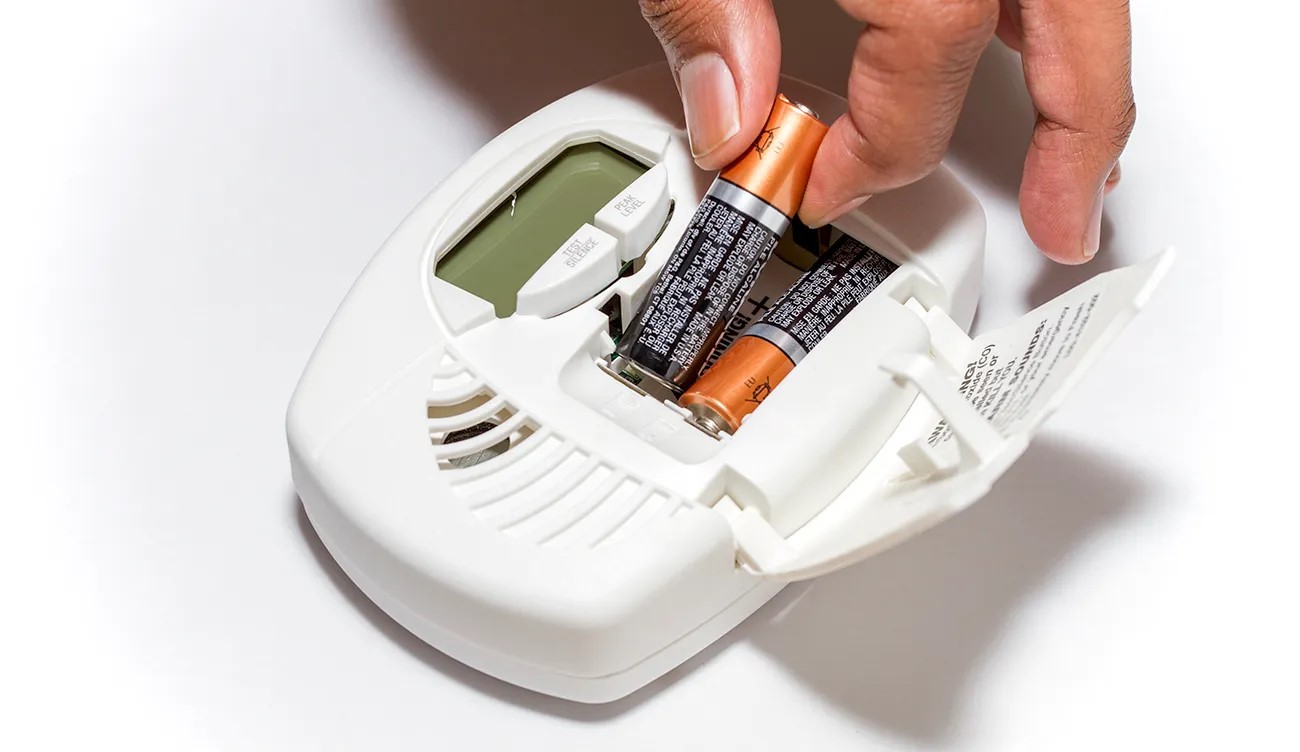
Step 4: Insert the new battery
With the old battery removed from your Kidde carbon monoxide detector, it’s time to insert the new battery. Properly inserting the new battery is essential to ensure the device functions correctly and provides accurate carbon monoxide detection.
Follow these steps to insert the new battery:
- Take the new battery and check its orientation. Look for the positive (+) and negative (-) symbols on the battery or inside the compartment.
- Align the new battery in the compartment, making sure the positive (+) and negative (-) ends match the corresponding symbols.
- Gently slide or push the new battery into the compartment until it is fully seated. Ensure that the battery is secure and properly aligned.
- If there were any screws removed from the battery cover, use a screwdriver to reattach them. This will secure the battery compartment.
It’s important to note that inserting the battery with the correct orientation is crucial for the proper functioning of your carbon monoxide detector. Reversing the battery’s polarity can lead to malfunctions or damage to the device.
Once you have inserted the new battery and secured the compartment, you are ready to move on to the next step: testing the detector to ensure it’s working correctly.
Keep in mind that different models of Kidde carbon monoxide detectors may have slight variations in the battery insertion process. If you have any doubts or concerns, consult the user manual specific to your model.
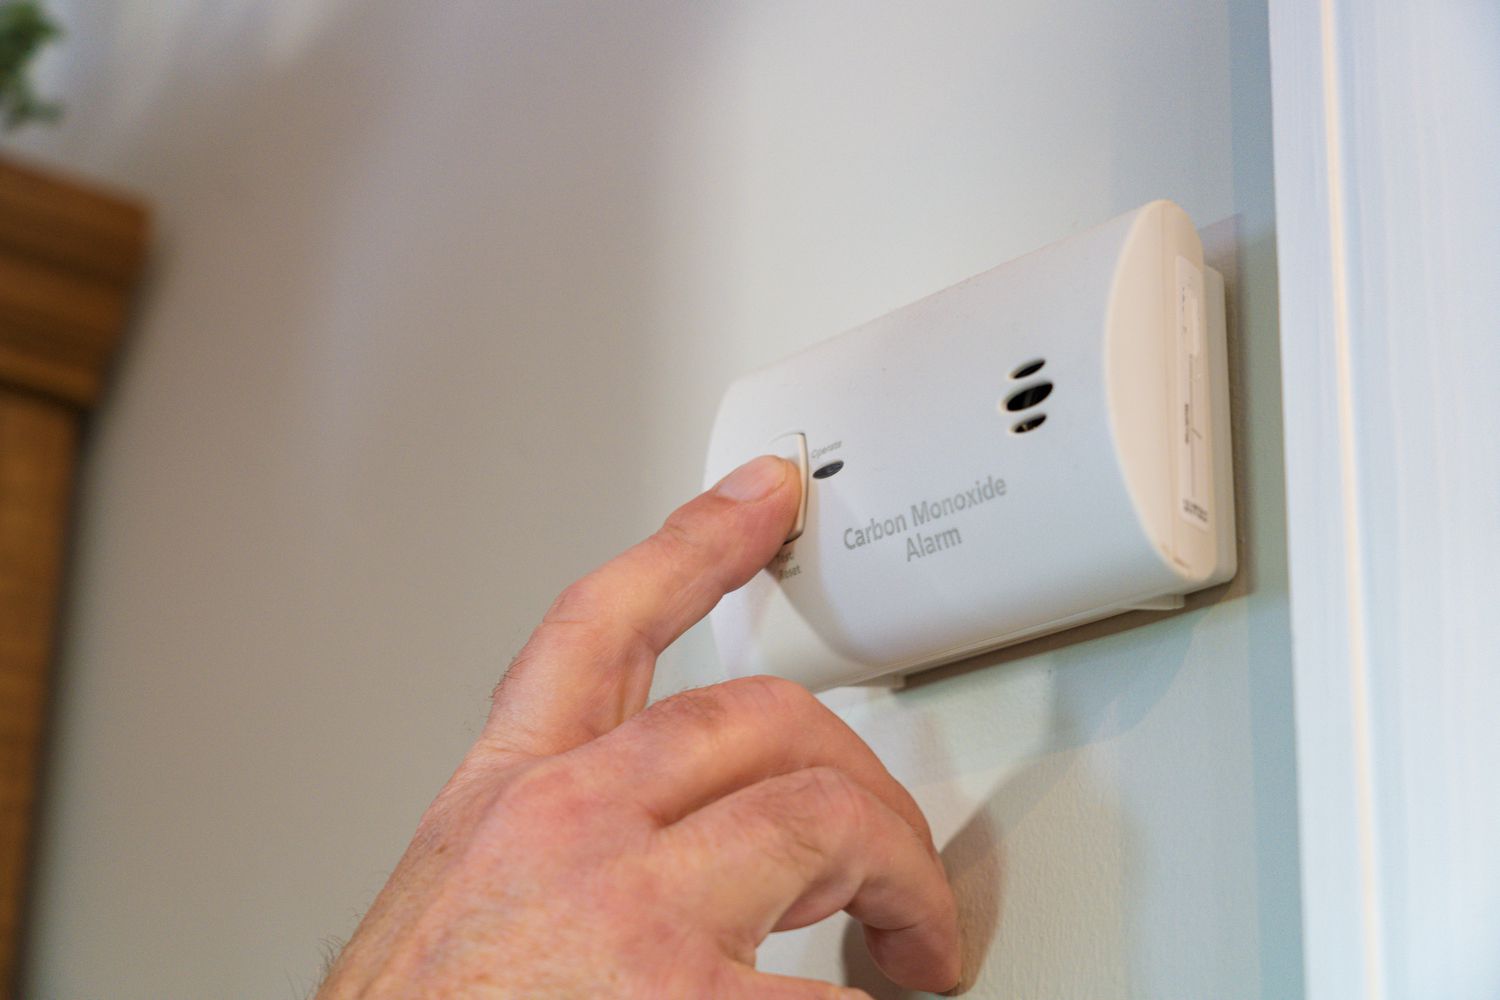
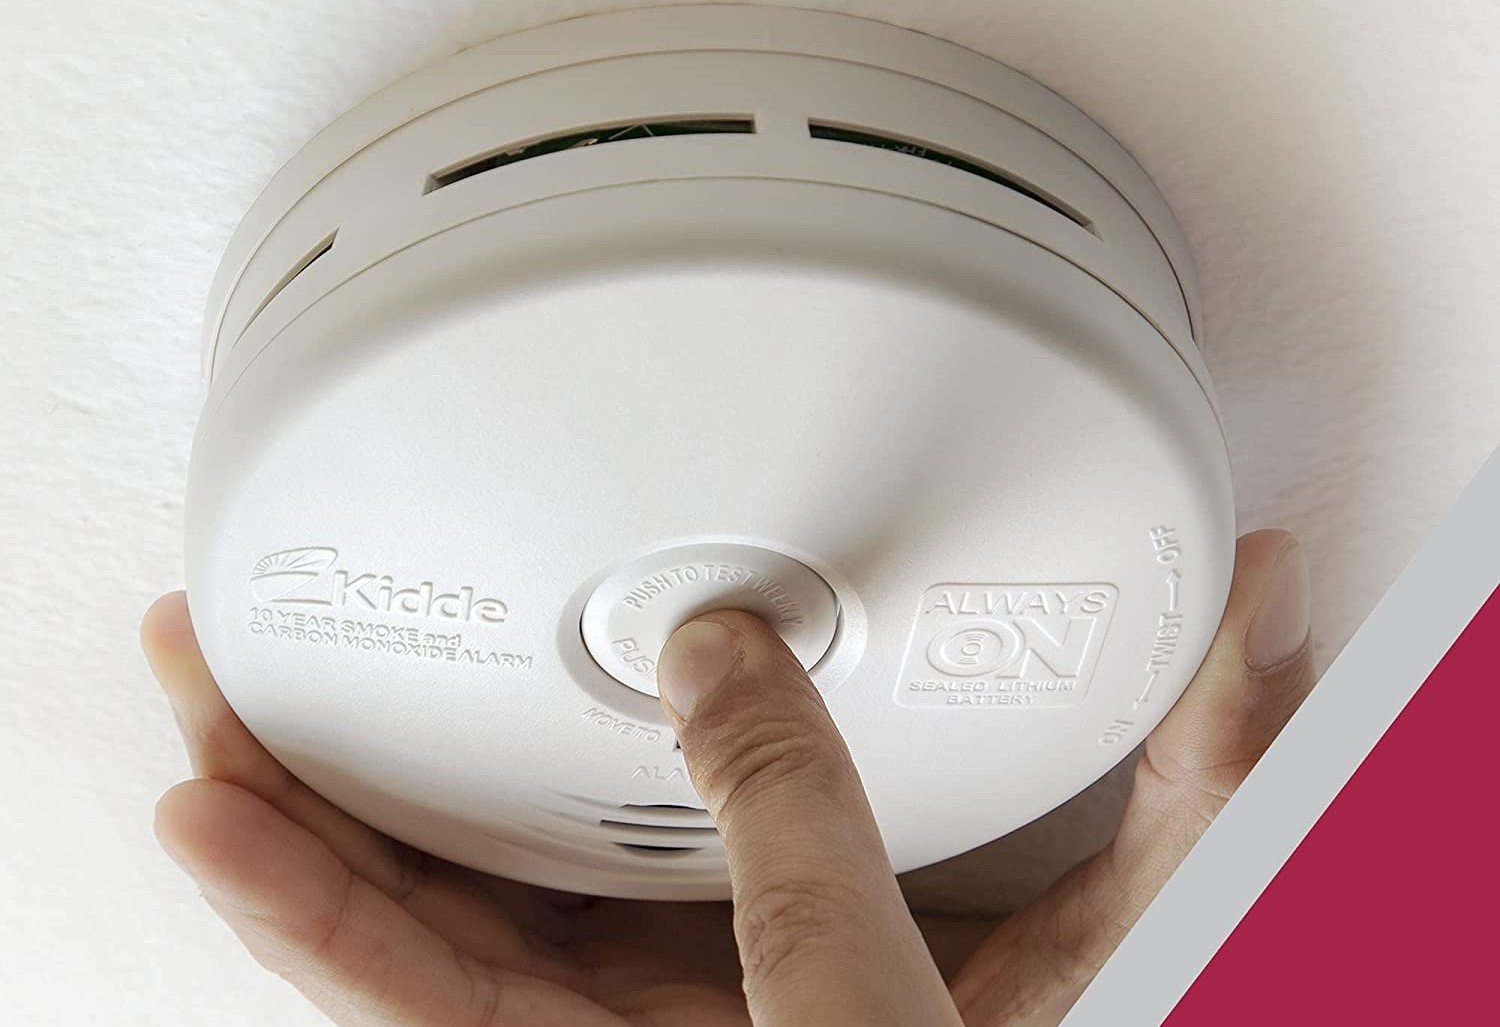
Step 5: Test the detector
After inserting the new battery into your Kidde carbon monoxide detector, it’s important to test the device to ensure it is functioning properly. Testing the detector is a crucial step to confirm that the new battery is working correctly and that the detector can accurately detect carbon monoxide gas.
Follow these steps to test the detector:
- Ensure that the carbon monoxide detector is turned on. If you had turned it off during the battery replacement process, press the power button or switch to turn it back on.
- Wait for the detector to run its self-check process. This usually takes a few seconds and is indicated by a series of beeps or a flashing light.
- Next, press the “Test” button on the detector. This button is usually labeled and easily accessible on the front or side of the device.
- Observe the detector’s response. It should emit a loud alarm sound and flash a light to indicate that it is functioning properly.
- Listen for the alarm sound to ensure it is loud and clear. If the sound seems weak or distorted, you may need to check the battery connection or replace the battery with a fresh one.
If the detector does not emit a loud alarm sound or flash a light, there may be an issue with the battery connection or the detector itself. In such cases, consult the user manual or contact Kidde customer support for assistance.
Regularly testing your carbon monoxide detector is essential to ensure it provides accurate and reliable detection of carbon monoxide gas. Consider testing your detector on a monthly basis and always after replacing the battery.
Once you have tested the detector and confirmed that it is functioning correctly, you can proceed to the final step: reassembling the detector.
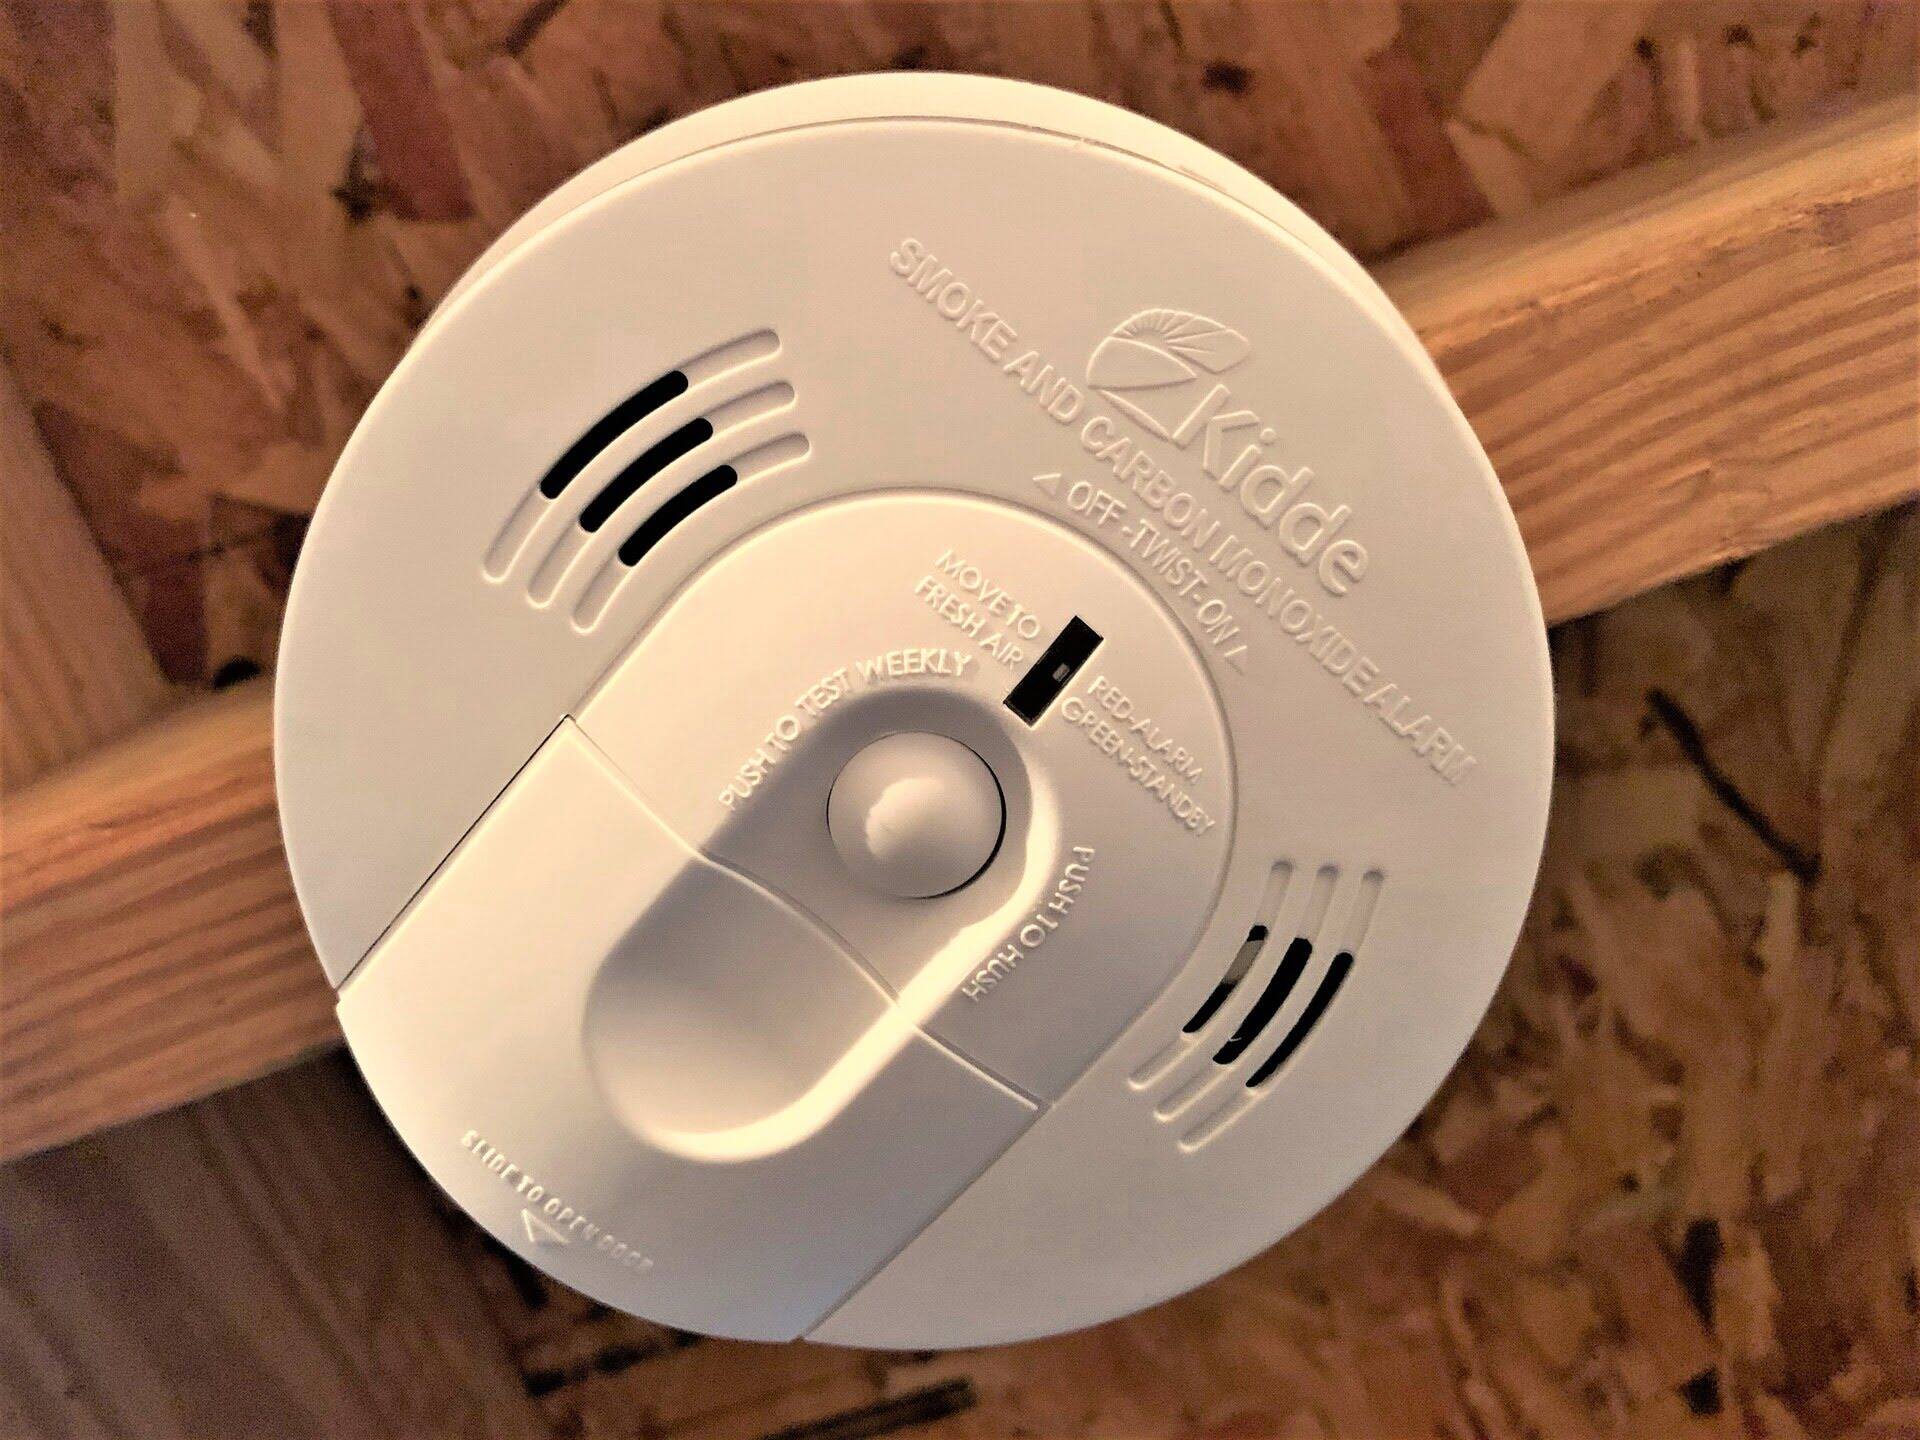
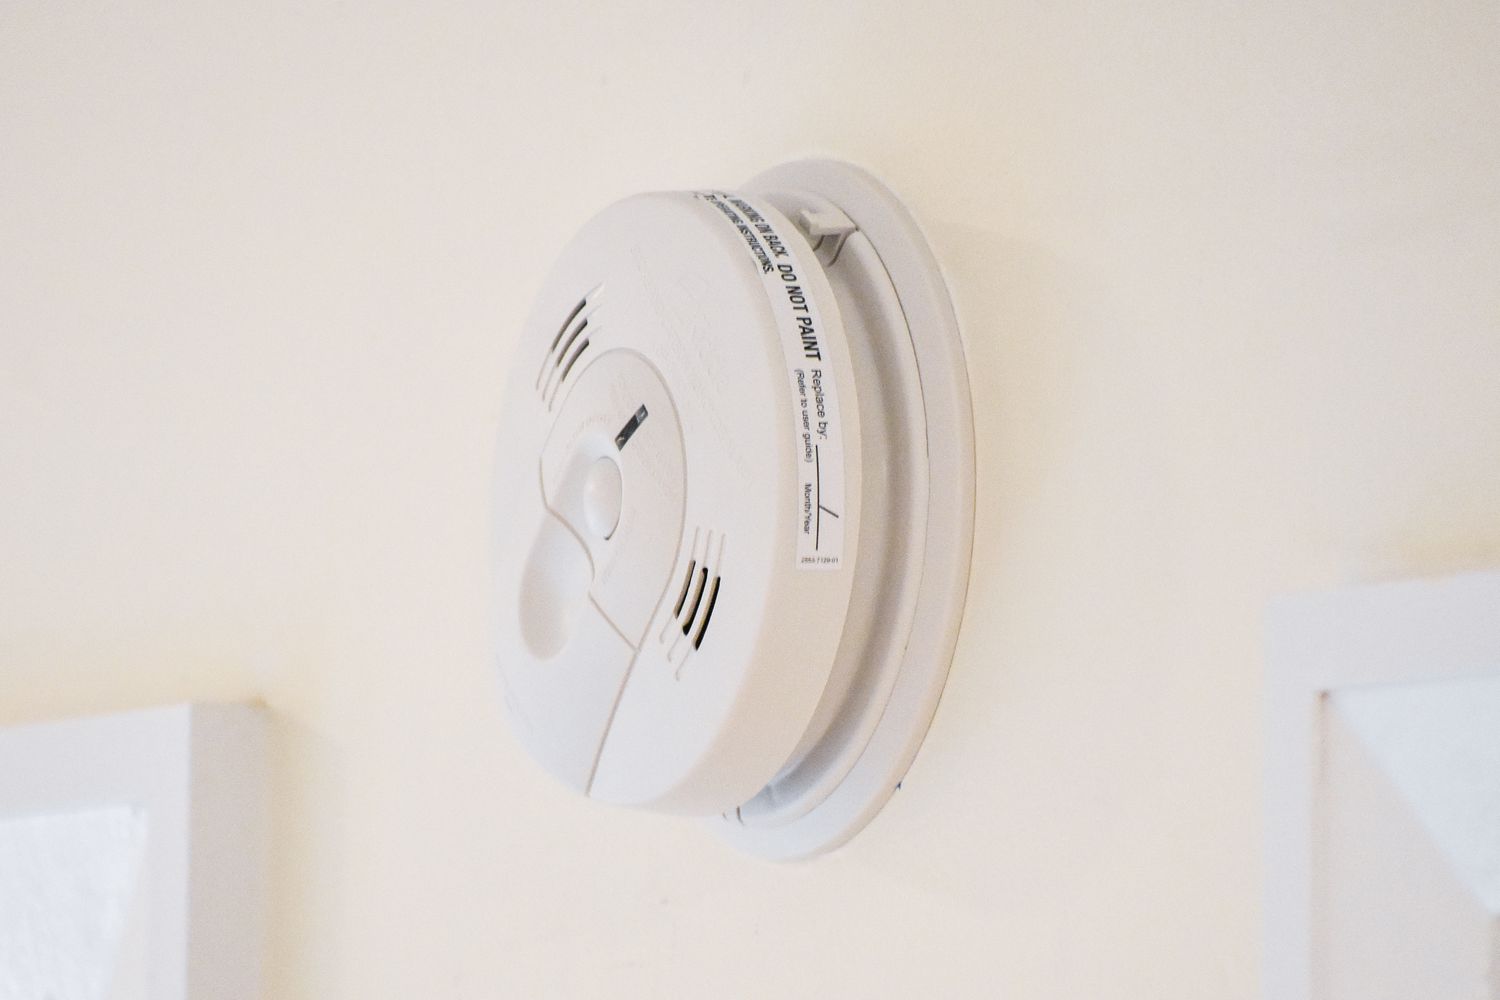
Step 6: Reassemble the detector
After testing your Kidde carbon monoxide detector and ensuring it is working properly, it’s time to reassemble the device. Reassembling the detector involves securing the battery compartment and putting the cover back in place.
Follow these steps to reassemble the detector:
- If you had removed any screws from the battery cover, use a screwdriver to reattach them. Make sure the screws are tightened securely but not overly tightened.
- Align the cover with the detector and carefully slide or snap it back into place.
- Press down on the cover to ensure it is securely attached. It should fit snugly without any gaps or loose parts.
Once you have reassembled the carbon monoxide detector, give it a final visual inspection to ensure that everything is properly aligned and secured.
Reassembling the detector is an important step as it protects the interior components and ensures that the battery remains securely housed within the device.
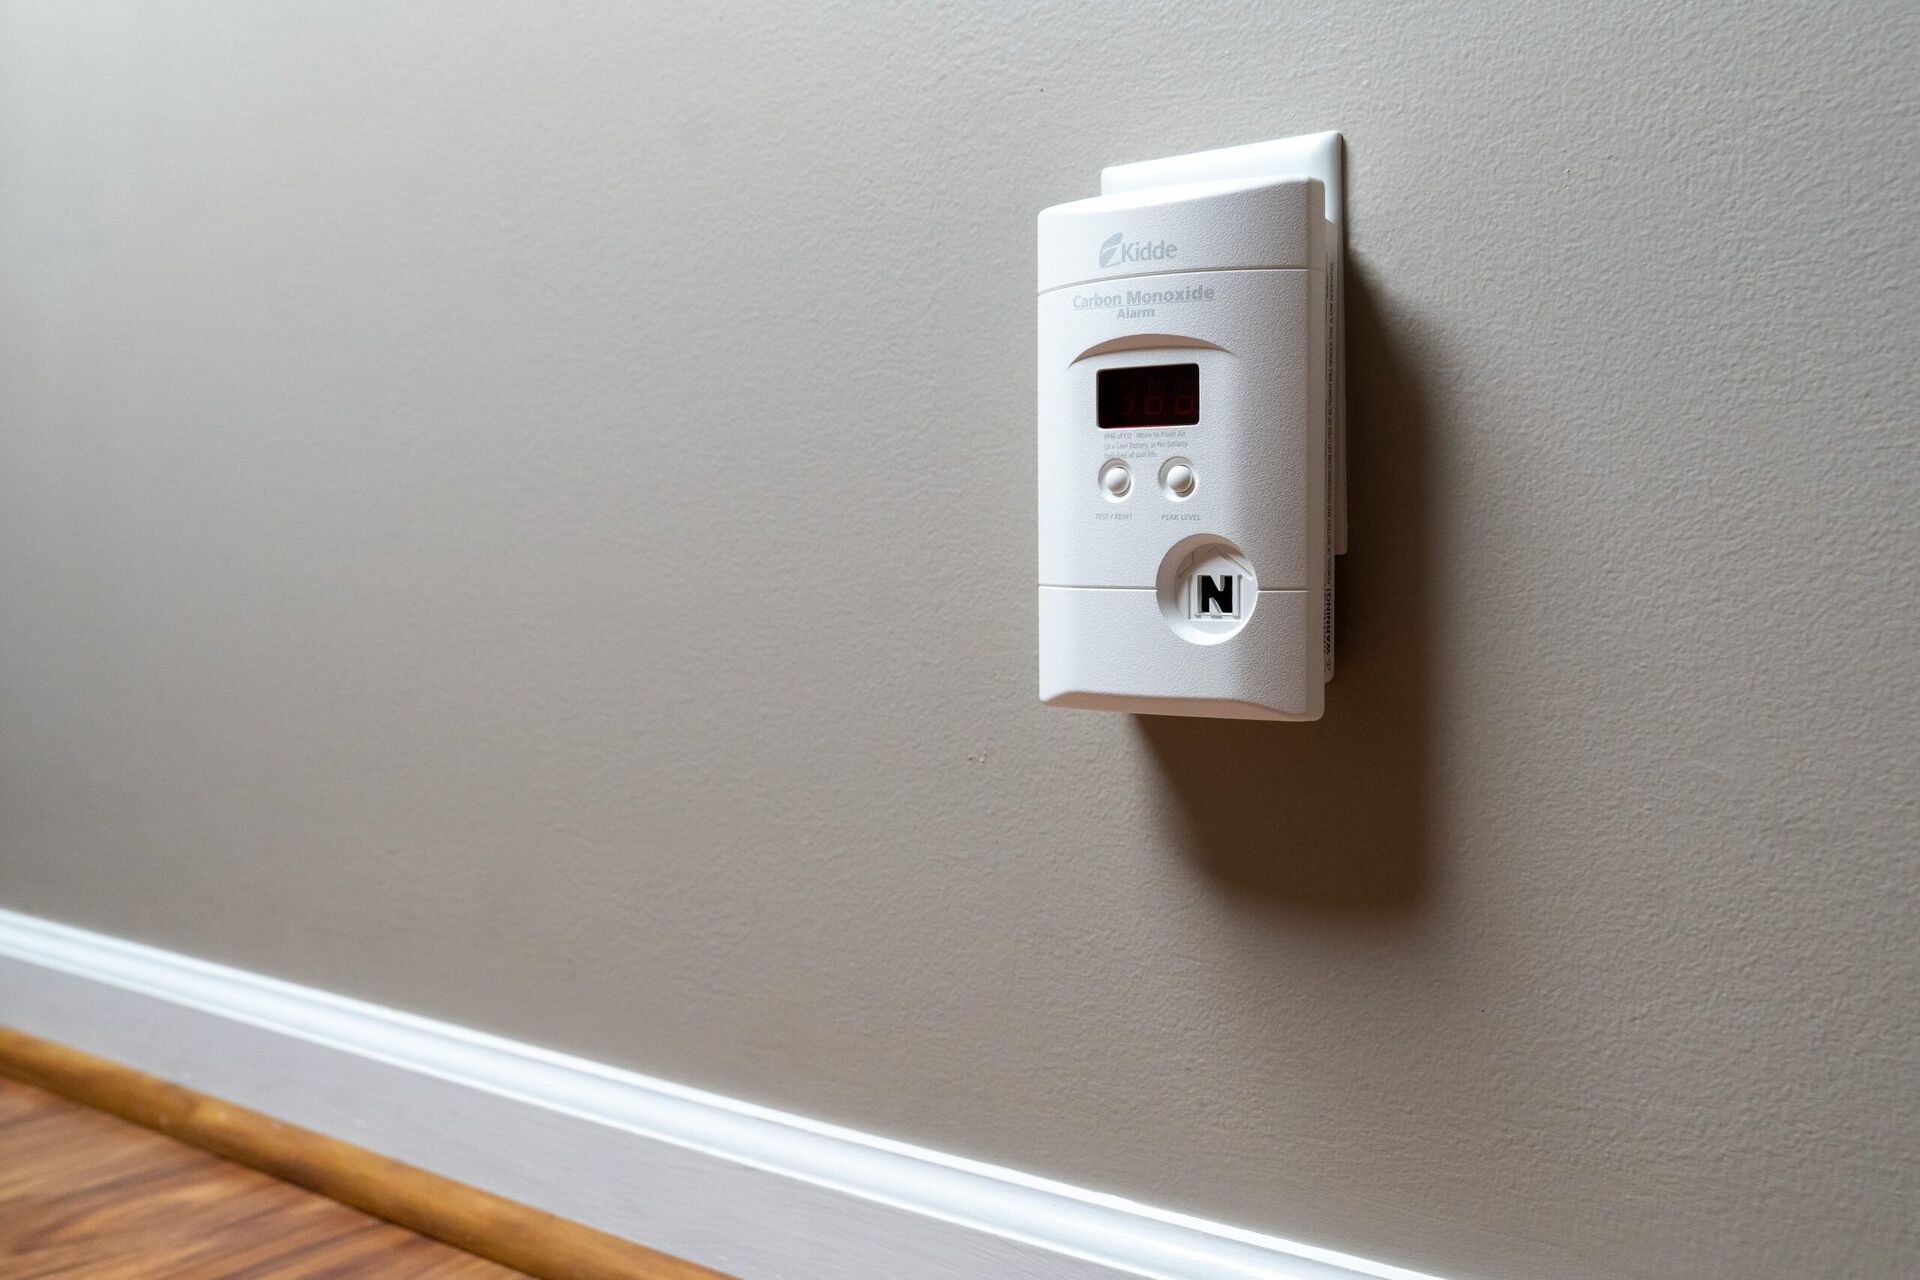
With the detector successfully reassembled, your Kidde carbon monoxide detector is now ready to continue monitoring and detecting carbon monoxide gas in your home or space.
Remember to periodically check the battery level and replace it as needed. Regular maintenance and battery replacement are crucial for the reliable and effective operation of your carbon monoxide detector.
Congratulations! You have successfully replaced the battery and reassembled your Kidde carbon monoxide detector. Now, you can have peace of mind knowing that your detector is in optimal working condition and providing you and your loved ones with the protection you need against carbon monoxide gas.
Conclusion
Ensuring the proper functioning of your Kidde carbon monoxide detector is essential for the safety of your home and everyone inside it. Regularly replacing the battery in your detector is a crucial maintenance task that should not be overlooked.
In this guide, we’ve walked you through the step-by-step process of replacing the battery in a Kidde carbon monoxide detector. From gathering the necessary tools and materials to reassembling the detector after battery replacement, we’ve covered all the important steps to help you complete the task successfully.
Remember, proper preparation and safety precautions are key when working with any electronics. Always ensure that the detector is turned off and handle the battery with care to prevent accidents. Test the detector after replacing the battery to verify its functionality and maintain its accuracy in detecting carbon monoxide gas.
If you encounter any difficulties during the battery replacement process or have specific questions about your Kidde carbon monoxide detector, refer to the user manual provided with your device or contact Kidde customer support for assistance.
By following these guidelines and regularly maintaining your carbon monoxide detector, you can have peace of mind knowing that you have taken a proactive step towards ensuring the safety and well-being of your household.
Stay vigilant, stay safe, and prioritize the proper functioning of your Kidde carbon monoxide detector. With a functioning detector in place, you can rest assured that you and your loved ones are protected against the dangers of carbon monoxide gas.
Frequently Asked Questions about How To Replace Battery In A Kidde Carbon Monoxide Detector
Was this page helpful?
At Storables.com, we guarantee accurate and reliable information. Our content, validated by Expert Board Contributors, is crafted following stringent Editorial Policies. We're committed to providing you with well-researched, expert-backed insights for all your informational needs.

0 thoughts on “How To Replace Battery In A Kidde Carbon Monoxide Detector”