Articles
How To Install Carbon Monoxide Detector
Modified: February 23, 2024
Learn how to install a carbon monoxide detector in your home with our informative articles. Protect yourself and your loved ones from this silent killer.
(Many of the links in this article redirect to a specific reviewed product. Your purchase of these products through affiliate links helps to generate commission for Storables.com, at no extra cost. Learn more)
Introduction
Welcome to our comprehensive guide on how to install a carbon monoxide detector. Carbon monoxide (CO) is an odorless, colorless gas that can be extremely dangerous if not detected early. Every year, countless lives are affected by this silent killer. Installing a carbon monoxide detector in your home is a crucial step towards protecting yourself and your loved ones.
In this article, we will walk you through a step-by-step process to efficiently and effectively install a carbon monoxide detector in your home. By following these instructions, you can ensure your living environment remains safe and free from the risks associated with carbon monoxide poisoning.
Before we dive into the installation process, it is important to understand what carbon monoxide is and the potential dangers it poses. Carbon monoxide is produced by the incomplete combustion of fuels such as natural gas, propane, and wood. It can leak from faulty furnaces, water heaters, stoves, generators, and even idling vehicles in an attached garage.
Carbon monoxide is often referred to as a silent killer because it is invisible and odorless. Without a carbon monoxide detector, it is nearly impossible to detect its presence until symptoms of poisoning start to appear. Common symptoms of carbon monoxide poisoning include headaches, dizziness, nausea, confusion, and fatigue. In severe cases, exposure to high levels of carbon monoxide can lead to unconsciousness, organ damage, or even death.
Installing a carbon monoxide detector is a simple but essential step in protecting your home and family. These devices are designed to sound an alarm when they sense elevated levels of carbon monoxide in the air. This early warning system is critical in giving you and your family enough time to evacuate, seek fresh air, and call emergency services.
Now that you understand the significance of having a carbon monoxide detector, let’s move on to the step-by-step process of installing one in your home.
Key Takeaways:
- Protect your home and loved ones by installing carbon monoxide detectors on every level, near bedrooms, and close to potential sources of CO. Regular testing and education are crucial for maintaining a safe living environment.
- Prioritize carbon monoxide safety by following a step-by-step installation process, educating your family, and practicing emergency evacuation plans. Prevention is key to safeguarding against the silent threat of CO.
Step 1: Gather the Necessary Tools and Materials
Before you begin the installation process, it is important to gather all the necessary tools and materials. This will ensure a smooth and efficient installation. Here is a list of what you’ll need:
- Carbon monoxide detector: Make sure you have purchased a quality carbon monoxide detector from a reputable brand. Look for one that meets the safety standards and regulations in your area.
- Pencil: This will be used to mark the mounting holes on the wall or ceiling.
- Screwdriver: Depending on the type of carbon monoxide detector you have, you may need a Phillips or flathead screwdriver.
- Drill (if necessary): If you need to mount the detector on a hard surface such as concrete or brick, you may need a drill to create pilot holes.
- Mounting screws or adhesive strips: These will be used to secure the carbon monoxide detector to the wall or ceiling.
- Batteries (if applicable): Check if your carbon monoxide detector requires batteries and make sure you have the correct type and quantity.
Once you have gathered all the necessary tools and materials, you are ready to move on to the next step of the installation process.
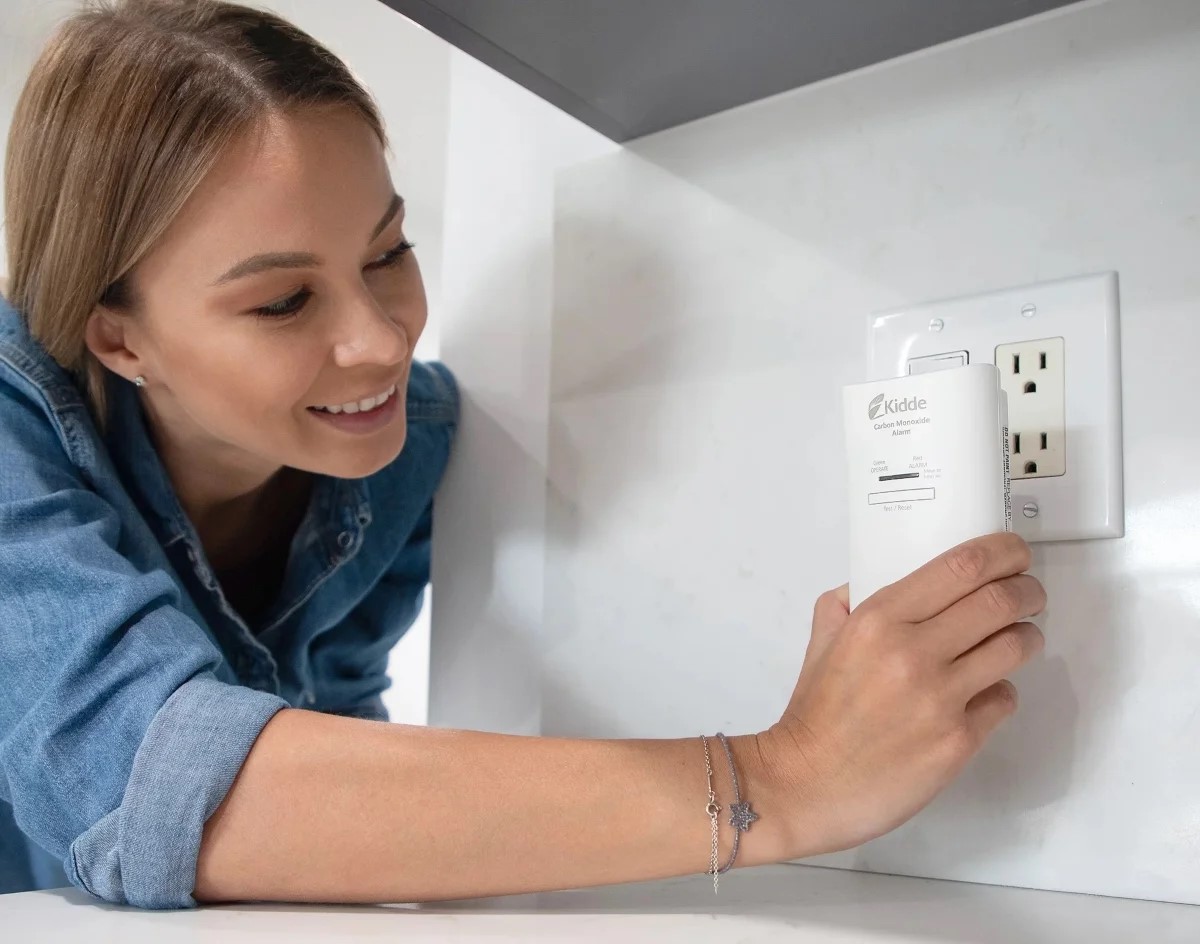
Step 2: Choose the Optimal Locations for Installation
Choosing the right locations for installing your carbon monoxide detectors is crucial for effective detection and early warning. Here are some guidelines to help you determine the optimal locations:
- Place a carbon monoxide detector on each level of your home: It is essential to have a detector on every level, including the basement and attic. This ensures that any potential carbon monoxide leaks can be detected no matter where they occur.
- Install detectors near bedrooms: Carbon monoxide can cause harm while people are sleeping, as the symptoms can go unnoticed. Therefore, it is recommended to install a detector in close proximity to each bedroom, ensuring that everyone is protected while they sleep.
- Strategically place detectors near potential sources of carbon monoxide: Identify areas in your home where carbon monoxide might be produced, such as near gas appliances, furnaces, water heaters, or attached garages. Installing detectors in these areas provides early detection and helps prevent the gas from spreading throughout the home.
- Consider the size and layout of your home: Larger homes may require multiple detectors on each level to adequately cover the entire living space. Additionally, if your home has multiple wings or separate living areas, it is advisable to install detectors in each section.
When choosing the exact location for installation, keep the following guidelines in mind:
- Mount the detector on the wall or ceiling, at least 5 feet above the floor: Carbon monoxide mixes with air and tends to rise, so mounting the detector higher up ensures better detection. Avoid placing it near windows, doors, or vents, as these areas can affect its performance.
- Install detectors away from sources of moisture or humidity: Moisture can damage the sensor and reduce the effectiveness of the detector. Keep them away from bathrooms, kitchen sinks, and areas prone to excessive humidity.
- Follow the manufacturer’s instructions: Each carbon monoxide detector may have specific instructions regarding installation and placement. Be sure to read and follow the manufacturer’s guidelines to ensure proper operation.
By carefully selecting the locations for your carbon monoxide detectors, you can maximize their effectiveness and ensure early detection of any potential carbon monoxide leaks in your home.
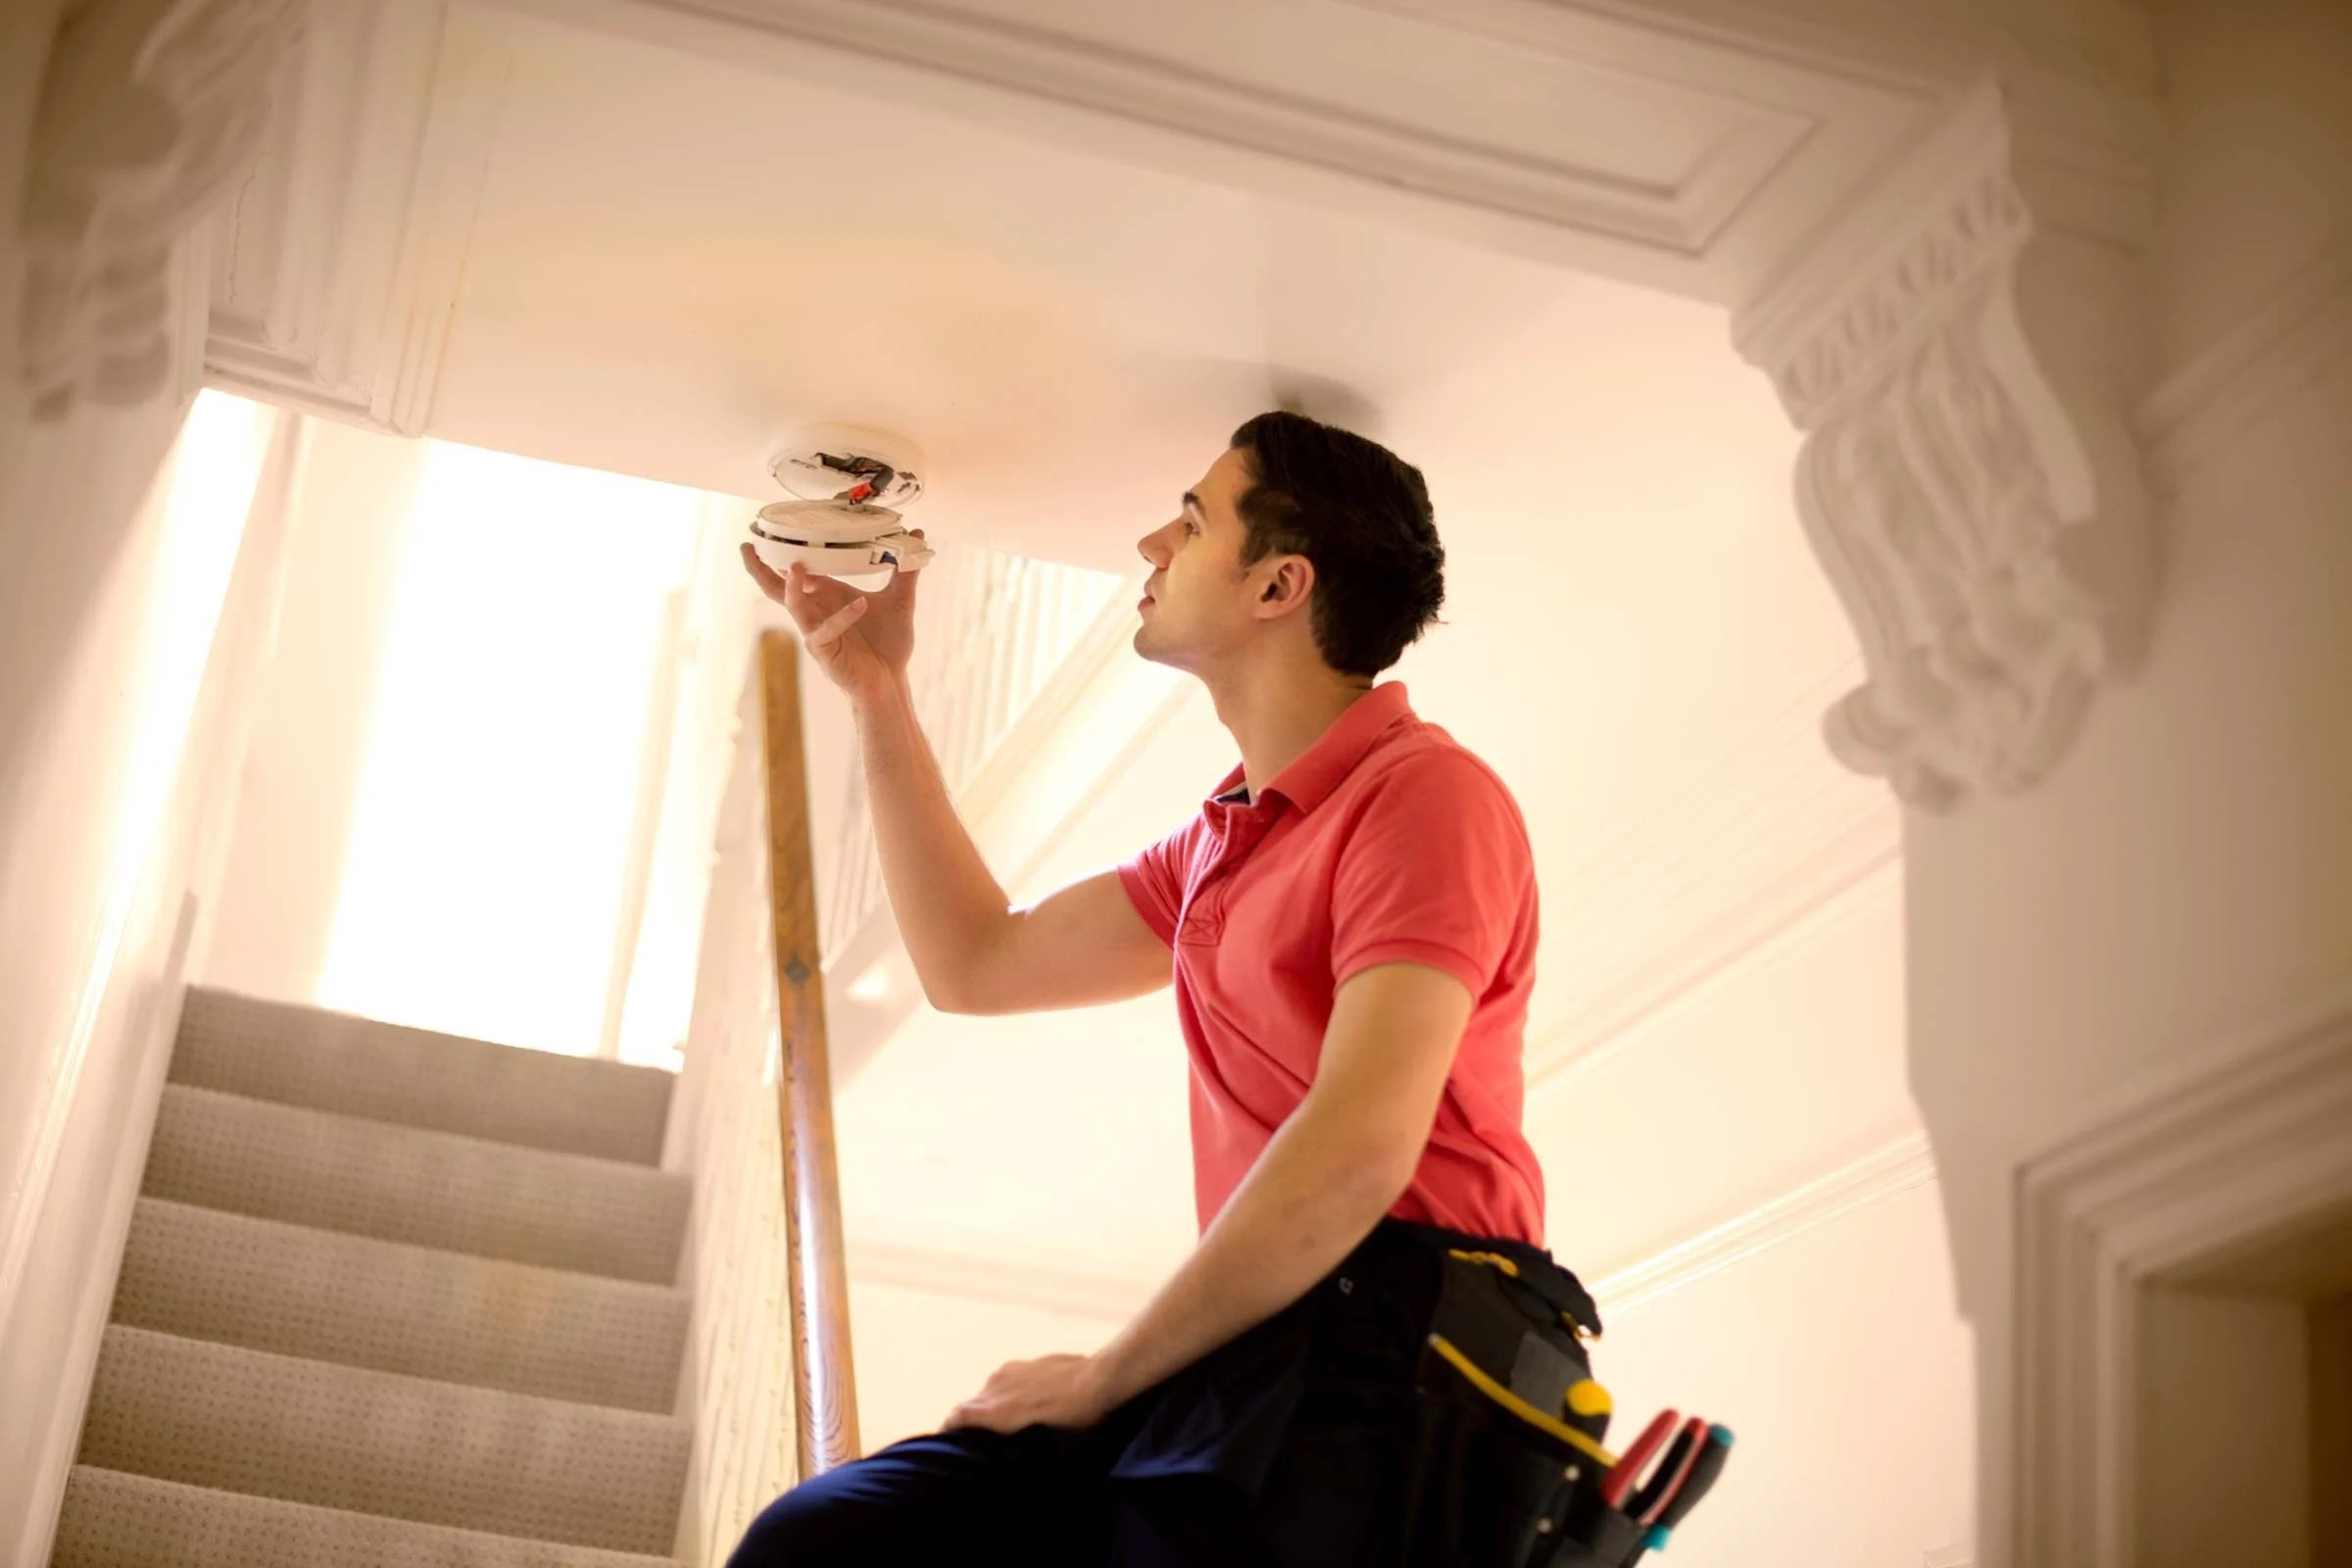
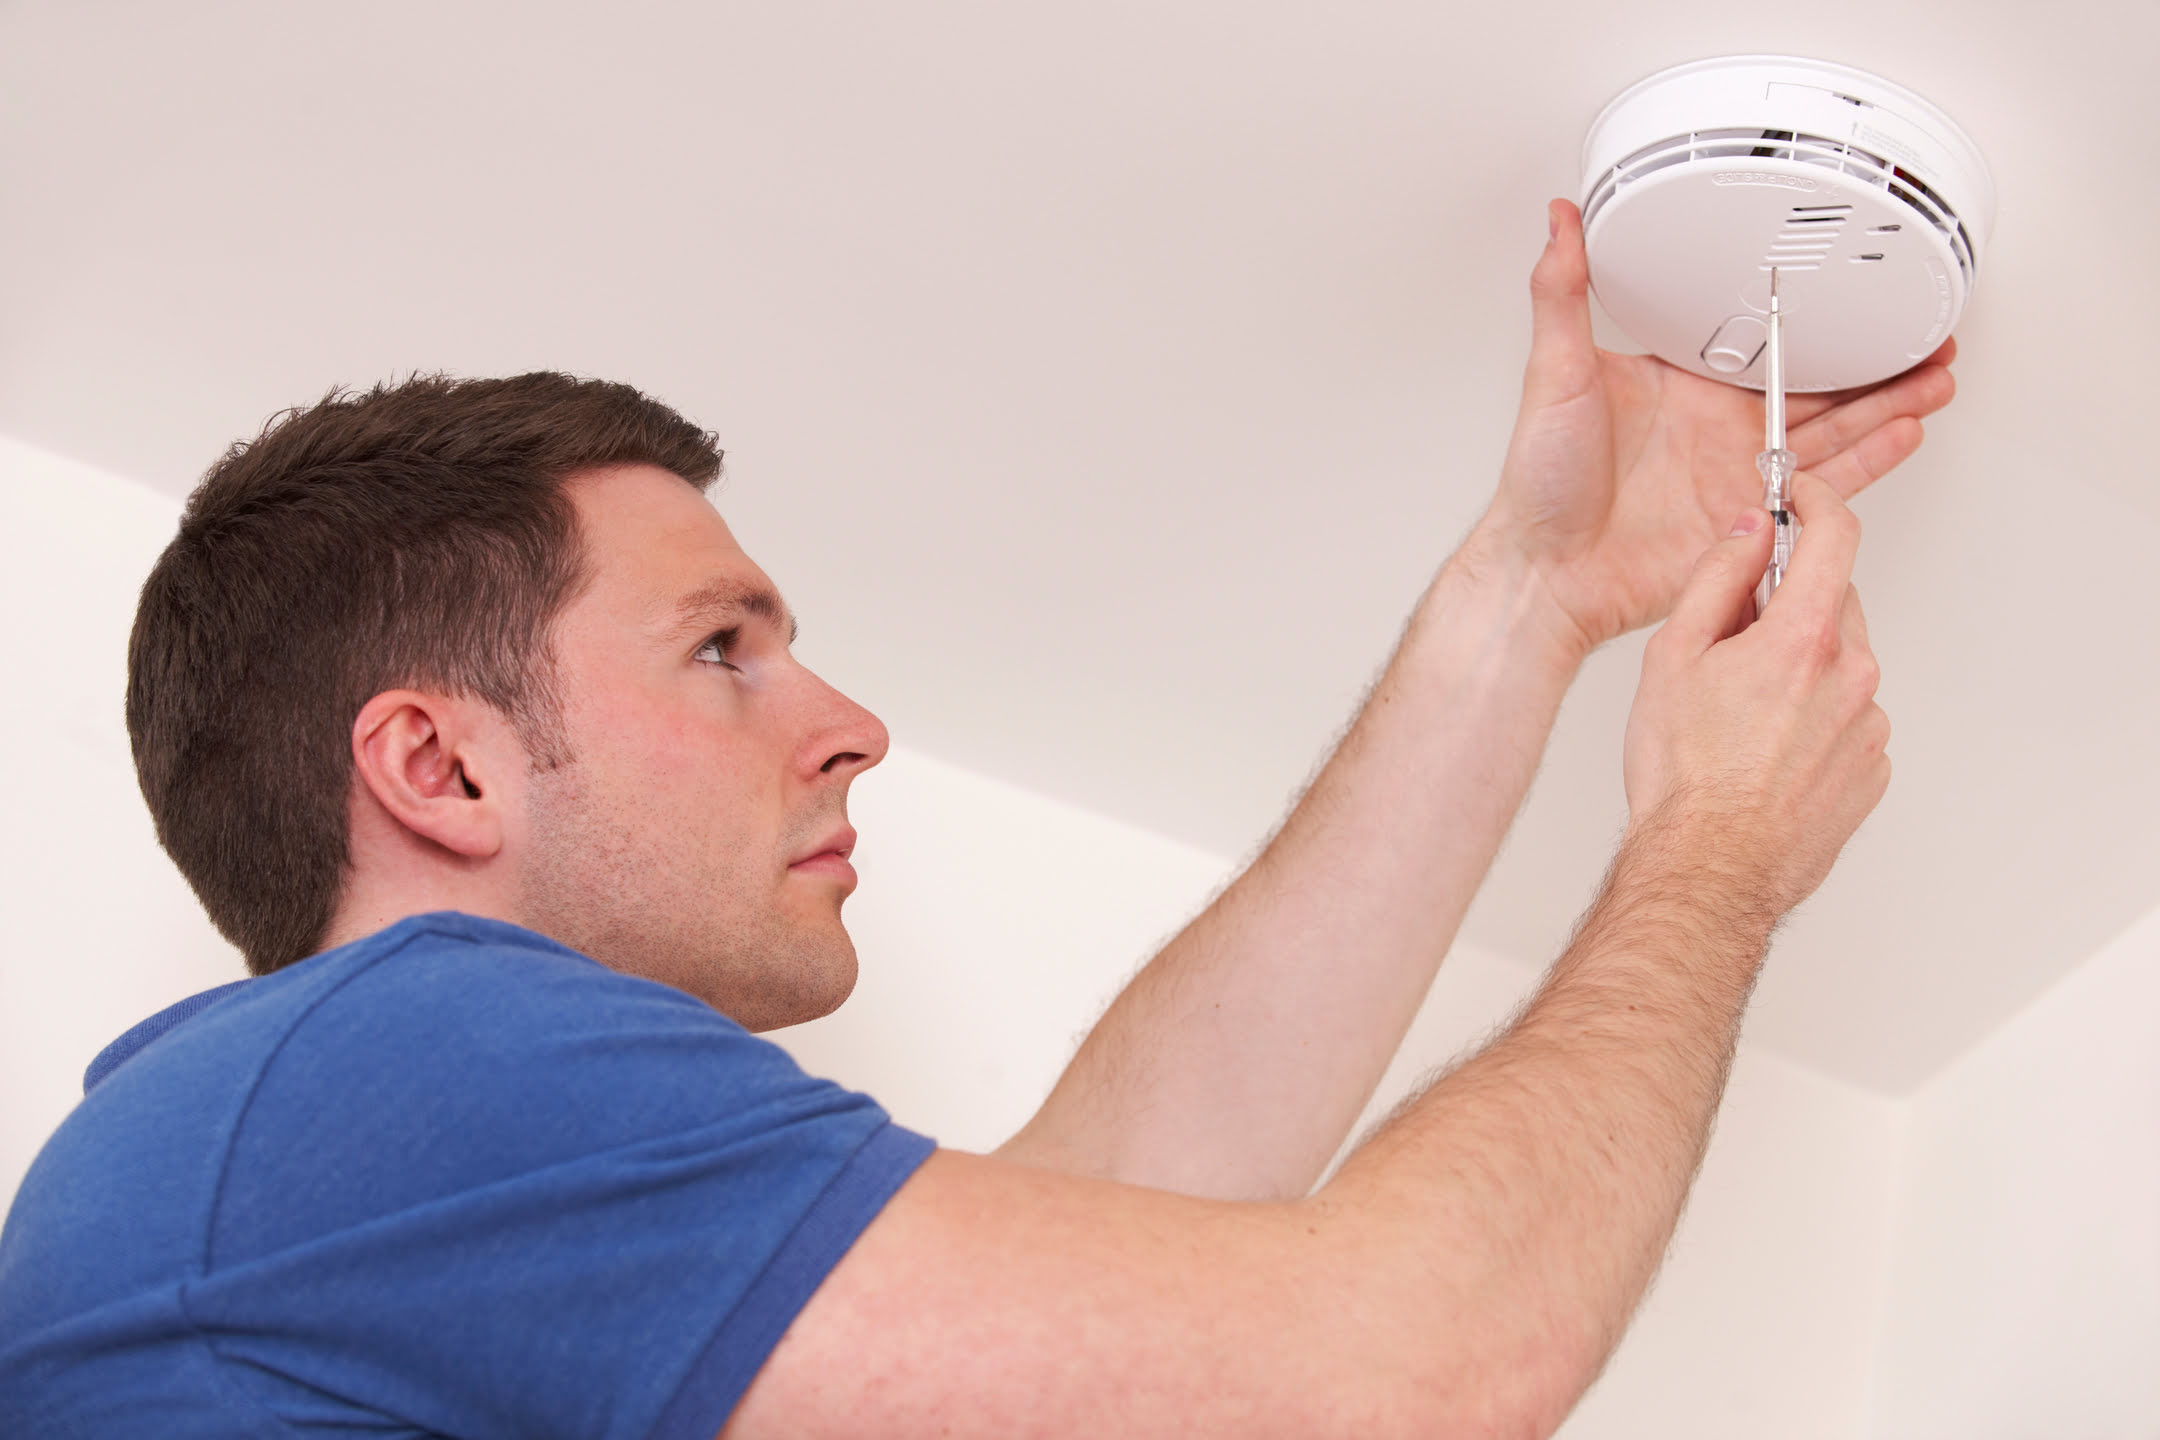
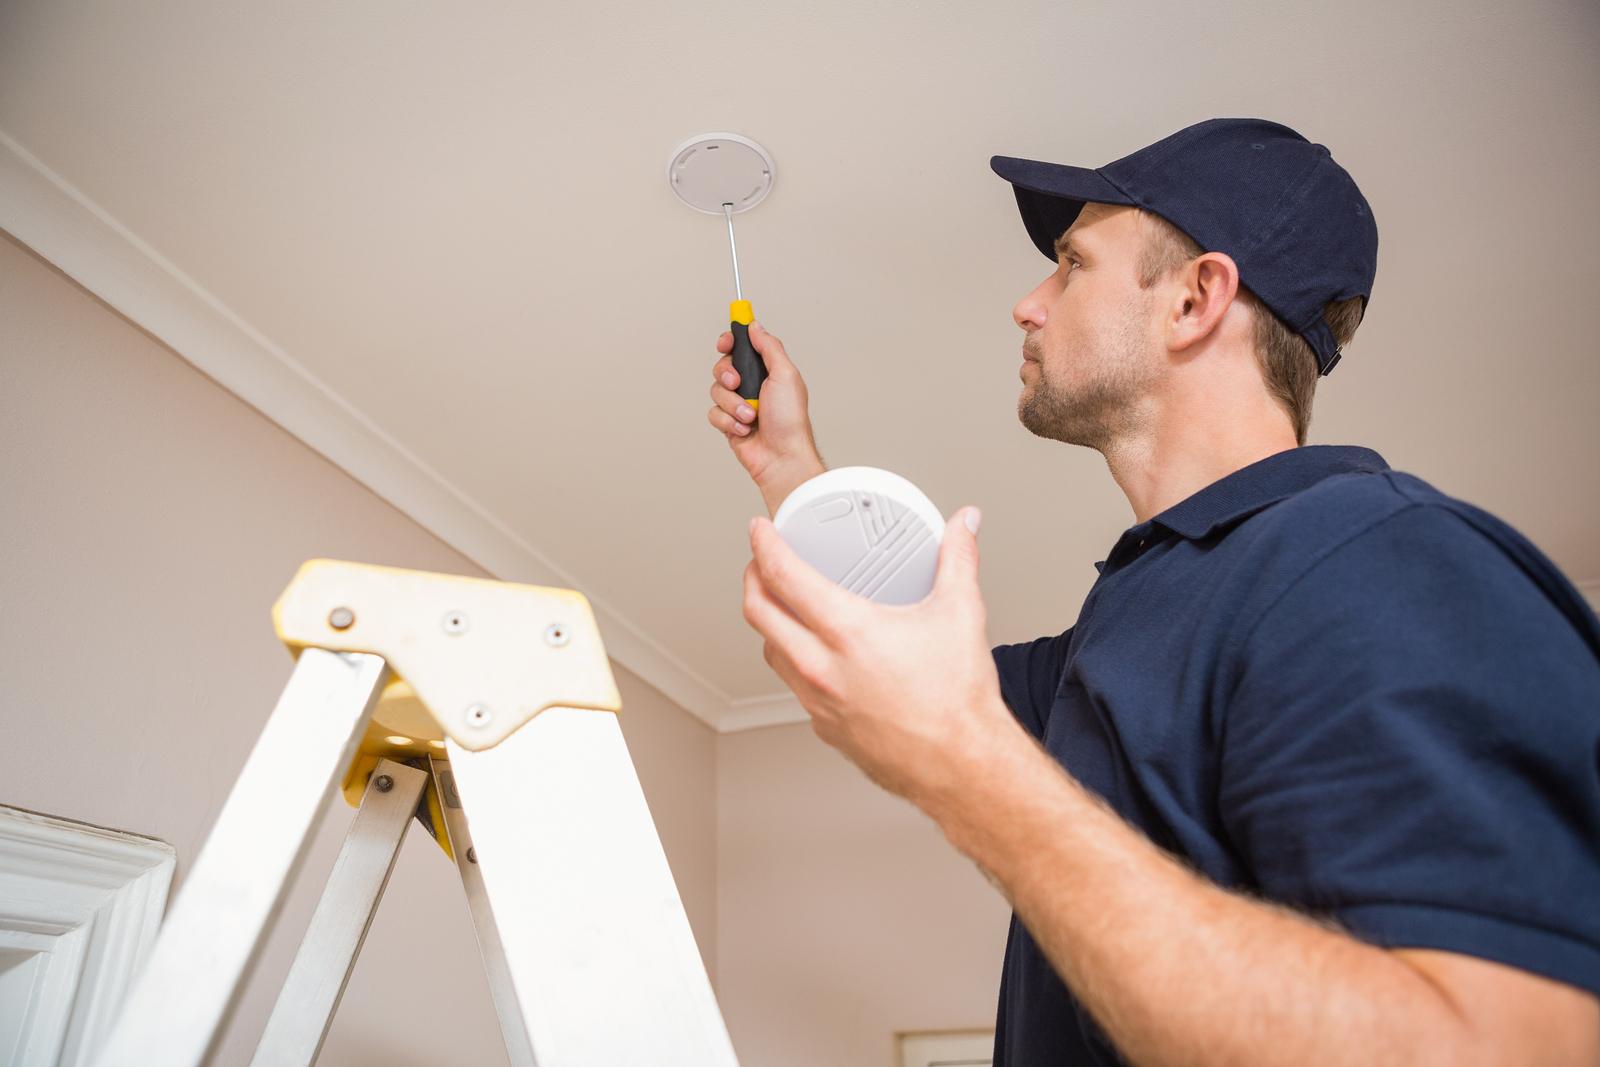
Step 3: Mounting the Carbon Monoxide Detector
Once you have chosen the optimal locations for your carbon monoxide detectors, it’s time to mount them securely. Follow these steps to mount the detectors:
- Using a pencil, mark the position on the wall or ceiling where you want to mount the detector. Ensure it is at the recommended height (at least 5 feet above the floor) and away from any potential obstructions. If you’re using adhesive strips, skip to step 4.
- If drilling is required, use a drill with the appropriate size bit to create pilot holes at the marked positions. This will help guide the screws during installation.
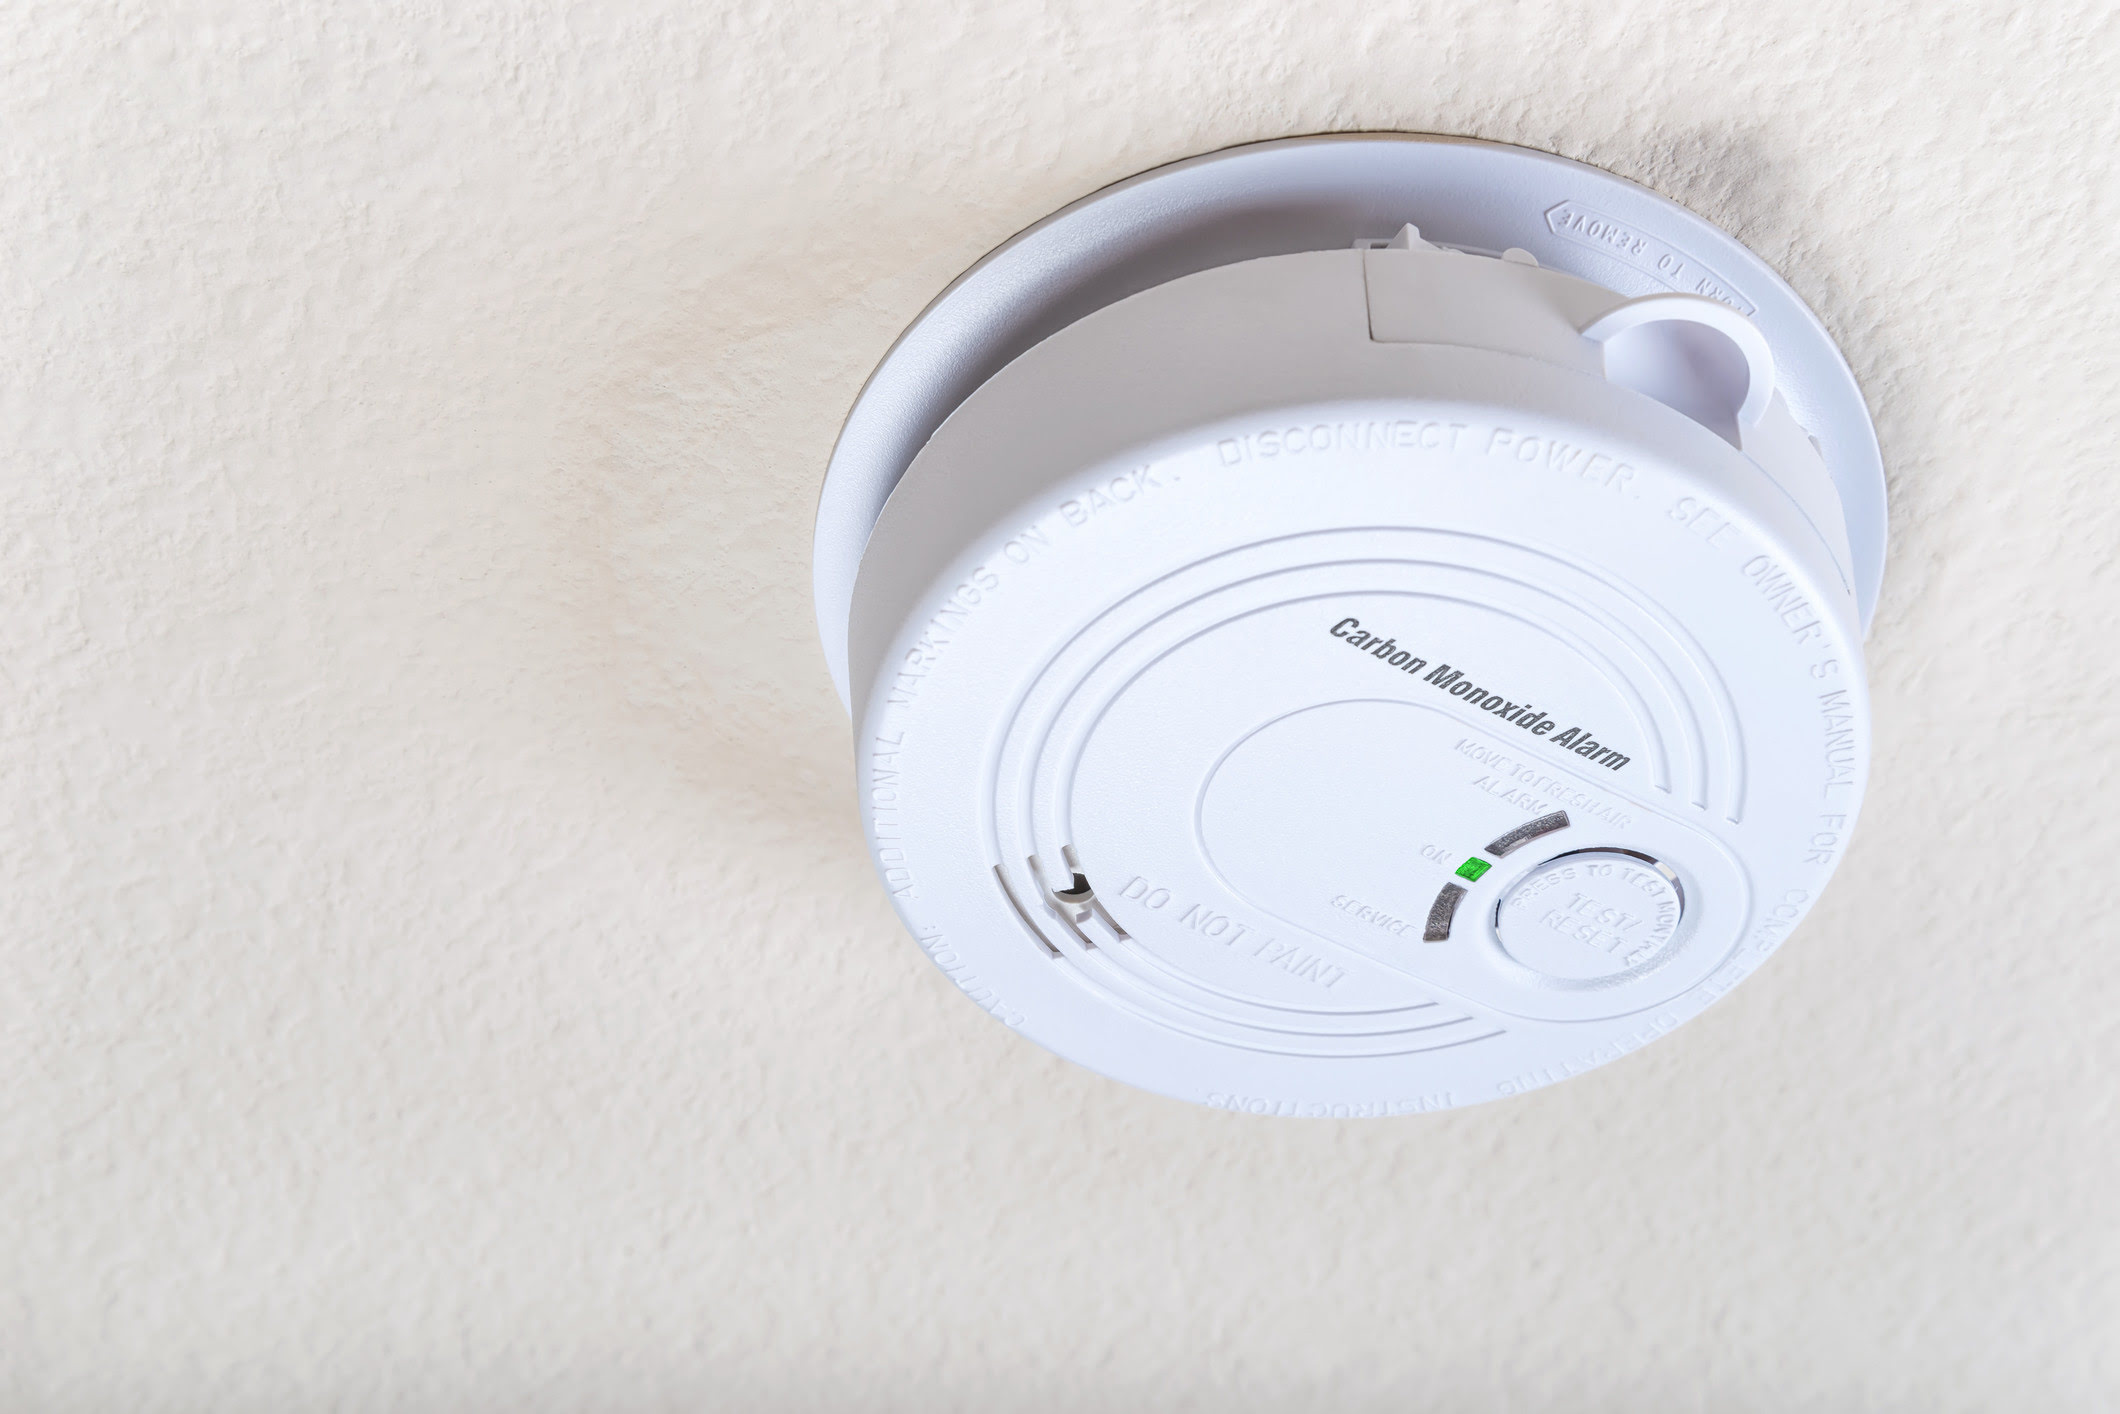
- If your carbon monoxide detector comes with a mounting plate, attach it to the wall or ceiling using the provided screws or adhesive strips. Make sure it is securely fastened.
- Align the back of the detector with the mounting plate and gently slide it onto the plate. If there are screws securing the detector to the mounting plate, tighten them to ensure a snug fit.
- If your detector does not have a mounting plate, use the provided screws or adhesive strips to directly attach the detector to the wall or ceiling. Ensure it is level and firmly secured.
During the mounting process, keep in mind the specific instructions provided by the manufacturer. Some detectors may have different mounting mechanisms or requirements, so be sure to read the user manual for your specific model.
After successfully mounting the carbon monoxide detectors, give them a gentle tug to ensure they are securely in place. If they feel loose, readjust and tighten the mounting mechanism.
Remember, proper installation and mounting of the detectors is essential for their functionality. Securely mounted detectors will efficiently detect any potential carbon monoxide leaks and provide the early warning needed to protect you and your family.
When installing a carbon monoxide detector, make sure to place it on every level of your home and near sleeping areas. Follow the manufacturer’s instructions for proper installation and testing.
Step 4: Install Batteries (if applicable)
Not all carbon monoxide detectors require batteries, as some models are hardwired into the electrical system of the house. However, if your detector does require batteries for backup power or as the primary power source, follow these steps to install them:
- Refer to the user manual or instructions provided by the manufacturer to determine the type and quantity of batteries required for your specific carbon monoxide detector.
- Locate the battery compartment on the back or underside of the detector. It is usually marked with a battery symbol.
- Open the battery compartment by sliding, flipping, or unscrewing the cover, depending on the design of your detector.
- Insert the batteries into the compartment according to the polarity markings (positive and negative) indicated inside the compartment. Ensure the batteries are inserted correctly.
- Close the battery compartment securely by reattaching or sliding the cover back into place.
Once you have installed the batteries, your carbon monoxide detector should power on. Some models may have a test mode or an indicator light to confirm proper functioning. Refer to the user manual to understand the specific features and testing procedures for your detector.
It is important to regularly check the batteries in your carbon monoxide detectors and replace them as needed. Most detectors will emit a low battery warning signal when the batteries need replacement. Follow the manufacturer’s recommendations regarding battery maintenance and replacement intervals.
By ensuring your carbon monoxide detectors have reliable power sources, you can have peace of mind knowing that they will continue to monitor for the presence of carbon monoxide and provide early warnings in case of any danger.
Read more: How To Replace A Carbon Monoxide Detector
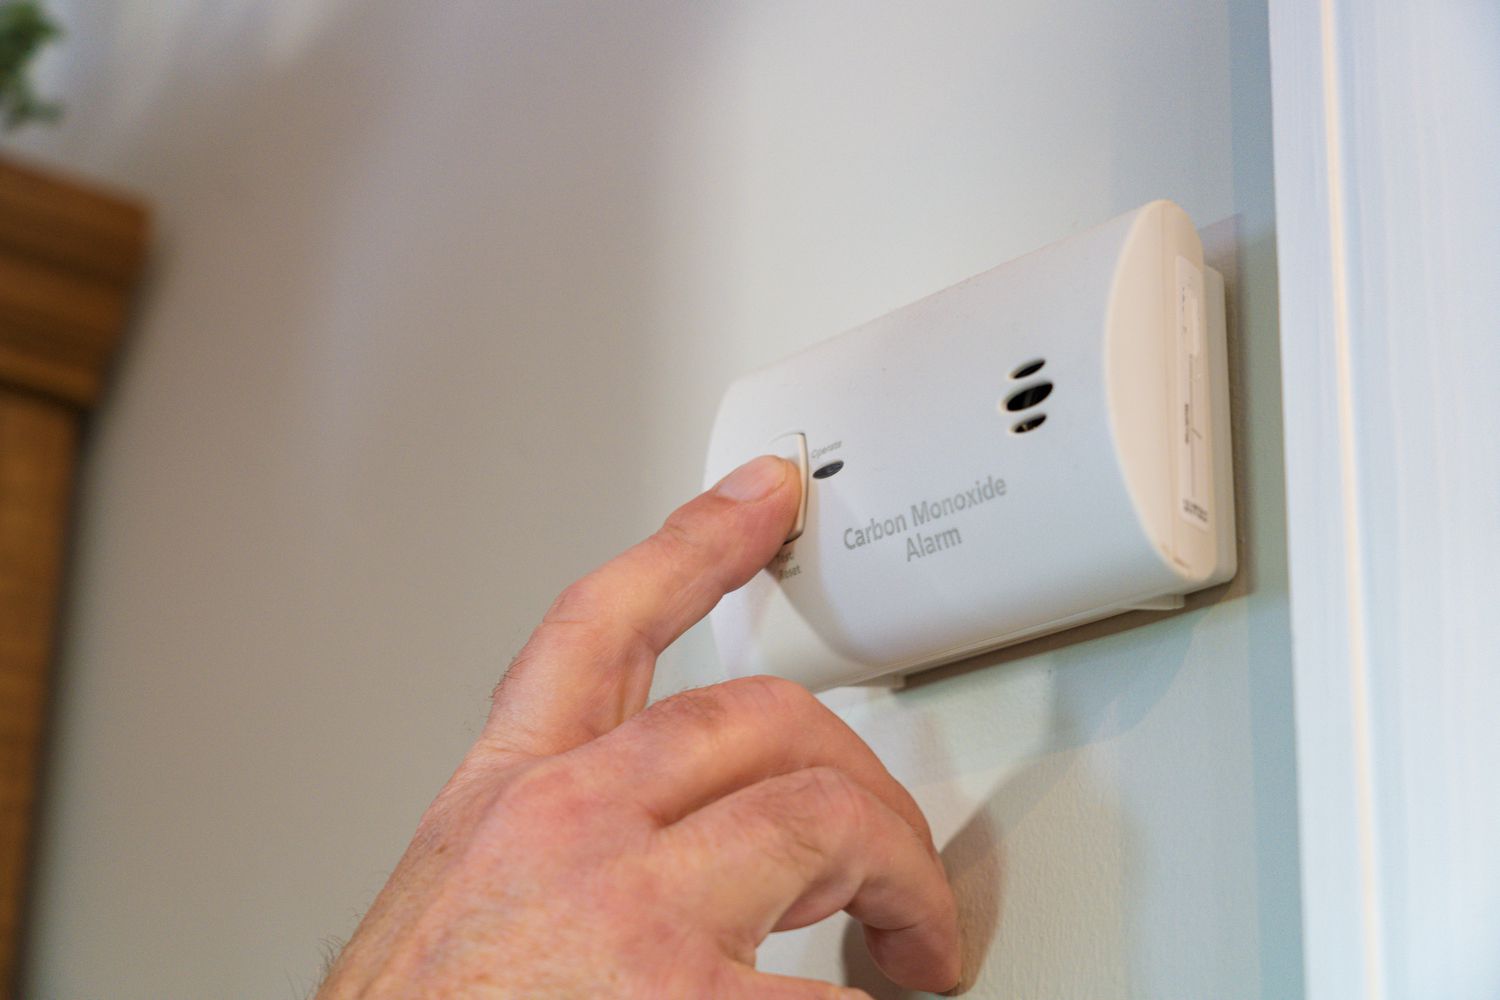
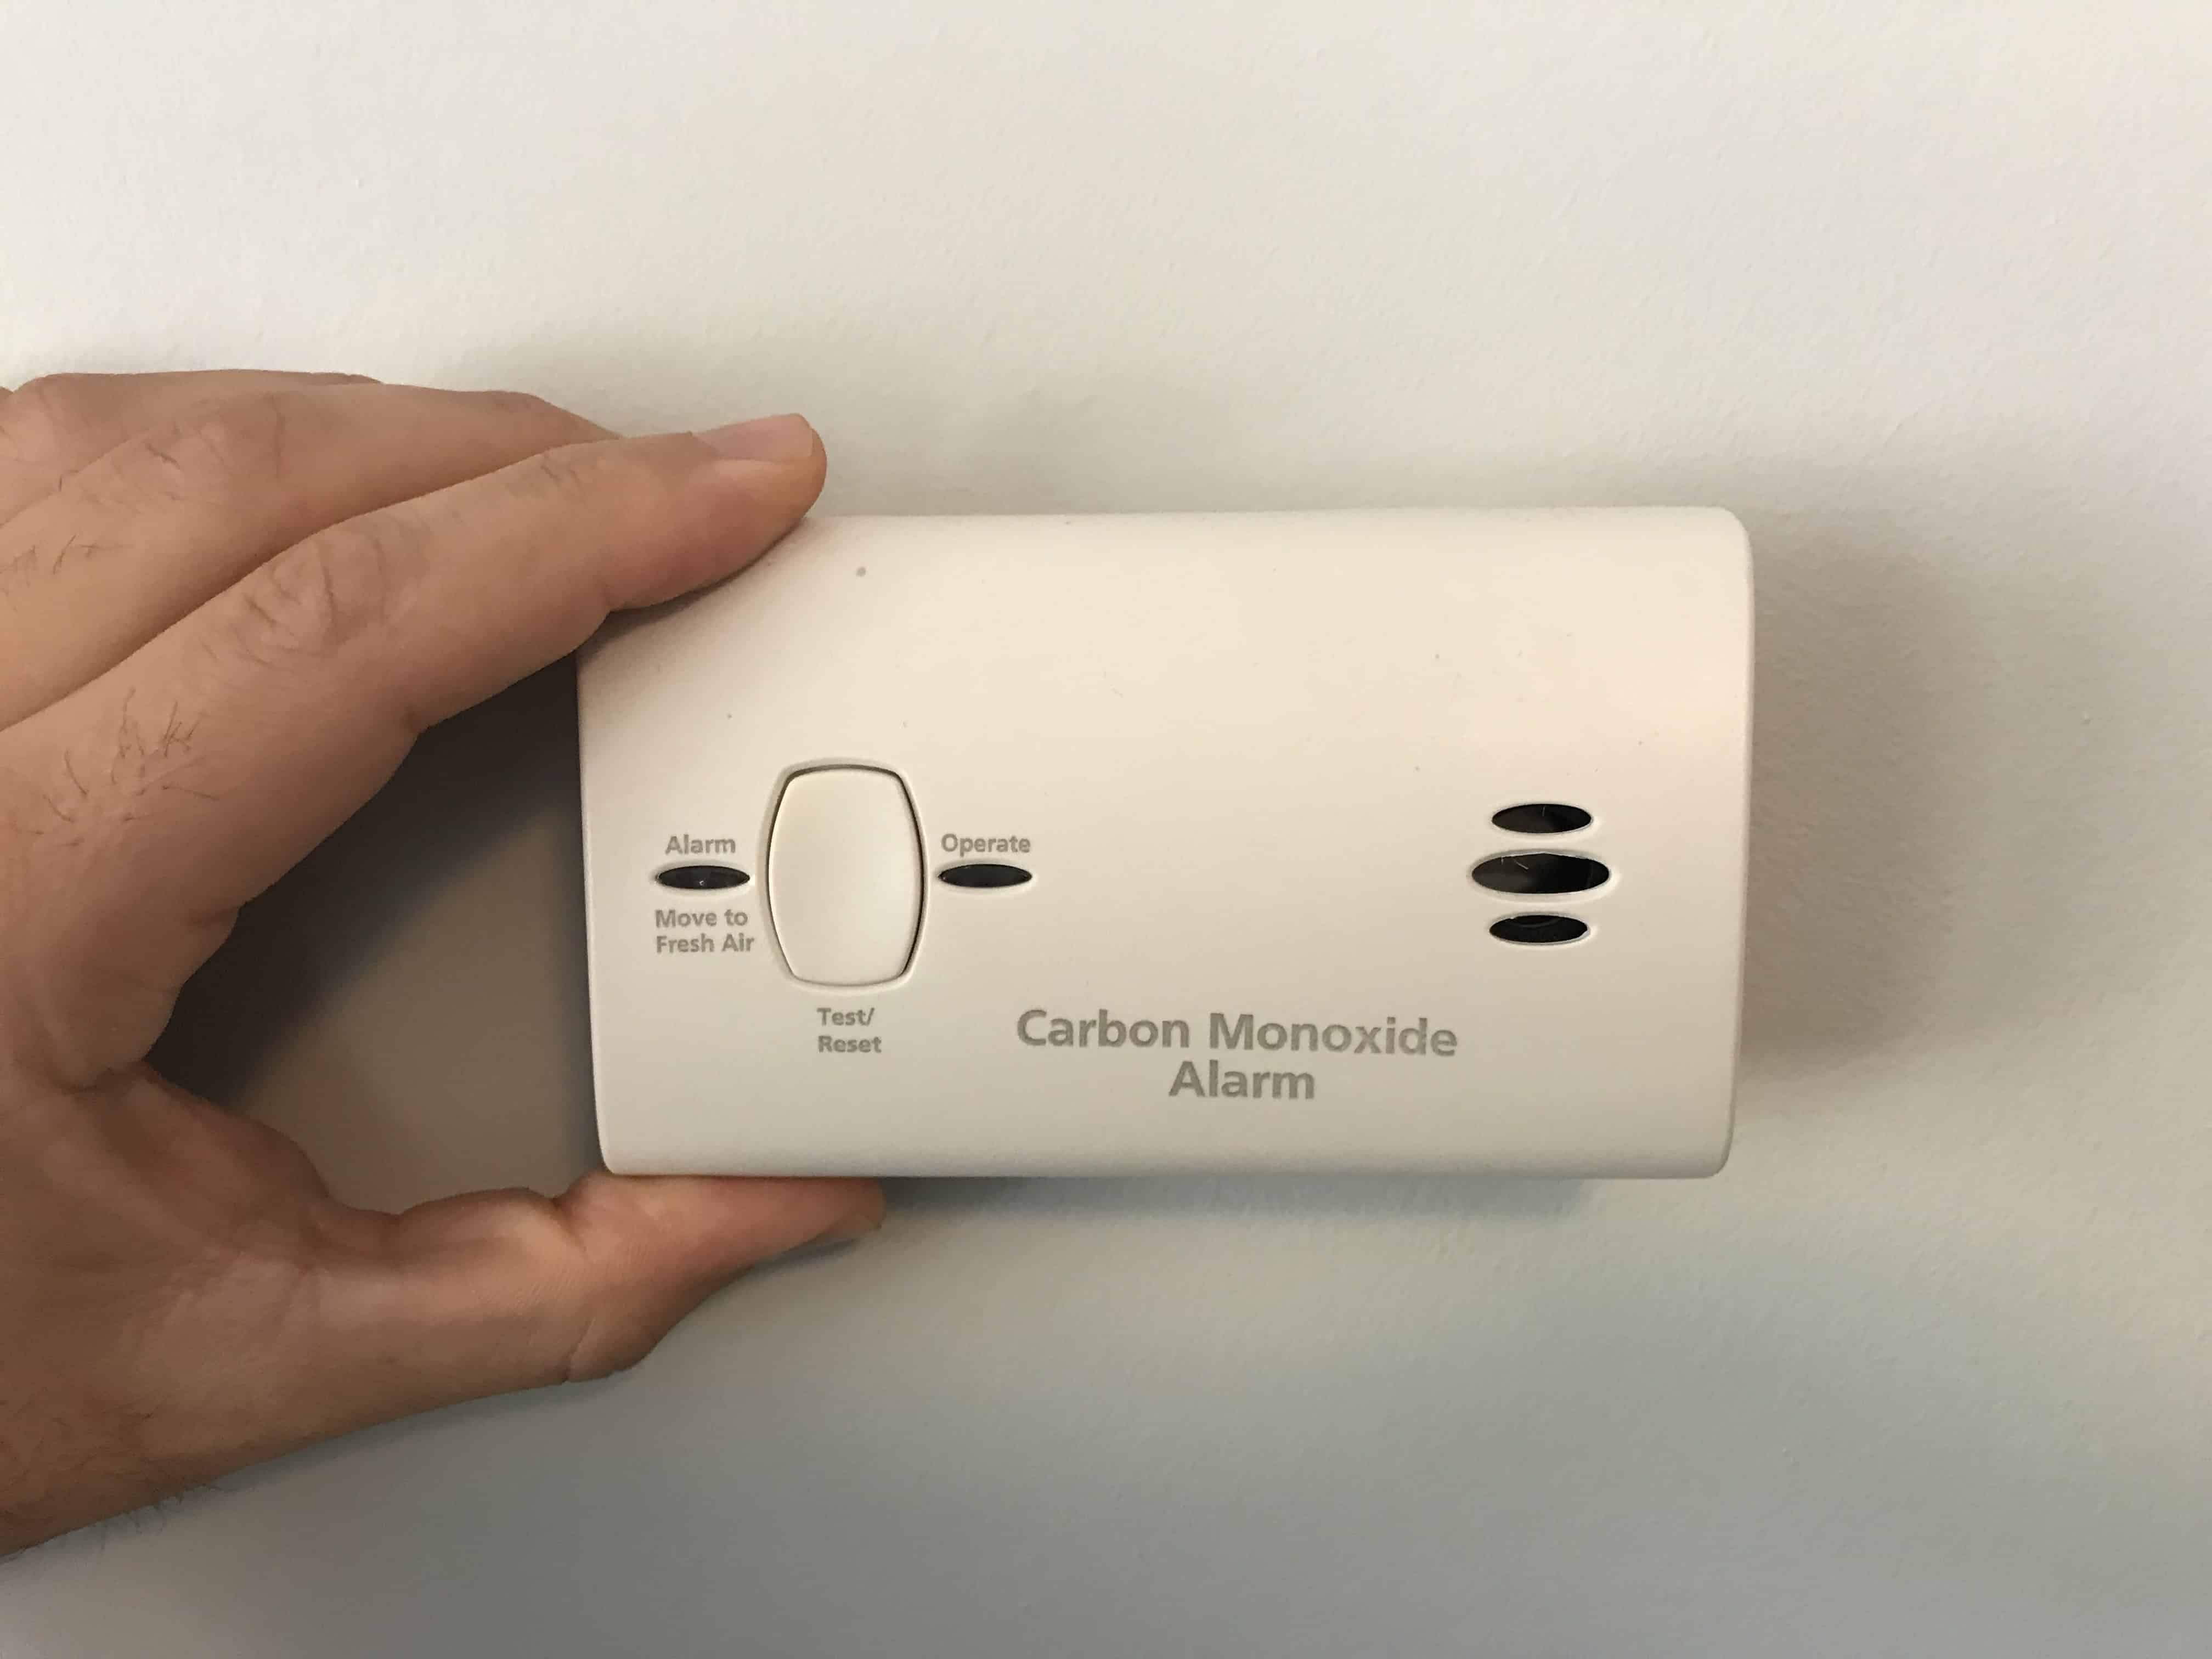
Step 5: Test the Detector
After installing your carbon monoxide detector and, if applicable, installing the batteries, it is essential to test the functionality of the device. Testing the detector regularly ensures that it is operational and can effectively detect carbon monoxide in the surrounding environment. Follow these steps to test your carbon monoxide detector:
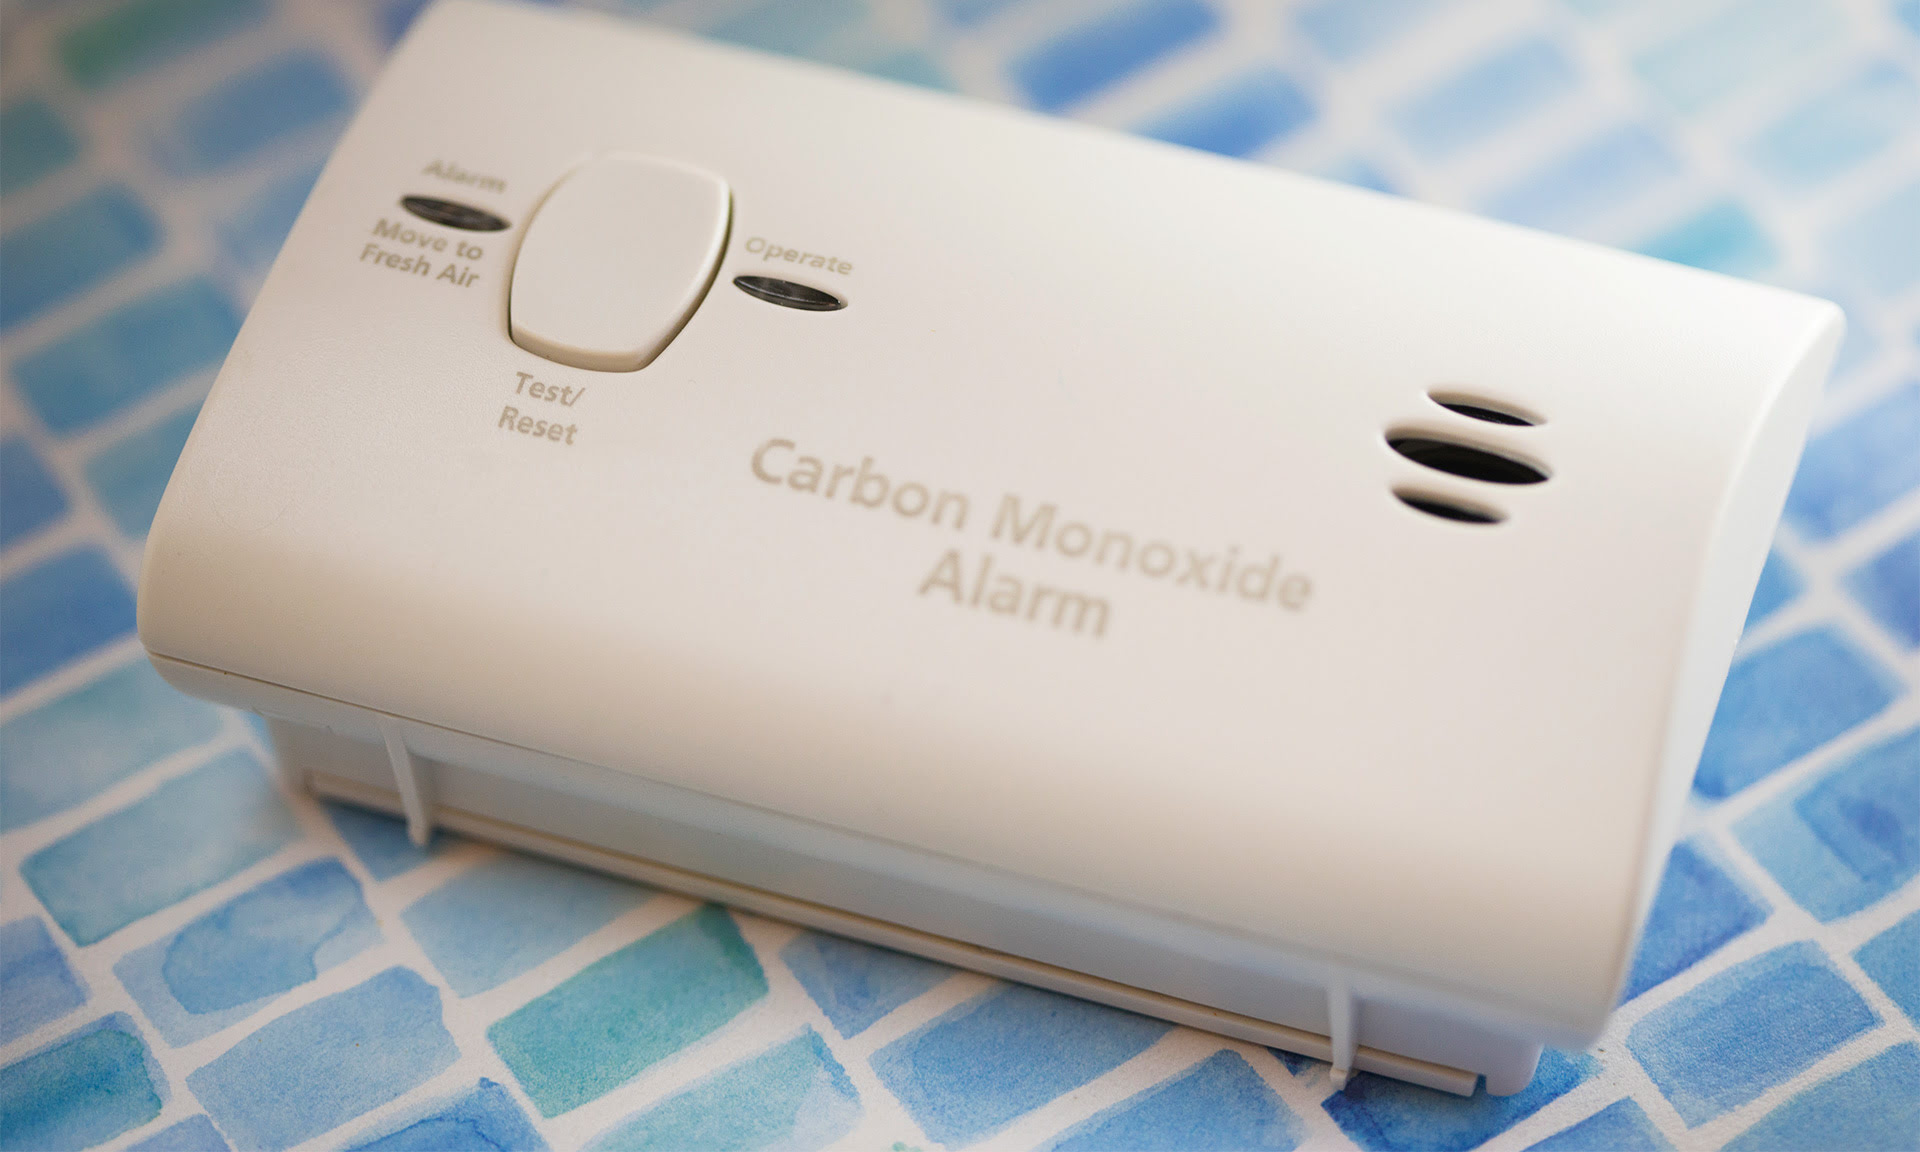
- Locate the test button on the detector. It is usually labeled with the word “Test” or a similar symbol.
- Press and hold the test button for a few seconds. This will simulate the presence of carbon monoxide and activate the alarm system.
- Observe and listen for the alarm sound. The detector should emit a loud, continuous alarm to indicate proper functionality.
- If the alarm does not sound, check the batteries and ensure they are properly installed. If the issue persists, refer to the user manual for troubleshooting steps or contact the manufacturer for further assistance.
- Once the alarm has been tested successfully, reset the detector according to the instructions provided by the manufacturer.
It is recommended to test your carbon monoxide detector regularly, ideally once a month, to ensure continuous functionality. Regular testing allows you to identify any potential issues or malfunctions and take the necessary steps to address them promptly.
In addition to regular testing, it is essential to be aware of the expiration date of your carbon monoxide detector. Detectors have a limited lifespan, typically ranging from 5 to 7 years. After this period, they may lose efficiency and reliability. Refer to the user manual or the manufacturer’s guidelines to determine the lifespan of your specific detector.
By regularly testing your carbon monoxide detector, you can have confidence in its effectiveness and ensure the safety of your home and family.
Step 6: Educate Yourself and Your Family on Carbon Monoxide Safety
Installing carbon monoxide detectors is just one part of ensuring the safety of your home. It is equally important to educate yourself and your family about carbon monoxide safety. Here are some essential points to be aware of:
- Recognize the signs and symptoms of carbon monoxide poisoning: Understanding the symptoms of carbon monoxide poisoning is crucial for early detection. Symptoms include headaches, dizziness, nausea, confusion, and fatigue. Educate your family on these signs and emphasize the importance of taking them seriously.
- Know what to do if the alarm sounds: Discuss and practice an emergency plan with your family in the event that the carbon monoxide detector alarm goes off. Establish a designated meeting point outside the house and ensure everyone knows how to evacuate safely. Reinforce the importance of not reentering the premises until emergency services have deemed it safe.
- Regularly maintain and inspect your detectors: While carbon monoxide detectors require minimal maintenance, it is important to periodically clean the sensor and remove any dust or debris that may accumulate. Additionally, perform regular inspections to ensure the detectors are functioning properly and replace them when necessary.
- Keep potential sources of carbon monoxide properly maintained: Regularly inspect gas appliances, furnaces, water heaters, and any other potential sources of carbon monoxide. Schedule regular maintenance checks and promptly address any issues or leaks that may arise.
- Avoid using fuel-burning devices indoors: Never use portable gas-powered generators, grills, or other fuel-burning devices indoors, including garages. These produce carbon monoxide and can quickly lead to dangerous levels of buildup if used improperly.
By educating yourself and your family on carbon monoxide safety, you can foster a proactive and prepared mindset. It is essential to regularly reinforce the importance of awareness and adherence to safety practices to minimize the risk of carbon monoxide poisoning.
Remember, carbon monoxide is a serious threat that requires attention and diligence. By combining the installation of carbon monoxide detectors with proper education and awareness, you are taking essential steps towards creating a safe and secure living environment for you and your family.
Conclusion
Installing a carbon monoxide detector and implementing proper safety measures is crucial for protecting your home and loved ones from the dangers of carbon monoxide. By following the step-by-step installation process outlined in this guide, you can ensure that your carbon monoxide detectors are properly installed and functioning effectively.
Remember, carbon monoxide is a silent and potentially lethal gas. Without a detector, it can go undetected and cause harm without warning. By installing detectors on every level of your home, near bedrooms, and in close proximity to potential sources of carbon monoxide, you are providing an early warning system that can save lives.
Regularly testing your carbon monoxide detectors, educating your family about the signs and symptoms of carbon monoxide poisoning, and practicing emergency evacuation plans are all essential steps in ensuring your safety. Additionally, maintaining and inspecting your detectors, as well as properly maintaining fuel-burning devices, are critical for preventing dangerous situations.
By implementing these measures, you are taking a proactive approach to safeguarding your home and family. It is important to prioritize carbon monoxide safety just as you would any other home security measure.
We hope that this guide has equipped you with the knowledge and understanding needed to install carbon monoxide detectors in your home. Remember, prevention is key. Taking these precautionary steps can provide peace of mind and protect you and your loved ones from the silent threat of carbon monoxide.
Frequently Asked Questions about How To Install Carbon Monoxide Detector
Was this page helpful?
At Storables.com, we guarantee accurate and reliable information. Our content, validated by Expert Board Contributors, is crafted following stringent Editorial Policies. We're committed to providing you with well-researched, expert-backed insights for all your informational needs.


0 thoughts on “How To Install Carbon Monoxide Detector”