Home>Articles>Kidde Nighthawk Carbon Monoxide Detector: How To Change The Battery
Articles
Kidde Nighthawk Carbon Monoxide Detector: How To Change The Battery
Modified: February 24, 2024
Need to change the battery in your Kidde Nighthawk carbon monoxide detector? Check out our step-by-step articles for easy instructions.
(Many of the links in this article redirect to a specific reviewed product. Your purchase of these products through affiliate links helps to generate commission for Storables.com, at no extra cost. Learn more)
Introduction
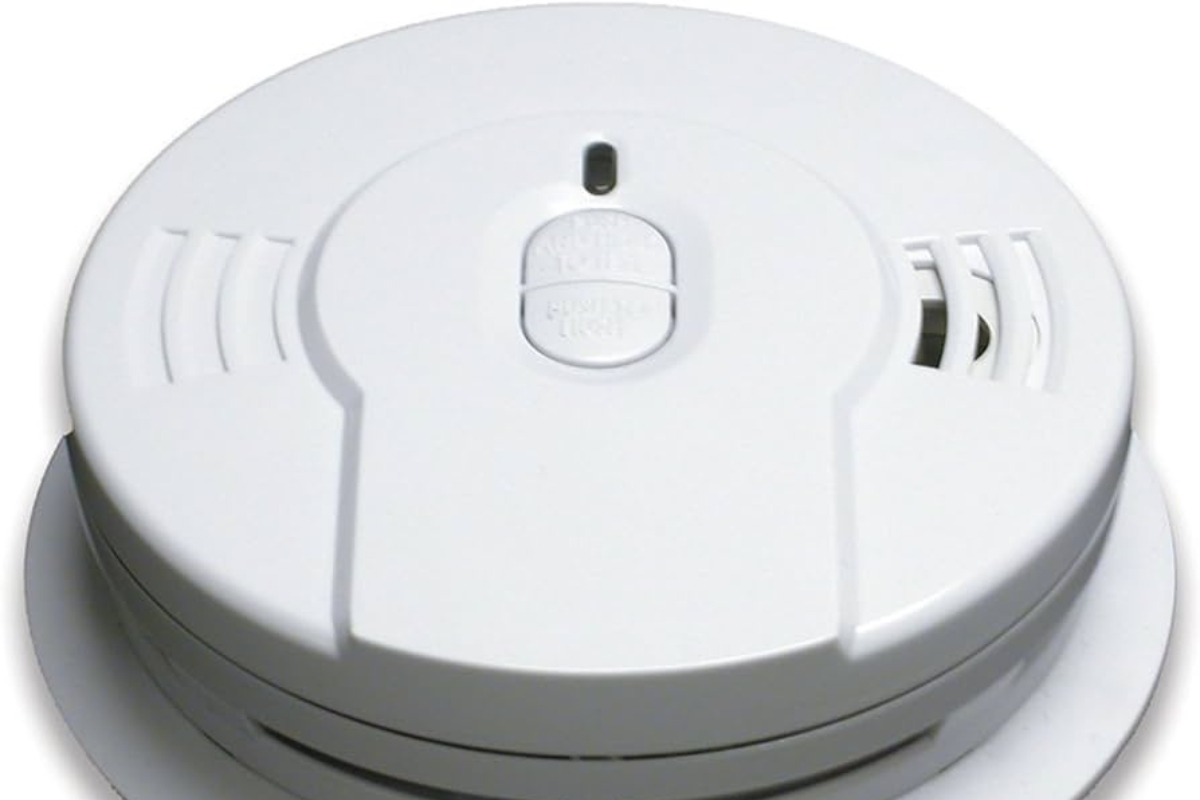
Welcome to our guide on how to change the battery in the Kidde Nighthawk Carbon Monoxide Detector. As a responsible homeowner, it is crucial to ensure that your carbon monoxide detector is always functioning properly to keep you and your family safe from this potentially deadly gas. One of the most common reasons for a carbon monoxide detector to stop working is a depleted battery, which is why regular battery replacement is essential.
In this article, we will walk you through the step-by-step process of changing the battery in your Kidde Nighthawk Carbon Monoxide Detector. Whether you have recently installed a new detector or it has been a while since the last battery replacement, we will provide you with all the information you need to complete this task correctly and ensure the continued effectiveness of your carbon monoxide detector.
Before we begin, it is important to note that different models of the Kidde Nighthawk Carbon Monoxide Detector may have slightly different battery compartments and methods of battery replacement. However, the general principles outlined in this guide should apply to most models. It is always a good idea to consult your device’s user manual for specific instructions if needed.
Now, let’s proceed to the first step: gathering the necessary materials.
Key Takeaways:
- Regularly changing the battery in your Kidde Nighthawk Carbon Monoxide Detector is crucial for ensuring the safety of your home and loved ones. Follow the step-by-step guide to maintain a reliable and effective detector.
- By following the simple maintenance steps and regularly testing your carbon monoxide detector, you are taking essential measures to protect your family from the dangers of carbon monoxide poisoning. Prioritize their safety by ensuring your detector is always functioning properly.
Step 1: Gather the necessary materials
Before you begin the process of changing the battery in your Kidde Nighthawk Carbon Monoxide Detector, it is important to gather all the necessary materials. This will ensure a smooth and efficient battery replacement. Here are the materials you will need:
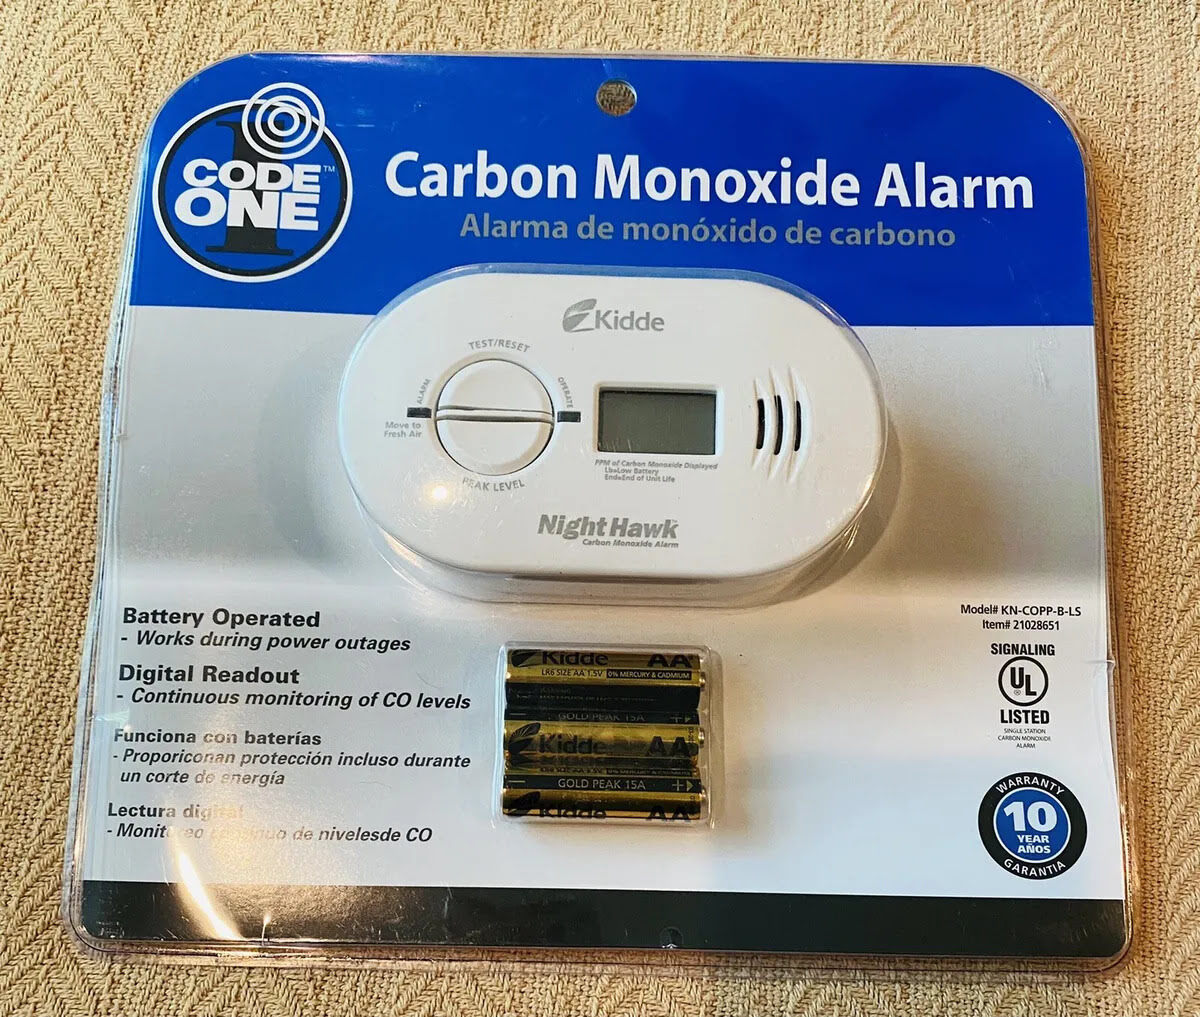
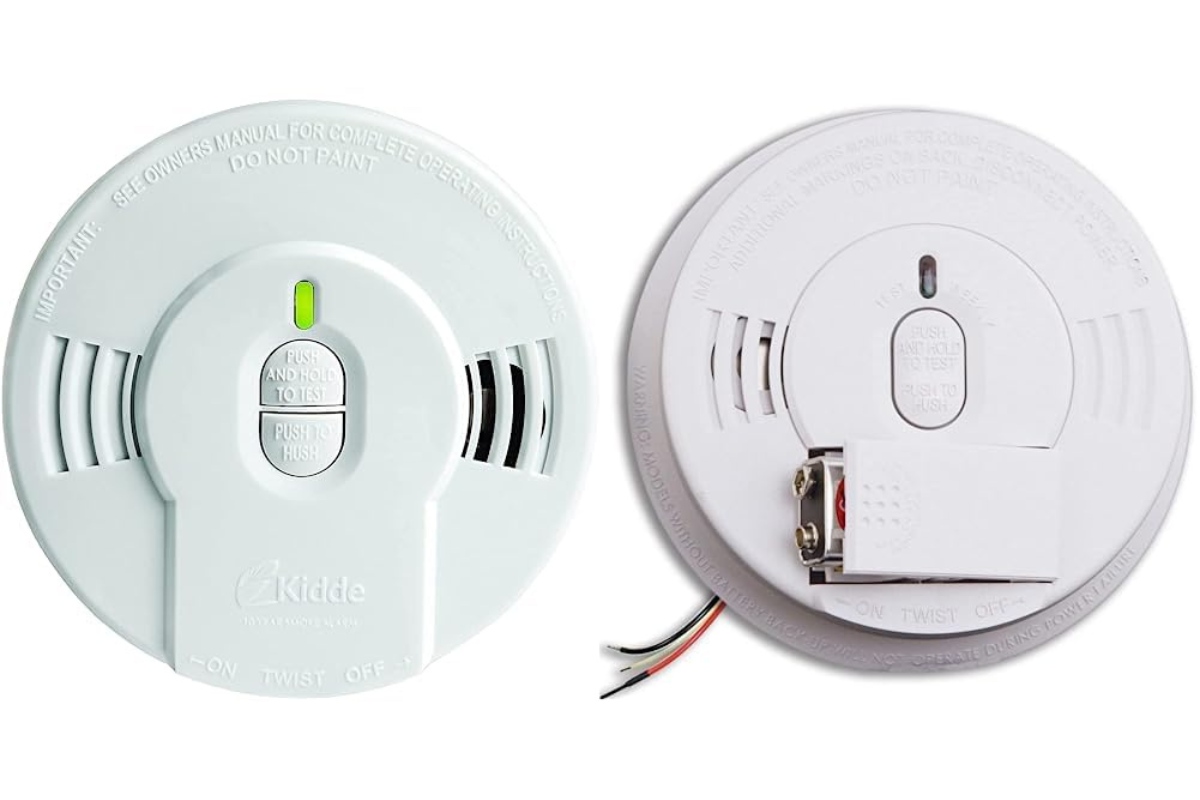
- New battery: Check the user manual or the label on the detector to determine the type of battery required. The Kidde Nighthawk Carbon Monoxide Detector typically uses a 9-volt battery or two AA batteries.
- Screwdriver (if required): Some models may require a screwdriver to remove the back cover. Check your detector’s user manual to see if this is necessary.
Once you have gathered these materials, you are ready to proceed to the next step: identifying the type of battery used in your Kidde Nighthawk Carbon Monoxide Detector.
Step 2: Identify the type of battery
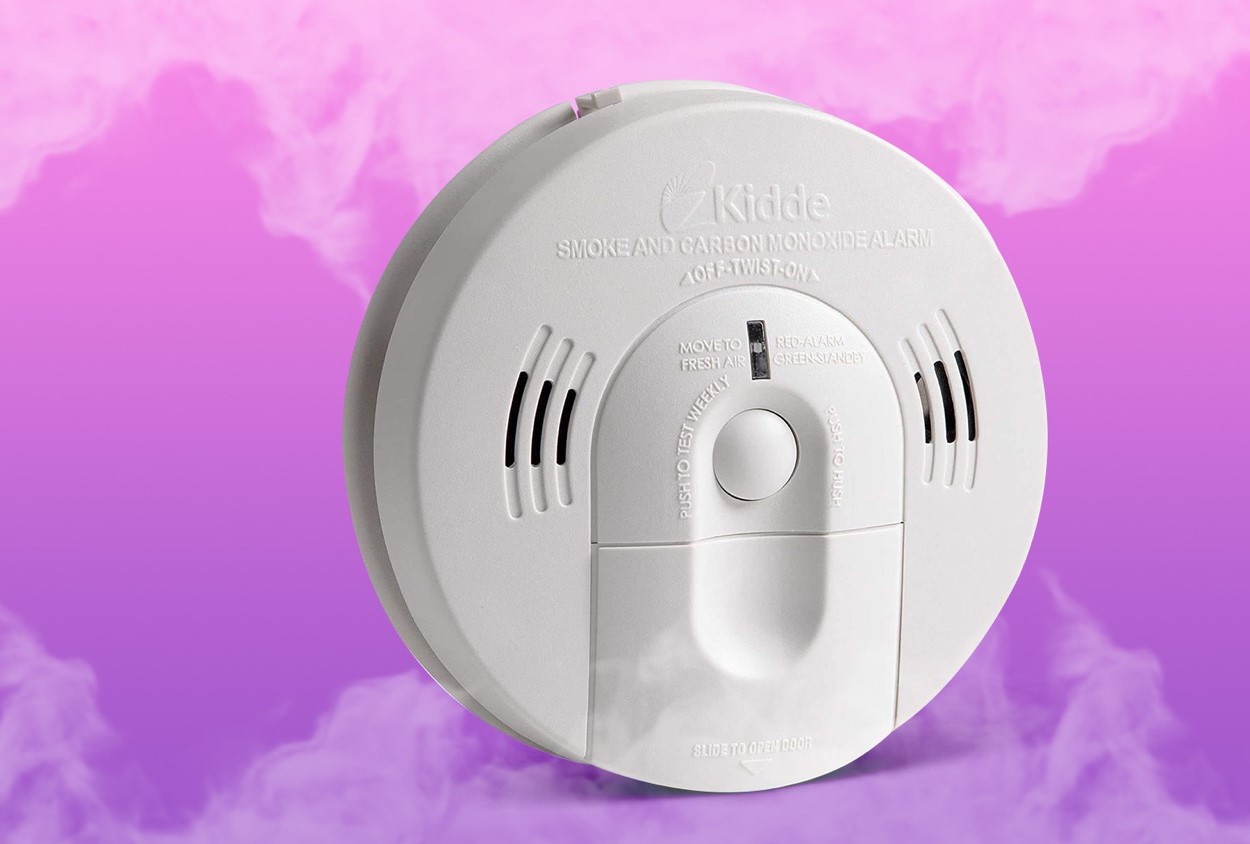
Before you can replace the battery in your Kidde Nighthawk Carbon Monoxide Detector, it is important to identify the type of battery used. This information can usually be found on the user manual or on the label located on the detector itself.
The Kidde Nighthawk Carbon Monoxide Detector typically uses either a 9-volt battery or two AA batteries. Check the user manual or the label on your detector to determine the specific type of battery required.
If the detector uses a 9-volt battery, you will need to purchase a new 9-volt battery that matches the required specifications. It is recommended to choose a high-quality, long-lasting battery to ensure optimal performance.
If the detector uses two AA batteries, make sure to have two fresh AA batteries on hand for replacement. Again, it is advisable to select high-quality batteries to ensure longevity and reliable functionality.
Identifying the type of battery is a crucial step as using the wrong type of battery can lead to improper functioning of the detector. Once you have identified the correct battery type, you are ready to move on to the next step: preparing for battery replacement.
Step 3: Prepare for battery replacement
Before you begin replacing the battery in your Kidde Nighthawk Carbon Monoxide Detector, it is important to take a few precautionary steps to ensure safety and efficiency. Follow these guidelines to properly prepare for the battery replacement process:
- Ensure that the carbon monoxide detector is not currently in alarm mode. If the device is sounding an alarm or displaying a warning, it is best to wait until the alarm has ceased before proceeding with battery replacement.
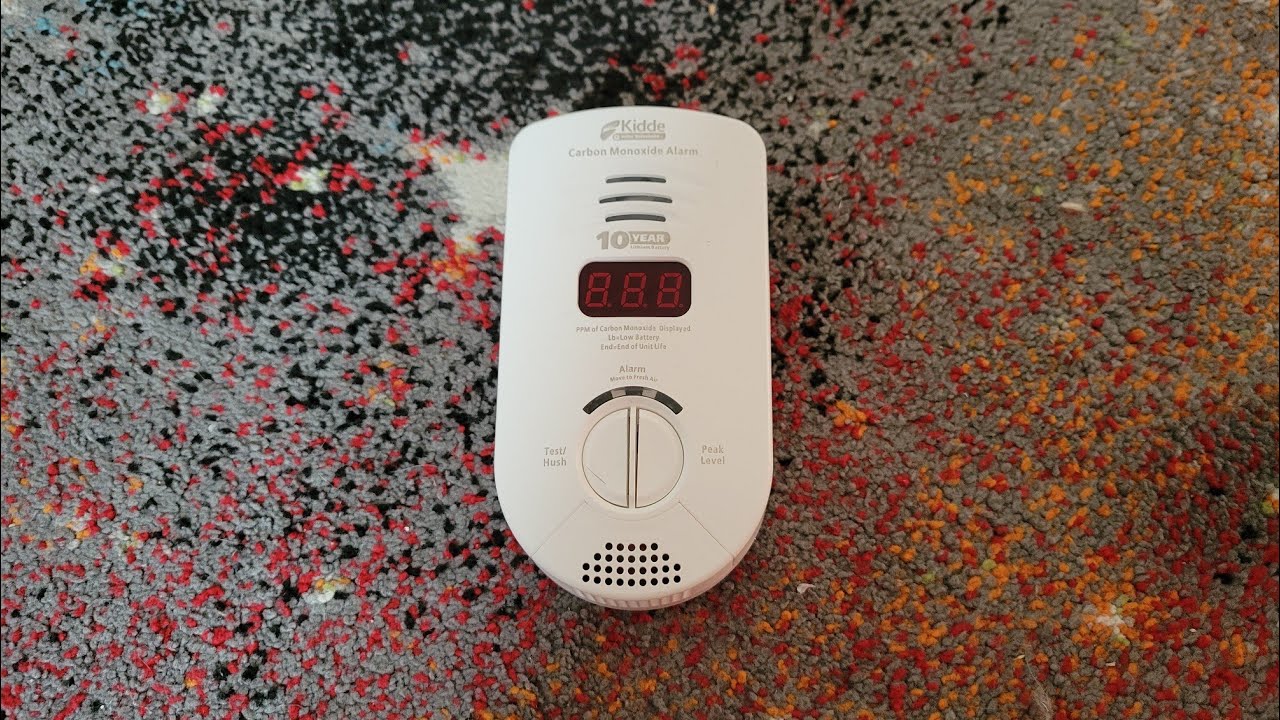
- Locate the reset button on the detector. This button is typically found on the front or side of the device. Press and hold the reset button to silence any ongoing alarms or warnings.
- Consider testing the detector before replacing the battery. This can be done by pressing and holding the test button, usually located next to the reset button. The detector should emit a loud, piercing sound, indicating that it is functioning correctly. If the sound is weak or nonexistent, it may be an indication that the battery needs to be replaced.
- Ensure that you are working in a well-lit area to clearly see the components of the detector and avoid any accidental damage.
- If your detector requires the use of a screwdriver to remove the back cover, have a suitable screwdriver on hand and ensure it is the correct size. This will allow you to easily access and remove the battery compartment.
By following these preparation steps, you will create a safe and efficient environment for replacing the battery in your Kidde Nighthawk Carbon Monoxide Detector. Once you have completed these preparations, you are ready to move on to the next step: removing the back cover of the detector.
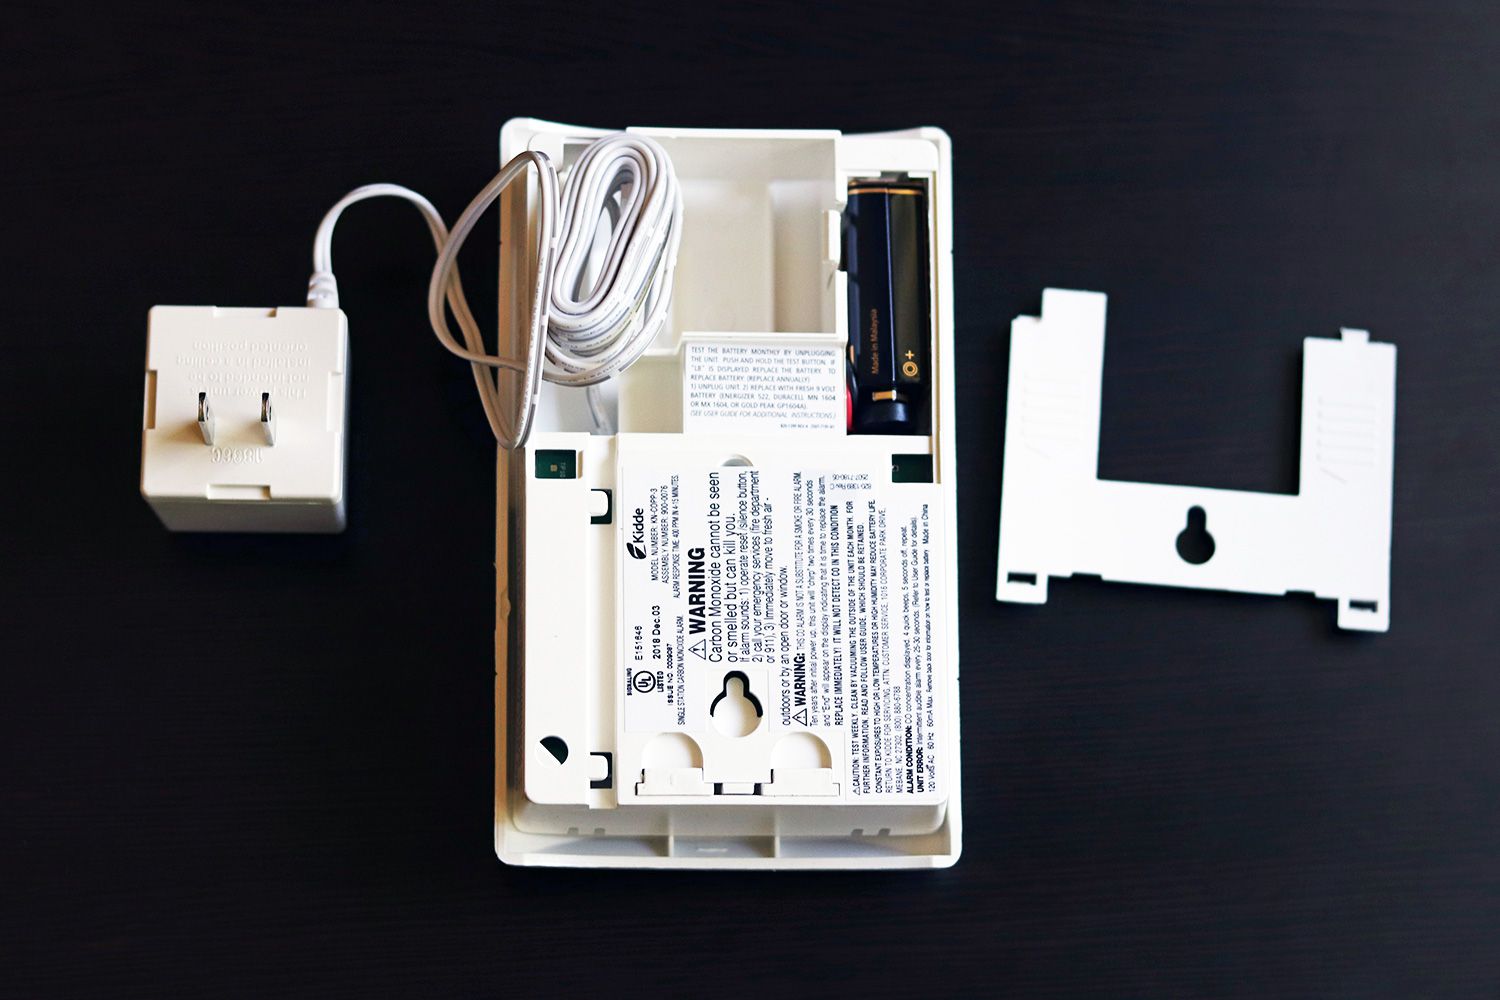
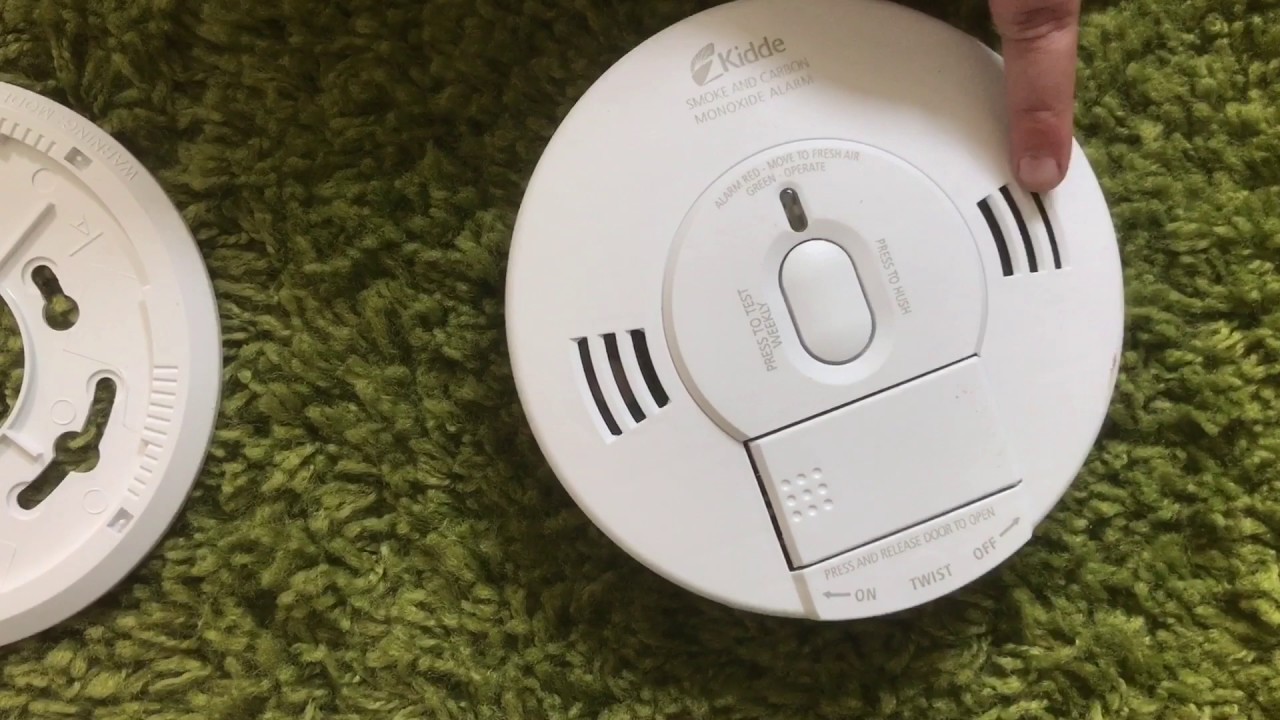
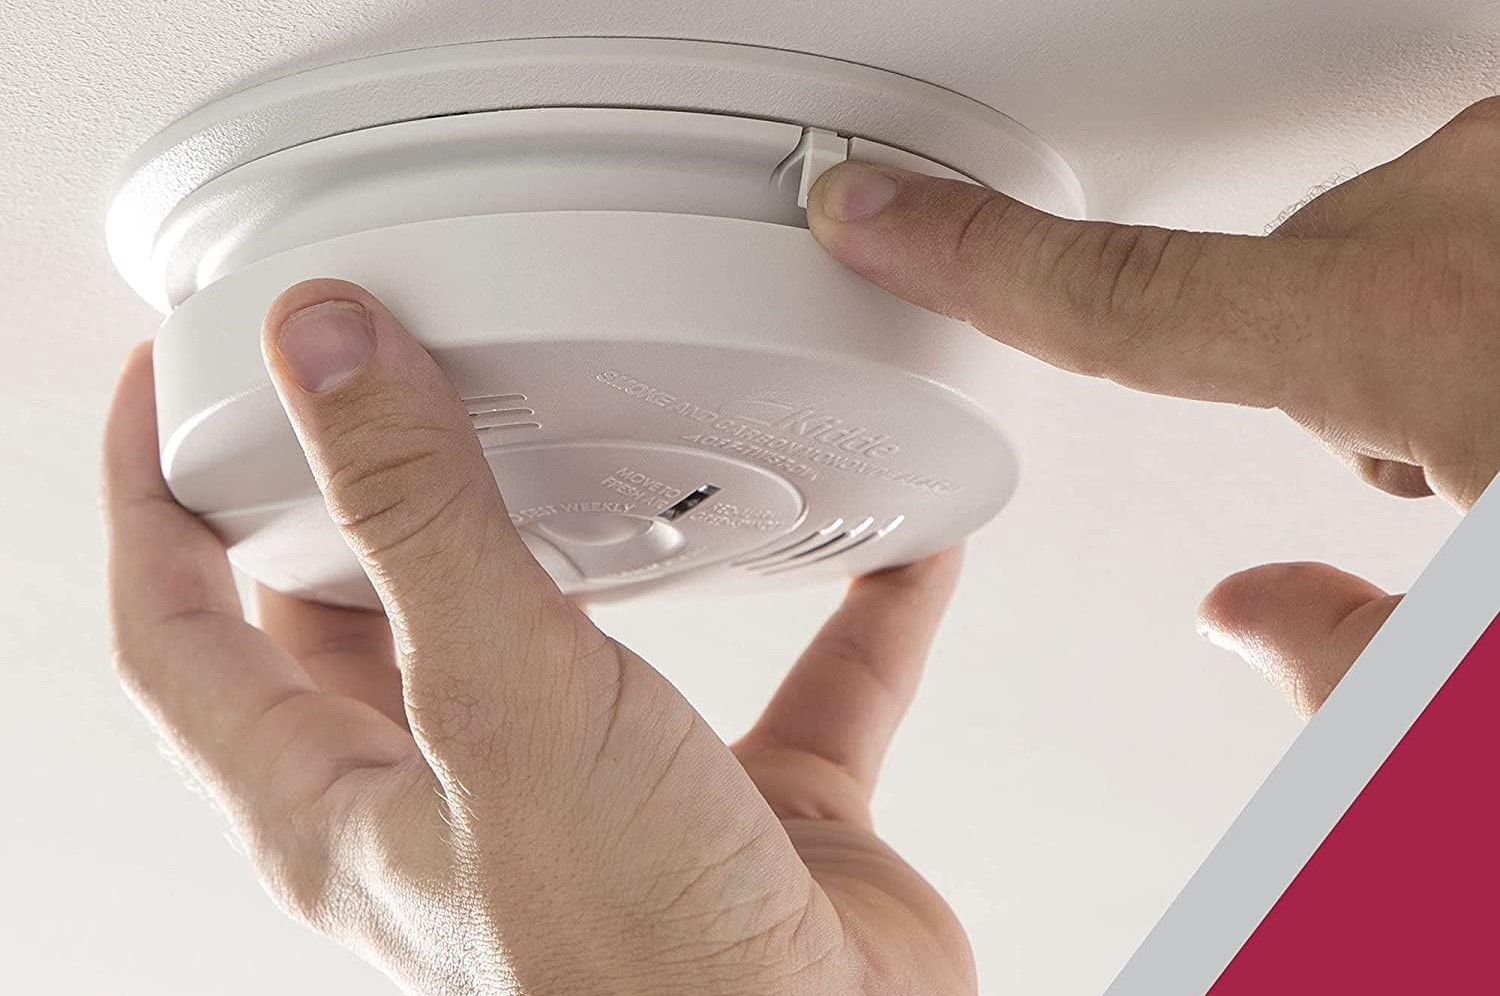
Step 4: Remove the back cover
Now that you have prepared for the battery replacement in your Kidde Nighthawk Carbon Monoxide Detector, it’s time to remove the back cover of the device. Follow these steps to safely remove the back cover:
- Locate the back panel of the carbon monoxide detector. This is usually the side opposite the display and control buttons.
- If your detector has a screw holding the back cover in place, use a screwdriver to carefully remove the screw. Set the screw aside in a safe place to avoid misplacing it.
- If your detector does not have a screw, look for a tab or latch on the back cover. Press or slide the tab/latch to release it from the main body of the detector.
- Gently and slowly pull the back cover away from the detector. Be cautious not to force or bend the cover, as this can cause damage to the device.
- Once the back cover is fully removed, set it aside in a safe location where it won’t get misplaced or damaged.
By following these steps, you should be able to successfully remove the back cover of your Kidde Nighthawk Carbon Monoxide Detector. The next step will guide you on how to remove the old battery from the device.
To change the battery in your Kidde Nighthawk Carbon Monoxide Detector, simply remove the back panel, replace the old battery with a new one, and then reattach the panel securely. Test the detector to ensure it is functioning properly.
Step 5: Remove the old battery
Now that you have successfully removed the back cover of your Kidde Nighthawk Carbon Monoxide Detector, it’s time to remove the old battery. Follow these steps to safely remove the old battery:
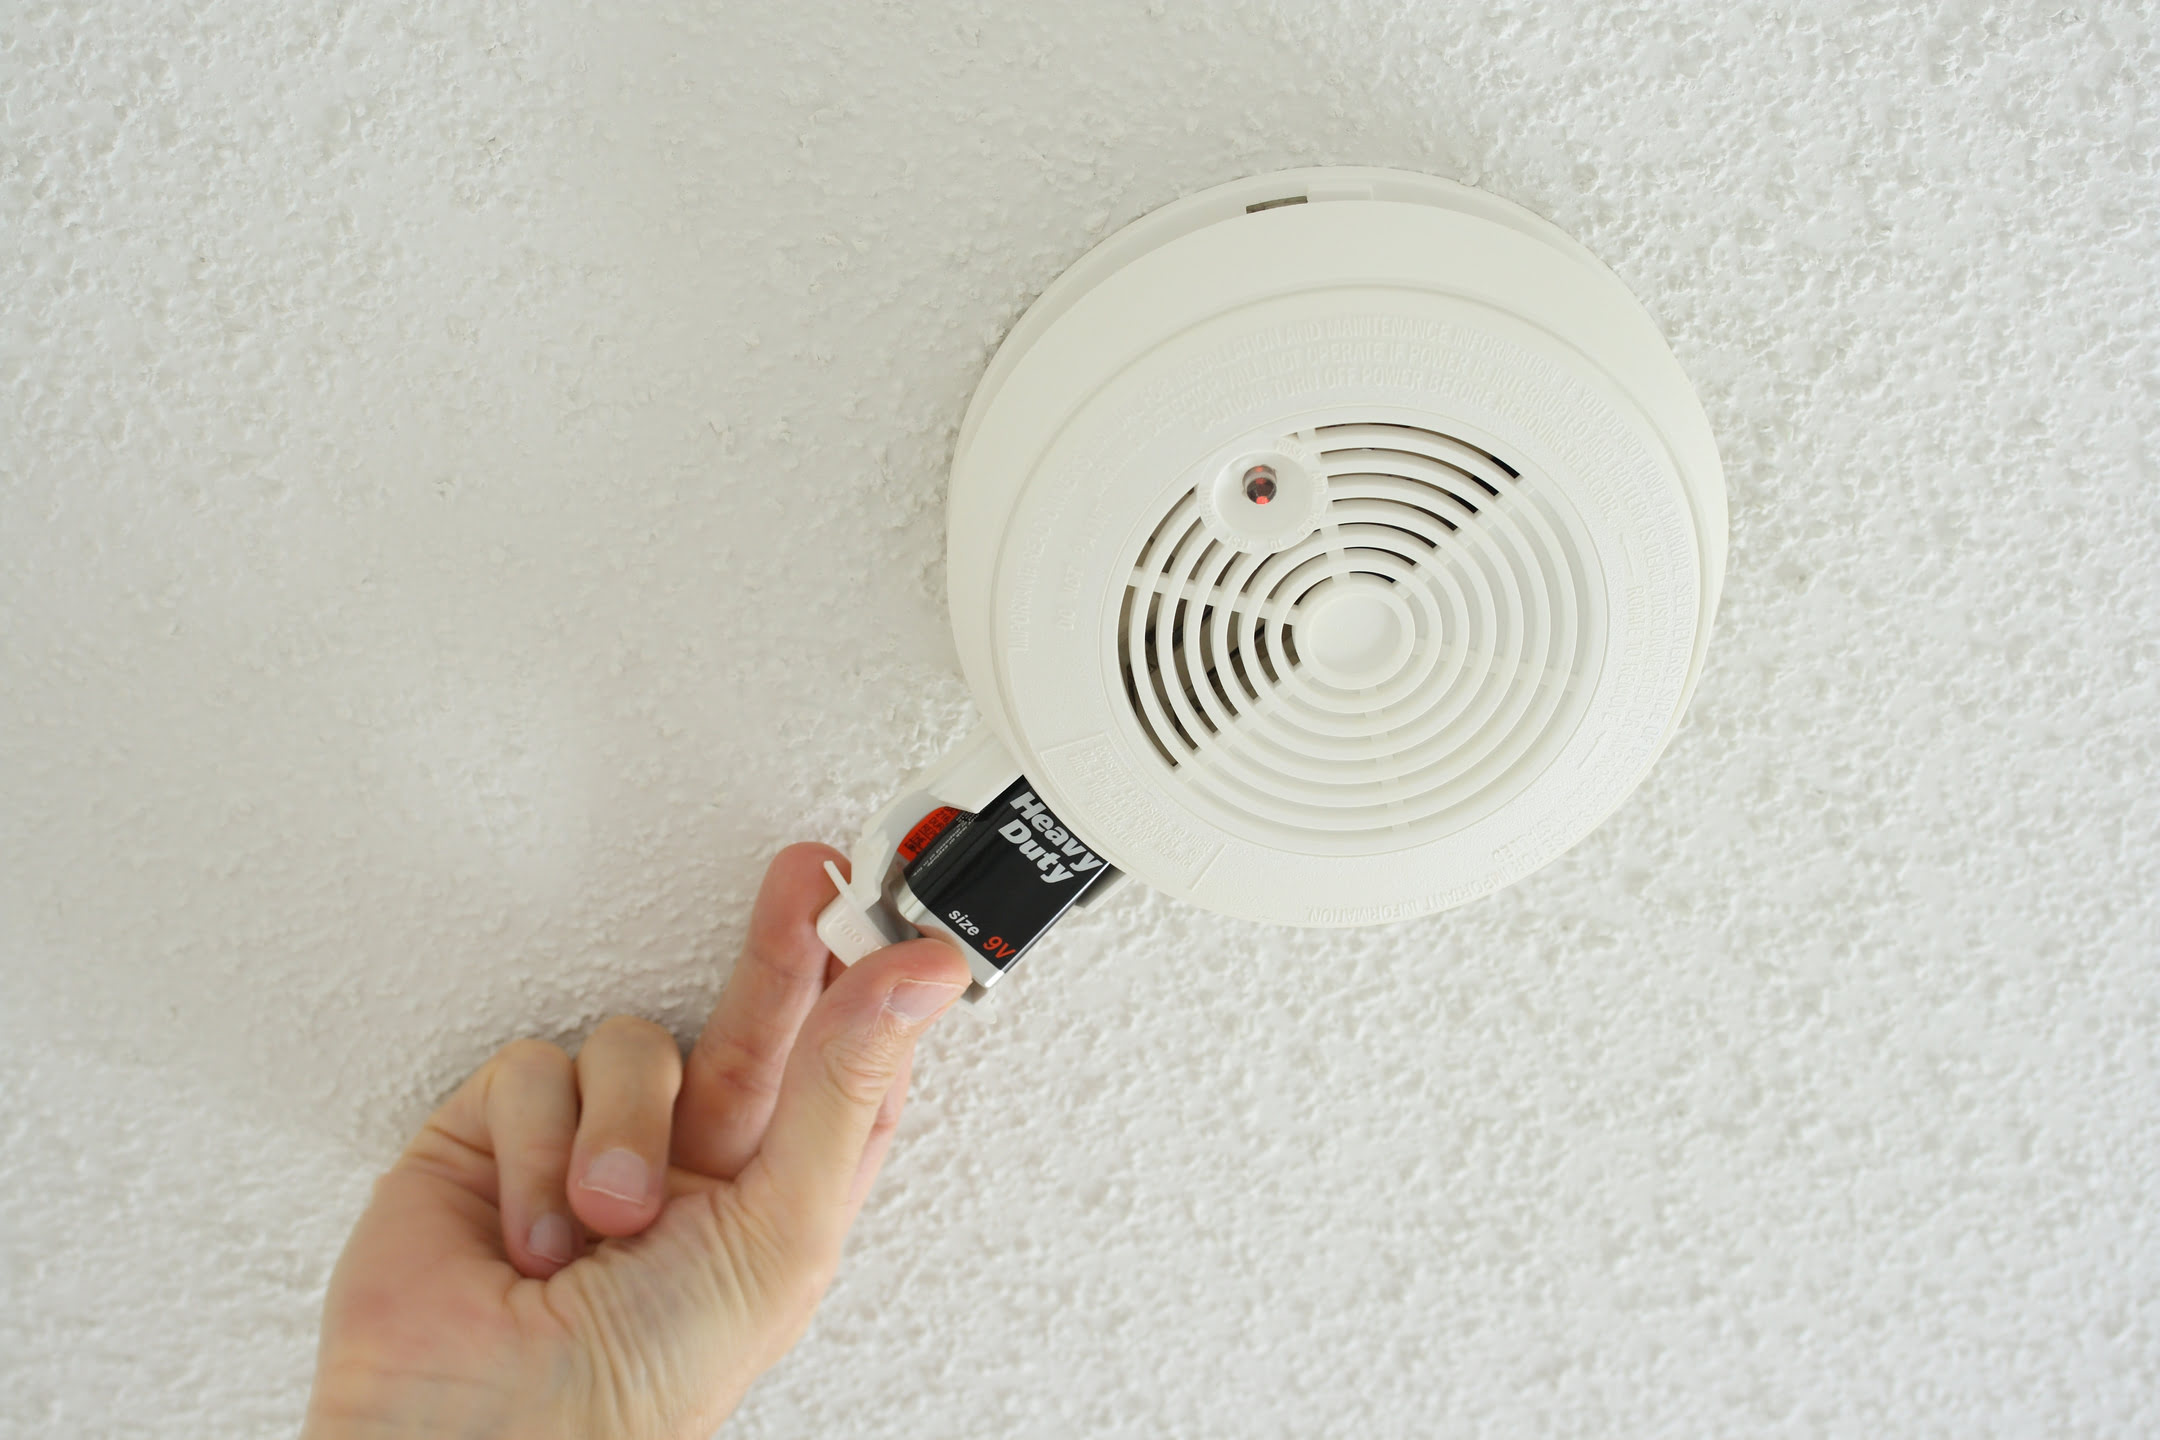
- Locate the battery compartment inside the detector. This is usually a small compartment or slot where the battery is housed.
- Inspect the battery compartment and identify how the old battery is secured in place. Depending on the model, you may need to gently push or slide the battery out of the compartment.
- If the battery has a clip or spring holding it in place, carefully release the clip or push the spring aside to remove the old battery.
- Using your fingers or a small tool, carefully grasp the old battery and gently pull it out of the compartment. Be cautious not to damage the battery or the compartment while doing so.
- Once the old battery is removed, inspect the battery compartment for any signs of corrosion or dirt. If necessary, use a soft, dry cloth or a cotton swab to clean the compartment before proceeding.
- Set the old battery aside in a safe place for proper disposal. Remember to follow the appropriate regulations and guidelines for disposing of batteries in your area.
Following these steps will allow you to safely remove the old battery from your Kidde Nighthawk Carbon Monoxide Detector. With the old battery removed, you are now ready to proceed to the next step: inserting the new battery.
Step 6: Insert the new battery
Now that you have removed the old battery from your Kidde Nighthawk Carbon Monoxide Detector, it’s time to insert the new battery. Follow these steps to properly insert the new battery:
- Take the new battery that matches the required specifications of your detector. Ensure that the battery is fresh and fully charged for optimal performance.
- Identify the correct orientation for inserting the battery. Most detectors will have markings or labels inside the battery compartment indicating the proper placement of the positive (+) and negative (-) terminals.
- Gently place the new battery into the battery compartment, ensuring that it is correctly oriented according to the markings or labels.
- If the battery has a clip or spring mechanism, carefully align the battery with the clip or spring and apply gentle pressure to secure it in place.
- Double-check that the battery is securely in place and properly aligned.
- Ensure that the battery compartment is free from any debris or obstructions before proceeding.
After following these steps, you should have successfully inserted the new battery into your Kidde Nighthawk Carbon Monoxide Detector. Next, we will move on to Step 7, which involves replacing the back cover of the detector.
Step 7: Replace the back cover
With the new battery successfully inserted into your Kidde Nighthawk Carbon Monoxide Detector, it’s time to reattach the back cover. Follow these steps to properly replace the back cover:
- Take the back cover that you previously removed from the detector and ensure that it is clean and free from any debris.
- Align the back cover with the main body of the detector, ensuring that all edges and corners line up properly.
- If your detector has a screw for securing the back cover, use a screwdriver to carefully insert and tighten the screw. Be cautious not to over-tighten the screw, as it can damage the plastic casing.
- If your detector does not have a screw, gently press the back cover into place until you hear or feel it click or snap back into position.
- Ensure that the back cover is securely attached and flush with the main body of the detector.
By following these steps, you should have successfully replaced the back cover of your Kidde Nighthawk Carbon Monoxide Detector. The next step will guide you on how to test the detector to ensure that it is functioning correctly with the new battery.
Step 8: Test the detector
After replacing the battery and reattaching the back cover of your Kidde Nighthawk Carbon Monoxide Detector, it’s important to test the device to ensure that it is functioning properly. Follow these steps to test the detector:
- Ensure that the carbon monoxide detector is in a suitable location with good air circulation and within the recommended distance from potential sources of carbon monoxide.
- Press and hold the test button on the detector. The test button is typically located next to the reset button on the front or side of the device.
- Continue to hold the test button for a few seconds until you hear a loud, piercing sound. This is the alarm sound that indicates the carbon monoxide detector is working correctly.
- Observe the screen or indicator lights on the detector to ensure that they are functioning properly and displaying the necessary information.
- If the detector does not emit a sound or if the display or indicator lights show any errors or abnormalities, double-check the battery installation and make sure it is properly oriented. If the issue persists, refer to the user manual or contact the manufacturer for further troubleshooting steps.
- Once you have confirmed that the carbon monoxide detector is functioning correctly, reset any alarms or warnings that may have been triggered during the testing process.
- Regularly test your carbon monoxide detector according to the manufacturer’s recommended schedule to ensure ongoing reliability and safety.
By following these steps and conducting regular testing, you can have peace of mind knowing that your Kidde Nighthawk Carbon Monoxide Detector is effectively detecting any potential carbon monoxide threats in your home.
Conclusion
Ensuring the proper functioning of your Kidde Nighthawk Carbon Monoxide Detector is crucial for the safety of you and your loved ones. Regularly changing the battery is a simple yet vital maintenance task that should not be overlooked.
In this guide, we have provided you with a step-by-step process to change the battery in your Kidde Nighthawk Carbon Monoxide Detector. By following these steps, you can easily replace the battery and ensure that your detector continues to work effectively in detecting the presence of carbon monoxide.
Remember to gather the necessary materials, identify the type of battery, prepare for the replacement, remove the back cover, replace the old battery with a new one, reattach the back cover, and finally, test the detector to ensure it is functioning correctly.
By regularly maintaining and testing your carbon monoxide detector, you are taking essential steps to protect yourself and your family from the dangers of carbon monoxide poisoning. Make it a habit to check the battery levels and follow the manufacturer’s recommendations for detector maintenance.
Remember, carbon monoxide is an odorless and colorless gas, making it extremely difficult to detect without a functional carbon monoxide detector. So, take the time to replace the battery and ensure that your Kidde Nighthawk Carbon Monoxide Detector is always ready to safeguard your home.
With these simple precautions, you can rest assured that you have taken the necessary measures to protect your loved ones and create a safe living environment. Stay vigilant, and prioritize the well-being of your family by maintaining your carbon monoxide detector.
Frequently Asked Questions about Kidde Nighthawk Carbon Monoxide Detector: How To Change The Battery
Was this page helpful?
At Storables.com, we guarantee accurate and reliable information. Our content, validated by Expert Board Contributors, is crafted following stringent Editorial Policies. We're committed to providing you with well-researched, expert-backed insights for all your informational needs.
0 thoughts on “Kidde Nighthawk Carbon Monoxide Detector: How To Change The Battery”