Articles
How To Remove A Carbon Monoxide Detector
Modified: October 19, 2024
Learn how to safely remove a carbon monoxide detector and prevent potential hazards. Check out our informative articles on the proper steps to take.
(Many of the links in this article redirect to a specific reviewed product. Your purchase of these products through affiliate links helps to generate commission for Storables.com, at no extra cost. Learn more)
Introduction
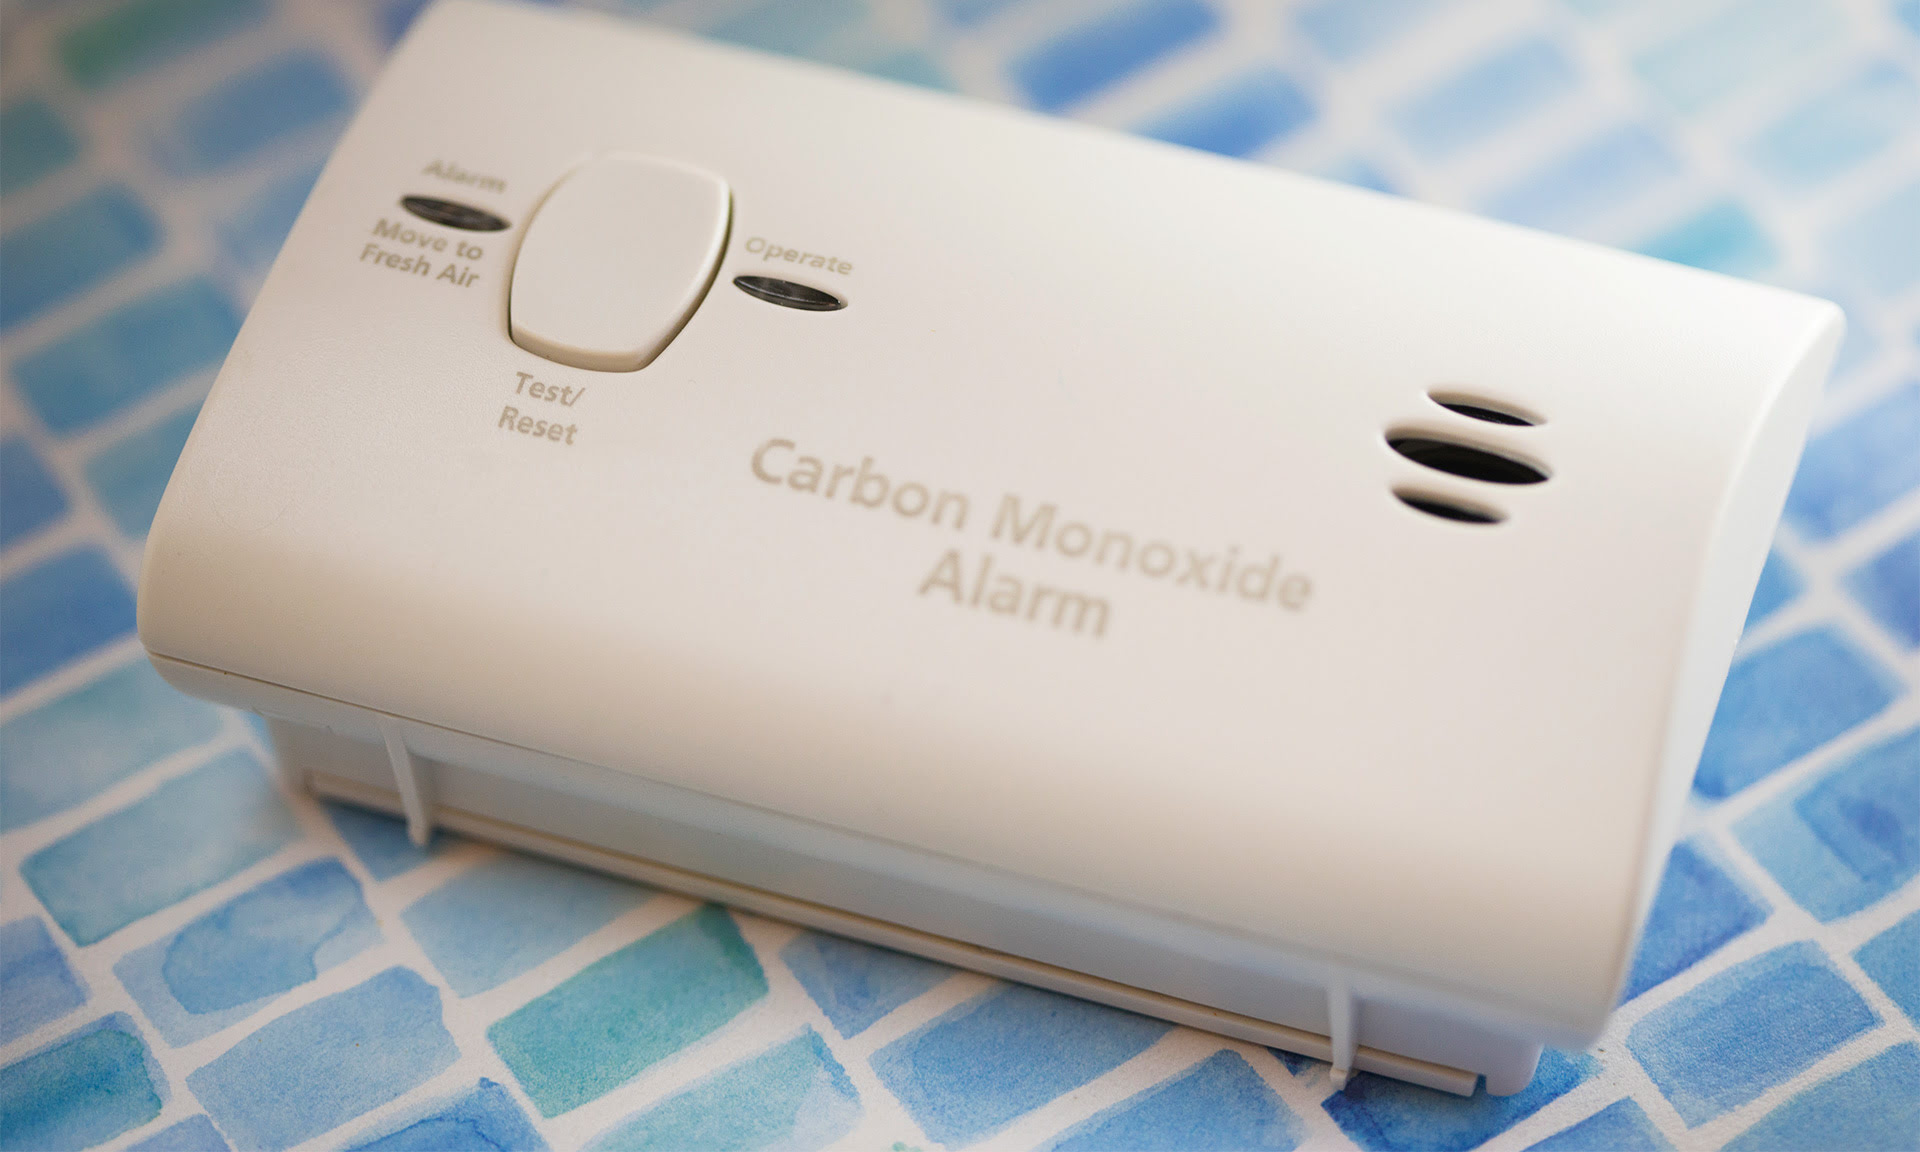
Welcome to our comprehensive guide on how to remove a carbon monoxide detector. Carbon monoxide is a colorless and odorless gas that can be extremely dangerous if not detected promptly. Carbon monoxide detectors play a vital role in protecting you and your loved ones from this silent killer. However, there may be times when you need to remove an old carbon monoxide detector, whether it’s due to expiration, malfunction, or upgrading to a newer model.
In this article, we will walk you through the step-by-step process of safely and effectively removing a carbon monoxide detector. Before we dive into the details, it’s important to note that safety should always be your top priority. If you suspect a carbon monoxide leak or experience symptoms such as headaches, nausea, or dizziness, evacuate the premises immediately and call emergency services.
Now, let’s get started with the first step of removing a carbon monoxide detector.
Key Takeaways:
- Safety First!
Before removing or installing a carbon monoxide detector, prioritize safety by ventilating the area, turning off power, and wearing protective gear. Always follow manufacturer’s instructions and seek professional help if needed. - Proper Disposal and Testing
Dispose of old detectors responsibly and install new ones following manufacturer’s instructions. Regularly test and maintain carbon monoxide detectors to ensure optimal functionality and protect against potential hazards.
Read more: How To Replace A Carbon Monoxide Detector
Step 1: Ensure Safety Precautions
Before you begin the process of removing a carbon monoxide detector, it is crucial to take certain safety precautions to protect yourself and others in the vicinity. Follow these guidelines to ensure a safe environment:
- Open windows and doors: Before removing the carbon monoxide detector, ventilate the area by opening windows and doors to allow fresh air to circulate.
- Evacuate if necessary: If the carbon monoxide detector is sounding an alarm or if you suspect a leak, evacuate the premises immediately and call emergency services. Do not attempt to remove the detector on your own in these situations.
- Wear protective gear: As an added safety measure, it is recommended to wear gloves and a face mask to avoid any contact with dust, debris, or other contaminants during the removal process.
- Turn off heating systems: If possible, turn off the heating systems in your home or the area where the carbon monoxide detector is located. This will minimize the risk of exposure to carbon monoxide during the removal process.
By taking these safety precautions, you can minimize the risks associated with removing a carbon monoxide detector and ensure the safety of yourself and those around you.
Step 2: Turn Off Power
Once you have taken the necessary safety precautions, the next step is to turn off the power to the area where the carbon monoxide detector is installed. This is essential to prevent any electrical mishaps during the removal process. Follow these steps to turn off the power:
- Locate the breaker panel: Identify the breaker panel in your home or building. This is typically located in the basement, utility room, or garage.
- Identify the correct breaker: Look for the breaker that corresponds to the area where the carbon monoxide detector is installed. Breakers are labeled, so find the one labeled for “carbon monoxide detector” or “CO detector.”
- Turn off the breaker: Once you have identified the correct breaker, switch it to the “off” position. This will cut off power to the carbon monoxide detector and ensure your safety.
It is important to double-check that the power is indeed turned off by testing the carbon monoxide detector. If the detector does not beep or display any signs of power, you can proceed with the removal process.
If you are unsure about how to turn off the power or if you are uncomfortable working with electrical components, it is highly recommended to consult a professional electrician for assistance. They will ensure that the power is safely turned off and guide you through the removal process.
With the power turned off, you can now move on to the next step of disconnecting the wiring of the carbon monoxide detector.
Step 3: Disconnect Wiring
With the power safely turned off, it’s time to disconnect the wiring of the carbon monoxide detector. Follow these steps to disconnect the wiring:
- Locate the wiring box: Depending on the type of carbon monoxide detector you have, the wiring may be housed in a junction box or a wiring compartment at the back of the detector.
- Open the wiring box: Use a screwdriver or a designated tool to open the wiring box. This will give you access to the electrical connections.
- Identify the wiring connections: Inside the wiring box, you will see a set of wires connected to the carbon monoxide detector. Typically, there will be a black wire (hot), a white wire (neutral), and a green or copper wire (ground).
- Disconnect the wires: To disconnect the wires, use a screwdriver or pliers to loosen the terminal screws. Carefully remove the wires from the terminals one by one. Take note of the wire colors and their corresponding terminals to ensure proper reconnection later.
Once you have successfully disconnected the wiring, it is important to insulate the exposed ends of the wires using wire nuts or electrical tape. This will prevent any accidental contact and minimize the risk of electrical hazards.
If you are uncertain about the wiring connections or if you are uncomfortable working with electrical components, it is advisable to seek assistance from a professional electrician. They have the expertise to safely disconnect the wiring for you.
With the wiring disconnected, you can proceed to the next step of removing the mounting bracket of the carbon monoxide detector.
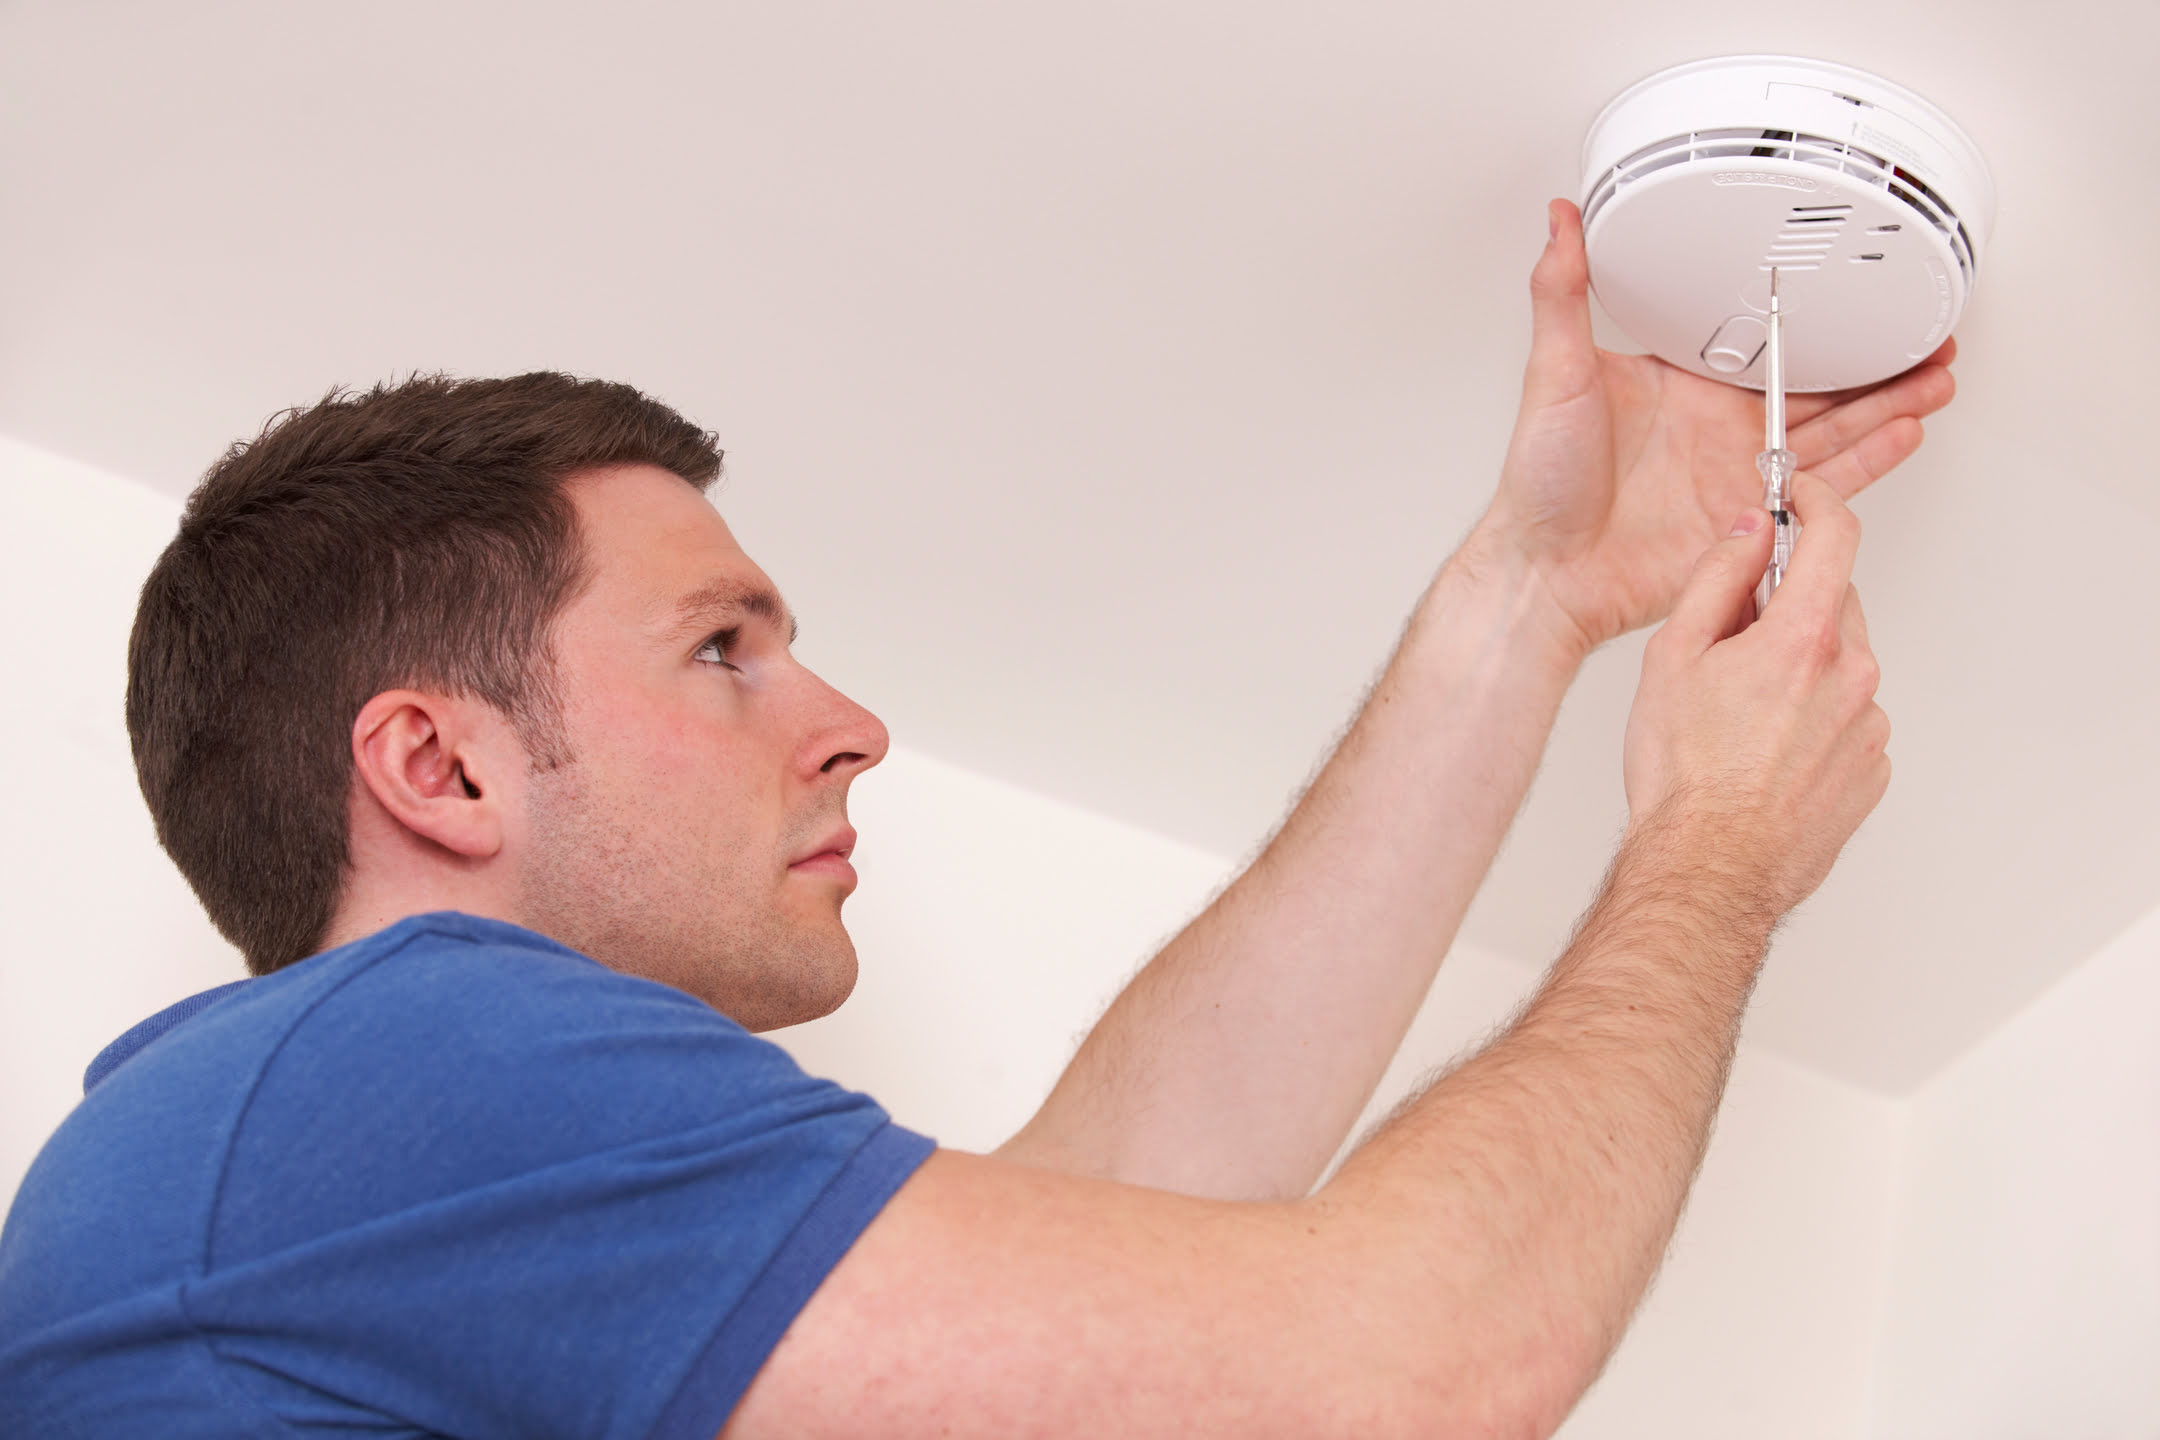
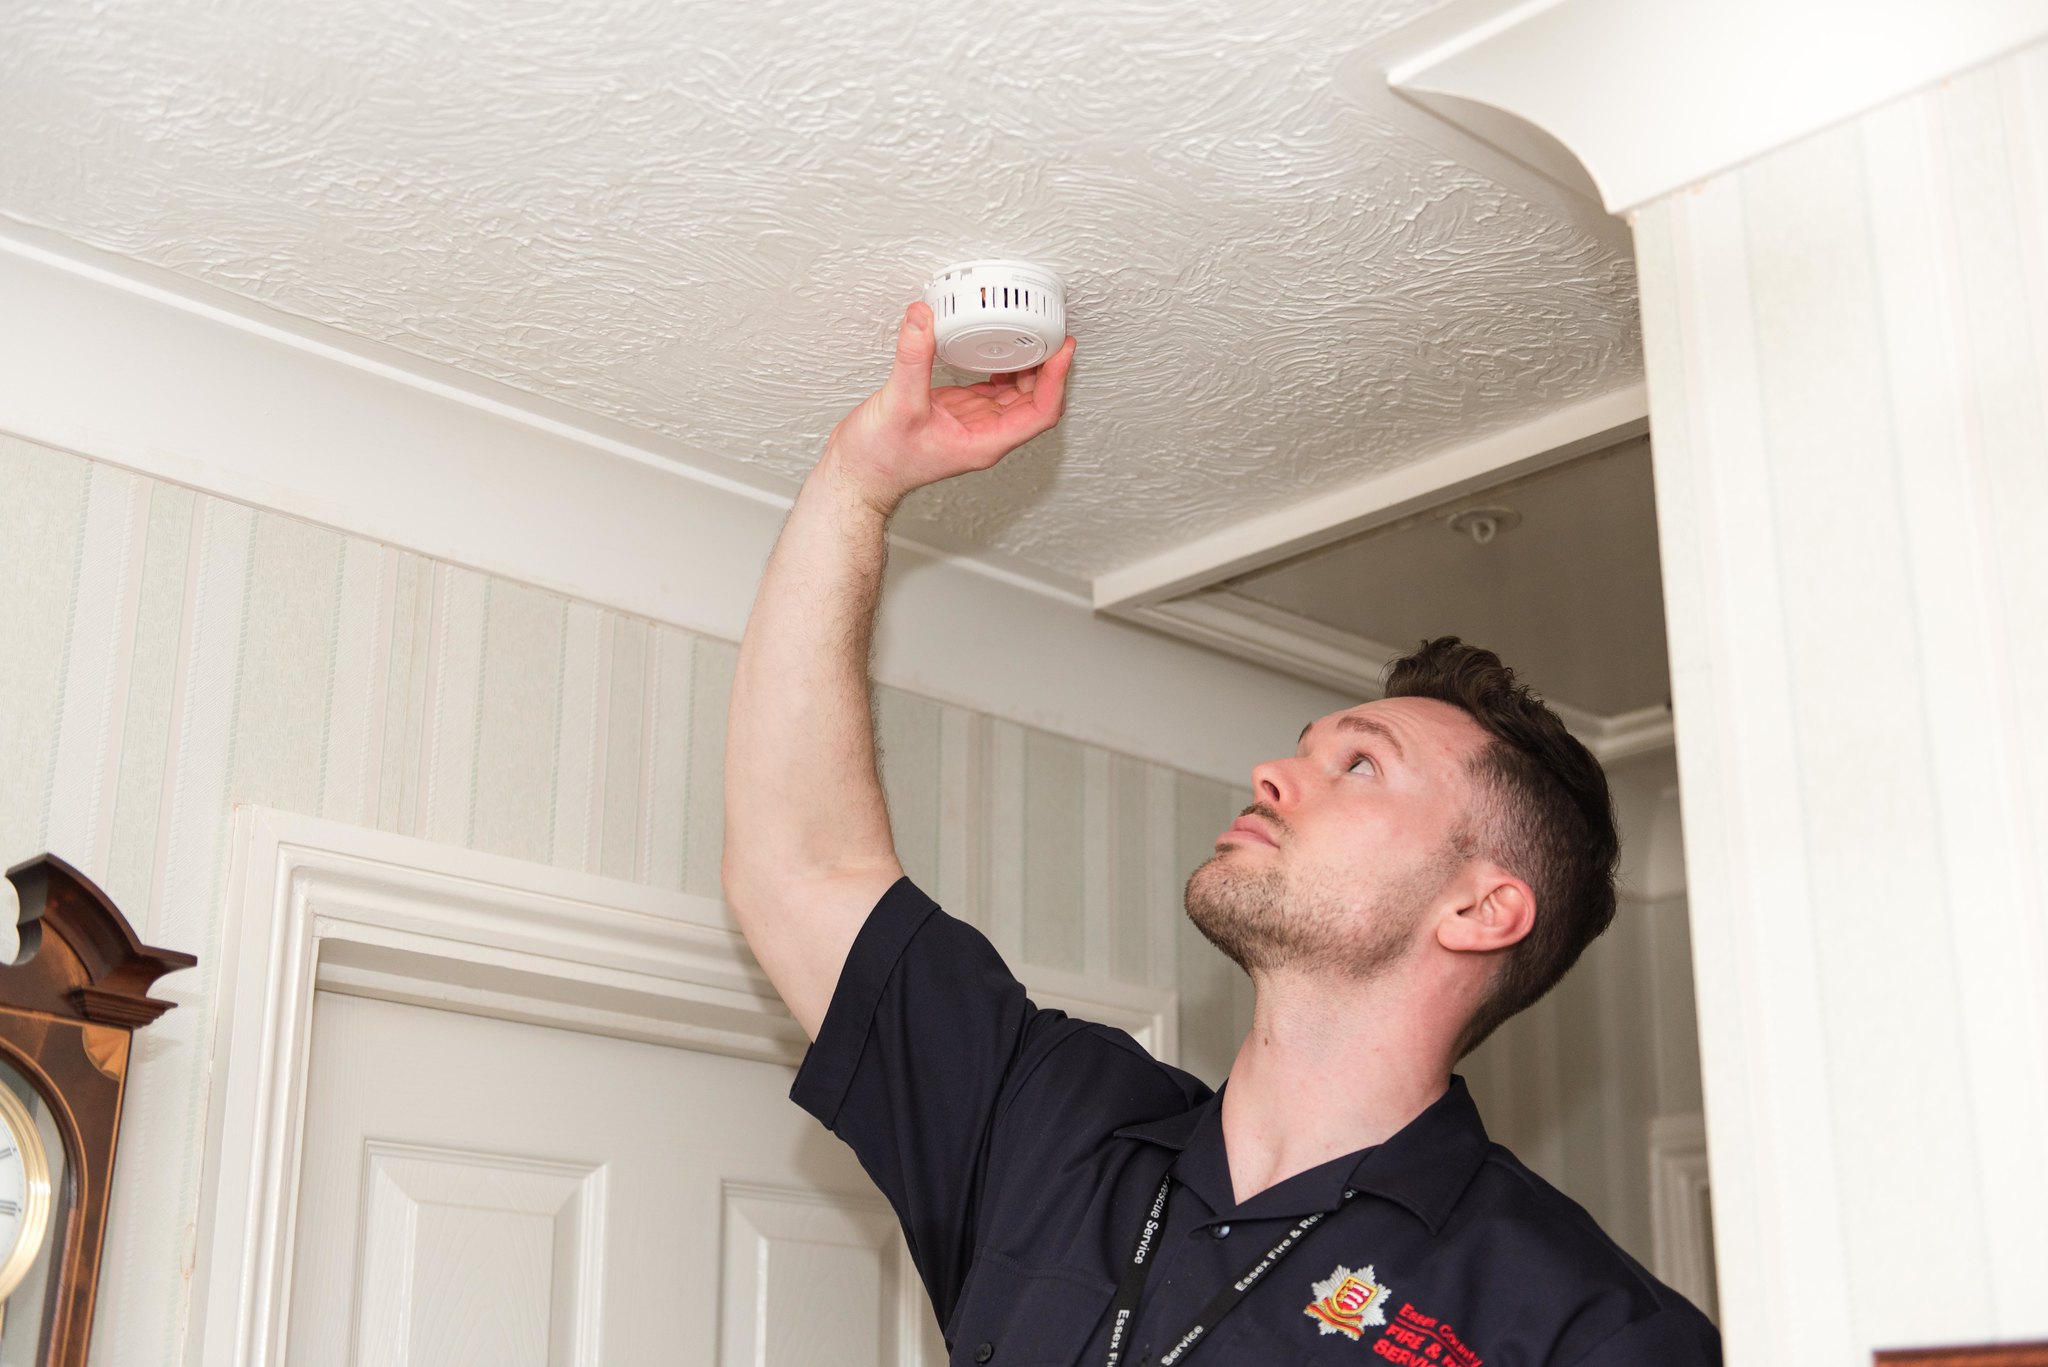
Step 4: Remove Mounting Bracket
After disconnecting the wiring, the next step is to remove the mounting bracket of the carbon monoxide detector. The mounting bracket is what holds the detector in place on the wall or ceiling. Here’s how you can remove it:
- Inspect the mounting bracket: Take a closer look at the mounting bracket to familiarize yourself with its design and how it is secured to the surface. Some brackets may be held in place with screws, while others may have a twist-lock mechanism.
- Remove the screws: If the bracket is secured with screws, use a screwdriver to carefully remove them. Place the screws in a safe location so that they don’t get lost.
- Twist and unlock: If the bracket has a twist-lock mechanism, grip the detector firmly and rotate it counterclockwise to release it from the bracket. Some detectors may require a slight downward pull once unlocked.
- Detach the bracket from the wall or ceiling: Once the detector is free from the bracket, gently pull the bracket away from the wall or ceiling. Be cautious not to damage the surface or any surrounding elements.
It’s important to note that some brackets may have additional securing mechanisms or unique designs. In such cases, refer to the manufacturer’s instructions or consult a professional if you encounter any difficulties during the removal process.
With the mounting bracket removed, you are now ready to detach the carbon monoxide detector from the bracket in the next step.
Read more: How To Test A Carbon Monoxide Detector
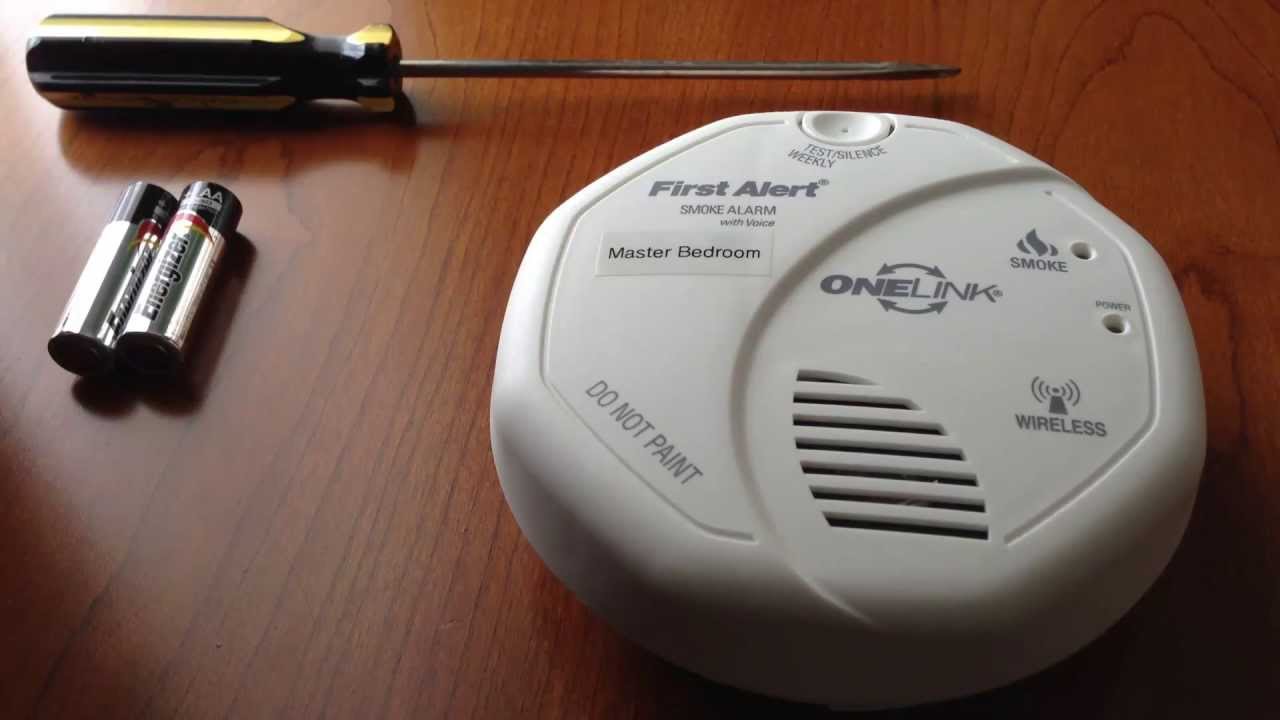
Step 5: Detach Detector from Bracket
Now that the mounting bracket has been removed, it’s time to detach the carbon monoxide detector from the bracket itself. Follow these steps to safely detach the detector:
- Inspect the detector: Take a moment to examine the detector and identify the attachment mechanism between the detector and the bracket. It may be a clip, a latch, or a similar mechanism.
- Release the detector: Depending on the type of attachment, press the clip or release the latch to disengage the detector from the bracket. Ensure that you are holding the detector securely to prevent it from falling or causing any damage.
- Gently remove the detector: Once the attachment is released, carefully lift the detector away from the bracket. Pay attention to any wires or cables that may still be connected to the detector.
- Disconnect any remaining cables: If there are any additional cables or wires connected to the carbon monoxide detector, use a screwdriver or pliers to disconnect them by loosening the terminal screws. Take note of the wire colors and their corresponding terminals for later reference.
Remember to handle the detector with care and avoid excessive force or pulling to prevent any damage. If you encounter any difficulties or are unsure about the detachment process, refer to the manufacturer’s instructions or seek professional assistance.
Once the detector is detached from the bracket, you can proceed to the next step, which involves properly disposing of the old carbon monoxide detector.
When removing a carbon monoxide detector, make sure to first turn off the power source and remove the batteries. Then, carefully detach it from the wall or ceiling and dispose of it according to local regulations.
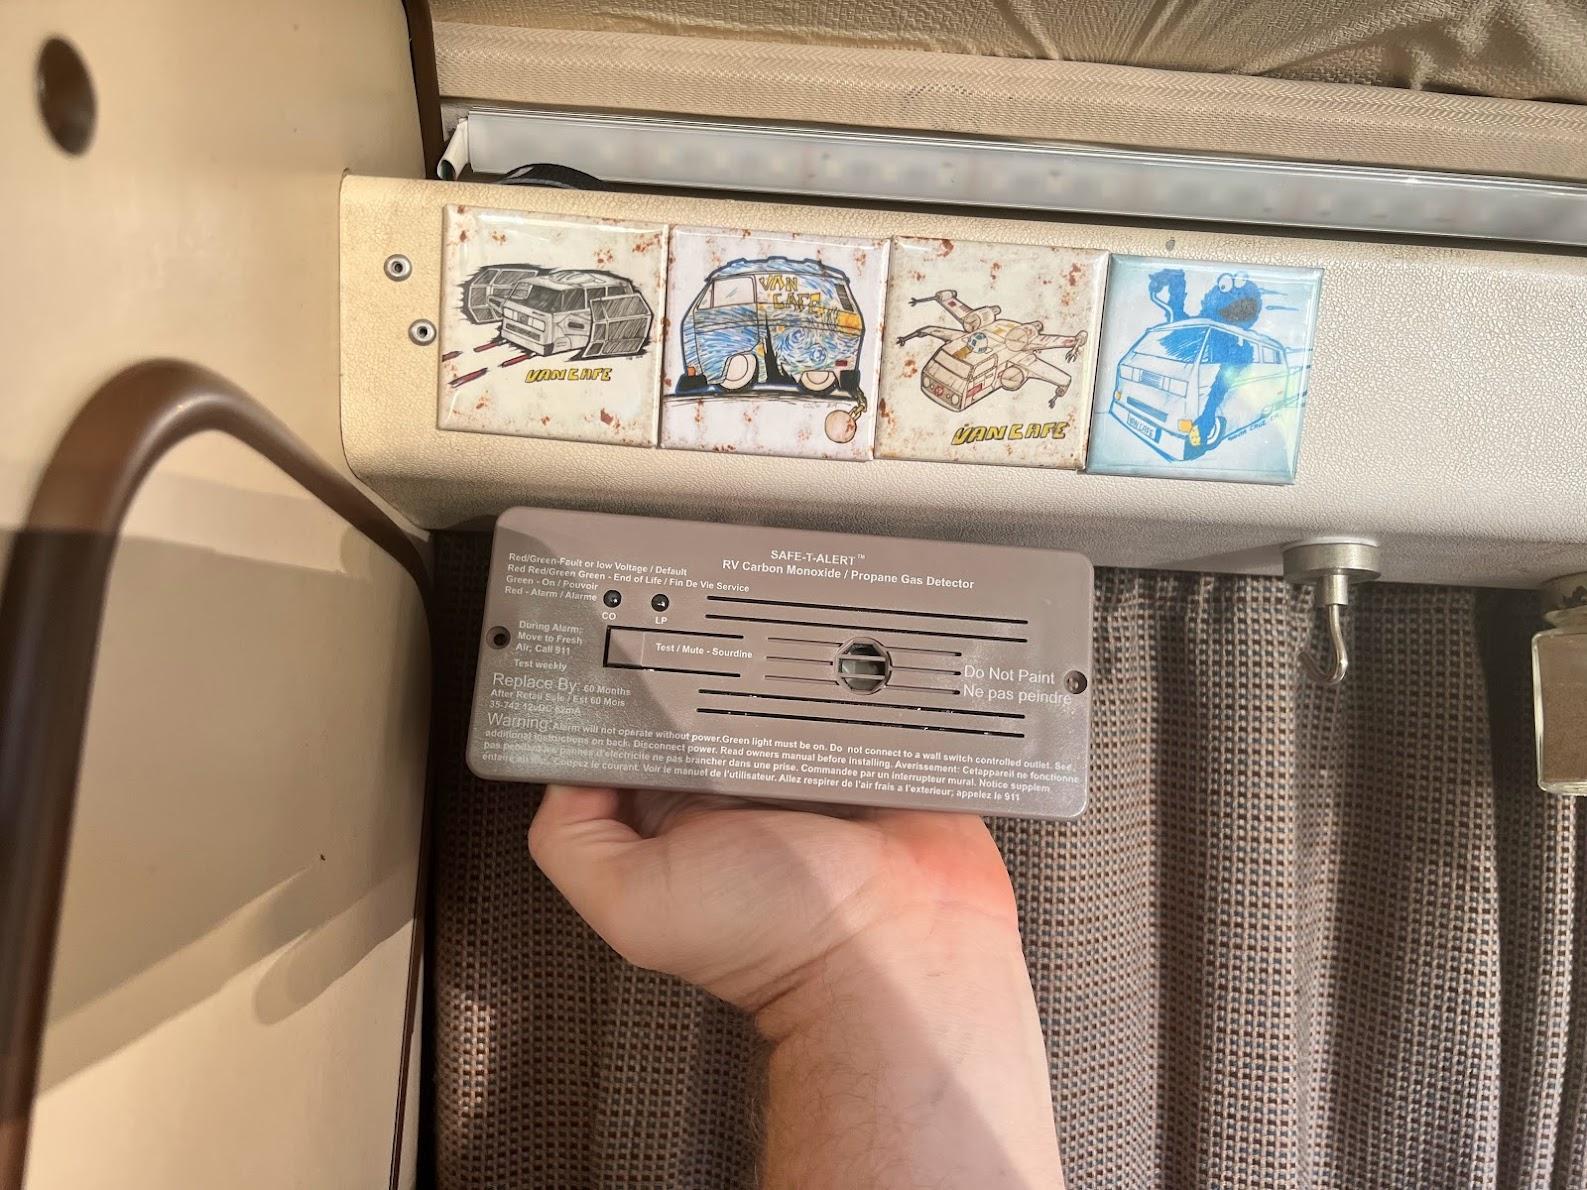
Step 6: Dispose of Old Detector Properly
Proper disposal of your old carbon monoxide detector is important to ensure the safety of the environment and prevent any potential hazards. Follow these guidelines for the proper disposal of your old detector:
- Check local regulations: Before disposing of your old carbon monoxide detector, check the local regulations in your area regarding the disposal of electronic devices. Some areas may have specific guidelines or recycling programs in place.
- Remove batteries if applicable: If your carbon monoxide detector is battery-operated, remove the batteries before disposing of it. Keep in mind that some batteries may require separate disposal, so check the local regulations for their proper disposal as well.
- Recycle if possible: Look for recycling options in your area that accept electronic devices. Many recycling centers or electronic waste recycling programs will accept carbon monoxide detectors for proper disposal and recycling.
- Contact manufacturer or local authorities: If you are unsure about how to properly dispose of your carbon monoxide detector or if there are no recycling options available, contact the manufacturer of the detector for guidance. They may provide instructions or additional resources for proper disposal.
- Follow safety guidelines: When handling the old detector, be cautious and avoid any physical damage or tampering. Some detectors may contain hazardous materials, so it’s important to handle them safely to minimize any potential risks.
Properly disposing of your old carbon monoxide detector ensures that it will be handled in an environmentally responsible manner and reduces the chances of any potential harm. Remember, it is essential to follow local regulations and guidelines to ensure the proper disposal of electronic devices.
Once the old detector has been safely disposed of, you are ready to proceed with the installation of a new carbon monoxide detector in the next steps.
Step 7: Install New Carbon Monoxide Detector
Now that you have safely removed and disposed of the old carbon monoxide detector, it’s time to install a new one. Follow these steps to properly install a new carbon monoxide detector:
- Read the instructions: Before you begin the installation process, carefully read the manufacturer’s instructions that come with your new carbon monoxide detector. Familiarize yourself with the specific requirements and recommendations for installation.
- Select the location: Choose an optimal location for your new detector. Common areas include hallways, near bedrooms, or in areas where carbon monoxide sources are present, such as kitchens or garages. Ensure there is a clear space of at least five feet (1.5 meters) horizontally from fuel-burning appliances or sources.
- Mark the position: Use a pencil or marker to mark the desired position on the wall or ceiling for mounting the new detector. Follow any height recommendations provided by the manufacturer.
- Attach the mounting bracket: If your new carbon monoxide detector comes with a mounting bracket, use screws or other appropriate fasteners to securely attach the bracket to the marked position. Make sure the bracket is level and firmly in place.
- Connect the wiring: If your new detector requires wiring, refer to the manufacturer’s instructions for the correct wiring connections. Connect the wires to the corresponding terminals, ensuring a secure connection. Use wire nuts or electrical tape to insulate the terminal connections.
- Mount the detector: Align the new carbon monoxide detector with the mounting bracket and slide or twist it into place until it is securely attached. Follow the instructions provided by the manufacturer for the specific model of detector.
- Confirm power supply: If your new detector requires power, ensure that the power supply has been restored. If you turned off the breaker during the removal process, switch it back on to provide power. Test the detector to ensure it is functioning properly.
It’s important to note that the specific installation process may vary depending on the model and brand of your carbon monoxide detector. Always refer to the manufacturer’s instructions and follow their guidelines for a successful installation.
After installing the new detector, you should move on to the next step to reconnect the wiring and ensure the proper functioning of the detector.
Step 8: Reconnect Wiring
With the new carbon monoxide detector securely mounted, it’s time to reconnect the wiring to ensure proper functionality. Follow these steps to safely reconnect the wiring:
- Identify the wiring connections: Take note of the wires that were disconnected during the removal process. Typically, there will be a black wire (hot), a white wire (neutral), and a green or copper wire (ground).
- Inspect the wires: Before reconnecting, inspect the wires to ensure they are in good condition. Look for any signs of damage such as fraying, exposed copper, or melting. If any wires are damaged, replace them before proceeding.
- Reconnect the wires: Align the wires with the corresponding terminals on the new carbon monoxide detector and securely attach each wire. Use a screwdriver or pliers to tighten the terminal screws, ensuring a snug connection.
- Insulate the connections: To ensure safety and prevent electrical hazards, insulate the exposed ends of the wires using wire nuts or electrical tape. This will protect against any accidental contact or short circuits.
- Double-check the connections: Once all the wires are securely connected and insulated, double-check the connections to ensure there is no loose wiring. Tug gently on each wire to ensure it is firmly attached.
It is important to pay attention to the color-coding of the wires and follow the manufacturer’s instructions for the specific model of carbon monoxide detector. If you are uncertain about the wiring connections or if you are uncomfortable working with electrical components, it is strongly recommended to consult a professional electrician for assistance.
With the wiring reconnected, you can proceed to the final step of testing the new carbon monoxide detector.
Read more: What Is The Best Carbon Monoxide Detector
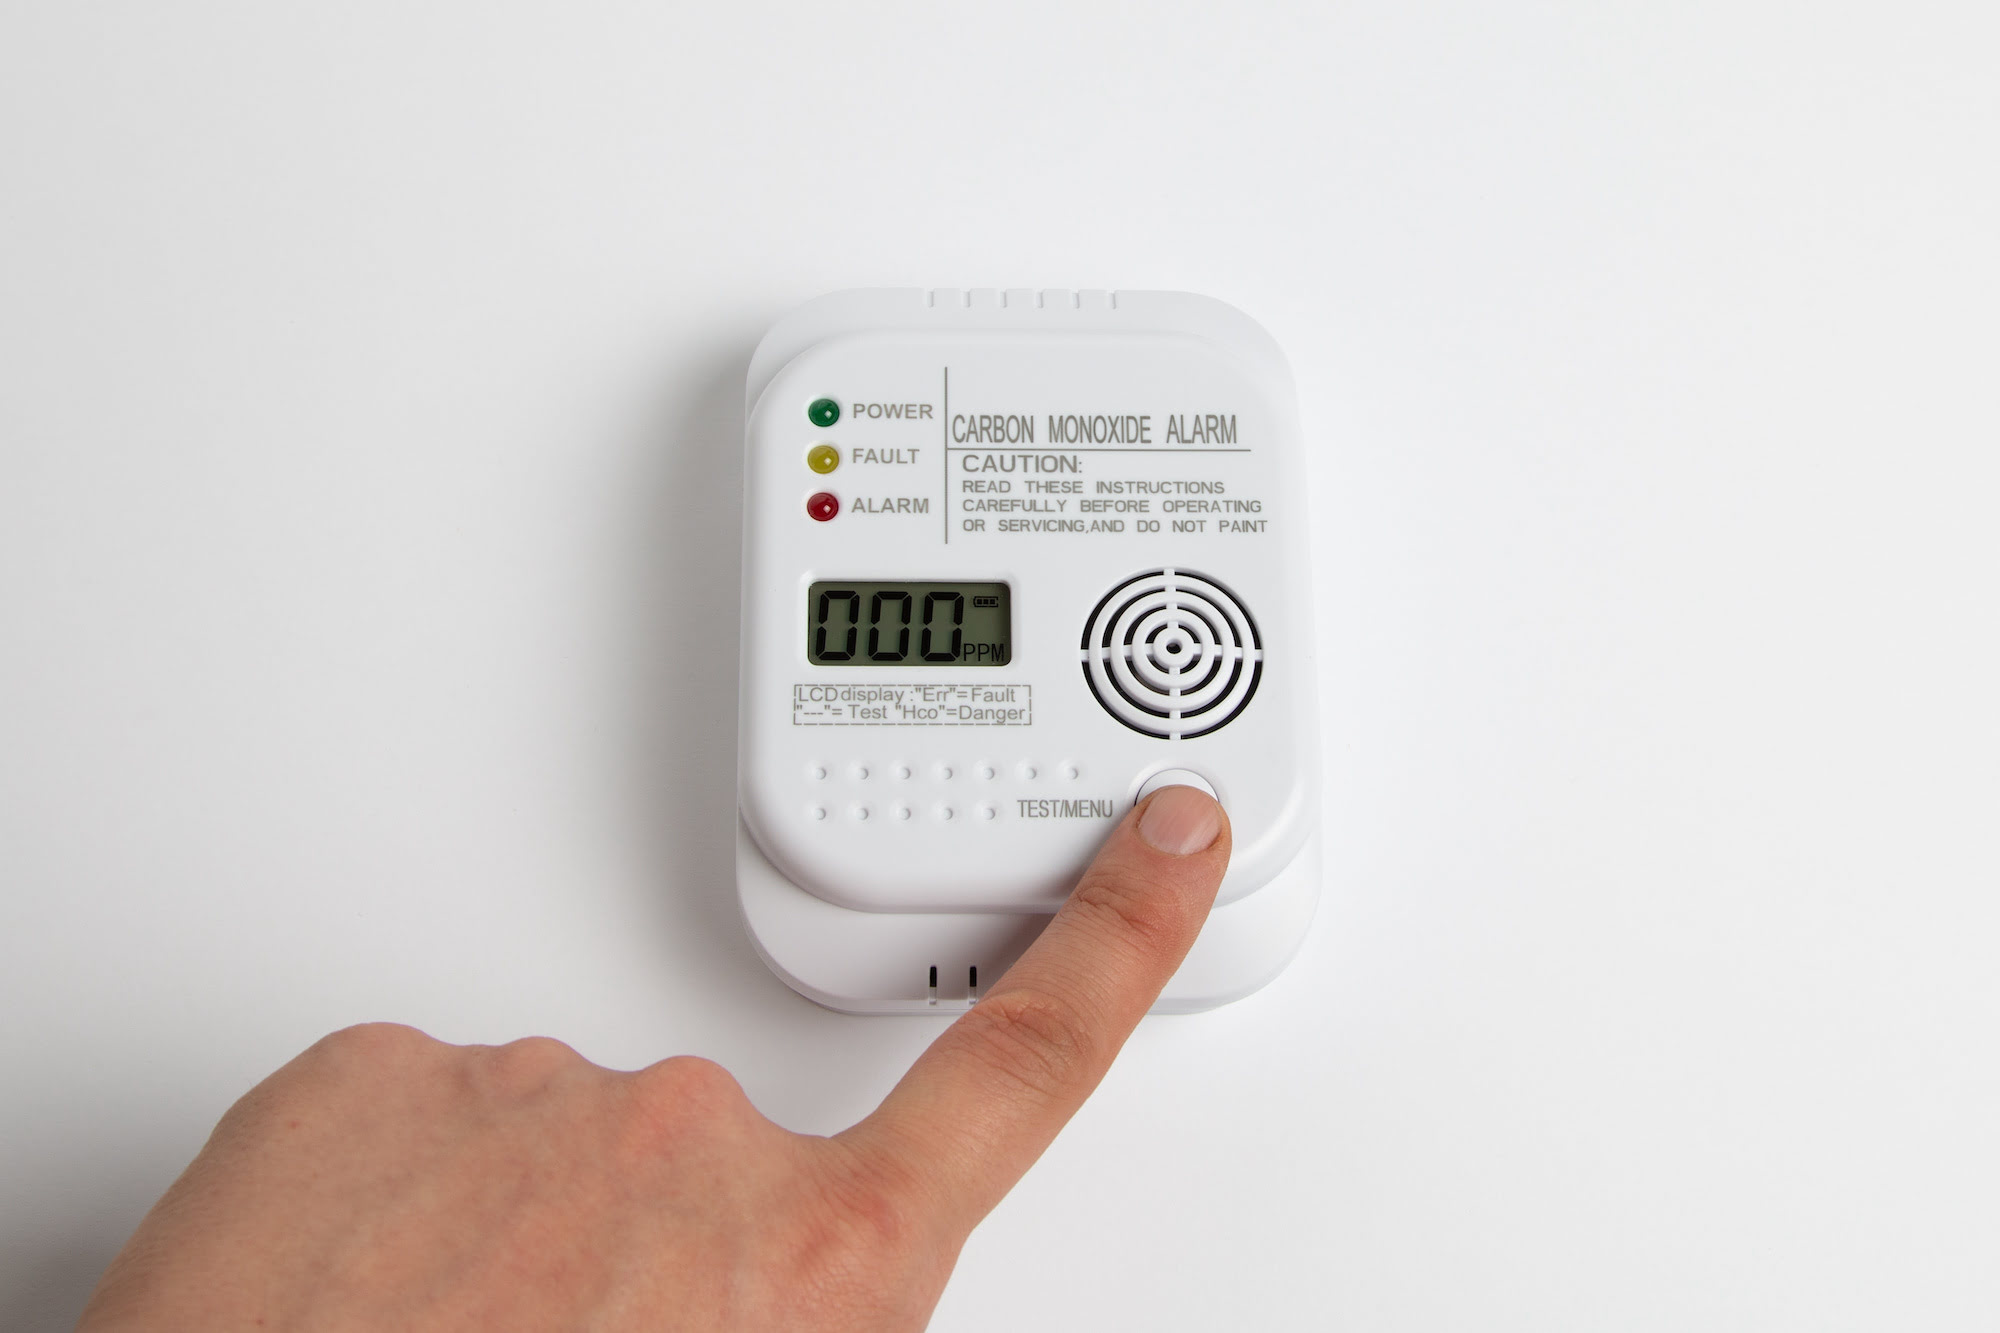
Step 9: Test the New Detector
Once you have reconnected the wiring and ensured that everything is securely in place, the final step is to test the functionality of the new carbon monoxide detector. Follow these steps to properly test the detector:
- Power on the detector: If your carbon monoxide detector has a power switch or button, turn it on to activate the detector. Some detectors may power on automatically once the wiring is connected.
- Wait for the initialization period: Give the detector some time to initialize, as indicated in the manufacturer’s instructions. This usually takes a few minutes, during which the detector will go through a self-check process.
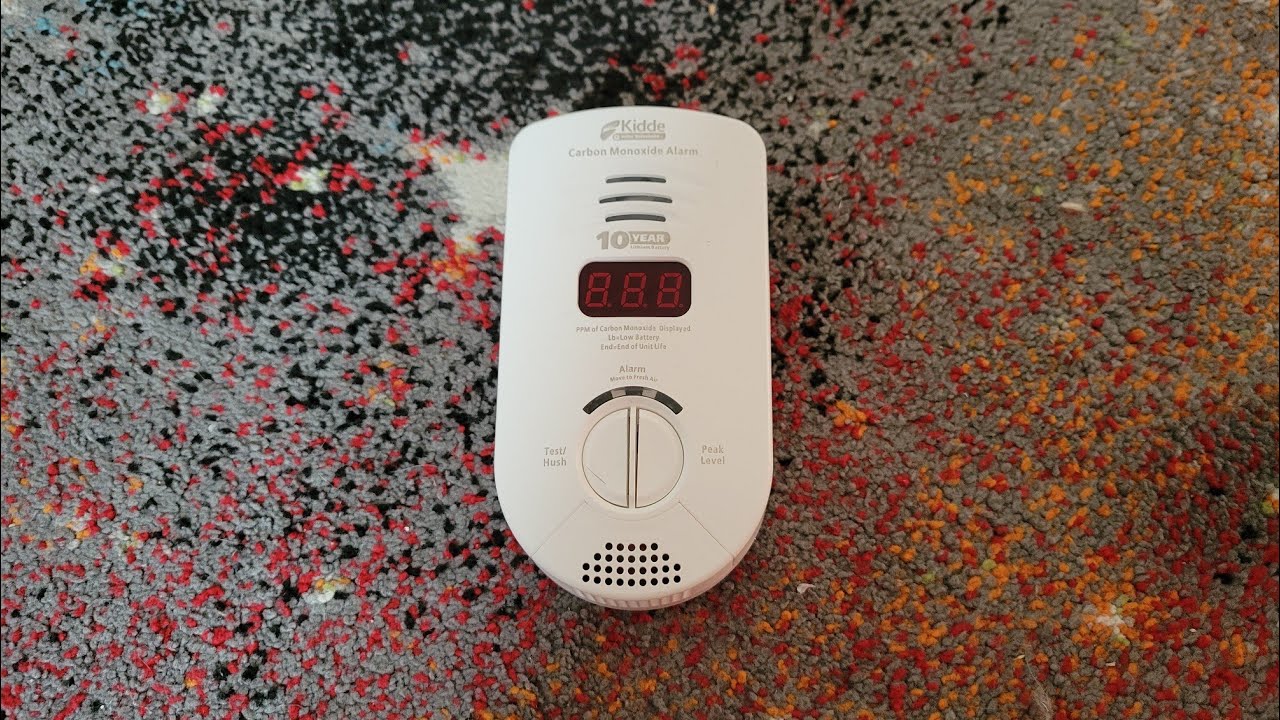
- Check the indicators: Look for any visual indicators on the detector, such as LED lights or a digital display. These indicators will show that the detector is functioning properly and is ready for testing.
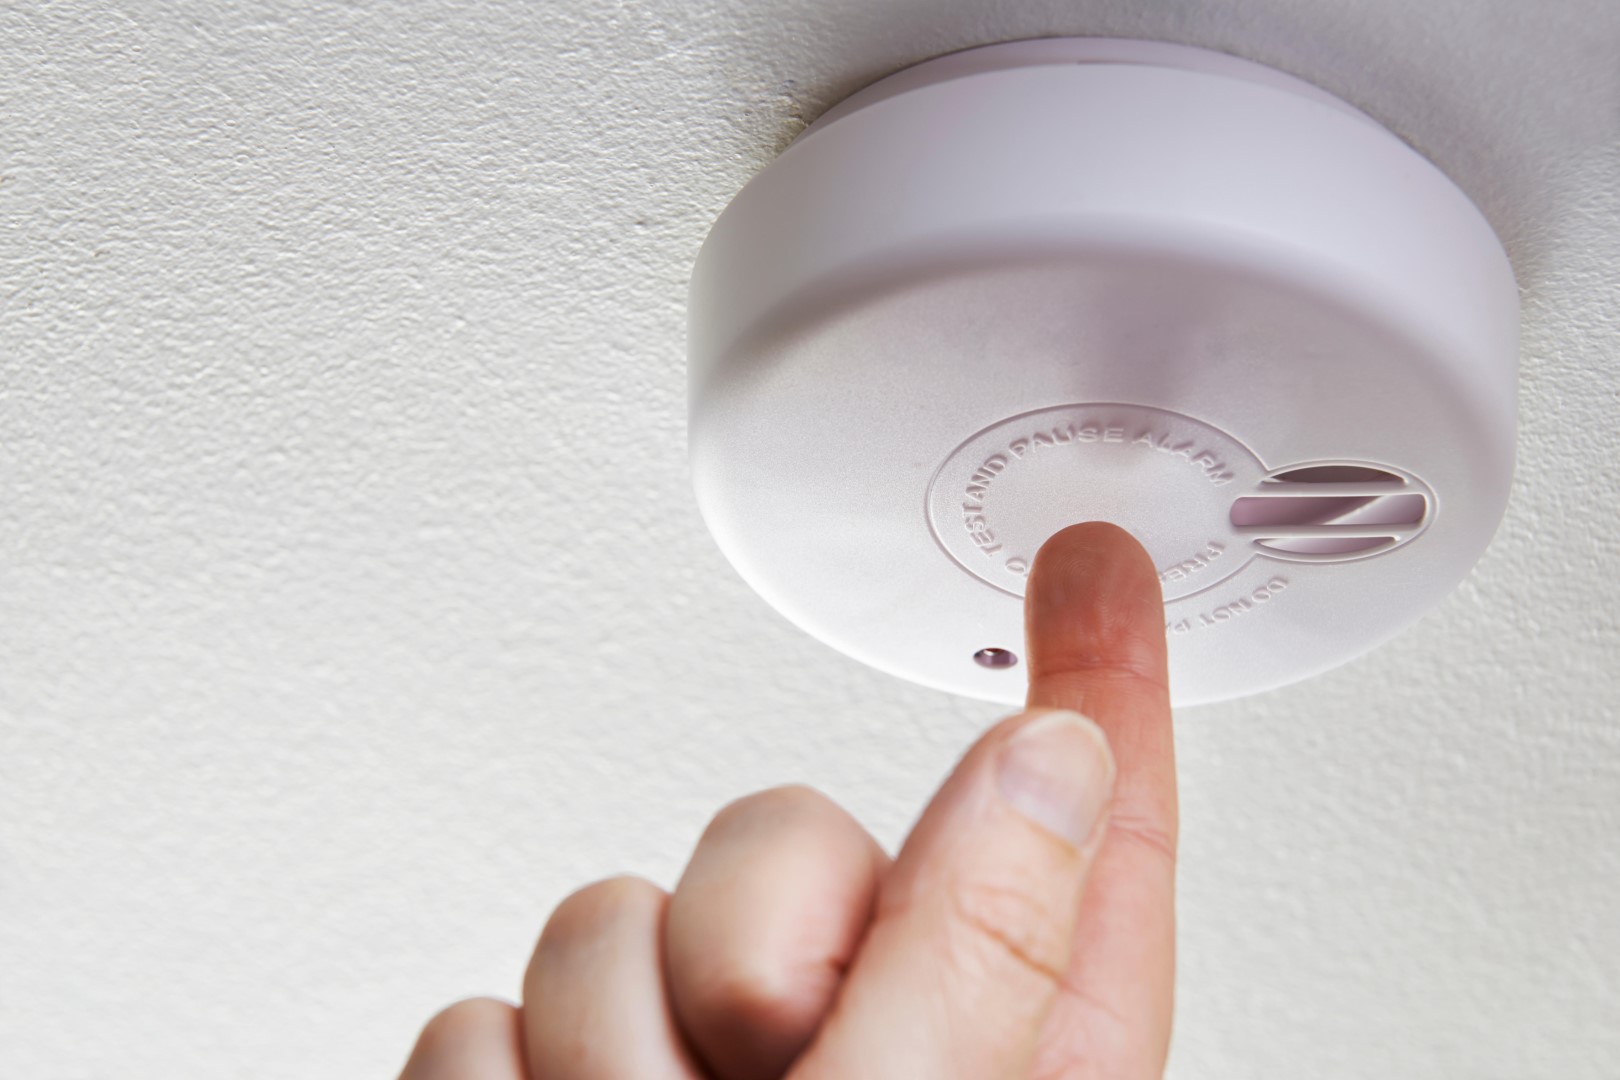
- Activate the test feature: Most carbon monoxide detectors have a test button or feature that allows you to simulate a carbon monoxide alarm. Press and hold the test button according to the manufacturer’s instructions to trigger the alarm.
- Verify the alarm function: Listen for the loud and distinct alarm sound emitted by the detector. Additionally, check for any visual alerts such as flashing lights or a change in the digital display. These confirm that the alarm is working as intended.
- Reset the detector: After testing the alarm, reset the detector following the manufacturer’s instructions. This will stop the alarm sound and reset the detector for normal operation.
Testing your carbon monoxide detector is crucial to ensure that it is functioning properly and can accurately detect any presence of carbon monoxide. It is recommended to perform regular tests according to the manufacturer’s guidelines to maintain the detector’s effectiveness.
If the new detector fails to alarm or shows any signs of malfunction during the testing process, refer to the manufacturer’s instructions for troubleshooting steps. In some cases, it may be necessary to contact the manufacturer for further assistance or replace the detector if it is defective.
Congratulations! You have successfully completed the process of removing the old carbon monoxide detector and installing a new one. By following these steps, you have taken an important step towards ensuring the safety and well-being of yourself and those around you.
Remember, carbon monoxide detectors play a vital role in detecting this odorless, colorless gas. It is important to regularly test and maintain your carbon monoxide detectors to ensure they are always in optimal working condition. Stay safe!
Conclusion
Carbon monoxide is a silent and potentially deadly gas that can be present in our homes without us even realizing it. By having a working carbon monoxide detector installed, you are taking a crucial step in protecting yourself and your loved ones from this invisible threat.
In this comprehensive guide, we have walked you through the step-by-step process of safely and effectively removing an old carbon monoxide detector and installing a new one. From ensuring safety precautions to testing the functionality of the new detector, we have covered all the necessary steps to guide you through this process.
Remember, safety should always be your top priority when working with electrical components or when dealing with potential carbon monoxide leaks. If you encounter any difficulties during the removal or installation process, it is always a good idea to seek assistance from a professional electrician or contact the manufacturer for guidance.
Regularly testing and maintaining your carbon monoxide detectors is essential to ensure they are in proper working condition. Set a reminder to test your detectors according to the manufacturer’s instructions, which will help provide you with peace of mind and protect you from the dangers of carbon monoxide.
By following the steps outlined in this guide, you have taken an important step towards creating a safe environment for yourself and your family. Remember, prevention is key when it comes to carbon monoxide. Stay vigilant, stay informed, and prioritize the safety of your home.
Frequently Asked Questions about How To Remove A Carbon Monoxide Detector
Was this page helpful?
At Storables.com, we guarantee accurate and reliable information. Our content, validated by Expert Board Contributors, is crafted following stringent Editorial Policies. We're committed to providing you with well-researched, expert-backed insights for all your informational needs.

0 thoughts on “How To Remove A Carbon Monoxide Detector”