Articles
How To Clean Honeywell Fan
Modified: March 25, 2024
Learn effective techniques and methods to clean your Honeywell fan in this informative article. Keep your fan running smoothly and efficiently with these expert tips.
(Many of the links in this article redirect to a specific reviewed product. Your purchase of these products through affiliate links helps to generate commission for Storables.com, at no extra cost. Learn more)
Introduction
Welcome to this comprehensive guide on how to clean your Honeywell fan. Over time, dust, dirt, and other debris can accumulate on your fan, reducing its effectiveness and potentially affecting its performance. Regular cleaning not only helps to maintain the fan’s functionality but also improves the quality of the air it circulates in your living space.
With the right tools and a few simple steps, you can easily clean your Honeywell fan and have it running like new in no time. In this article, we will walk you through the process, providing detailed instructions to ensure a thorough cleaning without causing any damage to your fan.
Before we dive into the cleaning process, it’s important to remember that safety always comes first. Make sure your fan is unplugged and turned off before attempting any cleaning. Additionally, refer to your fan’s user manual for any specific instructions or precautions provided by the manufacturer.
Now, let’s gather the necessary tools and materials and get started with cleaning your Honeywell fan.
Key Takeaways:
- Regularly cleaning your Honeywell fan with simple tools and materials can improve its performance and maintain a healthy living environment. Unplug the fan, remove the grille, and clean the blades, housing, and grille for optimal results.
- By following the step-by-step instructions, you can easily maintain the cleanliness and performance of your Honeywell fan. Regular cleaning not only removes dust and debris but also helps to improve its efficiency and lifespan.
Read more: How To Clean Honeywell Tower Fan
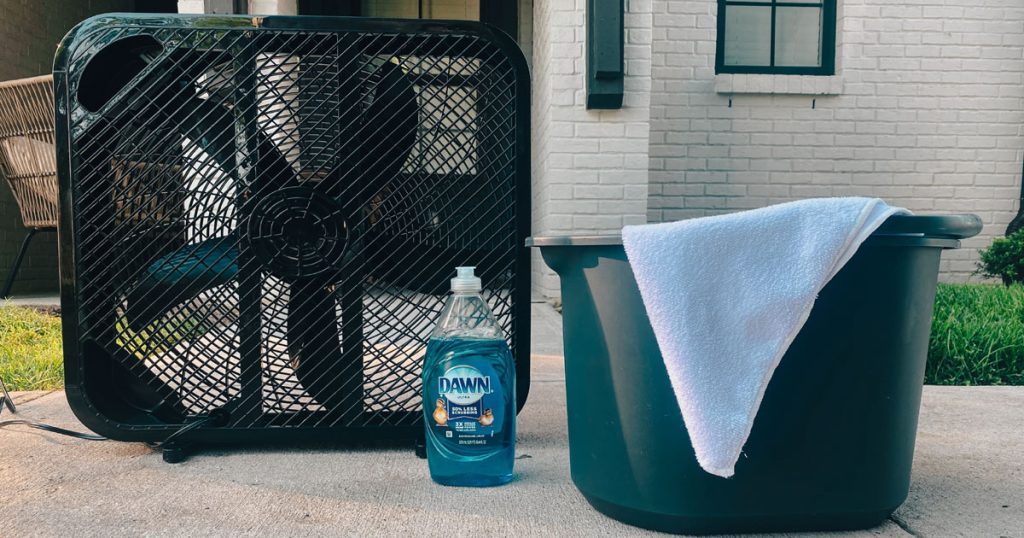
Tools and Materials Needed
Before you begin cleaning your Honeywell fan, gather the following tools and materials:
- Soft-bristle brush or toothbrush: This will be used to remove dust and debris from the fan blades and grilles.
- Clean, lint-free cloths: You’ll need these for wiping down the fan housing and grille.
- Mild detergent or household cleaner: This will be used to clean the fan housing and grille. Avoid using harsh chemicals or abrasive cleaners, as they may damage the fan.
- Water: You’ll need water for rinsing the fan components.
- Screwdriver (if needed): Some Honeywell fan models may require a screwdriver to remove the grille.
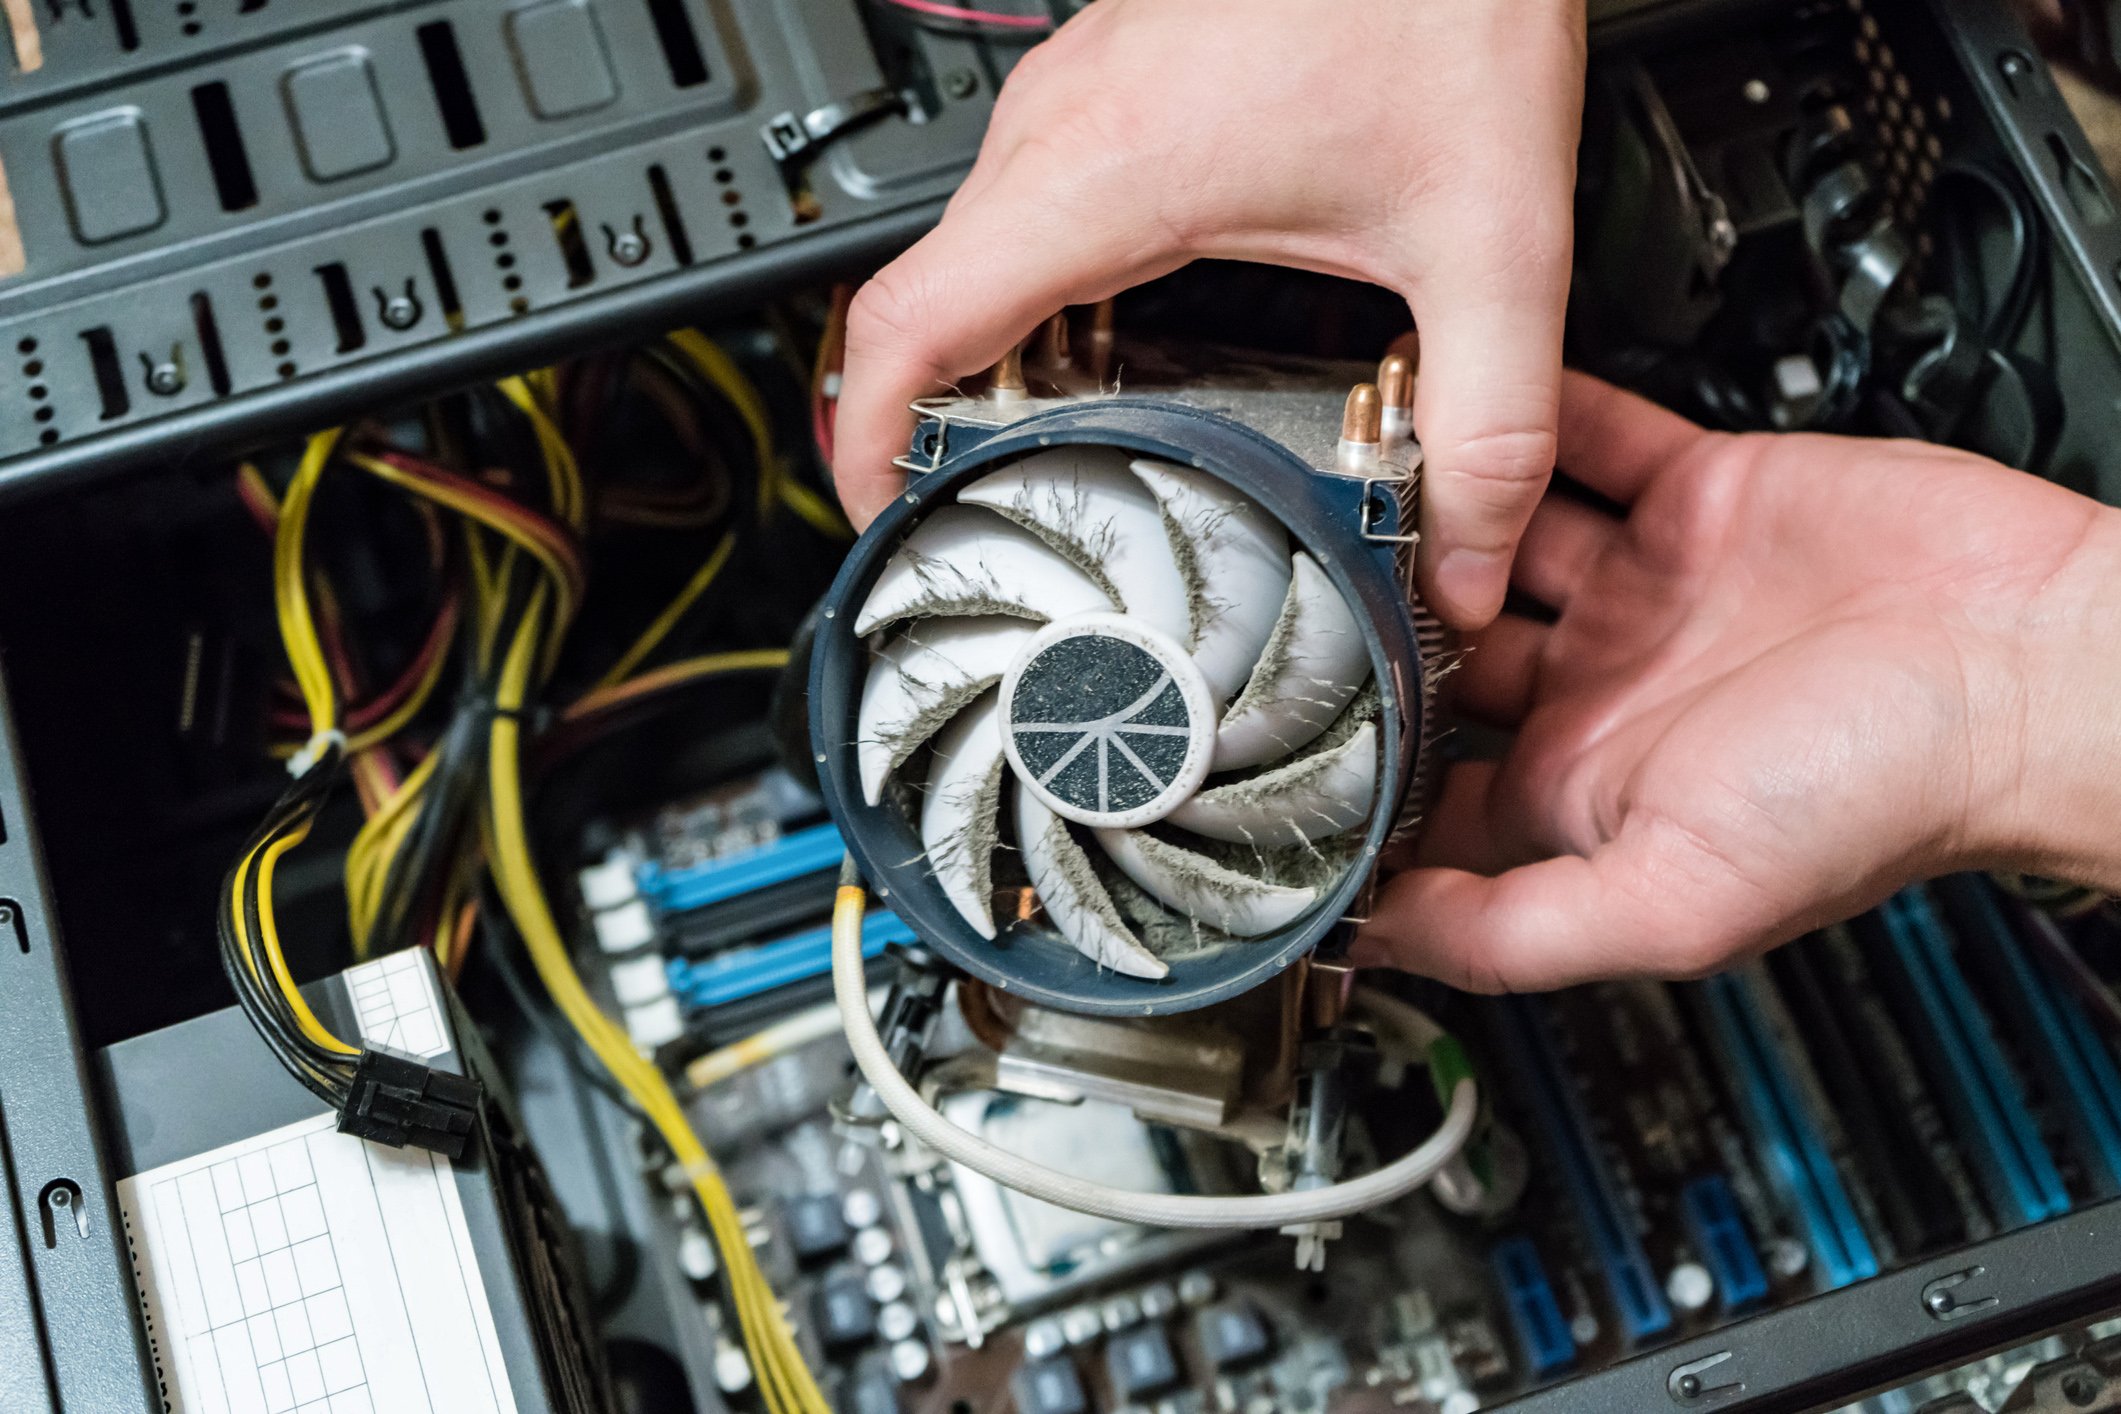
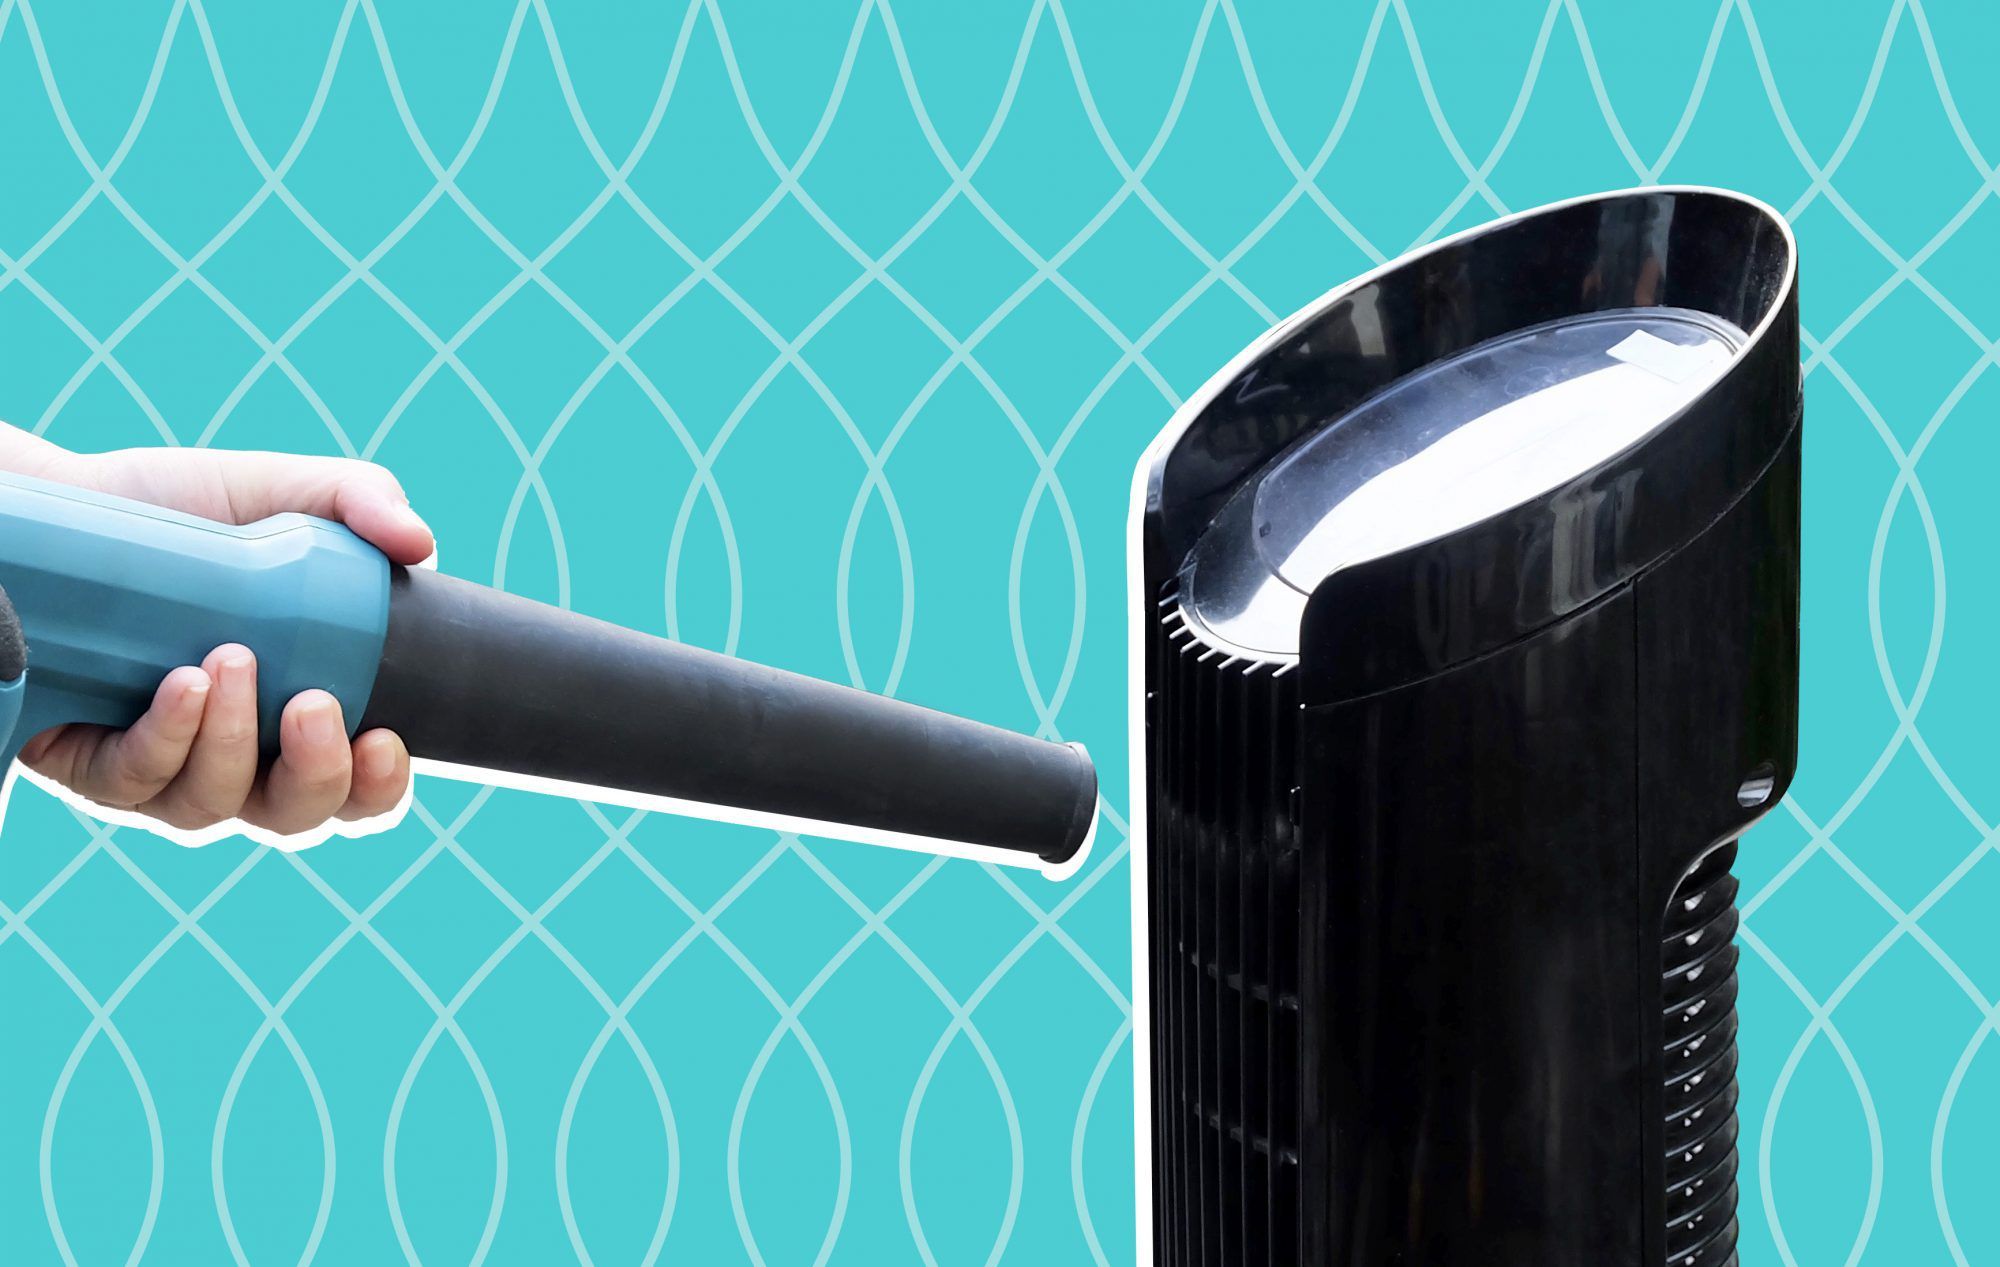
- Vacuum with brush attachment (optional): If your fan has excessive dust buildup, a vacuum with a brush attachment can be helpful for initial cleaning.
Having these tools and materials ready will ensure a smooth and efficient cleaning process. Now that you have everything you need, let’s move on to the step-by-step instructions for cleaning your Honeywell fan.
Step 1: Unplug the Fan
The first and most crucial step in cleaning your Honeywell fan is to unplug it from the power source. This not only ensures your safety but also prevents any accidental damage to the fan during the cleaning process.
Locate the power cord of your fan and gently unplug it from the wall socket or power strip. Make sure the fan is turned off before unplugging it.
By disconnecting the fan from the power source, you eliminate the risk of electric shock while cleaning and prevent any potential damage to the fan’s motor or other electrical components. Take a moment to check that the fan is completely disconnected and no switches or buttons are in the “on” position.
Once you have successfully unplugged the fan, you can proceed to the next step of removing the fan grille.
Note: If you have a tower fan or a fan with a removable control panel, refer to your fan’s user manual for specific instructions on how to safely disconnect the fan from the power source.
Step 2: Remove the Fan Grille
With the fan unplugged, it’s time to remove the fan grille. The grille is the protective covering that encases the fan blades and prevents any objects from coming into contact with them. Removing the grille will give you access to clean the blades and other components of the fan.
Depending on the model of your Honeywell fan, the grille may be held in place by clips, screws, or simply by friction. Follow these general steps to remove the fan grille:
- Inspect the grille for any visible clips or screws. If you see any, use a screwdriver or your fingers to unscrew or unclip them.
- If there are no visible clips or screws, try gently pulling the grille towards you. It should come off easily if it is designed to be removable.
- If the grille seems to be stuck or difficult to remove, refer to your fan’s user manual for specific instructions on how to remove the grille without causing any damage.
Once you have successfully removed the fan grille, set it aside for cleaning. Be careful not to force or bend the grille, as it may be delicate or easily damaged.
Now that the fan grille is removed, you can proceed to the next step of cleaning the fan blades.
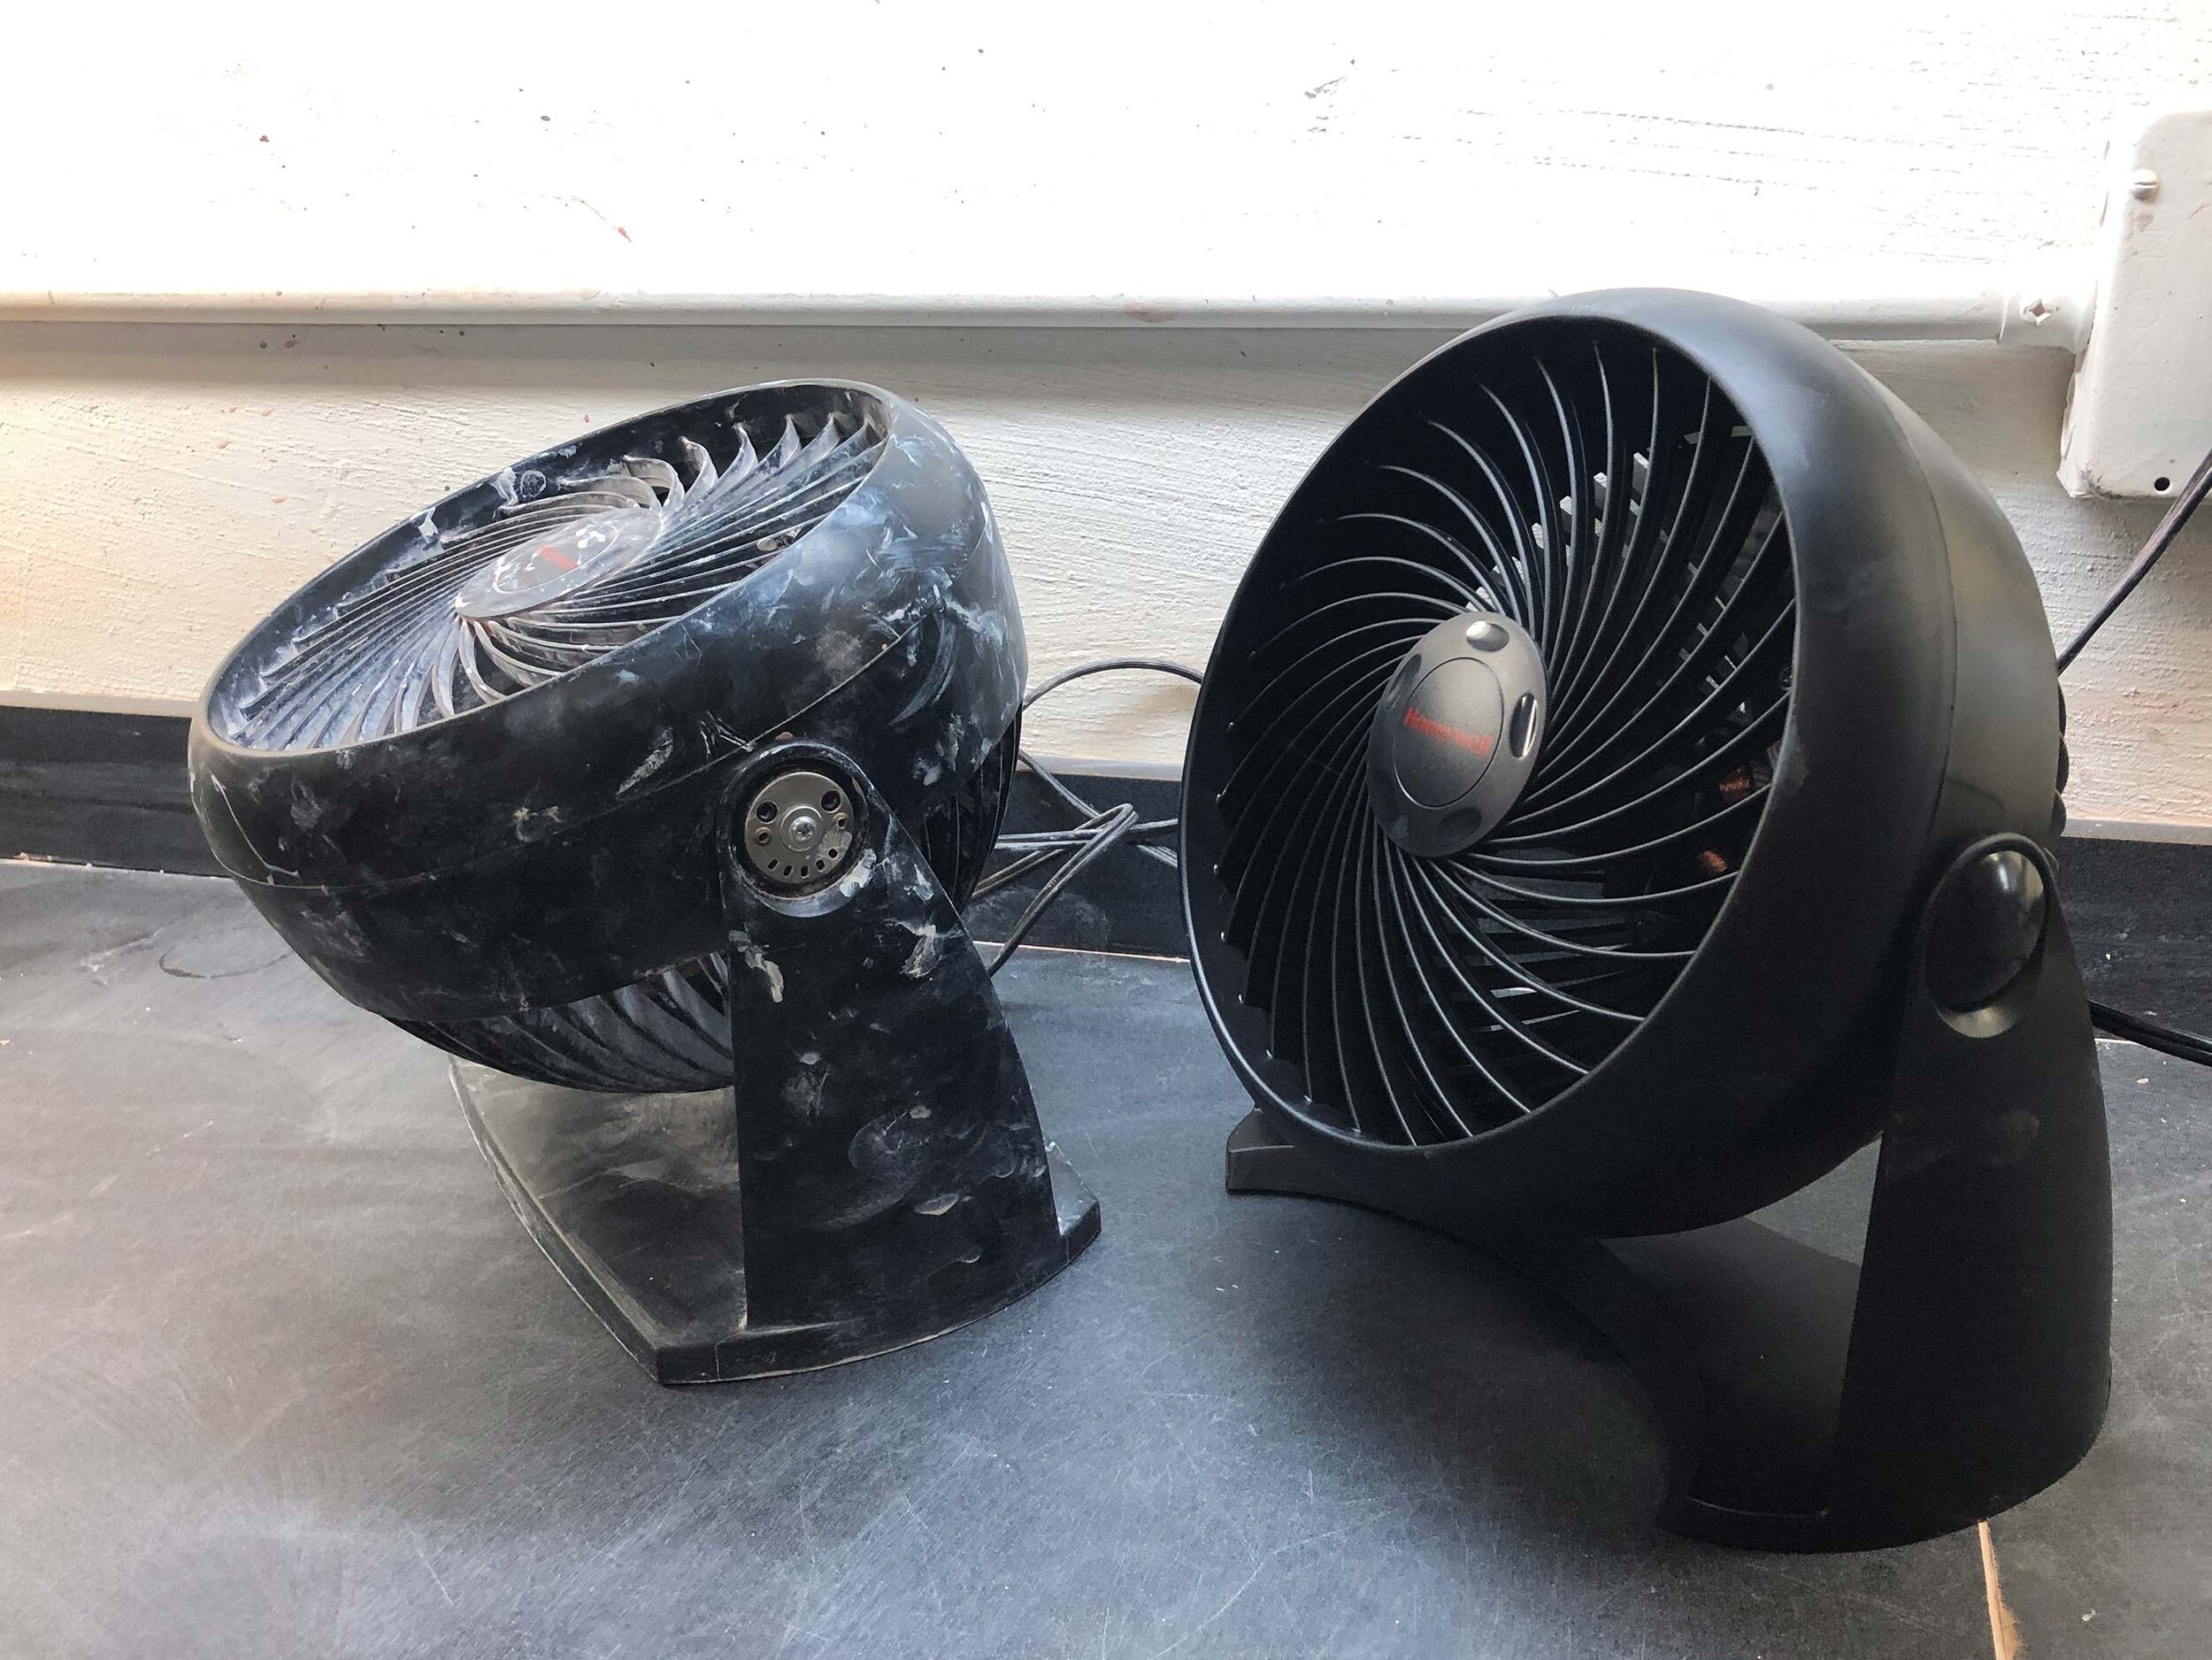
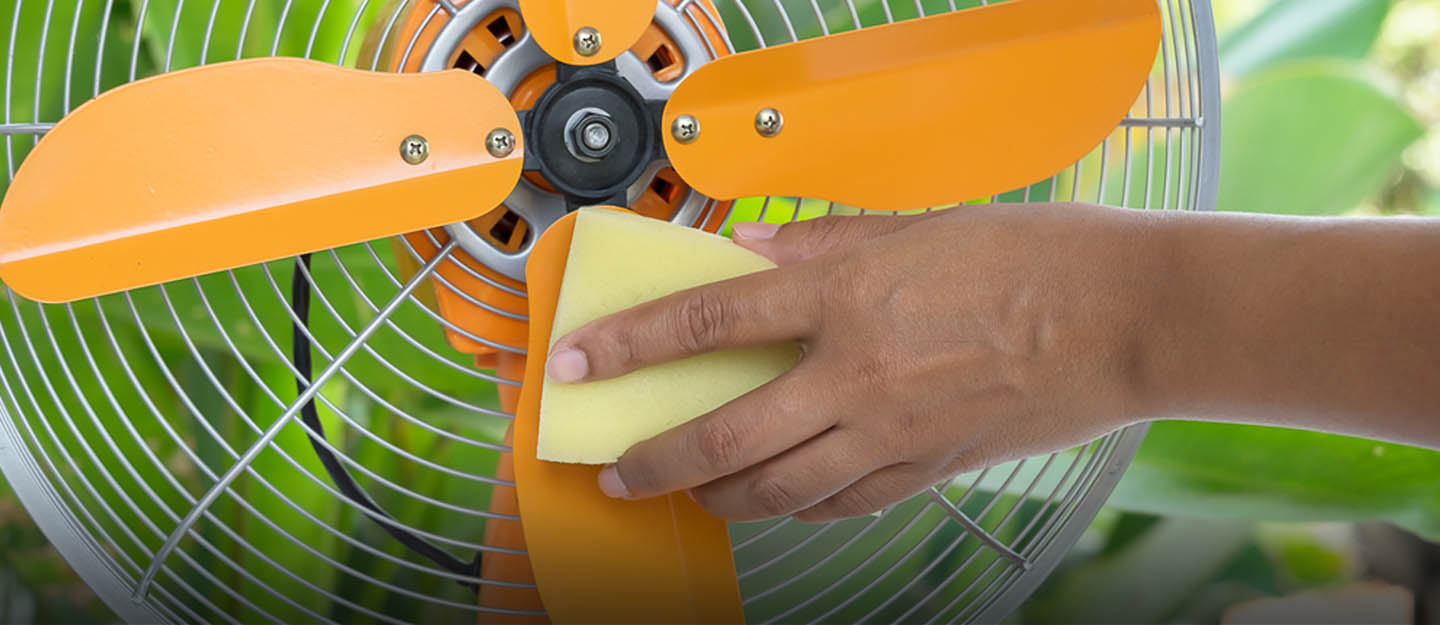
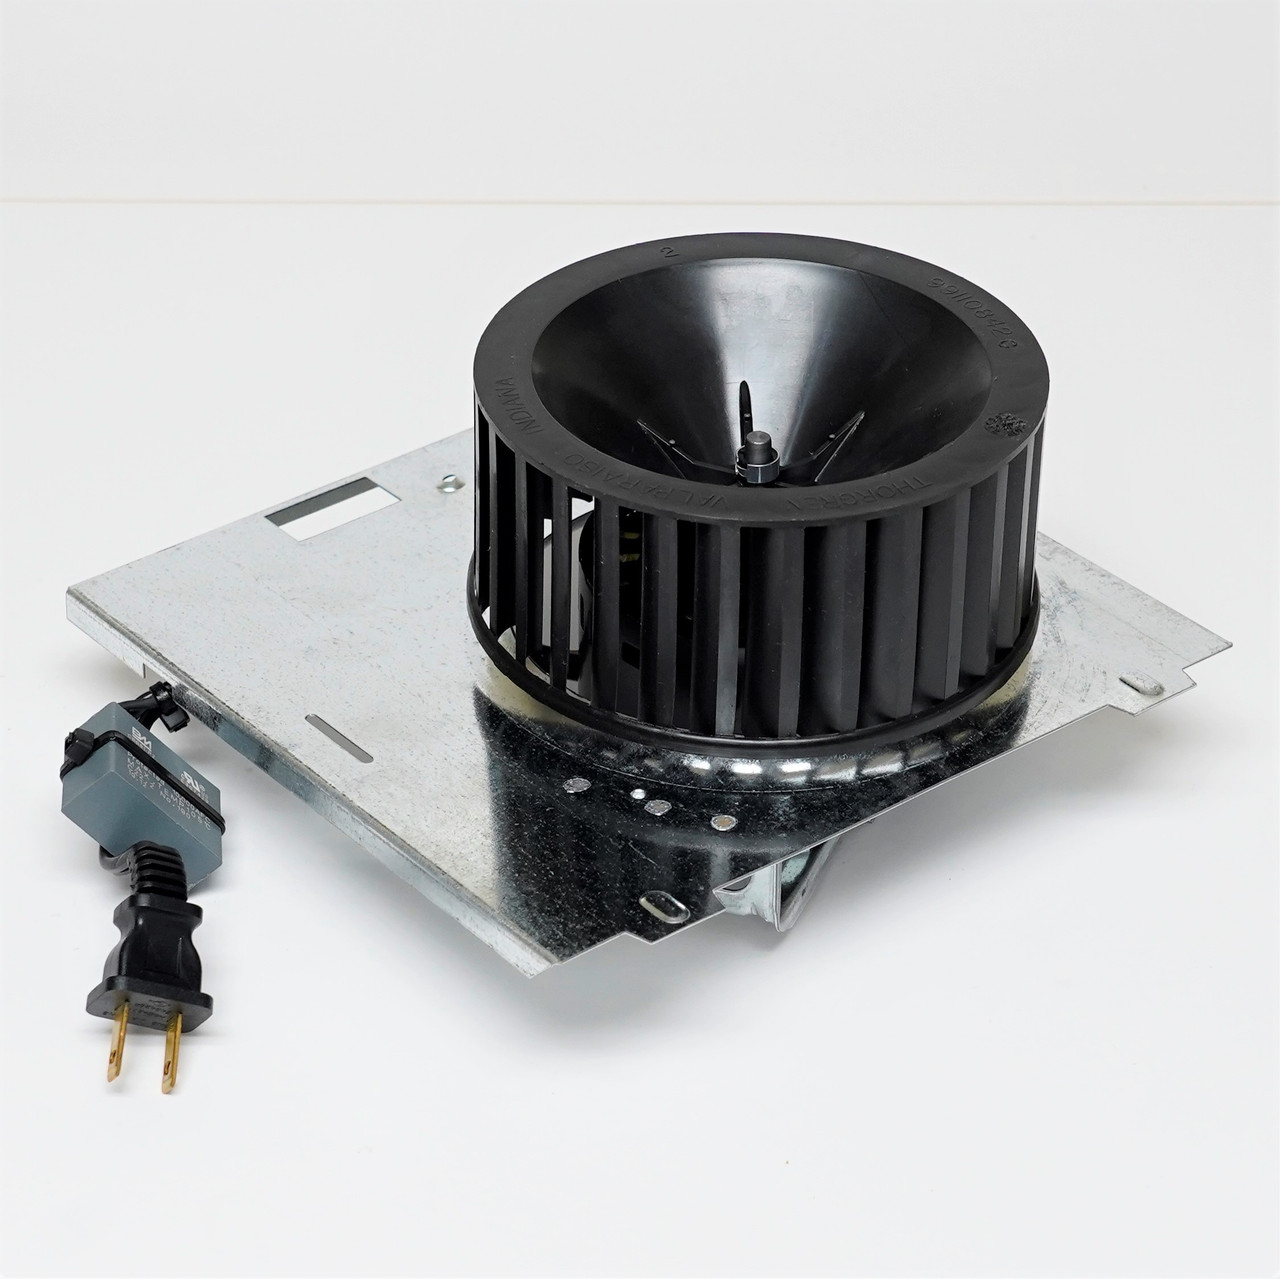
Step 3: Clean the Fan Blades
Now that the fan grille is removed, you have access to the fan blades, which are often the main areas where dust and debris accumulate. Cleaning the blades will improve the airflow and overall performance of your Honeywell fan.
Follow these steps to clean the fan blades:
- Use a soft-bristle brush or toothbrush to gently brush away any loose dust and debris from the blades. Start from the center of the blades and brush towards the edges. Be careful not to apply too much pressure, as it may bend or damage the blades.
- If there are stubborn dirt or grime on the blades, dampen a clean cloth with a mixture of mild detergent and water. Gently wipe the blades using the damp cloth to remove the dirt. Avoid getting the motor or electrical components wet.
- For any hard-to-reach areas, use a cotton swab or toothpick to carefully clean in between the blades. Take your time and be gentle to avoid bending or breaking the blades.
- Once you have finished cleaning the blades, use a dry, clean cloth to wipe away any residue or moisture.
Ensure that the blades are completely dry before moving on to the next step. Any remaining moisture can lead to rust or damage to the fan’s motor.
Cleaning the fan blades will not only improve the fan’s performance but also help to maintain a clean and healthy living environment. With the blades cleaned, you can now proceed to clean the fan housing.
To clean a Honeywell fan, start by unplugging it and removing the front grill. Use a soft brush or cloth to gently remove dust and debris from the blades and grill. You can also use a vacuum with a brush attachment for thorough cleaning. Be sure to clean the fan regularly to maintain its performance.
Read also: 10 Amazing Honeywell Fan for 2024
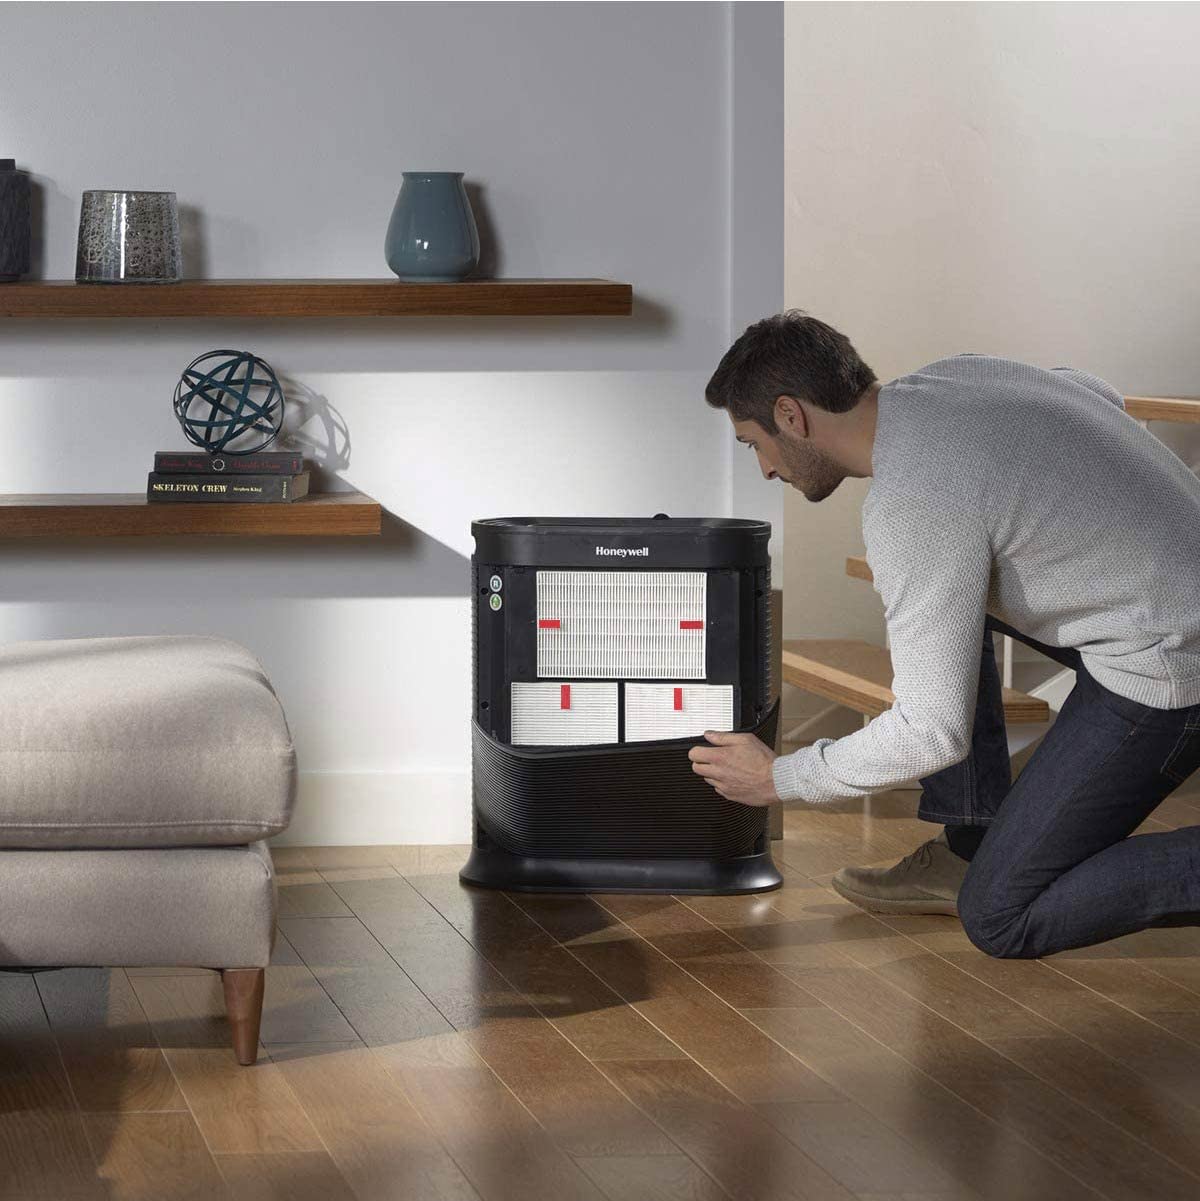
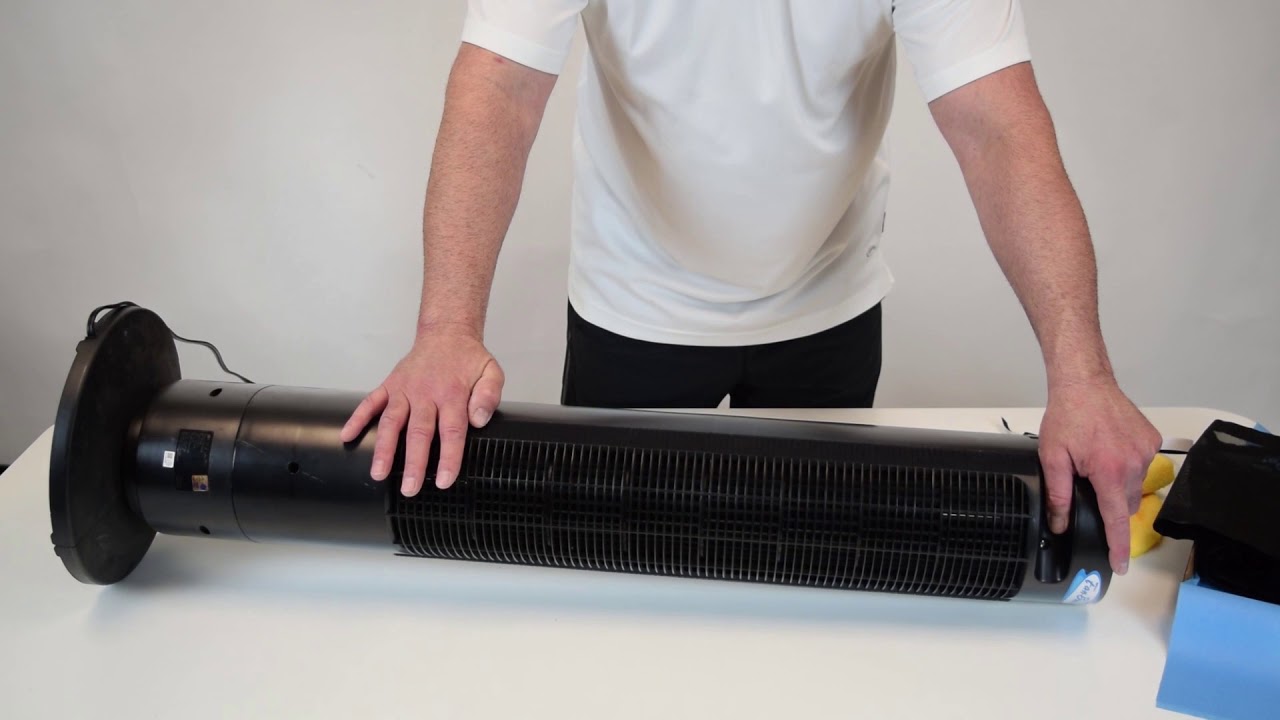
Step 4: Clean the Fan Housing
With the fan blades cleaned, it’s time to move on to cleaning the fan housing. The fan housing is the outer casing that surrounds the motor and the fan components.
Here’s how you can clean the fan housing:
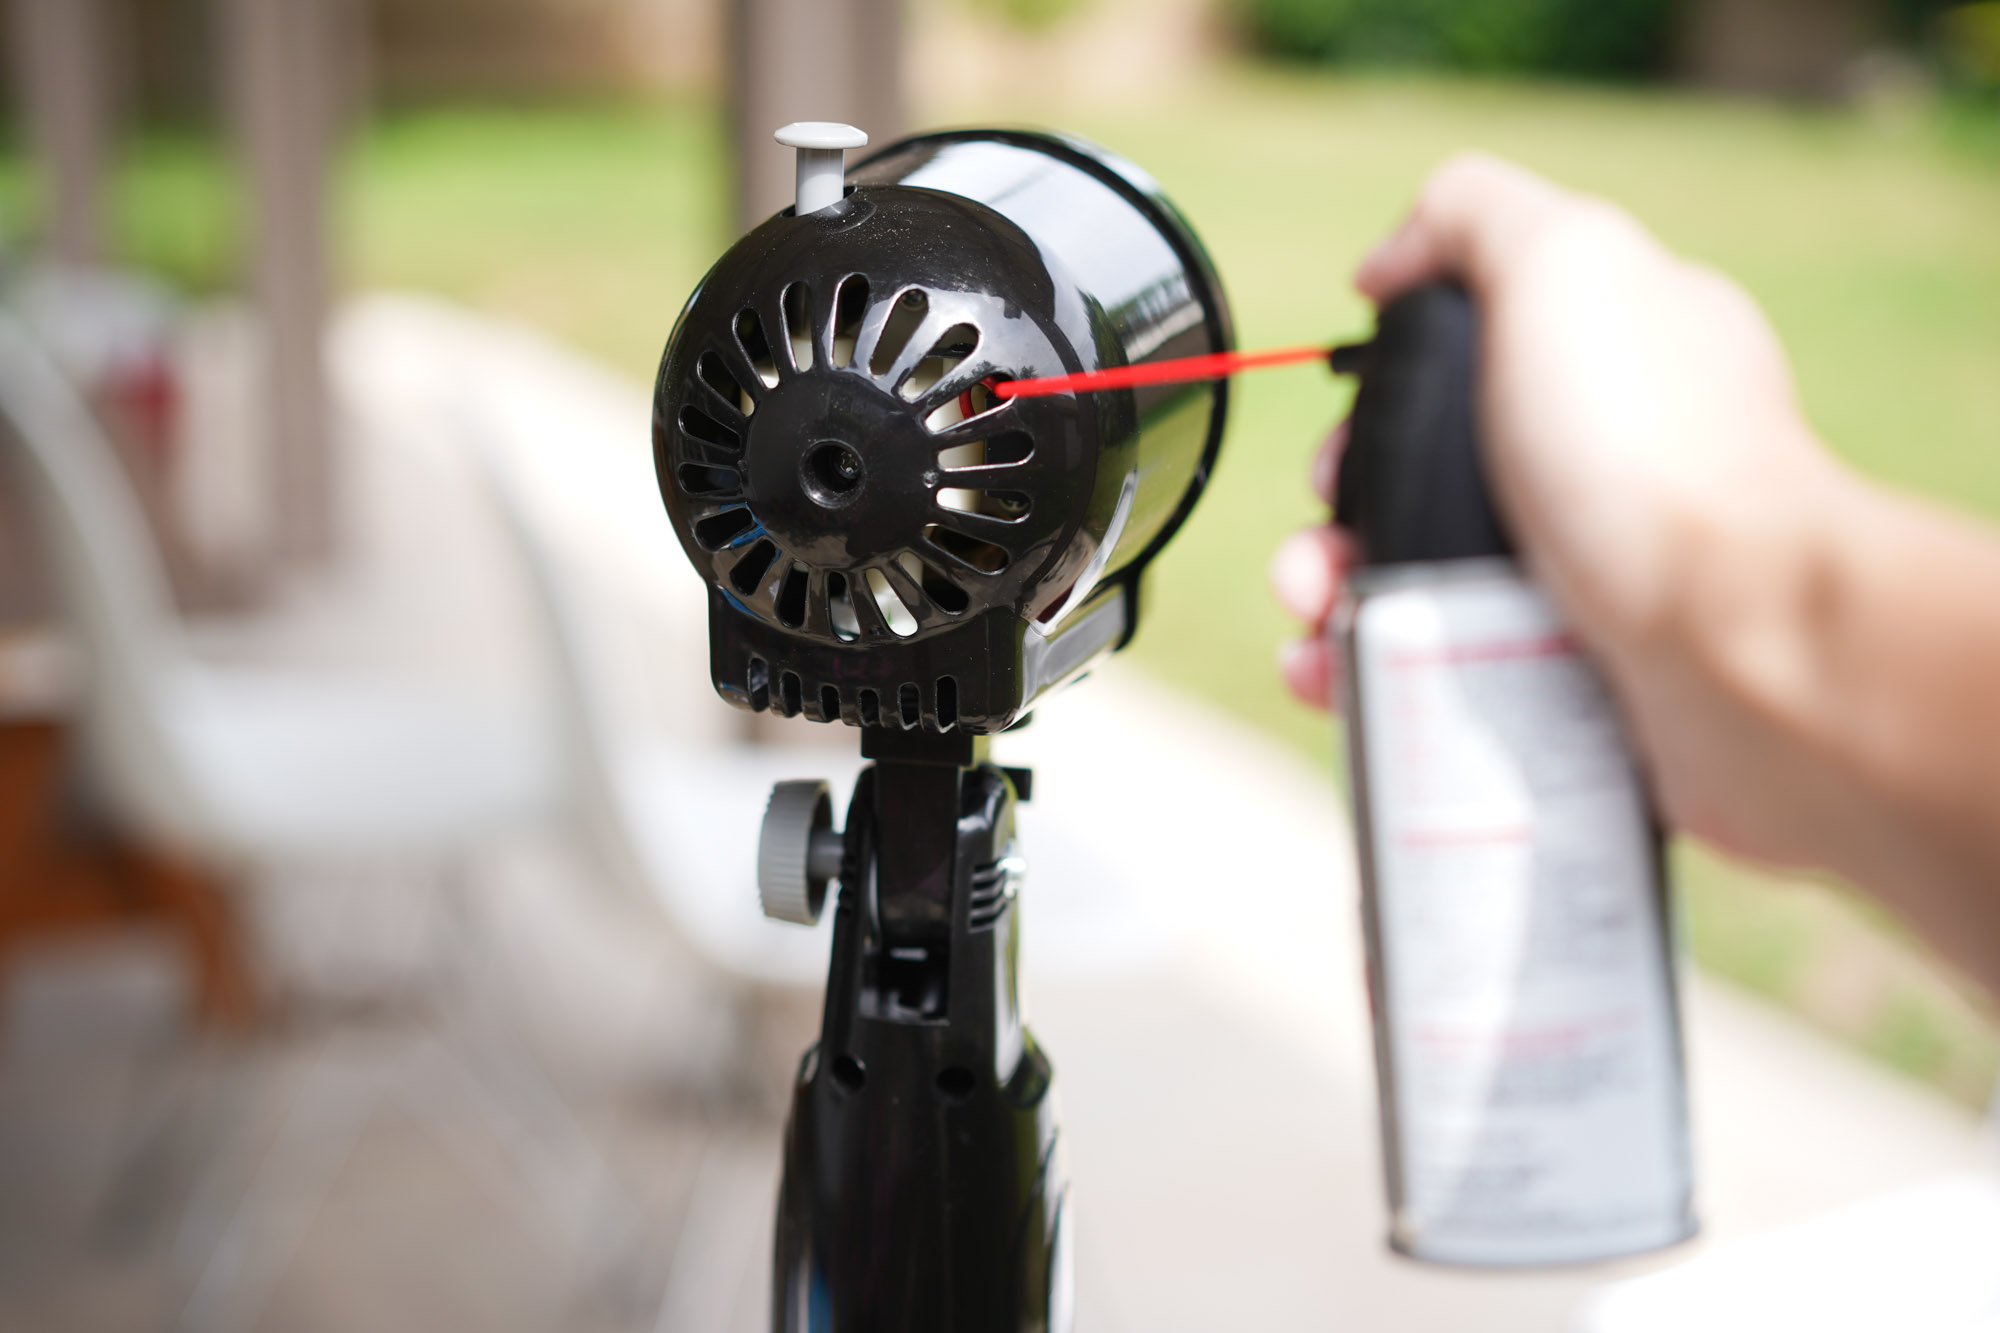
- Dampen a clean, lint-free cloth with mild detergent or a household cleaner diluted in water.
- Gently wipe down the exterior of the fan housing, removing any dirt, dust, or stains. Pay attention to any areas that may accumulate more dirt, such as vents or crevices.
- For stubborn stains or grime, you may need to apply a bit more pressure or use a slightly stronger cleaning solution. However, avoid using harsh chemicals or abrasive cleaners, as they can damage the fan housing.
- Once you have cleaned the fan housing, use a separate clean, damp cloth to wipe away any residue or cleaning solution. Make sure to get into all the nooks and crannies to remove any excess dirt or cleaning agents.
- Finally, use a dry, lint-free cloth to thoroughly dry the fan housing. Ensure that no moisture remains before proceeding to the next step.
Cleaning the fan housing will not only improve the appearance of your Honeywell fan but also help to maintain its longevity and performance. With the housing cleaned, let’s move on to cleaning the fan grille.
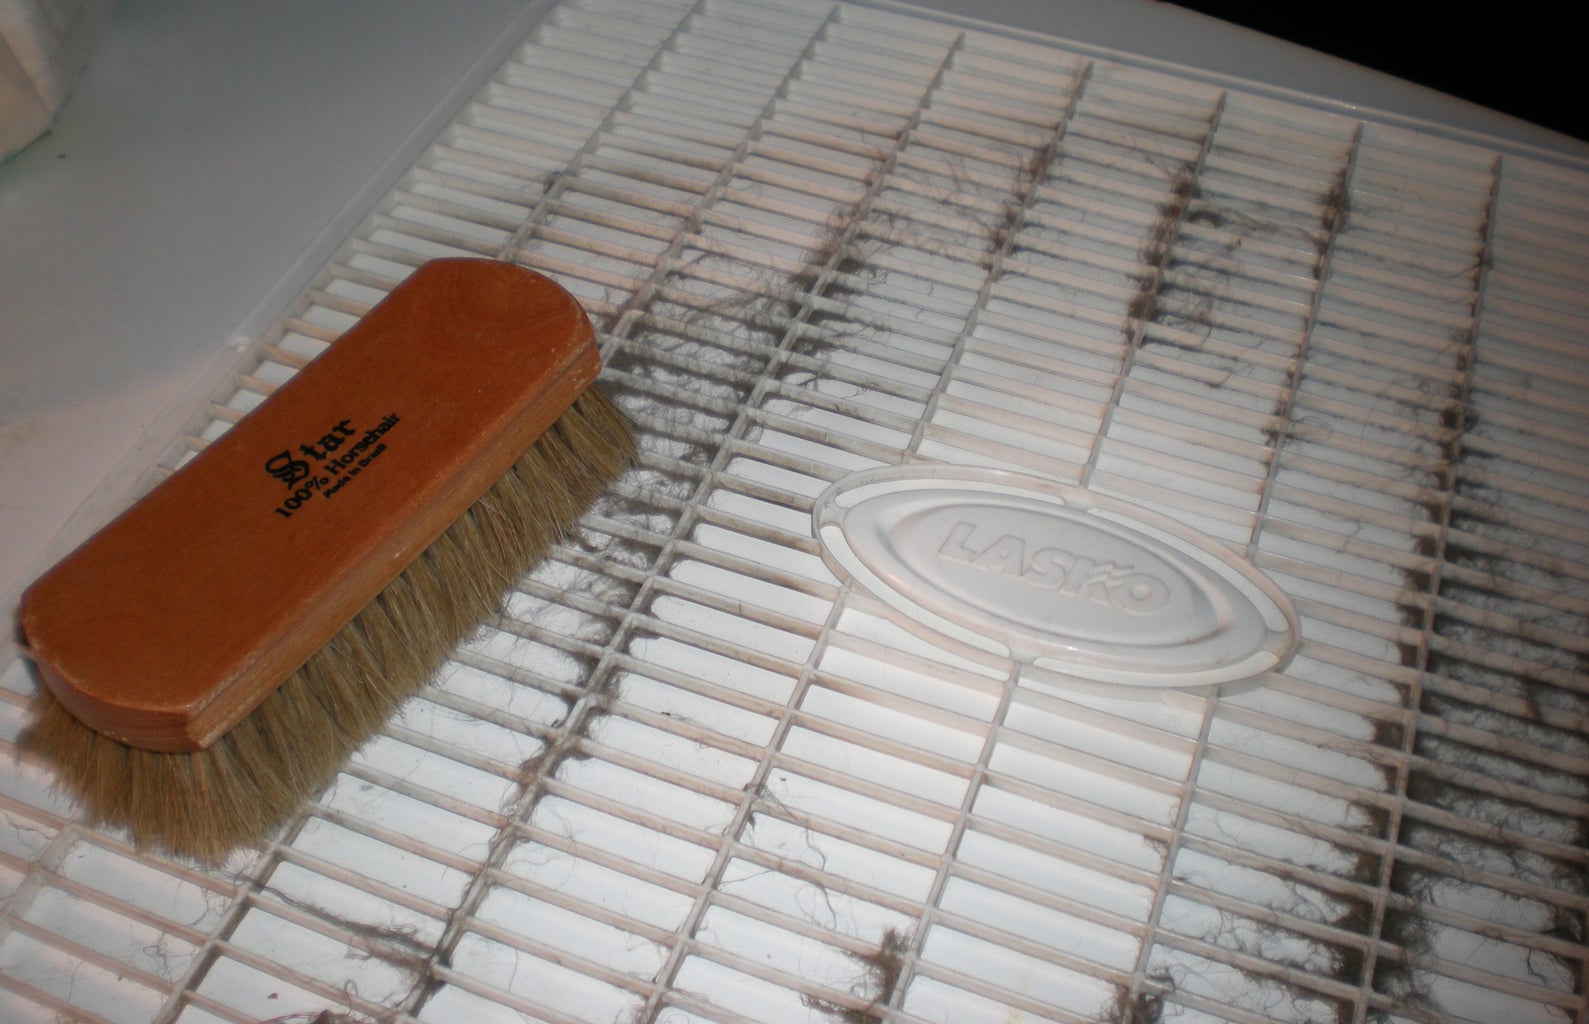
Step 5: Clean the Fan Grille
Now that the fan blades and housing are clean, it’s time to focus on cleaning the fan grille. The grille not only protects the fan blades but also acts as a barrier for dust and debris.
Follow these steps to clean the fan grille:
- Dampen a clean cloth with mild detergent or a household cleaner diluted in water. Ensure that the cloth is not too wet to avoid dripping water into the fan.
- Gently wipe the grille, both the front and back, to remove any accumulated dust and dirt. Pay attention to the individual slots or openings in the grille and clean them thoroughly.
- If the grille has stubborn stains or grime, you can use a soft-bristle brush or toothbrush to scrub the affected areas. Be gentle to avoid damaging the grille.
- Rinse the cloth with clean water and use it to wipe away any residue or cleaning solution from the grille.
- Once you have wiped down the grille, use a dry, clean cloth to remove any moisture. Ensure that the grille is completely dry before reassembling it.
Cleaning the fan grille will not only enhance the appearance of your Honeywell fan but also improve the airflow and prevent dust from being circulated back into the room.
With the grille cleaned, you’re ready to reassemble the fan and enjoy its refreshed performance.
Step 6: Reassemble the Fan
After thoroughly cleaning the fan components, it’s time to reassemble your Honeywell fan. Proper reassembly ensures that all parts are securely in place and that the fan operates safely and effectively.
Follow these steps to reassemble your fan:
- Take the cleaned fan grille and position it back onto the fan. Make sure it aligns properly with the fan housing.
- If your fan has clips or screws, reattach them to secure the grille in place. If it simply fits snugly, ensure that it is firmly in position.
- Double-check that all the clips or screws are tightened securely, but be careful not to overtighten and damage the grille or housing.
- Plug the fan back into the power source. Ensure that any switches or buttons are in the “off” position before turning it on.
- Give the fan a test run to ensure it’s working properly. Listen for any unusual noises or vibrations that may indicate a problem.
- If your fan has additional features or controls, such as oscillation or speed settings, make sure they are functioning correctly.
With the fan reassembled and functioning properly, take a moment to appreciate your clean and refreshed Honeywell fan. Regular cleaning not only improves the performance of the fan but also ensures a healthy and comfortable living environment.
Remember, it’s a good practice to clean your fan regularly. The frequency of cleaning will depend on factors such as usage and the level of dust in your environment. By keeping your fan clean and well-maintained, you can enjoy its benefits for years to come.
Conclusion
Congratulations! You have successfully learned how to clean your Honeywell fan. By following these step-by-step instructions, you can easily maintain the cleanliness and performance of your fan, ensuring optimal air circulation in your living space.
Regular cleaning of your fan not only removes dust and debris but also helps to improve its efficiency and lifespan. It’s recommended to clean your Honeywell fan at least once every few months or as needed, depending on usage and the amount of dust in your environment.
Remember to always prioritize safety by unplugging the fan before cleaning and referring to the user manual for any specific instructions or precautions provided by the manufacturer. Taking proper care of your fan will ensure its longevity and enhance its functionality.
Now that you know how to effectively clean your Honeywell fan, you can enjoy the benefits of a fresher and healthier indoor environment. Say goodbye to accumulated dust and hello to a revitalized fan that circulates clean air throughout your home.
Thank you for reading, and happy cleaning!
Frequently Asked Questions about How To Clean Honeywell Fan
Was this page helpful?
At Storables.com, we guarantee accurate and reliable information. Our content, validated by Expert Board Contributors, is crafted following stringent Editorial Policies. We're committed to providing you with well-researched, expert-backed insights for all your informational needs.

0 thoughts on “How To Clean Honeywell Fan”