Articles
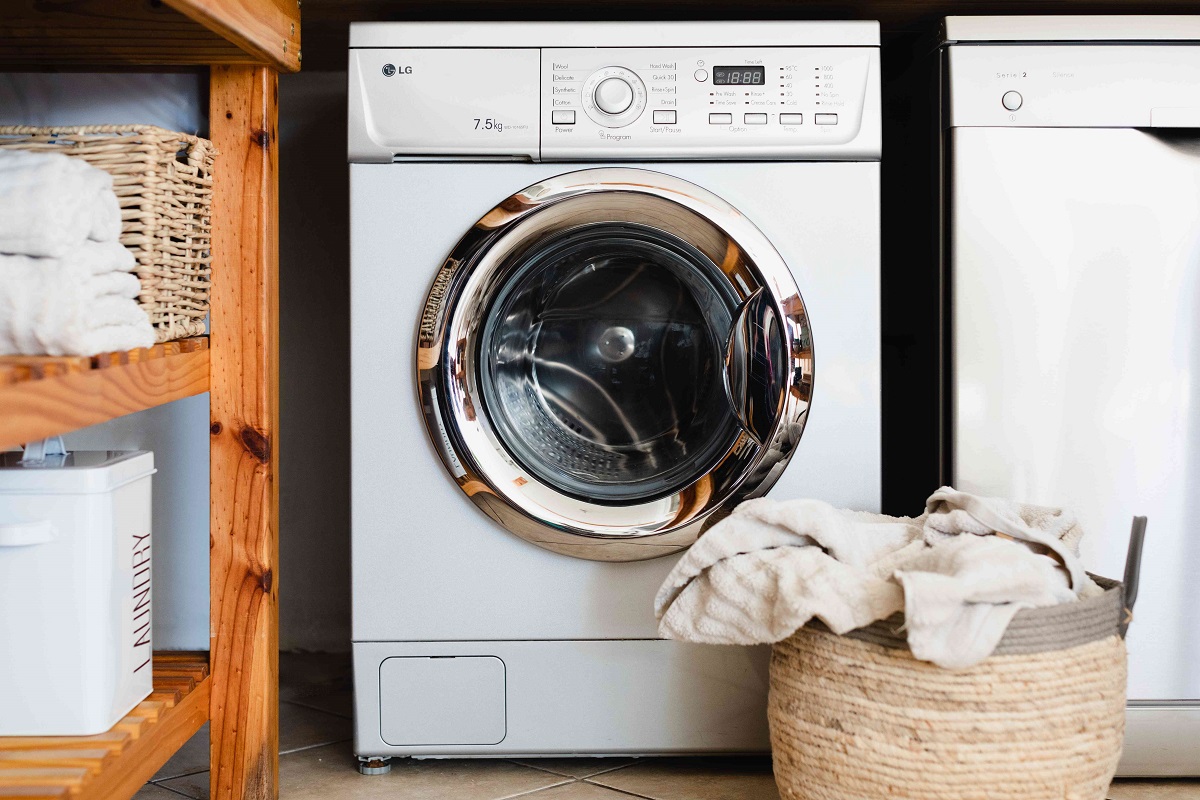
How To Clean A Front Load Washer With Bleach
Modified: October 20, 2024
Learn how to clean a front load washer with bleach in this informative article. Find step-by-step instructions and helpful tips to keep your washer smelling fresh and free of mold.
(Many of the links in this article redirect to a specific reviewed product. Your purchase of these products through affiliate links helps to generate commission for Storables.com, at no extra cost. Learn more)
Introduction
Welcome to our comprehensive guide on how to clean a front load washer with bleach. Front load washers are known for their efficiency and effectiveness in cleaning clothes. However, over time, these appliances can start to develop an unpleasant odor or mold and mildew problems. This is often caused by the accumulation of detergent residue, fabric softener, and lint in hard-to-reach areas such as the rubber gasket and detergent drawer.
Cleaning your front load washer regularly not only helps eliminate foul odors but also ensures that it continues to function optimally. Bleach is a powerful cleaning agent that can effectively kill bacteria, remove stains, and neutralize unpleasant odors.
In this article, we will guide you through the step-by-step process of using bleach to clean your front load washer. We will also provide safety precautions to follow during the cleaning process.
Before we begin, it’s important to note that not all front load washers can be cleaned with bleach. Some manufacturers advise against using bleach in their machines as it may damage certain components. Therefore, we recommend consulting the user manual for your specific washer model to ensure that it is safe to use bleach.
Now, let’s dive into the details of safely and effectively cleaning your front load washer with bleach.
Key Takeaways:
- Regularly cleaning your front load washer with bleach is essential to eliminate odors, bacteria, and mold, ensuring optimal performance and a fresh-smelling laundry experience.
- Prioritize safety by following manufacturer’s instructions, wearing protective gear, and properly ventilating the area when cleaning your front load washer with bleach.
Read more: How To Deep Clean Top Load Washer
Safety Precautions
When cleaning your front load washer with bleach, it’s important to prioritize safety. Here are some safety precautions to keep in mind:
- Read the manufacturer’s instructions: Before using bleach, carefully read the user manual of your washer to ensure that it is safe to use bleach.
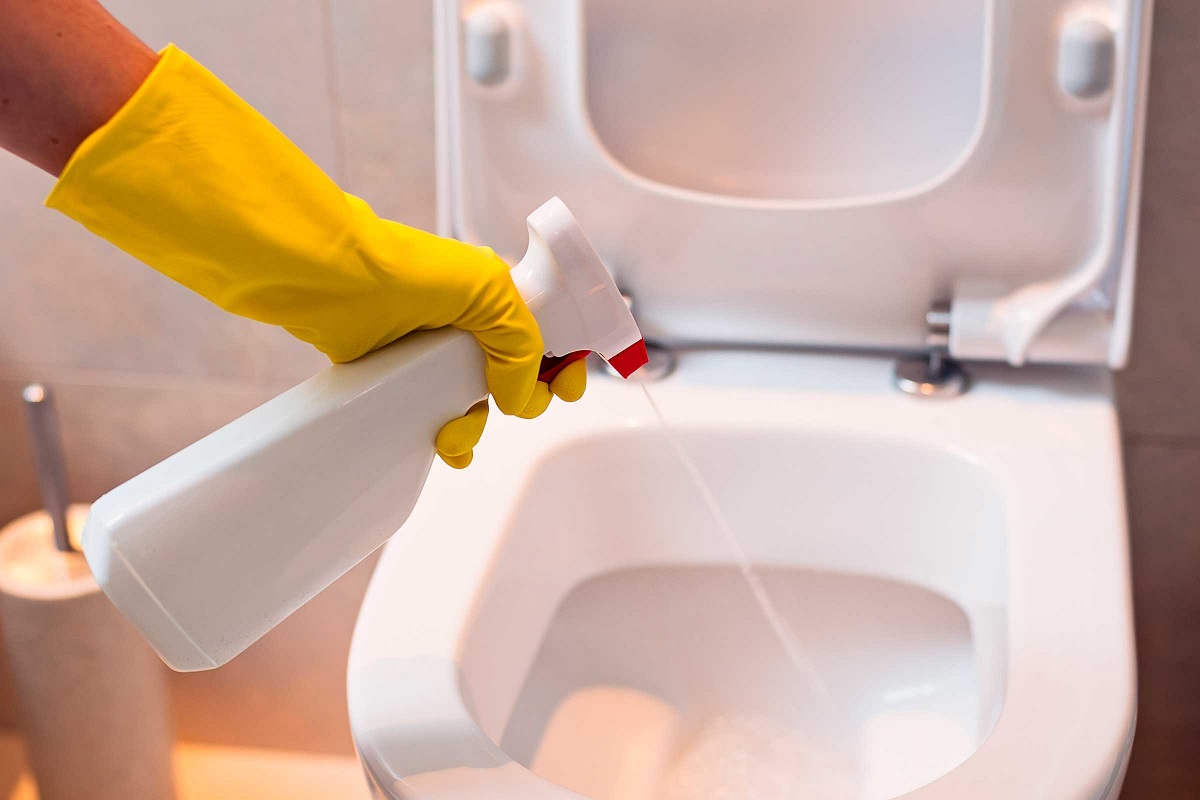
- Protect yourself: Wear rubber gloves and safety goggles to protect your skin and eyes from coming into direct contact with the bleach.
- Ventilation: Make sure the area where the washer is located is well-ventilated. Open windows or doors to allow fresh air to circulate.
- Keep pets and children away: During the cleaning process, it’s important to keep pets and children away from the washer to prevent accidental exposure to bleach.
- Avoid mixing chemicals: Never mix bleach with other cleaning products like ammonia or vinegar, as it can produce toxic fumes.
- Follow proper dosage: Use the recommended amount of bleach specified in the user manual. Using too much bleach can damage the washer and its components.
- Keep the area clear: Remove any laundry or objects near the washer to ensure you have enough space to clean it properly.
- Handle bleach with care: Store bleach in a cool, dry place away from direct sunlight and out of reach of children.
By following these safety precautions, you can ensure a safe and effective cleaning process for your front load washer.
Gather Supplies
Before you start cleaning your front load washer with bleach, it’s important to gather all the necessary supplies. Having everything ready will ensure that you can complete the cleaning process smoothly. Here are the supplies you will need:
- Bleach: Choose a bleach that is suitable for your washer and follow the manufacturer’s recommendations for the amount to use.
- Hot water: You will need hot water to help activate the cleaning properties of the bleach.
- Rubber gloves: Protect your hands from the bleach by wearing rubber gloves throughout the cleaning process.
- Safety goggles: Shield your eyes from any splashes or fumes by wearing safety goggles.
- Clean cloth or sponge: Use a clean cloth or sponge to wipe down the exterior surfaces of the washer.
- Detergent: You may need a small amount of detergent to clean the detergent drawer.
- Small brush: A small brush, such as a toothbrush, can be useful for scrubbing hard-to-reach areas.
- Vinegar (optional): If you prefer a natural cleaning alternative, you can substitute vinegar for bleach.
Make sure you have all these supplies readily available before you proceed with cleaning your front load washer. Having them at hand will save you time and ensure a hassle-free cleaning experience.
Step 1: Prepare Washer
Before you begin the cleaning process, it’s important to properly prepare your front load washer. Follow these steps to ensure that your washer is ready for the cleaning process:
- Empty the washer: Remove any laundry or items from the washer. Make sure the washer drum is completely empty.
- Check for pockets: Check the pockets of any clothing that was recently washed in the machine. Remove any objects, such as coins or tissues, that may be stuck in the pockets.
- Remove excess debris: Wipe down the interior of the washer drum using a clean cloth or sponge to remove any loose debris or lint.
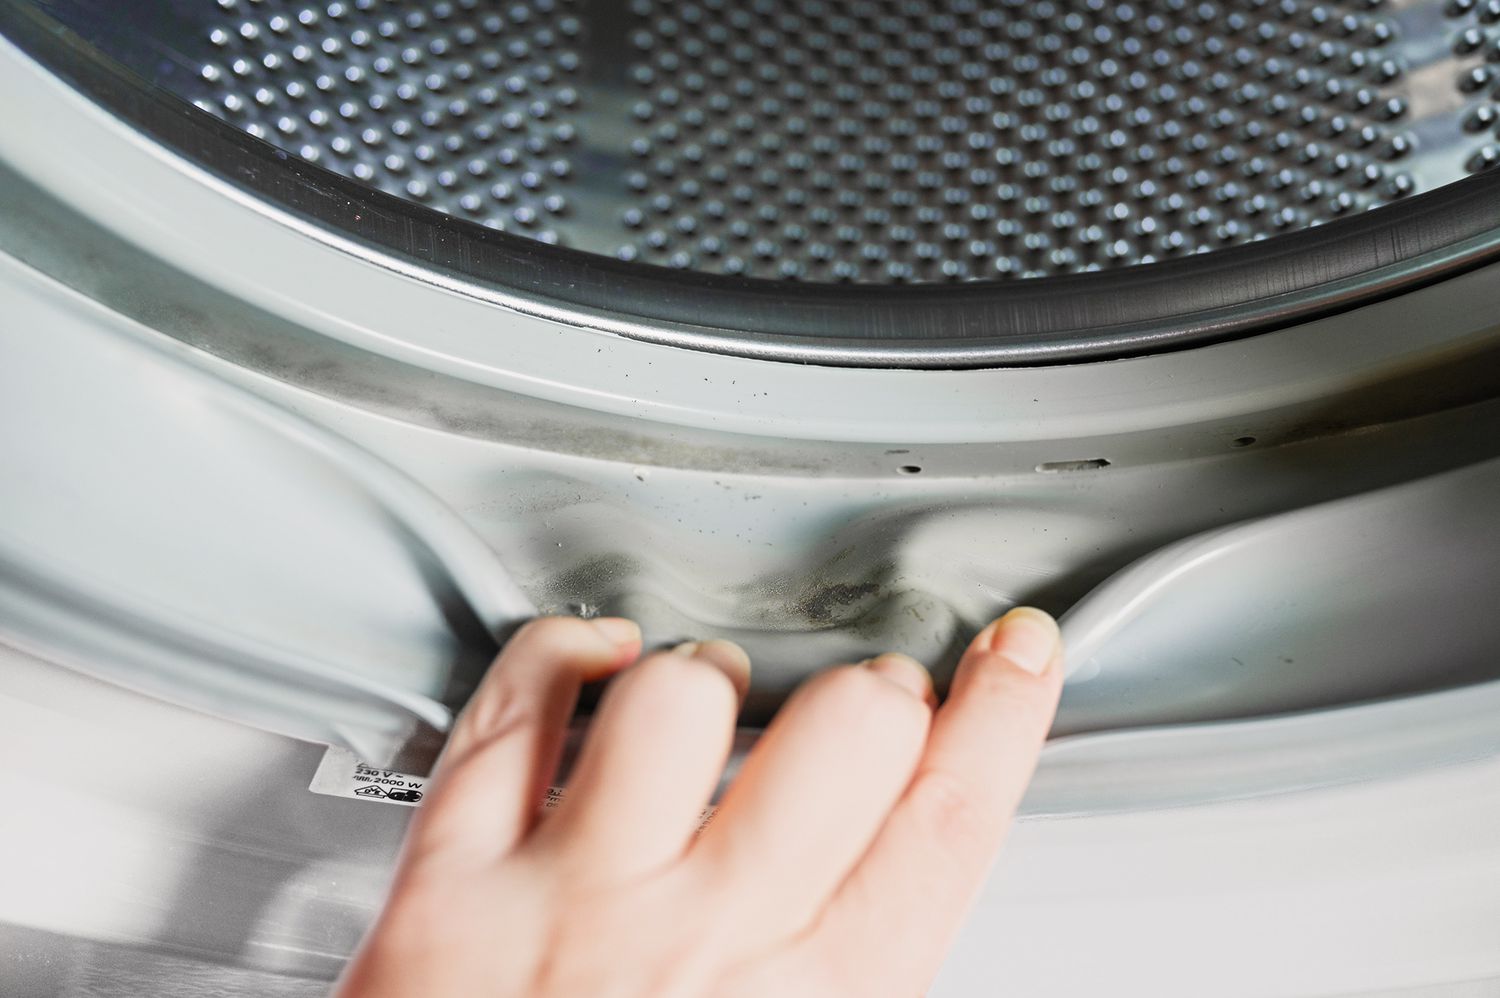
- Inspect the rubber gasket: Take a close look at the rubber gasket around the door of the washer. Look for any visible mold or mildew. If present, take note as we will address this in a later step.
- Leave the door open: Leave the door of the washer open to allow air to circulate and prevent the growth of mold and mildew.
By properly preparing your front load washer, you are ensuring that the cleaning process will be more effective and efficient. Taking a few moments to complete these steps will go a long way in achieving a clean and odor-free washer.
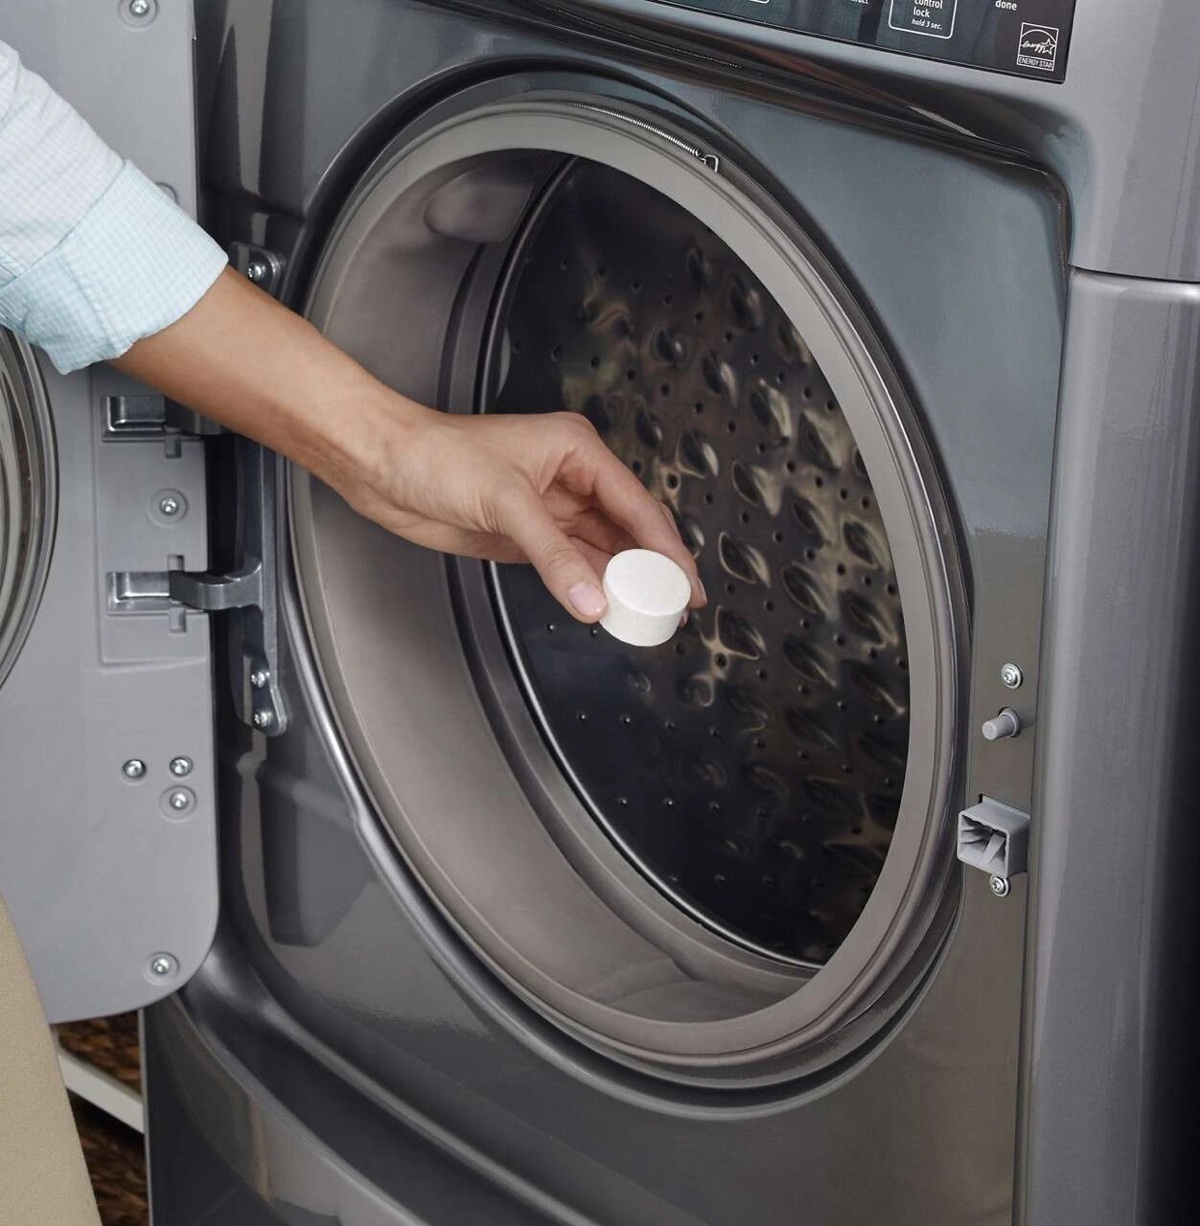
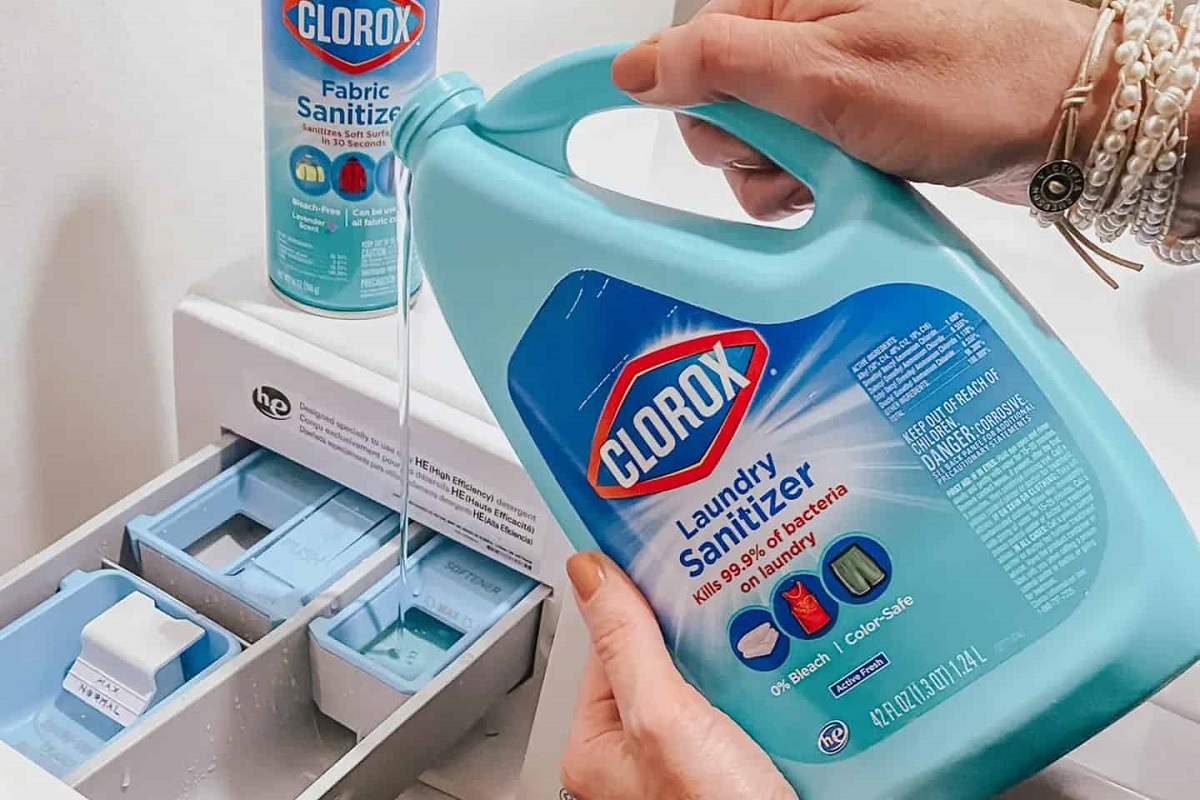
Step 2: Add Bleach
Now that your front load washer is properly prepared, it’s time to add the bleach. Follow these steps to add bleach to your washer:
- Measure the bleach: Consult your washer’s user manual to determine the recommended amount of bleach to use. Measure the bleach according to these guidelines.
- Pour the bleach: Open the detergent drawer and locate the bleach dispenser. Pour the measured amount of bleach into the designated bleach compartment.
- Close the detergent drawer: Make sure the detergent drawer is closed properly.
Adding the bleach to the appropriate compartment ensures that it gets distributed evenly throughout the wash cycle, maximizing its cleaning power.
Remember to always follow the manufacturer’s recommendations for the amount of bleach to use. Using too much bleach can be harmful to your washer and may cause damage to the components.
Once you’ve successfully added the bleach, you’re ready to move on to the next step: running a washing cycle.
Read more: How To Clean A Samsung Top Load Washer
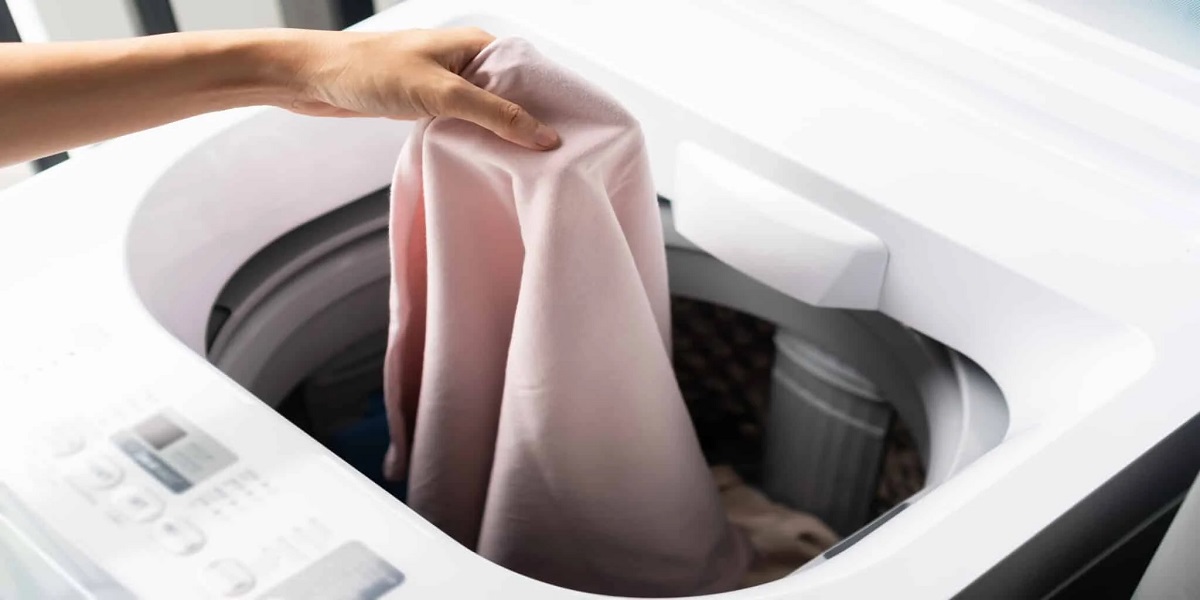
Step 3: Run Washing Cycle
Now that you’ve added bleach to your front load washer, it’s time to run a washing cycle to ensure that the bleach thoroughly cleans the machine. Follow these steps to run a washing cycle:
- Select a cycle: Choose a regular or normal wash cycle with hot water. Hot water helps activate the cleaning properties of the bleach.
- Adjust the settings: If your washer allows, adjust the settings to include an extra rinse or a longer wash cycle for a more thorough cleaning.
- Start the cycle: Press the start button to begin the washing cycle.
During the cycle, the bleach will work to kill off bacteria, remove stains, and eliminate any unpleasant odors in the washer.
While the washing cycle is running, do not add any laundry or additional cleaning agents. Let the bleach work its magic on its own.
Once the cycle is complete, proceed to the next step to continue cleaning your front load washer.
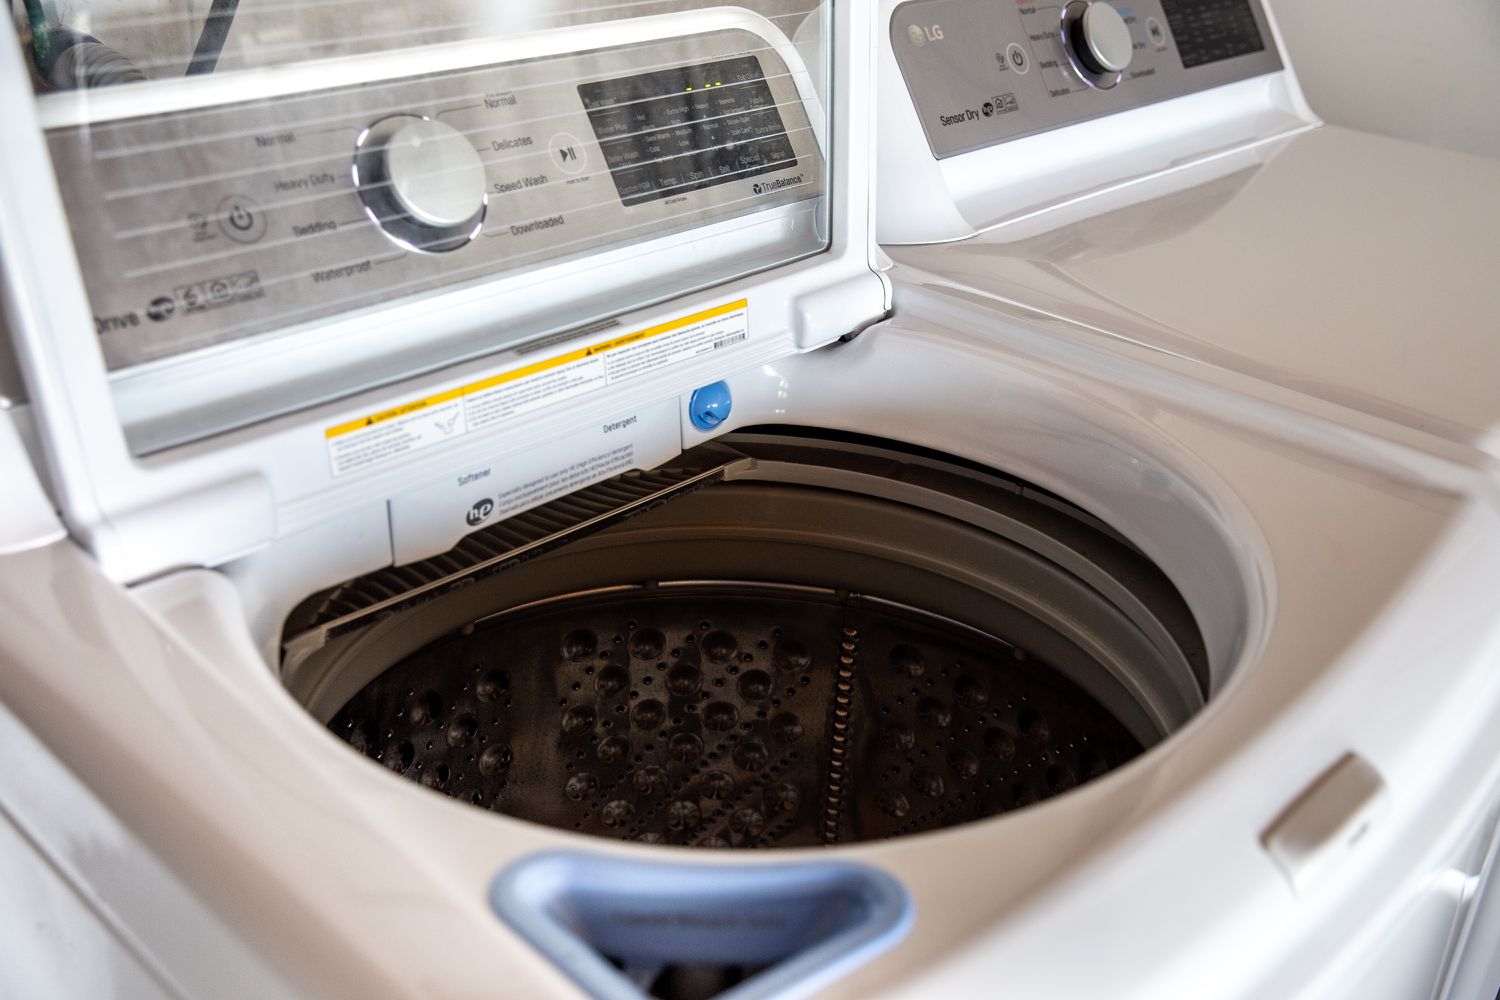
Run a hot water cycle with 1 cup of bleach to clean and disinfect your front load washer. Wipe down the door gasket and detergent dispenser with a bleach solution to remove mold and mildew.
Step 4: Wipe Down Washer
After completing the washing cycle with bleach, it’s time to wipe down the surfaces of your front load washer. This will help remove any remaining residue and ensure a clean and fresh-smelling machine. Follow these steps to wipe down your washer:
- Dampen a cloth or sponge: Dampen a clean cloth or sponge with water.
- Wipe the interior: Start by wiping down the interior surfaces of the washer, including the drum and door, to remove any bleach residue or remaining debris.
- Pay attention to specific areas: Focus on areas prone to buildup, such as the rubber gasket and the detergent drawer. Wipe these areas thoroughly to ensure they are clean and free of any residue.
- Wipe the exterior: Move on to wiping down the exterior surfaces of the washer, including the control panel and the top of the machine. Pay special attention to any visible stains or spots.
When wiping down the rubber gasket, inspect it for any signs of mold or mildew. If you notice any growth, use a solution of equal parts water and bleach to clean it. Gently scrub the affected areas with a cloth or sponge and then wipe it dry.
Remember to take your time and be thorough while wiping down your washer. This step will not only help keep your washer looking clean but also contribute to its overall longevity and performance.
Once you’ve finished wiping down the surfaces, proceed to the next step to clean the detergent drawer.
Step 5: Clean the Detergent Drawer
Next, it’s time to clean the detergent drawer of your front load washer. Over time, detergent residue and fabric softener can build up in the drawer, leading to clogs and unpleasant odors. Follow these steps to clean the detergent drawer:
- Remove the drawer: Pull out the detergent drawer from the washer. Most front load washers have a release button or lever that allows you to easily remove the drawer.
- Soak in warm, soapy water: Fill a sink or a basin with warm water and a small amount of mild soap. Place the detergent drawer in the soapy water and let it soak for a few minutes.
- Scrub and rinse: Use a brush or a sponge to scrub away any hardened residue or stains from the detergent drawer. Pay special attention to the compartments where detergent and fabric softener are dispensed. Rinse the drawer thoroughly with clean water.
- Dry completely: After cleaning, make sure the detergent drawer is completely dry before reinserting it into the washer. Wipe it dry with a clean cloth or allow it to air dry.
Regularly cleaning the detergent drawer helps prevent buildup and ensures that detergents and fabric softeners are dispensed properly during each wash cycle.
Once the detergent drawer is clean and dry, move on to the next step to clean the rubber gasket of your front load washer.
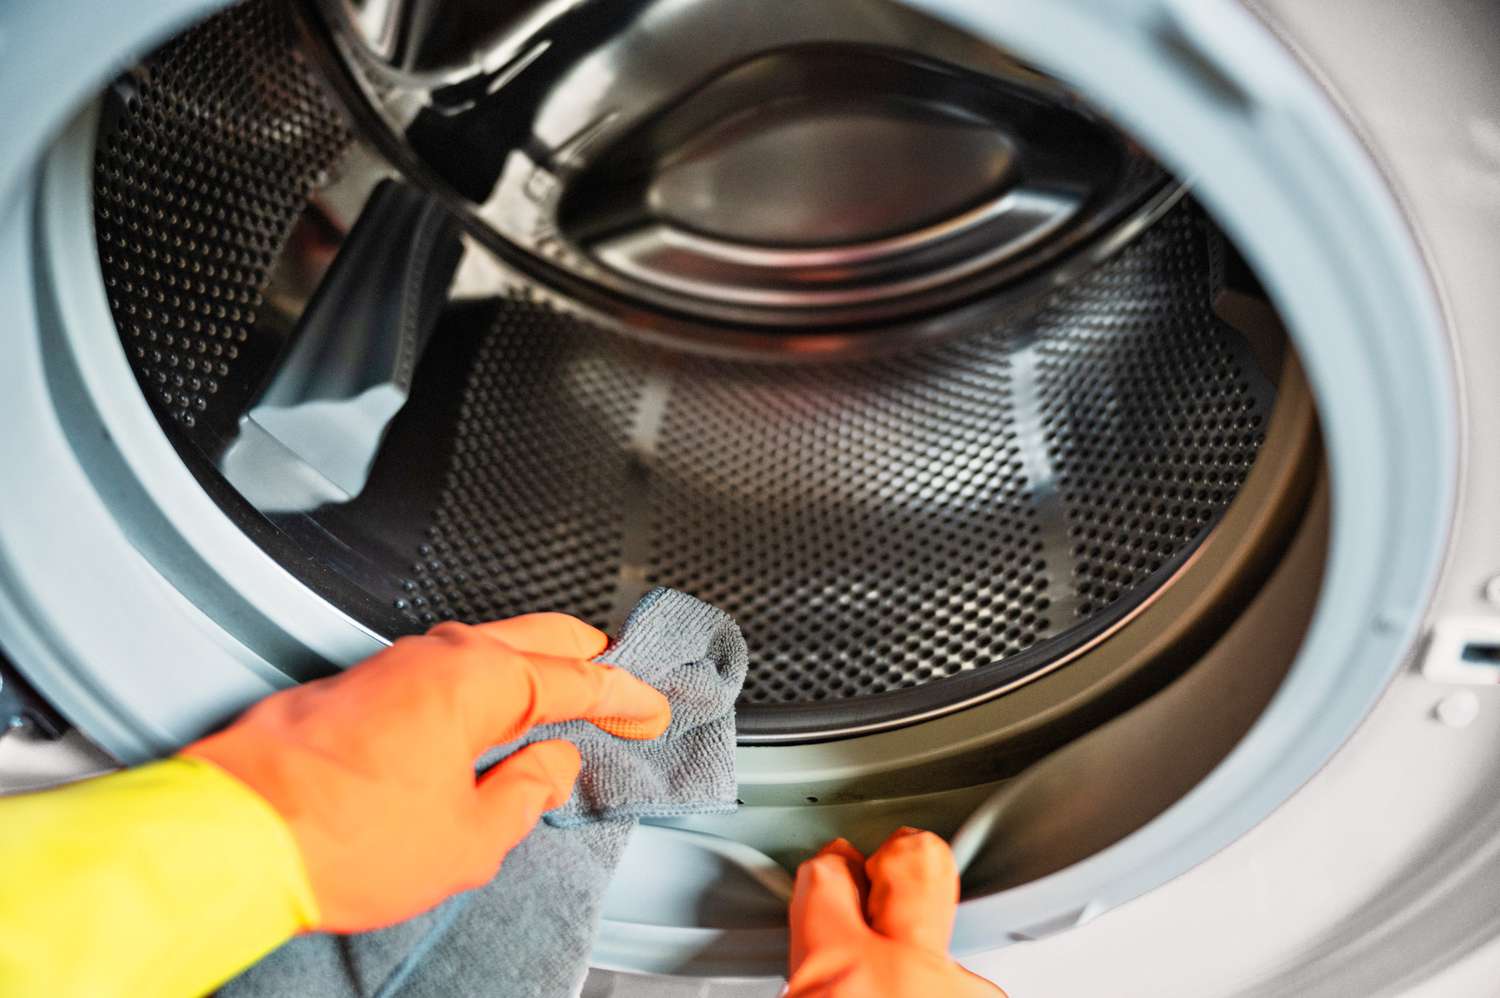
Step 6: Clean the Rubber Gasket
The rubber gasket, also known as the door seal, of a front load washer is prone to mold and mildew growth due to its damp and dark environment. Cleaning the rubber gasket is essential to maintain a fresh and odor-free washer. Follow these steps to clean the rubber gasket:
- Inspect the gasket: Take a close look at the rubber gasket and check for any visible mold or mildew. If you notice any growth, it’s important to address it promptly to prevent further issues.
- Create a cleaning solution: Mix equal parts water and bleach or vinegar in a spray bottle. Alternatively, you can use a specialty washer cleaner or a solution recommended by the washer’s manufacturer.
- Spray the solution: Spray the cleaning solution onto a soft cloth or sponge. Make sure to saturate the cloth or sponge without soaking it.
- Wipe the gasket: Gently scrub the rubber gasket using the cloth or sponge soaked in the cleaning solution. Pay close attention to areas with visible mold or mildew. Use a toothbrush for hard-to-reach areas or stubborn stains.
- Rinse with clean water: Once you’ve thoroughly cleaned the rubber gasket, rinse it with clean water to remove any residue from the cleaning solution.
- Dry the gasket: Finally, use a clean, dry cloth to wipe down the rubber gasket and remove any excess moisture. Leave the washer door open for a while to allow the gasket to air dry.
Regularly cleaning the rubber gasket helps prevent mold and mildew growth, eliminates unpleasant odors, and ensures a hygienic laundry experience.
With the rubber gasket now cleaned, you’re ready to move on to the final step: drying and airing out the washer.
Read more: How to Clean GE Front Load Washer
Step 7: Dry and Air Out the Washer
After completing the cleaning process for your front load washer, it’s crucial to dry and air out the machine properly. This step will help prevent the growth of mold and mildew and keep your washer in optimal condition. Follow these steps to ensure your washer is thoroughly dried and aired out:
- Wipe down the interior: Use a dry cloth to wipe down the interior surfaces of the washer, including the drum and the rubber gasket. This will help remove any moisture left behind after the cleaning process.
- Leave the door open: Keep the door of the washer open for a few hours, or until the interior is completely dry. This allows air to circulate and moisture to evaporate, preventing the growth of mold or mildew.
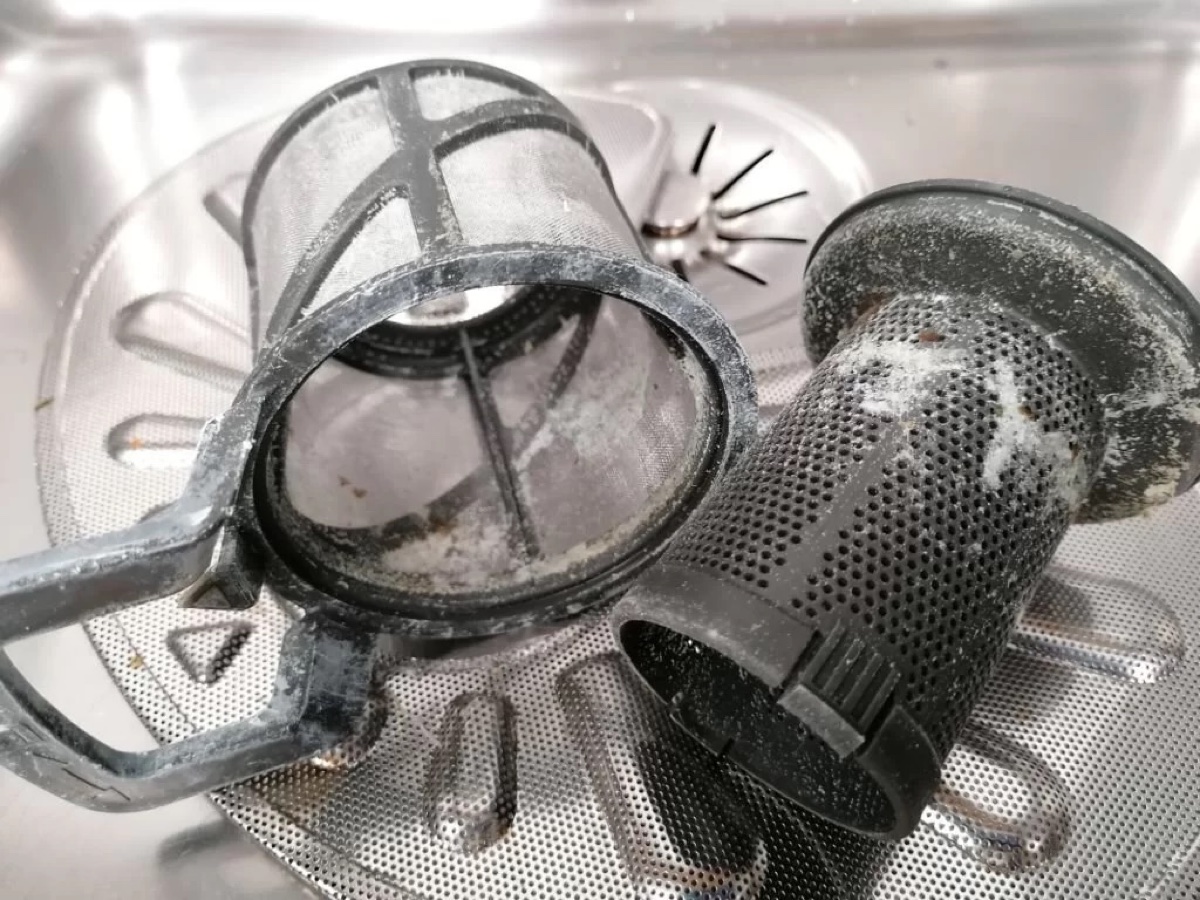
- Remove excess water: Check the drain pump filter, which is usually located at the bottom front of the washer. Remove any debris or trapped excess water from the filter to ensure proper drainage.
- Clean the exterior: Wipe down the exterior surfaces of the washer, including the control panel and the top, to remove any moisture or residue.
- Keep the area well-ventilated: Make sure the area where the washer is located is well-ventilated. You can open windows or use a fan to increase airflow and help dry the washer faster.
By properly drying and airing out the washer, you are preventing the growth of mold and mildew, reducing the risk of unpleasant odors, and maintaining the overall cleanliness of your front load washer.
With the washer dried and aired out, you have successfully completed the cleaning process. Your front load washer is now clean, fresh-smelling, and ready for your next laundry load.
Remember to regularly clean your washer using bleach or other recommended methods to maintain its performance and prolong its lifespan.
Happy laundering!
Conclusion
Cleaning a front load washer with bleach is an essential maintenance task to keep your machine functioning efficiently and smelling fresh. Regular cleaning helps eliminate bacteria, mold, and mildew that can accumulate over time, resulting in unpleasant odors and potential damage to the washer. By following the steps outlined in this guide, you can effectively clean your front load washer with bleach and ensure optimal performance.
It’s important to note that while bleach is a powerful cleaning agent, not all front load washers are suitable for bleach. Always consult your washer’s user manual to ensure that it is safe to use bleach. Additionally, remember to follow safety precautions such as wearing gloves and goggles, and to properly ventilate the area during the cleaning process.
Gathering the necessary supplies before you begin, preparing the washer, adding the correct amount of bleach, running a washing cycle, wiping down the surfaces, cleaning the detergent drawer, and addressing the rubber gasket are essential steps to achieving a clean and fresh-smelling front load washer. Finally, ensure that the washer is dried and properly aired out to prevent the growth of mold and mildew.
By incorporating regular cleaning into your washer maintenance routine, you can enjoy the benefits of a clean and efficient front load washer for years to come. Remember to consult your specific washer’s user manual for any manufacturer recommendations, and adjust the cleaning frequency based on usage and environmental conditions.
Follow these steps and enjoy the satisfaction of a clean and fresh-smelling front load washer that consistently delivers exceptional cleaning results.
Frequently Asked Questions about How To Clean A Front Load Washer With Bleach
Was this page helpful?
At Storables.com, we guarantee accurate and reliable information. Our content, validated by Expert Board Contributors, is crafted following stringent Editorial Policies. We're committed to providing you with well-researched, expert-backed insights for all your informational needs.


0 thoughts on “How To Clean A Front Load Washer With Bleach”