Articles
How To Clean Mold From Front Load Washer
Modified: August 30, 2024
Learn effective methods to clean mold from your front load washer with these informative articles. Say goodbye to unwanted mold and keep your washer clean and fresh!
(Many of the links in this article redirect to a specific reviewed product. Your purchase of these products through affiliate links helps to generate commission for Storables.com, at no extra cost. Learn more)
Introduction
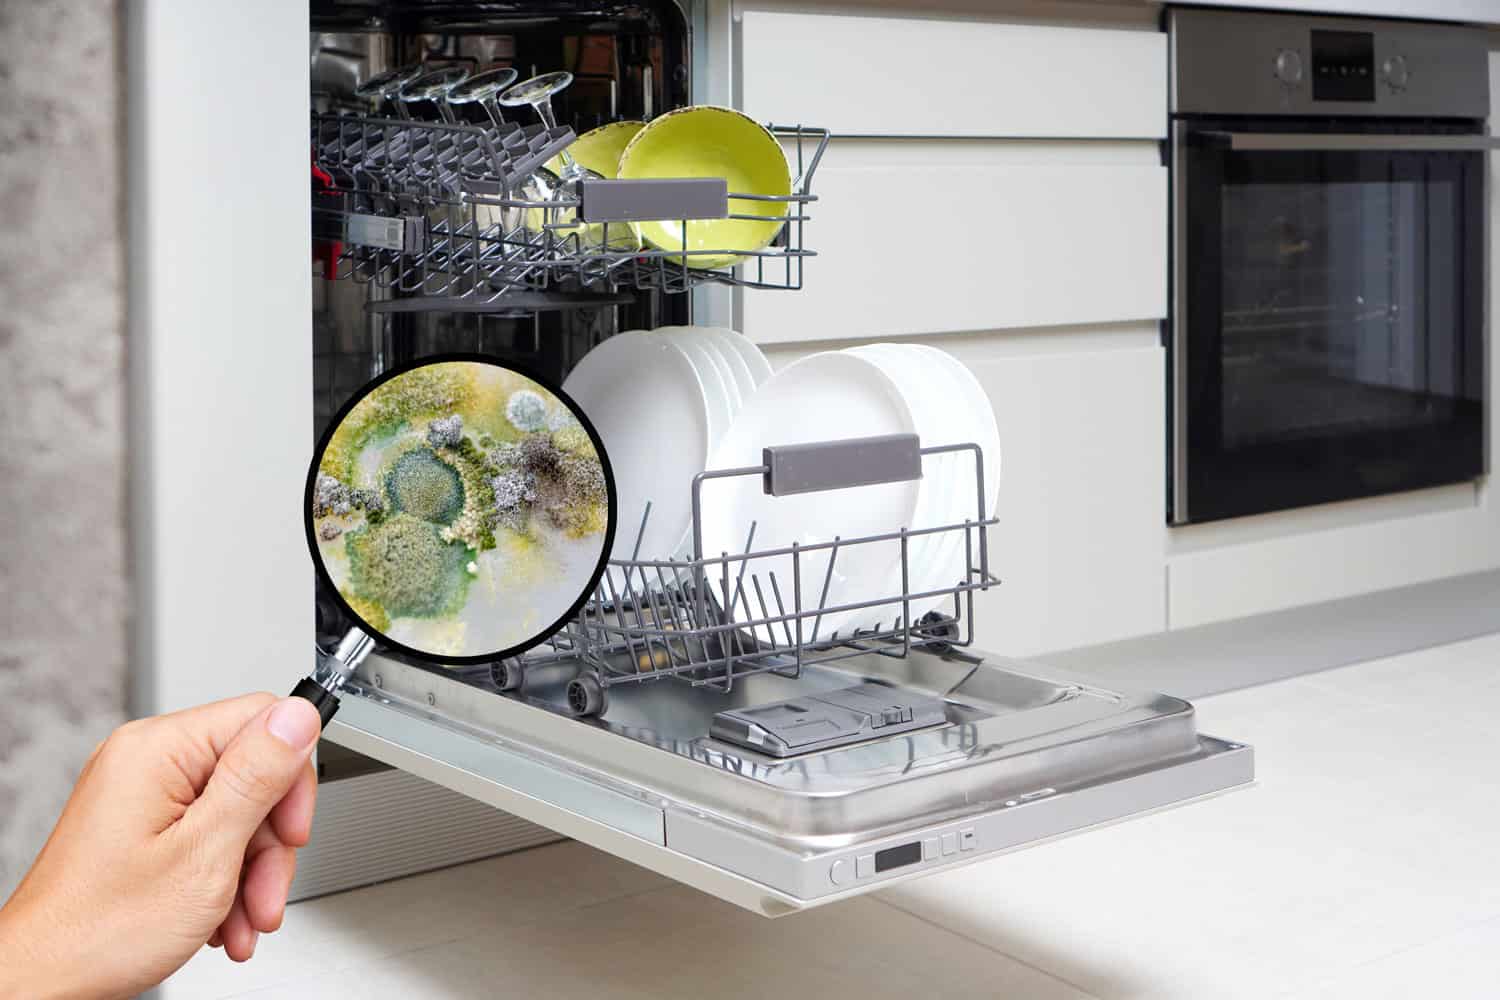
Mold growth is a common problem that many homeowners face, and it can affect various areas of the house, including the front load washer. Front load washers are prone to mold growth due to their design, which can trap moisture and create a favorable environment for mold to thrive.
Mold not only looks unpleasant but can also generate a musty odor and pose potential health risks. Therefore, it’s important to regularly clean and maintain your front load washer to prevent mold growth.
In this article, we’ll guide you through a step-by-step process on how to clean mold from your front load washer, ensuring that it remains in optimal condition and provides clean, fresh laundry every time.
Key Takeaways:
- Regularly cleaning and maintaining your front load washer is crucial to prevent mold growth, ensure clean laundry, and maintain optimal performance. Follow the step-by-step process and safety precautions outlined in this article for a fresh, odor-free washing experience.
- Implement preventive measures such as leaving the door open, using the right detergent, and regularly cleaning the drum and filter to keep your front load washer mold-free. Prioritize cleanliness to ensure a reliable and effective appliance for years to come.
Read more: How To Clean A Front Load Washer With Bleach
Safety Precautions
Before you start cleaning your front load washer, it’s essential to take some safety precautions to protect yourself and ensure efficient cleaning. Here are a few precautions to keep in mind:
- Turn off the power: Before you begin cleaning, make sure to disconnect your front load washer from the power source. This will prevent any electrical accidents or mishaps.
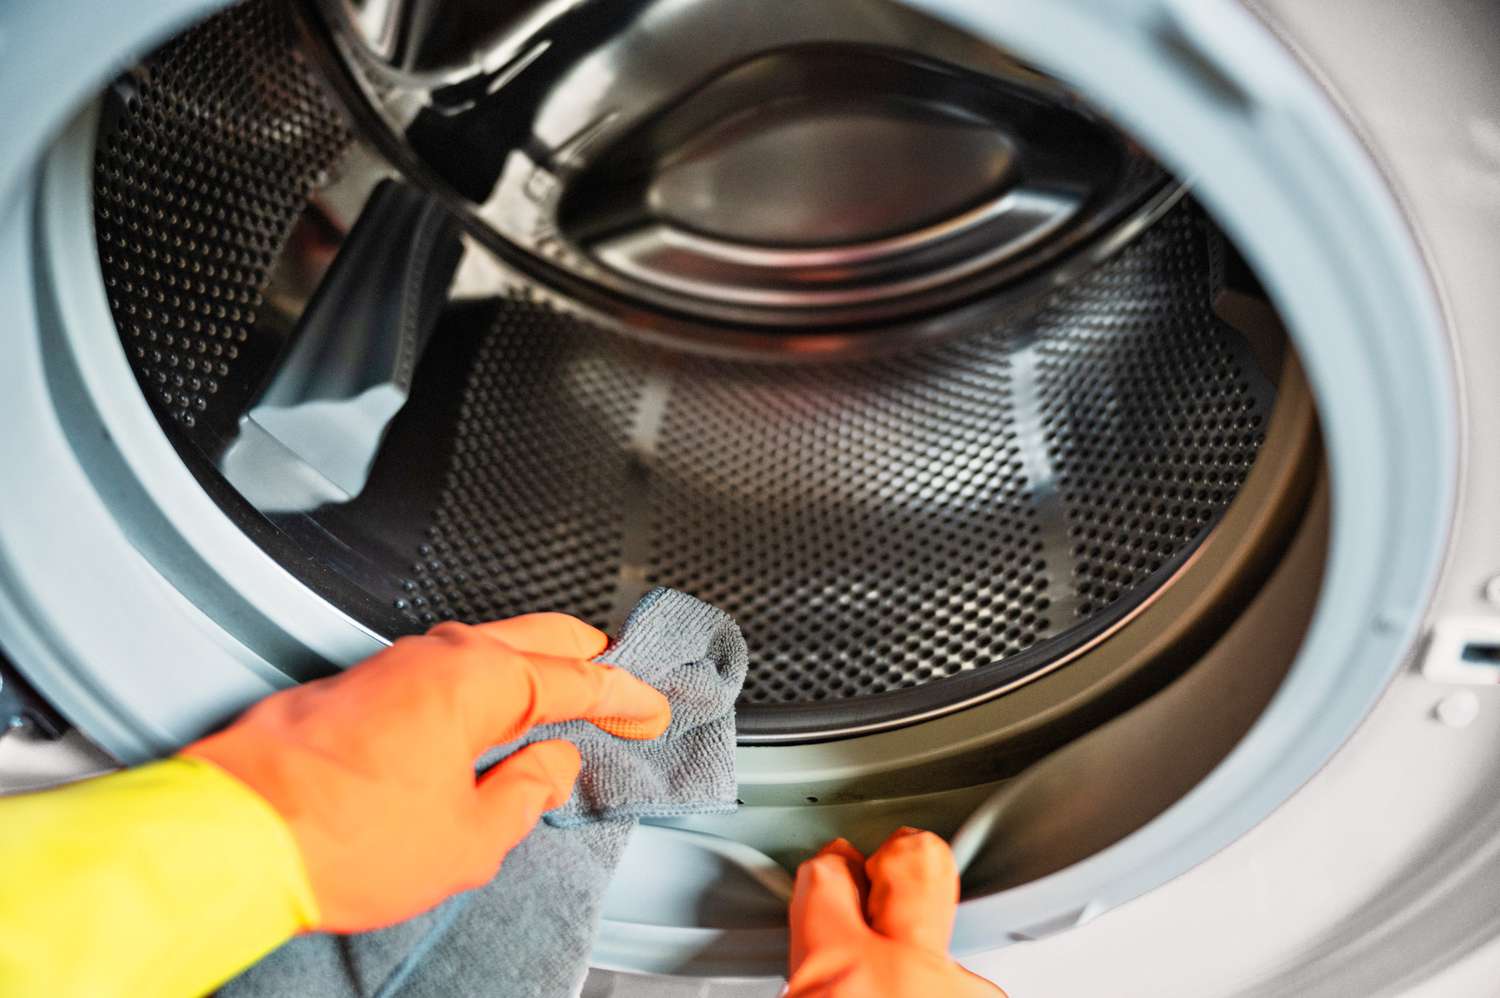
- Wear protective gear: Mold can release spores into the air, which can be harmful if inhaled. Wear rubber gloves, safety goggles, and a face mask to protect yourself from direct contact with the mold and its spores.
- Ventilate the area: Open windows and doors to ensure proper ventilation during the cleaning process. This will help dissipate any fumes from cleaning agents and prevent the accumulation of moisture in the air.
- Keep children and pets away: Make sure to keep children and pets away from the cleaning area to avoid any accidents or exposure to cleaning agents.
- Follow manufacturer’s instructions: Refer to the manufacturer’s manual for specific cleaning instructions and any safety precautions that pertain to your particular front load washer model.
By taking these safety precautions, you can ensure a safe cleaning process and minimize the risk of any accidents or health hazards.
Materials Needed
Before you begin the process of cleaning mold from your front load washer, gather the following materials:
- Vinegar: Vinegar is a natural and effective cleaner that can help remove mold and eliminate odors. You’ll need distilled white vinegar for this cleaning process.
- Baking Soda: Baking soda is another powerful natural cleaner that can help eliminate mold and absorb odors.
- Mild Detergent: Choose a mild detergent that is suitable for your front load washer. Avoid using harsh chemicals or bleach, as they can damage the washer’s components.
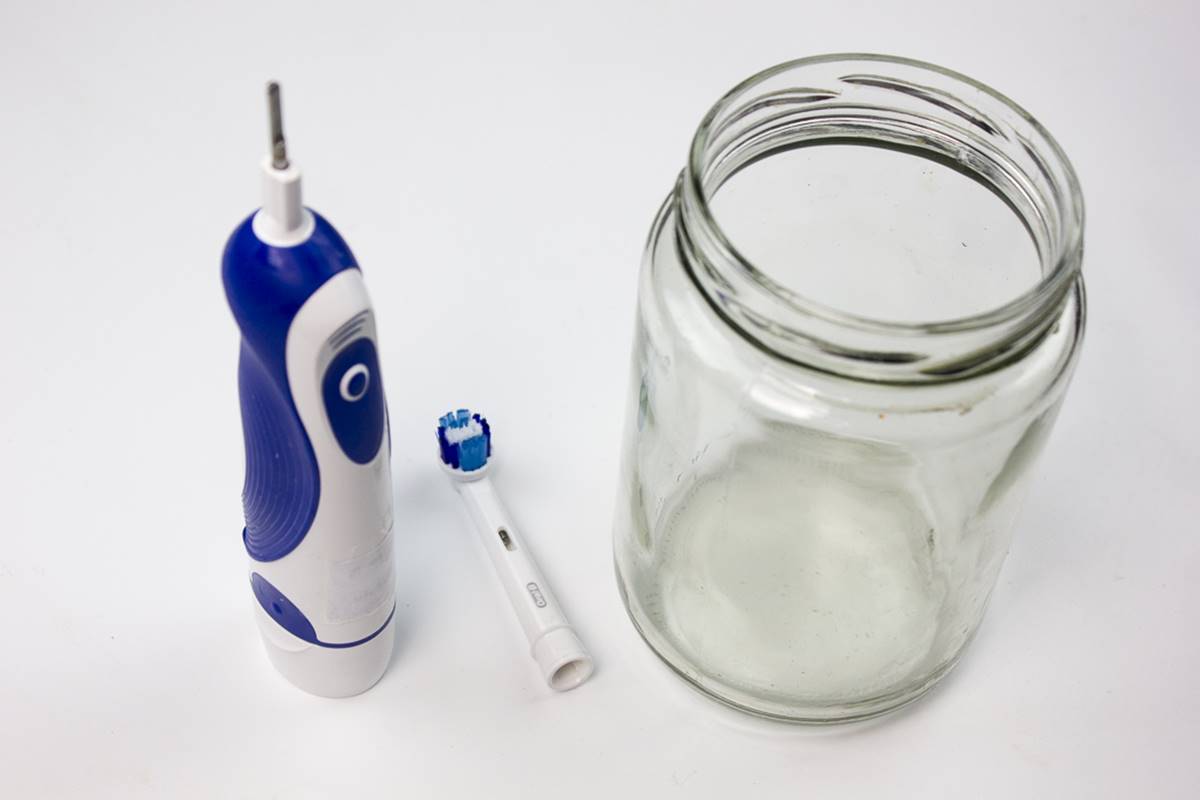
- Toothbrush or Soft Brush: A toothbrush or soft brush will be useful for scrubbing hard-to-reach areas and removing mold from the rubber seal.
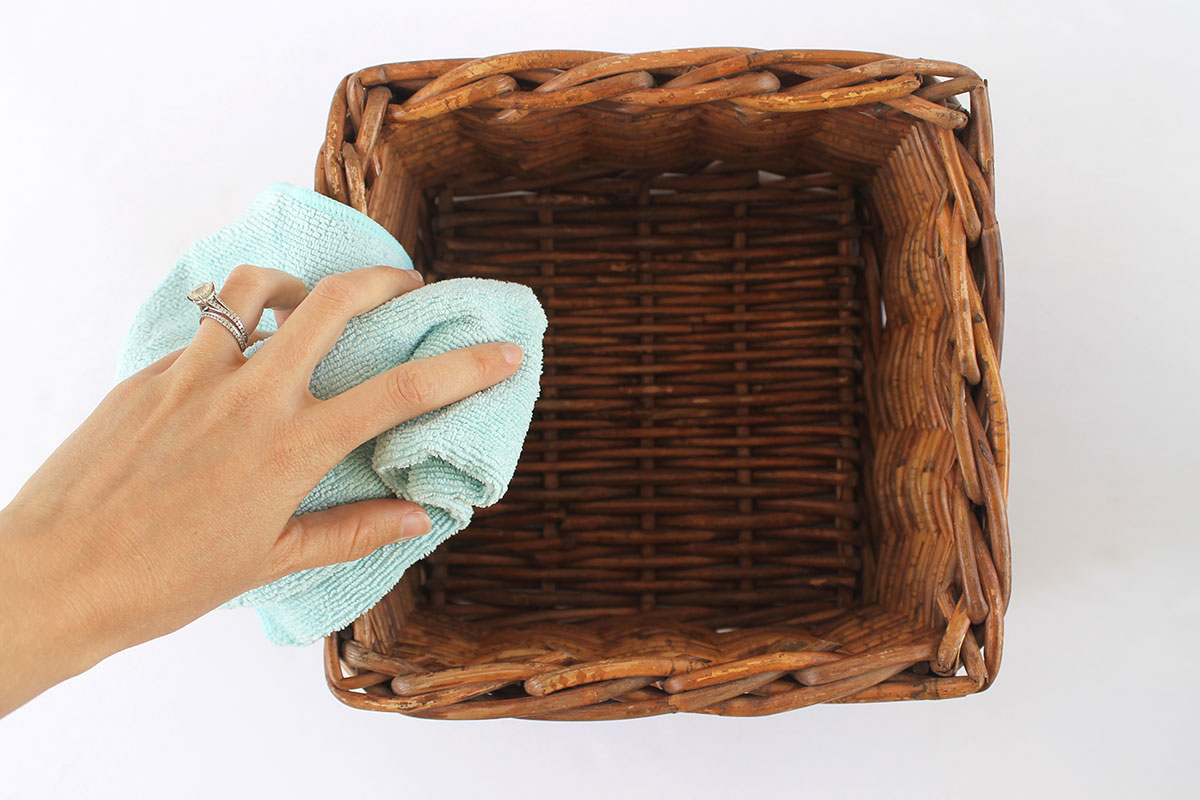
- Cloth or Sponge: Keep a cloth or sponge handy for wiping down surfaces and applying cleaning solutions.
- Clean, Dry Towels: Have some clean, dry towels available to wipe down the washer after cleaning and to absorb any excess moisture.
These materials are easily available and will help you effectively remove mold from your front load washer.
Step 1: Inspecting the Washer
The first step in cleaning mold from your front load washer is to inspect it thoroughly. This will help you identify areas where mold is present and determine the extent of the cleaning required. Here’s what you need to do:
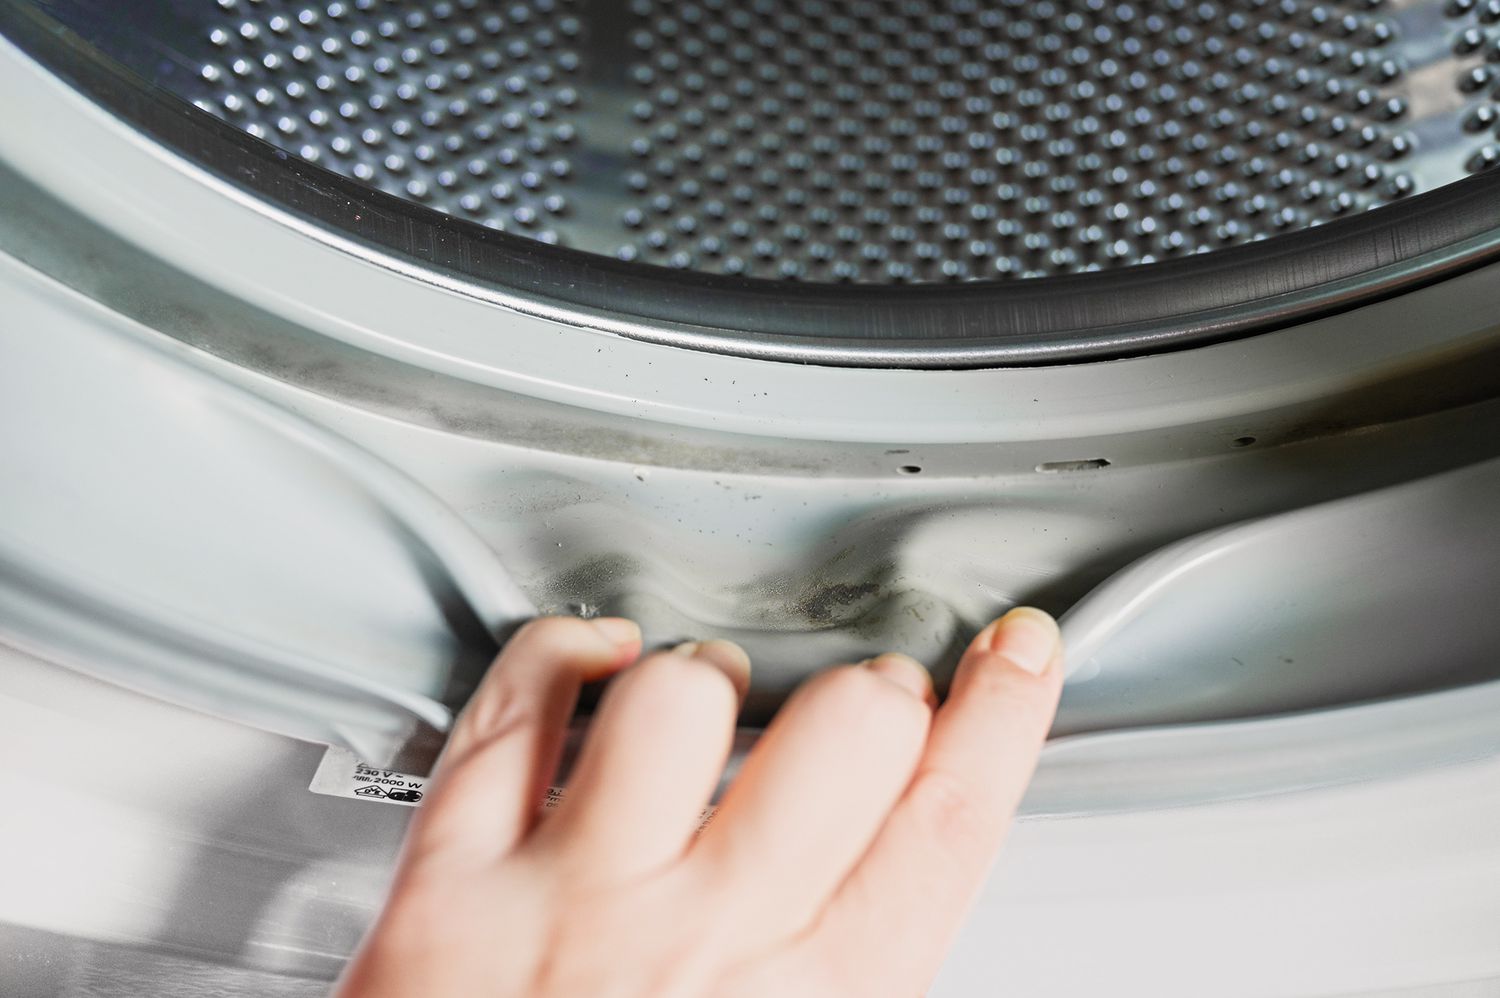
- Open the door: Start by opening the door of your front load washer. Inspect the rubber seal around the door for any visible signs of mold. Look for black spots, discoloration, or a musty odor, which are common indications of mold growth.
- Check the detergent dispenser: Remove the detergent dispenser and inspect it for any mold or residue. Mold can accumulate in this area due to residual detergent and moisture.
- Examine the drum: Take a closer look inside the drum of your washer. Look for any mold or mildew stains on the walls, door, or gasket. Pay attention to the folds and creases where water and moisture can get trapped.
- Inspect the filter: Locate and inspect the filter of your front load washer. Check for any buildup of lint, debris, or mold. A clogged or dirty filter can contribute to mold growth.
Once you have completed the inspection, you will have a clear understanding of the areas that require cleaning and the level of mold buildup. This will help you proceed effectively with the removal process, ensuring a thorough cleaning of your front load washer.
Step 2: Removing Mold from the Rubber Seal
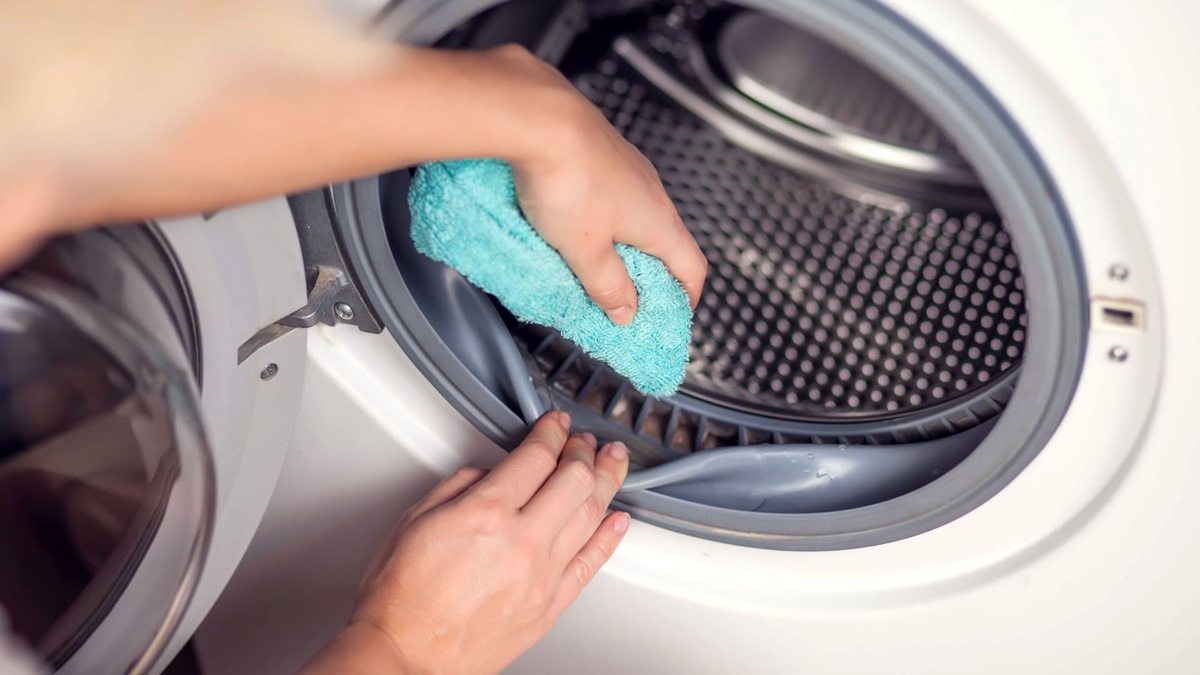
The rubber seal around the door of your front load washer is a common area for mold growth. It is crucial to clean this area thoroughly to prevent the spread of mold and eliminate any musty odors. Follow these steps to remove mold from the rubber seal:
- Mix a cleaning solution: In a bowl, mix equal parts of distilled white vinegar and water. Alternatively, you can use a mild detergent diluted with water.
- Dip a toothbrush or soft brush: Dip a toothbrush or a soft brush into the cleaning solution. Make sure it is moist but not dripping wet.
- Scrub the rubber seal: Gently scrub the rubber seal, paying close attention to the areas where mold is visible. Use circular motions and apply gentle pressure to remove the mold. Be thorough and methodical, ensuring you reach all the nooks and crevices.
- Rinse with clean water: After scrubbing, rinse the rubber seal with clean water to remove any residue or cleaning solution. Use a damp cloth or sponge to wipe away any excess moisture.
It’s important to note that for severe mold growth, you may need to repeat the cleaning process or use a stronger cleaning solution. Additionally, if the rubber seal is damaged or deteriorated, it may need to be replaced to prevent further mold growth.
By removing mold from the rubber seal, you not only improve the cleanliness of your washer but also prevent the mold from spreading to other areas of the machine.
Use a mixture of 1 cup of bleach and 1 gallon of hot water to clean mold from the rubber gasket and detergent dispenser of your front load washer. Wipe down with a clean cloth and leave the door open to air dry.
Read more: How To Deep Clean Top Load Washer
Step 3: Cleaning the Detergent Dispenser
The detergent dispenser in your front load washer is another area prone to mold growth. It can become a breeding ground for bacteria and mold due to residual detergent and moisture. Follow these steps to clean the detergent dispenser:
- Remove the detergent dispenser: Start by removing the detergent dispenser from your washer. Most dispensers can be easily pulled out or have a release button.
- Soak in warm water: Fill a basin or sink with warm water. Submerge the detergent dispenser in the water and let it soak for a few minutes. This will help loosen any residue or mold.
- Scrub the dispenser: Using a toothbrush or sponge, scrub the detergent dispenser thoroughly. Pay attention to the compartments where different types of detergent are dispensed.
- Rinse with clean water: After scrubbing, rinse the dispenser under running water to remove any remaining residue or cleaning solution.
- Dry the dispenser: Once clean, dry the detergent dispenser completely. Ensure it is free from moisture before placing it back into the washer.
Regularly cleaning the detergent dispenser prevents mold and buildup, ensuring that your washer dispenses detergent effectively and maintains optimal performance.
Note: Some front load washers have a separate fabric softener dispenser compartment. Make sure to clean this compartment as well using the same process.
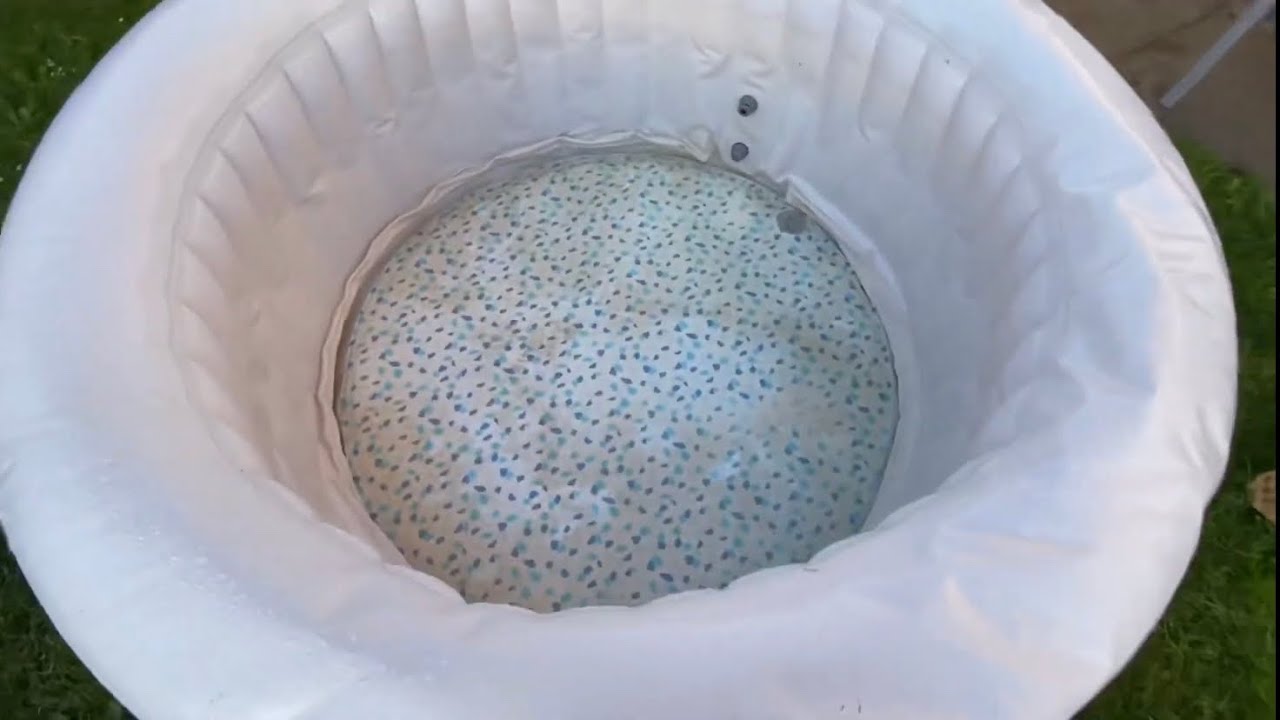
Step 4: Cleaning the Drum
The drum of your front load washer can also harbor mold and mildew, especially in hard-to-reach areas. Cleaning the drum is crucial to remove any residual mold and ensure a clean washing environment. Follow these steps to clean the drum:
- Empty the washer: Start by removing any clothing or laundry from the drum. Make sure the washer is completely empty before proceeding.
- Mix a cleaning solution: In a clean bowl, mix equal parts of distilled white vinegar and water. This solution will help to remove mold and eliminate any lingering odors.
- Apply the cleaning solution: Pour the cleaning solution directly into the drum. Make sure to distribute it evenly to cover all areas of the drum.
- Run a hot water cycle: Set your washer to run a hot water cycle or the highest temperature setting available. This will help activate the cleaning solution and kill any remaining mold or bacteria.
- Add baking soda: For additional cleaning power, sprinkle baking soda into the drum. Baking soda helps eliminate odors and acts as a natural cleanser.
- Run an extra rinse cycle: After the hot water cycle is complete, run an additional rinse cycle to ensure that any leftover cleaning solution and residue are thoroughly removed.
By cleaning the drum, you not only eliminate mold but also ensure that your front load washer operates more efficiently and provides cleaner laundry.
Note: If there is severe mold growth or persistent odors, you may need to repeat the cleaning process or seek professional assistance.
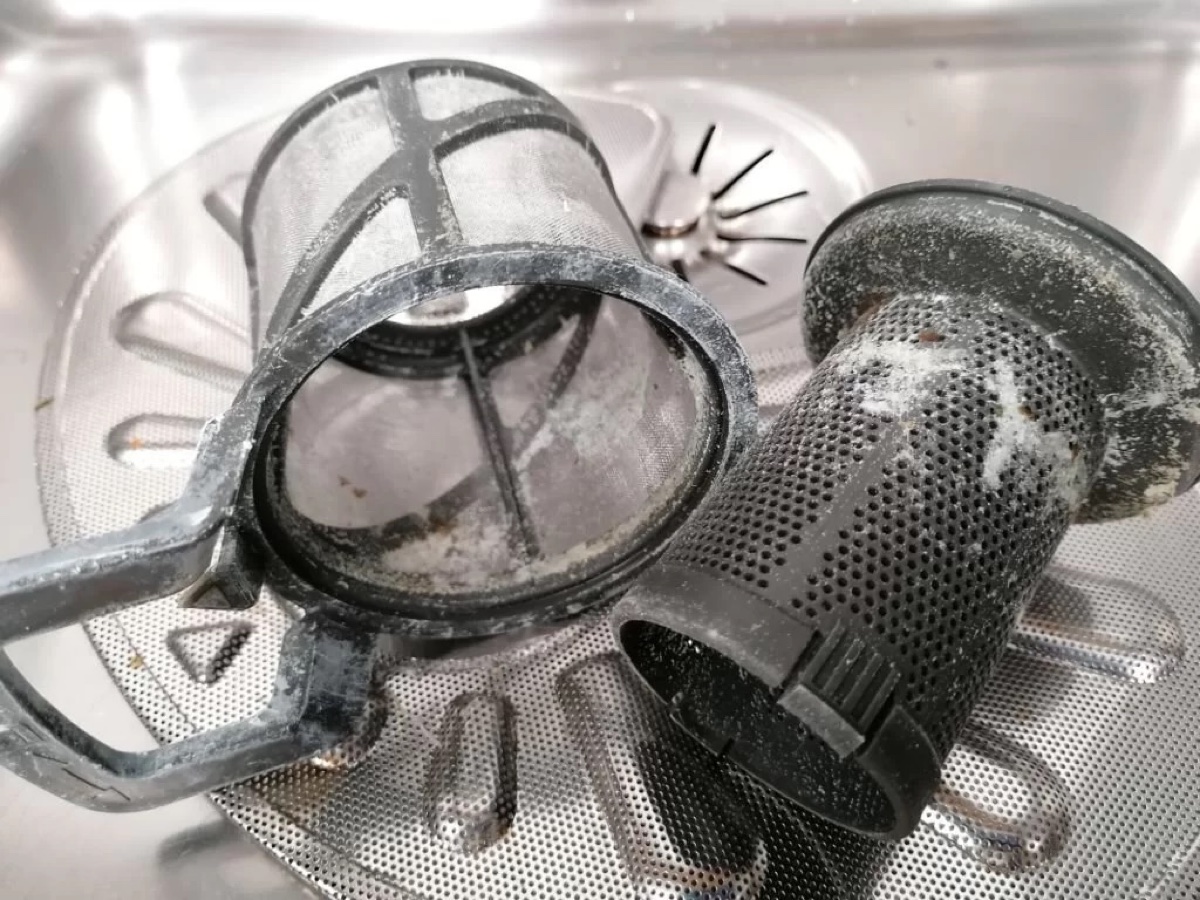
Step 5: Cleaning the Filter
The filter in your front load washer plays a vital role in trapping lint, debris, and larger particles from the water used during the wash cycle. Over time, these particles can accumulate and contribute to mold growth. Cleaning the filter is an essential step in maintaining the efficiency of your washer. Follow these steps to clean the filter:
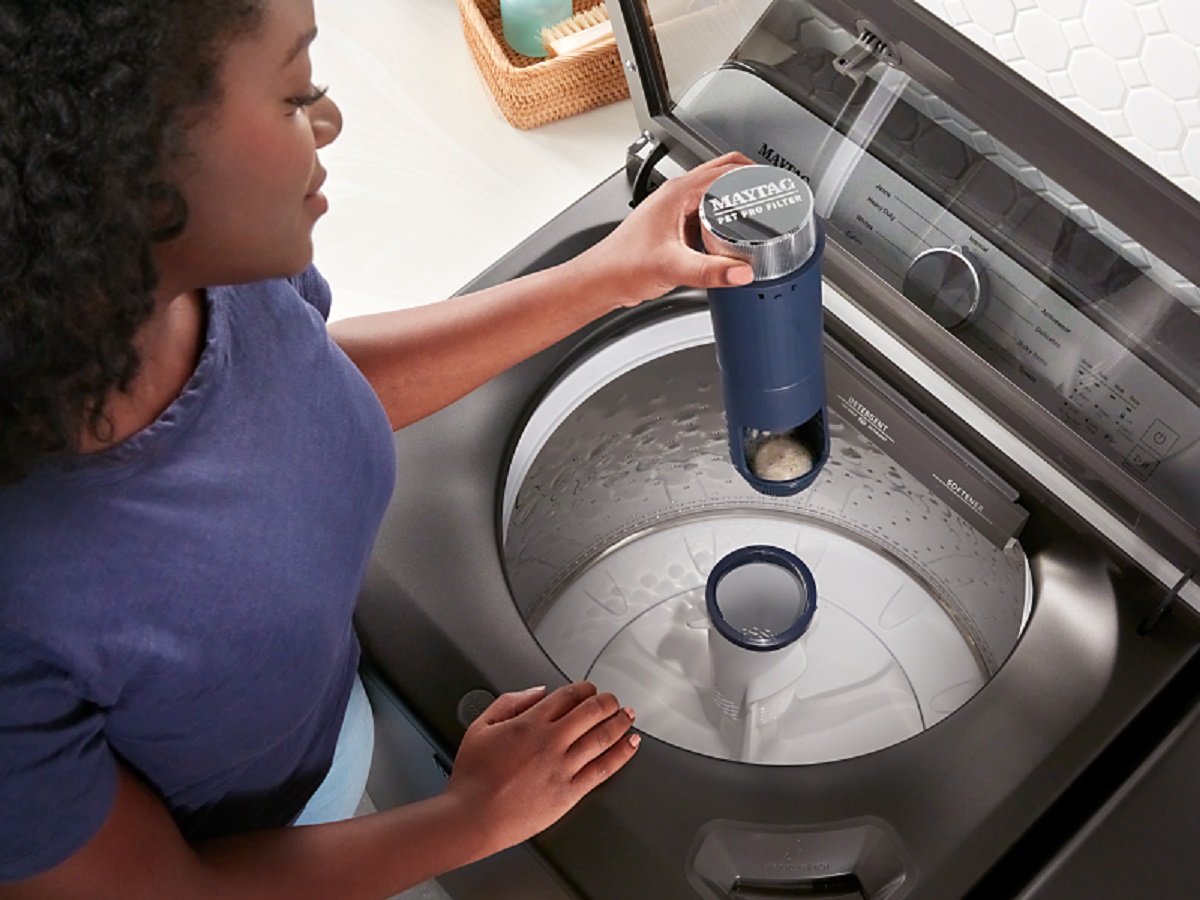
- Locate the filter: Consult your washer’s manual to locate the filter. In most front load washers, the filter is located at the bottom front of the machine beneath a small access panel.
- Prepare a basin or shallow dish: Place a basin or shallow dish beneath the filter area to catch any water that may spill out during the cleaning process.
- Remove the filter: Open the access panel and carefully remove the filter. Be cautious as some water may drain out. If necessary, use a clean towel to absorb any excess water.
- Clean the filter: Rinse the filter under running water to remove any debris, lint, or mold. You can also use a soft brush or toothbrush to scrub the filter gently.
- Inspect for mold or damage: Take a close look at the filter to ensure there are no signs of mold or damage. If you notice mold growth, scrub the filter more thoroughly or consider replacing it.
- Reinstall the filter: Once the filter is clean and dry, reinsert it into the washer, securing it back into place. Make sure it is fitted correctly and tightly.
Regularly cleaning the filter prevents clogs, improves water drainage, and reduces the risk of mold growth. It is recommended to clean the filter at least once a month or as needed based on your usage.
Note: If you’re unsure about locating or cleaning the filter, refer to your washer’s manual or consult the manufacturer for specific instructions.
Step 6: Prevention Tips
Once you have cleaned your front load washer and eliminated mold, it’s essential to take preventive measures to avoid future mold growth. By following these simple tips, you can maintain a clean and mold-free washing machine:
- Leave the door open: After each wash cycle, leave the door of your front load washer open to allow air circulation and moisture to evaporate. This helps prevent the buildup of dampness that can lead to mold growth.
- Clean the rubber seal regularly: Wipe down the rubber seal after each use to remove any moisture or residue that may have accumulated. Use a clean, dry cloth or sponge to ensure the seal is free from moisture.
- Empty the detergent dispenser: Avoid leaving stagnant water or detergent residue in the dispenser. After each use, remove and clean the dispenser, allowing it to dry before placing it back into the washer.
- Use the right detergent: Opt for high-efficiency (HE) detergent specifically formulated for front load washers. Using the correct detergent helps prevent buildup and reduces the chance of mold growth.
- Regularly clean the drum and filter: Make it a habit to clean the drum and filter of your front load washer at least once a month, or more frequently if needed. This regular maintenance helps remove any debris or particles that can contribute to mold growth.
- Avoid overloading the washer: Overloading the washer can prevent proper water drainage and airflow, creating an environment conducive to mold growth. Follow the manufacturer’s guidelines for load capacity to ensure optimal performance.
- Keep the laundry area dry: Ensure that the laundry area is well-ventilated and free from excess moisture. Use a dehumidifier if necessary to maintain a dry environment and minimize the risk of mold growth.
By implementing these preventive measures, you can keep your front load washer clean, fresh, and free from mold growth. Regular maintenance and good laundry habits go a long way in preventing mold-related issues and ensuring a reliable and hygienic washing experience.
Read more: How To Clean A Samsung Top Load Washer
Conclusion
Cleaning mold from your front load washer is essential for maintaining its performance, preventing odors, and ensuring clean laundry. By following the step-by-step process outlined in this article, you can effectively remove mold and keep your washer in optimal condition.
Start by inspecting your washer, paying close attention to the rubber seal, detergent dispenser, drum, and filter. Thoroughly clean each of these areas using appropriate cleaning solutions, such as vinegar and water or mild detergent. Rinse and dry the components to remove any residue and moisture.
Additionally, take safety precautions by wearing protective gear and following the manufacturer’s instructions. Keep the laundry area well-ventilated and practice regular maintenance to prevent future mold growth.
Mold in your front load washer not only affects its functionality but can also impact your health and the cleanliness of your laundry. By utilizing the tips and strategies outlined in this article, you can eradicate mold, prevent its recurrence, and enjoy a fresh, odor-free washing experience.
Regular cleaning and maintenance are key to keeping your front load washer running efficiently and prolonging its lifespan. By prioritizing cleanliness, you can ensure that your washer remains a reliable and effective appliance for years to come.
Frequently Asked Questions about How To Clean Mold From Front Load Washer
Was this page helpful?
At Storables.com, we guarantee accurate and reliable information. Our content, validated by Expert Board Contributors, is crafted following stringent Editorial Policies. We're committed to providing you with well-researched, expert-backed insights for all your informational needs.


0 thoughts on “How To Clean Mold From Front Load Washer”