Articles
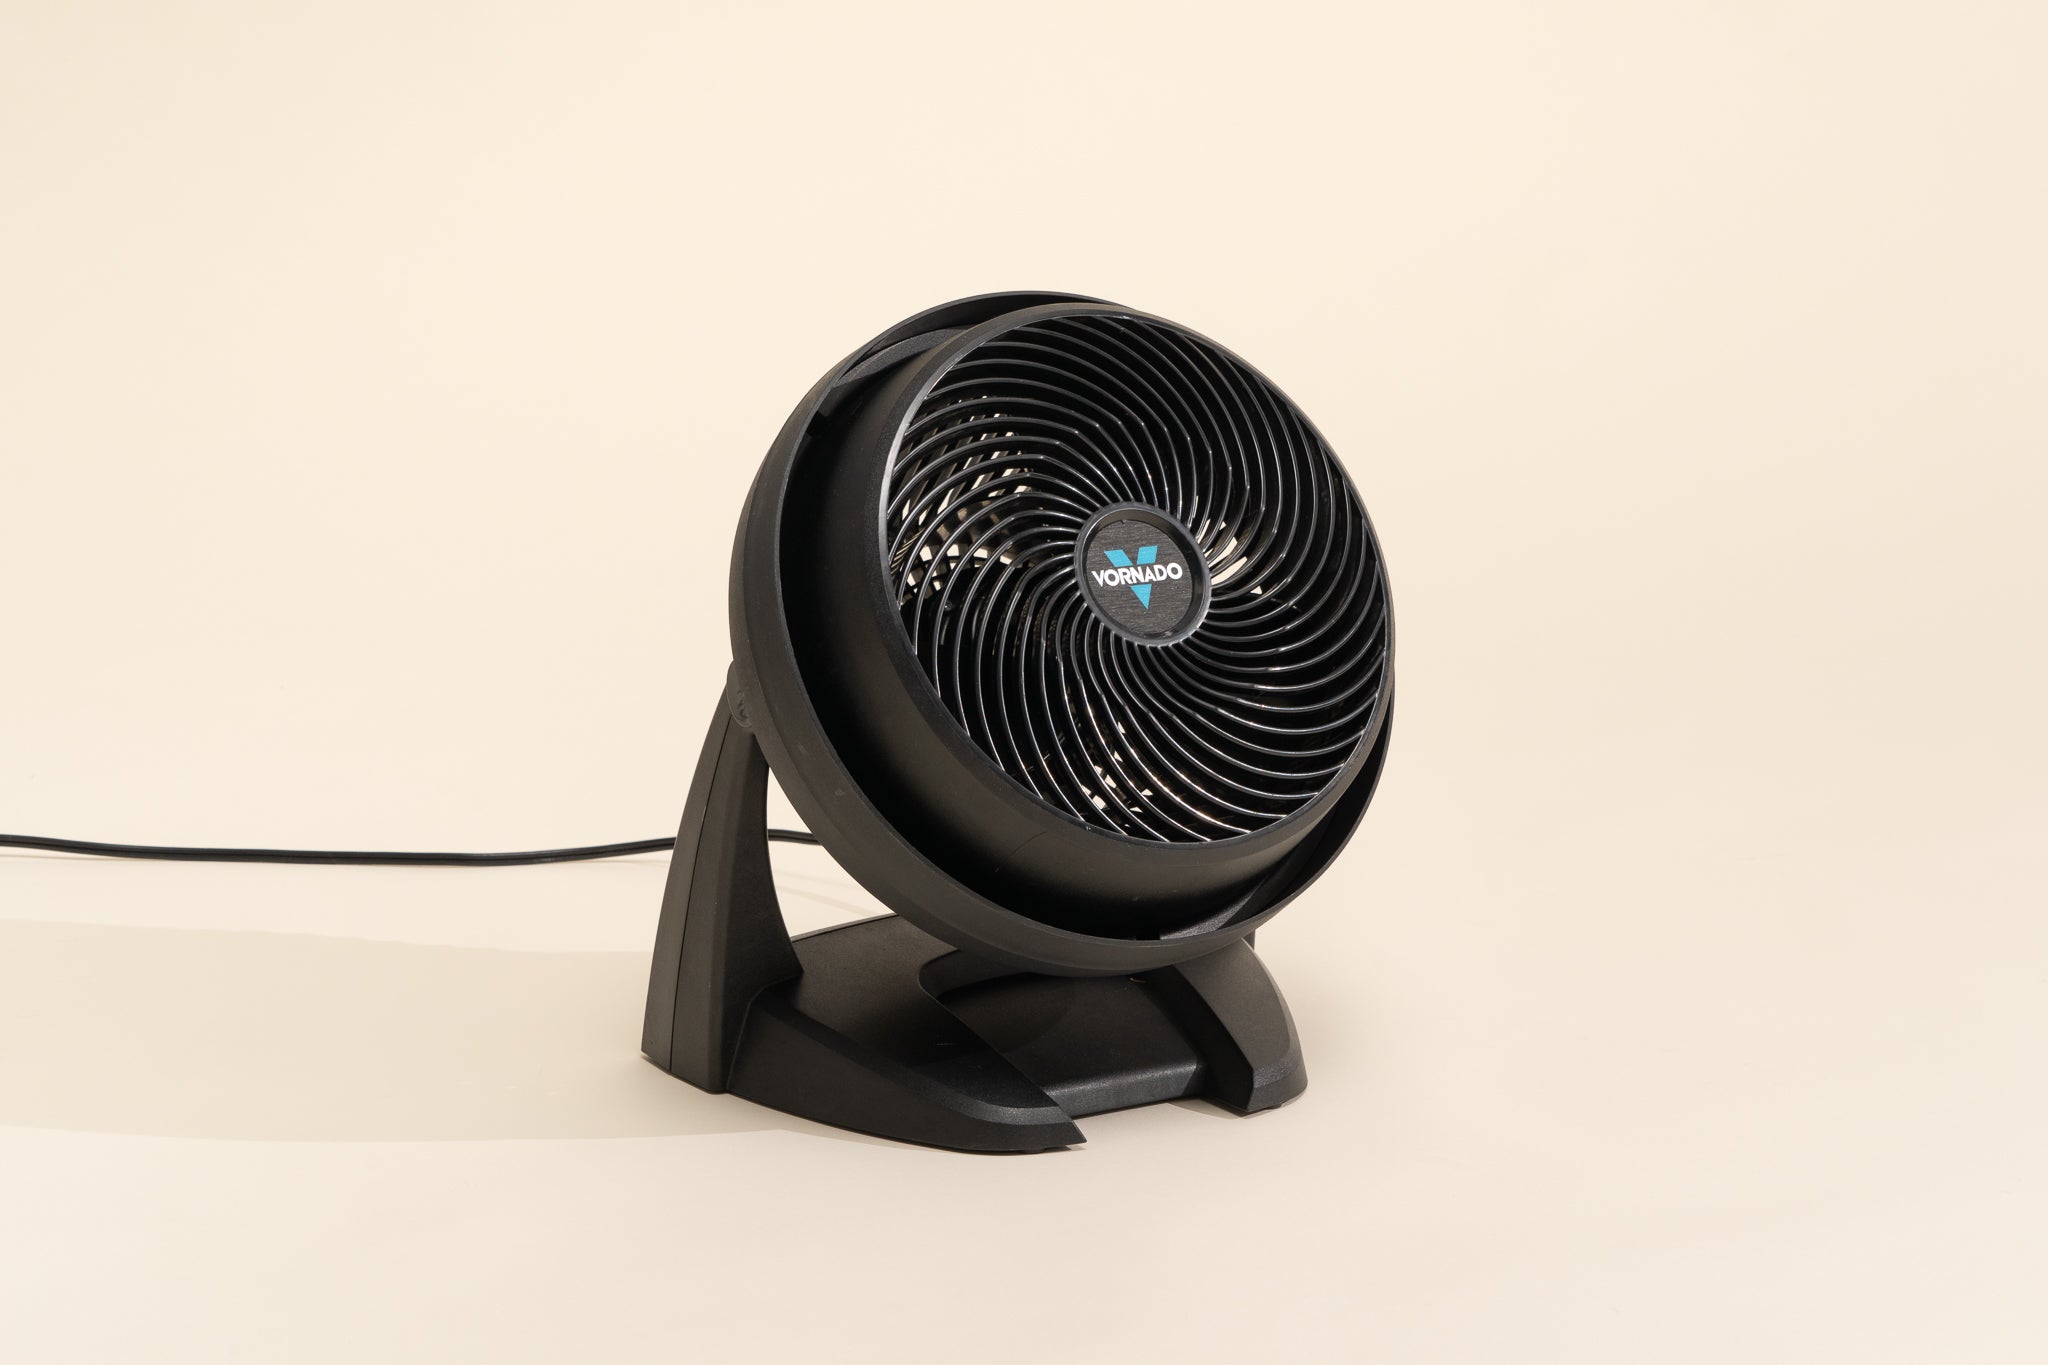
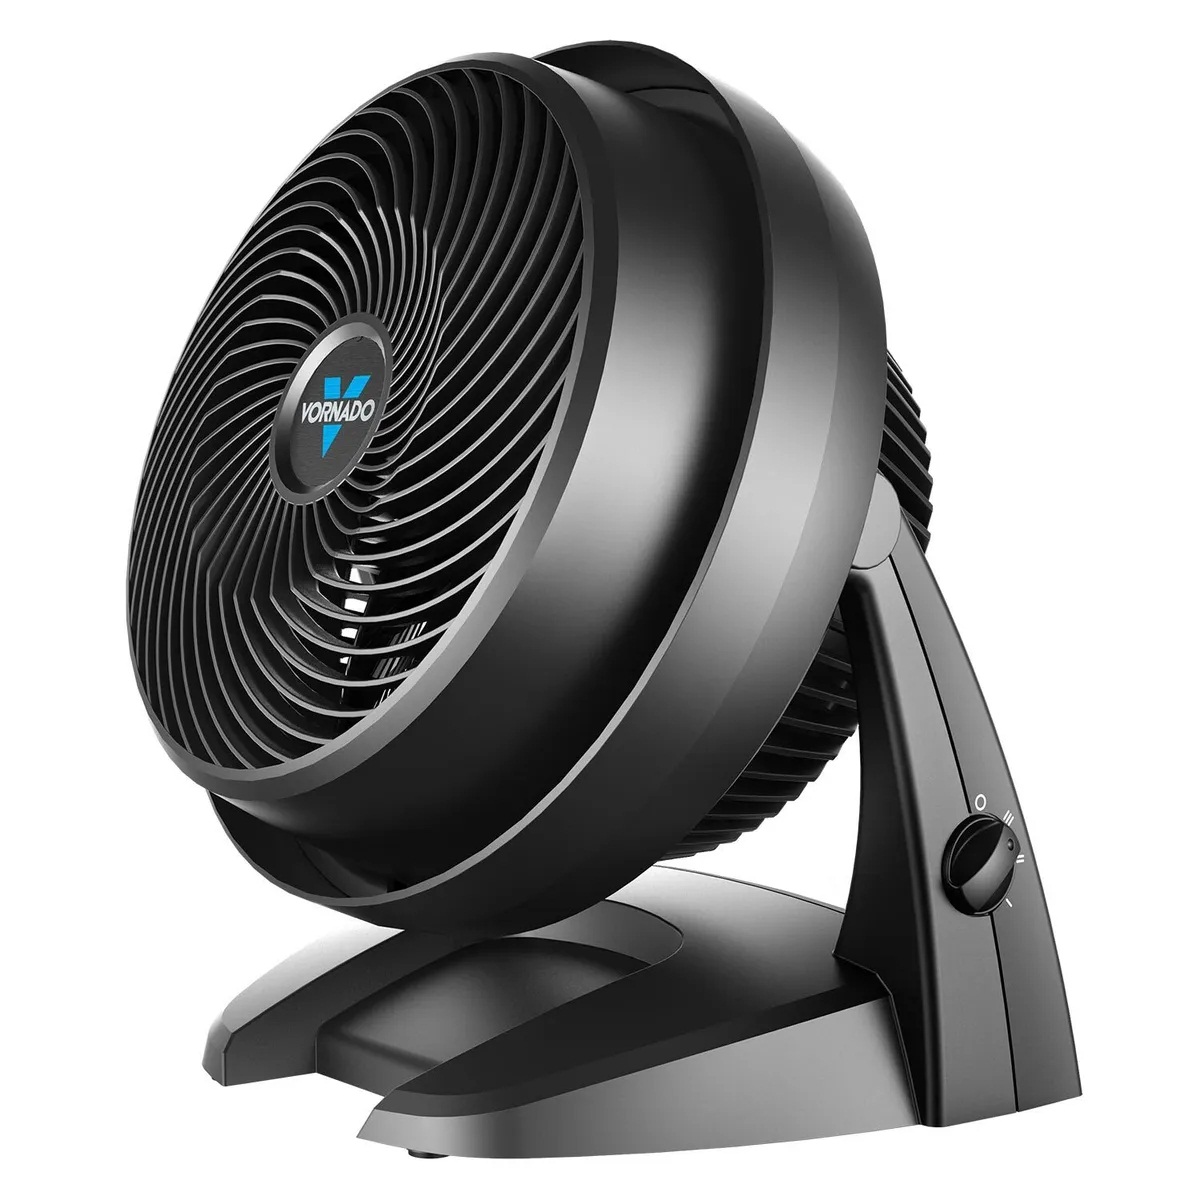
How Do You Clean A Vornado Fan
Modified: March 25, 2024
Learn effective techniques and tips on cleaning your Vornado fan with our comprehensive articles. Keep your fan in top shape with our expert advice.
(Many of the links in this article redirect to a specific reviewed product. Your purchase of these products through affiliate links helps to generate commission for Storables.com, at no extra cost. Learn more)
Introduction
Cleaning a Vornado fan is essential to maintain its performance and longevity. Over time, dust and dirt can accumulate on the fan’s exterior, blades, and motor, reducing its efficiency and potentially causing malfunctions. Regularly cleaning your Vornado fan not only ensures that it continues to circulate air effectively but also helps to improve the air quality in your home.
In this article, we will guide you through the process of cleaning a Vornado fan, providing step-by-step instructions and helpful tips to make the task easier and more effective. Before we dive into the cleaning process, it’s important to note that your safety should always be a top priority. Make sure to follow all safety precautions and disconnect the fan from the power source before cleaning.
Key Takeaways:
- Regularly cleaning your Vornado fan not only ensures effective air circulation but also improves air quality in your home. Prioritize safety, gather supplies, and follow step-by-step instructions for a refreshed and efficient fan.
- Disassembling, cleaning, and reassembling your Vornado fan is essential for maintaining its performance and longevity. Follow safety precautions, gather supplies, and enjoy the benefits of a clean and efficient fan.
Read more: How To Clean A Vornado Tower Fan
Safety Precautions
Before you start cleaning your Vornado fan, it’s crucial to take some safety precautions to prevent accidents and ensure your well-being. Follow these guidelines to ensure a safe cleaning process:
- Disconnect the power: Before you begin cleaning, unplug the Vornado fan from the power outlet. This will prevent any electrical mishaps and keep you safe.
- Let the fan cool down: If the fan has been running, wait for it to cool down completely before starting the cleaning process. Hot surfaces can cause burns, so it’s important to exercise caution.
- Use protective gear: To avoid inhaling dust and dirt particles, wear a dust mask or a respirator. You may also want to wear gloves to protect your hands from any sharp edges while handling the fan.
- Clean in a well-ventilated area: It’s best to clean your Vornado fan in a well-ventilated room or outdoor space to prevent dust and debris from spreading. Good ventilation will also help in drying the fan components after cleaning.
- Keep the fan stable: When disassembling and cleaning the fan, make sure it is placed on a stable and flat surface. This will prevent the fan from falling and causing any damage to its components or injuring yourself.
- Follow manufacturer instructions: While cleaning your Vornado fan, refer to the manufacturer’s instructions to ensure you are handling it correctly. Any specific cleaning guidelines provided by the manufacturer should be followed to avoid voiding the warranty.
By following these safety precautions, you can ensure a safe and efficient cleaning process for your Vornado fan. It’s always better to be cautious and protect yourself from any potential hazards.
Preparation
Before you start cleaning your Vornado fan, it’s important to gather the necessary supplies and prepare the area to make the process easier and more efficient. Here’s what you’ll need:
- Clean, dry cloth or microfiber cloth: This will be used to wipe down the exterior of the fan and remove dust and dirt.
- Mild detergent or cleaning solution: If the fan is particularly dirty, you may need to use a mild detergent or cleaning solution to remove stubborn stains or grime.
- Brush or vacuum cleaner with brush attachment: A soft-bristle brush or a vacuum cleaner with a brush attachment can help clean hard-to-reach areas and remove loose dirt and dust from the fan. This is especially useful for cleaning the blades.
- Screwdriver (if needed): Depending on the model of your Vornado fan, you may need a screwdriver to disassemble and clean the fan. Check the manufacturer’s instructions to determine if a screwdriver is necessary.
- Water or glass cleaner: You may need water or a glass cleaner to clean the fan’s exterior and remove any fingerprints or smudges.
- Drying rack or towel: After cleaning the fan components, you’ll need a drying rack or a clean towel to dry them before reassembling the fan.
Once you have gathered all the necessary supplies, clear a space where you can comfortably clean the fan. Make sure there is ample room to disassemble the fan if needed and that you have access to a water source if required. Having everything ready in advance will ensure a smoother and more efficient cleaning process.
Next, let’s move on to cleaning the exterior of the Vornado fan and removing any dust and dirt that has accumulated.
Cleaning the Exterior
The first step in cleaning your Vornado fan is to focus on the exterior surface. Over time, dust, fingerprints, and smudges can accumulate on the fan’s outer casing. Here’s how you can effectively clean the exterior:
- Unplug the fan: Before you begin cleaning, ensure that the fan is disconnected from the power source to prevent any accidents.
- Wipe down the surface: Start by using a clean, dry cloth or a microfiber cloth to gently wipe down the exterior of the fan. This will help remove any loose dust particles and surface dirt. Take care not to apply excessive pressure or use abrasive materials that could damage the fan’s finish.
- Spot clean with mild detergent or cleaning solution: If there are stubborn stains or marks on the fan’s surface, dip a clean cloth in a mild detergent or cleaning solution (such as a mixture of warm water and dish soap) and gently scrub the affected areas. Be cautious not to get excessive moisture on the fan, as this can damage the internal components.
- Rinse and dry (if applicable): If you’ve used a cleaning solution, rinse the cloth with clean water and gently wipe down the surface of the fan to remove any residue. Then, use a dry cloth to dry the fan thoroughly.
- Clean the grill: If your Vornado fan has a grill or cover, remove it according to the manufacturer’s instructions. Clean the grill separately by rinsing it with water or wiping it with a damp cloth. Dry it thoroughly before reattaching it to the fan.
- Polish the surface (optional): If you want to restore the fan’s shine, you can use a glass cleaner or a specialized appliance cleaner to polish the exterior surface. Apply the cleaner to a clean cloth and gently wipe down the fan, following the product instructions. Ensure that the fan is dry before plugging it back into the power source.
Cleaning the exterior of your Vornado fan will not only improve its appearance but also prevent the accumulation of dust and dirt particles. Once the exterior is clean, you can proceed to disassembling the fan, if necessary, to thoroughly clean the blades and the motor.
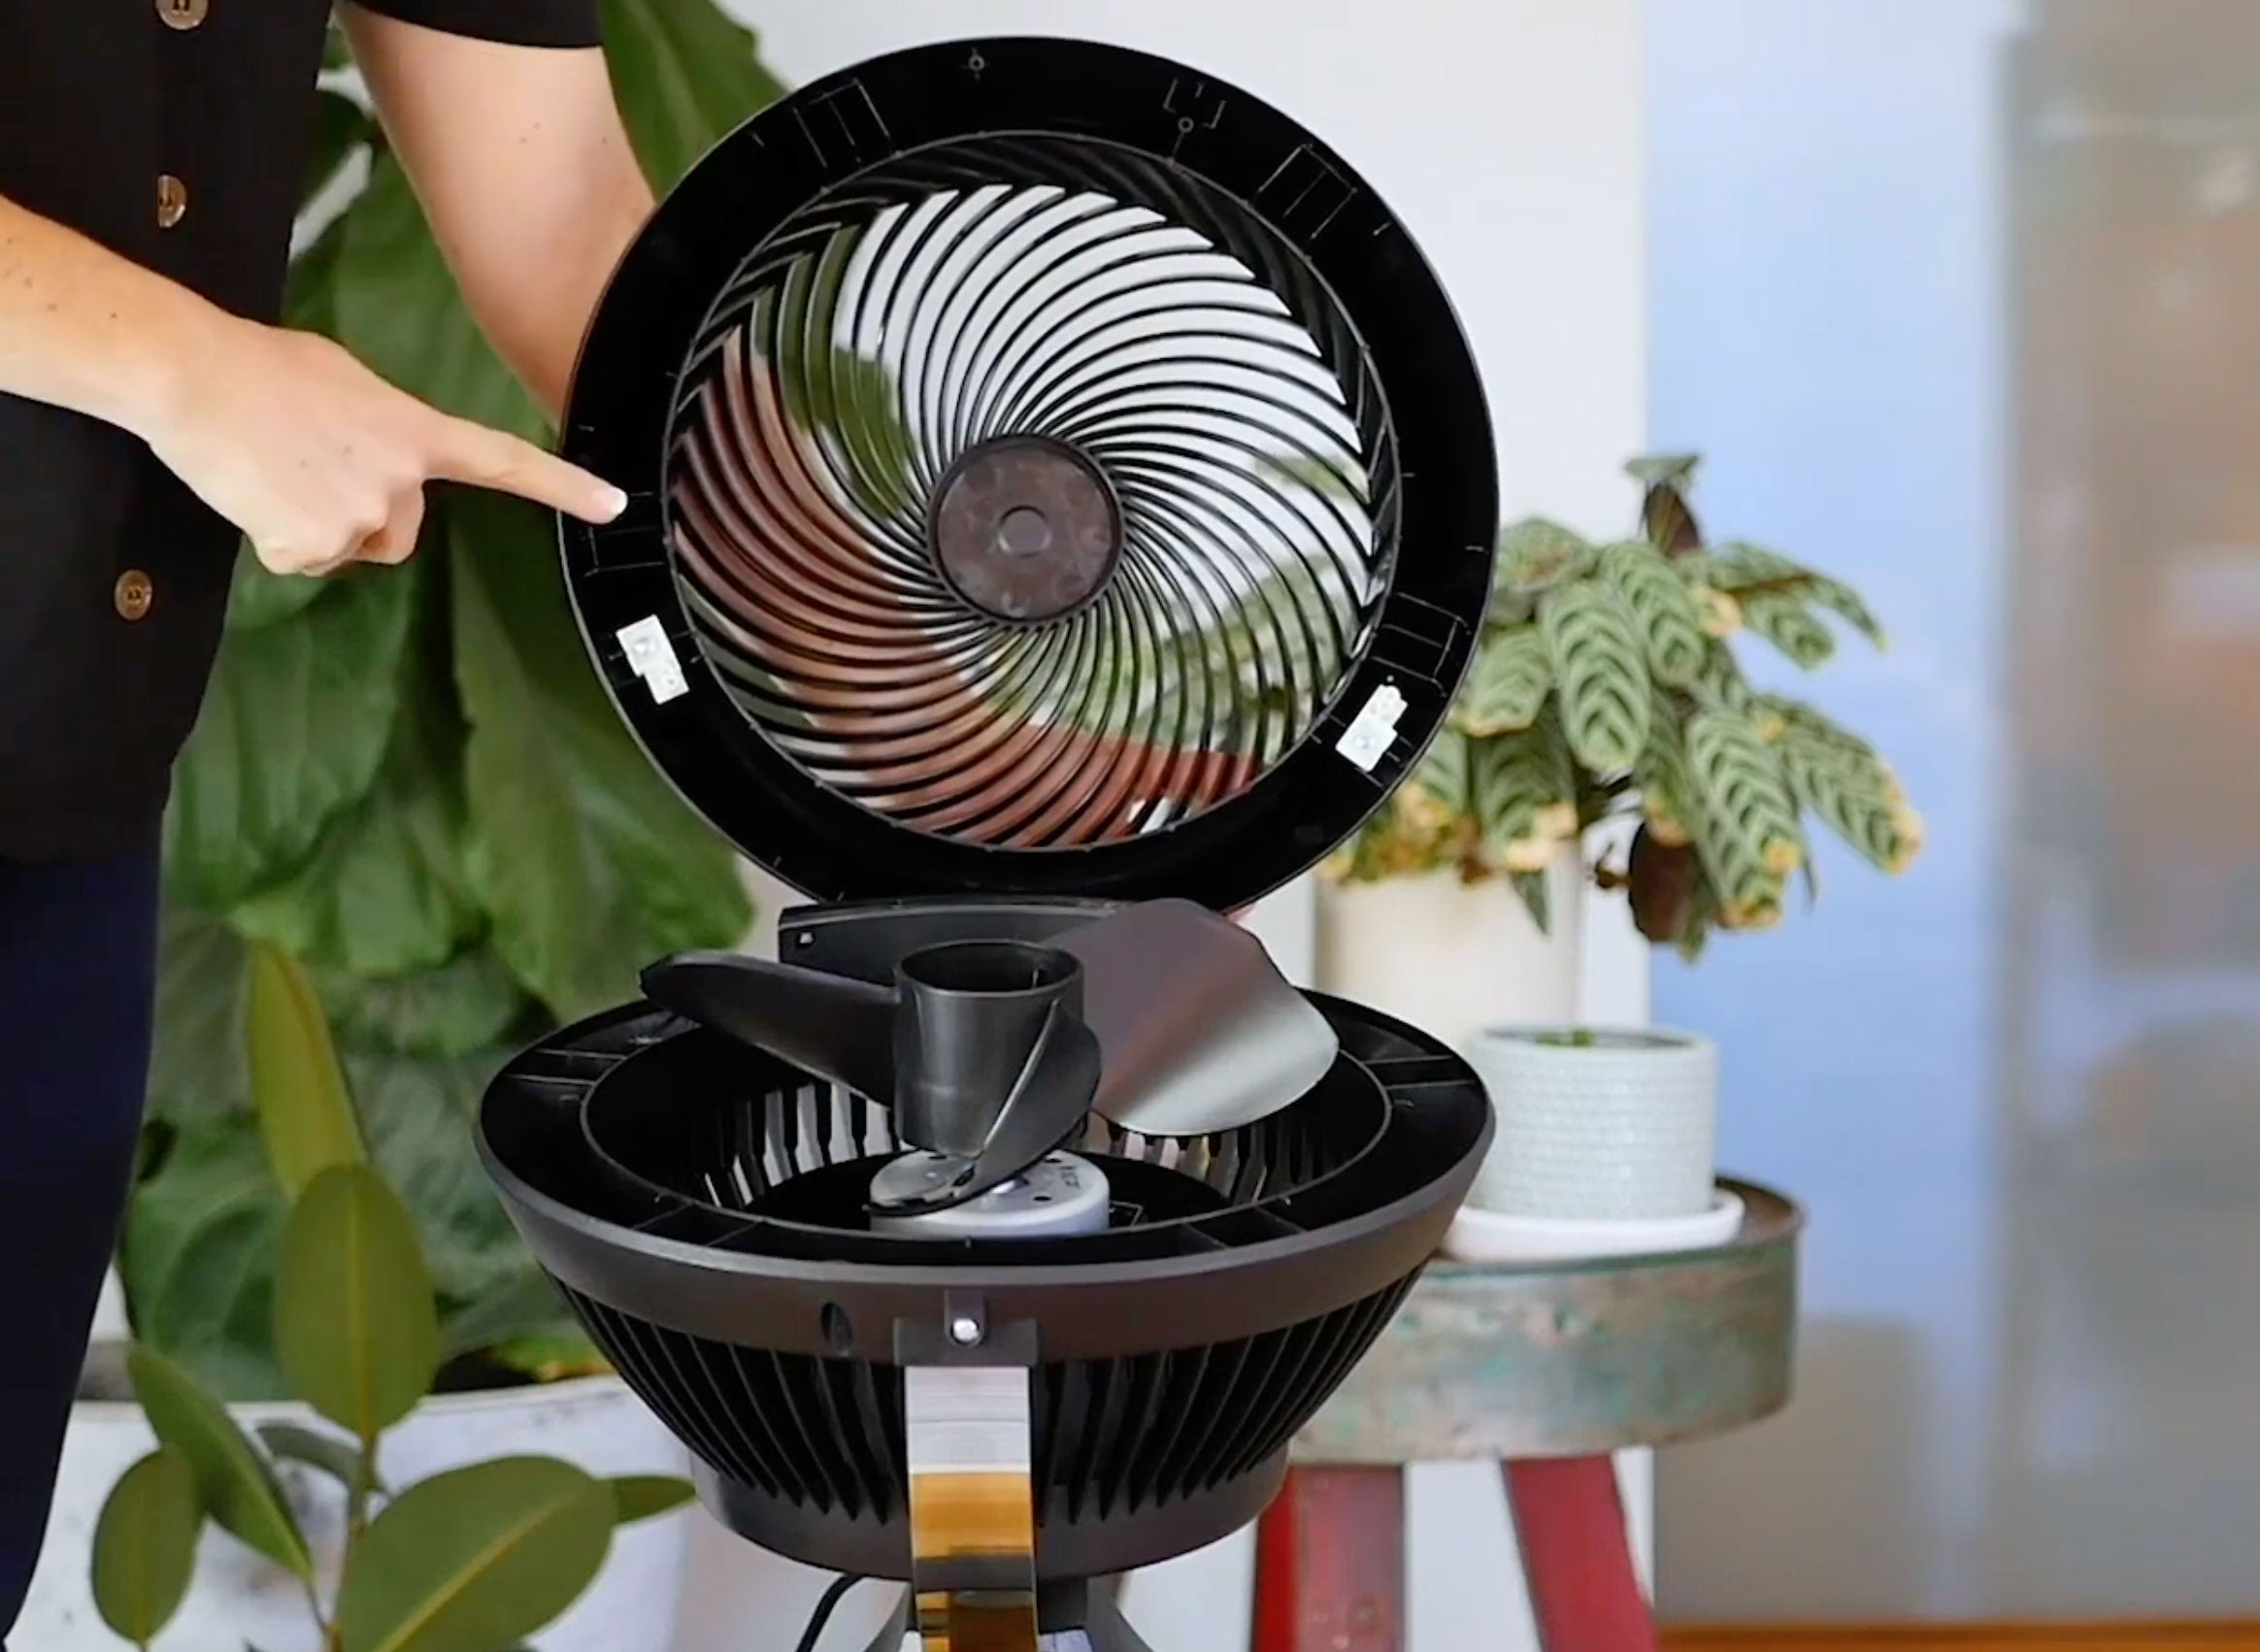
Disassembling the Fan
Before you can clean the blades and the motor of your Vornado fan, you may need to disassemble it. Not all models require disassembly for cleaning, so refer to the manufacturer’s instructions to determine if this step is necessary. Here’s a general guide on how to disassemble a Vornado fan:
- Unplug the fan: Ensure that the fan is disconnected from the power source before attempting to disassemble it.
- Remove the grill or cover: Depending on the model, the fan’s grill or cover can be removed by unscrewing it or unclipping it. Consult the manufacturer’s instructions for the specific method to detach the grill.
- Inspect the fan: Once the grill is removed, take the opportunity to inspect the fan for any visible dust or debris. If you notice significant build-up, use a soft-bristle brush or a vacuum cleaner with a brush attachment to remove loose dirt and dust.
- Detach the blades (if applicable): Some Vornado fans have removable blades for easier cleaning. If your fan has detachable blades, carefully remove them according to the manufacturer’s instructions. Place the blades in a safe location for cleaning.
- Remember the order: As you disassemble the fan, take note of the order in which each component was removed. This will make reassembly easier later on.
By following these steps, you can safely disassemble your Vornado fan and prepare the components for thorough cleaning. Next, we’ll move on to cleaning the blades, which are particularly prone to collecting dust and dirt.
To clean a Vornado fan, first unplug it and remove the front grill. Use a soft brush or cloth to gently remove dust and debris from the blades and grill. You can also use a vacuum with a brush attachment for deeper cleaning. Be sure to clean the back of the fan as well.
Read more: How Do You Clean Ceiling Fans
Cleaning the Blades
The blades of your Vornado fan are the primary components responsible for generating airflow. Over time, they can accumulate a significant amount of dust and dirt, which can affect the fan’s performance. Here’s how you can clean the blades effectively:
- Prepare a cleaning solution: Fill a basin or sink with lukewarm water and add a small amount of mild detergent or dish soap. Mix the solution until it creates a soapy liquid.
- Submerge the blades: Carefully immerse the blades of the fan in the soapy water, ensuring that the water does not come in contact with the motor. Let the blades soak for a few minutes to loosen any dirt or debris.
- Gently scrub the blades: Using a soft-bristle brush or a sponge, gently scrub the blades to remove any remaining dirt or grime. Pay attention to any areas that may have accumulated stubborn dirt, such as the edges or crevices of the blades.
- Rinse the blades: Once the blades are thoroughly scrubbed, rinse them under running water to remove the soapy residue. Ensure that all soap is washed off before proceeding.
- Dry the blades: After rinsing, carefully dry the blades using a clean, dry cloth or towel. Ensure that they are completely dry before reassembling the fan to prevent any moisture-related issues.
- Clean the grill: While the blades are drying, take the opportunity to clean the grill or cover of the fan. Use a damp cloth or sponge to wipe away any dust or residue. Dry it thoroughly before reattaching it to the fan.
Cleaning the blades of your Vornado fan will not only improve its performance but also contribute to better indoor air quality. Once the blades are clean and dry, you can move on to cleaning the motor and other internal components of the fan.
Cleaning the Motor
The motor is the heart of your Vornado fan, and keeping it clean is essential for maintaining its functionality and efficiency. While cleaning the motor requires extra caution, it can help prevent debris build-up that could impede its performance. Here’s how to clean the motor of your Vornado fan:
- Ensure the fan is unplugged: Before attempting to clean the motor, ensure that the fan is completely disconnected from the power source to prevent any accidents.
- Remove any visible dust: Use a soft-bristle brush or a vacuum cleaner with a brush attachment to gently remove any visible dust or debris from the motor. Pay attention to any vents or openings where dust may have accumulated.
- Clean with compressed air: If your Vornado fan has stubborn dust or debris in hard-to-reach areas of the motor, you can use a can of compressed air to blow away the particles. Hold the canister upright and use short bursts of air to avoid excess moisture or debris getting into the motor. Ensure proper ventilation in the room while doing this.
- Use a damp cloth for exterior motor cleaning: If the motor has accumulated dirt on its exterior, you can use a slightly damp cloth to wipe it down. Avoid using excessive moisture to prevent any damage to the motor.
- Avoid direct contact with motor components: It’s important not to directly touch or interfere with the internal components of the motor. This can lead to potential damage or electrical hazards. If there are any issues with the motor, it’s best to consult a professional or contact the manufacturer for assistance.
- Allow the motor to dry: After cleaning, it’s important to ensure that the motor is completely dry before reassembling and powering on the fan. Allow the motor to air dry or use a clean, dry cloth to gently pat it dry.
- Reassemble the fan: Once the motor is dry and all components are clean, carefully reassemble the fan following the manufacturer’s instructions. Ensure that all parts are securely in place and that the fan is ready for use.
By cleaning the motor of your Vornado fan, you can help maintain its performance and prolong its lifespan. Remember to exercise caution and avoid direct contact with internal components to ensure your safety. Now, let’s move on to reassembling the fan after cleaning.
Reassembling the Fan
After cleaning the various components of your Vornado fan, it’s time to reassemble it so that it’s ready to provide efficient airflow once again. Follow these steps to properly reassemble your Vornado fan:
- Dry all components: Before reassembling the fan, ensure that all the cleaned components, including the blades, grill, and motor, are completely dry. Moisture can lead to electrical issues or damage the fan’s functionality.
- Start with the motor: Begin by placing the motor of the fan in its designated position. Ensure that it is aligned correctly and securely fastened according to the manufacturer’s instructions.
- Attach the blades: If the blades were removed during the cleaning process, carefully place them back onto the motor shaft, ensuring that they are properly aligned. Follow the manufacturer’s instructions for securely attaching the blades.
- Reattach the grill: Place the grill or cover of the fan over the blades and motor, ensuring that it fits snugly and aligns with the fan’s housing. Securely fasten the grill according to the manufacturer’s instructions, whether it involves screws or clips.
- Double-check the connections: Before proceeding further, double-check that all components are properly connected and securely in place. Ensure that there are no loose or dangling parts that may affect the fan’s performance or pose a hazard.
- Plug in the fan: Once you are confident that the fan has been correctly reassembled, plug it back into a power source. Be sure to use a grounded outlet to ensure safety.
- Test the fan: Turn on the fan to test its functionality. Listen for any unusual sounds or vibrations, which might indicate that the reassembly was not done correctly. If everything appears normal, you can proceed to enjoy the refreshed airflow of your Vornado fan.
By meticulously reassembling the fan, you can ensure that all components are properly aligned, fastened, and ready for optimal performance. Remember to follow the manufacturer’s instructions and guidelines for reassembling your specific model of Vornado fan.
Now that you have successfully reassembled the fan, let’s conclude with some final tips and reminders.
Testing the Fan
After cleaning and reassembling your Vornado fan, it’s important to test its functionality to ensure that it’s working properly before regular use. Follow these steps to test your fan:
- Position the fan: Place the fan on a stable surface, away from any obstructions, and ensure that it is positioned securely.
- Plug in the fan: Connect the fan to a grounded power outlet. Ensure that the power cord is not damaged and that it is fully plugged in.
- Turn on the fan: Switch on the fan using the appropriate control, such as a power button or speed control. Start with the lowest speed setting, then gradually increase the speed to check if all speed settings are functioning correctly.
- Listen for any irregularities: While the fan is running, listen for any unusual noises or vibrations that could indicate a problem. If you notice any strange sounds or movements, it’s advisable to turn off the fan and double-check the assembly to ensure that all components are correctly aligned and secured.
- Observe the airflow: Pay attention to the airflow produced by the fan. Ensure that it is consistent and evenly distributed. If you notice inadequate or inconsistent airflow, it could be an indication that there is still debris or obstruction in the fan. In this case, you may need to disassemble and clean it again.
- Check the oscillation (if applicable): If your Vornado fan has an oscillation feature, test it to ensure that it is functioning properly. Verify that the fan smoothly moves from side to side without any jerking or excessive noise.
- Monitor the fan over time: After performing the initial test, monitor the fan’s performance over the next few days to ensure that it continues to run smoothly without any issues.
By conducting these tests, you can ensure that your Vornado fan is in proper working condition and ready for regular use. Always follow the manufacturer’s instructions and guidelines specific to your fan model for best results.
Now that you have completed the testing phase, let’s conclude with some final thoughts.
Read more: How Do You Clean A Tower Fan
Conclusion
Cleaning your Vornado fan is a simple yet essential task that helps maintain its performance, efficiency, and longevity. Regular maintenance not only keeps the fan operating at its best but also ensures cleaner air circulation in your living space. By following the step-by-step instructions outlined in this article, you can effectively clean your Vornado fan and enjoy its benefits for years to come.
Remember to prioritize safety during the cleaning process by disconnecting the fan from the power source and following the recommended safety precautions. Use the right tools, such as a soft-bristle brush, microfiber cloth, and mild detergent, to avoid damaging the fan’s components.
Start by cleaning the exterior of the fan, removing dust and dirt with a dry cloth or damp cloth if necessary. If required, disassemble the fan according to the manufacturer’s instructions and clean the blades using a gentle detergent solution. Take care to dry all components thoroughly before reassembling the fan.
Once the fan is reassembled, test its functionality by plugging it in and listening for any unusual sounds or vibrations. Observe the airflow to ensure it’s consistent and evenly distributed. If everything is in order, you can enjoy the cool and refreshed air from your clean Vornado fan.
Keep in mind that the specific cleaning instructions and components of your Vornado fan may vary, so always refer to the manufacturer’s guidelines for the best results. Additionally, regular cleaning and maintenance will help prolong the lifespan of your fan and ensure optimal performance.
By taking the time to clean your Vornado fan, you are investing in its longevity and ensuring that it continues to provide comfortable and efficient airflow in your home. So, roll up your sleeves, gather the necessary supplies, and give your Vornado fan the care and attention it deserves.
Happy cleaning!
Frequently Asked Questions about How Do You Clean A Vornado Fan
Was this page helpful?
At Storables.com, we guarantee accurate and reliable information. Our content, validated by Expert Board Contributors, is crafted following stringent Editorial Policies. We're committed to providing you with well-researched, expert-backed insights for all your informational needs.


0 thoughts on “How Do You Clean A Vornado Fan”