Articles
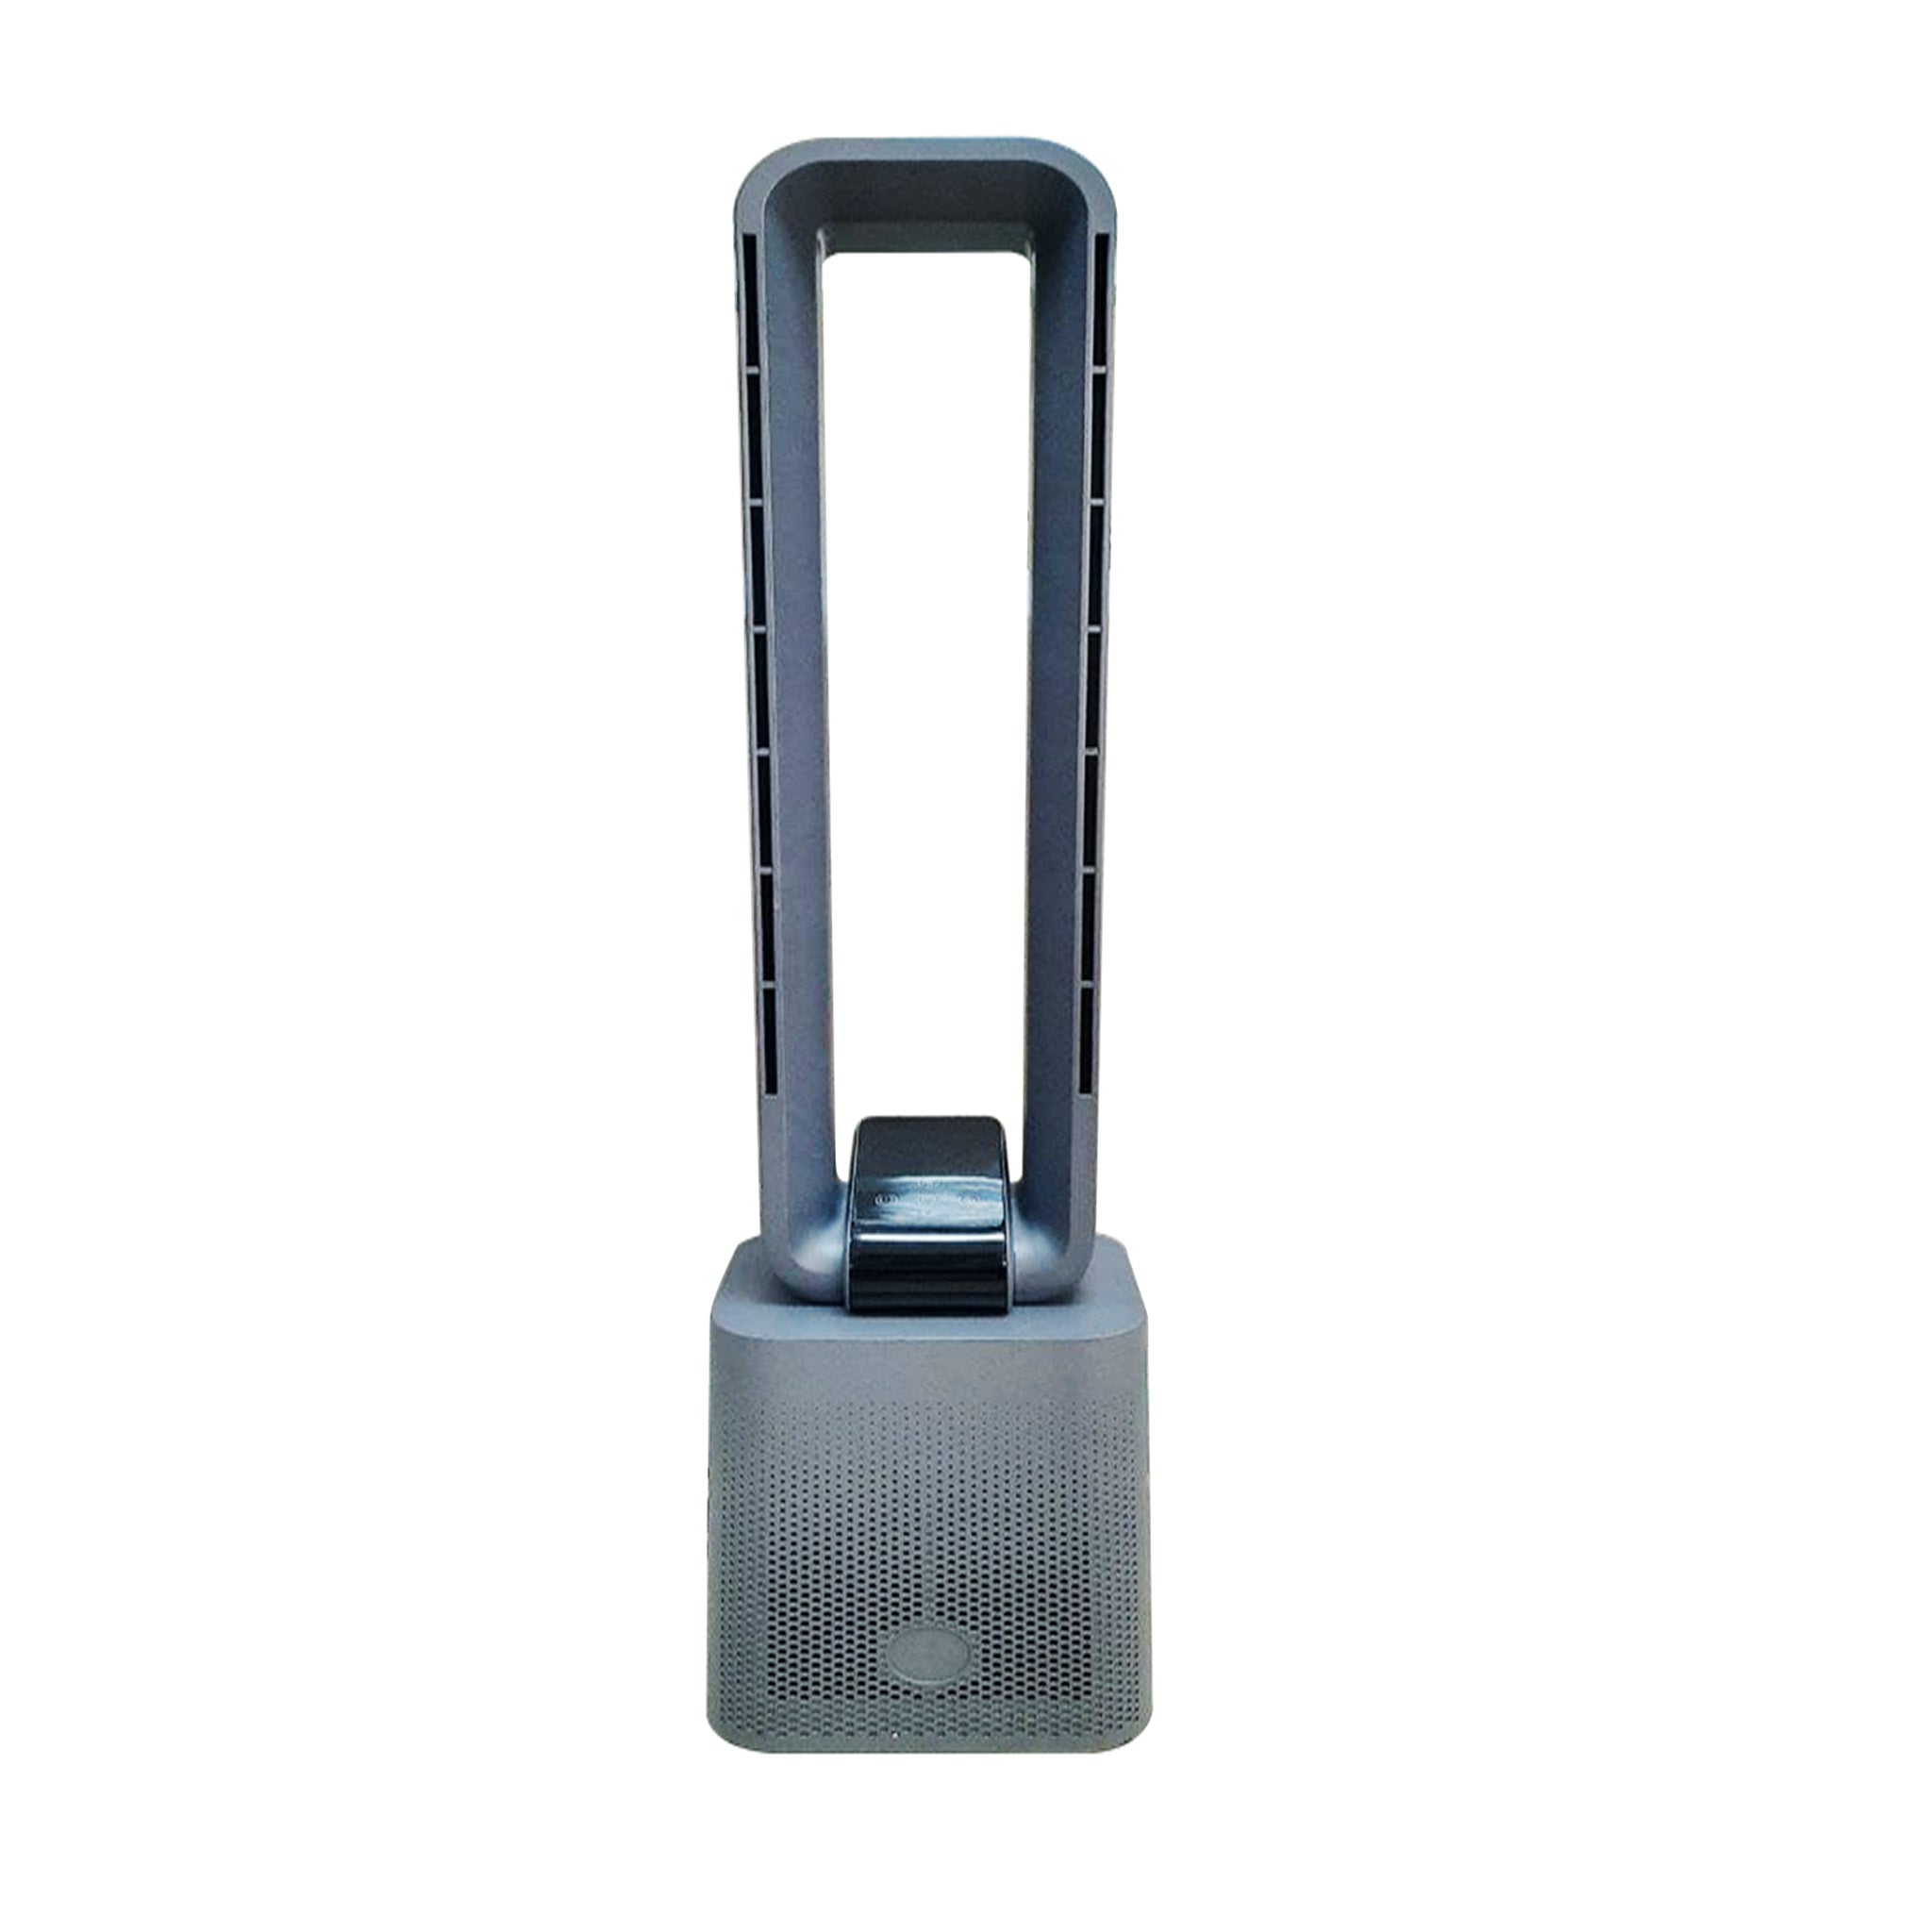
How Do You Clean A Tower Fan
Modified: October 19, 2024
Learn effective ways to clean your tower fan with these helpful articles. Keep your fan running smoothly and efficiently!
(Many of the links in this article redirect to a specific reviewed product. Your purchase of these products through affiliate links helps to generate commission for Storables.com, at no extra cost. Learn more)
Introduction
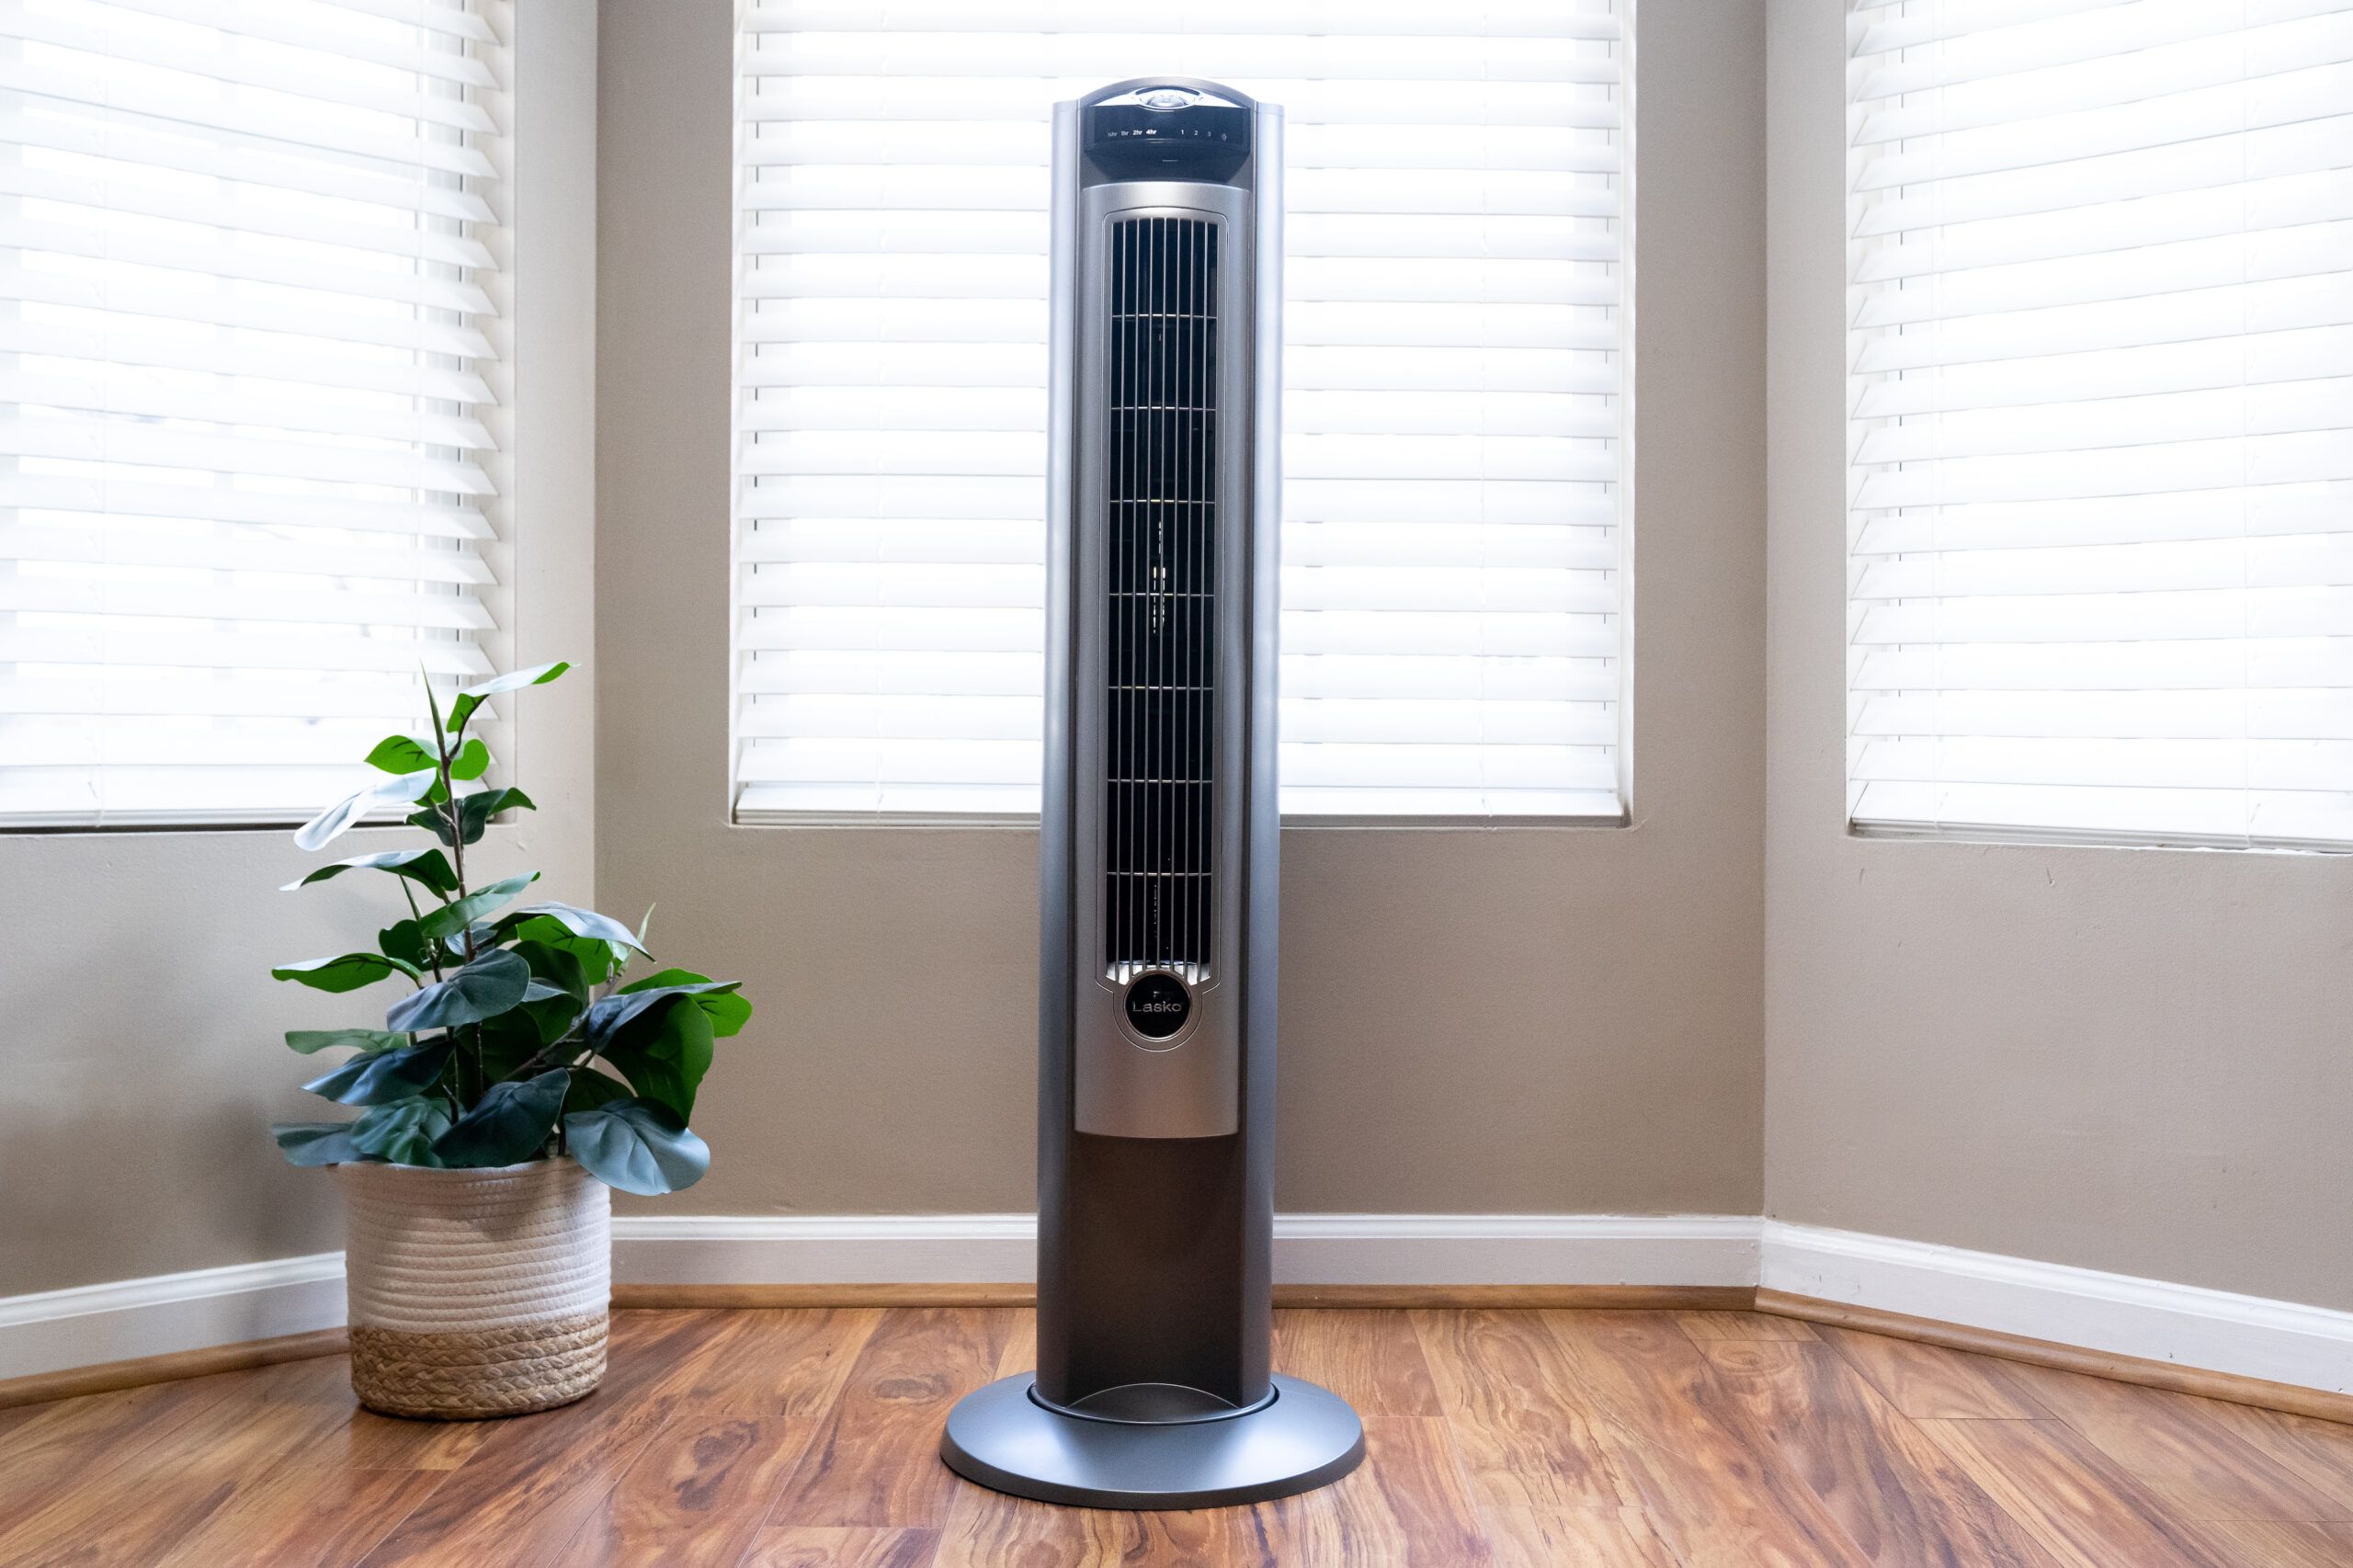
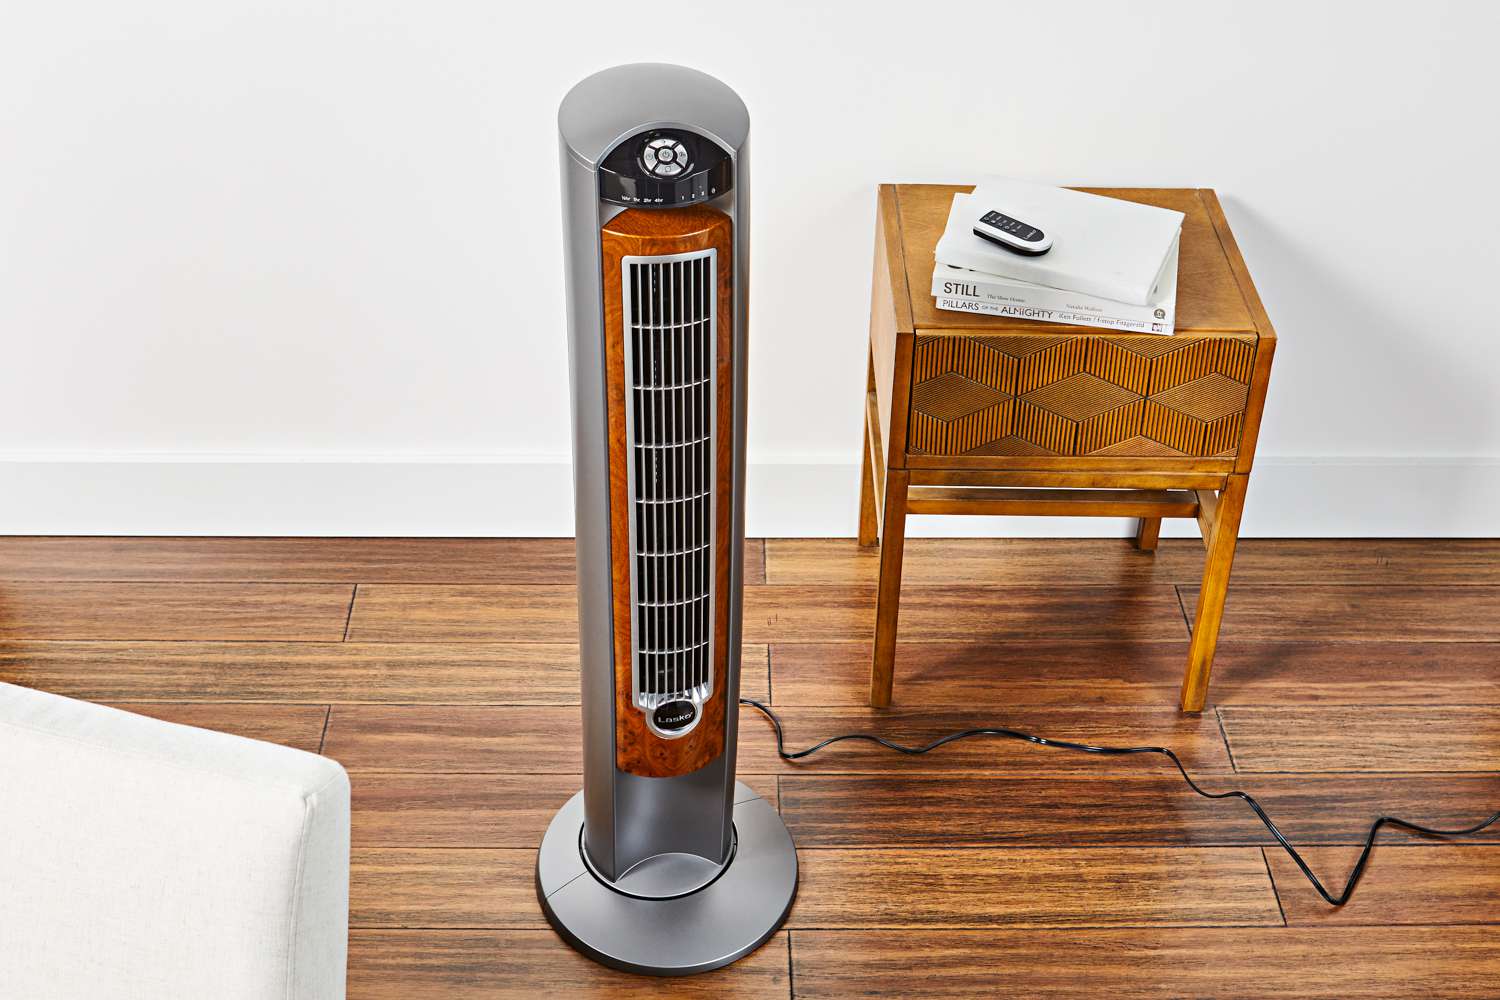
The tower fan is a popular and efficient cooling appliance used in many households and offices. Its tall and slim design makes it space-saving and aesthetically pleasing, while its powerful airflow provides comfort during hot summer days. However, just like any other appliance, tower fans require regular cleaning to maintain their performance and prolong their lifespan.
In this article, we will guide you on how to clean a tower fan effectively. Cleaning your tower fan not only helps to remove dust and debris, but it also ensures that the fan operates efficiently and delivers clean air. By following these steps, you will be able to keep your tower fan running smoothly and enjoy the cool breeze it provides.
Key Takeaways:
- Regularly cleaning your tower fan is essential for maintaining its performance, prolonging its lifespan, and ensuring optimal airflow for a refreshing and comfortable environment.
- By following the step-by-step cleaning process, gathering necessary tools, and testing the fan’s functionality, you can enjoy a well-functioning tower fan that keeps you cool and comfortable during hot summer months.
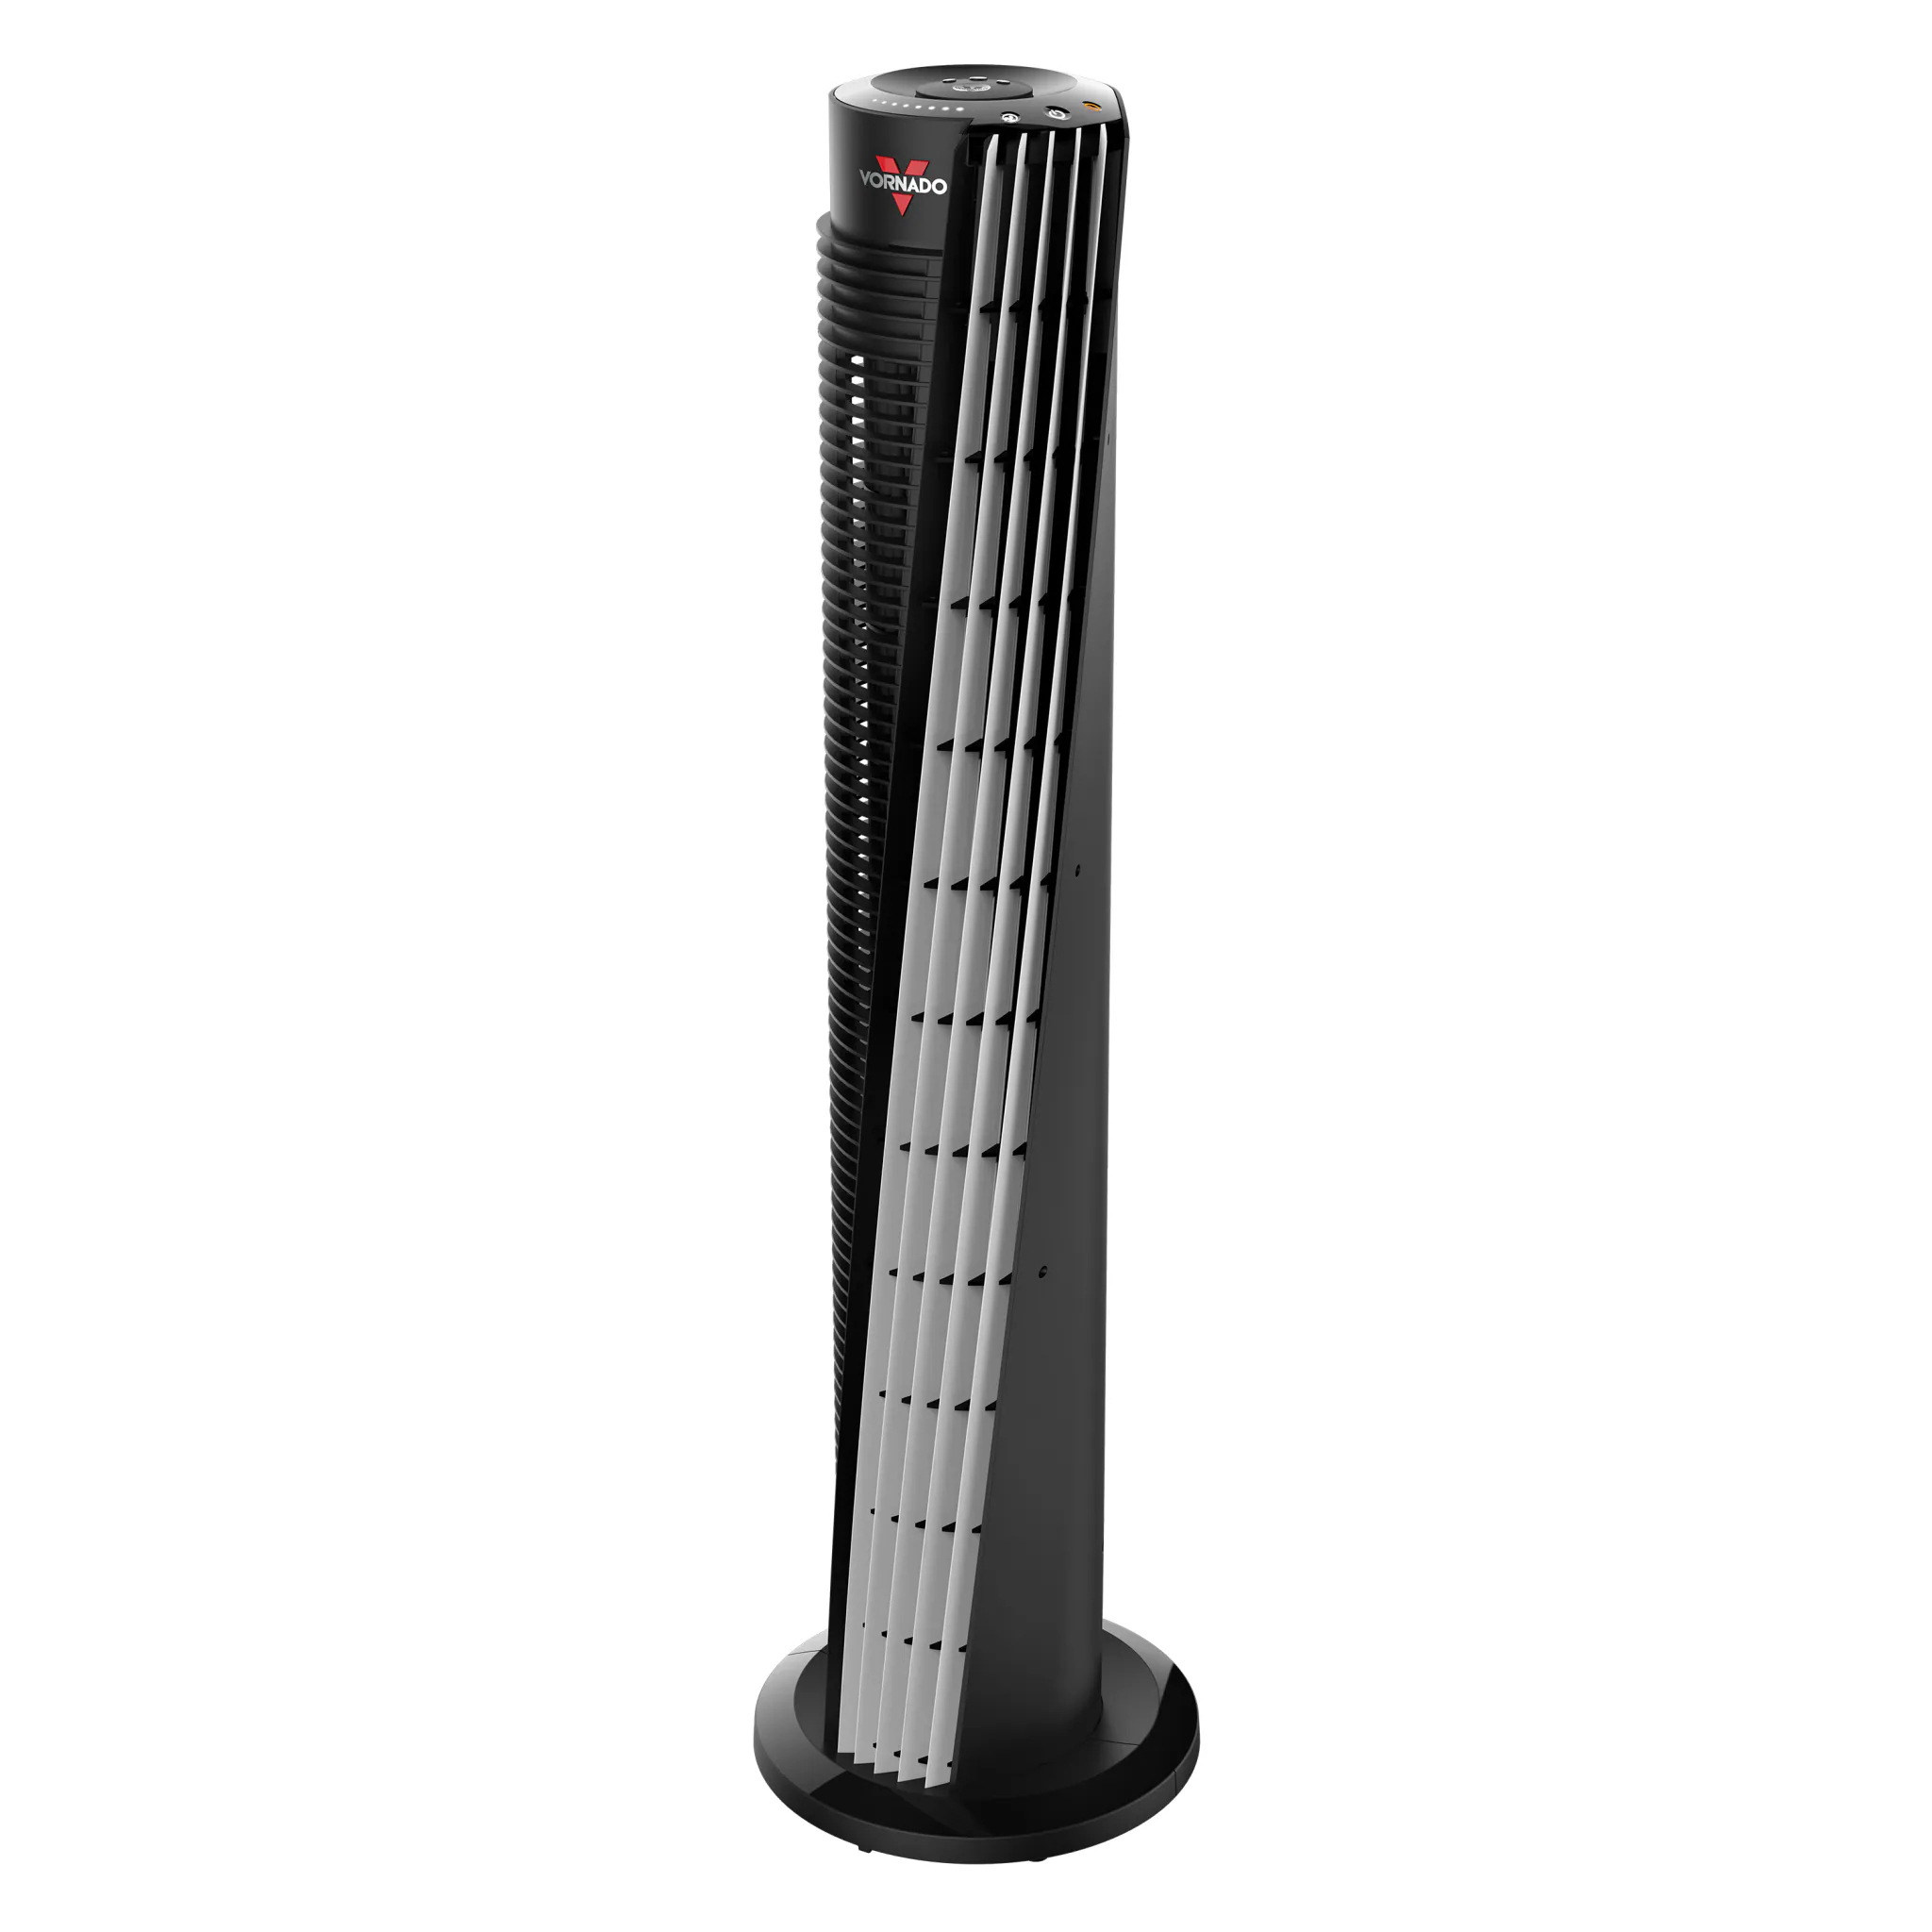
Read more: How To Clean A Vornado Tower Fan
Step 1: Prepare for Cleaning
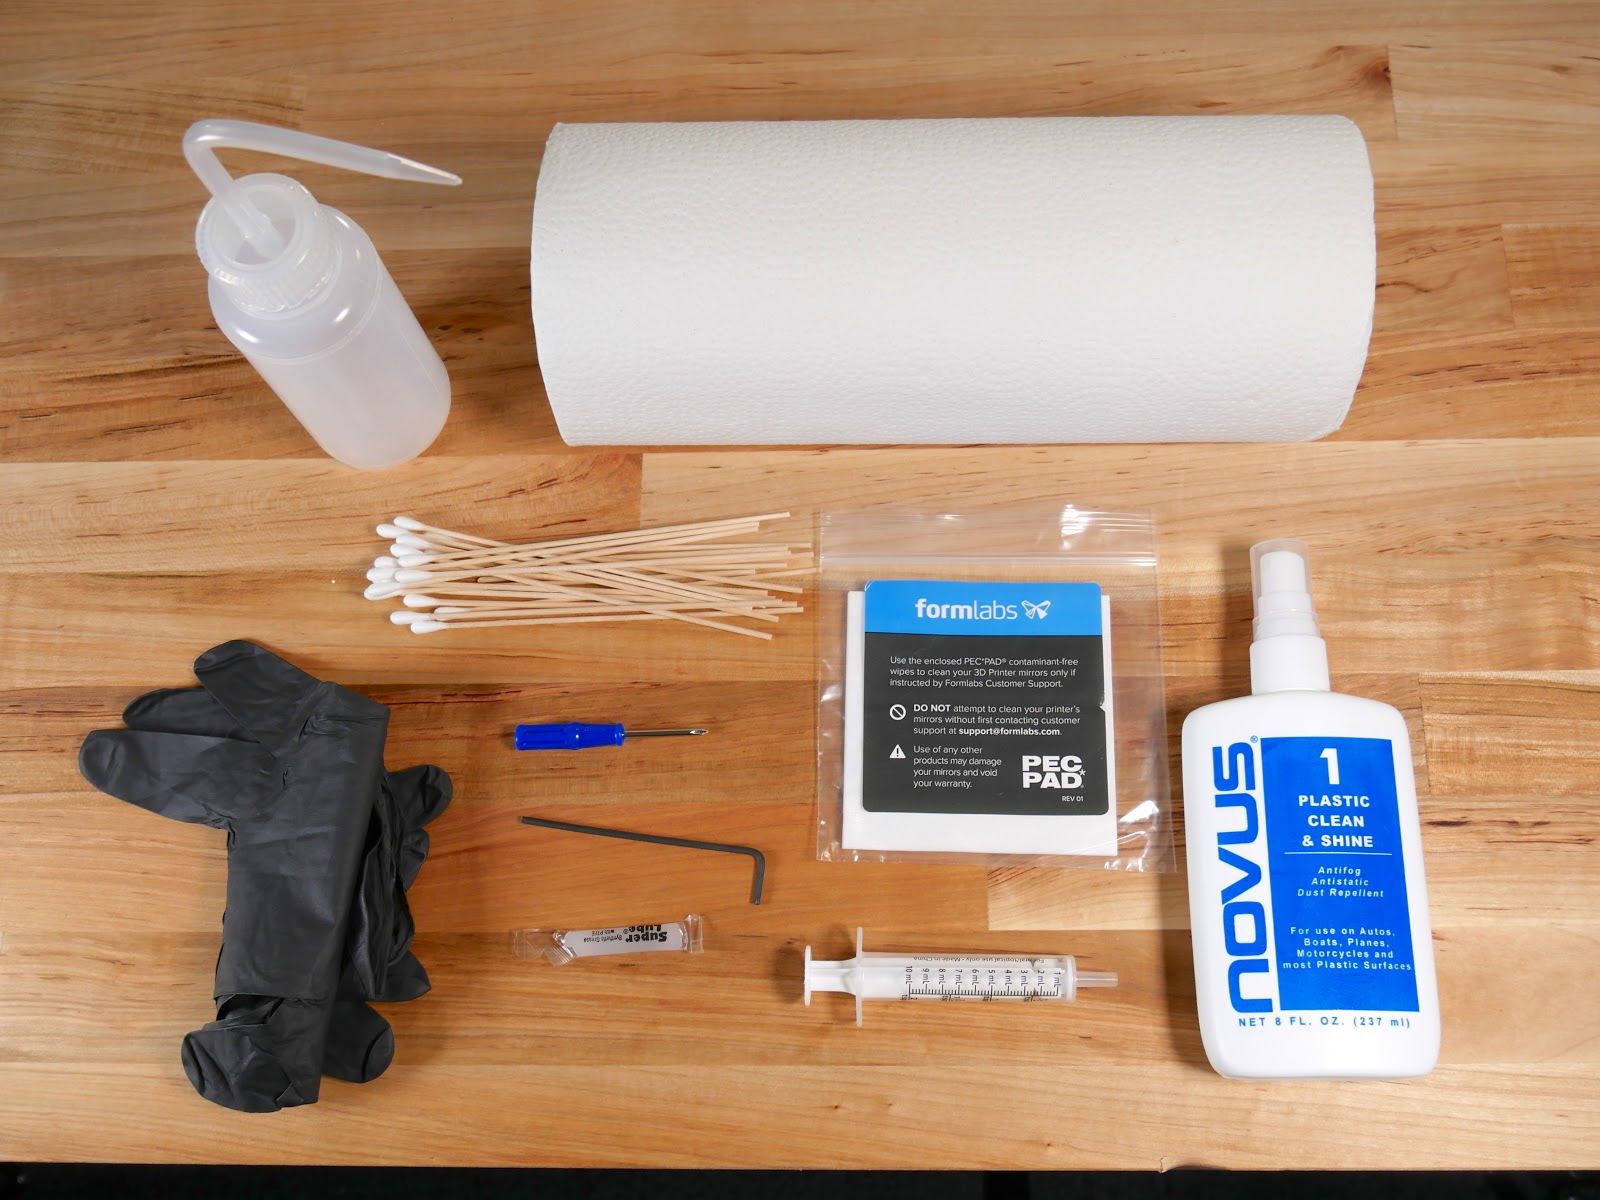
Before you start cleaning your tower fan, it’s important to gather all the necessary tools and materials. This will make the cleaning process smoother and more efficient. Here are the items you will need:
- A screwdriver (if required)
- A vacuum cleaner or a handheld vacuum
- Clean, lint-free cloths or microfiber towels
- A cleaning solution (mild detergent or vinegar diluted in water)
- A spray bottle
Once you have these items ready, find a spacious and well-ventilated area to clean your tower fan. It’s essential to clean the fan outdoors or in a well-ventilated room to prevent the spread of dust and allergens inside your home.
Make sure to unplug the tower fan from the power outlet to avoid any accidental injuries while cleaning. Safety should always be a top priority when working with electrical appliances.
Now that you have all the necessary tools and have taken the necessary safety precautions, you are ready to move on to the next step: disconnecting the power.
Step 2: Disconnect the Power
Before you begin cleaning your tower fan, it is crucial to disconnect it from the power source. This step ensures your safety and prevents any accidents or damage to the fan.
Start by locating the power cord of your tower fan and follow it to the power outlet or power strip. Gently unplug the cord from the outlet, making sure to avoid any tugging or pulling that could damage the cord or the electrical connection.
Once the power cord is disconnected, take a moment to inspect it for any signs of damage, such as fraying or exposed wires. If you notice any issues with the power cord, refrain from using the fan and seek professional assistance to repair or replace it.
After disconnecting the power, it is advisable to wait for a few minutes before proceeding to the cleaning process. This allows the fan to cool down and reduces the risk of accidental burns or injuries from hot surfaces.
By disconnecting the power, you ensure your safety throughout the cleaning process. Now that you have taken this important precaution, you can proceed to the next step: removing the front grill.
Step 3: Remove the Front Grill
With the power disconnected, you can now remove the front grill of your tower fan. The front grill is designed to protect the fan blades and prevent any objects from accidentally entering the fan.
The removal process may vary depending on the model of your tower fan. Some models feature easily removable grills, while others require you to unscrew or release some clips to detach the grill. Refer to the instruction manual that came with your tower fan for specific guidance on removing the front grill.
If your tower fan has screws securing the front grill, use a screwdriver to loosen and remove them. Place the screws in a safe container to keep them from getting lost.
If your tower fan has clips or latches holding the front grill in place, press or release them to detach the grill. Be gentle to avoid damaging any components.
Once the front grill is removed, inspect it for any accumulated dirt, dust, or debris. Set it aside to clean later.
The removal of the front grill exposes the fan blades, which will be cleaned in the next step. By following the appropriate procedure to remove the front grill, you ensure that you can access the fan blades easily and efficiently.
Now that you have successfully removed the front grill, you can proceed to the next step: cleaning the fan blades.
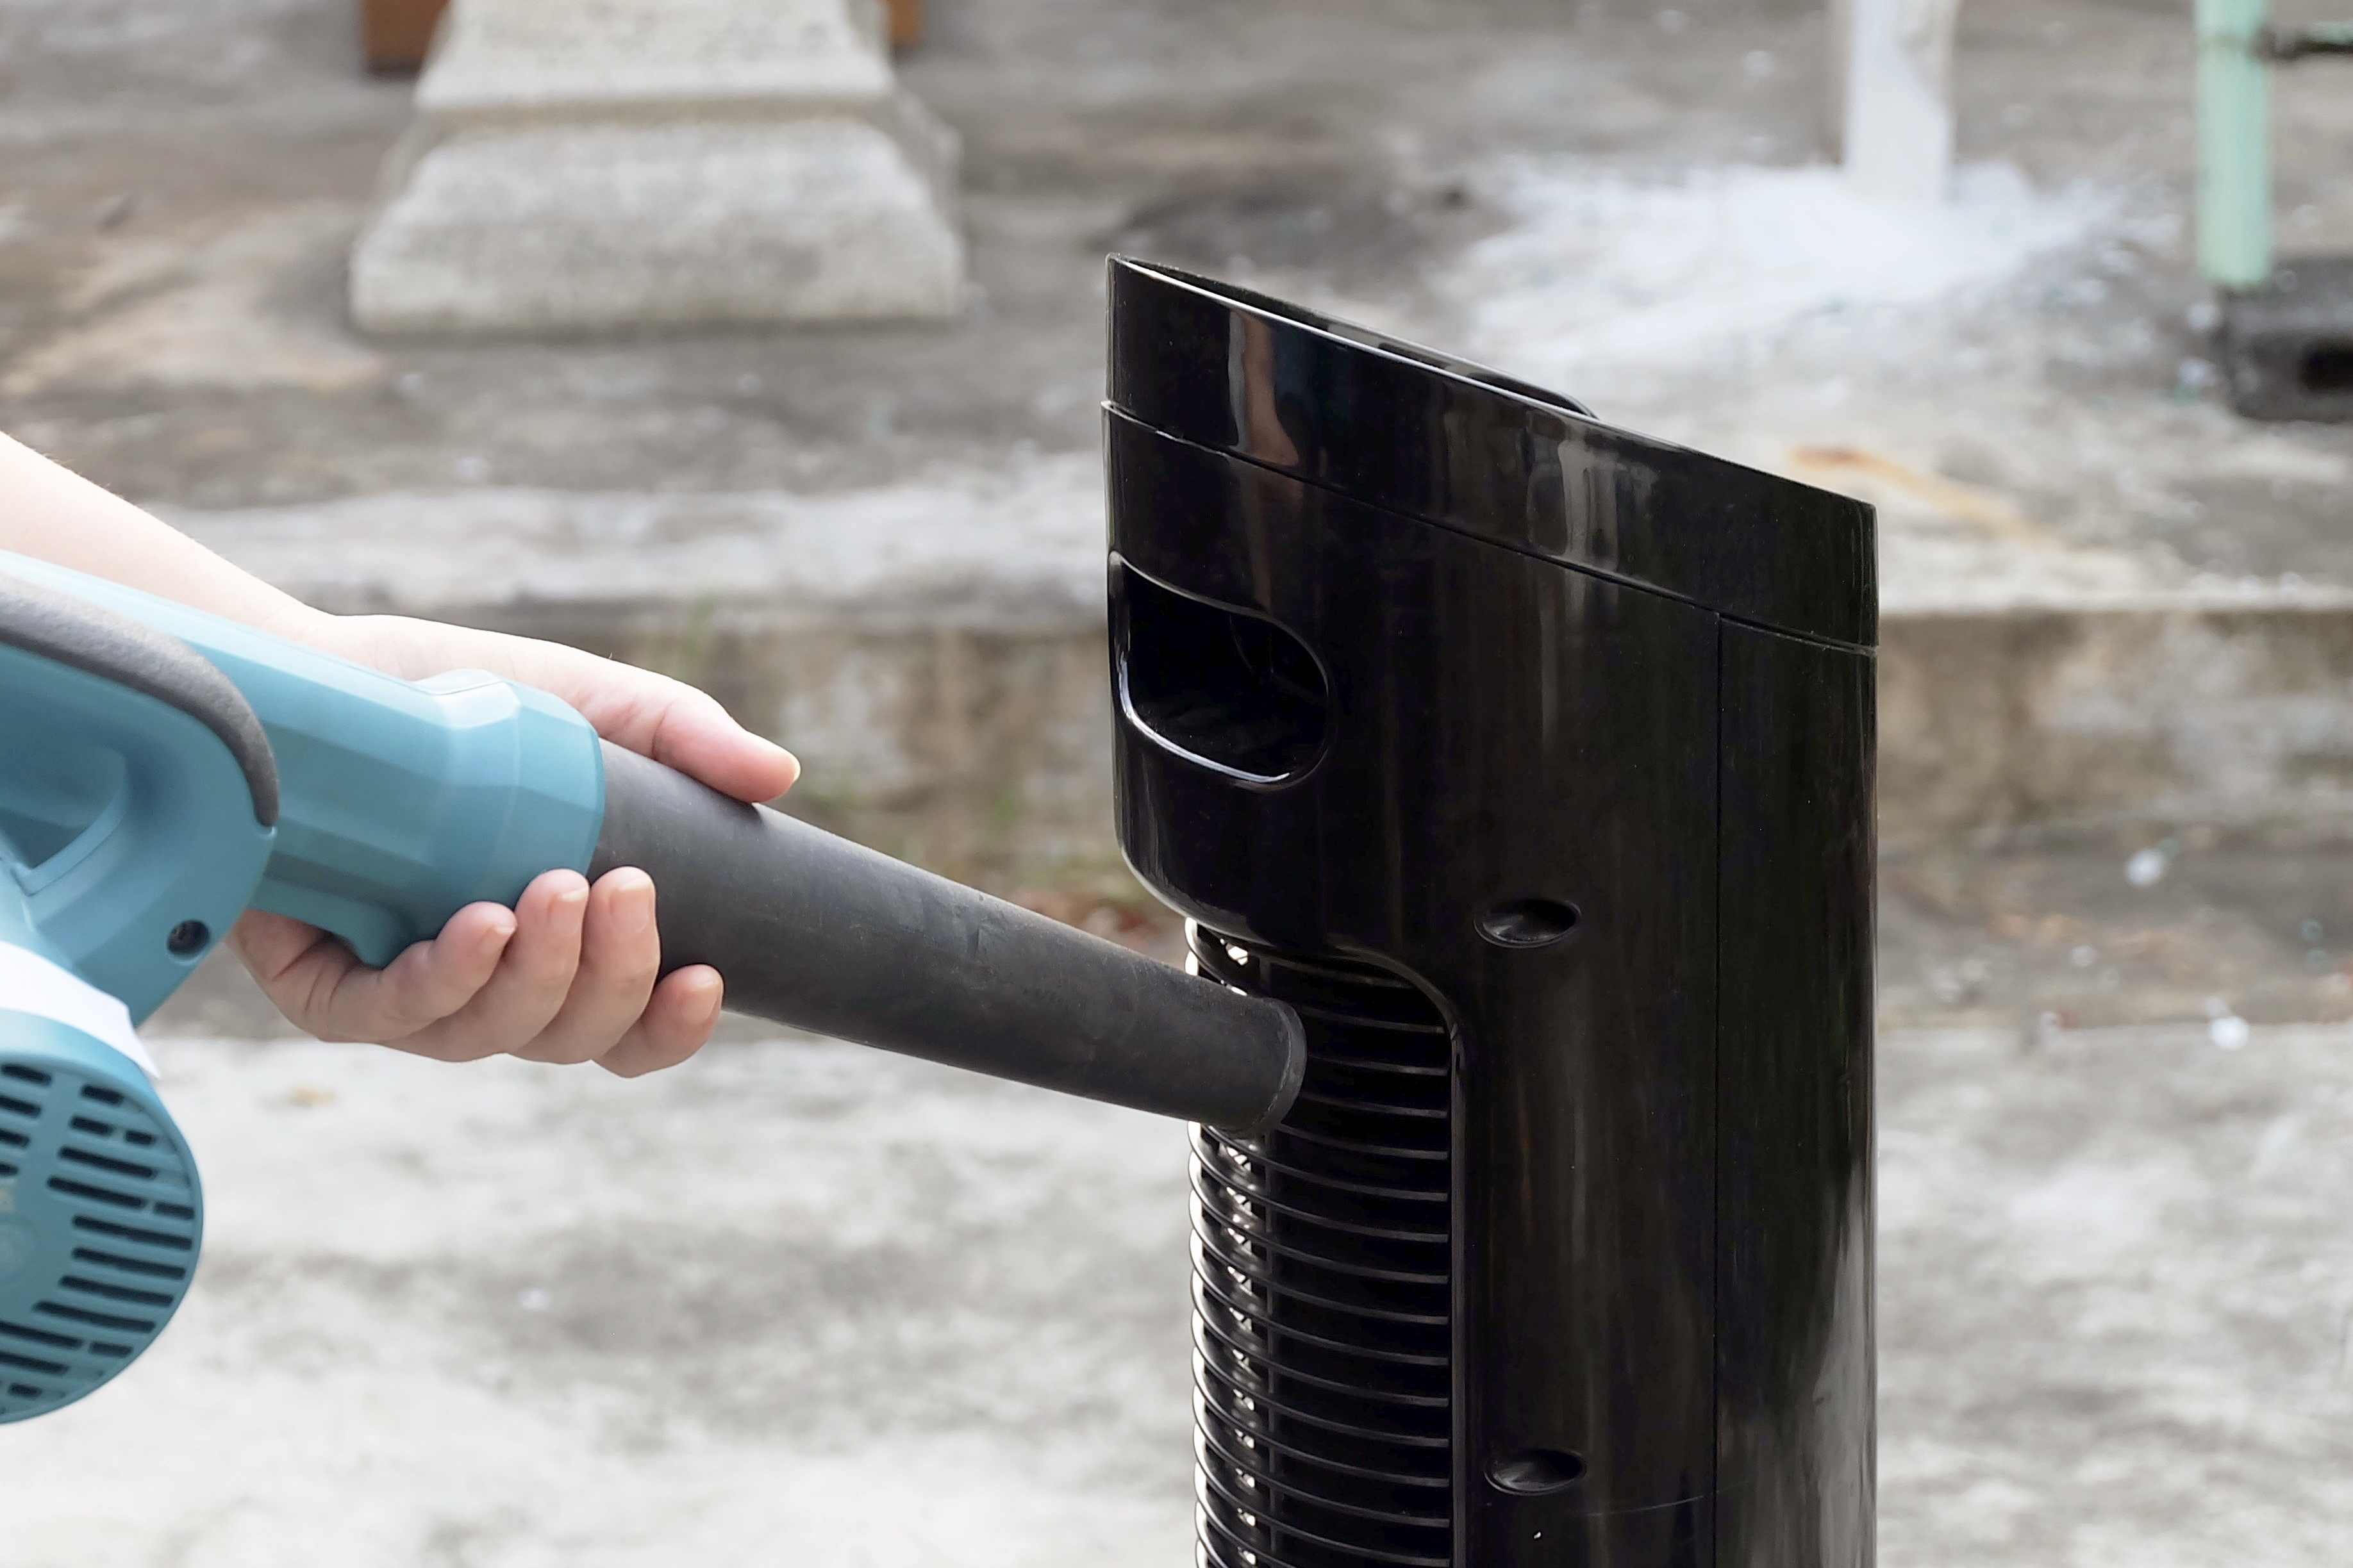
Step 4: Clean the Fan Blades
Now that you have removed the front grill of your tower fan, it’s time to clean the fan blades. Over time, dust and dirt can accumulate on the blades, affecting the fan’s efficiency and airflow.
To clean the fan blades, you can use a vacuum cleaner or a handheld vacuum with a brush attachment. Gently run the vacuum cleaner over the blades to remove loose dust and dirt. Make sure to reach all angles and corners of the blades.
If there is stubborn dirt or grime on the blades, you can use a soft, damp cloth to wipe them clean. Be careful not to apply too much pressure or moisture, as excess water can damage the fan’s motor or electronics.
For hard-to-reach areas or intricate designs on the fan blades, you can use a cotton swab or a small brush to carefully clean them.
It’s important to note that some tower fans may have blades that can be detached for easier cleaning. If this is the case, you can follow the manufacturer’s instructions to remove the blades and clean them separately.
Once you have thoroughly cleaned the fan blades, take a moment to inspect them for any signs of damage or wear. If you notice any cracks, chips, or bent blades, it is best to contact the manufacturer for assistance or consider replacing the blades if necessary.
With the fan blades now clean and free from debris, you can move on to the next step: cleaning the grill.
To clean a tower fan, start by unplugging it and removing the front grill. Use a vacuum with a brush attachment to remove dust and debris from the grill and fan blades. Wipe down the grill and blades with a damp cloth and allow them to dry completely before reassembling the fan.
Read more: How To Clean A Lasko Tower Fan
Step 5: Clean the Grill
After cleaning the fan blades, it’s time to turn your attention to the grill of your tower fan. The grill is responsible for filtering the air and preventing larger debris from entering the fan.
To clean the grill, start by preparing a cleaning solution. You can use a mild detergent mixed with water or a solution of vinegar and water. Fill a spray bottle with the cleaning solution and have a clean, lint-free cloth or microfiber towel ready.
Spray the cleaning solution onto the grill, making sure to cover both the outer and inner surfaces. Allow the solution to sit for a few minutes to loosen any dirt or grime.
Then, using the cloth or towel, gently wipe the grill to remove the loosened dirt and cleaning solution. Be thorough in your cleaning, ensuring you reach all the crevices of the grill.
For stubborn stains or dirt build-up, you can use a soft brush or a toothbrush to scrub the affected areas. Be gentle to avoid damaging the grill’s material.
Once you have cleaned the grill, rinse it with clean water to remove any remaining traces of the cleaning solution. Ensure that the grill is thoroughly dry before reassembling it with the fan.
During the cleaning process, pay attention to any filters that may be present in the grill. If your tower fan has removable filters, remove them and follow the manufacturer’s instructions for cleaning or replacing them. Proper maintenance of the filters ensures better air quality and fan performance.
With the grill cleaned and dry, you can now proceed to the next step: wiping down the tower fan body.
Step 6: Wipe Down the Tower Fan Body
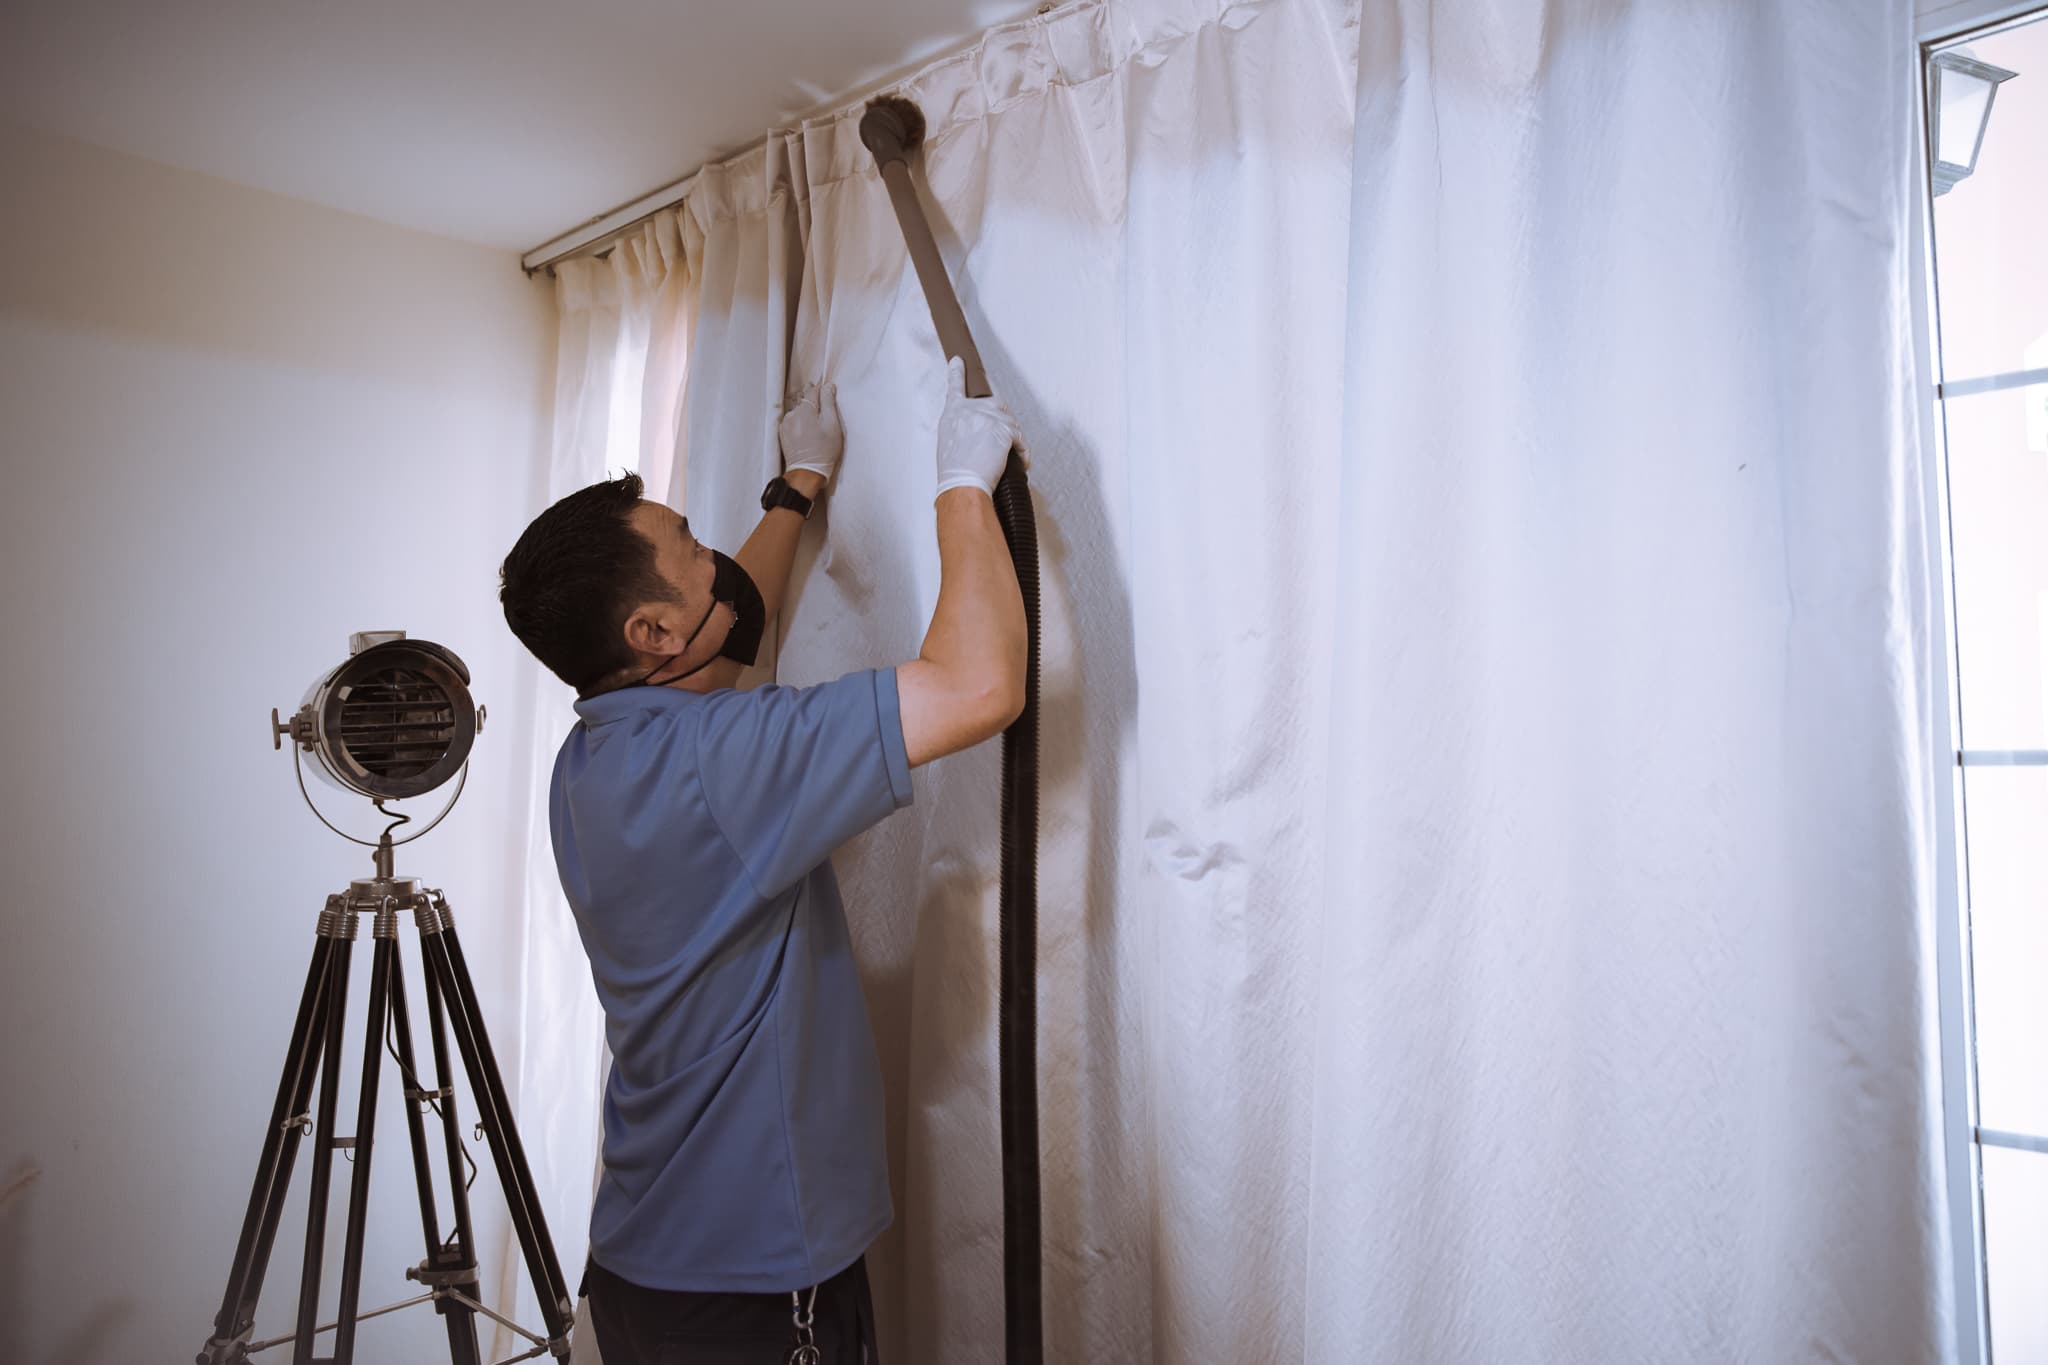
Now that you have cleaned the fan blades and the grill, it’s time to give the tower fan body a thorough wipe-down. This step helps remove any dust or dirt that may have accumulated on the exterior surface of the fan.
Start by preparing a clean, lint-free cloth or a microfiber towel. Dampen the cloth with water or a mild cleaning solution, if necessary. Avoid using excessive moisture, as it may damage the fan’s electronics.
Gently wipe down the tower fan body, paying attention to all the surfaces, including the top, sides, and base. Use a circular motion to remove any dust or dirt effectively.
If there are stubborn stains or marks on the fan body, you can use a gentle cleaning agent suitable for the material of your tower fan. Make sure to test it on a small, inconspicuous area first to ensure it doesn’t cause any damage.
Remember to be cautious around any buttons, knobs, or control panels on the tower fan. Avoid getting excessive moisture into these areas to prevent any potential damage to the electrical components.
Once you have wiped down the tower fan body, use a dry cloth to remove any excess moisture and ensure that the fan is completely dry before reassembling it.
By cleaning the tower fan body, you not only keep it looking clean and presentable but also remove any accumulated dust that could affect the overall performance of the fan.
With the tower fan body clean and dry, you can now move on to the next step: reassembling the tower fan.
Step 7: Reassemble the Tower Fan
Now that you have completed the cleaning process, it’s time to reassemble the tower fan. Follow these steps to ensure that everything is put back together properly:
- Begin by taking the cleaned front grill and aligning it with the fan body. Make sure it fits securely and lines up with any clips or screw holes.
- If your tower fan requires screws to secure the front grill, use the screwdriver to carefully insert and tighten the screws. Be cautious not to overtighten, as it may damage the grill or the fan body.
- If your tower fan uses clips or latches, press them firmly to secure the front grill in place. Ensure that all clips are engaged and hold the grill securely.
- Once the front grill is properly reattached, give it a gentle wiggle or tap to ensure it is secure and won’t easily come loose.
- Double-check that all components are properly in place and aligned. Inspect the fan blades and grill to ensure they are in the correct position.
By following these steps and reassembling your tower fan correctly, you ensure its safe operation and optimal performance.
Now that you have successfully reassembled the tower fan, you can move on to the final step: plugging it in and testing the fan.
Step 8: Plug in and Test the Fan
After reassembling your tower fan, it’s time to plug it back in and test its functionality. Follow these steps to ensure everything is working smoothly:
- Locate a suitable power outlet in a well-ventilated area.
- Gently plug the power cord of the tower fan back into the outlet.
- Ensure that the power cord is securely inserted and there are no loose connections.
- Switch on the tower fan using the control panel or remote, if applicable.
- Listen for any unusual noises or vibrations that weren’t present before. If you notice anything out of the ordinary, switch off the fan and inspect it for any issues.
- Feel the airflow from the fan to ensure it is functioning efficiently. If the airflow feels weak or uneven, check if the grill or fan blades need further cleaning or if any components require adjustment.
- Monitor the fan for a few minutes to ensure that it operates smoothly and without any malfunctions.
If your tower fan is equipped with additional features such as oscillation or speed settings, test those functions as well to ensure they are working properly.
If you encounter any problems or notice any issues during the testing phase, consult the user manual or reach out to the manufacturer for troubleshooting assistance.
By plugging in and testing the tower fan after cleaning, you can confirm that all components are functioning as they should and enjoy the cool breeze it provides.
Congratulations! You have successfully cleaned and tested your tower fan, ensuring that it is in top condition.
Read more: How To Clean Honeywell Tower Fan
Conclusion
Cleaning your tower fan is essential for maintaining its performance and prolonging its lifespan. By following the steps outlined in this article, you can effectively clean your tower fan and keep it running smoothly.
Remember to gather all the necessary tools and materials before starting the cleaning process. Disconnect the power to ensure your safety and begin by removing the front grill. Clean the fan blades and grill using a vacuum cleaner, brush, or a damp cloth with a mild cleaning solution.
Wipe down the tower fan body, making sure to remove any dust or dirt that may have accumulated. Reassemble the tower fan carefully, ensuring that all components are securely in place.
Finally, plug in and test the fan to ensure its proper functionality. Listen for any unusual noises, feel the airflow, and check the various settings and features to ensure everything is working as intended.
Regularly cleaning your tower fan improves its performance, maintains optimal airflow, and helps to provide clean and refreshing air. Aim to clean your tower fan at least once every few months, or more frequently if you live in a dusty environment.
By incorporating these steps into your cleaning routine, you can enjoy a well-functioning tower fan that keeps you cool and comfortable during those hot summer months.
Frequently Asked Questions about How Do You Clean A Tower Fan
Was this page helpful?
At Storables.com, we guarantee accurate and reliable information. Our content, validated by Expert Board Contributors, is crafted following stringent Editorial Policies. We're committed to providing you with well-researched, expert-backed insights for all your informational needs.


0 thoughts on “How Do You Clean A Tower Fan”