
Articles
How Do You Clean A Smoke Detector
Modified: February 24, 2024
Learn how to clean a smoke detector in this helpful article. Find step-by-step instructions and tips for maintaining the safety of your home.
(Many of the links in this article redirect to a specific reviewed product. Your purchase of these products through affiliate links helps to generate commission for Storables.com, at no extra cost. Learn more)
Introduction
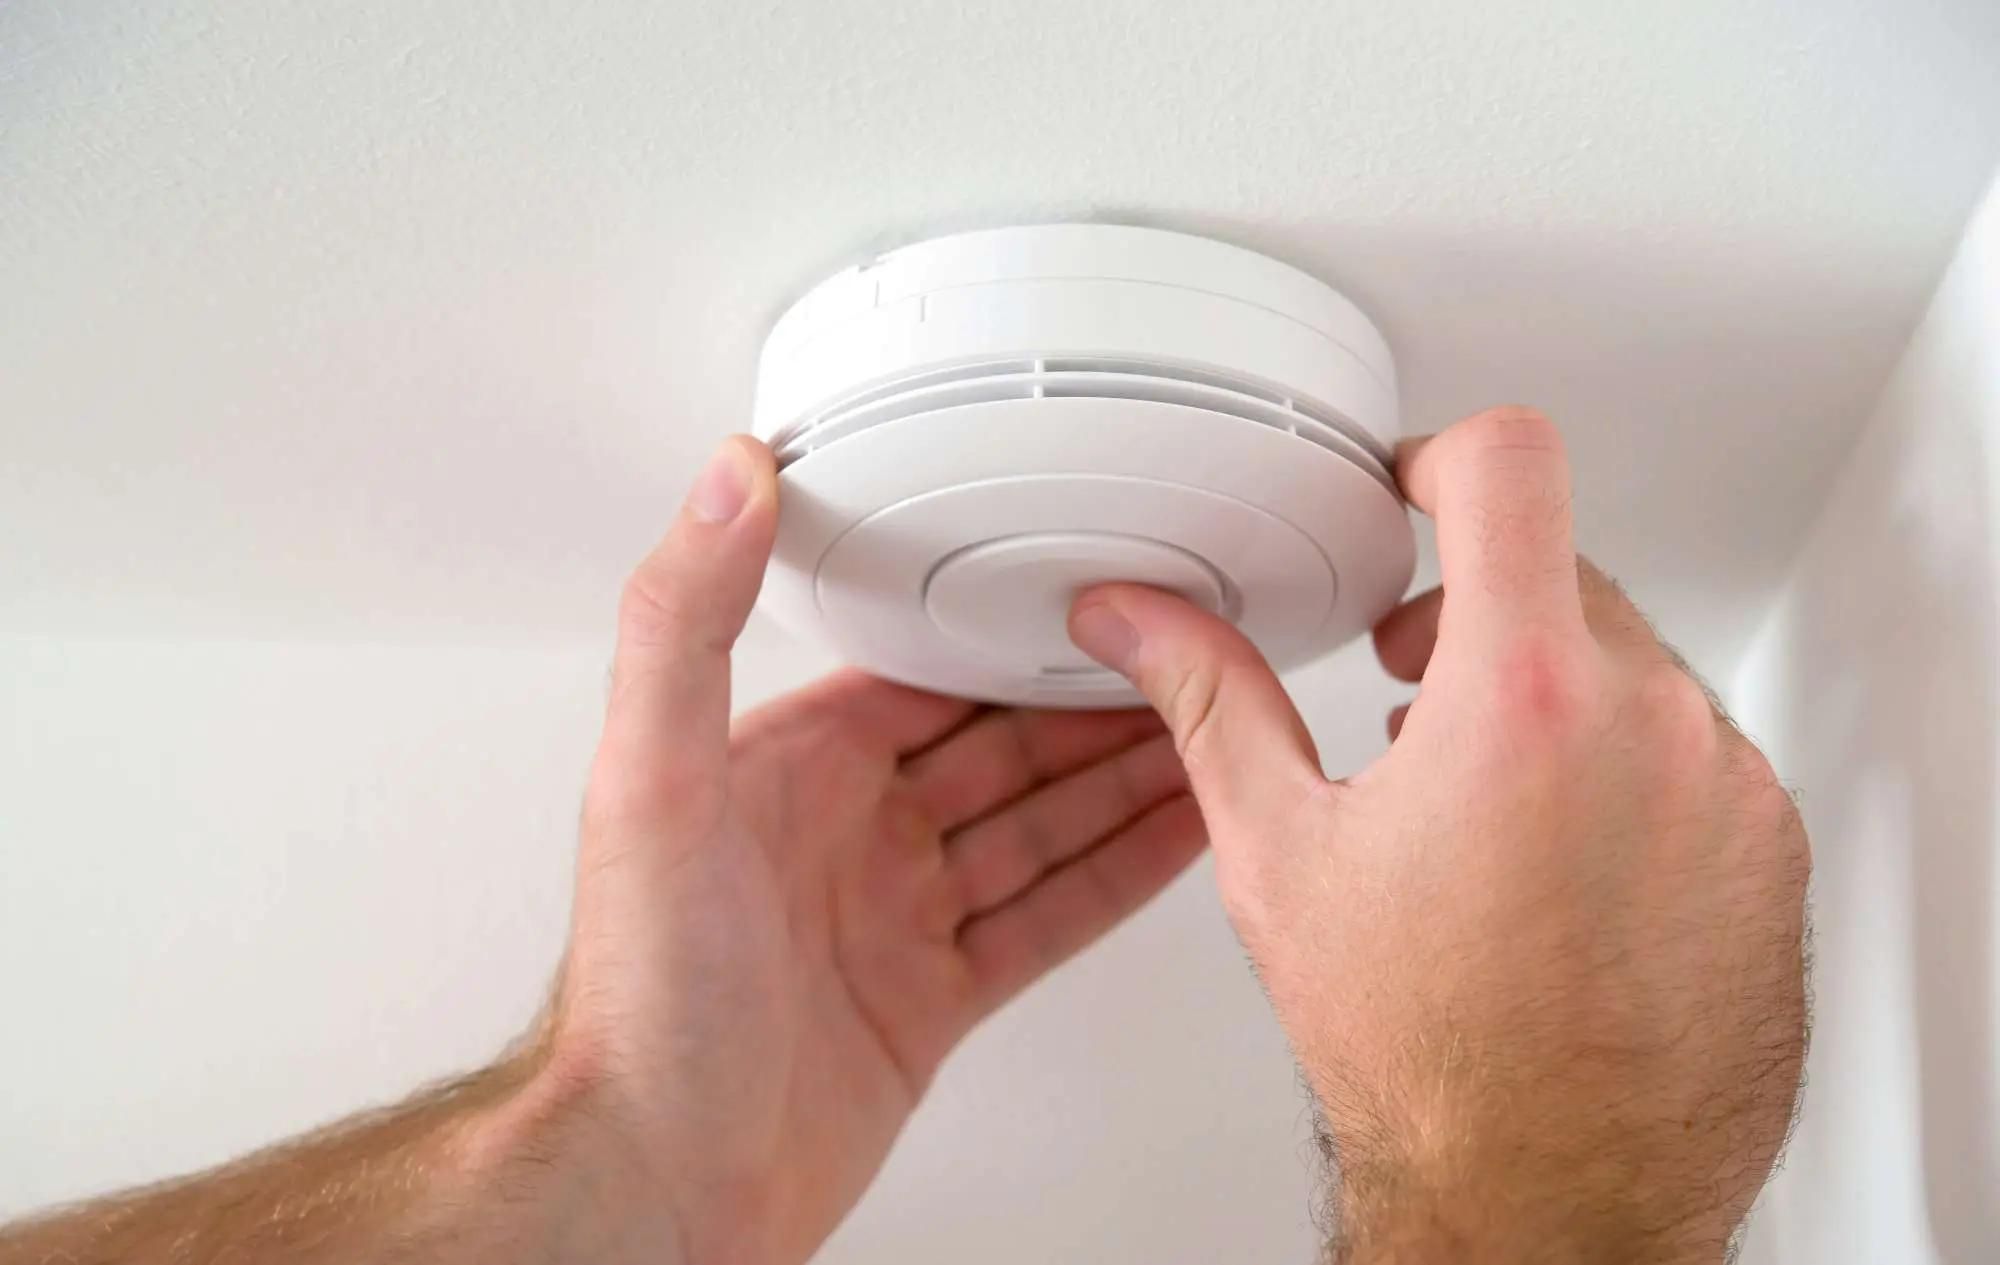
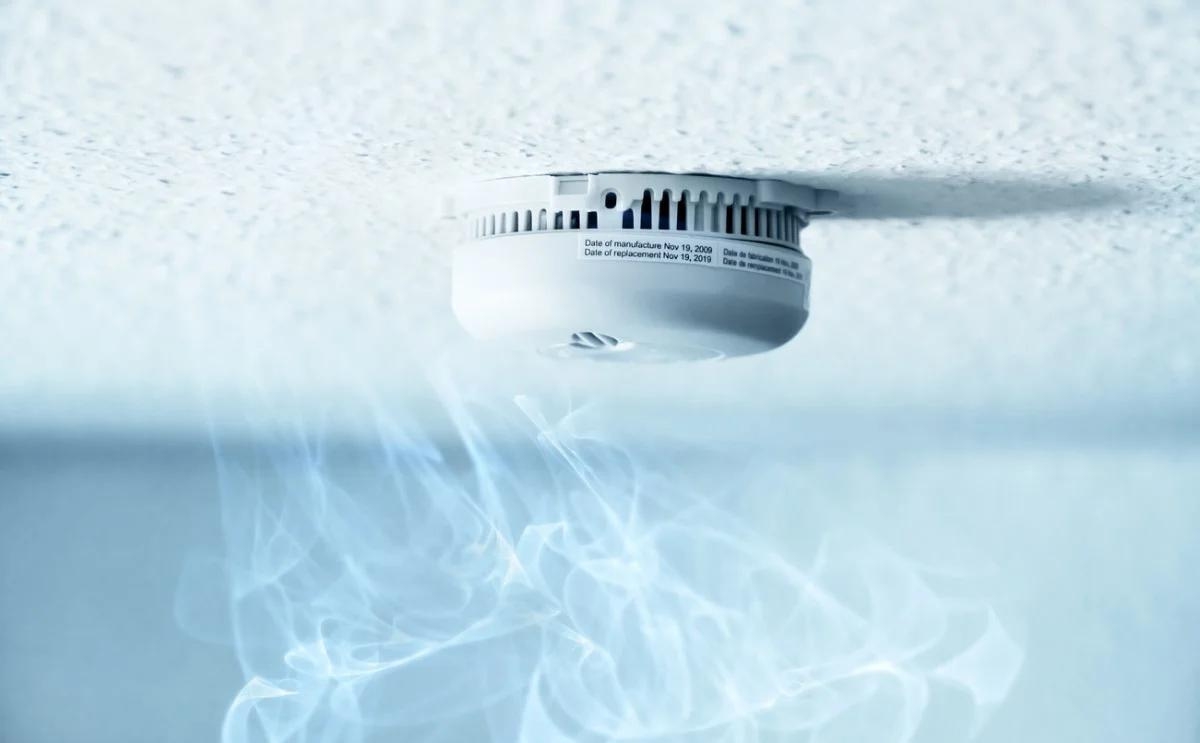
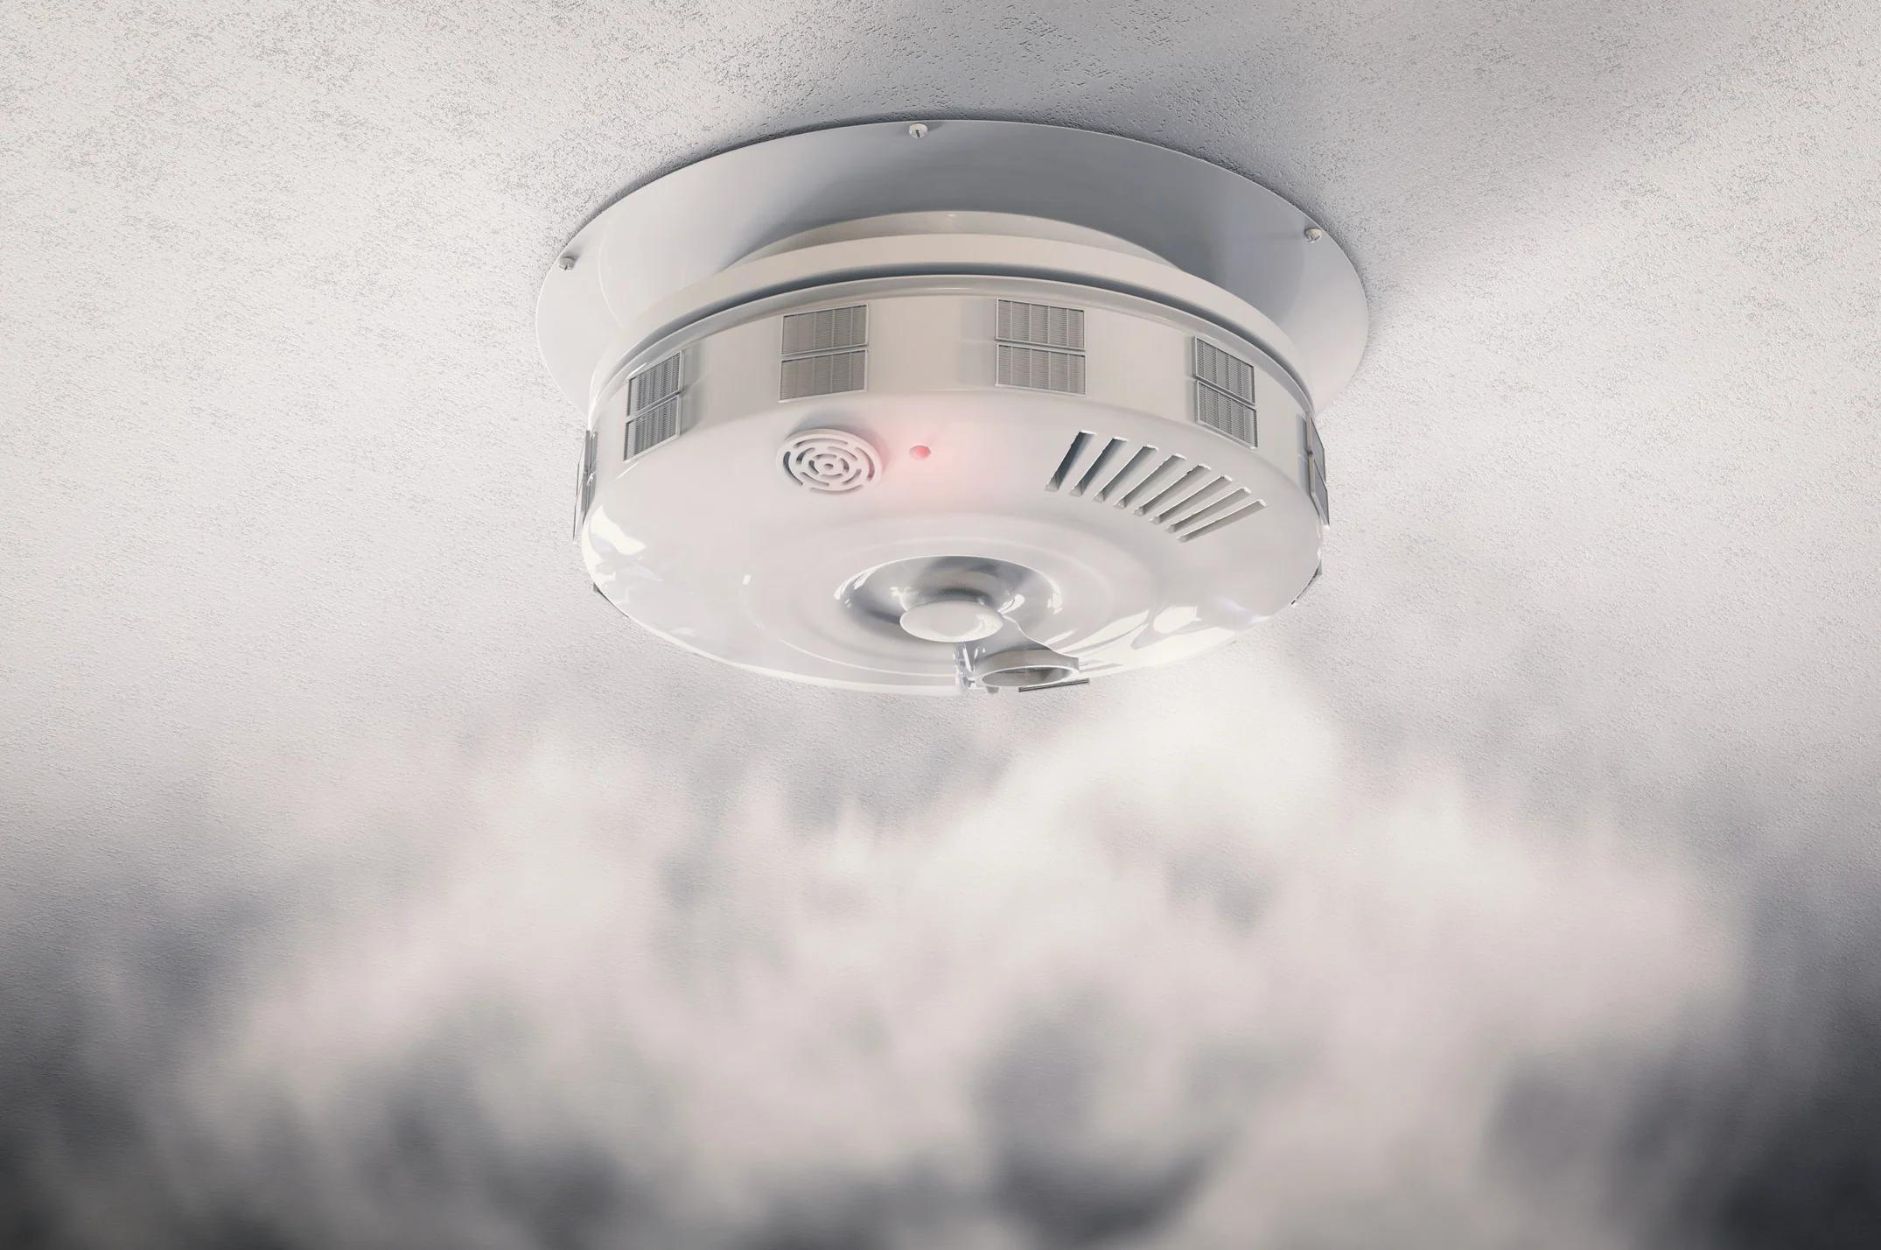
Smoke detectors are essential devices that help protect our homes and lives by alerting us to the presence of smoke and potential fires. They are designed to sense smoke particles in the air and emit a loud alarm to give us precious time to evacuate and call for help. However, just like any other device, smoke detectors require regular maintenance, including cleaning, to ensure their optimal performance.
Regularly cleaning your smoke detectors not only enhances their efficiency but also prolongs their lifespan. Over time, dust, debris, and even bugs can accumulate inside the detector, obstructing the sensors and reducing their sensitivity. This can result in false alarms or, even worse, fail to detect smoke when it is present. Therefore, it is important to clean your smoke detectors on a regular basis to ensure they are functioning properly.
In this article, we will provide you with a step-by-step guide on how to clean a smoke detector effectively. We will also discuss the materials required, safety precautions to bear in mind, and how to test the smoke detector after cleaning it. By following these guidelines, you can ensure that your smoke detectors are working optimally, providing you with the peace of mind that your home and family are protected.
Key Takeaways:
- Regularly cleaning your smoke detector is crucial for optimal performance, preventing false alarms, and ensuring compliance with safety regulations. It also contributes to improved air quality and extends the detector’s lifespan.
- Prioritize safety by turning off the power before cleaning your smoke detector. Use gentle cleaning materials and follow manufacturer’s instructions for a safe and effective cleaning process. Regular testing ensures the detector’s reliability in detecting smoke.
Read more: How Do You Replace A Smoke Detector
Importance of Cleaning Smoke Detectors
Cleaning smoke detectors is a crucial maintenance task that should not be overlooked. Here are some key reasons why it is important to clean your smoke detectors regularly:
- Optimal Performance: Over time, dust, dirt, and other particles can accumulate inside the smoke detector. This build-up can obstruct the sensors and affect their ability to detect smoke effectively. By cleaning the detector, you ensure that it functions at its best, providing you with the earliest possible warning in case of a fire.
- Prevention of False Alarms: A dirty smoke detector is more likely to trigger false alarms. Dust and debris can interfere with the sensor’s sensitivity, causing it to mistake non-threatening particles for smoke. Regular cleaning helps minimize the risk of false alarms, preventing unnecessary disruption and annoyance.
- Prolonged Lifespan: Proper maintenance, including regular cleaning, can extend the lifespan of your smoke detector. By removing dust and debris, you prevent potential damage to the internal components, ensuring that the detector continues to function efficiently and reliably for years to come.
- Improved Air Quality: A clean smoke detector means cleaner air in your home. Dust and other particles that accumulate in the detector can circulate back into your living space, potentially causing respiratory problems or allergies. Regular cleaning helps maintain a healthier environment for you and your family.
- Compliance with Safety Regulations: Depending on where you live, there may be specific regulations regarding the maintenance of smoke detectors. Regular cleaning is often a requirement to comply with these regulations and ensure your home meets the necessary safety standards.
By understanding the importance of cleaning your smoke detectors, you can prioritize this essential maintenance task. Regular cleaning not only ensures optimal performance but also contributes to the overall safety and well-being of your home and loved ones.
Step-by-Step Guide to Cleaning a Smoke Detector
Cleaning a smoke detector is a straightforward process that can be done with a few simple steps. Here’s a step-by-step guide to help you clean your smoke detector effectively:
- Gather the necessary materials: Before you begin, gather the materials you’ll need. This typically includes a soft brush or vacuum cleaner attachment, a small damp cloth or sponge, and a can of compressed air. Make sure the materials are clean and free from any chemicals or liquids that could damage the smoke detector.
- Safety first: Prioritize safety by turning off the power to the smoke detector. Locate the circuit breaker for the detector and switch it off to avoid any electrical hazards during the cleaning process.
- Remove the smoke detector cover: Most smoke detectors have a removable cover held in place by either locking tabs or screws. Carefully detach the cover according to the manufacturer’s instructions. If in doubt, consult the user manual or contact the manufacturer for guidance.
- Clean the alarm chamber: Once the cover is removed, inspect the alarm chamber for any visible debris or dust. Use a soft brush or vacuum cleaner attachment to gently remove any loose particles. Take care not to apply excessive force that could damage the delicate components.
- Clean the detector cover: Using a small damp cloth or sponge, lightly wipe the inside and outside of the detector cover. Be cautious not to use excessive water or cleaning agents that may cause damage. If the cover is particularly dirty, you can also use a mild detergent diluted in water. Ensure the cover is completely dry before reinstallation.
- Reinstall the cover: Once the detector cover is clean and dry, carefully reattach it to the smoke detector. Ensure that it is securely in place, and any locking tabs or screws are properly aligned. Be gentle to prevent any damage to the cover or the detector itself.
- Test the smoke detector: After the cleaning process is complete, it’s important to test the smoke detector to ensure it is functioning correctly. Follow the manufacturer’s instructions on how to test your specific model. Typically, this involves pressing and holding the test button until the alarm sounds. If the detector doesn’t activate or the alarm is weak, check the battery or consult a professional if further troubleshooting is needed.
By following these step-by-step instructions, you can clean your smoke detector effectively and maintain its optimal performance. Remember to clean your smoke detectors at least once every six months to ensure their reliability in detecting smoke and keeping your home safe.
Materials Required
When cleaning a smoke detector, it’s important to gather the necessary materials beforehand. Here are the materials you’ll need:
- Soft brush or vacuum cleaner attachment: A soft brush or a vacuum cleaner attachment with a brush tip is essential for removing dust and debris from the alarm chamber and other parts of the smoke detector. This will help ensure that the sensors are clear and free from any obstructions.
- Small damp cloth or sponge: A small damp cloth or sponge is useful for wiping the inside and outside of the detector cover. Make sure the cloth or sponge is clean and damp, but not wet, to avoid any damage to the detector. You can also use a mild detergent diluted in water for stubborn stains or dirt, if necessary.
- Can of compressed air: A can of compressed air is handy for blowing away any loose particles or dust from hard-to-reach areas of the smoke detector. It can help dislodge debris that may be obstructing the sensors or other components.
- Mild detergent (optional): If the smoke detector cover is particularly dirty, you can use a mild detergent diluted in water to clean it. However, be cautious not to use excessive amounts of water or cleaning agents, as they may seep into the detector and cause damage. Only use a mild detergent if necessary and ensure the cover is completely dry before reinstallation.
It’s important to note that when cleaning a smoke detector, you should avoid using harsh chemicals, solvents, or abrasive materials. These can potentially damage the detector and compromise its functionality. Stick to the recommended materials listed above to ensure a safe and effective cleaning process.
By having these materials on hand, you’ll be well-prepared to clean your smoke detector and maintain its optimal performance. Remember to always refer to the manufacturer’s instructions for specific cleaning guidelines and precautions.
Safety Precautions
While cleaning a smoke detector is a relatively simple task, it’s important to prioritize safety throughout the process. Here are some safety precautions to keep in mind:
- Turn off the power: Before you start cleaning, ensure that you turn off the power to the smoke detector at the circuit breaker. This step is crucial to prevent any electrical shocks or accidents during the cleaning process. Double-check that the power is completely off before proceeding.
- Handle with care: Smoke detectors are delicate devices, so handle them with care to avoid causing any damage. Avoid applying excessive force or pressure when cleaning, as this can potentially harm the internal components. Be gentle when removing or reinstalling the detector cover to prevent any unnecessary strain.
- Use appropriate materials: Stick to the recommended materials for cleaning your smoke detector. Avoid using harsh chemicals, solvents, or abrasive materials, as they can damage the detector and affect its performance. Stick to soft brushes, vacuum cleaner attachments, small damp cloths or sponges, and a can of compressed air for effective yet gentle cleaning.
- Avoid water damage: While a small damp cloth or sponge can be used to clean the detector cover, make sure it is not overly wet. Excessive moisture can seep into the detector and cause damage. If using a mild detergent, use a minimal amount and ensure that the detector cover is completely dry before reinstallation.
- Follow manufacturer’s instructions: Different smoke detectors may have specific cleaning requirements and guidelines provided by the manufacturer. It is essential to read and follow these instructions carefully to ensure you clean the smoke detector properly without jeopardizing its functionality.
- Test the detector after cleaning: After cleaning the smoke detector and reinstalling the cover, test the device to ensure it is working correctly. Follow the manufacturer’s instructions for testing, which typically involves pressing and holding the test button until the alarm sounds. Verify that the detector is functioning as expected before considering the cleaning process complete.
By following these safety precautions, you can ensure a safe and successful cleaning process for your smoke detector. Prioritize safety at all times to prevent accidents and maintain the functionality of your smoke detector, keeping your home and loved ones safe.
Read more: How Do You Reset A Smoke Detector
Turning off the Power
Before you begin cleaning your smoke detector, it is crucial to turn off the power to ensure your safety. Here’s a step-by-step guide on how to turn off the power:
- Locate the circuit breaker: Find the circuit breaker that controls the power supply to your smoke detector. The circuit breaker panel is usually located in a utility room, basement, or garage. It is typically a gray or metal box with labeled switches or breakers.
- Identify the smoke detector circuit: Look for the circuit labeled for the smoke detectors. It might be labeled as “Smoke Alarms,” “Fire Alarms,” or something similar. If you’re unsure, consult the circuit breaker map or contact a professional for assistance.
- Switch off the breaker: Once you have identified the correct circuit, switch it off by flipping the corresponding breaker switch to the “Off” position. This will effectively cut off the power supply to the smoke detector. Double-check that the breaker is securely in the “Off” position.
Turning off the power is an essential safety precaution to prevent electrical shocks or accidents while cleaning the smoke detector. It ensures that you can work on the detector without any power flowing through the circuit. Remember to keep the power off until you have completed the cleaning process and reinstalled the smoke detector cover.
After cleaning, remember to turn the power back on by flipping the breaker switch to the “On” position. This will restore the power supply to the smoke detector, allowing it to resume its normal operation.
Do not attempt to clean the smoke detector or remove its cover without first turning off the power. Always prioritize your safety by following proper procedures and precautions.
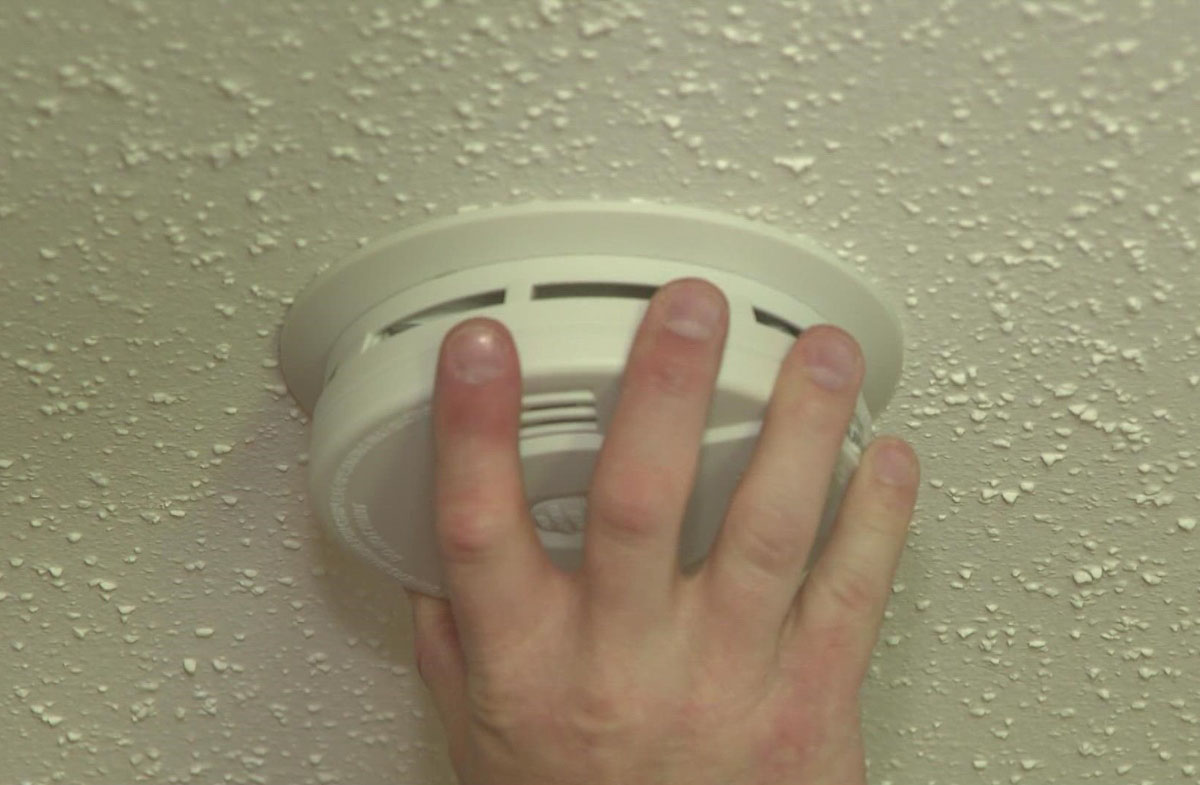
Regularly clean your smoke detector by gently vacuuming the exterior and using a soft brush to remove dust and debris from the vents. Test the detector monthly to ensure it is functioning properly.
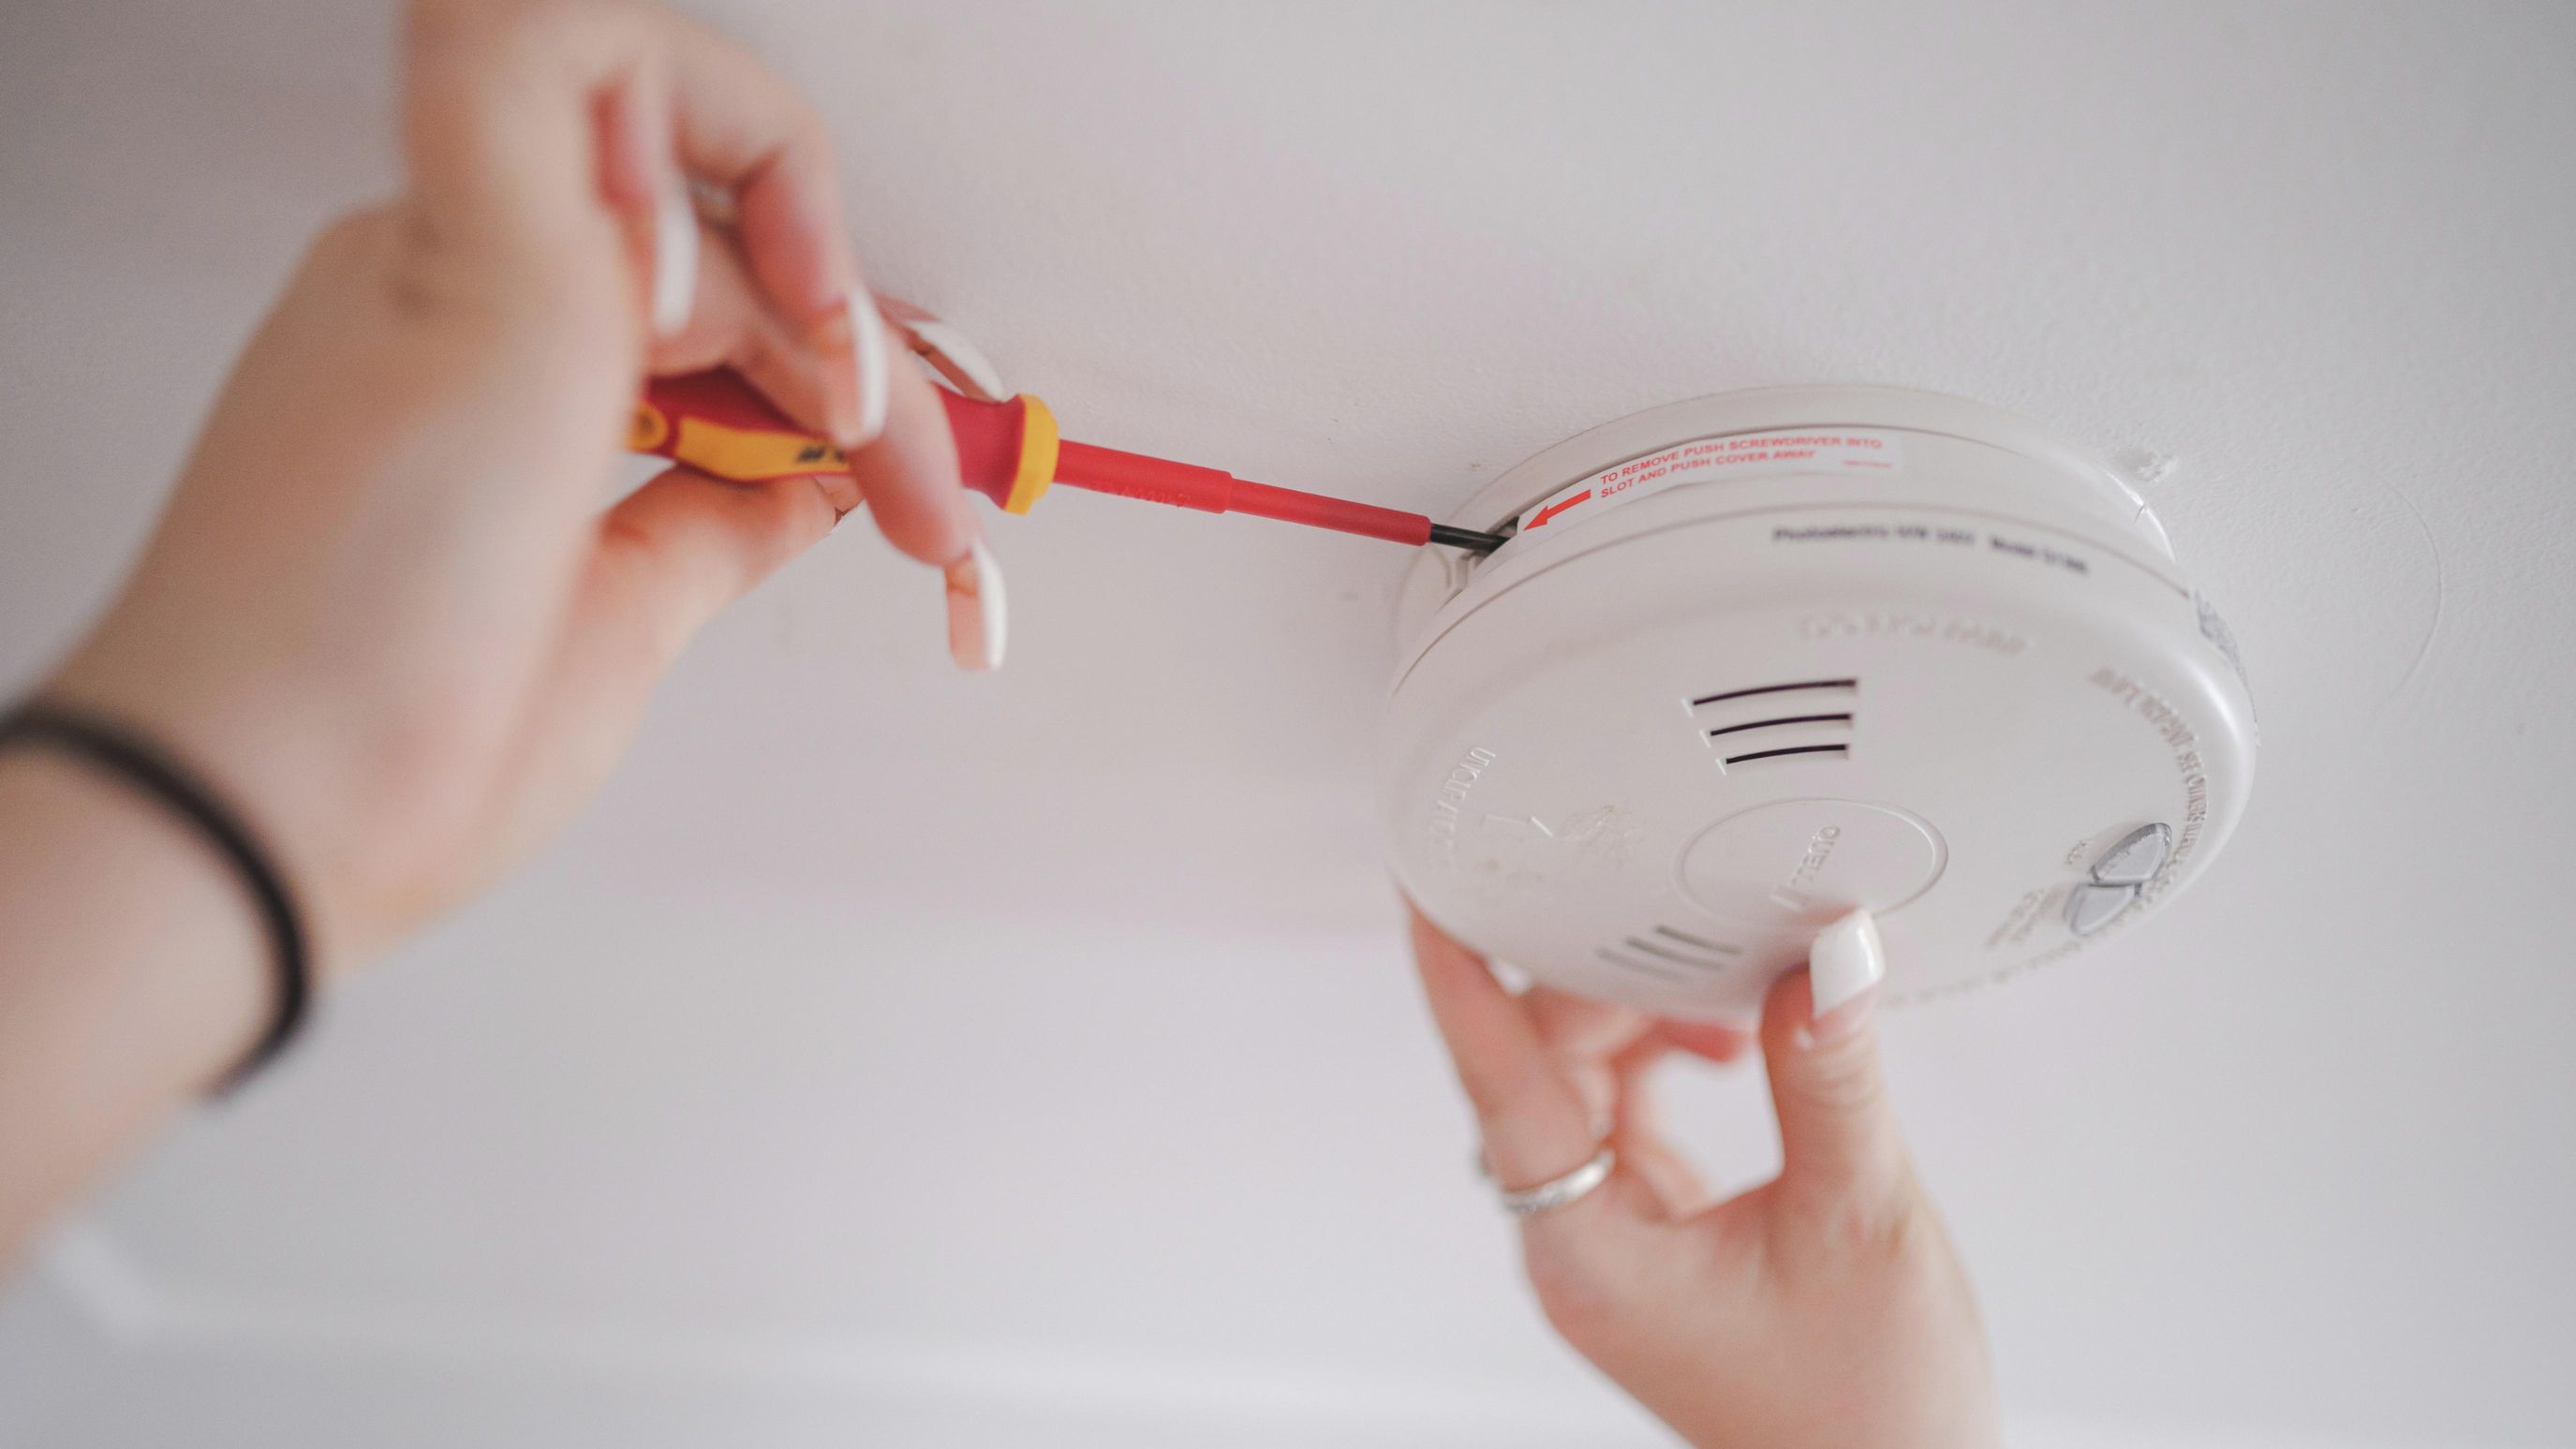
Removing the Smoke Detector Cover
Once you have turned off the power to the smoke detector, you can proceed to remove the cover for cleaning. Follow these steps to safely remove the smoke detector cover:
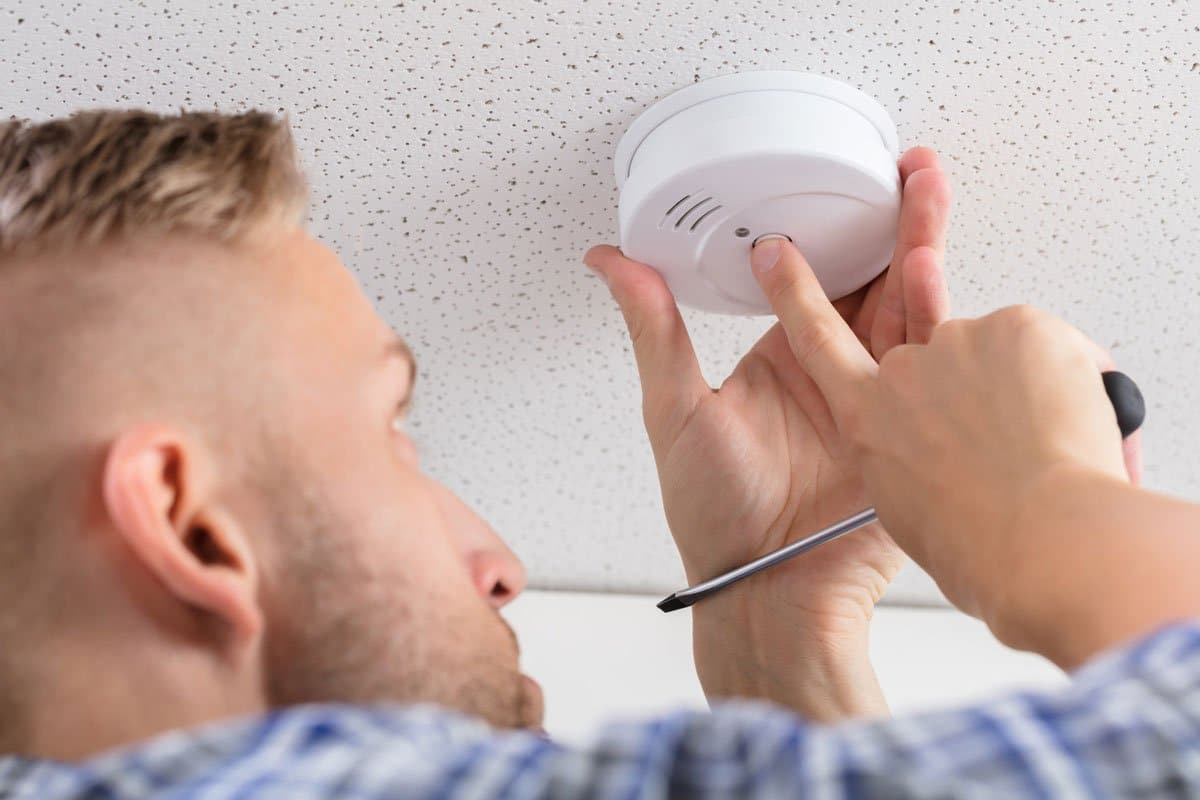
- Locate the locking tabs or screws: Examine the smoke detector to identify how the cover is secured. Most detectors have either locking tabs or screws that hold the cover in place. These are usually located at the sides or bottom of the detector.
- Unlock the tabs or unscrew the screws: If your smoke detector has locking tabs, gently press or release them to unlock the cover. Use a small flathead screwdriver if necessary to help release the tabs. If your detector has screws, use the appropriate screwdriver to unscrew them in a counterclockwise motion until the cover loosens.
- Remove the cover: Once the locking tabs are released or the screws are unscrewed, carefully lift or slide the cover off the smoke detector. Hold the cover with both hands to prevent it from falling or causing damage.
It’s important to be gentle and cautious when removing the smoke detector cover to avoid any damage to the detector or its components. If you encounter any difficulties or are unsure about the removal process, consult the user manual or contact the manufacturer for guidance.
Remember to place the cover in a safe location away from any potential hazards, such as liquids or excessive heat, to prevent damage while you clean the smoke detector.
With the smoke detector cover successfully removed, you are now ready to proceed with cleaning the smoke detector’s alarm chamber and cover to ensure optimum performance and reliability.
Cleaning the Alarm Chamber
Now that you have removed the smoke detector cover, it’s time to clean the alarm chamber. The alarm chamber houses the sensors that detect smoke particles in the air. Follow these steps to effectively clean the alarm chamber:
- Inspect the alarm chamber: Take a close look at the alarm chamber to identify any visible dust, debris, or other particles. Use a flashlight if necessary to get a better view. Pay attention to the sensors and ensure they are clear of any obstructions.
- Use a soft brush or vacuum cleaner attachment: Using a soft brush or a vacuum cleaner attachment with a brush tip, gently remove any loose particles or debris from the alarm chamber. Be careful not to apply excessive force, as the sensors are delicate and can be easily damaged.
- Brush in a circular motion: When using a brush, make gentle circular motions to dislodge any dust or debris that may have accumulated inside the alarm chamber. Direct the brush towards the opening of the chamber to encourage the particles to come out.
- Use a can of compressed air: If there are stubborn particles stuck in hard-to-reach areas of the alarm chamber, you can use a can of compressed air. Hold the can upright and use short bursts of air to blow away the debris. Ensure you follow the manufacturer’s instructions on the can for safe usage.
- Be thorough and detailed: Take your time to clean the entire alarm chamber, ensuring you don’t miss any areas. Pay close attention to the sensors, as these are the most important components for detecting smoke. If necessary, repeat the process until the chamber is visibly clean and clear of any obstructions.
Remember to be gentle and cautious when cleaning the alarm chamber to avoid causing any damage. Take care not to touch the sensors directly or use any liquids or cleaning agents that could harm them.
By effectively cleaning the alarm chamber, you ensure that the sensors can accurately detect smoke and provide timely alerts in the event of a fire. Once you have finished cleaning the alarm chamber, you can move on to cleaning the smoke detector cover in the next step.
Cleaning the Detector Cover
After cleaning the alarm chamber, it’s time to focus on cleaning the detector cover. The cover not only protects the internal components of the smoke detector but also contributes to its overall aesthetic appeal. Follow these steps to effectively clean the smoke detector cover:
- Inspect the detector cover: Take a close look at the detector cover to identify any visible dirt, stains, or smudges. Pay attention to both the inside and outside of the cover, as these areas can accumulate dust and other particles over time.
- Use a small damp cloth or sponge: Dampen a small cloth or sponge with water. Make sure it is not overly wet – you want it to be damp, not soaking. You can also add a mild detergent to the cloth or sponge if the cover is particularly dirty or stained. Ensure that the detergent is non-abrasive and suitable for the surface of the detector cover.
- Gently wipe the cover: With the damp cloth or sponge, lightly wipe the inside and outside of the detector cover. Be cautious not to use excessive pressure or scrubbing motions, as this could potentially damage the cover. Focus on areas with visible dirt or stains, making sure to cover the entire surface of the cover.
- Pay attention to corners and edges: Pay extra attention to the corners and edges of the detector cover, as these areas can collect more dust and grime. Use gentle wiping motions to clean these areas thoroughly, ensuring no dirt is left behind.
- Allow the cover to dry: Once you have finished cleaning the detector cover, set it aside to air dry completely. Ensure that the cover is free from any excess moisture before reinstallation. Placing it on a clean, dry surface and allowing it to air dry naturally is the best approach.
If the smoke detector cover is still dirty or stained after using a damp cloth or sponge, you can try a mild detergent diluted in water. However, exercise caution and avoid using excessive amounts of water or harsh cleaning agents, as these can potentially damage the cover or seep into the smoke detector itself.
By cleaning the detector cover, you not only maintain the aesthetics of the smoke detector but also contribute to its overall functionality. A clean cover ensures that there are no obstructions that could impact the performance of the smoke detector’s sensors.
Once the cover is completely dry, you can proceed to the next step, which involves reinstalling the cover onto the smoke detector.
Read more: How To Clean A Kidde Smoke Detector
Reinstalling the Cover
Now that you have cleaned the detector cover, it’s time to reinstall it onto the smoke detector. Follow these steps to ensure a proper and secure reinstallation:
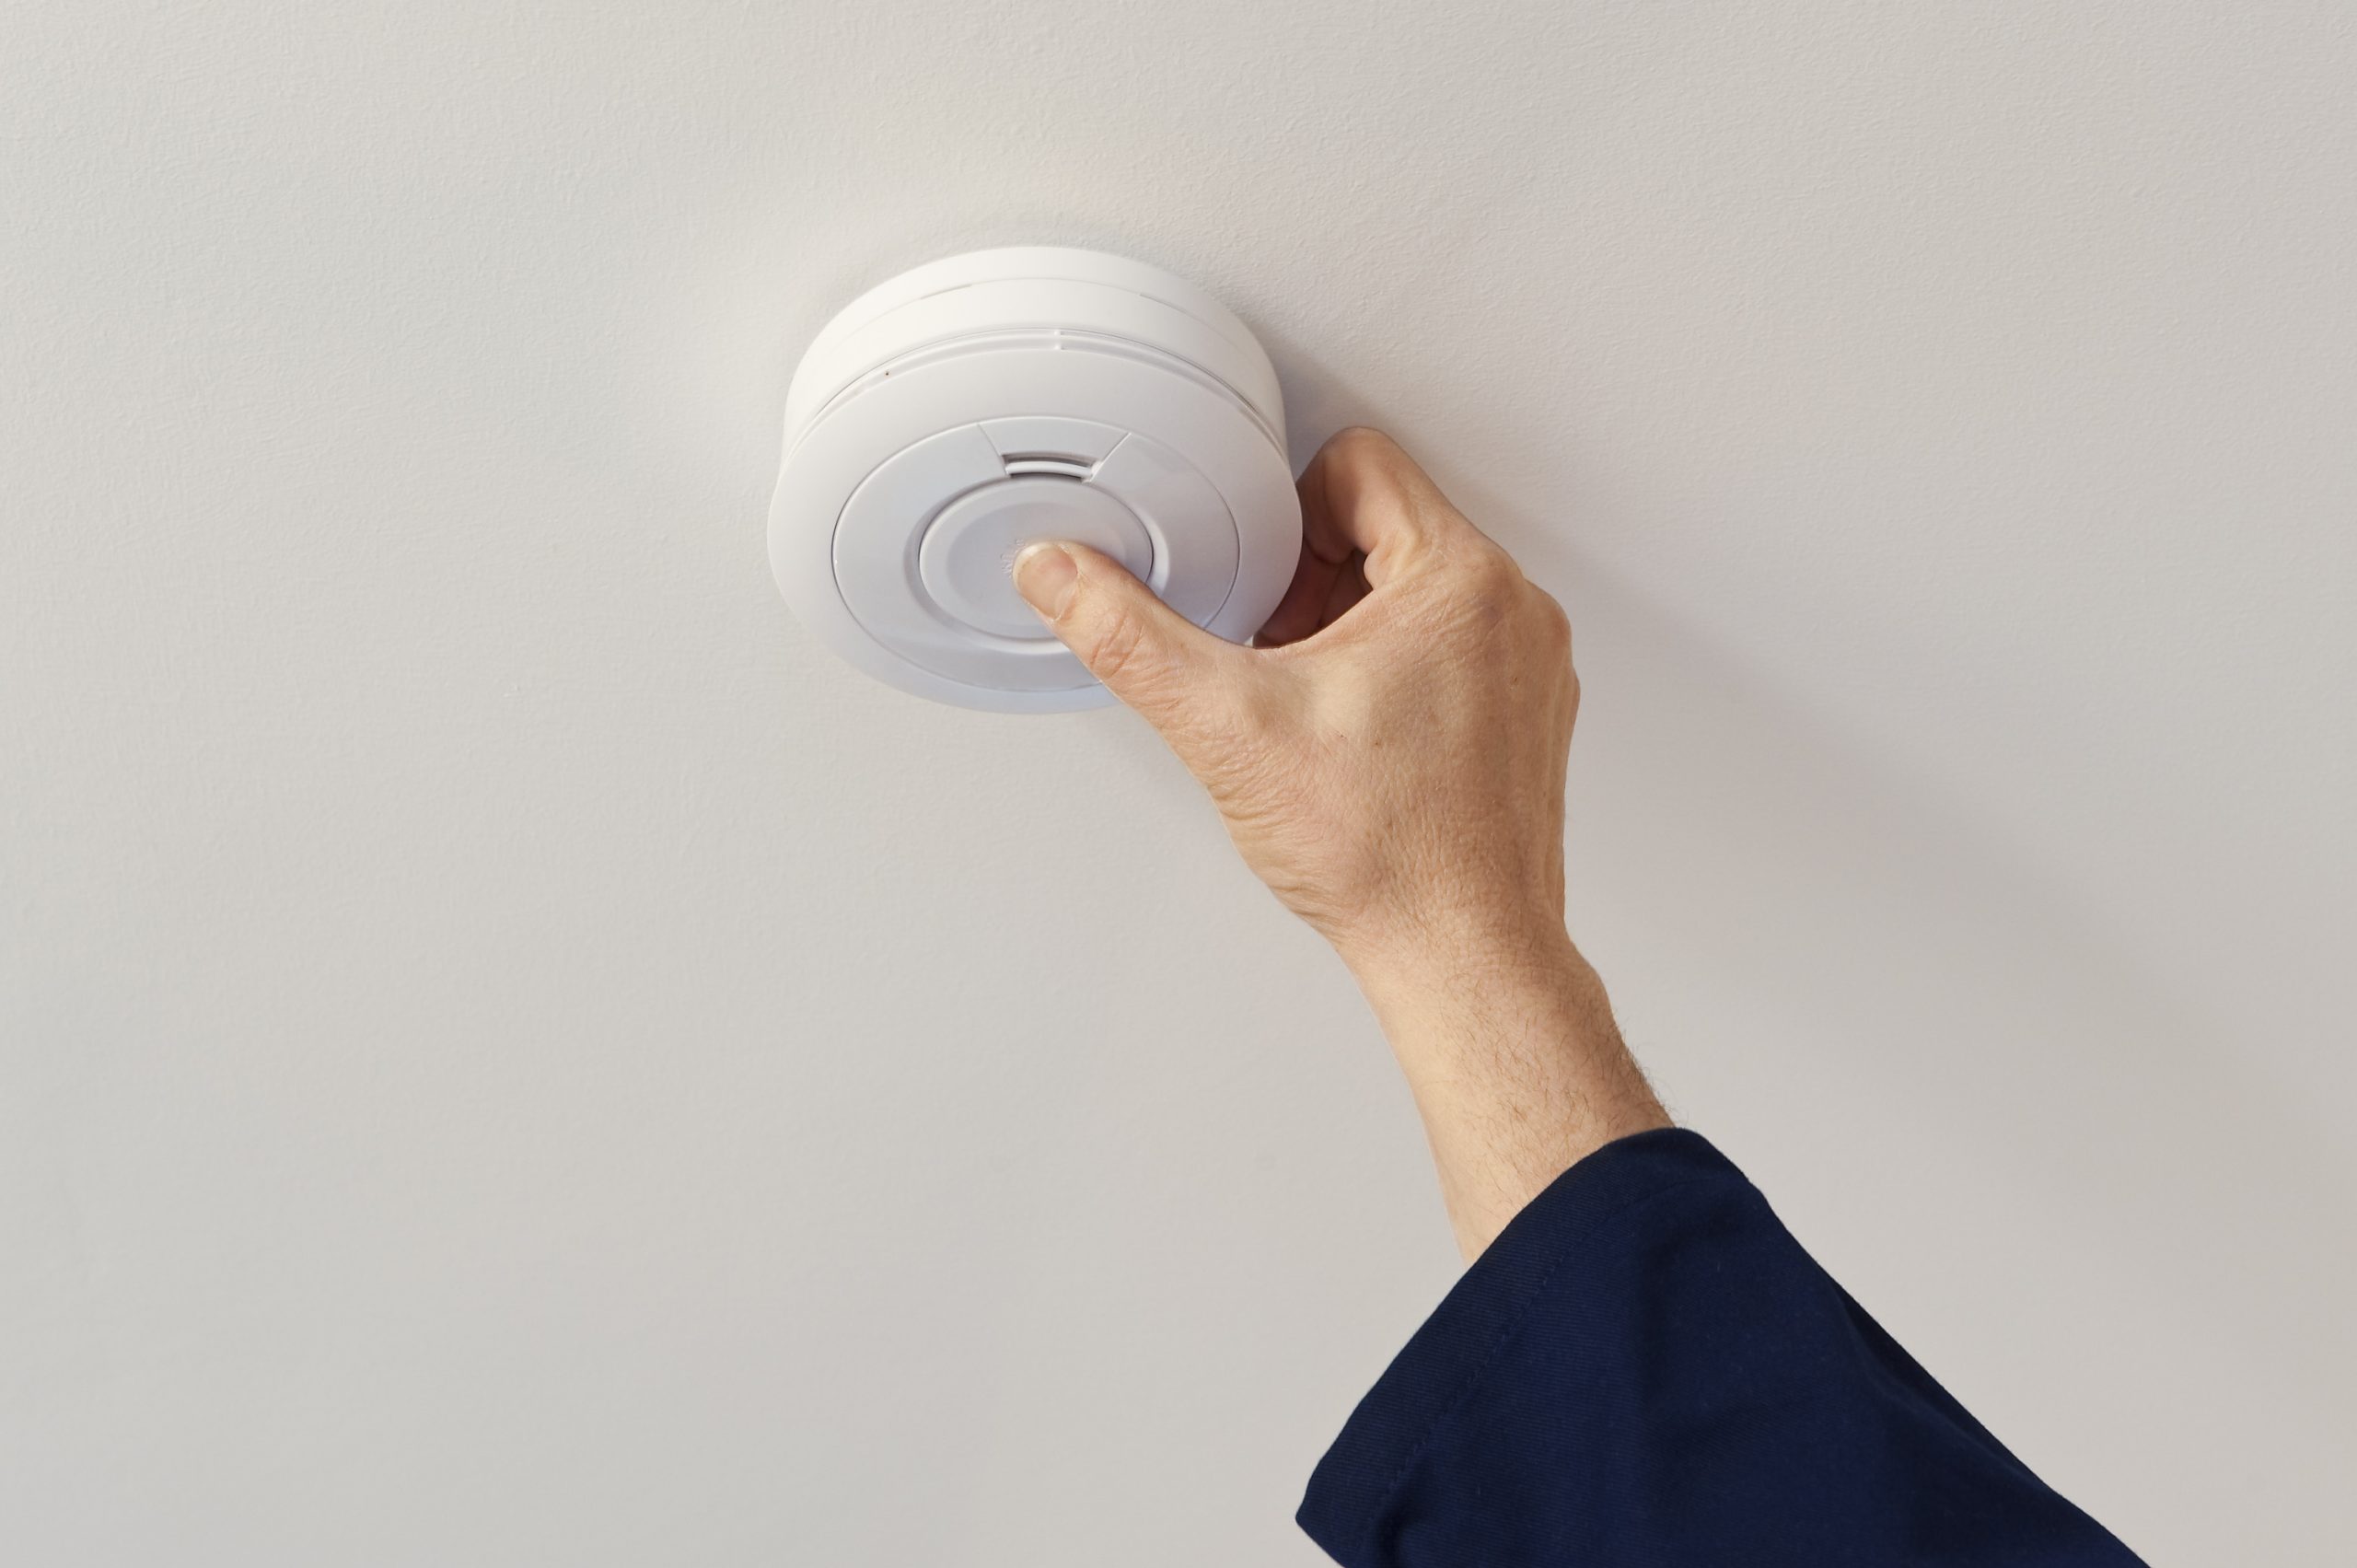
- Align the cover: Take the cleaned detector cover and align it with the corresponding slots or tabs on the smoke detector. Make sure the cover is positioned correctly and fits snugly over the body of the detector. It should sit flush against the detector without any gaps.
- Lock the tabs or screw in place: If your smoke detector has locking tabs, gently press or slide them into their respective slots until you hear a click or feel them securely in place. If your detector uses screws, insert them through the designated holes in the cover and tighten them using the appropriate screwdriver. Be careful not to overtighten the screws, as this could cause damage to the cover or the detector.
- Ensure proper alignment: Double-check that the cover is properly aligned and securely attached to the smoke detector. Run your fingers along the edges of the cover to ensure there are no gaps or loose areas. The cover should be firmly in place and not easily dislodged.
- Test the cover: Give the cover a gentle push or slight wiggle to make sure it is secure. If it moves or feels loose, remove the cover and reposition it, ensuring proper alignment and attachment. The cover should remain stable and not shift when lightly touched.
It’s important to reinstall the cover properly to ensure the smoke detector functions optimally and provides accurate detection in case of a fire. A securely installed cover helps protect the internal components from dust, debris, and potential damage.
Once you have reinstalled the cover and ensured its stability, you can move on to the final step of the cleaning process – testing the smoke detector to verify its functionality.
Testing the Smoke Detector
After cleaning the smoke detector and reinstalling the cover, it’s important to test the device properly to ensure it is functioning correctly. Follow these steps to test your smoke detector:
- Ensure the power is still on: Before testing the smoke detector, double-check that the power to the device is still on. Go to the circuit breaker panel and verify that the breaker switch for the smoke detector circuit is in the “On” position.
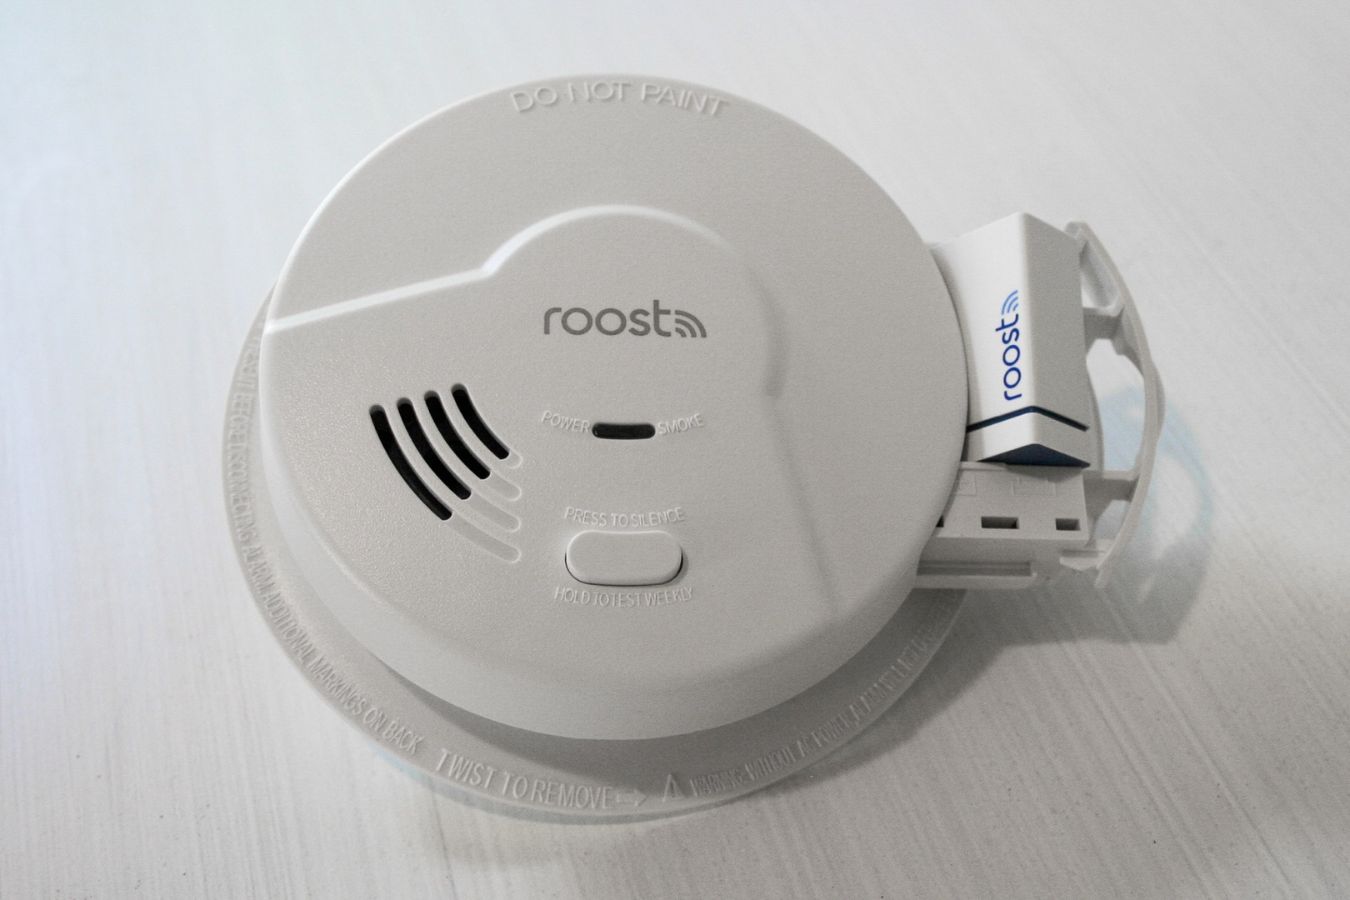
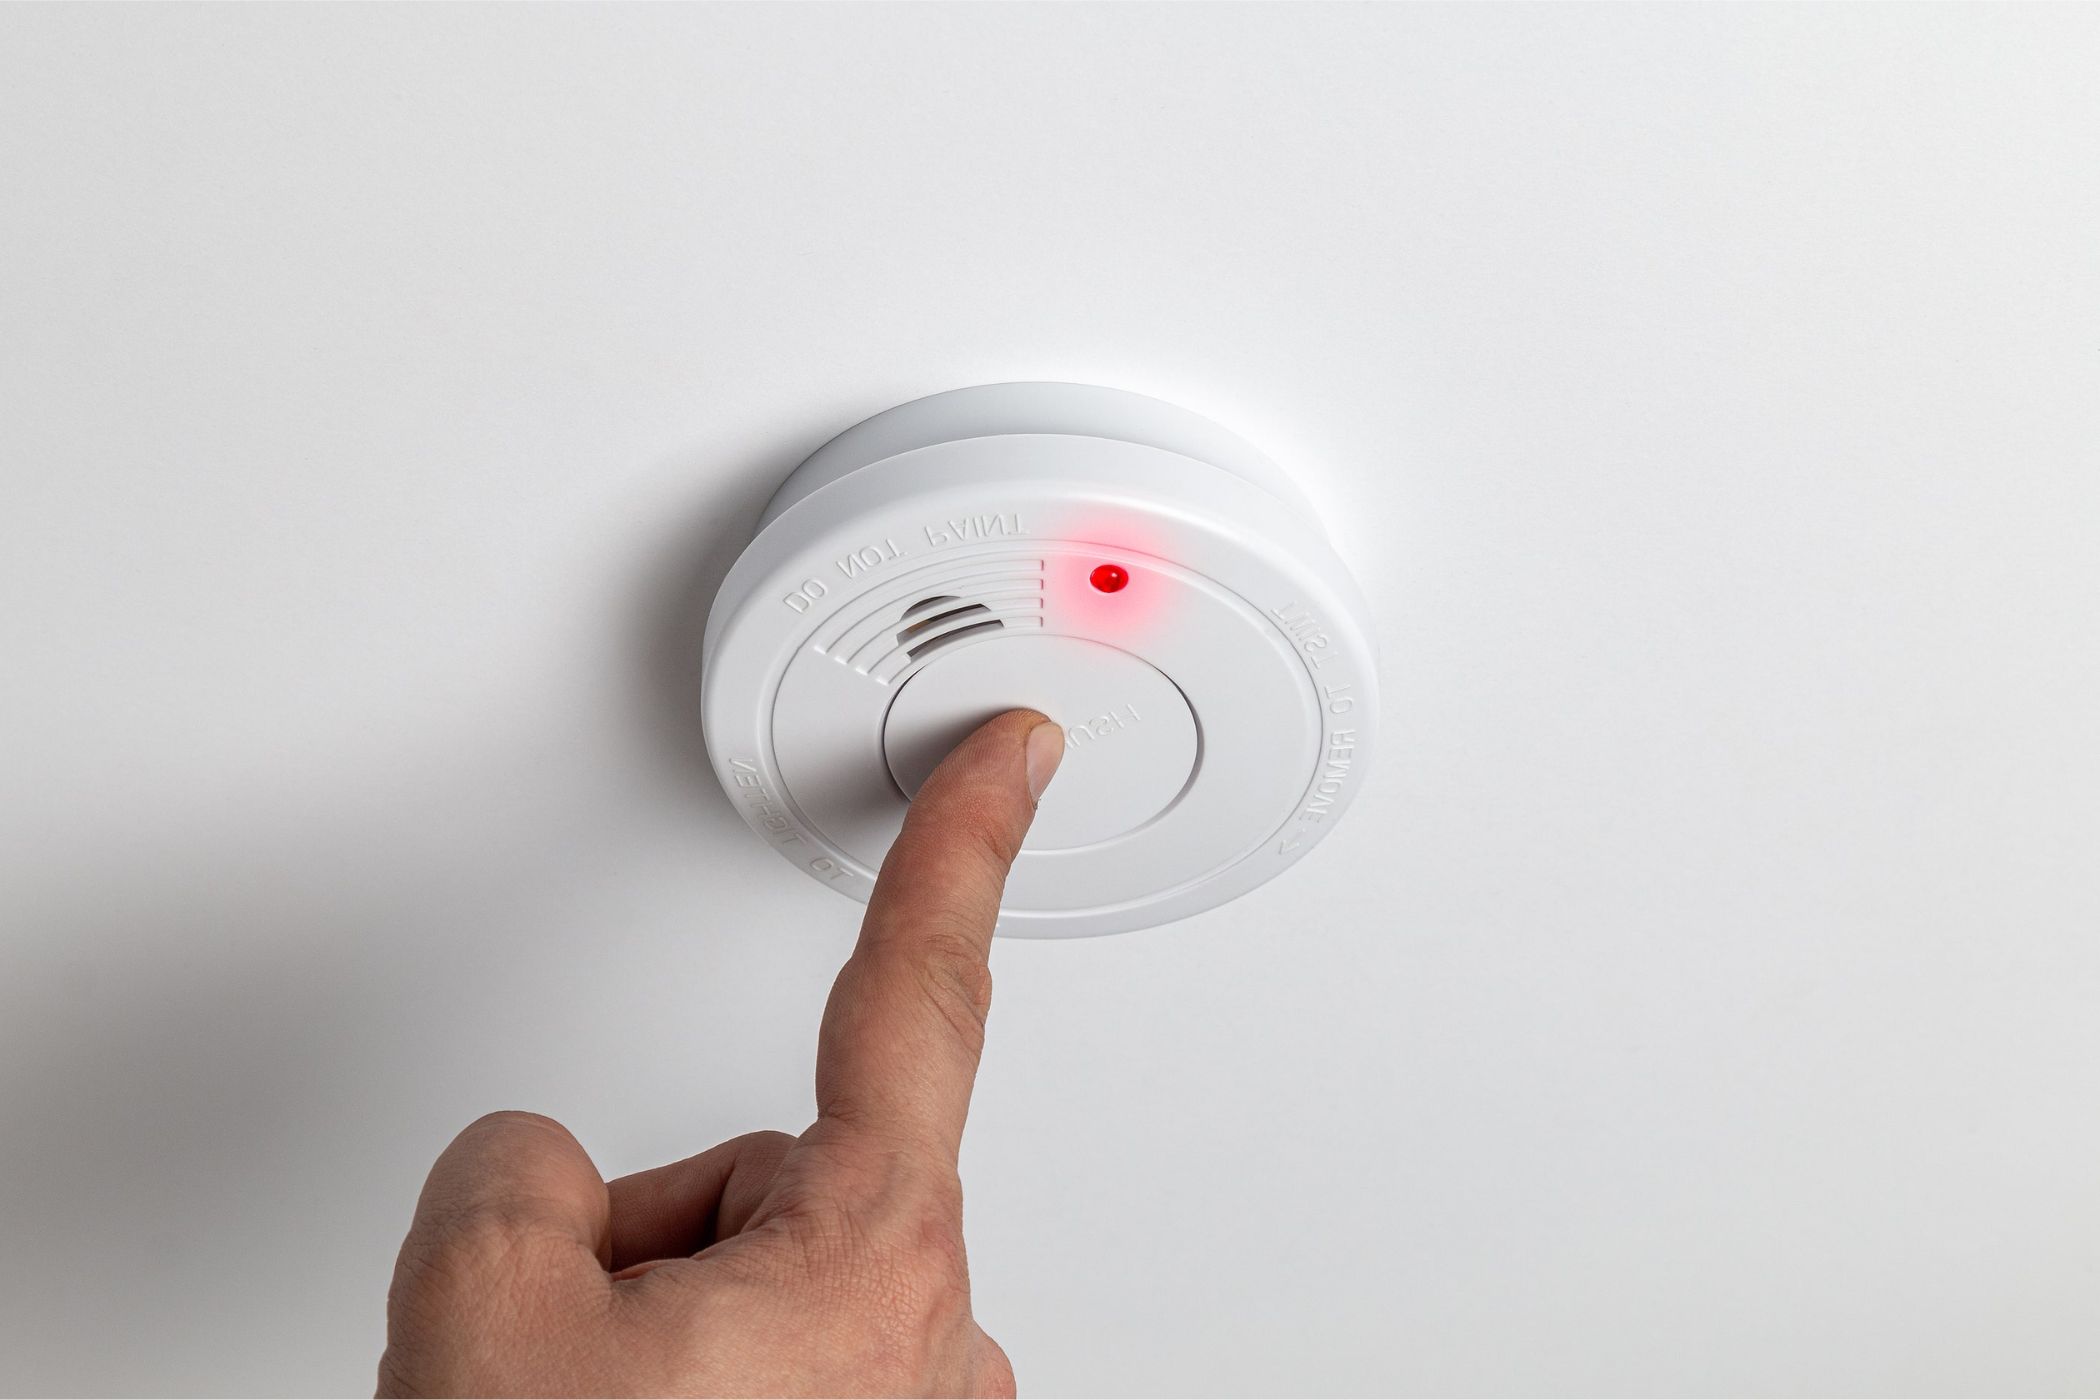
- Prepare a testing method: Most smoke detectors have a built-in test button used for testing purposes. Locate this button, which is usually located on the front or side of the detector. Familiarize yourself with its location and operation.
- Press and hold the test button: Press and hold the test button down for a few seconds until you hear the alarm sound. This can vary depending on the model, but typically, the alarm should sound loudly and continuously to signify that it is working.
- Verify the alarm sound: Listen carefully to the alarm sound. The sound should be loud and clear, indicating that the smoke detector is functioning properly. If the alarm sound seems weak or distorted, you may need to replace the batteries or consider consulting a professional for further assistance.
- Note the date of the test: After conducting the test, make a note of the date. This helps you keep track of when the last test was performed and when the next one should be scheduled. Regular testing is crucial to ensure that the smoke detector is always in working condition.
It’s important to test your smoke detector regularly, typically once a month, to ensure its reliability in detecting smoke and notifying you of potential fires. Testing not only verifies the functionality of the detector but also ensures that the alarm is loud enough to be heard throughout your home.
If the smoke detector fails to emit a loud alarm or does not produce any sound at all during the test, there may be an issue with the device. In such cases, consider replacing the batteries or contacting a professional to inspect and assess the smoke detector.
By testing your smoke detector regularly, you can have peace of mind knowing that it will effectively alert you in the event of a fire, allowing you to take immediate action to protect yourself and your loved ones.
Conclusion
Cleaning your smoke detector is a vital maintenance task that ensures the optimal performance and reliability of this crucial safety device. Regular cleaning helps remove dust, debris, and obstructions that can impact the detector’s ability to detect smoke effectively. By following the step-by-step guide provided in this article, you can clean your smoke detector with ease and maintain its functionality.
Throughout this guide, we have emphasized the importance of cleaning smoke detectors regularly. Cleaning not only enhances the detector’s performance but also prevents false alarms and extends its lifespan. It also contributes to improved indoor air quality and helps you stay compliant with safety regulations.
Remember to gather the necessary materials, prioritize safety by turning off the power, and gently remove the smoke detector cover. Clean the alarm chamber using a soft brush or vacuum cleaner attachment and remove any stubborn particles with a can of compressed air if needed. Then, clean the detector cover using a small damp cloth or sponge, ensuring it is completely dry before reinstallation.
After reinstalling the cover, don’t forget to test the smoke detector to verify its functionality. By following these steps and regularly testing your smoke detector, you can have confidence in its ability to detect smoke and protect your home and loved ones from potential fire hazards.
Remember, always refer to the manufacturer’s instructions for specific cleaning guidelines and safety precautions. If you have any doubts or concerns, it is recommended to consult a professional for assistance.
Take the time to clean your smoke detector at least every six months or as recommended by the manufacturer. By doing so, you can ensure that your smoke detector operates optimally, providing you with early detection and valuable time to evacuate and seek help in the event of a fire.
By prioritizing regular cleaning and maintenance, you are taking an essential step towards creating a safer living environment for you and your family. Stay proactive in maintaining your smoke detector to protect what matters most.
Frequently Asked Questions about How Do You Clean A Smoke Detector
Was this page helpful?
At Storables.com, we guarantee accurate and reliable information. Our content, validated by Expert Board Contributors, is crafted following stringent Editorial Policies. We're committed to providing you with well-researched, expert-backed insights for all your informational needs.


0 thoughts on “How Do You Clean A Smoke Detector”