
Articles
How Do You Clean A Dryer
Modified: October 20, 2024
Learn how to clean a dryer effectively with our helpful articles. Get tips and tricks for maintaining your dryer and improving its performance.
(Many of the links in this article redirect to a specific reviewed product. Your purchase of these products through affiliate links helps to generate commission for Storables.com, at no extra cost. Learn more)
Introduction
Keeping your dryer clean is not only important for its performance but also for your safety. Over time, dryers can accumulate lint, dust, and debris, which can hinder its efficiency and increase the risk of fire. By regularly cleaning your dryer, you can ensure its optimal functioning and reduce the potential hazards.
In this article, we will discuss the importance of cleaning a dryer, safety precautions to keep in mind, and step-by-step instructions for cleaning various parts of the dryer. We will also provide some tips and recommendations for maintaining a clean and efficient dryer.
So, let’s delve into the details of how to properly clean a dryer and keep it in top-notch condition!
Key Takeaways:
- Regularly cleaning your dryer is crucial for its performance, safety, and longevity. It optimizes efficiency, reduces fire hazards, and ensures fresh, odor-free laundry.
- Following safety precautions, such as disconnecting the dryer and wearing protective gear, is essential before cleaning. Regularly cleaning the lint trap, drum, and exhaust vent enhances efficiency and safety.
Read more: How Do You Clean Dryer Vent
Importance of Cleaning a Dryer
Regularly cleaning your dryer is crucial for several reasons. First and foremost, a clean dryer performs better. When lint and debris accumulate in the lint trap, exhaust vent, and drum, it restricts airflow, causing the dryer to work harder to dry your clothes. This not only increases energy consumption but also prolongs drying times. By keeping your dryer clean, you can optimize its efficiency and save on energy costs.
Moreover, a clean dryer is safer to use. Lint is highly flammable and can easily ignite if it comes into contact with the heat source inside the dryer. According to the U.S. Fire Administration, dryers account for approximately 15,000 fires each year, with excessive lint buildup being a common cause. Regularly cleaning the lint trap, exhaust vent, and drum can significantly reduce the risk of dryer fires, protecting your home and family.
In addition to safety and performance benefits, cleaning your dryer also improves the lifespan of the appliance. When subjected to excessive lint clogs and debris, the dryer’s components, such as the motor and heating element, are put under strain, which can lead to premature wear and tear. By keeping your dryer clean, you can extend its lifespan and avoid costly repairs or replacements.
Finally, a clean dryer ensures that your clothes come out fresh and odor-free. When lint and debris accumulate in the drum, they can transfer onto your clothes during the drying process, leaving behind unwanted lint particles and unpleasant smells. By regularly cleaning the drum and interior surfaces, you can ensure that your clothes remain clean and fresh, ready to wear straight out of the dryer.
Overall, cleaning your dryer is essential for optimal performance, safety, longevity, and the quality of your laundry. Now that you understand the importance, let’s move on to the necessary safety precautions you should take before cleaning your dryer.
Safety Precautions Before Cleaning
Before you start cleaning your dryer, it is important to take some safety precautions to ensure your well-being and avoid any accidents. Here are some essential safety measures to keep in mind:
- Disconnect the dryer: Before you begin any cleaning or maintenance tasks, make sure to unplug the dryer from the power source. This step is vital to avoid the risk of electric shock or injury.
- Allow the dryer to cool down: Give your dryer ample time to cool down before you start cleaning. The internal components can become hot during operation, so it is crucial to let the dryer cool off to avoid burns or injuries.
- Wear protective gear: When handling cleaning products or removing debris from the dryer, it is recommended to wear protective gear, such as gloves and safety glasses, to protect your hands and eyes from potential hazards.
- Clear the surrounding area: Ensure that the area around the dryer is clear of any obstructions, objects, or flammable materials. This will allow you to move freely and minimize the risk of accidents or fire hazards.
- Read the manufacturer’s instructions: Familiarize yourself with the manufacturer’s guidelines for cleaning and maintenance. Each dryer may have specific instructions or recommendations that are important to follow for optimal safety and performance.
- Use appropriate cleaning products: When cleaning the dryer, use only the recommended cleaning products that are safe for your specific model. Avoid using harsh chemicals or abrasive materials that can damage the surfaces or components of the dryer.
- Be cautious when cleaning the exhaust vent: If you decide to clean the exhaust vent yourself, exercise caution as it may be located in hard-to-reach areas, such as the roof or exterior wall. Consider hiring a professional if you are unsure or uncomfortable with this task.
- If you detect any issues or abnormalities during the cleaning process, it is important to seek professional assistance from a qualified technician. They can identify and address any underlying problems to ensure the safe and proper functioning of your dryer.
Following these safety precautions will help you minimize the risks associated with cleaning your dryer and ensure a safe cleaning process. Now that you are aware of the necessary safety measures, let’s move on to the step-by-step instructions for cleaning different parts of the dryer.
Cleaning the Lint Trap
The lint trap, also known as the lint screen, is an important component of your dryer that captures lint and debris during the drying cycle. Regularly cleaning the lint trap is essential to maintain the efficiency and safety of your dryer. Here’s how to clean the lint trap:
- Locate the lint trap: The lint trap is usually located inside the dryer drum, near the door opening. It is a mesh-like screen that captures lint as the air flows through the dryer.
- Remove the lint trap: Gently pull out the lint trap from its housing. Some lint traps may have a handle or tab that you can use to easily remove them.
- Remove the lint: Take a moment to inspect the lint trap for any lint or debris buildup. Use your fingers or a soft-bristled brush to remove the lint that has accumulated on the screen. Be thorough and ensure all lint is removed.
- Clean the lint trap: Once you have removed the lint, rinse the lint trap with warm water to remove any remaining lint or residue. Use a mild detergent or soap if necessary, and gently scrub the screen to ensure it is clean.
- Dry the lint trap: After cleaning the lint trap, pat it dry with a clean towel or let it air dry completely before placing it back into the dryer. It is important to ensure that the lint trap is completely dry to prevent any moisture-related issues.
- Reinstall the lint trap: Once the lint trap is dry, carefully slide it back into its housing inside the dryer. Ensure that it fits securely and is properly aligned.
- Dispose of the lint: As a final step, dispose of the collected lint in a safe manner. You can simply throw it away in a trash bag or recycle it if applicable.
It is recommended to clean the lint trap after every drying cycle to prevent excessive lint buildup. Regular cleaning of the lint trap will not only improve the efficiency of your dryer but also reduce the risk of lint igniting and causing a fire hazard. Remember to repeat this cleaning process regularly to keep your lint trap in optimal condition.
Now that you know how to clean the lint trap, let’s move on to the next step, which is cleaning the drum and interior surfaces of the dryer.
Cleaning the Drum and Interior Surfaces
As you use your dryer, debris, lint, and residue can accumulate on the drum and interior surfaces. Cleaning these areas is essential to maintain the cleanliness and efficiency of your dryer. Follow these steps to clean the drum and interior surfaces of your dryer:
- Disconnect the dryer: Before you begin cleaning, make sure the dryer is unplugged from the power source to prevent any accidents.
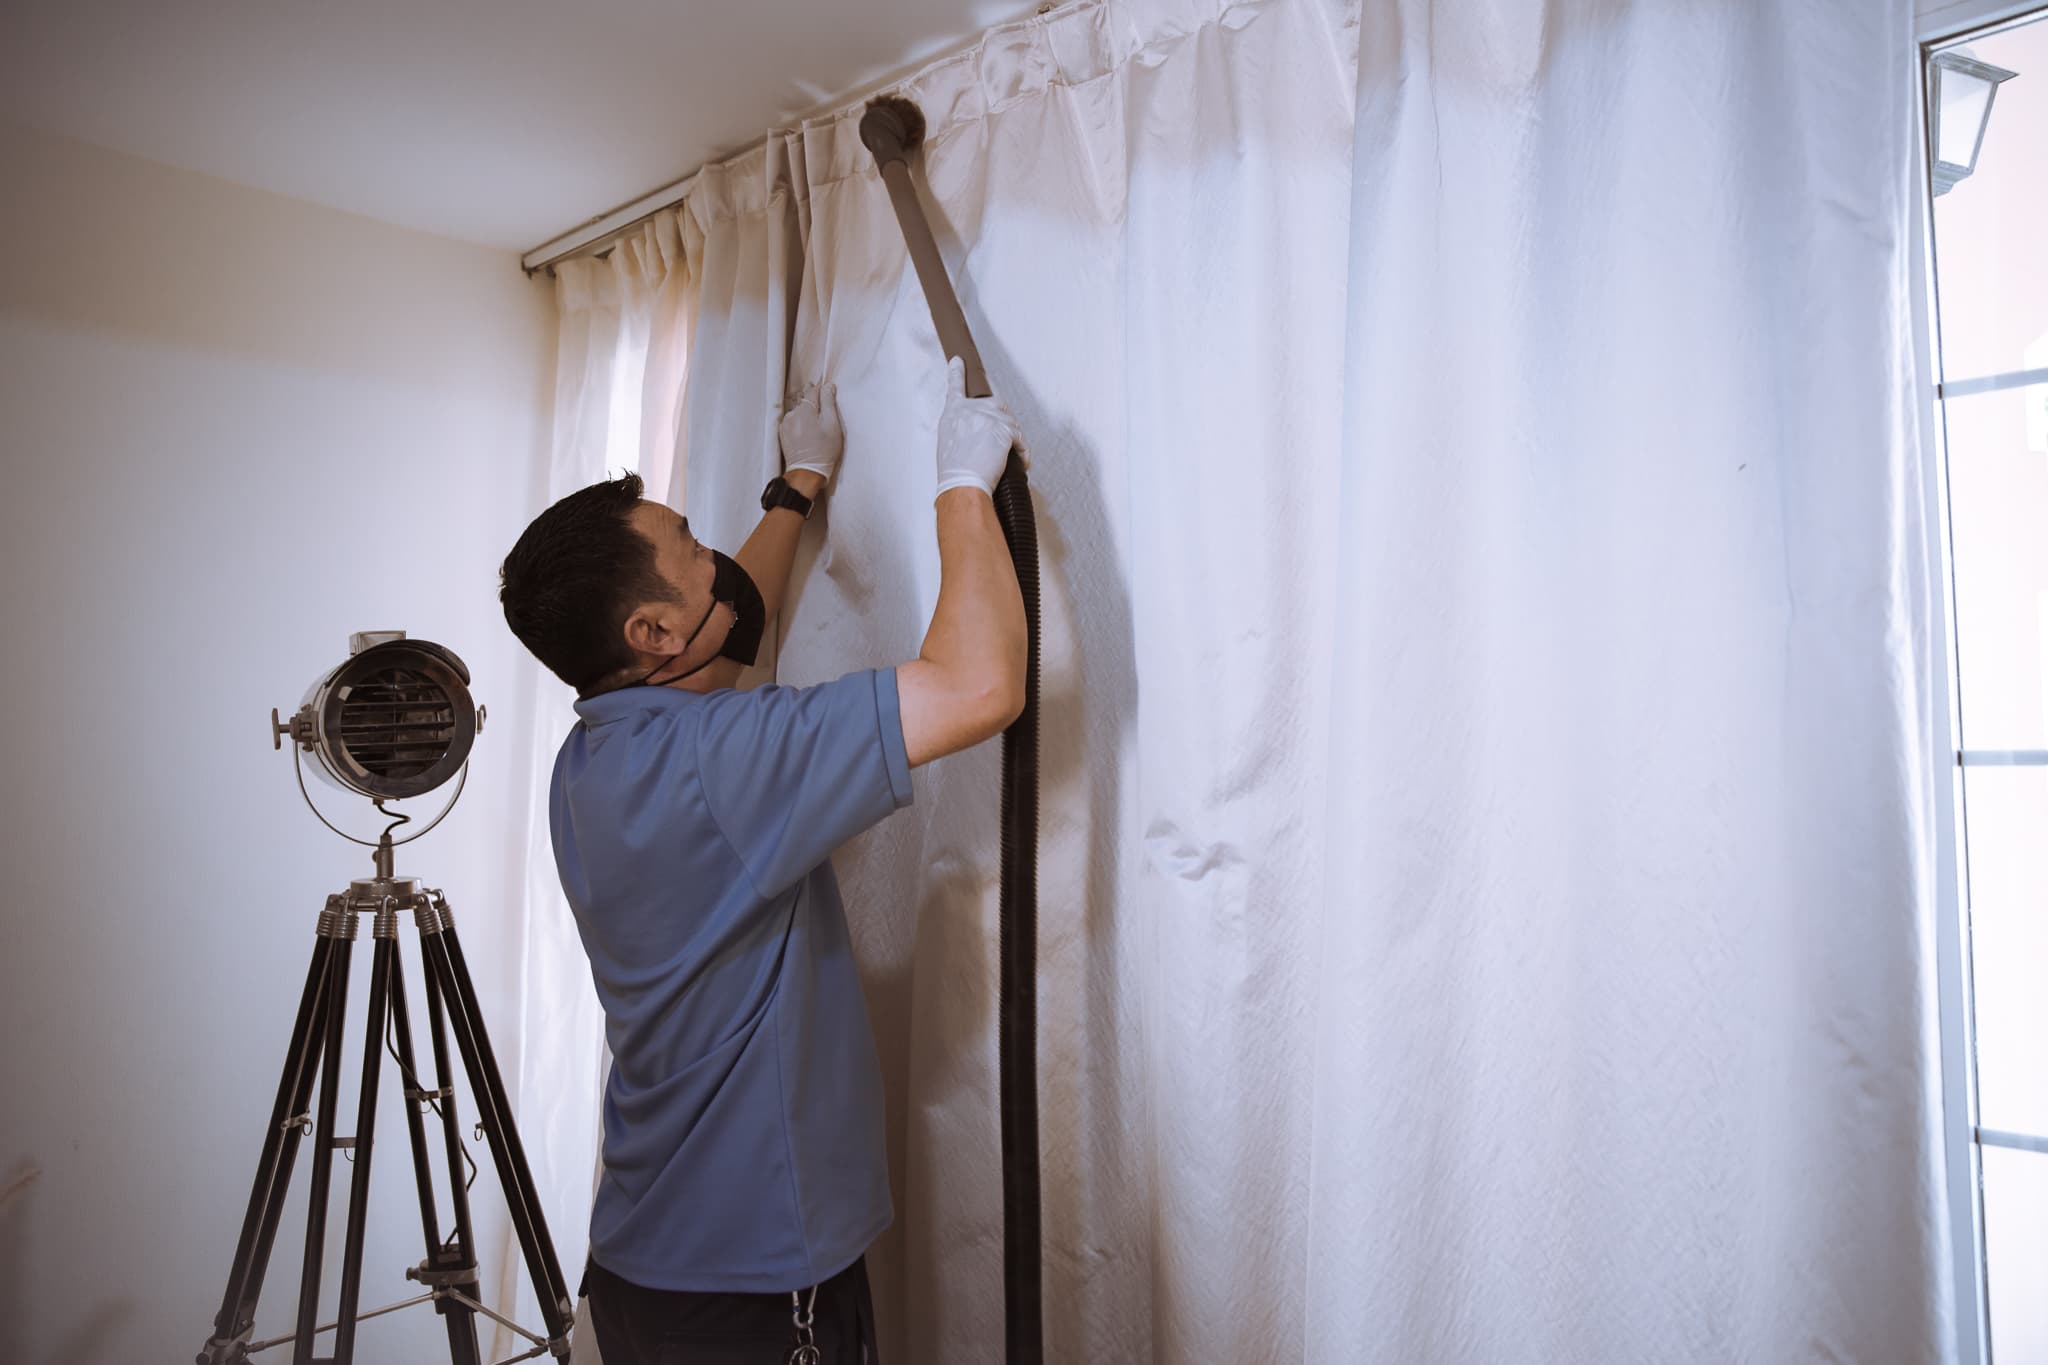
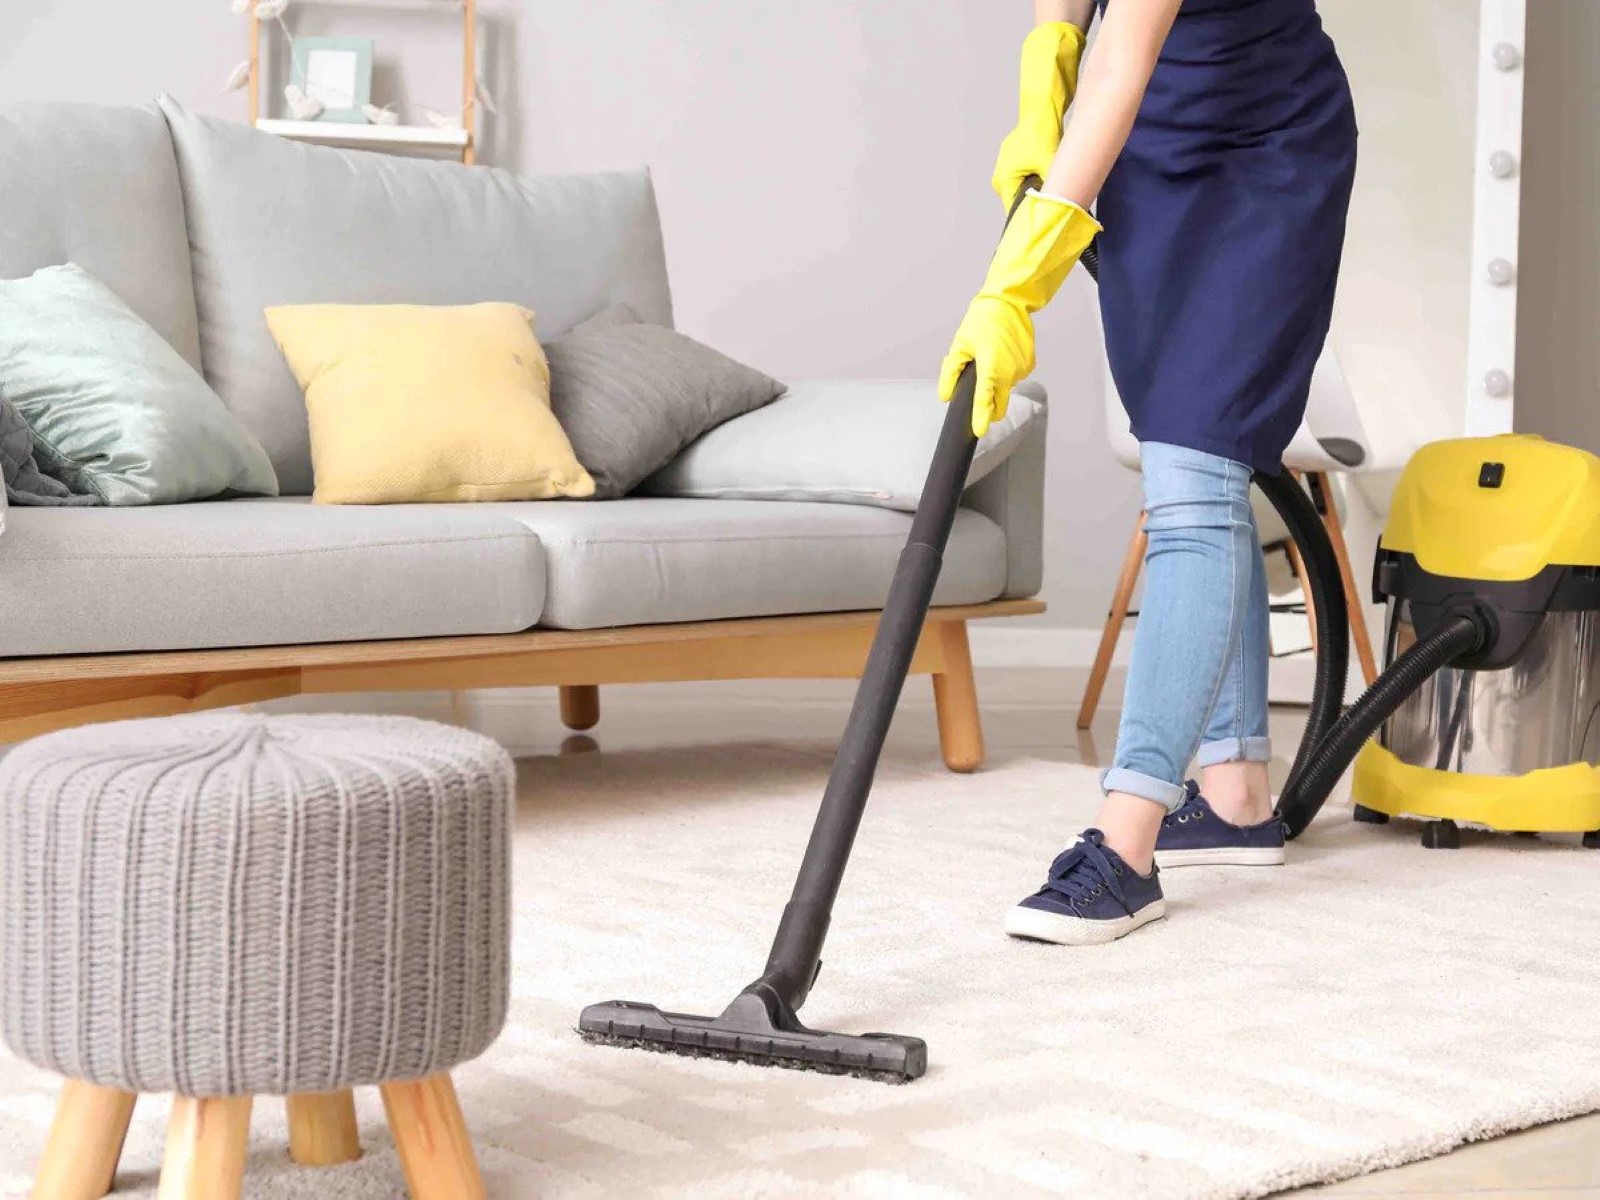
- Remove any loose debris: Use a soft-bristled brush or vacuum cleaner attachment to remove any loose lint or debris from the drum and interior surfaces. Pay extra attention to the corners and crevices where buildup can occur.
- Clean with mild detergent: Mix a solution of warm water and mild detergent. Dampen a clean cloth or sponge with the solution and wipe the drum and interior surfaces thoroughly. This will help remove any stubborn residue or stains.
- Pay attention to sticky residue: If there is sticky residue or adhesive from items that have been dried, use rubbing alcohol or a commercial adhesive remover to dissolve and remove it. Apply a small amount of the solvent to a clean cloth and gently rub the affected areas.
- Wipe with a damp cloth: After cleaning with the detergent solution, dampen a clean cloth with plain water and wipe down the drum and interior surfaces to remove any soap residue. Ensure that all surfaces are thoroughly rinsed.
- Dry the drum: Use a dry towel or allow the drum and interior surfaces to air dry completely before reconnecting the dryer to the power source. This will prevent any moisture-related issues during the next use.
- Inspect the door seal: While cleaning the drum and interior surfaces, take a moment to inspect the door seal for any signs of damage or buildup. Wipe the seal with a damp cloth to remove any dirt or residue. If the seal is damaged, it should be replaced to maintain proper airflow.
Regularly cleaning the drum and interior surfaces of your dryer not only enhances its performance but also ensures that your clothes come out clean and fresh. By removing lint, debris, and residue, you can prevent them from transferring onto your garments during the drying process. Remember to schedule regular cleanings to keep your dryer in top condition.
Next, we will learn how to remove lint from the dryer’s exhaust vent, which is another critical step for maintaining a clean and safe dryer.
Clean the lint trap after every load to prevent buildup and improve dryer efficiency. Use a vacuum attachment to remove lint from the vent and exhaust hose every 6 months.
Read more: Who Do You Hire To Clean A Dryer Vent
Removing Lint from the Exhaust Vent
The exhaust vent of your dryer plays a crucial role in expelling hot air and moisture from the machine. Over time, lint can accumulate in the vent, restricting airflow and posing a fire hazard. Regularly removing lint from the exhaust vent is essential for the safety and efficiency of your dryer. Follow these steps to clean the exhaust vent:
- Disconnect the dryer: Start by unplugging the dryer from the power source to ensure your safety during the cleaning process.
- Locate the exhaust vent: The exhaust vent is typically located at the back of the dryer or on one side. It is a metal or plastic duct that connects to the outside of your home.
- Remove the vent cover: Depending on the design of your dryer, you may need to remove a vent cover or grille to access the exhaust vent. Use a screwdriver or the appropriate tool to remove the screws or fasteners holding the cover in place.
- Clean the vent cover: Once the vent cover is removed, inspect it for any lint or debris. Use a soft brush or cloth to remove any buildup. If the cover is especially dirty, you can wash it with warm, soapy water and dry it thoroughly before reinstallation.
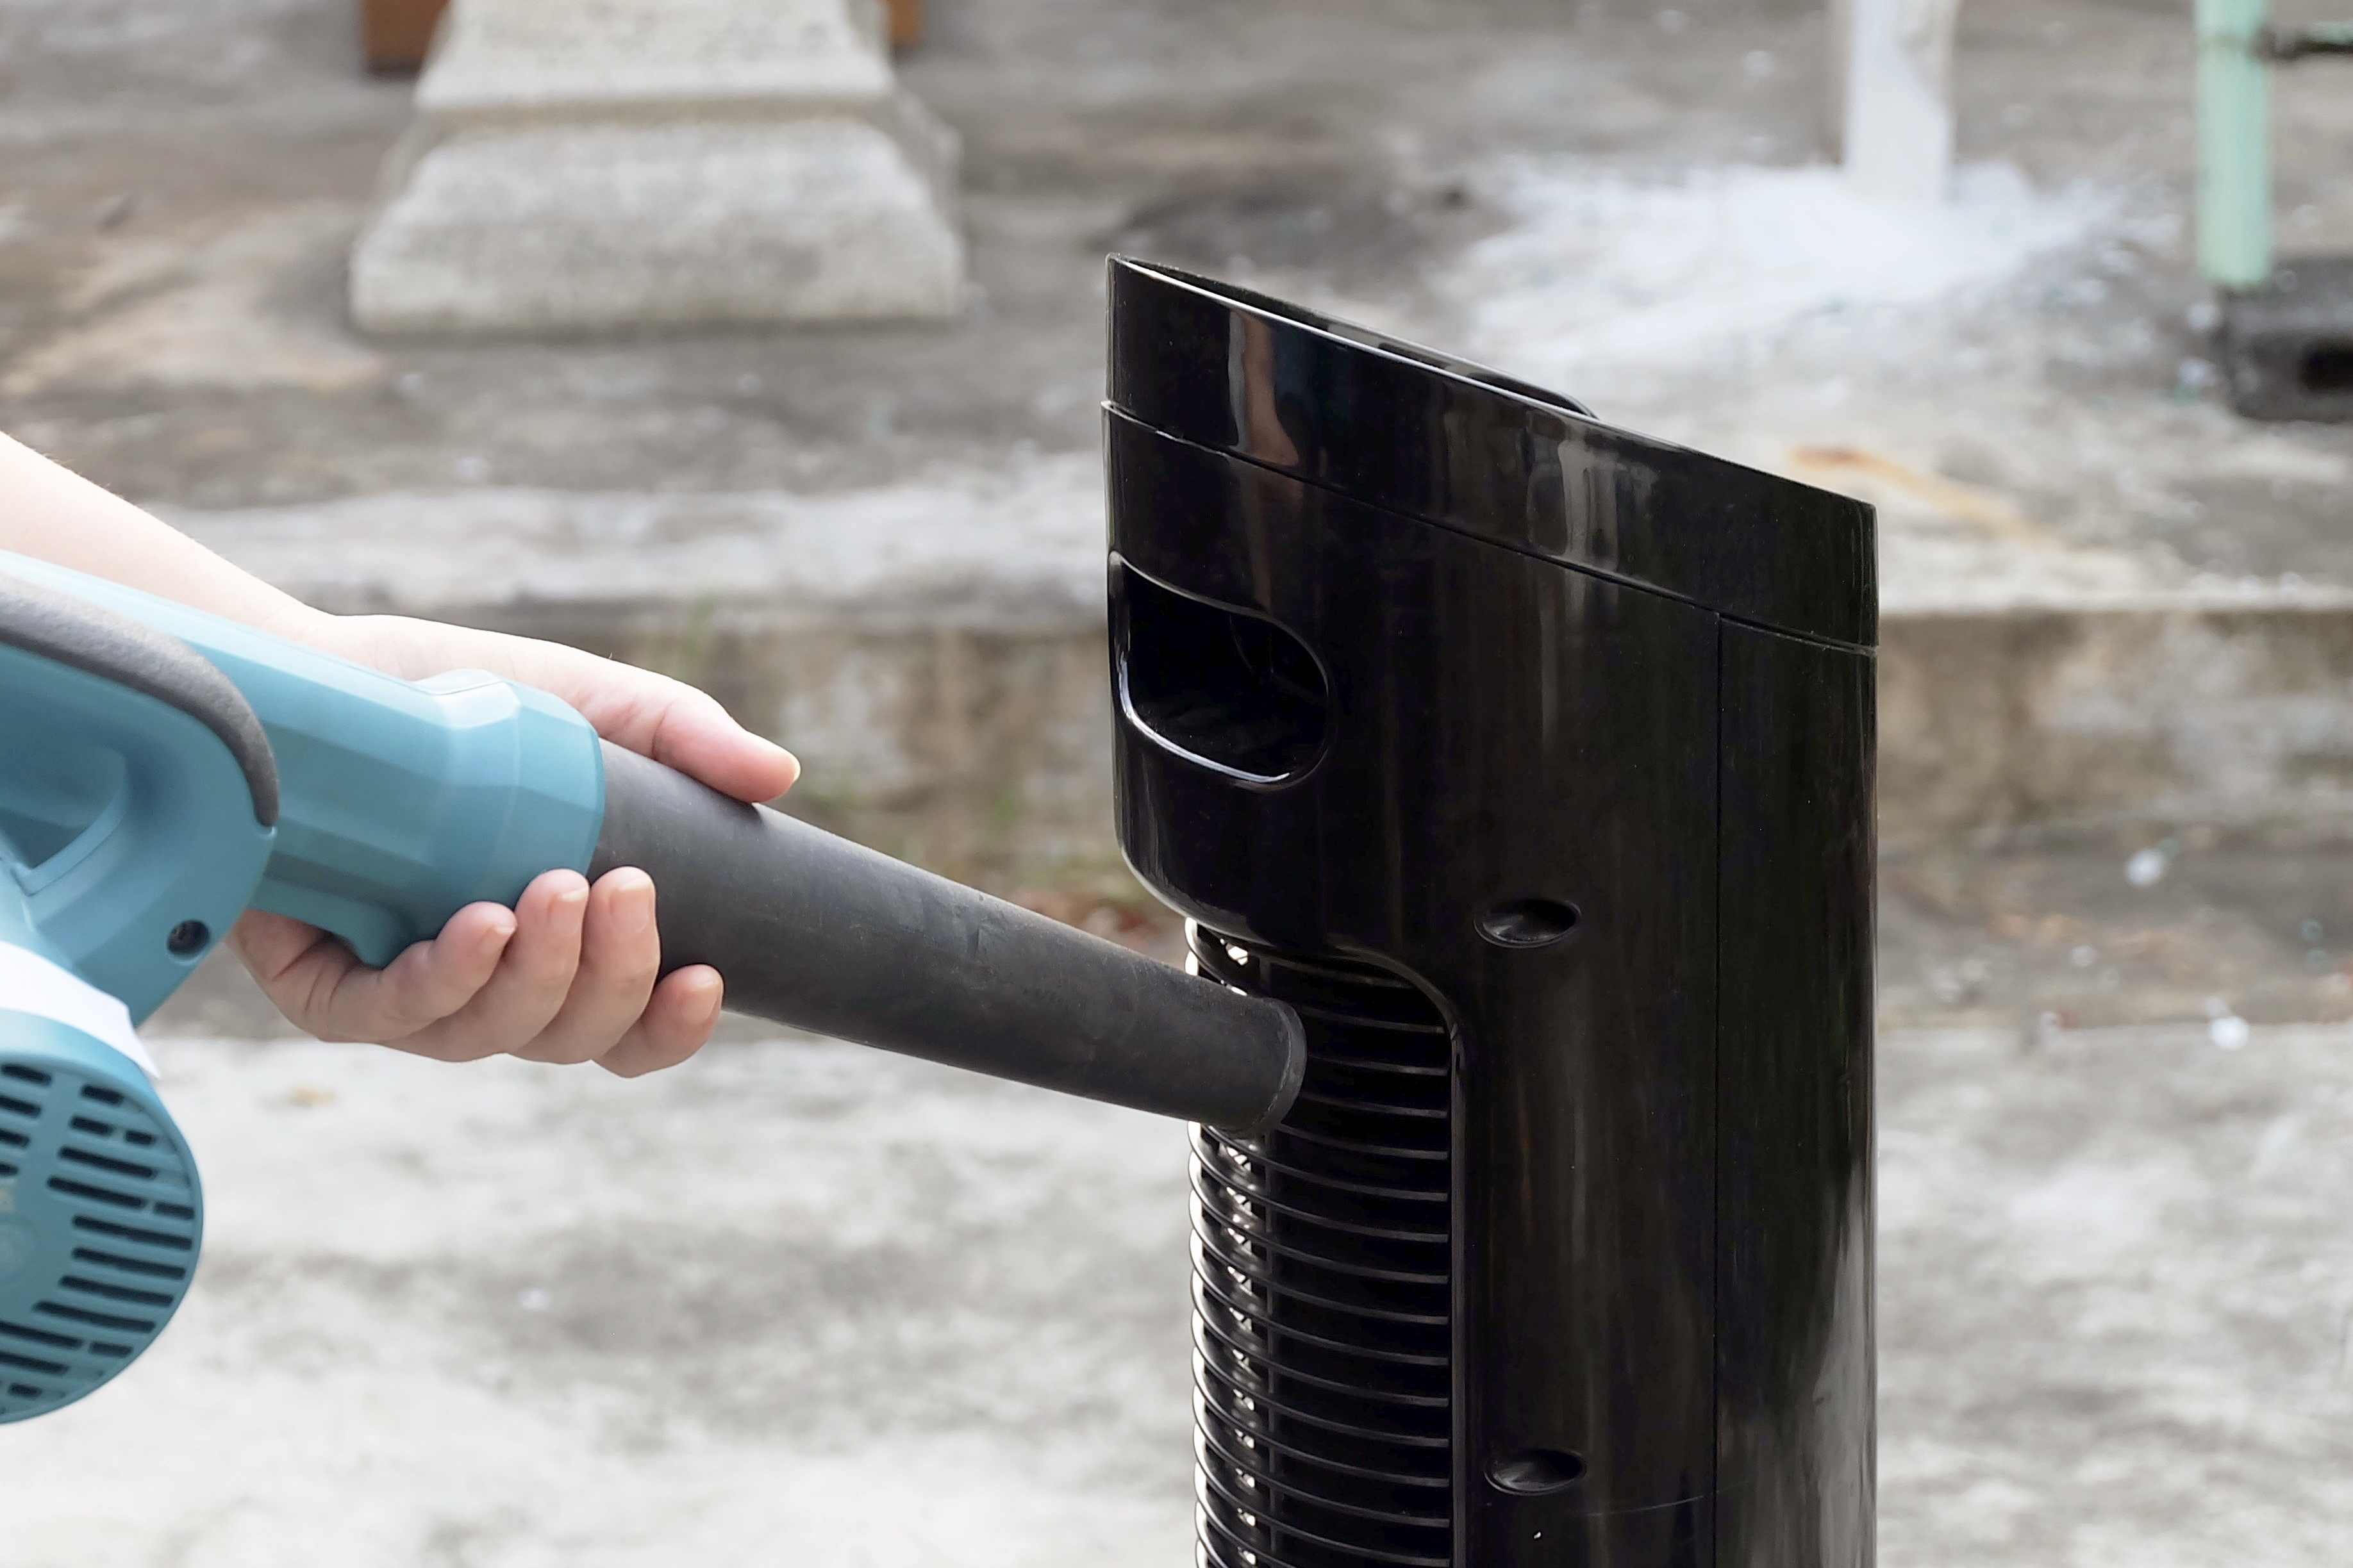
- Clear the vent with a brush or vacuum: Attach a flexible vent brush or a vacuum cleaner attachment specifically designed for dryer vents. Insert the brush or attachment into the vent and gently rotate or move it back and forth to dislodge and remove the lint. Be careful not to damage or bend the vent in the process.
- Check the outside vent opening: Go outside and locate the vent opening. Inspect it for any visible lint or blockage. Use a brush or cloth to remove any lint or debris that may have accumulated on the outside vent cover.
- Reinstall the vent cover: Once you have cleaned the exhaust vent and ensured it is clear, reattach the vent cover using the screws or fasteners that were removed earlier. Make sure it is securely fastened in place.
Regularly removing lint from the exhaust vent will not only improve the efficiency of your dryer but also reduce the risk of fire caused by lint buildup. It is recommended to perform this cleaning task at least once a year, or more frequently if you notice reduced drying performance or excessive lint accumulation.
Now that we have covered cleaning the lint trap, the drum, and the exhaust vent, let’s move on to the next step – cleaning the exterior of your dryer.
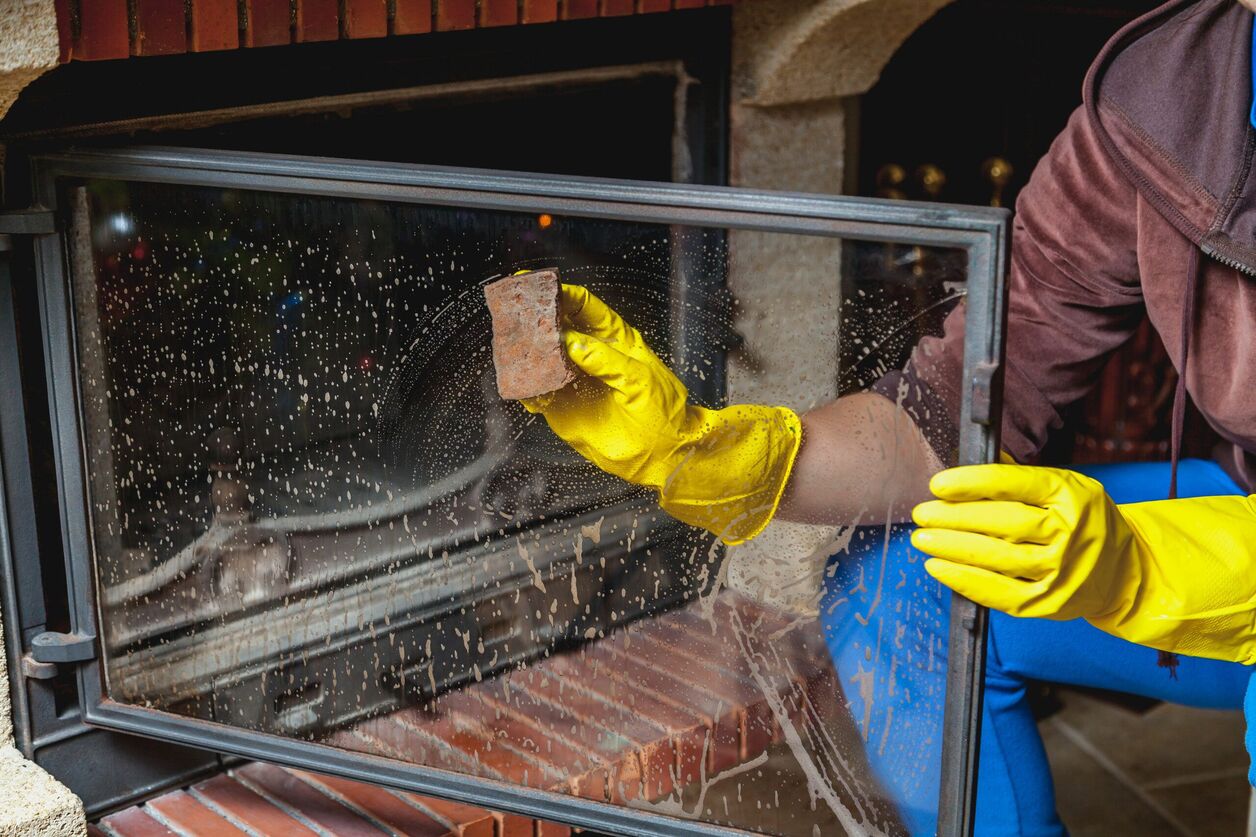
Cleaning the Exterior of the Dryer
While it’s important to clean the internal components of your dryer, it’s equally essential to keep the exterior clean and well-maintained. Dirt, dust, and stains can accumulate on the outer surfaces of the dryer, affecting its appearance and potentially hindering its performance. Follow these steps to clean the exterior of your dryer:
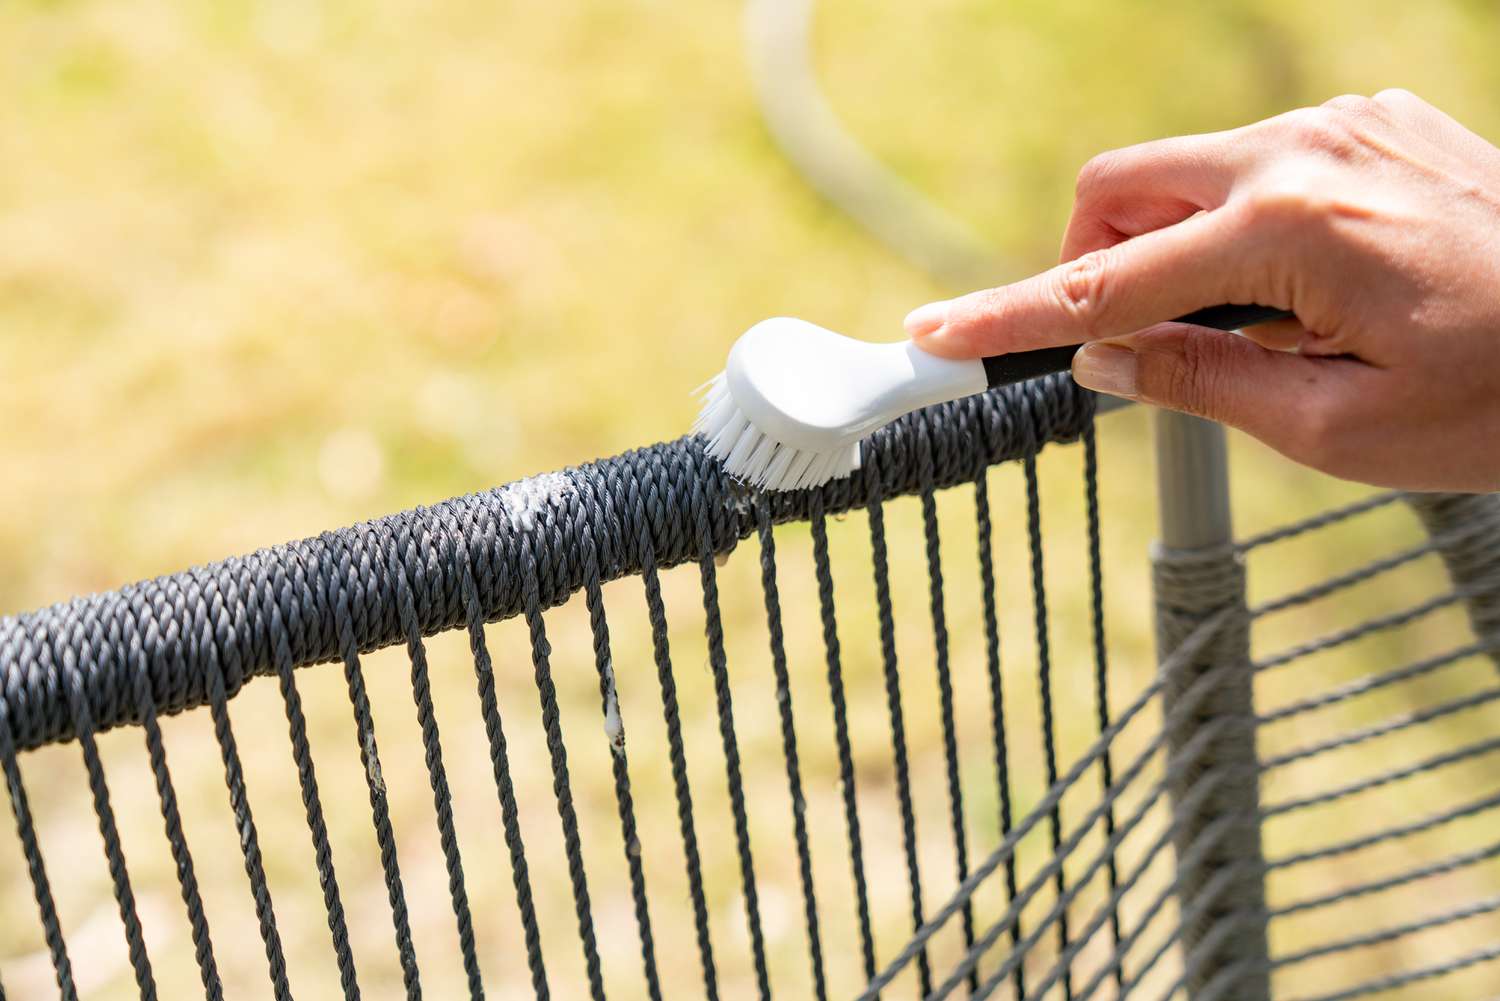
- Start with a dry cloth: Begin by using a dry cloth or microfiber cloth to remove any loose dust or debris from the surface of the dryer. This will prevent spreading dirt or grime while cleaning.
- Mix a cleaning solution: Prepare a solution of warm water and mild detergent or a non-abrasive cleaner. Avoid using harsh chemicals or abrasive cleaners that can damage the finish of the dryer.
- Dampen a cloth: Dip a clean cloth or sponge into the cleaning solution and wring it out to remove excess moisture. The cloth should be damp, not soaking wet.
- Wipe the exterior: Gently wipe the exterior surfaces of the dryer with the damp cloth. Pay close attention to any stains, spills, or visible dirt. For stubborn stains, you may need to apply a bit of gentle pressure or repeat the process with a fresh section of the damp cloth.
- Clean the control panel and knobs: Use a cotton swab dipped in the cleaning solution to clean around the control panel and knobs. Be cautious not to use excessive moisture that could damage the electronic components.
- Dry with a clean cloth: After cleaning, use a dry cloth to remove any excess moisture from the exterior of the dryer. This will prevent water spots or streaks from forming.
- Polish (if applicable): If your dryer has a stainless steel or glossy finish, you can use a specialized stainless steel cleaner or a mild polish to restore its shine. Follow the manufacturer’s instructions for best results.
- Focus on the vents and grilles: Finally, don’t forget to clean the vents and grilles on the back or sides of the dryer. Use a soft brush or vacuum cleaner attachment to remove any dust or lint that may have accumulated in these areas.
Regularly cleaning the exterior of your dryer not only keeps it looking tidy but also helps maintain its longevity and performance. A well-maintained dryer not only functions more efficiently but also adds a touch of cleanliness to your laundry room.
Now that you know how to clean the exterior of the dryer, let’s move on to some tips and recommendations for maintaining a clean and efficient dryer.
Tips and Recommendations for Maintaining a Clean Dryer
Keeping your dryer clean is essential for its performance, safety, and longevity. Here are some valuable tips and recommendations to help you maintain a clean and efficient dryer:
- Empty the lint trap after every drying cycle: Make it a habit to remove the lint from the trap before or after each load. This prevents lint buildup and ensures proper airflow.
- Regularly clean the lint trap and dryer drum: In addition to emptying the lint trap, periodically clean the lint trap and the drum with warm, soapy water to remove any residue or fabric softener buildup.
- Clean the exhaust vent annually: Schedule an annual cleaning of the dryer exhaust vent to remove lint clogs. You can do it yourself using a vent brush or hire a professional to ensure thorough cleaning.
- Inspect and clean the vent hose: Regularly inspect the vent hose that connects your dryer to the exhaust vent. Replace or repair any damaged or crushed sections, and clean it to prevent lint buildup.
- Keep the area around the dryer clean: Regularly vacuum or sweep the area around your dryer to remove any lint or debris. This prevents it from entering the dryer or clogging the exhaust vent.
- Avoid overloading the dryer: Overloading the dryer can lead to longer drying times and strain on the appliance. Follow the manufacturer’s recommendations for load capacity to ensure proper airflow and efficient drying.
- Use dryer sheets sparingly: While dryer sheets can help reduce static and soften fabrics, they can also leave residue on the lint trap and dryer drum. Use them sparingly to minimize buildup.
- Check and clean the moisture sensor: If your dryer is equipped with a moisture sensor, check and clean it regularly. The sensor can become coated with residue, affecting its accuracy in detecting the moisture level of your clothes.
- Keep the dryer door open when not in use: To prevent musty odors and moisture buildup, leave the dryer door open when it is not in use. This promotes air circulation and helps dry out any residual moisture.
- Read the manufacturer’s maintenance guidelines: Every dryer model may have specific maintenance recommendations from the manufacturer. Consult the owner’s manual or online resources for any additional tips or precautions.
By following these tips and recommendations, you can maintain a clean and well-functioning dryer for years to come. Regular cleaning and maintenance not only enhance the performance and efficiency of your dryer but also contribute to a safer and more enjoyable laundry experience.
Now, let’s wrap up and summarize what we have learned about cleaning a dryer.
Conclusion
Maintaining a clean dryer is crucial for its performance, longevity, and safety. By regularly cleaning the lint trap, drum, exhaust vent, and exterior surfaces of your dryer, you can ensure its optimal functioning and reduce the risk of fire hazards. Additionally, a clean dryer will provide fresh and odor-free laundry.
Remember to follow safety precautions before cleaning, such as disconnecting the dryer from the power source and wearing protective gear. Be cautious when cleaning the exhaust vent and seek professional help if needed.
Cleaning the lint trap after every drying cycle is essential to prevent lint buildup and maintain airflow. Regularly cleaning the drum and interior surfaces with a mild detergent will keep your clothes clean and fresh. Removing lint from the exhaust vent will enhance the efficiency and safety of your dryer.
Furthermore, keeping the exterior of the dryer clean ensures its aesthetic appeal and prevents dirt from spreading. Regularly emptying the lint trap, inspecting the vent hose, and avoiding overloading the dryer are all practices that contribute to a clean and efficient dryer.
Following the manufacturer’s maintenance guidelines, such as cleaning the moisture sensor and keeping the dryer door open when not in use, will further prolong its lifespan and performance.
In conclusion, consistent cleaning and proper maintenance will keep your dryer in optimal condition. By prioritizing cleanliness and safety, you can enjoy the benefits of a well-maintained dryer – efficient drying, reduced fire hazards, and fresh-smelling laundry for years to come.
Frequently Asked Questions about How Do You Clean A Dryer
Was this page helpful?
At Storables.com, we guarantee accurate and reliable information. Our content, validated by Expert Board Contributors, is crafted following stringent Editorial Policies. We're committed to providing you with well-researched, expert-backed insights for all your informational needs.


0 thoughts on “How Do You Clean A Dryer”