Furniture
How To Decorate A Chandelier For Christmas
Modified: October 21, 2024
Transform your chandelier into a stunning centerpiece with our furniture-inspired holiday decor ideas.
(Many of the links in this article redirect to a specific reviewed product. Your purchase of these products through affiliate links helps to generate commission for Storables.com, at no extra cost. Learn more)
Introduction
The holiday season is a time of joy, warmth, and festive decorations. And what better way to spread the holiday cheer than by adorning your chandelier with Christmas decorations? A chandelier is not only a functional lighting fixture but also a statement piece that can be beautifully transformed into a focal point for your holiday decor.
When it comes to decorating a chandelier for Christmas, the possibilities are endless. You can create a stunning display using ornaments, lights, greenery, and other festive elements that reflect your personal style and embrace the holiday spirit. Whether you have a grand chandelier in your dining room or a smaller one in your foyer, decorating it for Christmas can add a touch of magic and elegance to your home.
In this article, we will guide you through the process of decorating a chandelier for Christmas, providing you with tips and ideas to create a beautiful and inviting holiday centerpiece. So, let’s dive in and discover the art of chandelier decoration!
Key Takeaways:
- Transform your chandelier into a stunning Christmas centerpiece by incorporating festive ornaments, lights, greenery, and personalized touches. Embrace creativity and safety to create a warm and inviting holiday ambiance.
- Select the right chandelier style, prepare it for decoration, and add final touches while prioritizing safety. Let your creativity shine and enjoy the process of adorning your chandelier for a joyous and memorable holiday season.
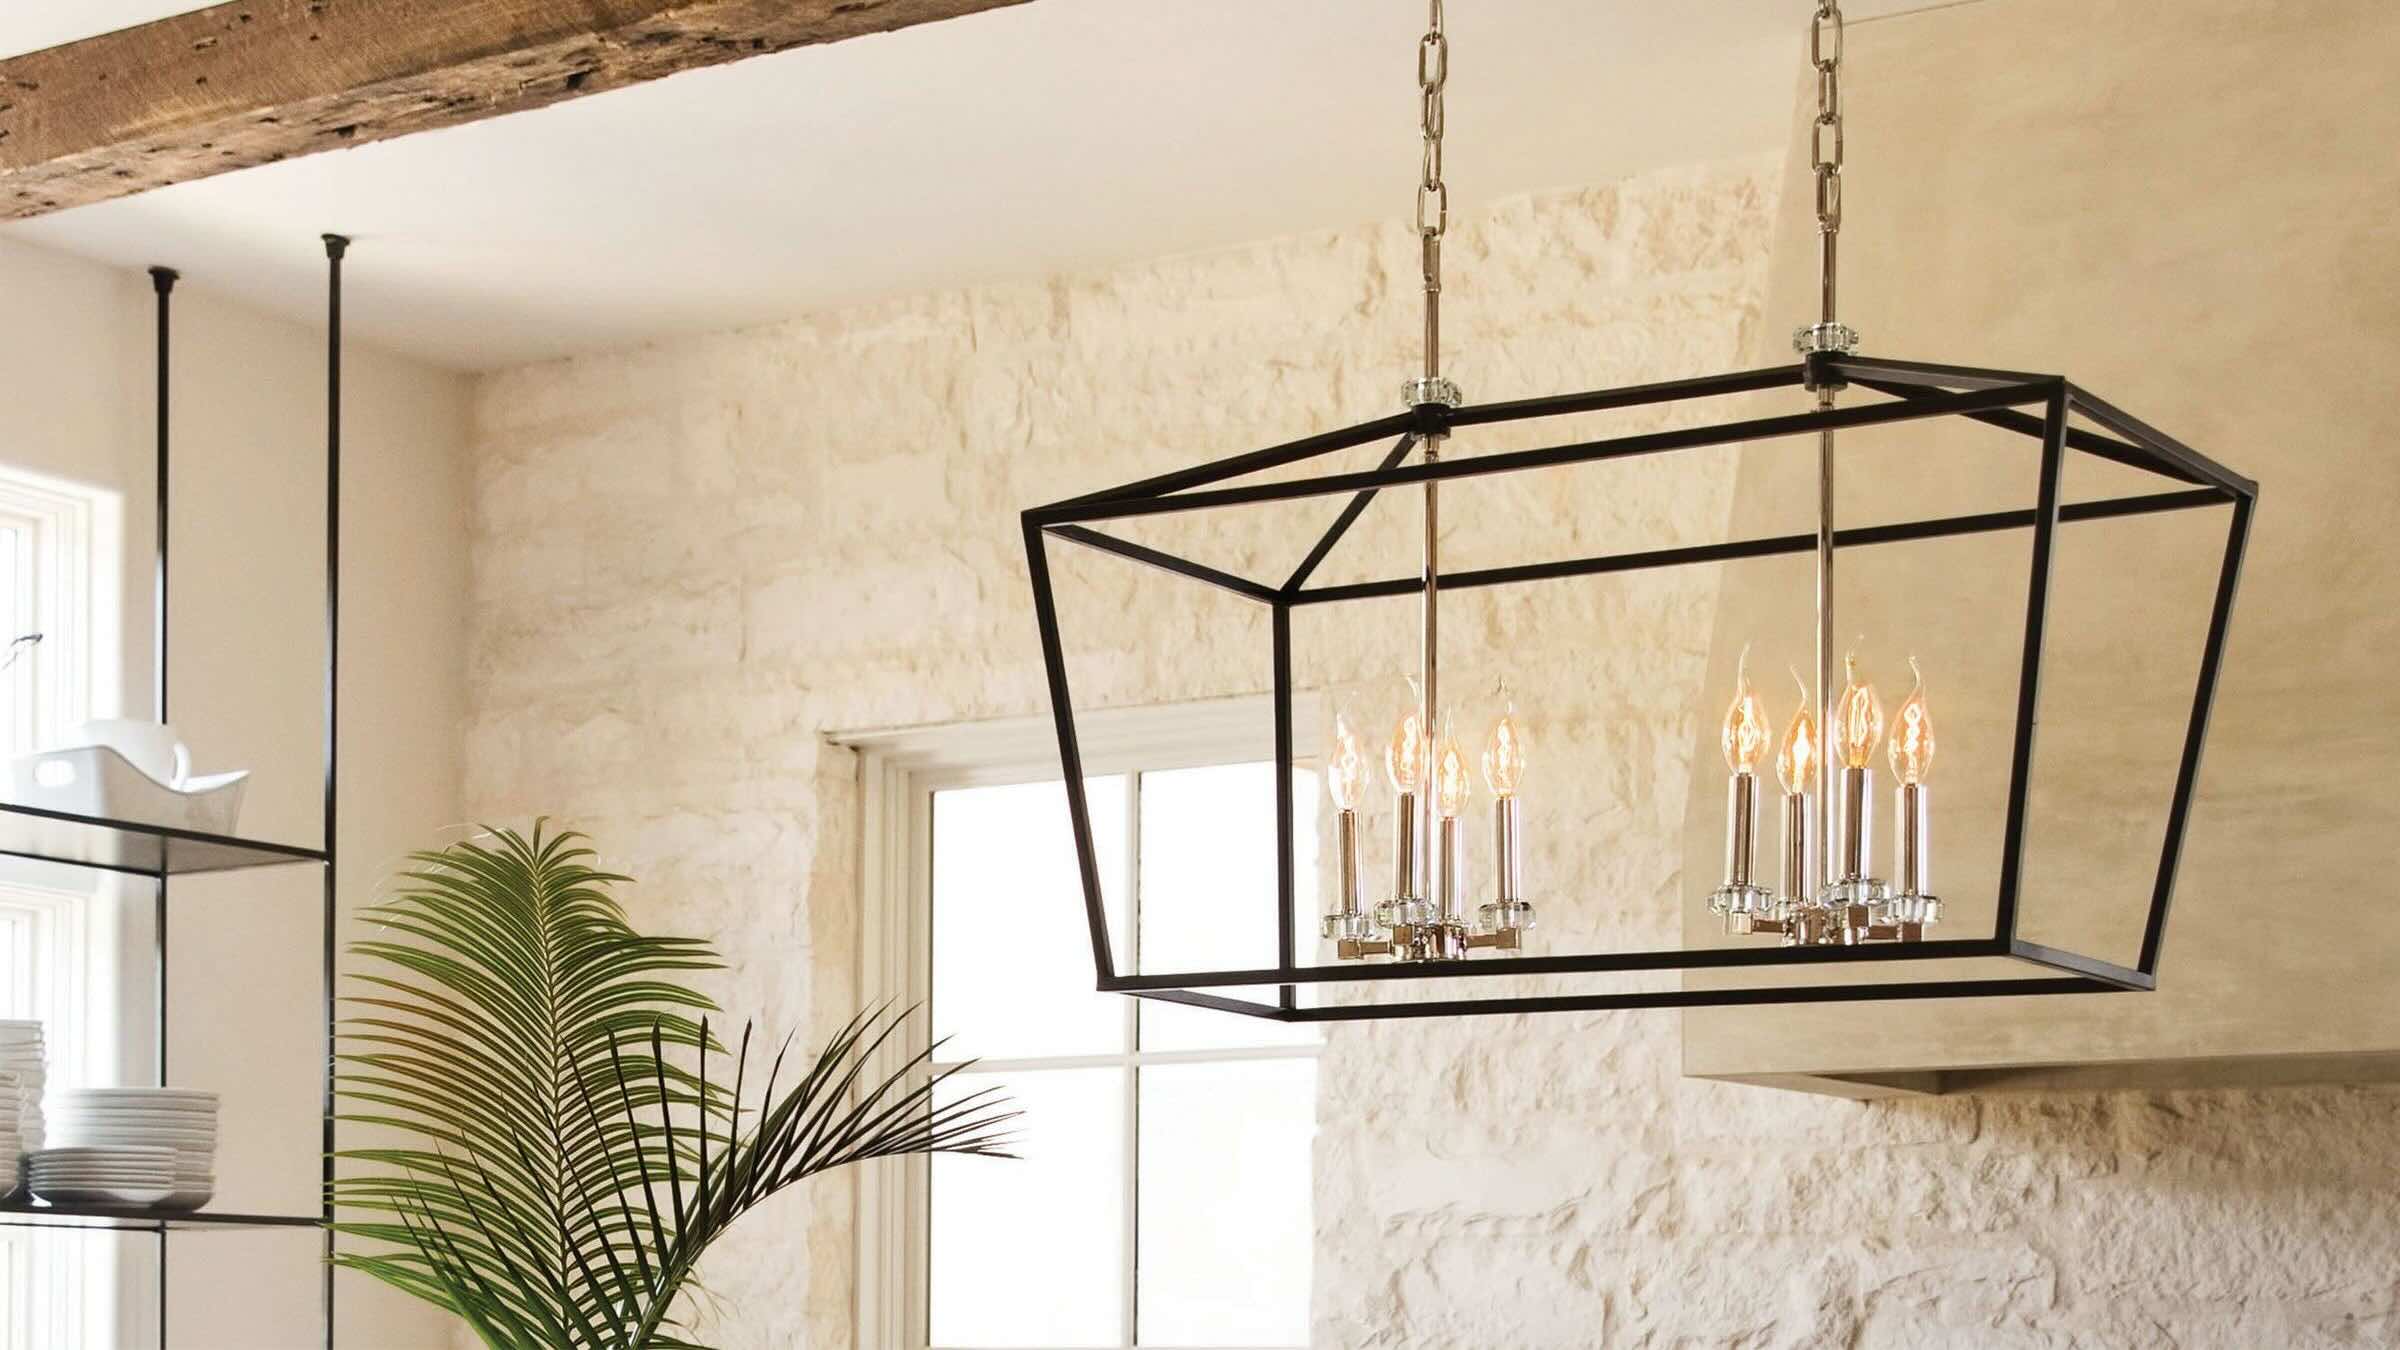
Choosing the Right Chandelier for Christmas Decorations
Before you begin decorating your chandelier for Christmas, it’s essential to choose the right chandelier style that will complement your holiday decor. Consider the following factors when selecting a chandelier:
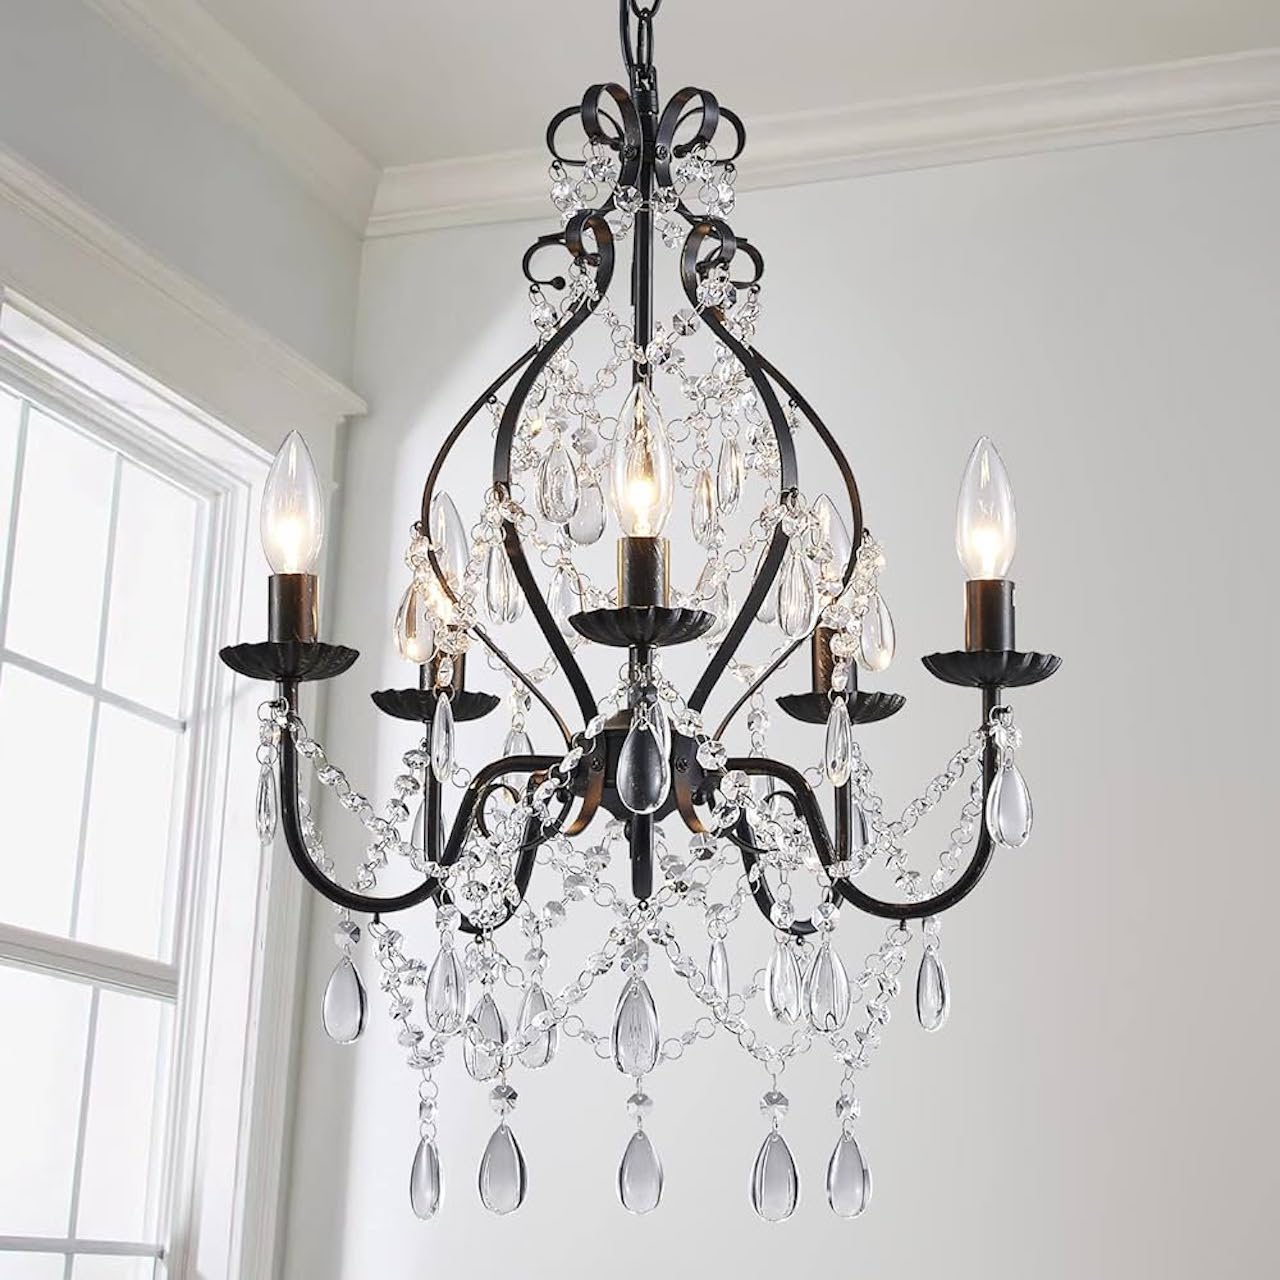
- Size: Determine the appropriate size of the chandelier based on the dimensions of the room. A large, dramatic chandelier may be suitable for a spacious dining area, while a smaller one can work well in a smaller room or foyer.
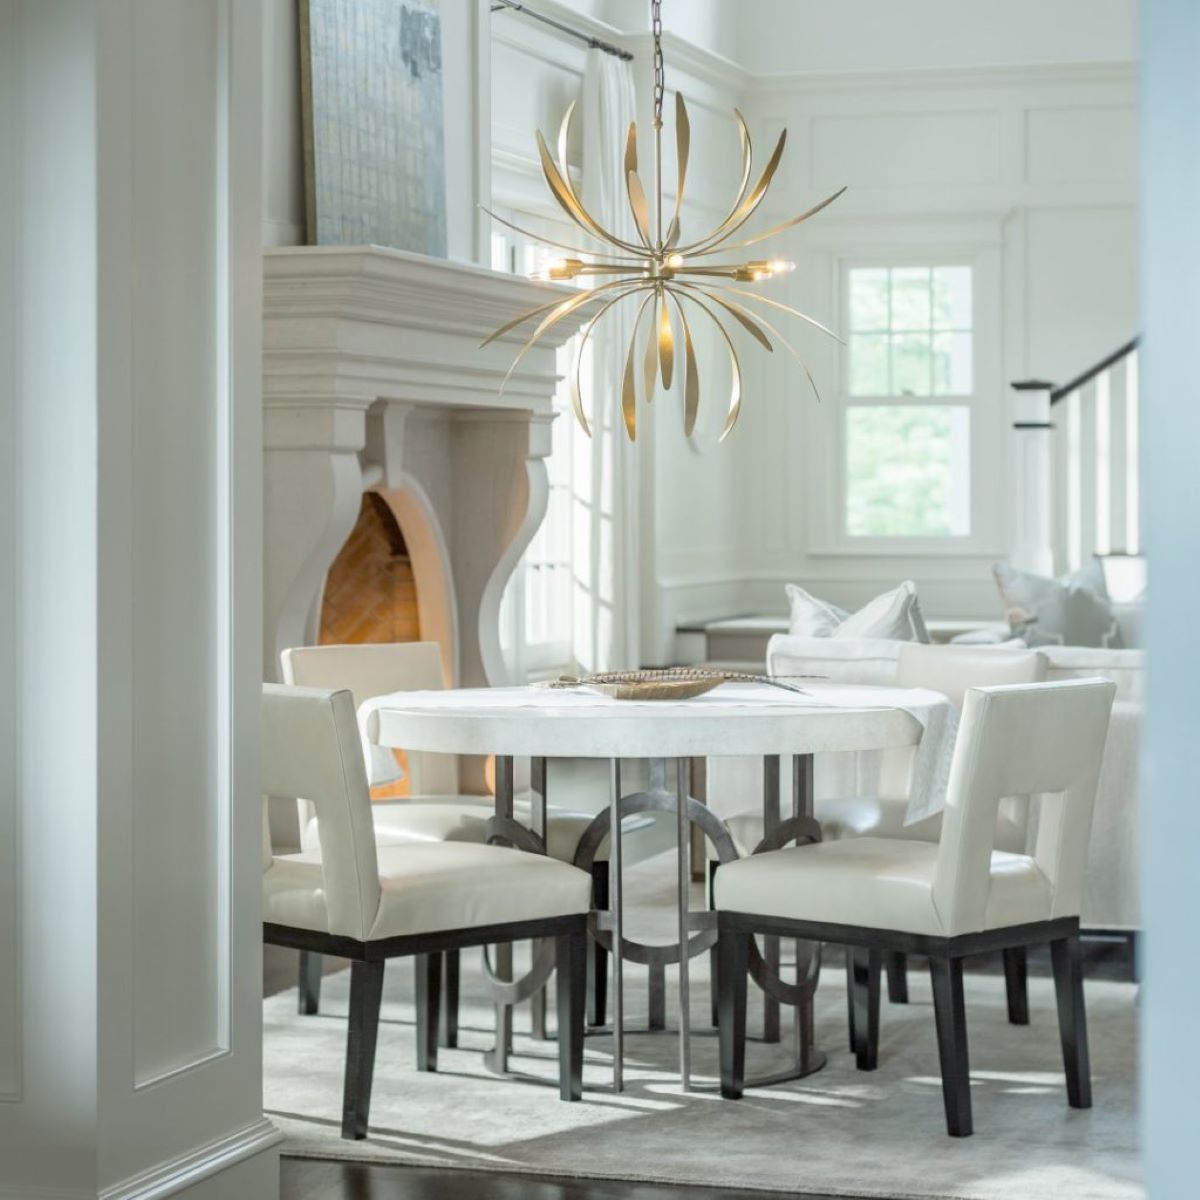
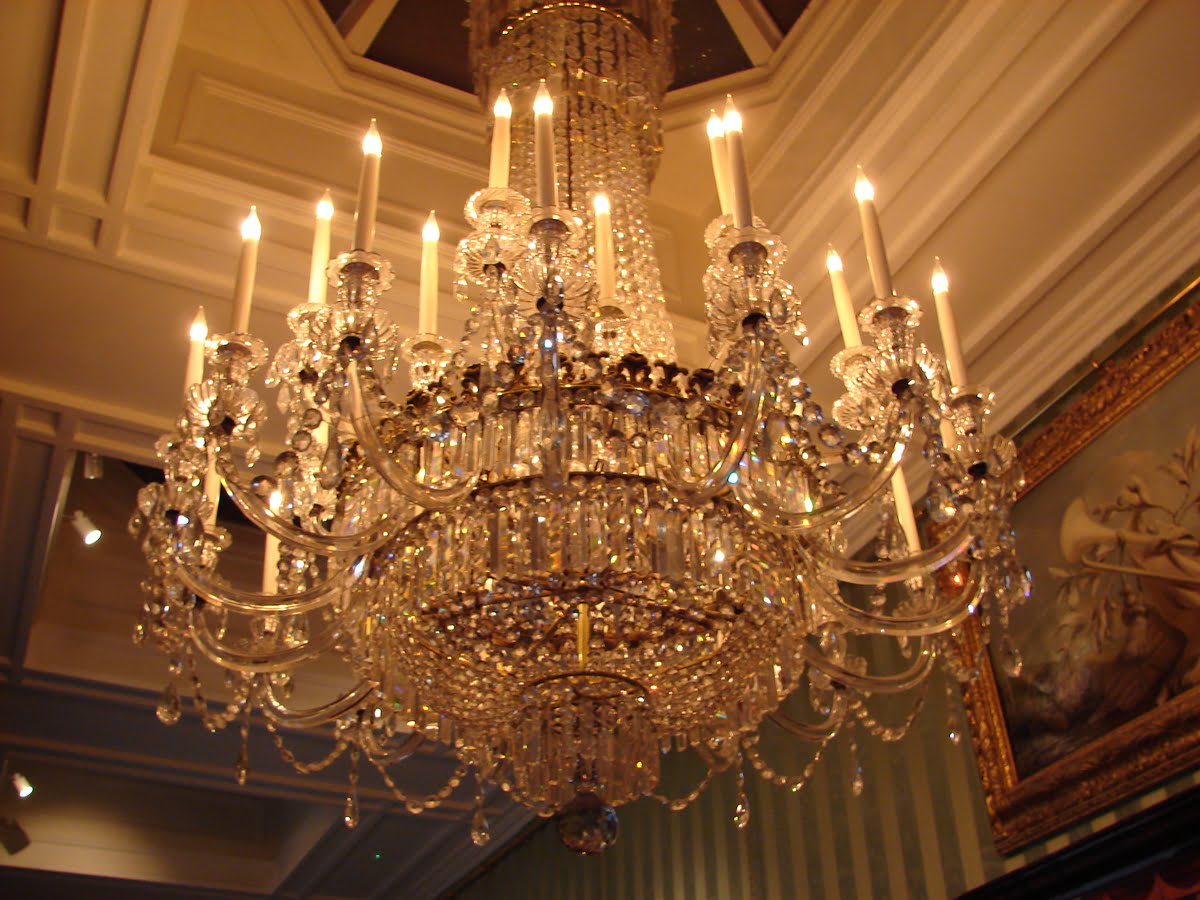
- Style: Match the chandelier’s style to the overall theme of your Christmas decorations. If you have a traditional Christmas decor scheme, a classic crystal chandelier may be a perfect choice. For a more modern or rustic look, consider a chandelier with unique materials or designs.
- Color: Take into account the color palette of your holiday decorations when selecting the chandelier. Opt for a chandelier that either complements or contrasts the predominant colors in your Christmas decor.
Once you have chosen the right chandelier, you can move on to preparing it for decoration.
Preparing the Chandelier for Decoration
Before you start hanging festive ornaments and other decorations on your chandelier, it’s important to properly prepare it for decoration. Follow these steps to ensure a clean and safe foundation for your Christmas decor:
- Clean the chandelier: Dust and clean your chandelier thoroughly before starting the decoration process. Use a soft cloth or a duster to remove any dirt or grime that may have accumulated. This step will help your decorations shine and prevent any debris from falling onto your holiday table or floor.
- Secure loose components: Inspect the chandelier for any loose or wobbly parts. Tighten screws or other fasteners to ensure that the chandelier is stable and secure. This is especially important if you plan to hang heavier ornaments or decorations.
- Turn off power: Before you begin decorating, make sure to turn off the power supply to the chandelier. This will prevent any accidents or electrical hazards while you’re working on it.
- Protect the area: Place a drop cloth or a large sheet underneath the chandelier to catch any falling debris or ornaments. This will make cleaning up much easier later on.
By taking these preparatory steps, you’ll create a safe and clean environment for decorating your chandelier and ensure that it remains in good condition throughout the holiday season. Now, let’s move on to the fun part – hanging festive ornaments on the chandelier!
Hanging Festive Ornaments on the Chandelier
Once your chandelier is clean and prepared, it’s time to start hanging festive ornaments to bring the Christmas spirit to life. Here are some ideas on how to hang ornaments on your chandelier:
- Theme-based ornaments: Choose ornaments that align with your overall Christmas decor theme. Whether it’s traditional, rustic, glamorous, or whimsical, select ornaments that match the style of your chandelier and create a cohesive look.
- Varying sizes and shapes: Mix different sizes and shapes of ornaments to add visual interest and dimension to your chandelier. Combine large statement pieces with smaller ornaments to create a balanced and eye-catching display.
- Secure with ribbons or ornament hooks: Attach ornaments securely to the chandelier using ribbons or ornament hooks. Tie a loop or knot around the base of each ornament and hang them from different points on the chandelier, ensuring they’re evenly distributed.
- Hang ornaments at different heights: Create a dynamic display by hanging ornaments at varying heights. This will add depth to your chandelier decorations and make it visually appealing from different angles.
- Consider color coordination: Arrange ornaments in a way that complements the color scheme of your chandelier and overall Christmas decor. Coordinate colors to create a harmonious look or mix and match for a playful and eclectic vibe.
Remember to step back and assess the arrangement as you go along. Adjust and reposition ornaments as needed to achieve the desired effect. Once you’re satisfied with the ornament placement, it’s time to add some sparkle using Christmas lights!
Adding Christmas Lights to the Chandelier
Christmas lights are a magical addition to any chandelier decoration. They add warmth and a festive glow that brings the holiday spirit to life. Here’s how you can incorporate Christmas lights into your chandelier:
- Choose the right lights: Select lights that are appropriate for your chandelier and the style of your decor. Consider using mini string lights or LED lights in white, warm white, or color options, depending on your preference.
- Weave the lights: Starting from the top of the chandelier, carefully weave the lights through the chandelier arms and down towards the bottom. Make sure to distribute the lights evenly and avoid tangling or overcrowding them.
- Secure the lights: Use twist ties or small clear hooks to secure the lights in place. You can attach them to the chandelier arms or discreetly hide them behind ornaments and greenery.
- Consider different light settings: If your lights have multiple settings, experiment with different options such as steady glow, twinkling, or fading to create the desired ambiance for your chandelier.
- Test the lights: Before completing the decoration process, plug in the lights and make sure they are all working properly. Testing the lights beforehand will save you the trouble of troubleshooting once everything is in place.
The addition of Christmas lights will imbue your chandelier with a warm and enchanting glow that highlights the ornaments and decorations. Next, let’s explore how to incorporate greenery and ribbons for a festive look.
Read also: 12 Best Capiz Chandelier for 2025
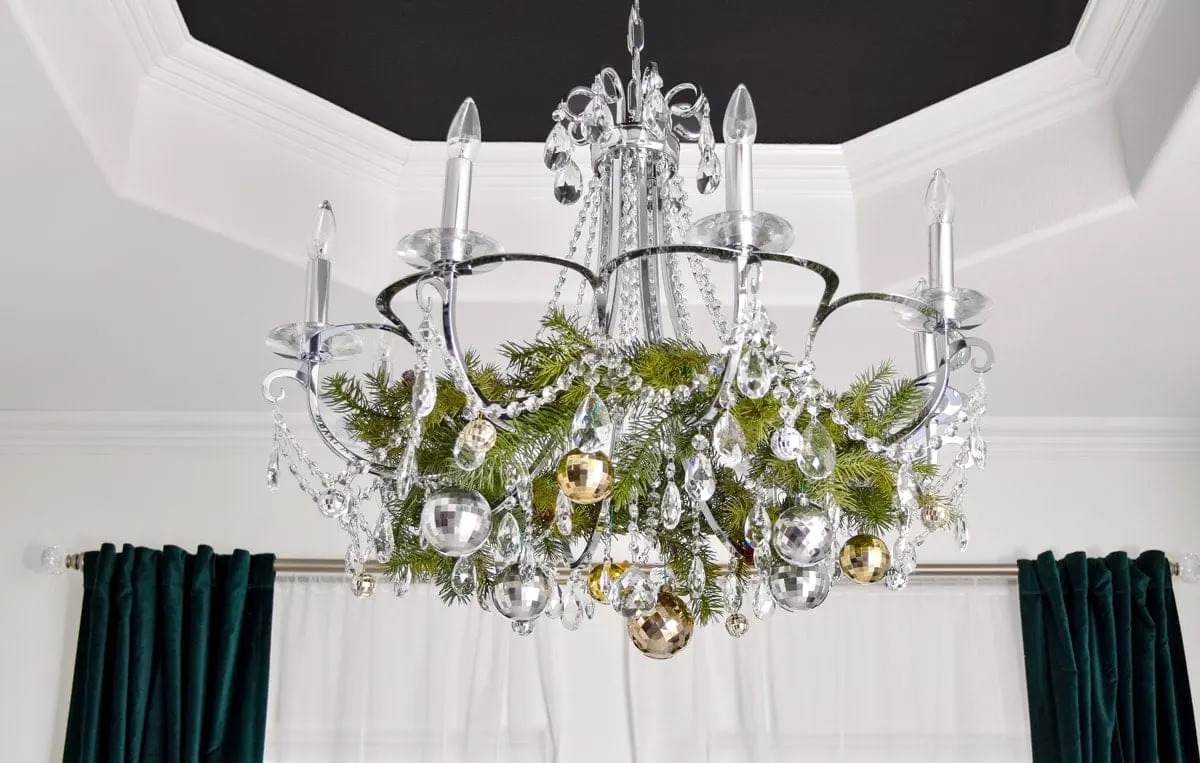
Incorporating Greenery and Ribbons for a Festive Look
Greenery and ribbons are wonderful additions to your chandelier decoration, adding a touch of nature and elegance. Here are some ideas on how to incorporate greenery and ribbons for a festive and inviting look:
- Garlands: Wrap garlands made of faux or real evergreen branches around the chandelier arms. Secure them with floral wire or discreetly tuck them under the ornaments and lights for a lush and natural effect.
- Pinecones and berries: Intersperse pinecones, berries, or other natural elements within the greenery. This will add texture and depth to your chandelier decor, giving it a rustic and organic feel.
- Ribbons: Tie ribbons in different colors, patterns, and widths around the chandelier arms or hang them from the bottom of the chandelier. You can create bows or let the ribbons cascade down for an elegant and festive touch.
- Boughs and sprigs: Attach small boughs or sprigs of holly, mistletoe, or other greenery to certain points on the chandelier. This will infuse your decoration with a natural and traditional holiday charm.
When incorporating greenery and ribbons, make sure not to overwhelm the chandelier with too much foliage. Aim for a balanced and cohesive look by strategically placing the elements throughout the arrangement. The combination of greenery, ribbons, ornaments, and lights will create a captivating and festive chandelier display.
Now, let’s move on to the creative use of candles and candle holders on the chandelier for a warm and intimate ambience.
Consider adding festive greenery such as pine branches or holly to your chandelier, along with some twinkling fairy lights or decorative ornaments for a touch of holiday cheer.
Using Candles and Candle Holders on the Chandelier
Candles have a magical ability to create a warm and cozy atmosphere, making them perfect for adding a touch of romance and elegance to your chandelier decoration. Here’s how you can incorporate candles and candle holders into your chandelier:
- Choose the right candles: Opt for taper candles or votive candles that fit the style and size of your chandelier. Consider choosing candles in festive colors such as red, white, or metallics to coordinate with your Christmas theme.
- Candle holders: Select candle holders that are designed to be hung or attached to the chandelier. Choose holders that securely hold the candles in place and complement the style of your chandelier and overall decor.
- Hang the candle holders: Carefully hang the candle holders from the chandelier arms or attach them to specific points on the chandelier. Ensure that they are evenly spaced for a balanced look.
- Insert the candles: Insert the candles into the holders, making sure they are stable and upright. Use candle adhesive or a small amount of melted wax to secure the candles if needed.
- Consider flameless candles: If safety is a concern or if you prefer not to use real candles, consider using flameless LED candles. These offer a realistic flickering flame effect without the risk of fire.
When using candles on your chandelier, always prioritize safety. Ensure that the candles are placed away from any flammable materials and that the flame is protected from coming into direct contact with anything. Never leave burning candles unattended.
The addition of candles and candle holders to your chandelier will create an intimate and inviting ambiance, making your Christmas decor truly memorable. Next, let’s explore the idea of decorating with personalized ornaments and baubles.
Decorating with Personalized Ornaments and Baubles
Personalized ornaments and baubles add a unique and sentimental touch to your chandelier decoration, allowing you to showcase your personal style and create a meaningful display. Here are some ideas on how to incorporate personalized ornaments and baubles into your chandelier:
- Family ornaments: Hang ornaments that represent each family member or include their names. This can be in the form of personalized photo ornaments, monogrammed baubles, or ornaments with their initials.
- Special milestones: Celebrate special milestones or events by hanging ornaments that commemorate them. It can be ornaments representing a baby’s first Christmas, a new home, a wedding, or any other significant moment in your life.
- Memories and hobbies: Showcase your hobbies and interests by hanging ornaments that reflect them. Whether it’s a sports-themed ornament, a musical instrument, or a travel-related bauble, personalize your chandelier with items that hold special meaning to you.
- Handmade ornaments: Get creative and make your own personalized ornaments. This can include DIY paper ornaments, painted wooden baubles, or even clay creations. Use them to add a personal and artistic touch to your chandelier.
- Personalized message: Attach small tags or cards with personalized messages or wishes to the ornaments. This adds a heartfelt and meaningful touch to your decoration, making it truly personal and unique.
By incorporating personalized ornaments and baubles, your chandelier becomes not only a beautiful decoration but also a reflection of your family, memories, and cherished moments. It adds a personal touch that will make your holiday decor truly special.
Now, let’s explore the idea of adding a Christmas wreath or garlands to the chandelier for an extra festive touch.
Adding a Christmas Wreath or Garlands to the Chandelier
Adding a Christmas wreath or garlands to your chandelier is a wonderful way to amp up the holiday spirit and create a show-stopping centerpiece. Here are some ideas on how to incorporate wreaths or garlands into your chandelier decoration:
- Wreath placement: Hang a beautiful Christmas wreath from the center of your chandelier. Make sure it’s securely attached and centered to create a focal point that captures attention and sets the festive tone.
- Garland wrapping: Wrap garlands made of faux or real evergreen branches around the chandelier arms or drape them along the length of the chandelier. This will add a lush and full look and give your chandelier a charming touch of nature.
- Twinkle lights: Incorporate twinkle lights within the wreath or garlands for added sparkle and brightness. Weave the lights through the foliage, making sure they are evenly distributed for a magical glow.
- Ornament accents: Enhance the wreath or garlands by attaching small ornaments or baubles to them. Choose ornaments that complement the overall color scheme and theme of your chandelier decor.
- Ribbon embellishments: Add festive ribbons or bows to the wreath or garlands for an extra pop of color and texture. Tie them at the top of the wreath or along the garland, allowing them to cascade down gracefully.
By incorporating a Christmas wreath or garlands, your chandelier becomes the centerpiece of your holiday decor. The lush greenery, accented with ornaments and ribbons, creates a stunning and festive visual display that will leave a lasting impression on your guests.
Now that your chandelier is adorned with ornaments, lights, greenery, and other festive elements, let’s move on to the final touches and safety considerations.
Read more: What Home Decor Stores Do Christmas Layaway
Final Touches and Safety Considerations
As you put the final touches on your chandelier decoration for Christmas, it’s important to consider some safety precautions to ensure a safe and enjoyable holiday season. Here are some final touches and safety considerations to keep in mind:
- Add finishing touches: Step back and assess your chandelier decoration from different angles. Make any necessary adjustments to ensure a balanced and visually appealing arrangement. Add any final ornaments, ribbons, or other decorative elements to complete the look.
- Double-check stability: Ensure that all decorations, including ornaments, lights, and greenery, are securely and safely attached to the chandelier. Double-check that nothing is loose or hanging precariously to avoid any accidents or damages.
- Consider height: If you have a high or oversized chandelier, be cautious about the height of your decoration. Ensure that the ornaments and other hanging elements do not interfere with the movement within the room or pose a risk of coming into contact with people or objects.
- Mind the heat sources: If you have candles or other heat-generating elements on your chandelier, ensure they are not placed too close to flammable materials. Keep them away from curtains, drapes, or any other decorations that could potentially catch fire.
- Keep an eye on electricals: If you are using Christmas lights, ensure that the wiring and connections are in good condition. Avoid overloading electrical circuits and use extension cords and power outlets that can handle the load of your decorations.
- Supervise candles: If you decided to use real candles, never leave them unattended. Always keep an eye on them while they are lit and extinguish them before leaving the room or going to sleep.
By taking these final touches and safety considerations into account, you can enjoy your beautifully decorated chandelier while keeping your home safe during the holiday season. Remember to follow the manufacturer’s instructions for all the components used in your chandelier decor.
With the chandelier decoration complete, you can now sit back, relax, and enjoy the festive and enchanting ambiance that it brings to your home during Christmas. Happy decorating and happy holidays!
Please note: When working with decorations and electrical elements, always prioritize safety. Take precautions, follow safety guidelines, and consult a professional if needed.
Conclusion
Decorating a chandelier for Christmas is a creative and exciting way to bring the holiday spirit into your home. By carefully selecting the right chandelier, preparing it for decoration, and incorporating festive ornaments, lights, greenery, candles, and personalized touches, you can transform your chandelier into a stunning centerpiece that exudes warmth and elegance.
Throughout this article, we’ve provided you with tips and ideas on how to decorate your chandelier for Christmas. From choosing the right chandelier style to adding the final touches and considering safety precautions, each step is essential to create a beautiful and safe holiday display.
Remember to let your creativity shine through in your chandelier decoration. Play with different colors, textures, and themes that match your personal style and the overall ambiance of your home. Whether you opt for a traditional, rustic, glamorous, or whimsical look, the possibilities are endless.
As you adorn your chandelier with festive ornaments, lights, greenery, candles, and personalized touches, take the time to enjoy the process. Involve your family, create new traditions, and cherish the memories you make while decorating. The joy and warmth that your beautifully decorated chandelier brings will be a constant reminder of the magic of the holiday season.
Lastly, prioritize safety throughout the decoration process. Inspect your chandelier, secure all decorations properly, and follow safety guidelines for electrical elements. By taking these precautions, you can ensure a safe and happy holiday season for you and your loved ones.
Now, it’s time to let your creativity soar and transform your chandelier into a mesmerizing centerpiece that will captivate all who enter your home. Embrace the holiday spirit and create memories that will last a lifetime.
Wishing you a joyous and festive holiday season!
Frequently Asked Questions about How To Decorate A Chandelier For Christmas
Was this page helpful?
At Storables.com, we guarantee accurate and reliable information. Our content, validated by Expert Board Contributors, is crafted following stringent Editorial Policies. We're committed to providing you with well-researched, expert-backed insights for all your informational needs.


0 thoughts on “How To Decorate A Chandelier For Christmas”