Articles
How Do You Cut Granite Countertops
Modified: December 7, 2023
Learn the steps to cut granite countertops with our informative articles. Discover the tools and techniques needed for a professional finish.
(Many of the links in this article redirect to a specific reviewed product. Your purchase of these products through affiliate links helps to generate commission for Storables.com, at no extra cost. Learn more)
Introduction
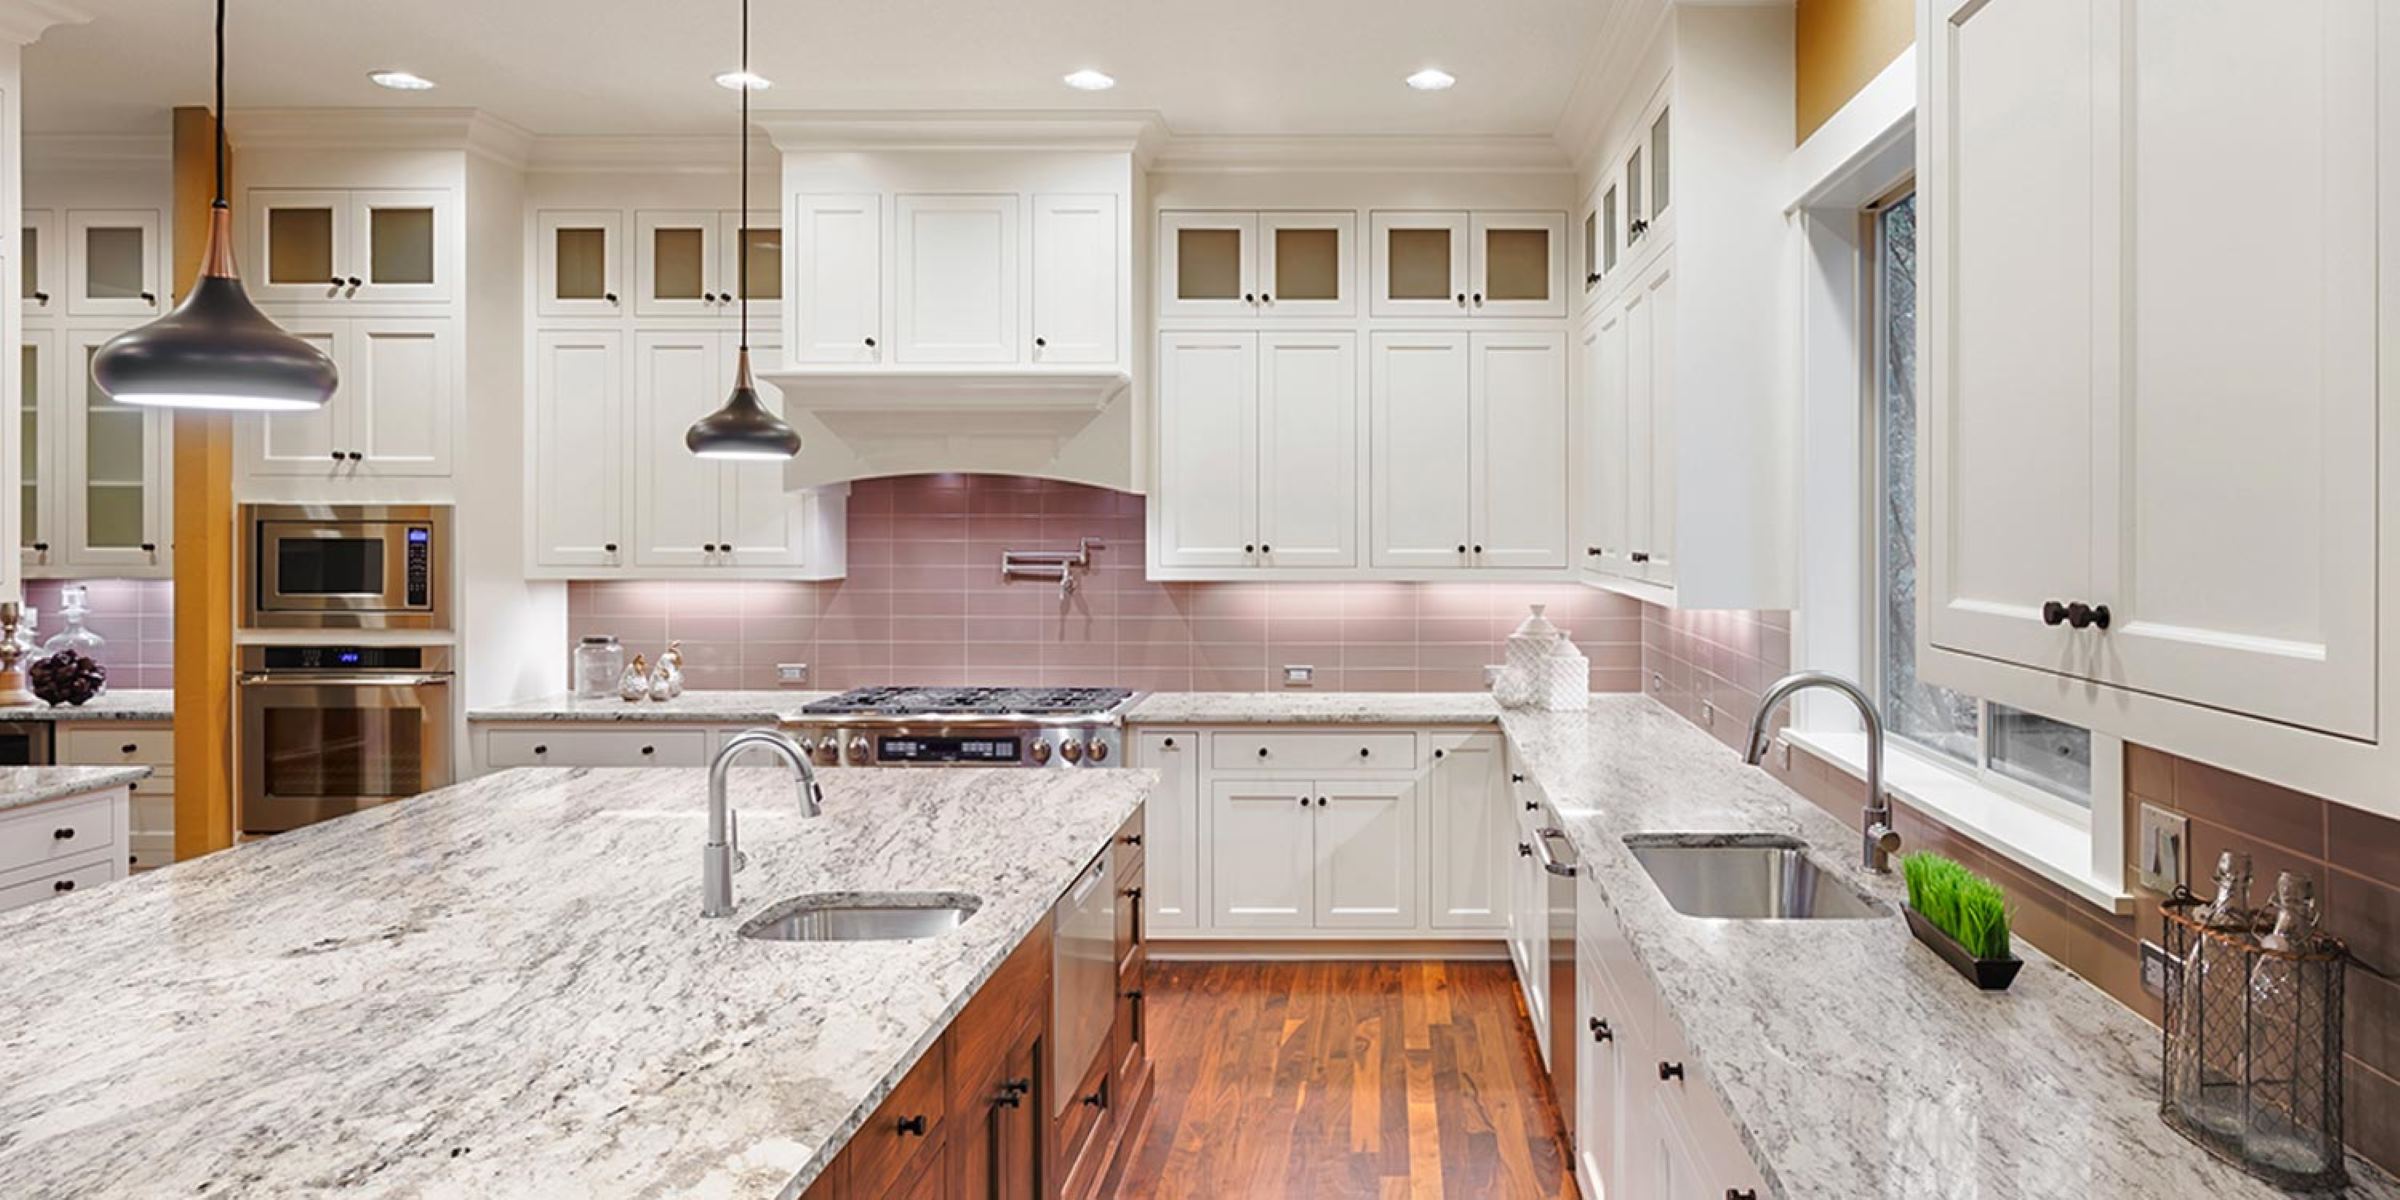
When it comes to kitchen countertops, granite is a popular choice among homeowners due to its durability, beauty, and timeless appeal. However, there may come a time when you need to cut granite countertops to fit them into your kitchen space or make any necessary adjustments. While this task may seem daunting, with the right tools, materials, and safety precautions, you can successfully cut granite countertops and achieve professional-looking results.
In this article, we will guide you through the process of cutting granite countertops, step-by-step. We will cover the tools and materials you’ll need, important safety precautions to follow, and the various cutting methods you can employ. Whether you’re a seasoned DIY enthusiast or a beginner, this comprehensive guide will equip you with the knowledge and skills to tackle this project with confidence.
Before we dive into the details, it’s important to note that working with granite requires precision, patience, and attention to detail. It’s always a good idea to practice on scrap pieces of granite before attempting to cut your actual countertops. This way, you can familiarize yourself with the tools, fine-tune your techniques, and ensure that you’re fully prepared to tackle the main task at hand.
So, if you’re ready to embark on this DIY adventure, grab your tools and let’s get started on cutting granite countertops!
Key Takeaways:
- Cutting granite countertops requires precision, patience, and adherence to safety precautions. By following the step-by-step guide and practicing on scrap pieces, DIY enthusiasts can achieve professional-looking results with confidence.
- Whether using a circular saw or wet tile saw, applying tape, creating layout lines, and finishing edges are crucial for clean and precise cuts. Proper cleaning and polishing techniques bring out the natural beauty of the granite, adding elegance to any kitchen space.
Read more: How Do You Paint Granite Countertops
Tools and Materials Needed
Before you begin cutting granite countertops, gather the necessary tools and materials to ensure a smooth and efficient process. Here’s a list of what you’ll need:
- Measuring tape
- Marker or pencil
- Masking tape
- Straightedge or level
- Circular saw with a diamond blade
- Wet tile saw
- Clamps
- Water source for wet tile saw
- Safety goggles
- Ear protection
- Dust mask
- Work gloves
- Protective clothing
- Epoxy resin (if required for joining pieces)
- Sanding block or diamond polishing pads
- Polishing compound
- Clean, lint-free cloths
These tools and materials will ensure that you have everything you need to measure, mark, and cut the granite countertops accurately. Make sure your tools are in good working condition, and always wear appropriate safety gear to protect yourself from any potential hazards.
It’s worth noting that some tools, such as a circular saw or wet tile saw, can be rented from a local hardware store if you don’t already own them. This can be a cost-effective solution, especially if you won’t be using these tools frequently.
Now that you have your tools and materials ready, let’s move on to the next section and learn about important safety precautions to keep in mind while cutting granite countertops.
Safety Precautions
Working with granite countertops can pose certain risks, so it’s crucial to prioritize safety throughout the cutting process. Here are some important safety precautions to follow:
- Wear appropriate safety gear: Before you begin cutting granite, make sure to protect yourself by wearing safety goggles, ear protection, a dust mask, work gloves, and protective clothing. These items will shield you from potential eye injuries, loud noises, airborne dust, and cuts.
- Work in a well-ventilated area: Granite cutting produces a significant amount of dust, which can be harmful if inhaled. Therefore, it’s important to work in a well-ventilated area or consider wearing a respirator mask to protect your lungs.
- Secure the countertop: Ensure that the granite countertop is securely clamped or held in place before you begin cutting. This will prevent any movement or vibrations that could result in accidents or damage to the countertop.
- Use the correct blades: Whether you’re using a circular saw or wet tile saw, make sure to use a diamond blade specifically designed for cutting granite. These blades are able to withstand the hardness of the material and ensure smooth, precise cuts.
- Keep the work area clean: Regularly remove debris and dust from the work surface to prevent them from interfering with the cutting process or causing accidents.
- Handle tools with care: Be cautious when handling power tools and sharp objects. Follow the manufacturer’s instructions, and never force a blade through the granite. Let the tool do the work.
- Be mindful of water usage: If you’re using a wet tile saw, ensure a proper water source to keep the blade cool and minimize dust. It’s essential to follow the manufacturer’s instructions regarding water usage and safety precautions.
By following these safety precautions, you can minimize the risk of accidents and ensure a safe working environment while cutting granite countertops. Now that we’ve covered the safety aspects, let’s move on to the step-by-step process of cutting granite countertops.
Step 1: Measuring and Marking
Before you dive into cutting your granite countertops, it’s crucial to take accurate measurements and make precise markings. This will ensure that you achieve the desired fit and avoid any costly mistakes. Follow these steps:
- Clean the countertop: Ensure that the surface of the granite countertop is clean and free from any debris. This will allow for accurate measurements and markings.
- Measure the dimensions: Use a measuring tape to measure the length, width, and depth of the area where the countertop needs to fit. Double-check your measurements to ensure accuracy.
- Transfer measurements to the granite: Once you have your measurements, transfer them onto the granite countertop. Use a marker or pencil to make visible and precise markings.
- Add allowances: Depending on your installation requirements, you may need to add allowances for overhangs or gaps for appliances. Ensure that you factor these allowances into your markings.
- Triple-check the markings: Before proceeding to cut, carefully inspect your markings to ensure they align with your measurements and meet your requirements. Make any necessary adjustments if needed.
By taking accurate measurements and making precise markings, you will set the foundation for a successful cutting process. This step is crucial for ensuring that your granite countertops fit seamlessly into the designated area, and it reduces the chances of errors or the need for excessive adjustments later on.
Once you’ve completed the measuring and marking process, it’s time to move on to the next step, where we’ll discuss how to apply tape and layout lines to further facilitate the cutting process.
Step 2: Applying Tape and Layout Lines
After measuring and marking your granite countertops, the next step is to apply tape and layout lines. This will help guide your cutting process and ensure clean and precise cuts. Follow these steps:
- Apply masking tape: Place strips of masking tape along the marked lines on the granite. This will not only protect the surface from scratches but also make your layout lines more visible.
- Create layout lines: Using a straightedge or level, draw layout lines on the masking tape. These lines will serve as a visual guide for your cuts and help maintain consistency and accuracy.
- Double-check the layout lines: Check that your layout lines are straight, parallel, and aligned with the measurements and markings you made in the previous step. Make any necessary adjustments to ensure precision.
- Indicate cut direction: To avoid confusion during the cutting process, use an arrow or mark to indicate the direction in which you will be cutting along each layout line.
- Mark any edge treatments: If you plan on adding edge treatments, such as bullnose or beveled edges, make corresponding markings on the layout lines to guide your cutting and finishing process.
Applying tape and creating layout lines not only enhances the accuracy of your cuts but also provides visual cues to guide your actions. These steps are especially crucial if you’re using a circular saw or wet tile saw, as they help maintain control and ensure a clean and professional outcome.
With the tape and layout lines in place, you’re now ready to move on to the next step, where we’ll discuss the cutting methods for granite countertops using a circular saw.
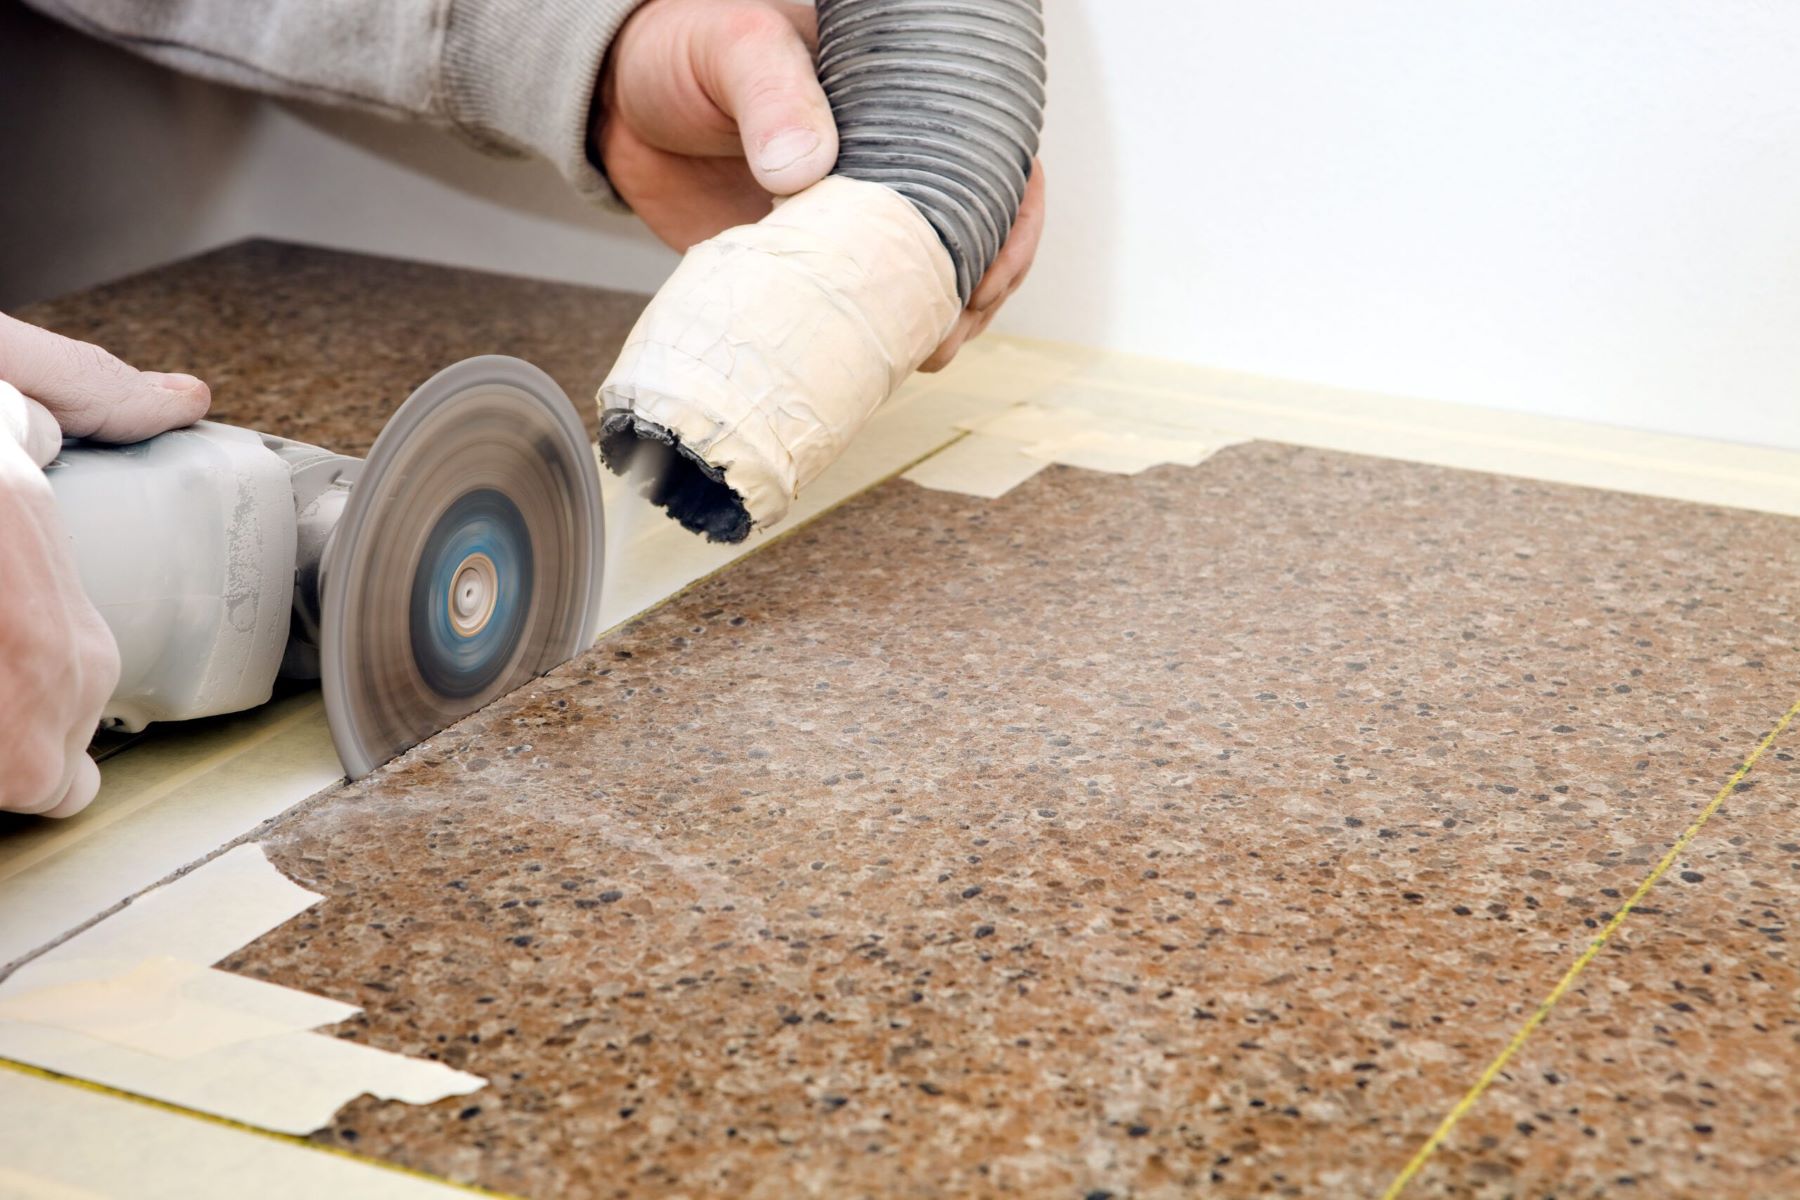
When cutting granite countertops, use a diamond blade on a wet saw to prevent overheating and ensure a clean, precise cut. Always wear protective gear and work in a well-ventilated area.
Read more: How Do You Clean Granite Kitchen Countertops
Step 3: Cutting with a Circular Saw
When it comes to cutting granite countertops, a circular saw with a diamond blade is a common and efficient tool to use. Follow these steps to cut your granite countertops using a circular saw:
- Secure the countertop: Ensure that the granite countertop is securely clamped or held in place to prevent any movement during the cutting process. This will help maintain stability and ensure precise cuts.
- Set the blade depth: Adjust the depth of the circular saw blade according to the thickness of your granite countertop. Set it to just below the material’s thickness to avoid cutting into the countertop support or cabinet underneath.
- Begin the cutting process: With the saw in position, start the blade and gradually guide it along the layout line. Take your time and let the saw’s weight do the cutting. Avoid applying excessive pressure, as it can cause the blade to bind or chip the granite.
- Use a straightedge as a guide: For longer cuts, use a straightedge clamped to the countertop as a guide for the circular saw. This will help ensure straight and accurate cuts, especially for larger pieces of granite.
- Cool the blade: Cutting granite generates heat, which can damage the blade or cause the granite to crack. To prevent this, periodically cool the blade by spraying water on it or using a coolant specifically designed for cutting granite.
- Monitor the cutting speed: Cutting too fast or too slow can affect the quality of the cut. Maintain a steady and controlled pace to achieve smooth and accurate cuts.
- Continue along the layout lines: Follow the layout lines and make the required cuts, adjusting the position of the straightedge as needed. Take breaks as necessary to allow the blade and granite to cool down.
- Practice safety precautions: Throughout the cutting process, remember to wear safety goggles, ear protection, a dust mask, and work gloves. Follow all safety guidelines and be mindful of any potential hazards.
By following these steps, you can effectively cut your granite countertops using a circular saw. Remember to work carefully and patiently, ensuring that you maintain control over the saw and follow the layout lines for precise cuts.
After completing the necessary cuts, you can move on to the next step, where we’ll explore an alternative cutting method using a wet tile saw.
Step 4: Cutting with a Wet Tile Saw
If you prefer a different cutting method or have access to a wet tile saw, it can also be used to cut granite countertops. Follow these steps to cut your granite countertops using a wet tile saw:
- Prepare the wet tile saw: Set up the wet tile saw according to the manufacturer’s instructions. Fill the reservoir with water and ensure that the saw’s water pump is functioning properly.
- Secure the countertop: As with the circular saw method, ensure that the granite countertop is securely clamped or held in place to prevent any movement during the cutting process.
- Position the countertop: Adjust the cutting table or surface of the wet tile saw, ensuring that it is level and aligned with the saw blade. This will ensure accurate and straight cuts.
- Mark the cut line: Transfer your markings from Step 1 onto the granite countertop, ensuring that they are clearly visible.
- Start the wet tile saw: Turn on the wet tile saw and wait for the water pump to circulate water over the saw blade. This will keep the blade cool and prevent the granite from overheating.
- Cut along the marked line: With the wet tile saw running, slowly guide the granite countertop into the saw blade, following the marked line. Allow the saw to do the cutting, avoiding excessive pressure or forcing the countertop through the blade.
- Maintain a steady pace: Move the countertop along the saw’s surface at a steady pace, keeping your hands steady and maintaining control throughout the cutting process.
- Cool the blade: Similar to the circular saw method, periodically cool the blade and granite by allowing water to flow over the cutting area. This will prevent the blade from becoming overheated and damaging the granite.
- Complete the required cuts: Continue cutting along the marked lines until you have completed all necessary cuts for your granite countertops.
- Practice safety precautions: Throughout the cutting process, ensure that you wear safety goggles, ear protection, a dust mask, and work gloves. Follow all safety guidelines and be mindful of any potential hazards.
By following these steps, you can successfully cut your granite countertops using a wet tile saw. The saw’s diamond blade and water-cooling mechanism will help achieve precise cuts and minimize the risk of heat damage to the granite.
Once you have finished cutting the granite countertops, it’s time to move on to the next step – finishing the edges.
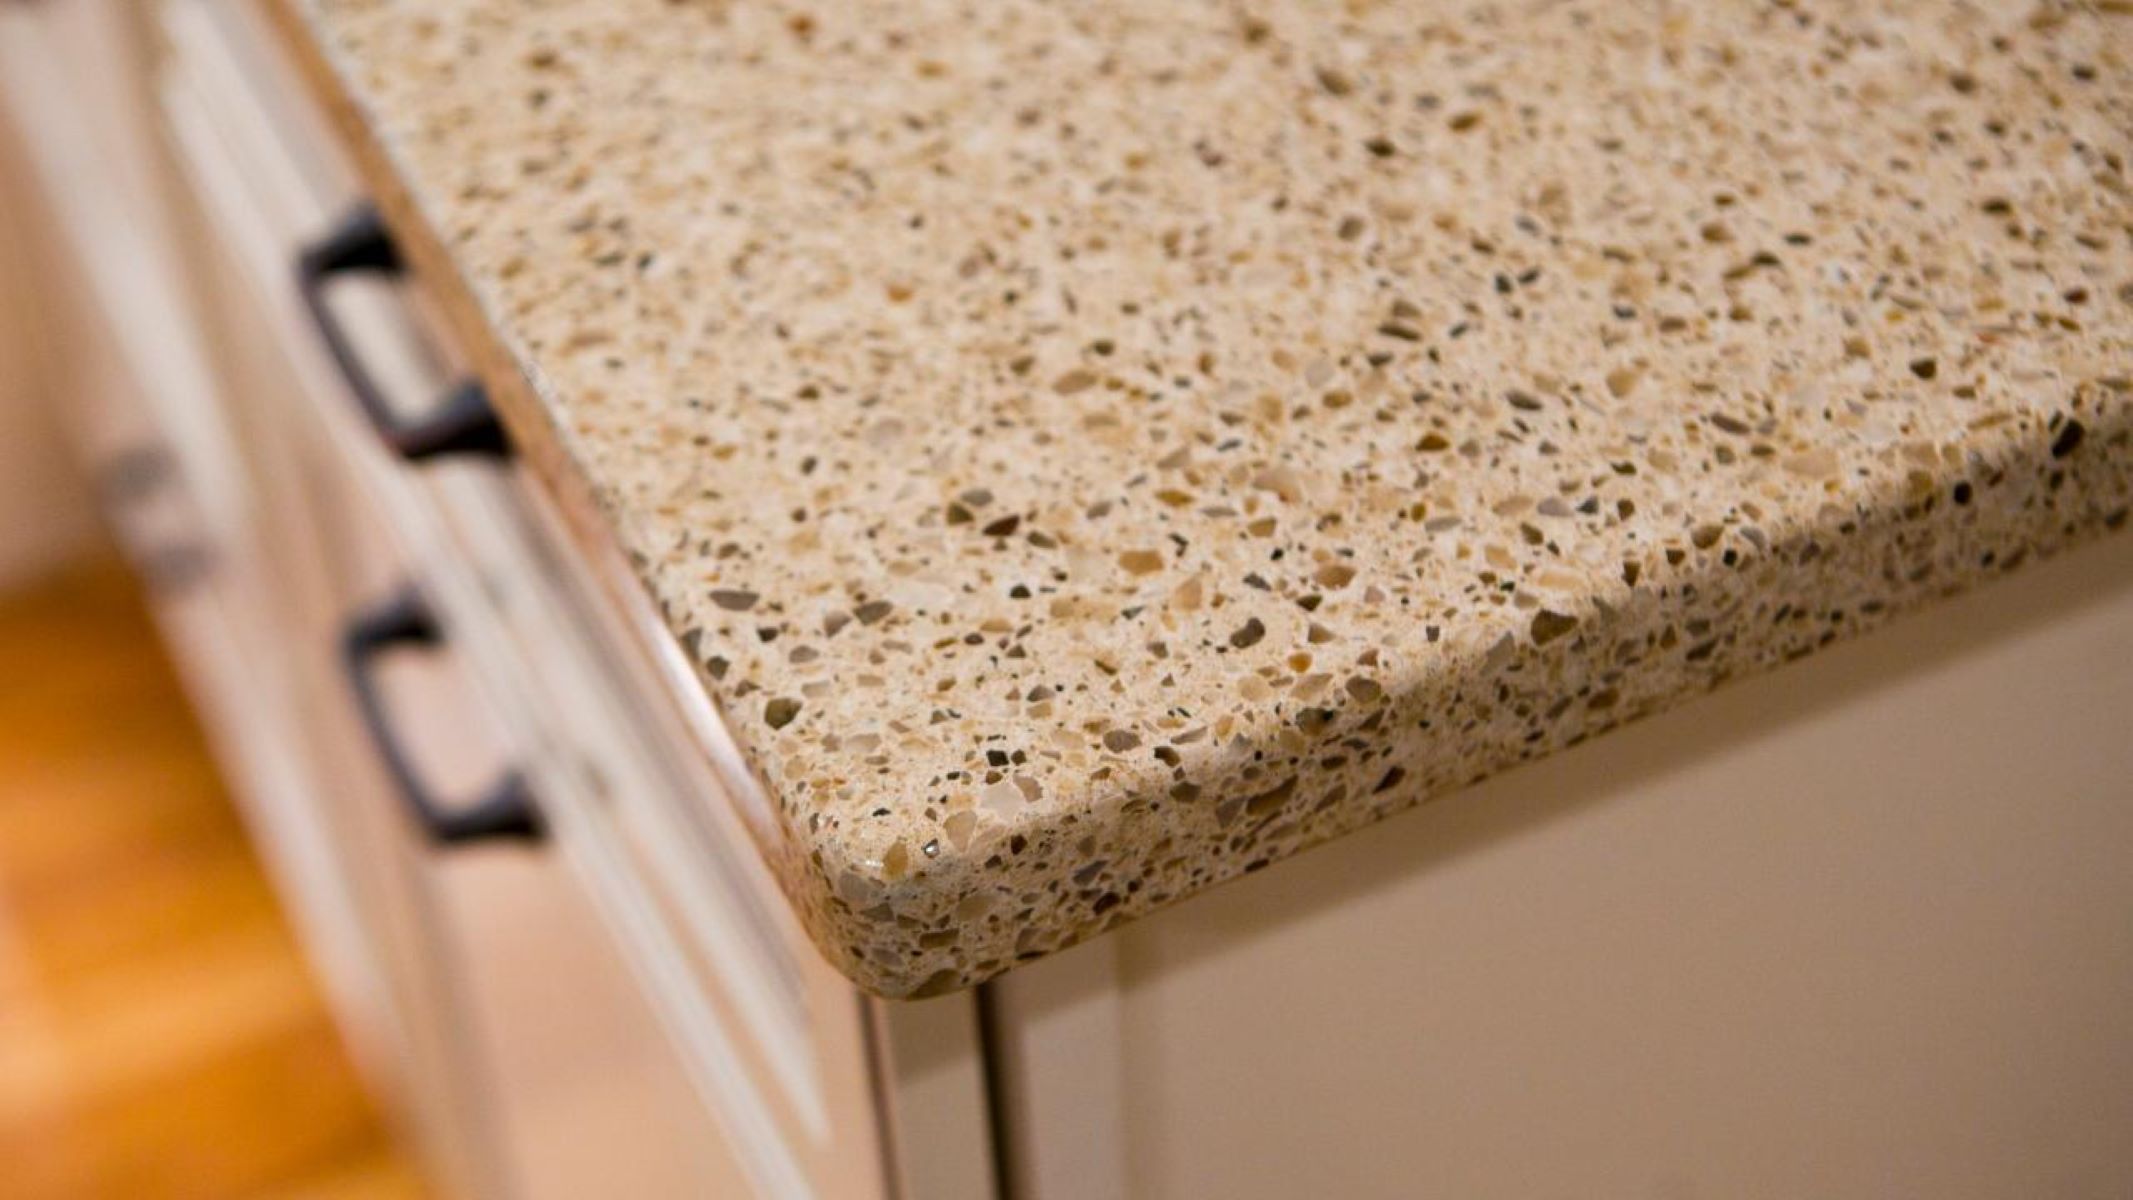
Step 5: Finishing the Edges
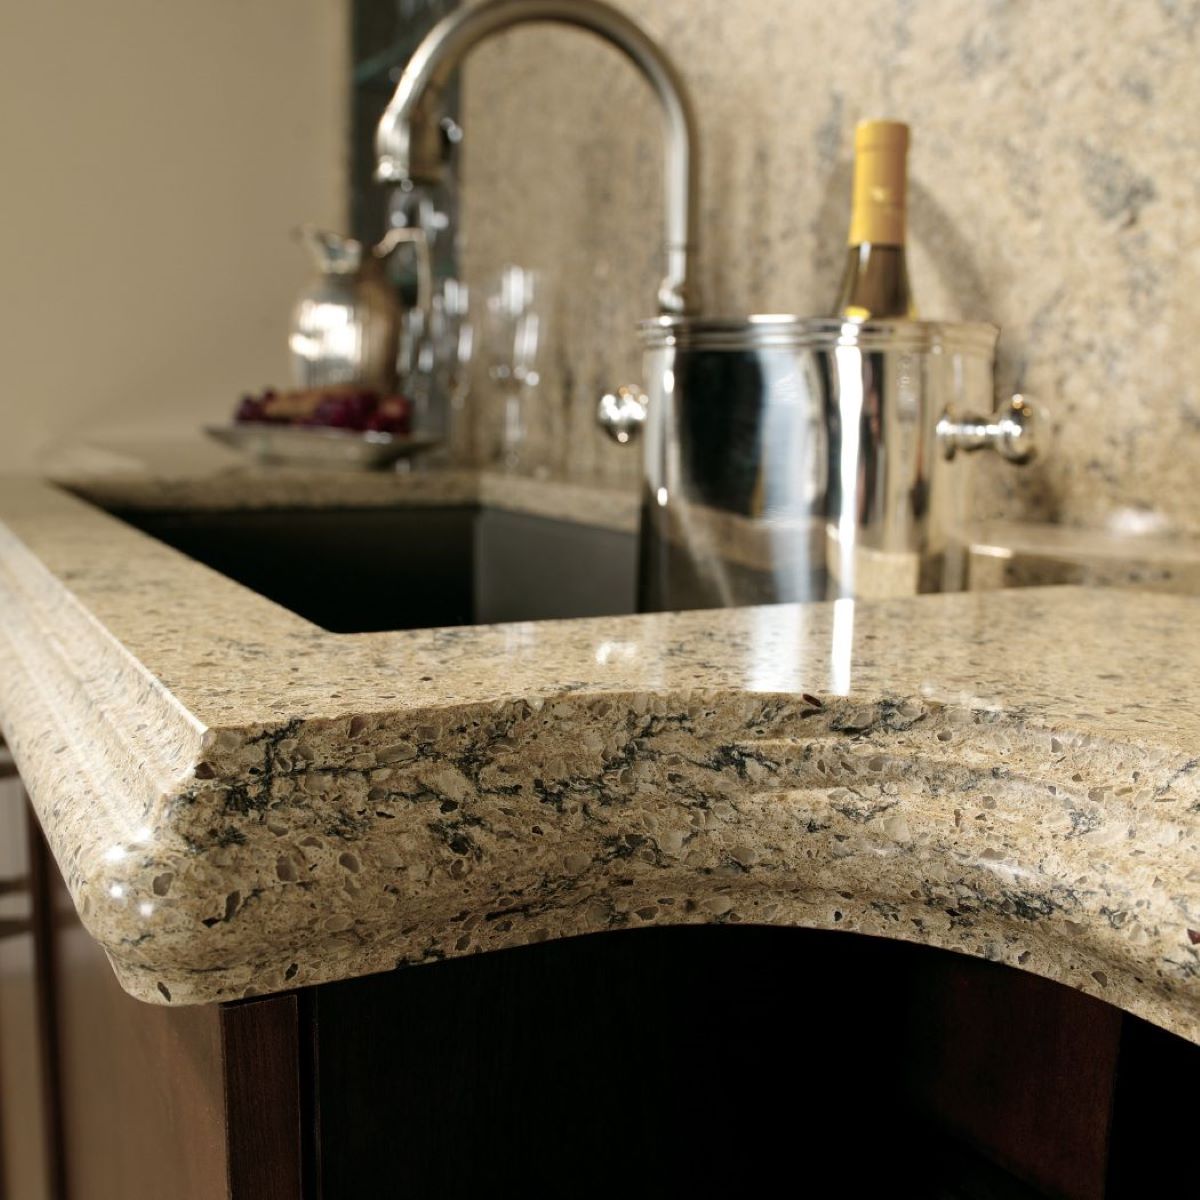
After cutting your granite countertops to the desired dimensions, it’s time to give the edges a finished look. The edge treatment you choose can greatly impact the overall aesthetics of your countertops. Here is an overview of the common edge finishing options:
- Straight edge: This is a simple, clean-cut edge that maintains the natural straight lines of the countertop.
- Beveled edge: The edge is cut at a specific angle, usually 45 degrees, creating a chamfered or slanted edge.
- Bullnose edge: The edge is rounded off, creating a smooth, curved profile.
- Ogee edge: This decorative edge features an S-shaped curve, adding an elegant touch to the countertop.
To achieve your desired edge treatment, follow these steps:
- Select the desired edge treatment: Choose the edge profile that matches your design preferences and complements the overall style of your kitchen.
- Use a diamond polishing pad or sanding block: Attach a diamond polishing pad to a handheld grinder or use a sanding block to smooth and shape the edges of the countertop.
- Work from coarse to fine grit: Begin with a coarse grit and gradually move to finer grits to achieve a polished finish. This process will remove any rough edges and create a smooth surface.
- Apply even pressure: Apply consistent pressure to ensure even and consistent polishing. Pay attention to detail and work methodically along the entire length of each edge.
- Clean and inspect the edges: After polishing, clean the edges thoroughly to remove any debris or residue. Inspect the edges for any imperfections and make any necessary touch-ups.
Remember to follow the manufacturer’s instructions for using polishing pads or sanding blocks, and take your time to achieve the desired edge finish. By paying attention to detail and using proper techniques, you can ensure that your granite countertops have beautifully finished edges.
Now that you’ve completed the edge finishing process, it’s time to move on to the final step – cleaning and polishing the countertops.
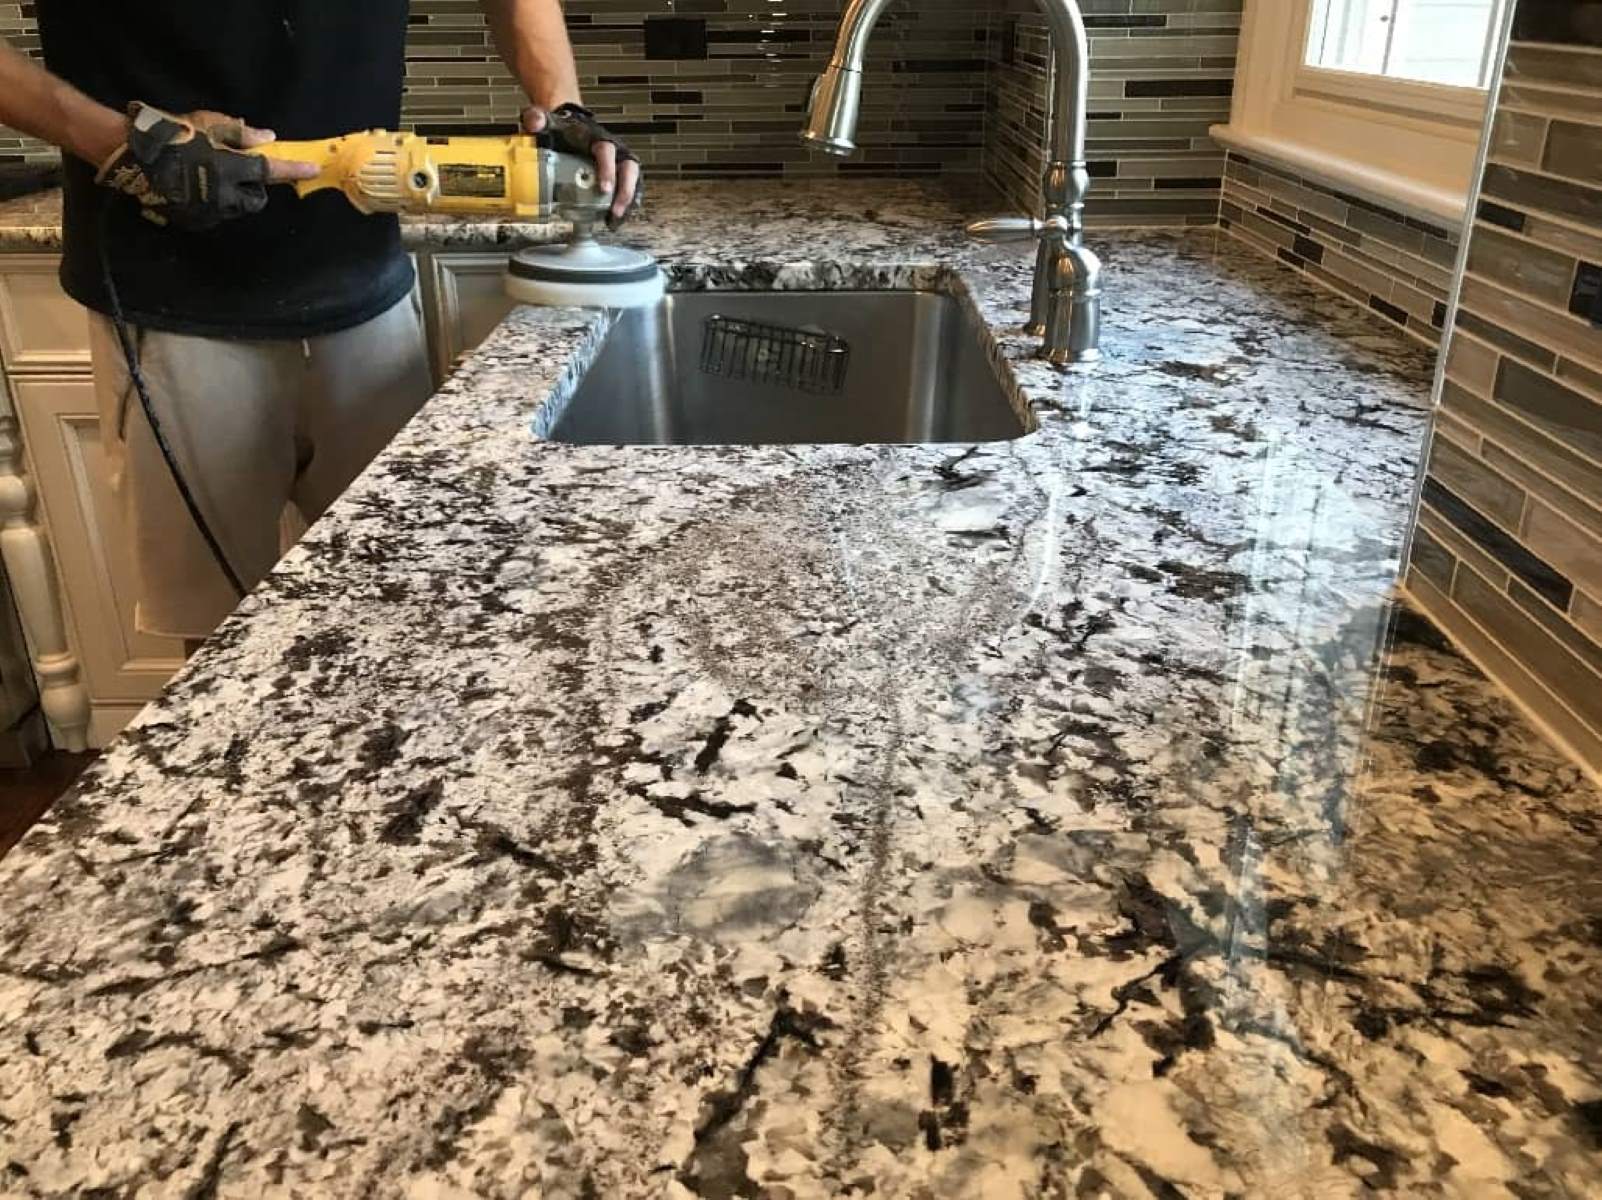
Step 6: Cleaning and Polishing
Once you have cut the granite countertops to size and finished the edges, it’s important to clean and polish the surfaces to bring out their natural beauty and shine. Follow these steps to properly clean and polish your granite countertops:
- Wipe away any debris: Use a clean, dry cloth to remove any dust, residue, or debris from the countertop surface. Make sure the surface is free from any loose particles before proceeding.
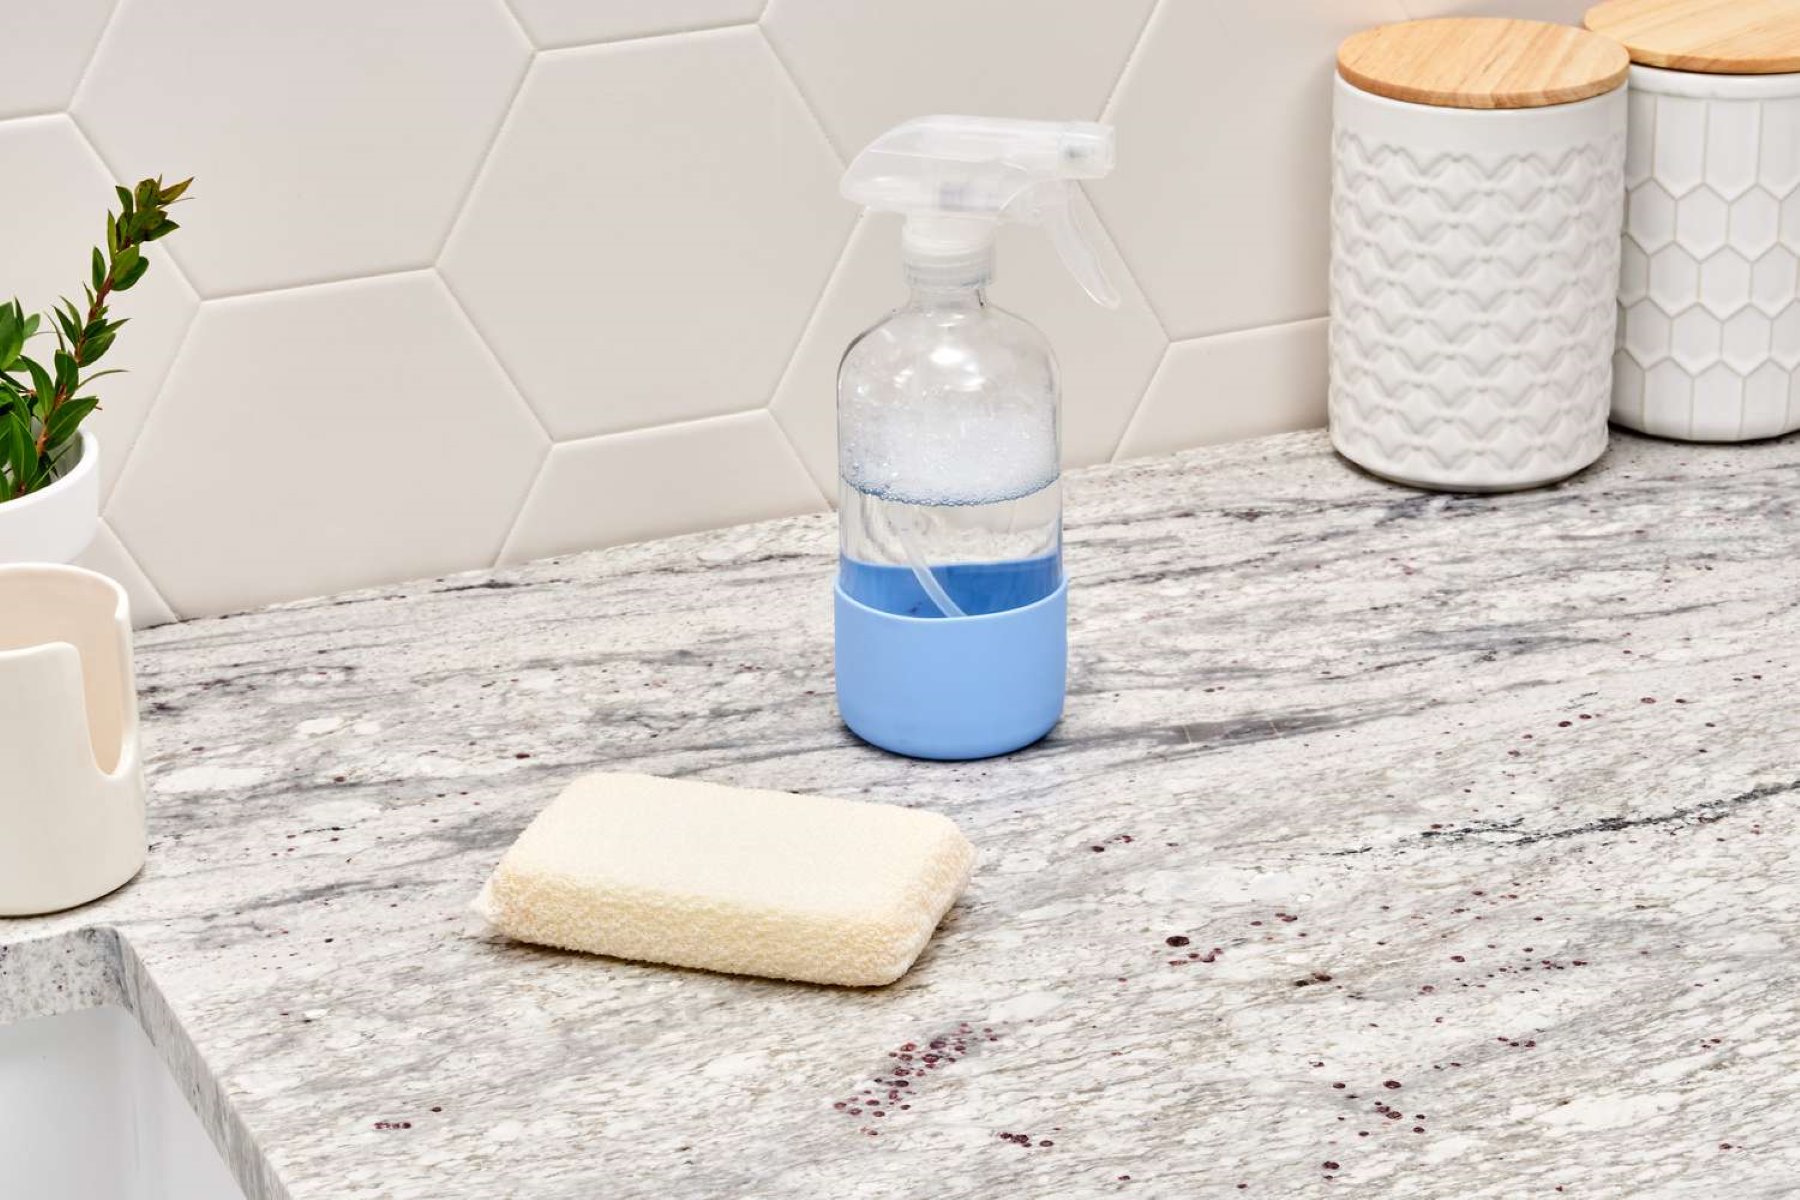
- Choose a granite cleaner: Select a high-quality granite cleaner that is specifically formulated for cleaning and polishing granite surfaces. Avoid using harsh chemicals or abrasive cleaners that can damage the granite.
- Apply the granite cleaner: Spray the granite cleaner onto the countertop surface and let it sit for a few minutes to allow the cleaner to penetrate and loosen any dirt or stains.
- Gently scrub the surface: Use a soft-bristle brush or non-abrasive sponge to gently scrub the surface in circular motions. Pay extra attention to any visible stains or spills.
- Rinse with clean water: After scrubbing, rinse the countertop thoroughly with clean water to remove the cleaner and any remaining residue.
- Dry the surface: Wipe the countertop dry with a clean, lint-free cloth or towel. Ensure that the surface is completely dry to prevent streaks or water spots from forming.
- Apply granite polish: Once the countertop is dry, apply a small amount of granite polish to a clean cloth. Use circular motions to buff and polish the surface, enhancing its natural shine.
- Buff to a high shine: Continue buffing the countertop until you achieve the desired level of shine. Take care not to apply excessive pressure, as this can create swirl marks. Work in small sections for better control.
- Inspect and touch up: After polishing, inspect the countertop surface for any missed spots or dull areas. If necessary, apply additional polish and buff gently to even out the shine.
By following these steps, you can effectively clean and polish your granite countertops, restoring their luster and ensuring they look their best. Regular cleaning and maintenance will help prolong the lifespan and beauty of your countertops.
With the cleaning and polishing complete, you have successfully finished cutting, edging, and enhancing your granite countertops. Congratulations on completing this project! Your hard work and attention to detail will be showcased in the final result.
Remember to clean up your work area and properly dispose of any waste materials, and take a moment to admire your beautifully cut and polished granite countertops.
Always consult the manufacturer’s instructions for any specific guidance related to your particular granite and the tools you are using. Enjoy your new countertops and the added functionality and elegance they bring to your kitchen space!
This concludes our guide on how to cut granite countertops. We hope you found this article informative and helpful as you tackled this project. Happy DIYing!
Read more: How Do You Cut Laminate Countertops
Conclusion
Cutting granite countertops is a task that may seem intimidating at first, but with the right tools, materials, and knowledge, it can be accomplished successfully. By following the step-by-step guide we’ve provided, you now have the necessary skills and confidence to take on this DIY project.
We started by emphasizing the importance of precision and safety. Taking accurate measurements, making precise markings, and wearing appropriate safety gear are essential to ensure smooth and accident-free cutting. We then explored two popular cutting methods: using a circular saw and a wet tile saw. Both techniques have their advantages, but the choice ultimately depends on the tools you have available and personal preference.
Finishing the edges of your granite countertops adds the final touch to the project. Whether you opt for a straight edge, beveled edge, bullnose edge, or ogee edge, the choice can greatly enhance the overall aesthetics of your countertops. Additionally, proper cleaning and polishing techniques contribute to bringing out the natural beauty and shine of the granite.
We must stress the importance of practicing proper safety precautions throughout the entire process. Ensuring a well-ventilated area, using the correct tools and blades, and wearing appropriate safety gear are vital for a safe and enjoyable experience.
Remember, cutting granite countertops is a task that requires patience, attention to detail, and practice. Start with scrap pieces to familiarize yourself with the tools and techniques before working on your actual countertops. This will give you the confidence and experience necessary to achieve professional-looking results.
We hope this comprehensive guide has provided you with the necessary knowledge and guidance to successfully cut granite countertops. Remember to consult the manufacturer’s instructions for any specific guidance related to your granite and the tools you are using.
Now, grab your tools, put on your safety gear, and transform your kitchen with beautifully cut and polished granite countertops. Enjoy the satisfaction of your hard work and the elegance it brings to your home. Happy cutting!
Frequently Asked Questions about How Do You Cut Granite Countertops
Was this page helpful?
At Storables.com, we guarantee accurate and reliable information. Our content, validated by Expert Board Contributors, is crafted following stringent Editorial Policies. We're committed to providing you with well-researched, expert-backed insights for all your informational needs.

0 thoughts on “How Do You Cut Granite Countertops”