
Articles
How Do You Cut Laminate Countertops
Modified: March 1, 2024
Learn how to cut laminate countertops with our informative articles. Get step-by-step instructions and expert tips for a flawless finish.
(Many of the links in this article redirect to a specific reviewed product. Your purchase of these products through affiliate links helps to generate commission for Storables.com, at no extra cost. Learn more)
Introduction
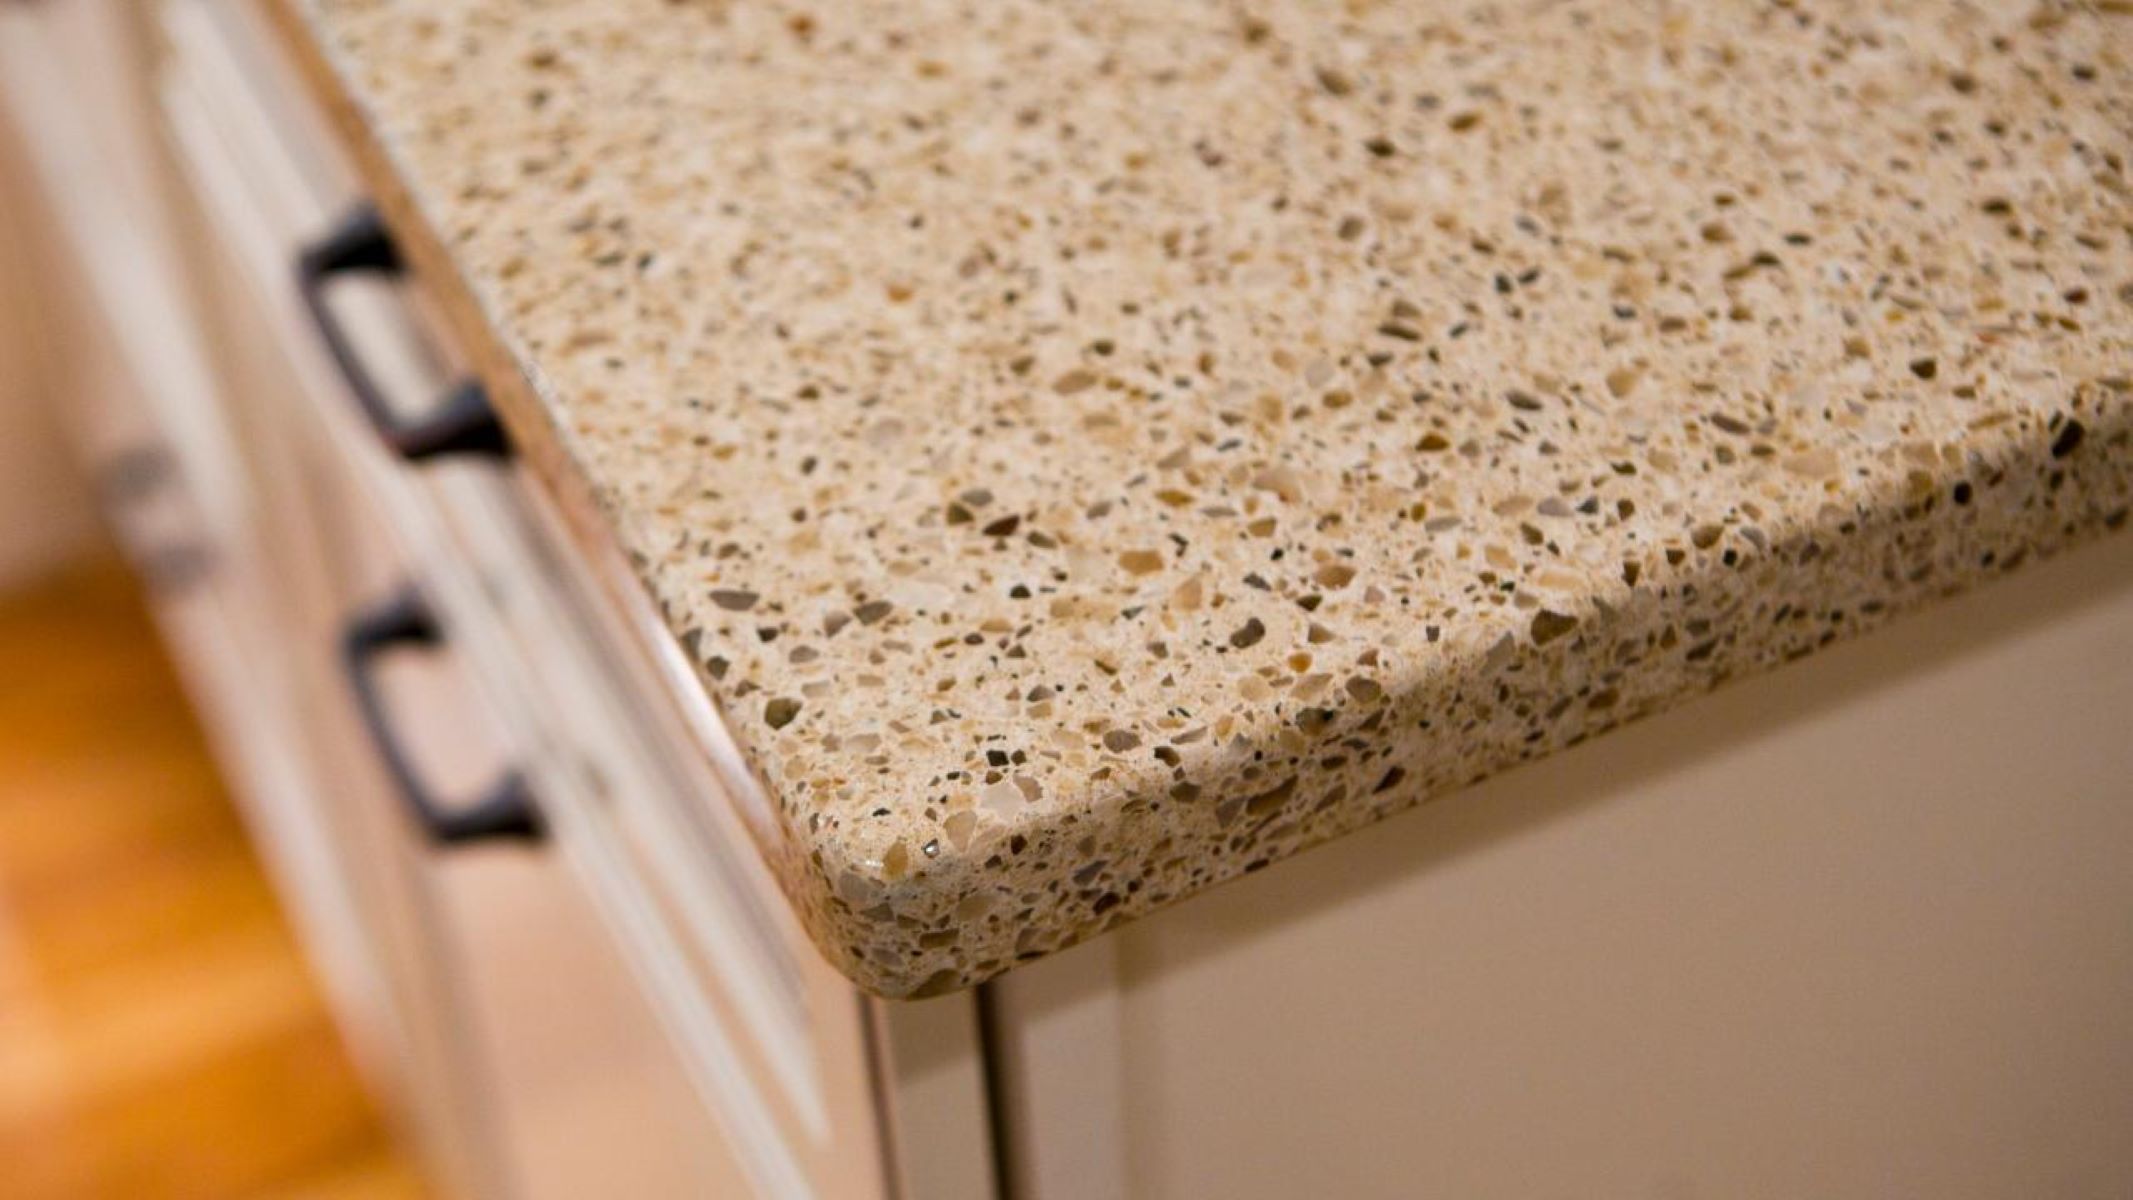
Laminate countertops have become a popular choice for kitchens and bathrooms due to their affordability, durability, and wide range of styles and colors. However, there are times when you may need to cut a laminate countertop to fit your specific needs or to install a sink or faucet. While it may seem like a daunting task, with the right tools and techniques, cutting laminate countertops can be a straightforward process.
In this article, we will guide you through the step-by-step process of cutting laminate countertops. We will also discuss the tools you need, the safety precautions to take, and provide helpful tips to ensure a successful outcome.
Before you begin, it’s important to note that working with power tools can be dangerous if not handled properly. If you are unsure or uncomfortable using any of the tools mentioned in this article, it’s always best to seek professional assistance.
Key Takeaways:
- Cutting laminate countertops requires precision, patience, and the right tools. Prioritize safety, measure accurately, and take your time to achieve professional-looking results.
- Tailoring laminate countertops to your specific needs is manageable and rewarding. With the affordability and wide range of options, cutting laminate countertops allows for customizing your space.
Read more: How To Cut Laminate Countertop For Sink
Tools Needed
Before you start cutting laminate countertops, gather the following tools:
- A circular saw: This will be the main tool used to make straight cuts on the countertop. Make sure it has a fine-toothed blade suitable for cutting laminate.
- A jigsaw: Useful for cutting sink and faucet holes, as well as trimming edges and corners.
- A drill or hole saw: Depending on the size of the sink or faucet hole needed, you may use a standard drill with various sized drill bits or a hole saw specifically designed for cutting large holes.
- A measuring tape: Essential for accurately measuring the dimensions of the countertop and marking the cut lines.
- A straightedge: A long, straight piece of wood or metal that will serve as a guide for making straight cuts.
- A pencil or marker: Used for marking the cut lines on the laminate countertop.
- Safety goggles and gloves: Protect your eyes and hands while working with power tools.
- A mask or respirator: Reduce the inhalation of dust particles produced during cutting.
- A clamp: Use a clamp to secure the straightedge in place for straight cuts.
- Sandpaper or file: To smooth out any rough edges after cutting and trimming.
Having these tools readily available will ensure you can work efficiently and effectively while cutting your laminate countertop.
Safety Precautions
When cutting laminate countertops, it’s important to prioritize safety. Here are some essential safety precautions to follow:
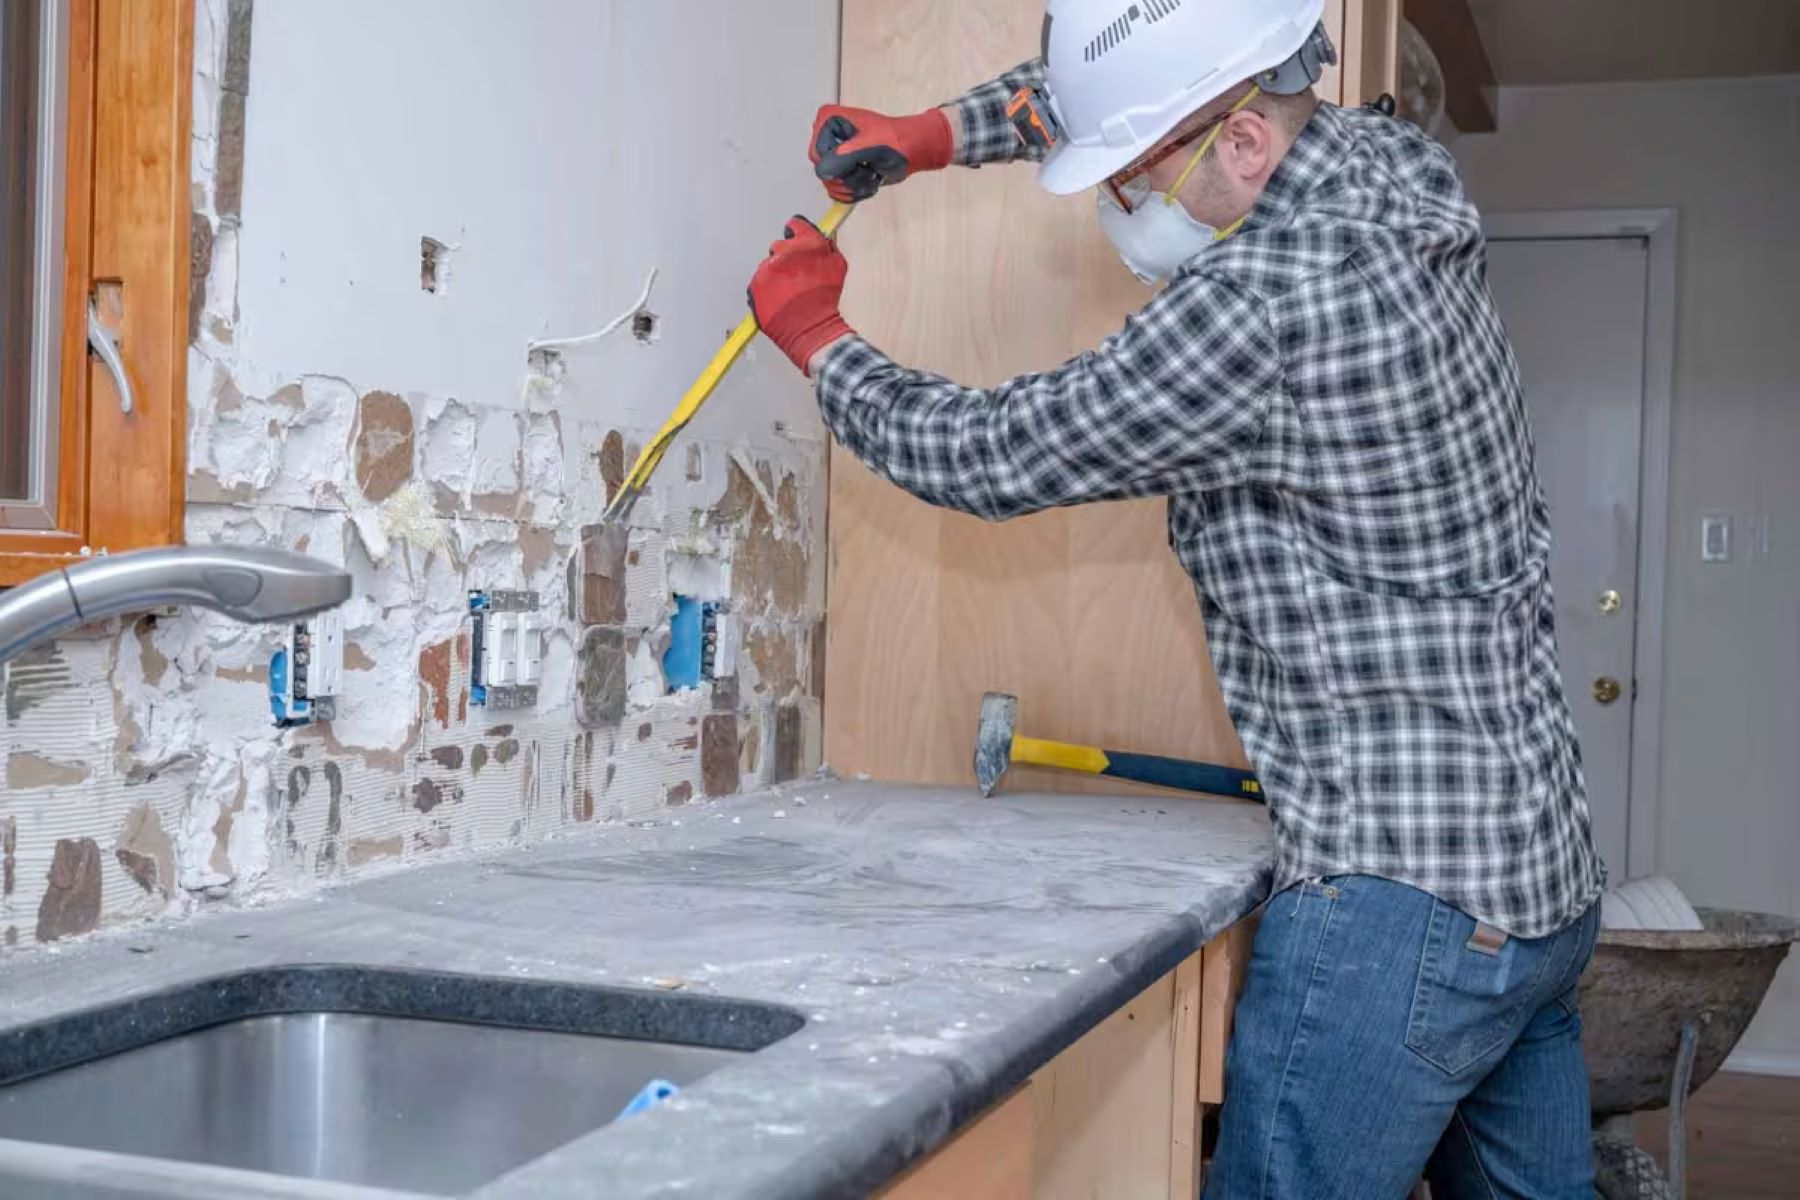
- Wear protective gear: Always wear safety goggles and gloves to protect your eyes and hands from potential hazards.
- Use a dust mask or respirator: Cutting laminate countertops generates dust and debris. Protect your respiratory system by wearing a mask or respirator.
- Secure the countertop: Make sure the countertop is stable and securely fastened before starting any cutting. This will prevent any movement or accidents during the process.
- Follow the manufacturer’s instructions: If you’re using power tools, carefully read and follow the manufacturer’s instructions to ensure safe and effective operation.
- Keep the workspace clean: A clutter-free workspace minimizes the risk of tripping and allows for better control and maneuverability during the cutting process.
- Take breaks if needed: Cutting laminate countertops can be physically demanding. If you feel fatigued or overwhelmed, take breaks to rest and regain focus.
- Work in a well-ventilated area: If you’re working indoors, ensure proper ventilation to dissipate dust and fumes.
- Be cautious of electrical cords: Keep cords away from cutting paths to prevent accidental cuts or tripping.
- Store tools safely: When not in use, securely store your tools in a designated area to prevent accidents and unauthorized use.
- Dispose of waste properly: Dispose of any waste material, such as laminate scraps and dust, in accordance with local regulations.
By following these safety precautions, you can minimize the risk of accidents or injuries while cutting laminate countertops.
Step 1: Measuring and Marking
The first step in cutting laminate countertops is to accurately measure the area where the countertop will be installed. Use a measuring tape to measure the length and width of the space. It’s crucial to be precise in your measurements to ensure a proper fit.
Once you have the measurements, transfer them to the laminate countertop. Use a pencil or marker to mark the cut lines on the laminate. Make sure to measure and mark from the finished side of the countertop to avoid any confusion when cutting.
When marking the cut lines, it’s recommended to add an extra 1/8 inch to 1/4 inch to the measurements. This additional space will allow for any adjustments or fine-tuning during the installation process.
Use a straightedge, such as a long piece of wood or metal, to ensure straight and accurate lines. Align the straightedge with the marked cut lines and secure it in place with a clamp. This will serve as a guide for making straight cuts with the circular saw.
Double-check your measurements and cut line markings to ensure accuracy before proceeding to the next step. Making precise measurements and markings is essential for achieving a professional-looking result when cutting laminate countertops.
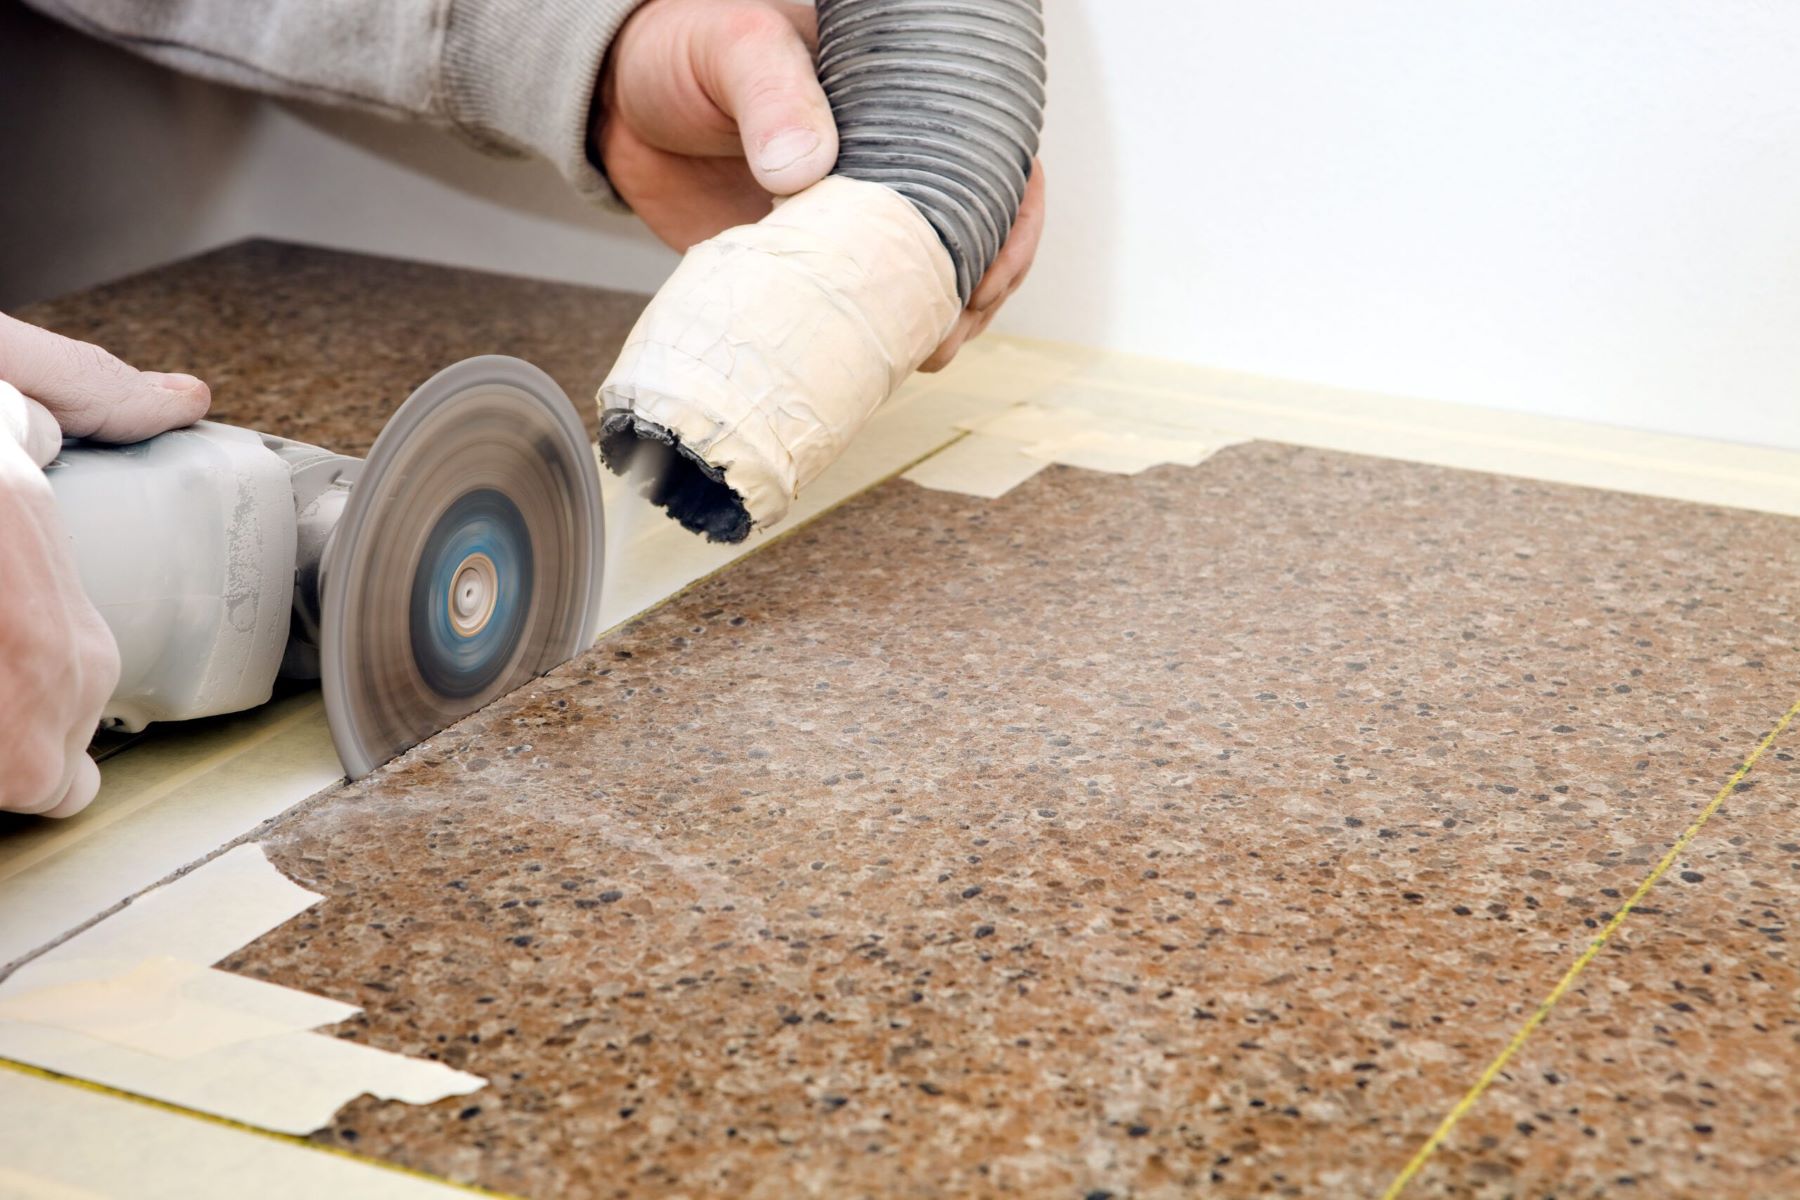
Step 2: Making the Straight Cuts
With your measurements and cut line markings in place, it’s time to make the straight cuts on the laminate countertop. This step requires the use of a circular saw.
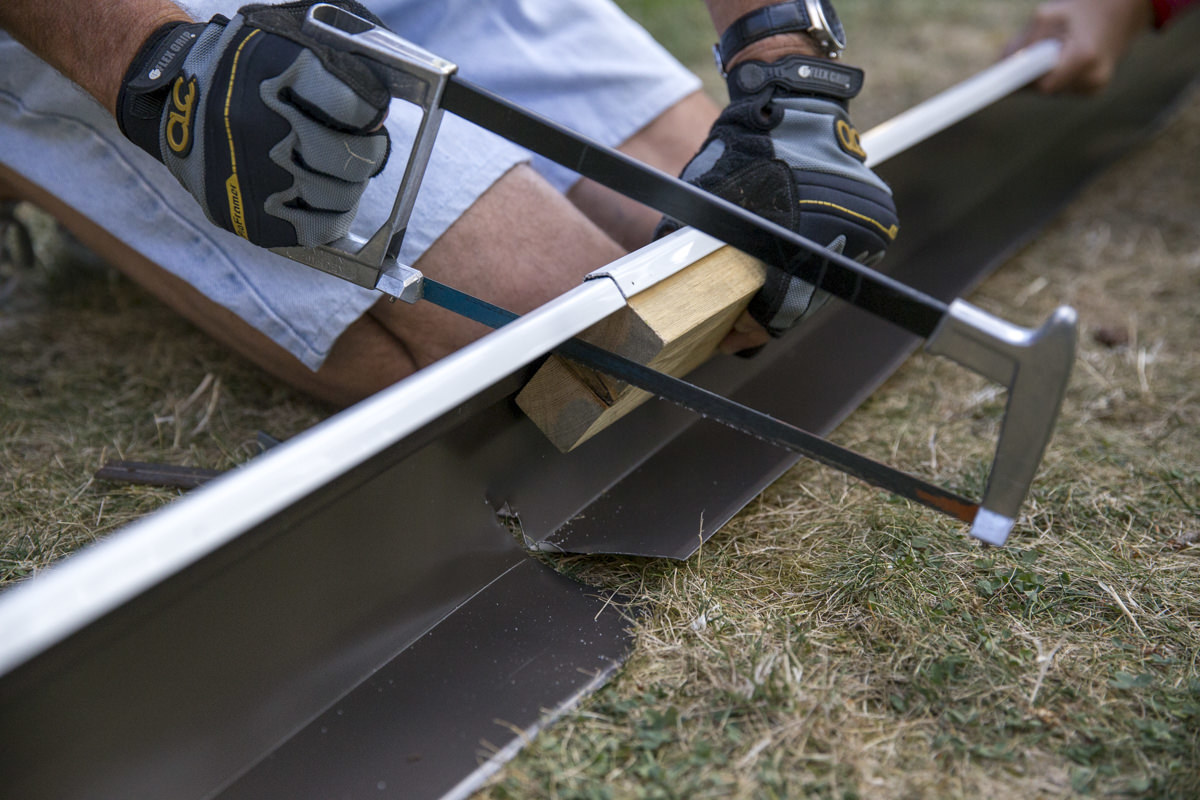
Before you begin cutting, ensure that the circular saw is equipped with a fine-toothed blade specifically designed for cutting laminate. This type of blade helps reduce chipping and ensures clean, smooth cuts.
Start by aligning the edge of the circular saw’s base plate with the straightedge that you clamped in place. Ensure that the blade of the saw is positioned just outside the marked cut line to account for the width of the blade.
Take a deep breath and switch on the circular saw. Slowly guide it along the straightedge, maintaining a steady pace and applying gentle pressure. Let the saw do the work as you guide it through the countertop. Avoid rushing or forcing the saw through the material, as this can lead to uneven cuts and potential damage to the laminate.
As you approach the end of the cut, be sure to support any overhanging sections of the countertop to prevent them from breaking or splintering. Use caution and awareness while cutting to ensure your safety and the quality of the cut.
Once the straight cuts are complete, remove the clamps and carefully lift the excess laminate countertop away. Take a moment to inspect the cuts for accuracy and adjust if necessary.
Remember, cutting laminate countertops requires precision and patience. Taking your time and making deliberate, steady movements will help achieve clean and precise straight cuts.
When cutting laminate countertops, use a fine-toothed saw to minimize chipping. Apply masking tape to the cut line to further reduce chipping.
Step 3: Cutting Sink and Faucet Holes
If you are installing a sink or faucet in your laminate countertop, you’ll need to cut the appropriate holes to accommodate them. Here’s how to do it:
- Start by measuring the dimensions of the sink or faucet. Use a measuring tape to determine the width, length, and any other specifications required for the hole.
- Transfer the measurements onto the laminate countertop. Mark the center point of the hole and use a straightedge to draw the shape of the hole, ensuring it aligns with the sink or faucet’s dimensions.
- Drill a hole near the edge of the marked hole. This initial hole will serve as a starting point for the jigsaw blade.
- Insert the jigsaw blade into the drilled hole and carefully follow the marked shape to cut out the sink or faucet hole. Maintain a steady pace and use gentle, controlled movements to avoid damaging the laminate.
- If you encounter corners or curved areas, gently pivot the jigsaw to navigate around them. Take your time and be patient to ensure smooth and precise cuts.
- Periodically check the fit of the sink or faucet in the cut hole. Make any necessary adjustments to ensure a proper fit. It’s better to slightly enlarge the hole than to have it too small.
- Once the hole is cut to the correct size, use sandpaper or a file to smooth out any rough edges or imperfections around the hole.
Remember to wear safety goggles and gloves while cutting the hole with the jigsaw to protect your eyes and hands from any flying debris or sharp edges.
By following these steps, you’ll be able to cut precise and properly sized holes in your laminate countertop to accommodate sinks or faucets.
Step 4: Trimming Edges and Corners
Trimming the edges and corners of your laminate countertop is an important step to ensure a polished and professional-looking finish. Here’s how to trim the edges and corners:
- Assess the edges and corners of the countertop to determine if any adjustments or trims are necessary. This step is especially important if the countertop needs to fit into a non-standard shape or against a wall.
- Using a pencil or marker, mark the areas that require trimming. Take into account any irregularities in the walls or surrounding structures.
- Secure the laminate countertop with clamps or have an assistant hold it steady to prevent movement during the trimming process.
- With a jigsaw fitted with a fine-toothed blade, carefully trim along the marked lines. Use smooth and controlled movements, adjusting the speed and pressure as needed. Take your time to achieve accurate cuts.
- To trim curved edges or corners, gently pivot the jigsaw while maintaining control over the movement. Be cautious and make gradual adjustments to avoid overcutting or damaging the laminate.
- After trimming, inspect the edges and corners for any roughness or unevenness. Use sandpaper or a file to smooth out any imperfections, providing a seamless and uniform appearance.
Remember to take breaks if needed and always prioritize safety. Wear safety goggles and gloves to protect yourself from any debris generated during the trimming process.
By following these steps, you’ll be able to trim the edges and corners of your laminate countertop, ensuring a precise fit and a polished overall look.
Step 5: Finishing Touches
Once you have completed the main cutting and trimming steps, it’s time to add the finishing touches to your laminate countertop. Here’s what you need to do:
- Inspect the cut edges and corners of the countertop for any roughness or sharp edges. Use sandpaper or a file to smooth them out, creating a clean and polished finish.
- Clean the countertop surface thoroughly to remove any dust or debris generated during the cutting process. Use a damp cloth or sponge to wipe down the entire surface, ensuring it’s free from any contaminants.
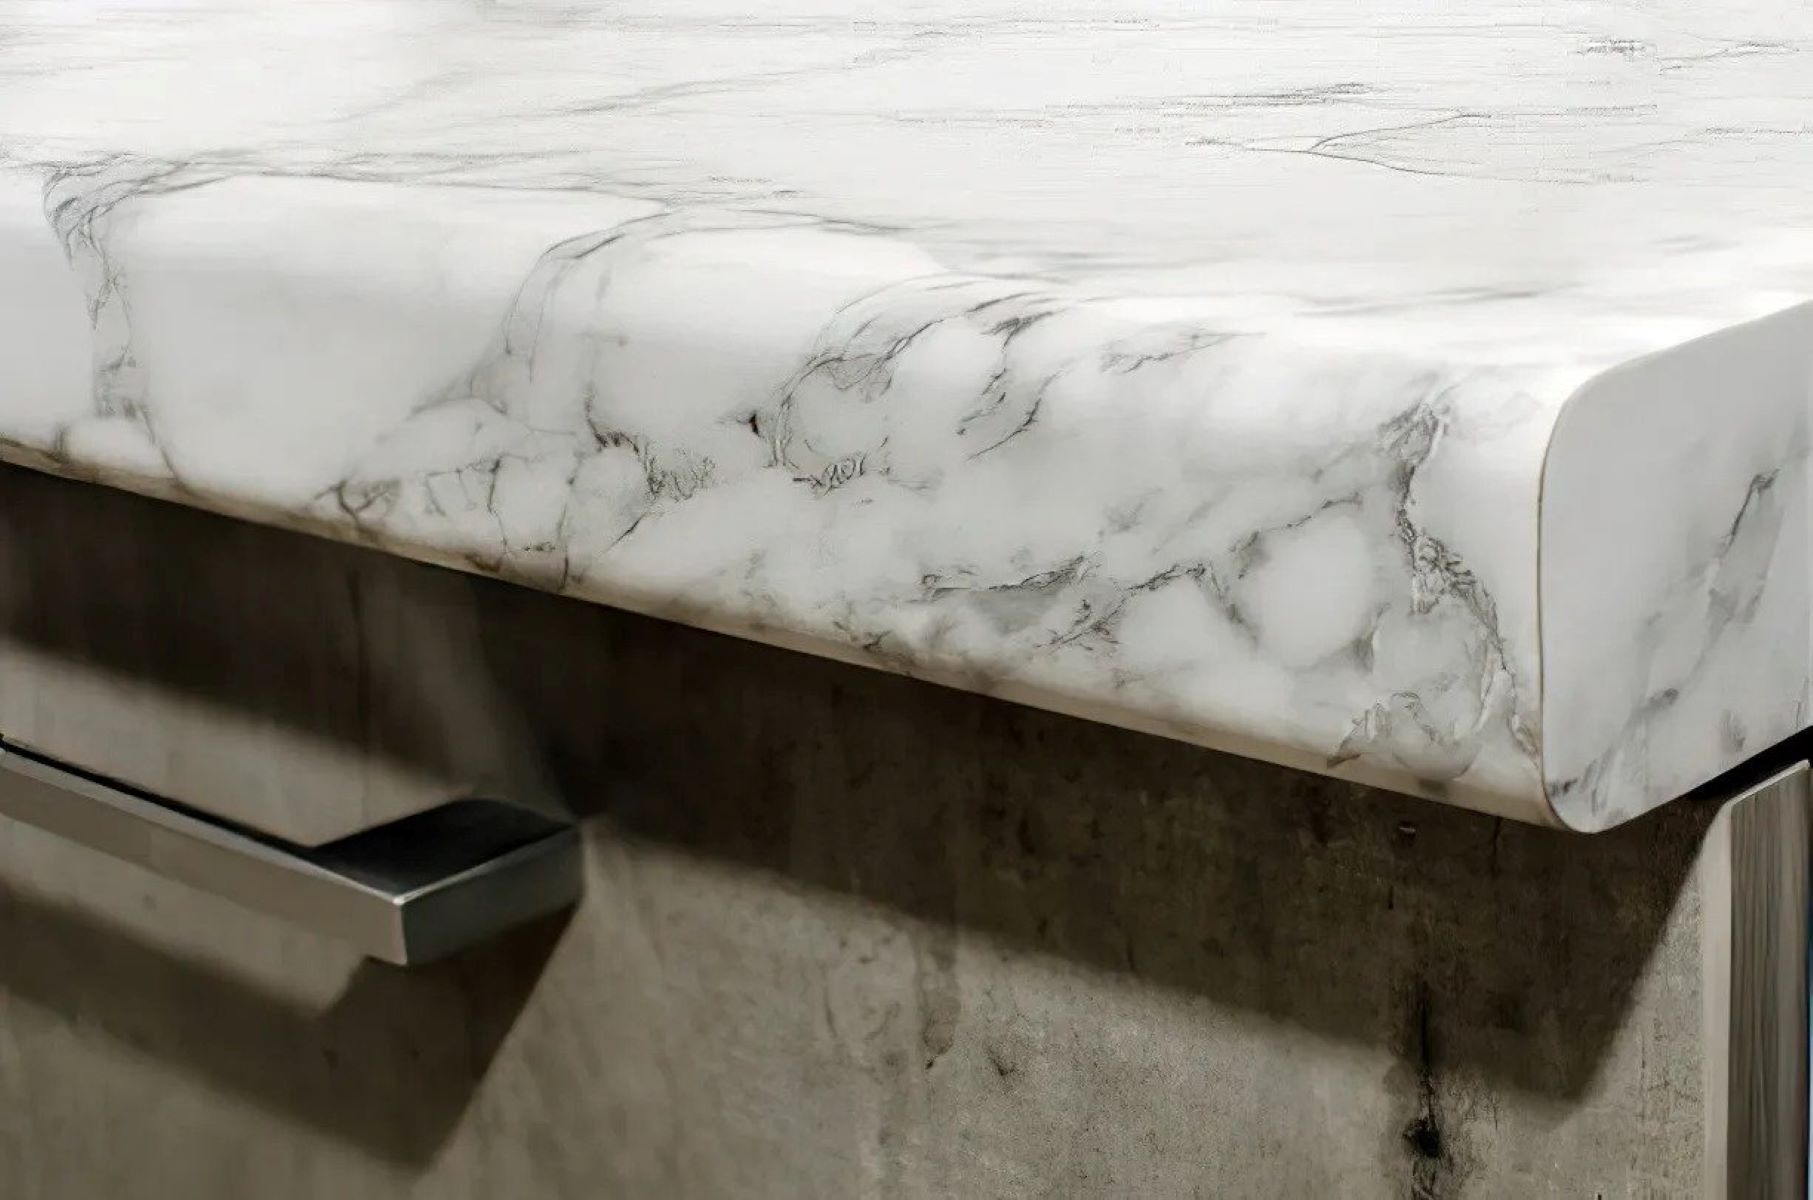
- Apply edge banding or laminate trim to the exposed edges of the countertop for a professional look. Choose a color and style that matches your laminate for a seamless appearance.
- If necessary, install the sink or faucet into the designated holes. Follow the manufacturer’s instructions for proper installation and ensure a secure fit.
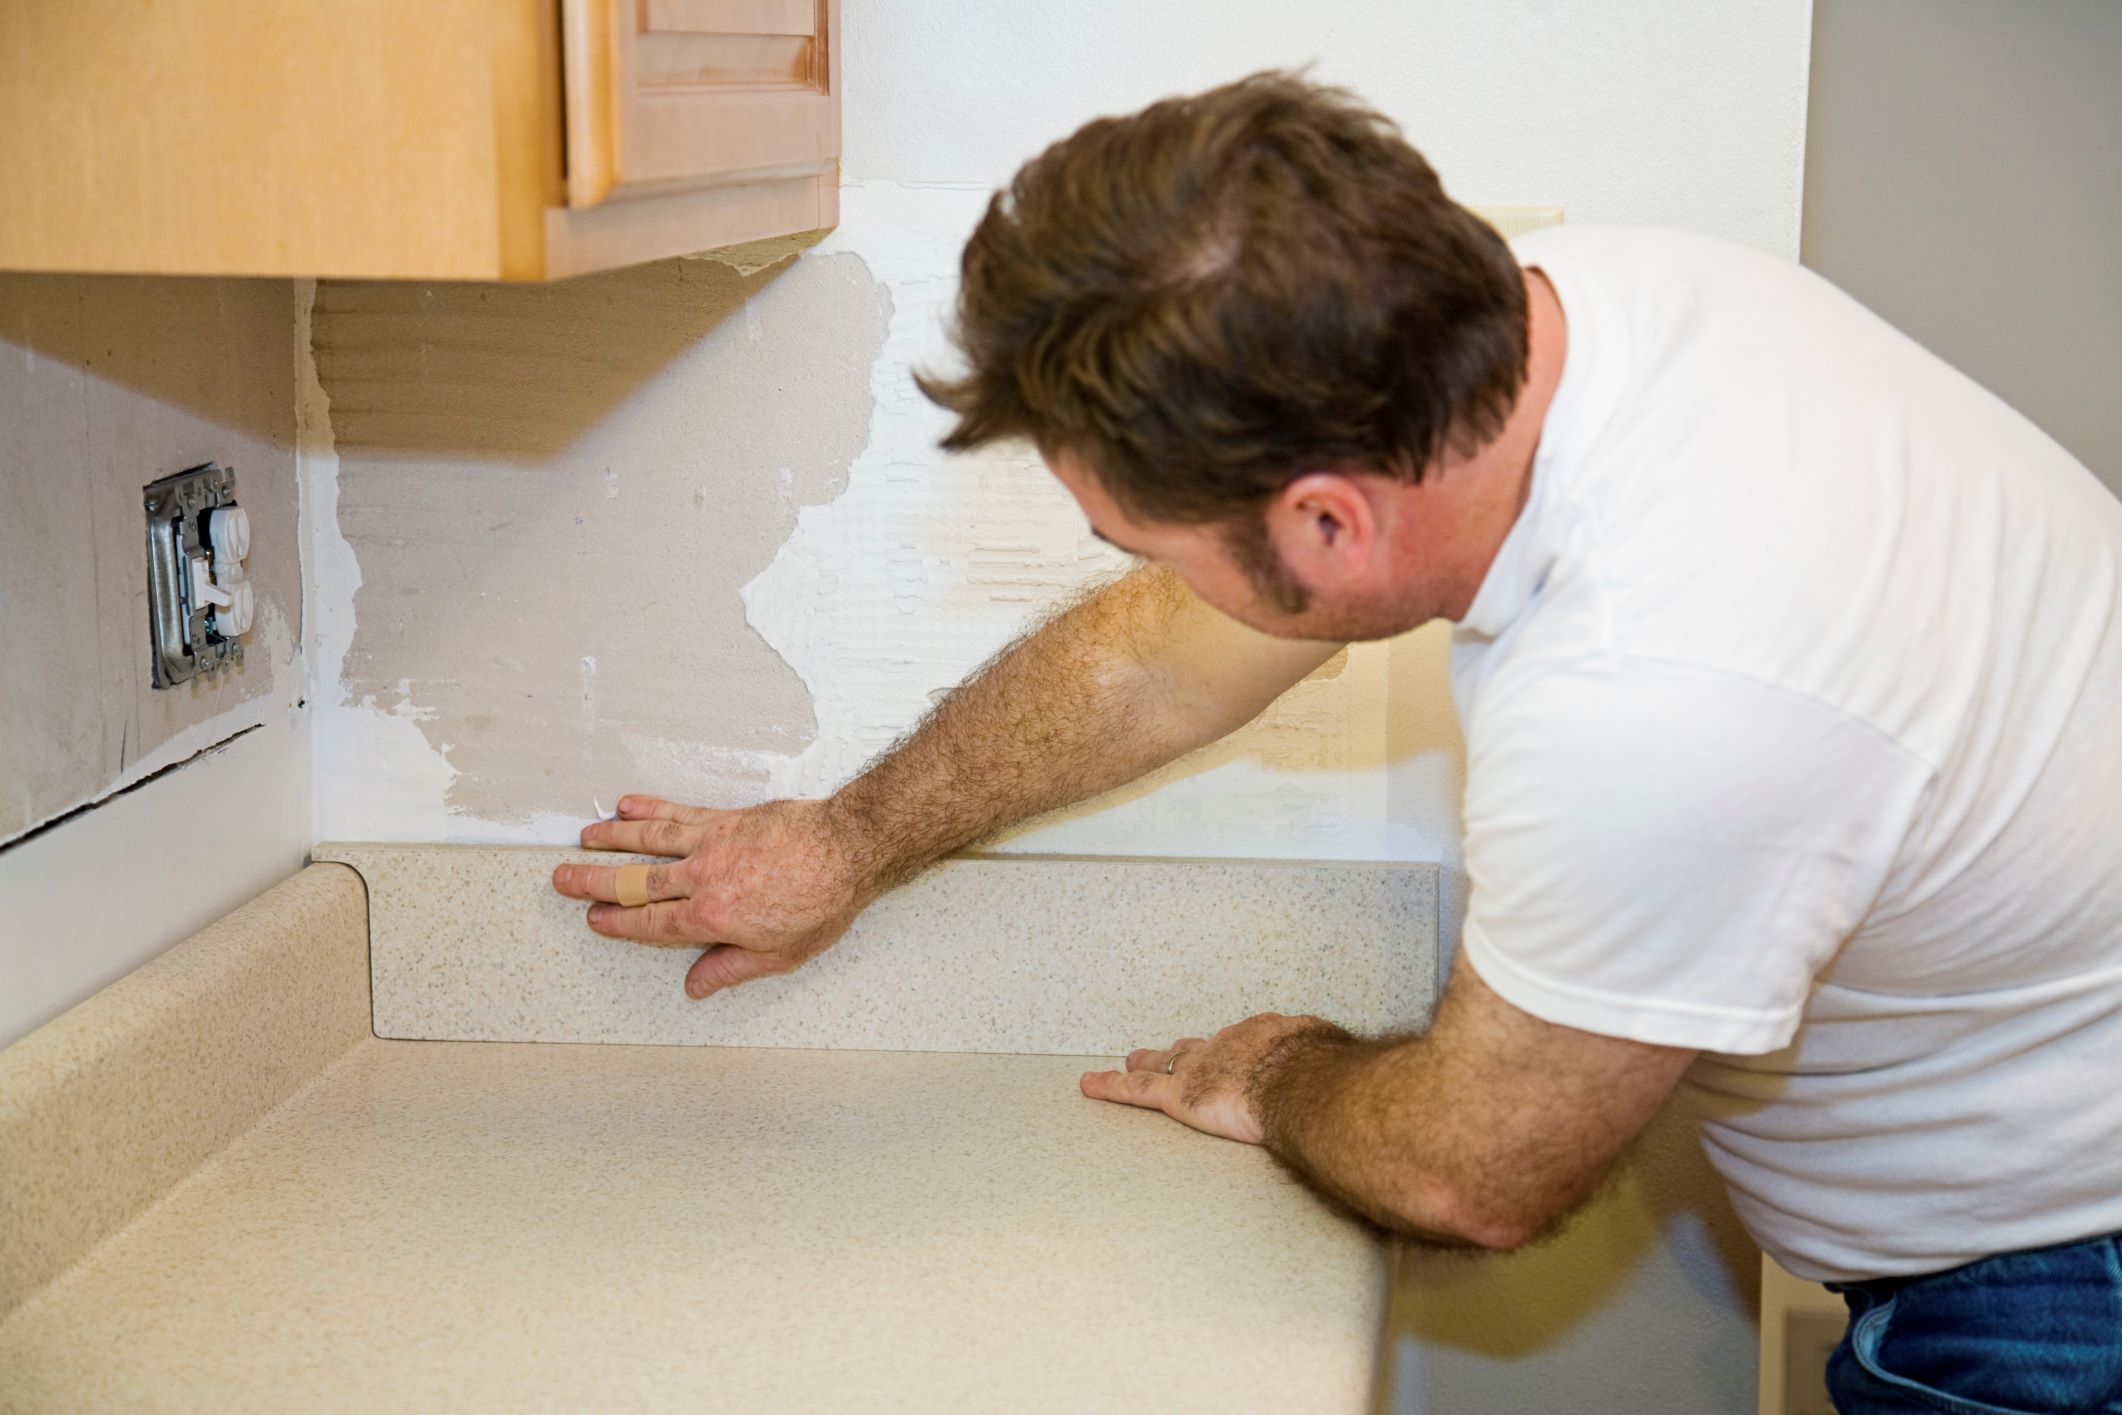
- Check the fit of the countertop in its designated space. Make any necessary adjustments to ensure it sits level and flush against the surrounding structures, such as walls or cabinets.
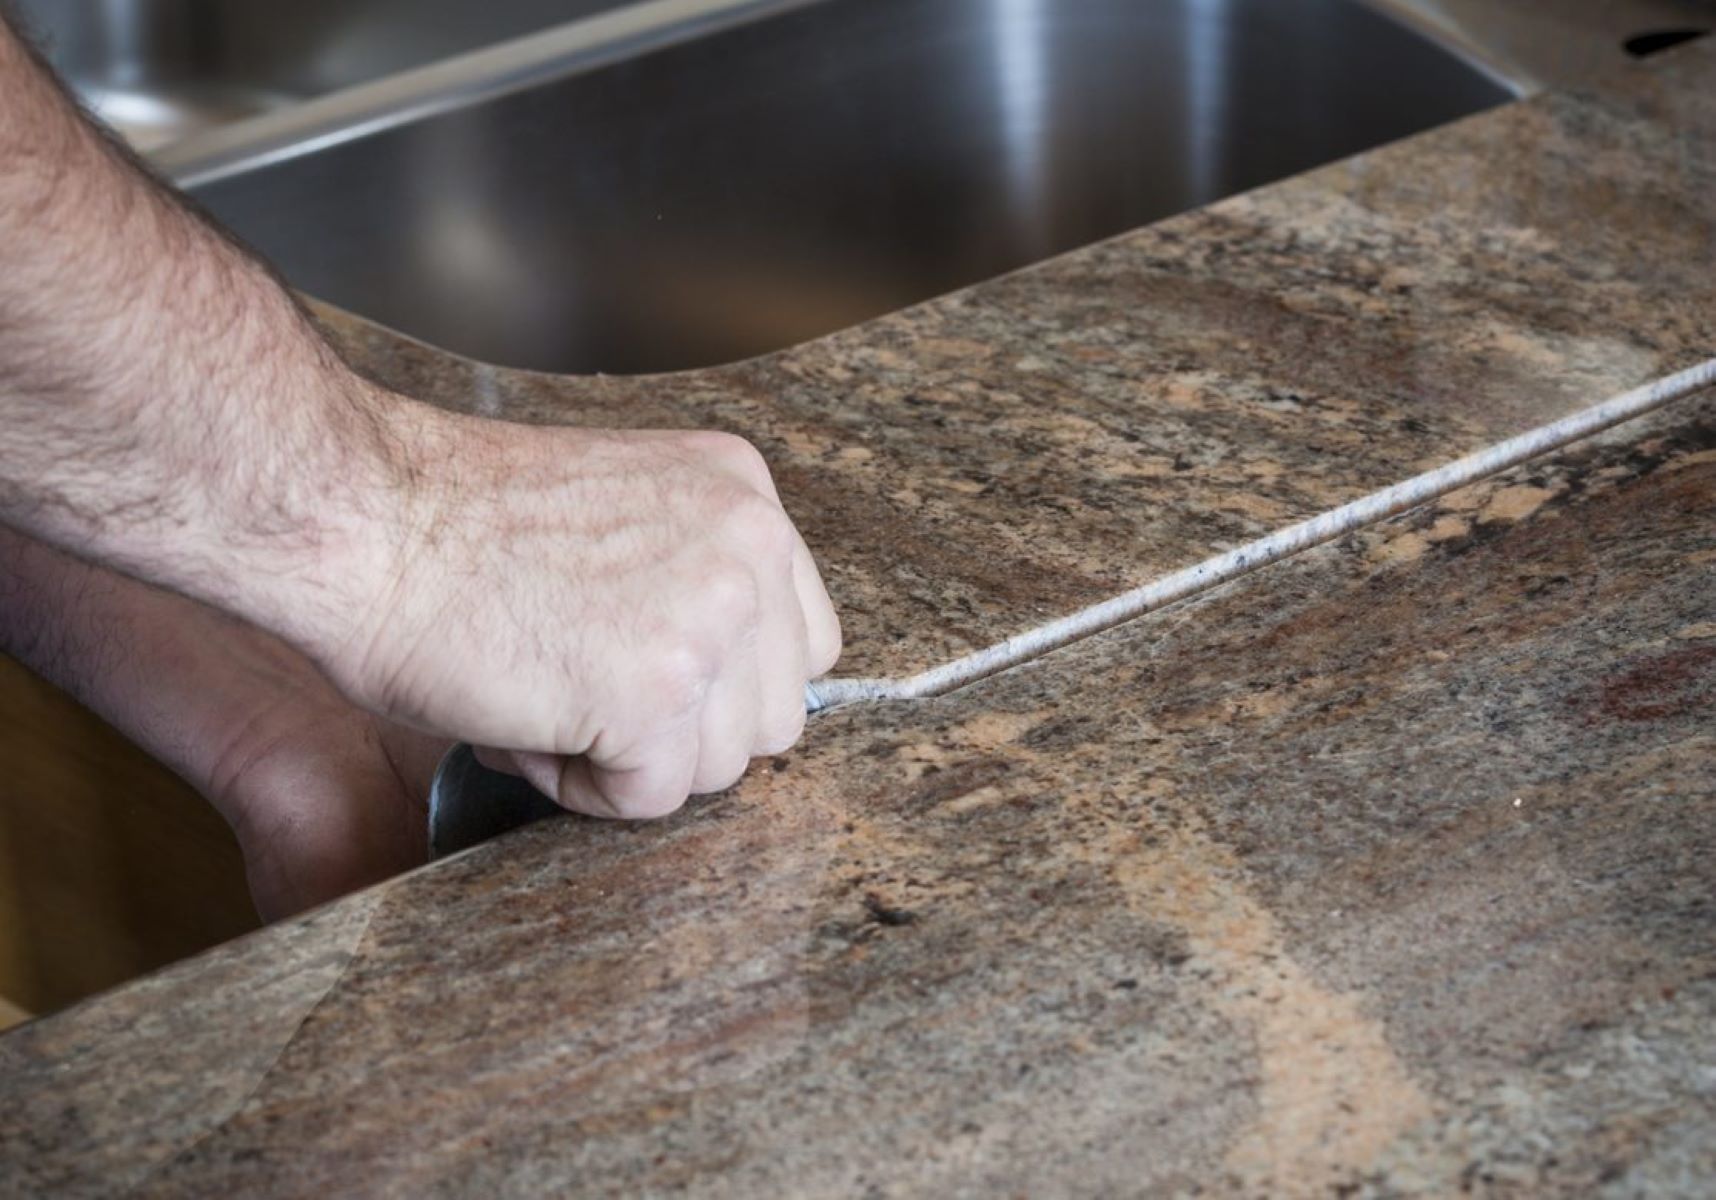
- If there are any gaps between the countertop and the wall or cabinet, use caulk or silicone sealant to fill them in. This will provide a finished and water-resistant seal.
- Take a step back and admire your newly cut, trimmed, and finished laminate countertop. Enjoy the satisfaction of a job well done!
Keep in mind that the finishing touches may vary depending on the specific installation requirements and personal preferences. Take your time and pay attention to detail to achieve the best possible outcome.
With these final steps complete, your laminate countertop is ready to be installed and enjoyed in your kitchen or bathroom.
Conclusion
Cutting laminate countertops may seem like a daunting task, but with the right tools, techniques, and safety precautions, it can be a manageable and rewarding project. By following the step-by-step process outlined in this article, you can achieve precise cuts, trim edges and corners, and add the finishing touches for a professional-looking result.
Remember to always prioritize safety by wearing protective gear, working in a well-ventilated area, and following the manufacturer’s instructions for the tools you are using. Take your time, measure accurately, and double-check your markings before making any cuts.
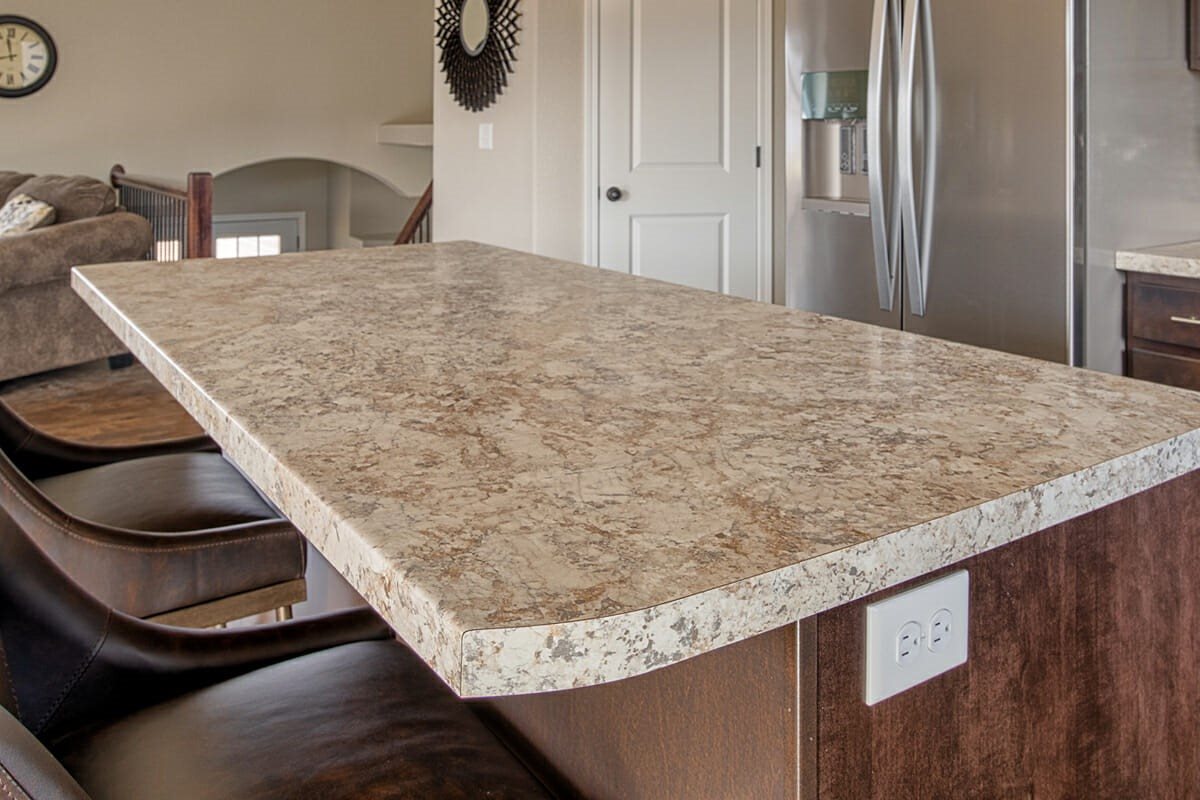
Whether you’re installing a new countertop or making adjustments to an existing one, cutting laminate countertops allows you to tailor it to your specific needs and style. With the affordability, durability, and wide range of options that laminate countertops offer, it’s no wonder they are a popular choice in kitchens and bathrooms.
Now that you have the knowledge and guidance to cut laminate countertops, you can embark on your project with confidence. Enjoy the process, exercise patience, and savor the satisfaction of completing a job well done. Your new, custom-fit laminate countertop is ready to enhance the beauty and functionality of your space.
Frequently Asked Questions about How Do You Cut Laminate Countertops
Was this page helpful?
At Storables.com, we guarantee accurate and reliable information. Our content, validated by Expert Board Contributors, is crafted following stringent Editorial Policies. We're committed to providing you with well-researched, expert-backed insights for all your informational needs.


0 thoughts on “How Do You Cut Laminate Countertops”