
Articles
How Do You Make A Duvet Cover
Modified: October 20, 2024
Discover step-by-step articles on how to make a duvet cover with our easy-to-follow guide. Transform your bedding with this DIY project and enjoy a cozy bedroom atmosphere.
(Many of the links in this article redirect to a specific reviewed product. Your purchase of these products through affiliate links helps to generate commission for Storables.com, at no extra cost. Learn more)
Introduction
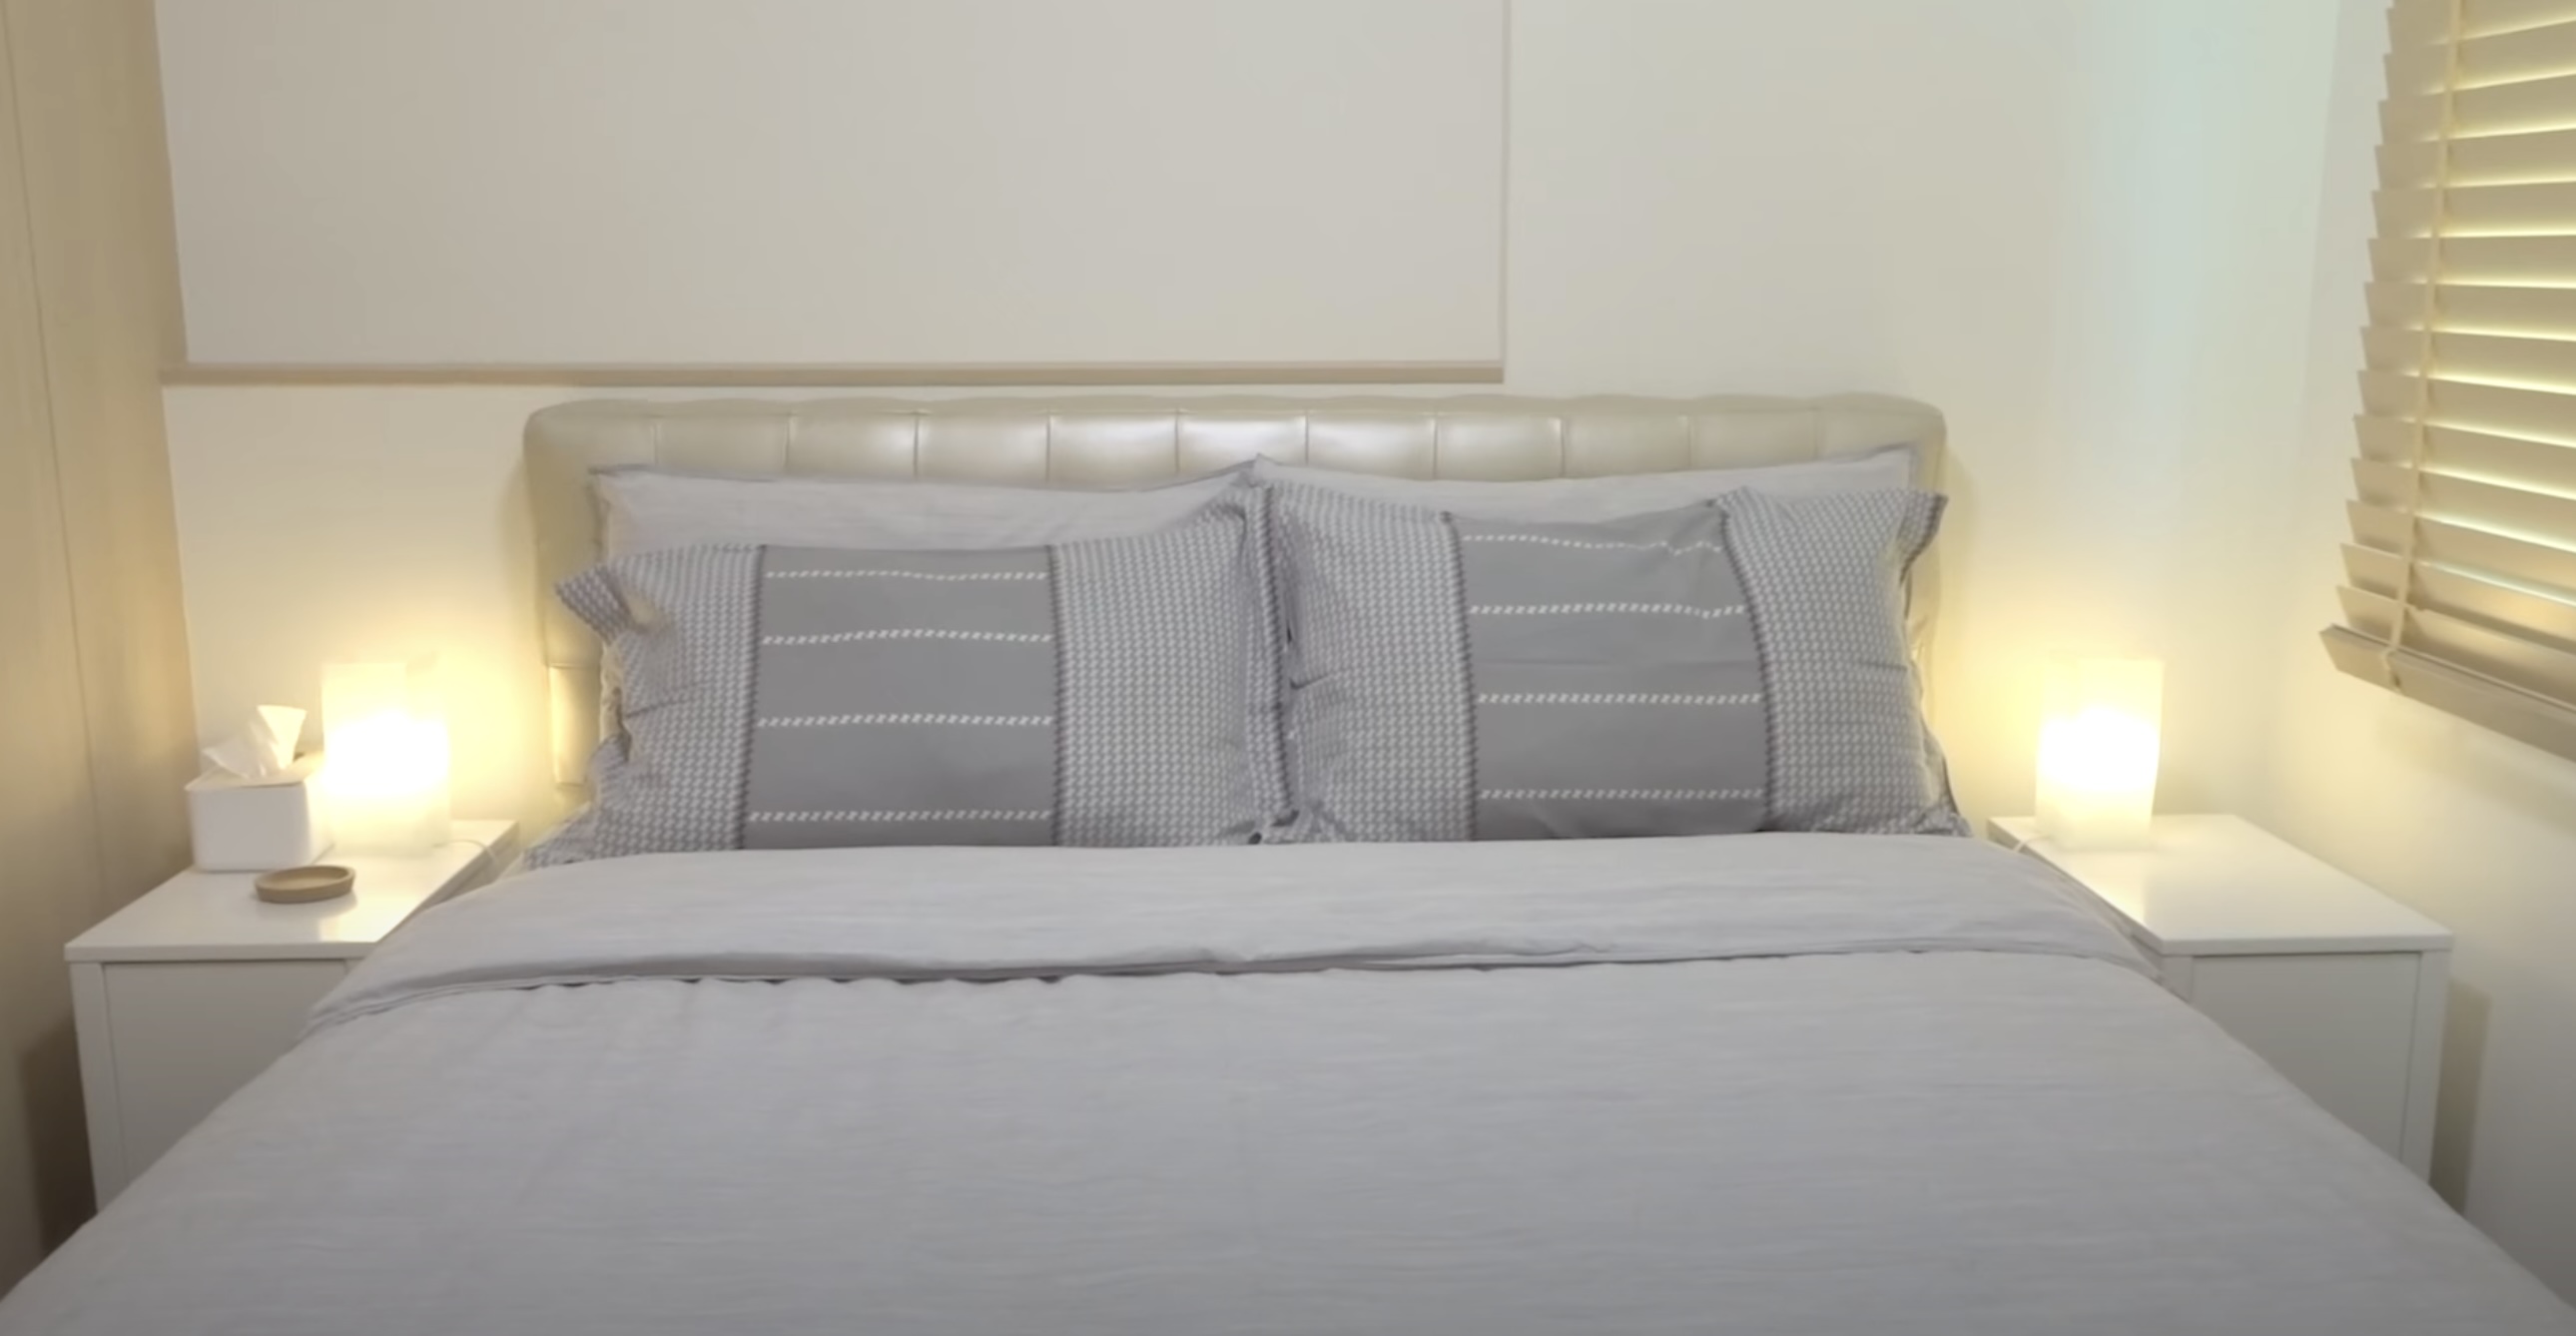
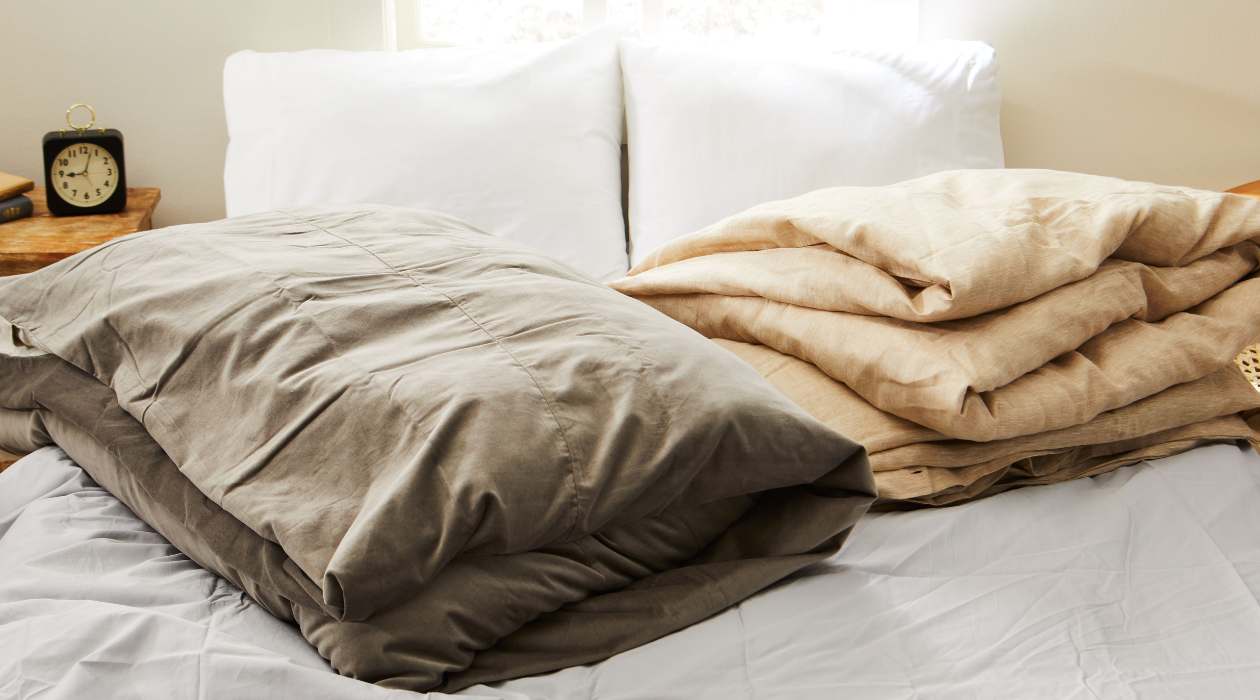
When it comes to bedroom decor, a duvet cover can make a big difference. Not only does it protect your duvet from wear and tear, but it also adds a stylish touch to your bedding ensemble. If you’re looking to update your bedroom or want to personalize your duvet cover, you might be wondering how to make one yourself. In this article, we will guide you through the process of making a duvet cover from scratch.
Making a duvet cover may seem like a daunting task, but with the right materials and a bit of sewing know-how, it can be a rewarding DIY project. By making your own duvet cover, you have the freedom to choose your preferred fabric, patterns, and colors, ensuring that your bedding reflects your unique style.
In the following steps, we will walk you through the process of making a duvet cover, from gathering materials to adding finishing touches. Whether you’re a seasoned seamstress or a beginner with a sewing machine, this guide will help you create a beautiful and functional duvet cover that will transform your bedroom.
Key Takeaways:
- Create a personalized duvet cover to reflect your unique style and revitalize your bedroom decor. Enjoy the process and add a touch of creativity to your bedding ensemble.
- Making a duvet cover is a fun and rewarding DIY project that can be accomplished with basic sewing skills. Infuse your personal style into your bedroom and enjoy a stylish and cozy space.
Read more: How Many Duvet Covers Do You Need
Step 1: Gather Materials
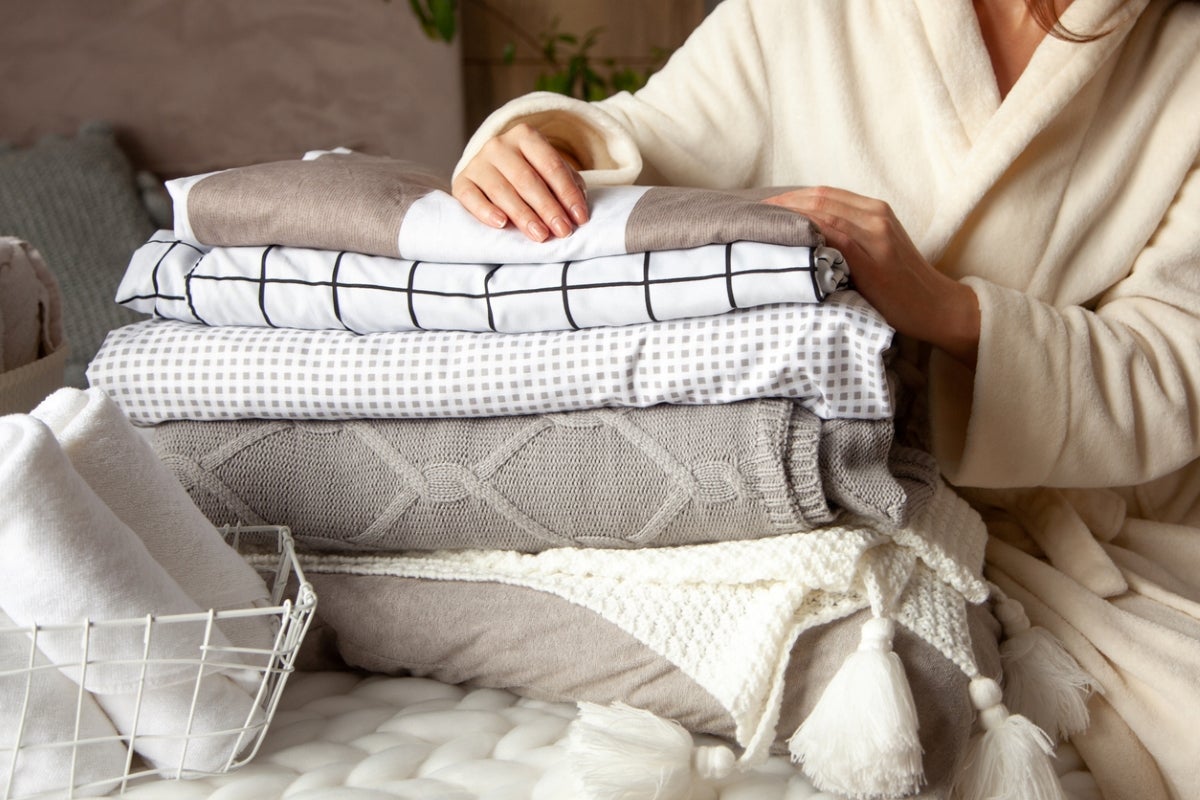
Before you start making your duvet cover, you’ll need to gather all the necessary materials. Here’s a list of what you’ll need:
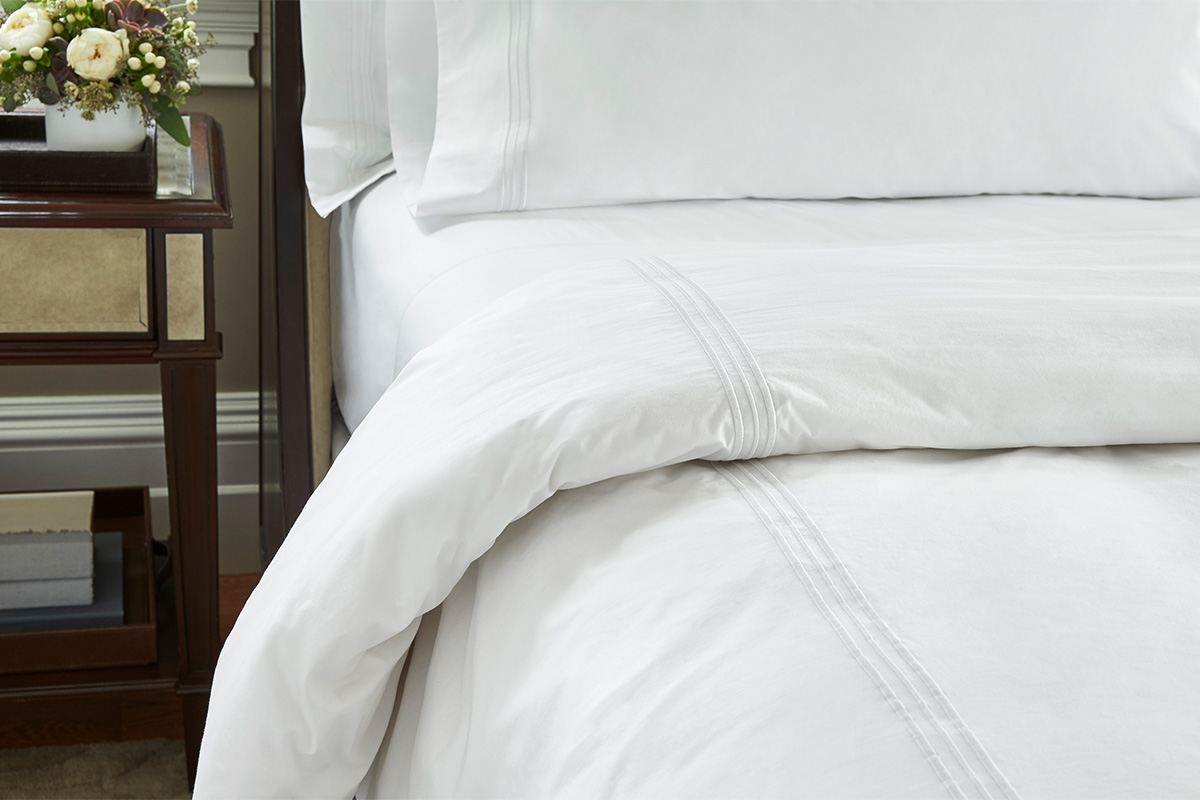
- Fabric: Choose a fabric that is suitable for bedding, such as cotton or linen. Make sure to measure your duvet size and buy enough fabric to create the cover.
- Thread: Select a thread that matches or complements the color of your fabric.
- Scissors: A good pair of fabric scissors will be essential for cutting the fabric to size.
- Sewing machine: While it is possible to hand-sew a duvet cover, using a sewing machine will save you time and ensure a more professional finish.
- Pins: Pins will help keep the fabric in place while you sew.
- Tape measure: Accurate measurements are crucial for creating a well-fitted duvet cover.
- Iron: An iron will come in handy for pressing the fabric and creating crisp seams.
- Buttons, snaps, or zippers: Depending on your preferred closure method, gather the necessary buttons, snaps, or zippers to attach to your duvet cover.
Once you have gathered all the materials, you’re ready to move on to the next step: measuring and cutting the fabric.
Step 2: Measure and Cut Fabric
Now that you have all your materials ready, it’s time to measure and cut the fabric for your duvet cover. Follow these steps to ensure accurate measurements:
- Begin by measuring the dimensions of your duvet. Note down the length and width.
- Add a few inches to the length and width to allow for seam allowances and ease of inserting the duvet. This will be your cutting measurement.
- Unfold your fabric and lay it out on a flat surface. Ensure that it is wrinkle-free and smooth.
- Using a measuring tape and a fabric marker or chalk, mark the cutting measurements on the fabric. Connect the marks to form a rectangle.
- Double-check your measurements and the rectangle shape before proceeding to cut the fabric.
- Use fabric scissors to cut along the marked lines, creating a large rectangle that will serve as the main body of your duvet cover.
Remember that if you’re using patterned fabric, you’ll need to pay attention to the pattern placement and ensure that it aligns correctly on all sides of the duvet cover.
Once you have cut the main body of the duvet cover, you may also need to cut additional pieces of fabric for any desired decorative elements, such as ruffles or borders. Measure and cut these pieces according to your design preferences.
With the fabric cut to size, you’re now ready to move on to the next step: preparing the fabric for sewing.
Step 3: Prepare the Fabric
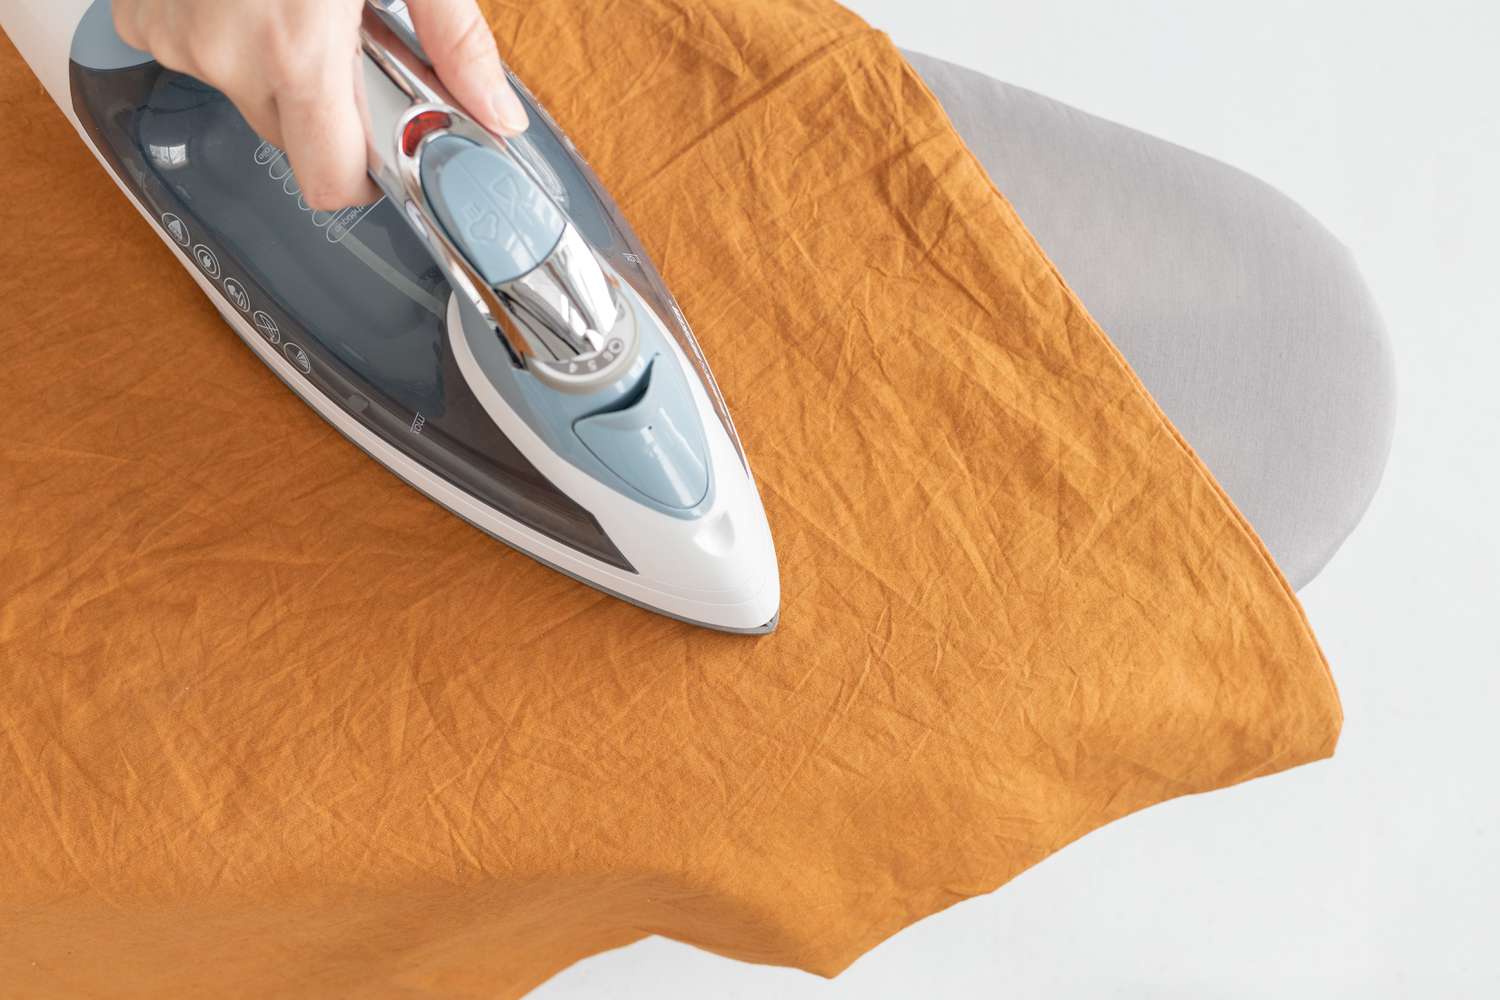
Before you start sewing your duvet cover, it’s important to prepare the fabric to ensure a clean and professional finish. Follow these steps to get the fabric ready:
- Begin by pressing the fabric with an iron to remove any wrinkles or creases. This will make it easier to work with during the sewing process.
- If you’re using patterned fabric, make sure the pattern is aligned and facing the right way. You can use pins or fabric weights to hold the fabric in place.
- Now, it’s time to finish the raw edges of the fabric. Using a sewing machine, sew a narrow hem along all four sides of the main body fabric. This will prevent fraying and give the edges a neat appearance. Alternatively, you can use an overlock or zigzag stitch to finish the edges.
- If you’re adding any decorative elements, such as ruffles or borders, finish the raw edges of those pieces as well.
- Once the edges are finished, give the fabric another press with the iron to ensure the desired shape and smoothness.
By preparing the fabric before sewing, you’re setting yourself up for success and creating a more polished final result. With the fabric ready, it’s time to move on to the next step: sewing the duvet cover.
When making a duvet cover, use a large, flat surface to lay out the duvet and cover, and secure the corners with clips or safety pins before sewing to ensure a smooth and even finish.
Step 4: Sew the Duvet Cover
Now that the fabric is prepared, it’s time to sew the duvet cover. Follow these steps to assemble the pieces and create your duvet cover:
- Lay the main body fabric flat on a large surface, right side facing up.
- If you’re adding any decorative elements, such as borders or ruffles, now is the time to attach them. Pin them to the right side of the main body fabric, aligning the raw edges.
- Using a sewing machine, stitch along the pinned edges, securing the decorative elements to the main body fabric. Remove the pins as you sew.
- Once the decorative elements are attached, fold the fabric in half lengthwise, right sides facing each other. Align the raw edges.
- Pin the sides together, ensuring that the decorative elements (if any) are sandwiched between the fabric layers. Starting from the bottom, sew a straight stitch along both sides, leaving the top open.
- Remove the pins and turn the duvet cover right side out. At this stage, your duvet cover is starting to take shape.
- Press the seams with an iron to create crisp lines and flatten any wrinkles.
- If desired, you can topstitch along the sides to reinforce the seams and add a decorative touch.
With the duvet cover sewn together, you’re ready to move on to the next step: attaching closures to keep the duvet in place.
Step 5: Attach Closures
Now that your duvet cover is sewn together, it’s time to attach closures to ensure that the duvet stays securely in place. There are several options for closures, including buttons, snaps, or zippers. Follow these steps to attach your preferred closure:
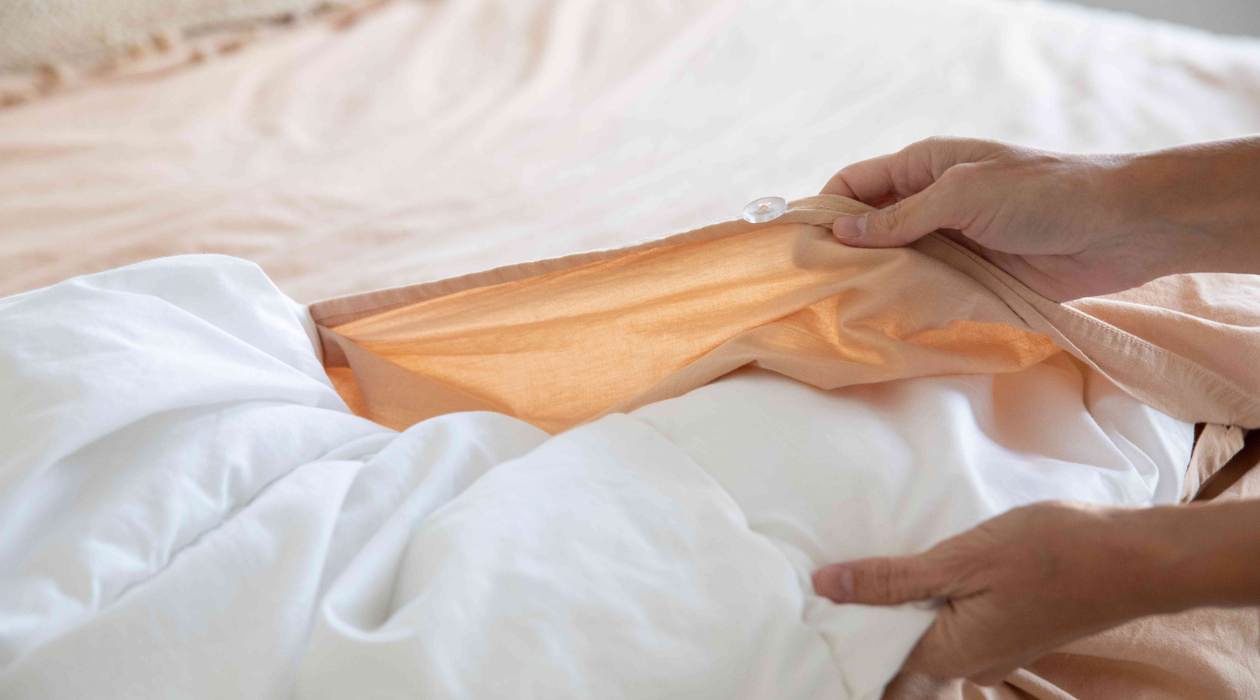
- If you’re using buttons or snaps, determine the placement and spacing along the open edge of the duvet cover. Mark the positions with fabric markers or pins.
- With the marked positions, sew buttonholes or attach snap fasteners according to the instructions provided. Make sure to reinforce the stitches for durability.
- If you’re using a zipper, measure the length required along the open edge of the duvet cover. Cut the zipper to size, leaving a small overlap on both ends.
- Pin the zipper to the fabric, ensuring that the right sides are facing each other. Sew the zipper in place using a zipper foot attachment on your sewing machine.
- Once the closure is attached, test it to ensure that it opens and closes smoothly.
Attaching closures to your duvet cover will help keep the duvet securely inside and prevent it from shifting or sliding around. With the closures in place, you’re almost done! Just a few more finishing touches to go.
Step 6: Finishing Touches
With the main construction of your duvet cover complete, it’s time to add the finishing touches to give it a polished and professional look. Follow these steps to complete your duvet cover:
- Trim any loose threads or excess fabric for a clean finish.
- Iron the duvet cover once again to ensure it’s smooth and wrinkle-free.
- If desired, you can add additional decorative elements such as embroidery, appliques, or trim. Sew them onto the duvet cover using a sewing machine or by hand.
- Give the duvet cover a final press with the iron to set the stitches and create a crisp look.
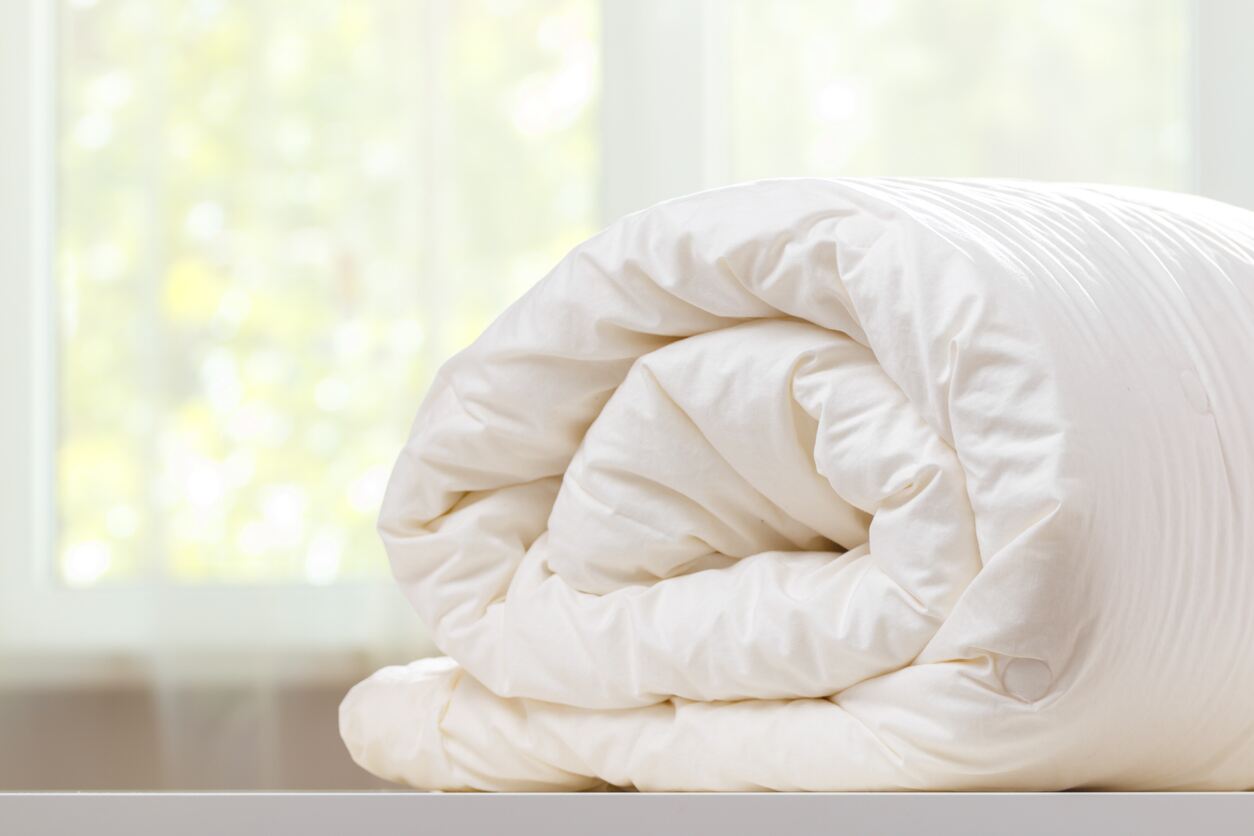
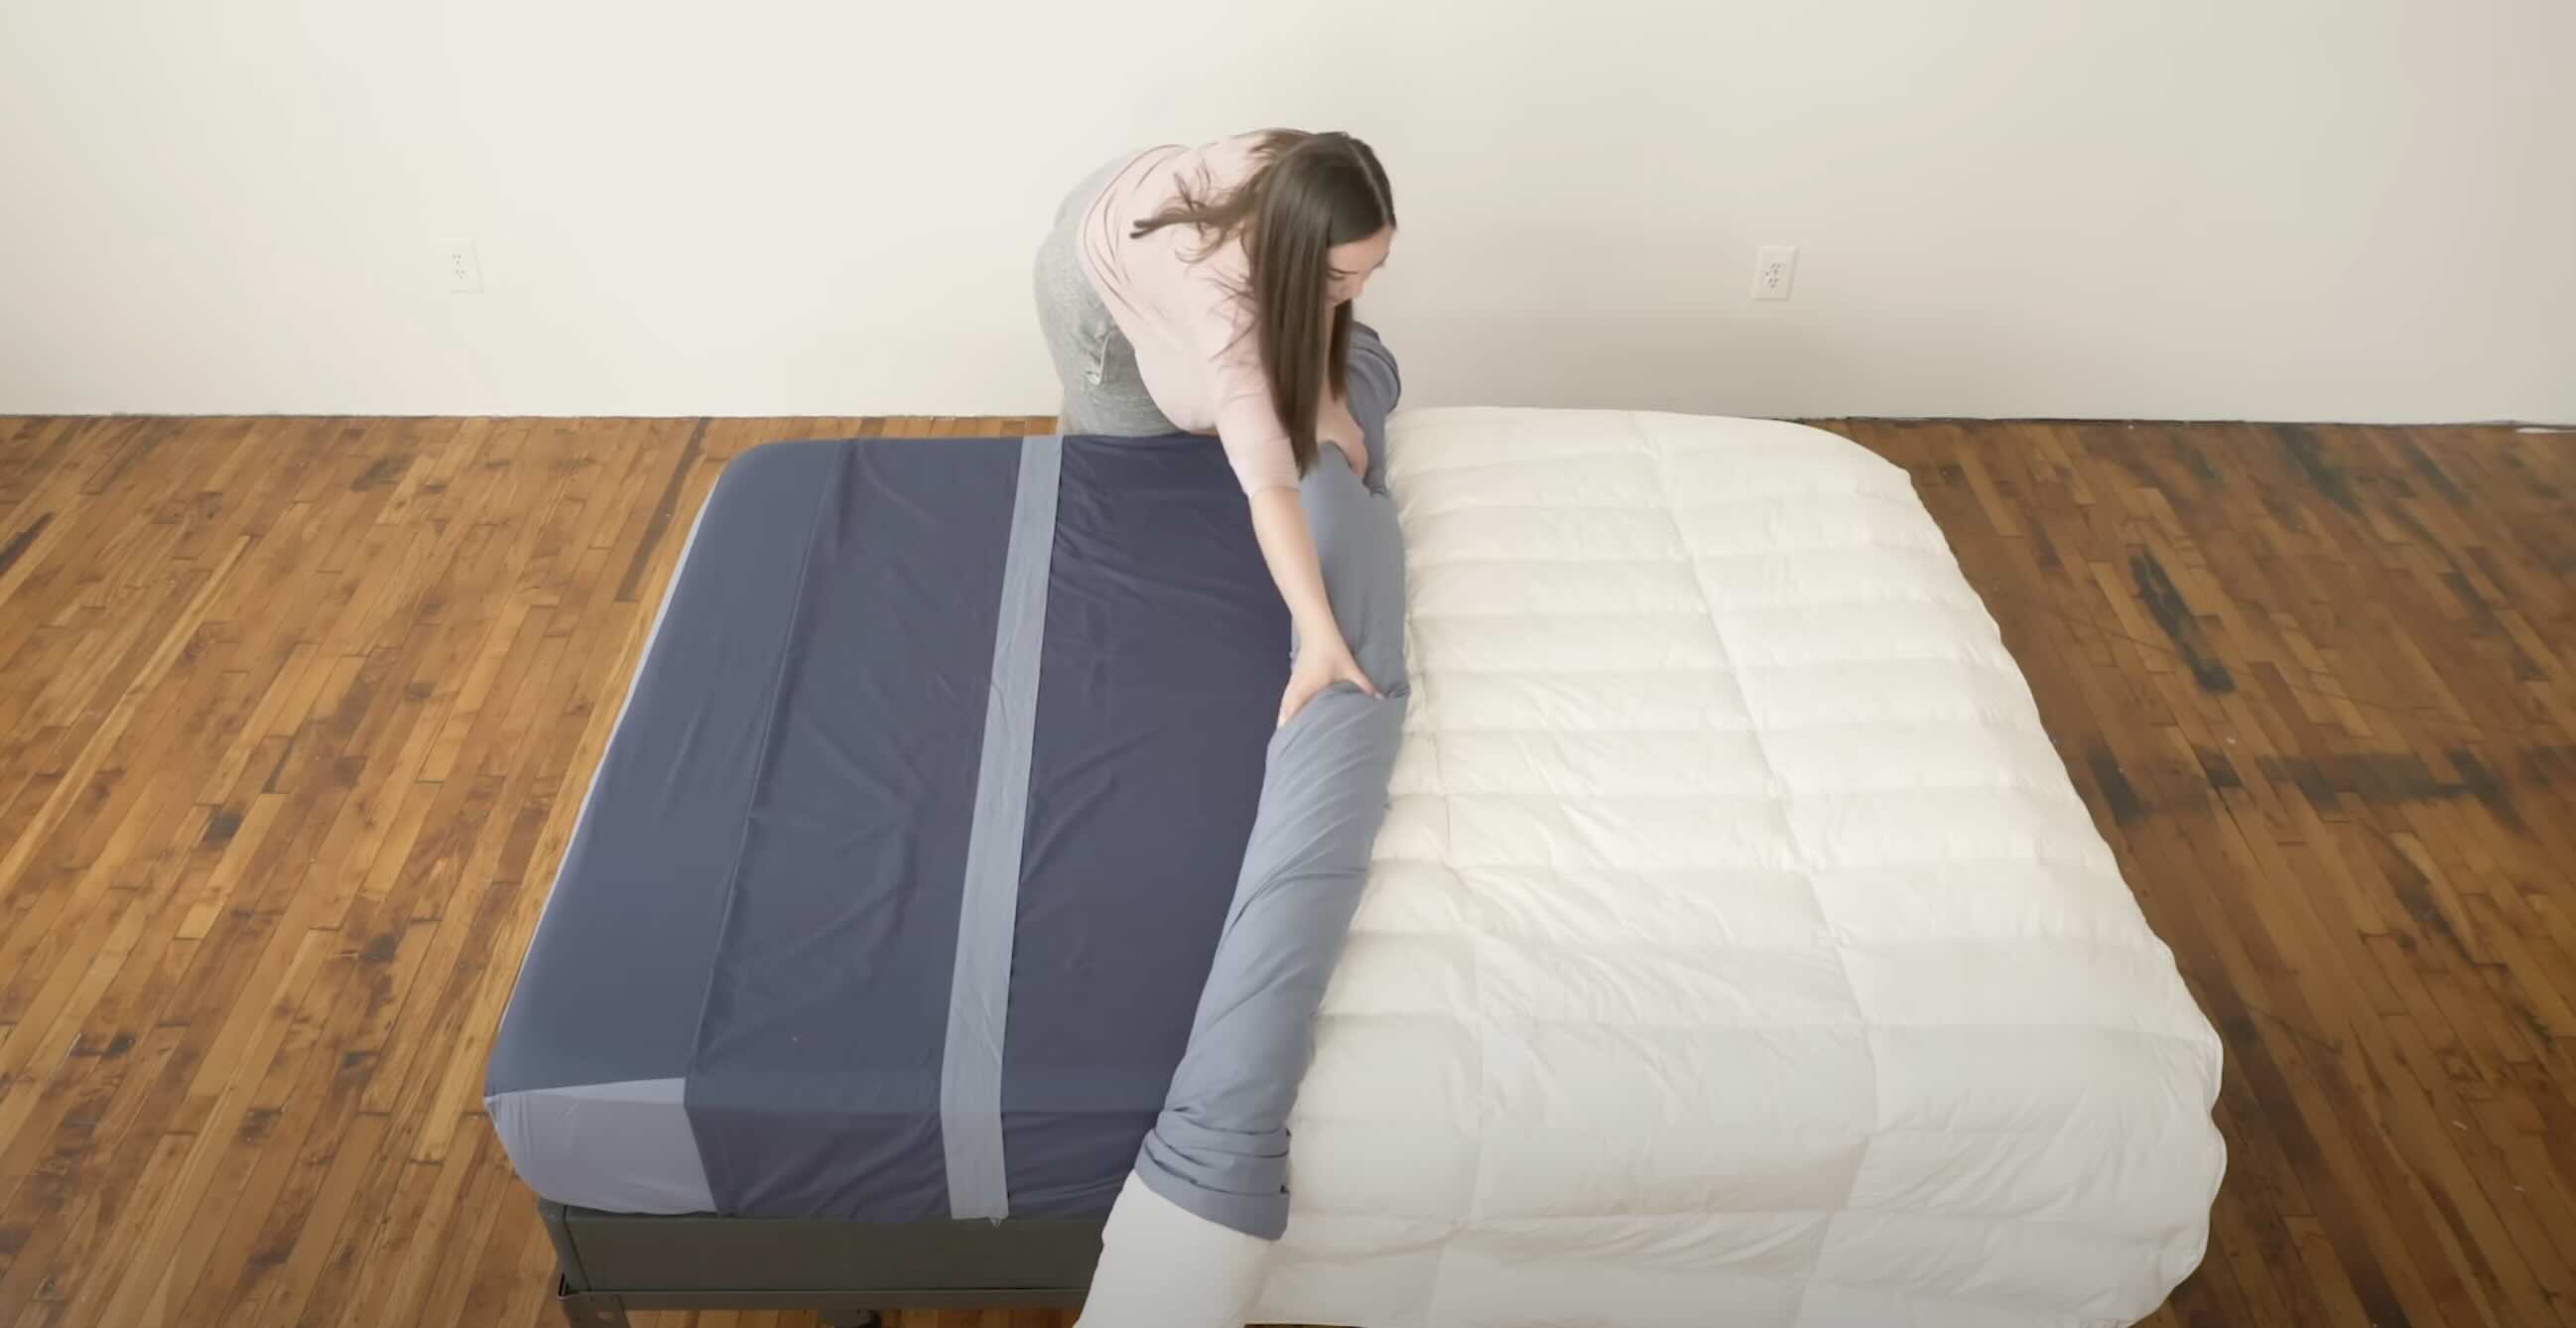
- Insert your duvet into the cover, making sure it fits snugly.
- Close the opening of the duvet cover using the closures you attached in the previous step, whether it be buttons, snaps, or a zipper.
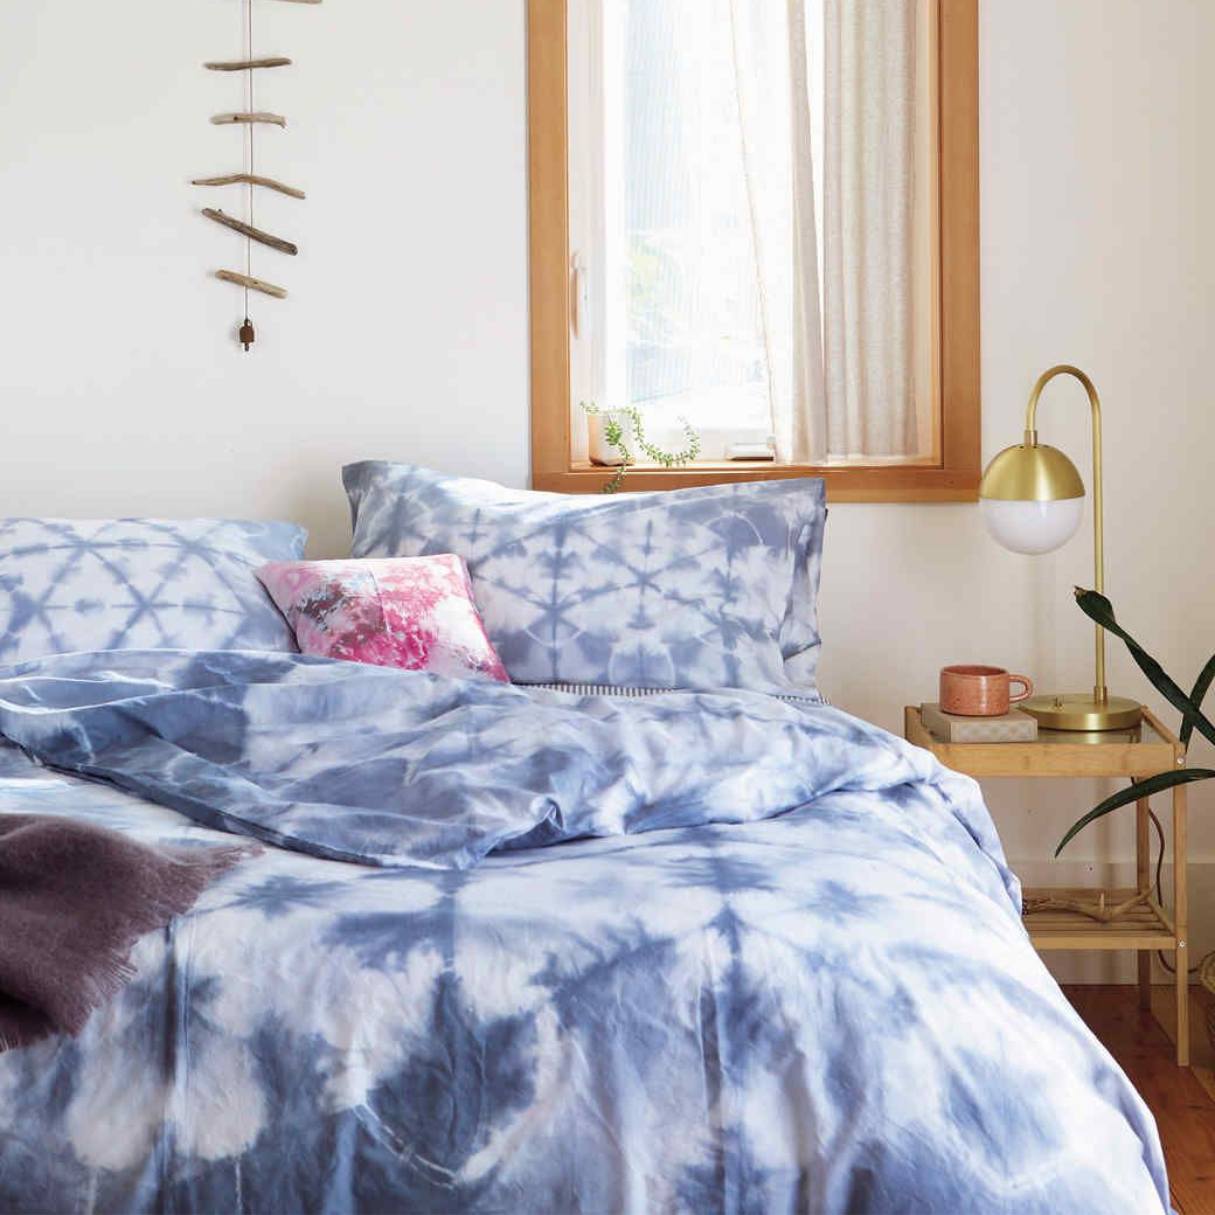
Once the finishing touches are complete, your custom-made duvet cover is ready to be placed on your bed. Stand back and admire your handiwork!
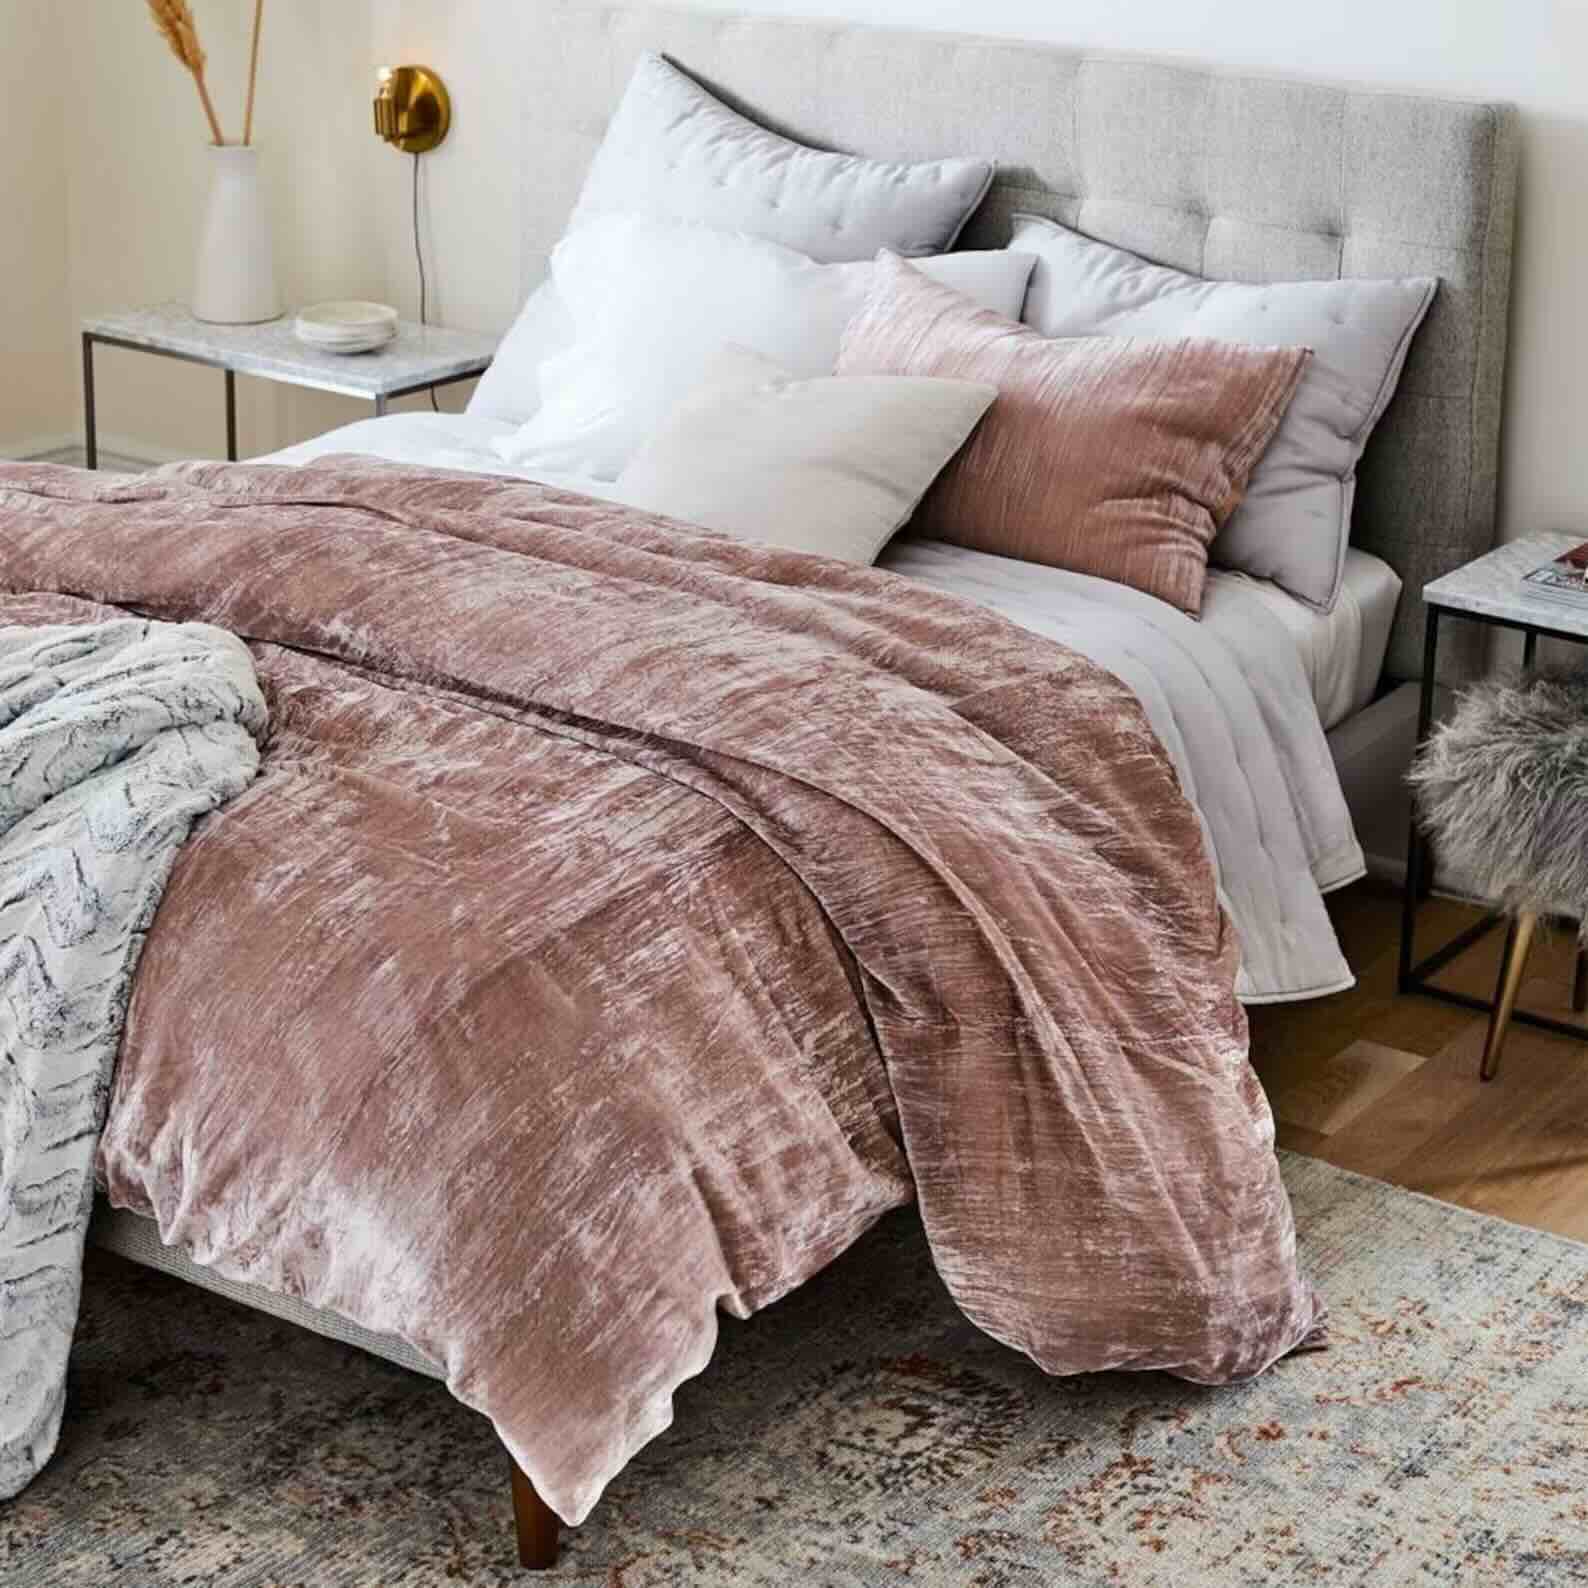
Remember, making a duvet cover is a fun and creative project that allows you to personalize your bedroom decor. With your newly made duvet cover, you can revitalize your bedding ensemble and enjoy a stylish and cozy space.
Congratulations on successfully making your own duvet cover! Now you have a beautiful and unique addition to your bedroom that reflects your individual style and creativity.
Conclusion
Creating your own duvet cover is a rewarding DIY project that allows you to customize your bedding and infuse your personal style into your bedroom decor. By following the steps outlined in this article, you can make a duvet cover that perfectly fits your duvet, reflects your unique taste, and adds a touch of creativity to your bedroom.
Starting with gathering the necessary materials, measuring and cutting the fabric to size, and preparing the fabric for sewing, each stage plays an important role in ensuring a well-constructed duvet cover. Sewing the pieces together and attaching closures provide the functionality to keep your duvet in place and make it easy to manage. And finally, adding finishing touches adds that extra touch of elegance and personalization.
Whether you’re an experienced seamstress or new to sewing, making a duvet cover is a project that can be accomplished with basic sewing skills and a little patience. So why not add a personal touch to your bedroom and give your bed a fresh and stylish update?
Remember to have fun, be creative, and enjoy the process. With your homemade duvet cover, you can create a cozy sanctuary that you’ll look forward to retreating to at the end of every day. Happy crafting!
Frequently Asked Questions about How Do You Make A Duvet Cover
Was this page helpful?
At Storables.com, we guarantee accurate and reliable information. Our content, validated by Expert Board Contributors, is crafted following stringent Editorial Policies. We're committed to providing you with well-researched, expert-backed insights for all your informational needs.

0 thoughts on “How Do You Make A Duvet Cover”