Articles
How To Make A Full Size Duvet Cover
Modified: February 24, 2024
Discover step-by-step articles on creating your own custom full size duvet cover. Explore various techniques, patterns, and materials to design the perfect cover for your bedding.
(Many of the links in this article redirect to a specific reviewed product. Your purchase of these products through affiliate links helps to generate commission for Storables.com, at no extra cost. Learn more)
Introduction
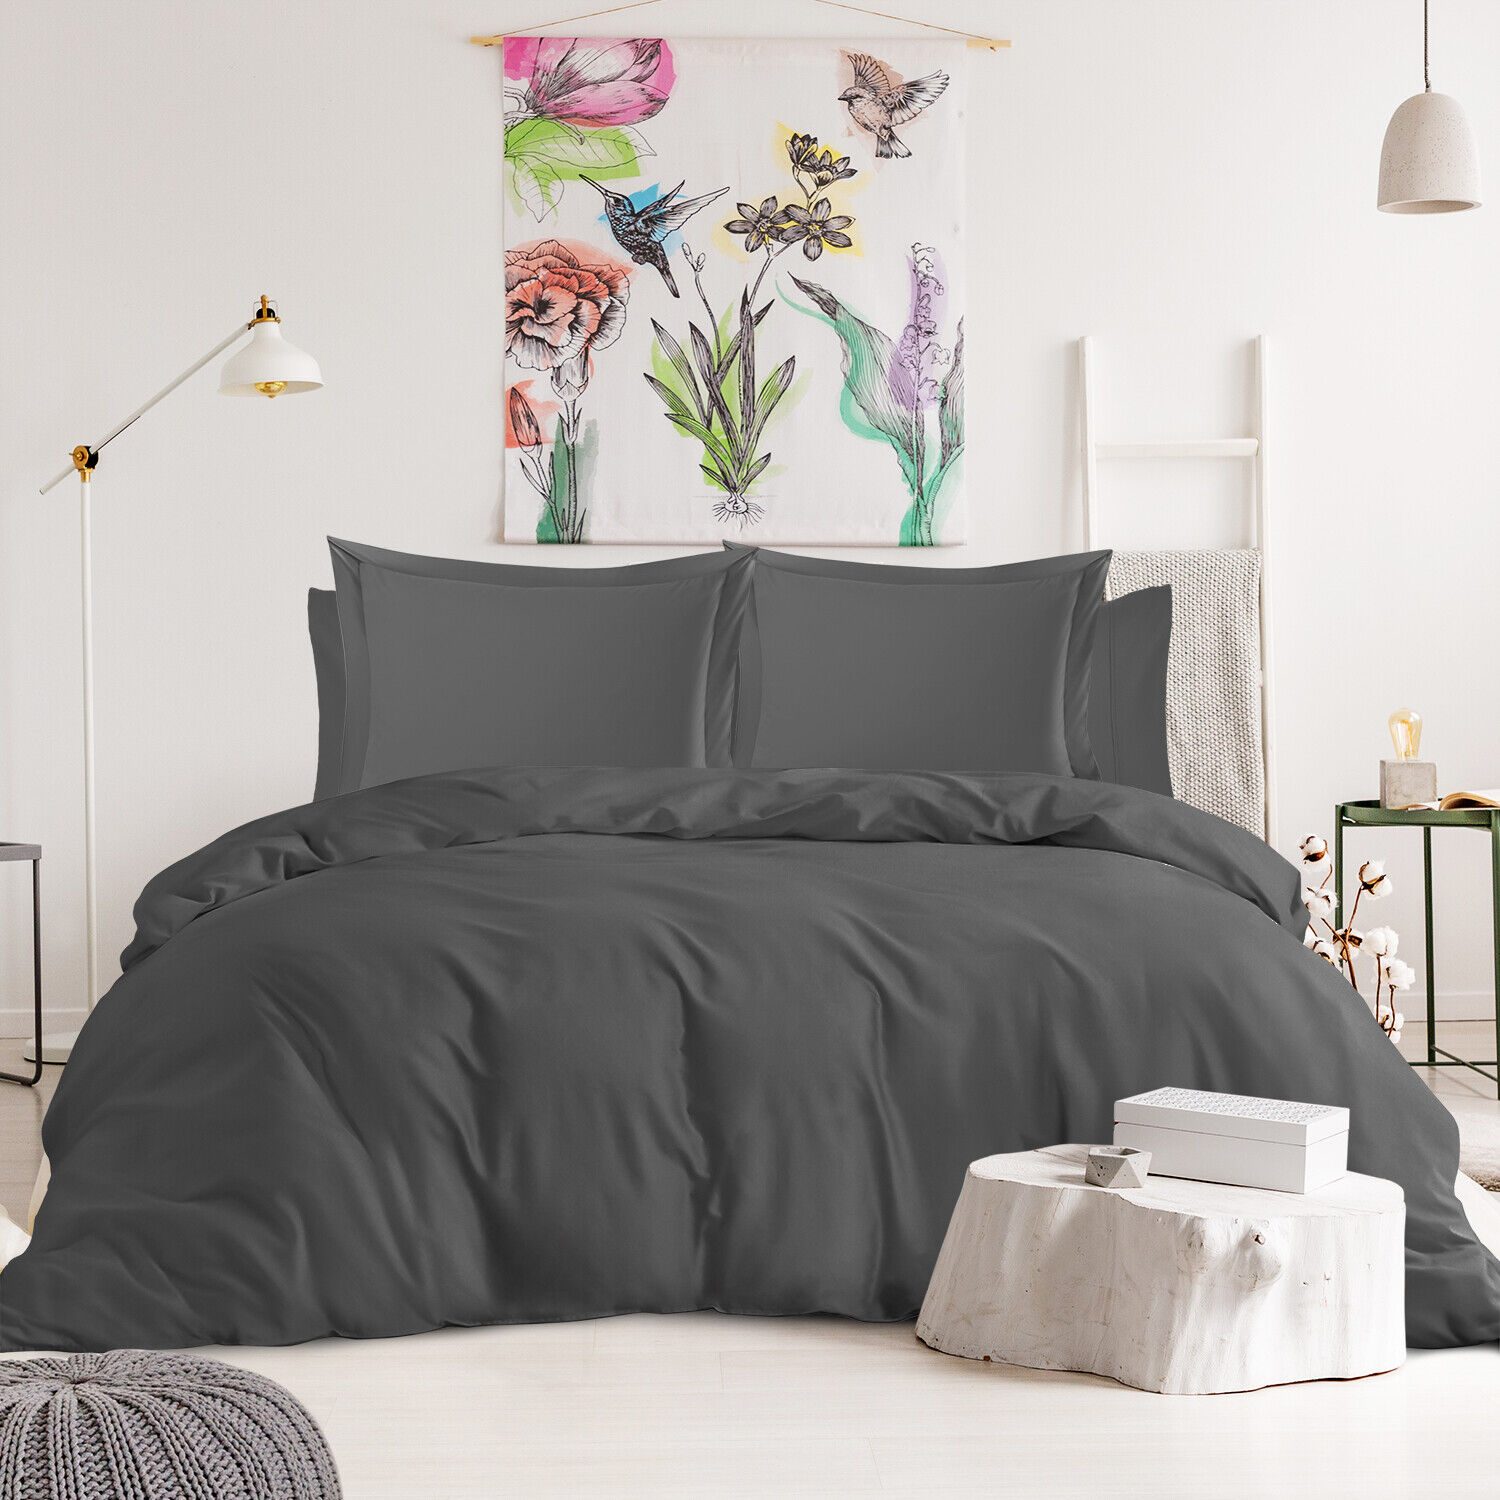
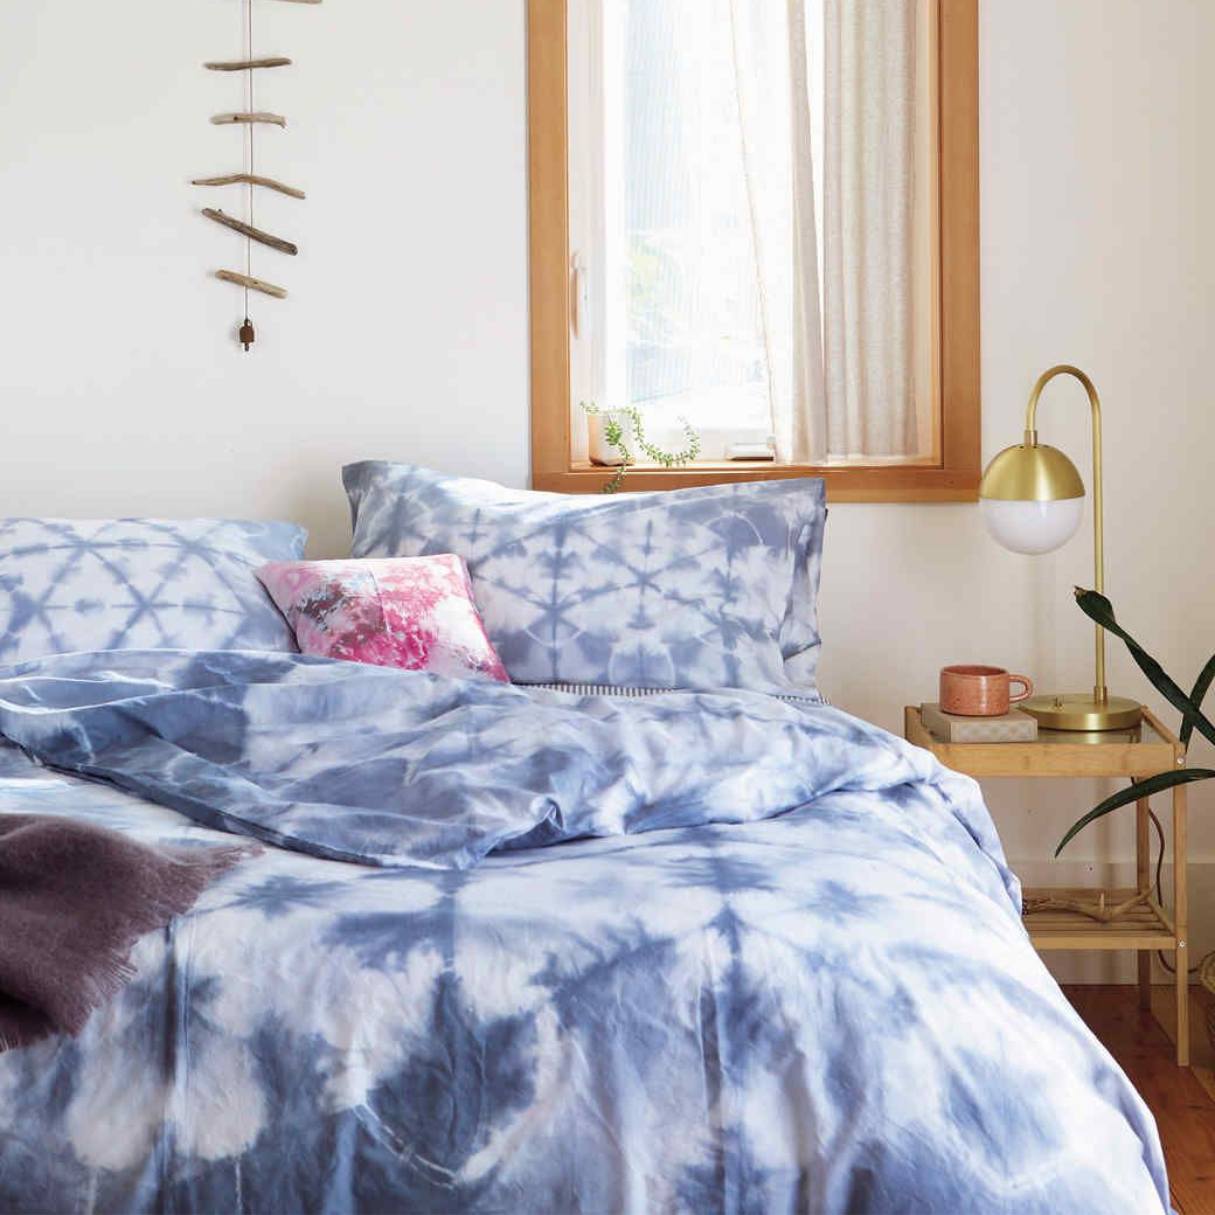
Welcome to our comprehensive guide on how to make a full-size duvet cover! Duvet covers are a fantastic way to protect and enhance your bedding while adding a personal touch to your bedroom decor. Making your own duvet cover allows you to choose the fabric, pattern, and design that best fits your style and preferences.
In this article, we will walk you through the step-by-step process of creating a full-size duvet cover. Whether you’re a seasoned sewing enthusiast or a beginner looking to embark on your first sewing project, we’ve got you covered. So, grab your sewing machine and let’s get started!
Before we dive into the details, it’s important to gather the necessary materials and take accurate measurements. These will ensure that your duvet cover fits perfectly and lasts for years to come.
Here’s a list of materials you’ll need:
- Fabric: Choose a high-quality fabric that matches your aesthetic preferences. Cotton, linen, and microfiber are popular choices for duvet covers due to their durability and easy maintenance.
- Thread: Select a thread color that complements or matches your fabric.
- Scissors: Sharp fabric scissors will make it easier to cut the fabric accurately.
- Measuring Tape: Essential for taking precise measurements of your duvet and fabric.
- Pins: Pins will help keep the fabric in place while you sew.
- Sewing Machine: A sewing machine will make the process faster and more efficient, but you can also sew by hand if you prefer.
- Iron and Ironing Board: These tools will ensure that your fabric is wrinkle-free and ready for sewing.
Now that you have your materials ready, it’s time to measure your duvet and fabric. Measure the width, length, and depth of your duvet. Be sure to add a few inches to each measurement to account for seams and room for the duvet to fit comfortably inside the cover.
Once you have your measurements, you’re ready to move on to the next step: preparing the fabric. In the next section, we’ll guide you through each stage of the process, ensuring that you create a beautiful and functional duvet cover that you’ll love for years to come.
Key Takeaways:
- Create a personalized duvet cover to match your style and preferences using high-quality fabric and precise measurements. Enjoy the satisfaction of crafting a beautiful and functional bedding accessory with your own hands.
- Infuse your bedroom with comfort and style by making your own duvet cover. From gathering materials to adding finishing touches, enjoy the creative process and the satisfaction of snuggling up under a duvet cover that reflects your individuality.
Read also: 12 Superior Duvet Cover Full for 2024
Step 1: Gathering Materials and Measurements
Before you can start making a full-size duvet cover, it’s important to gather all the necessary materials and take accurate measurements. This will ensure that your duvet cover fits correctly and looks great on your bed.
Here’s what you’ll need:
- Fabric: Choose a fabric that suits your style and preferences. Consider factors like durability, softness, and ease of care. Cotton, linen, and microfiber are popular choices for duvet covers. Make sure you have enough fabric to cover the size of your duvet, accounting for any additional inches for seams and allowances.
- Thread: Select a thread color that matches or complements your fabric. Choose a high-quality thread that is strong and durable.
- Scissors: Sharp fabric scissors are essential for cutting the fabric accurately. Make sure they are clean and sharp to ensure precise cuts.
- Measuring Tape: A measuring tape is crucial for taking accurate measurements of your duvet and fabric. Measure the width, length, and depth of your duvet, and add a few inches to each measurement to allow for seams and ease.
- Pins: Pins will help keep the fabric in place while you sew. Use straight pins or sewing clips to hold the fabric securely during the sewing process.
- Sewing Machine: While you can choose to sew your duvet cover by hand, using a sewing machine will make the process faster and more efficient. Make sure your sewing machine is in good working condition before starting.
- Iron and Ironing Board: An iron and ironing board are essential tools for creating a professional-looking duvet cover. They will help you press and flatten the fabric, ensuring clean and even seams.
Once you have gathered all the necessary materials, it’s time to take accurate measurements. Start by measuring the width, length, and depth (or height) of your duvet. Add a few inches to each measurement to allow for seam allowances and ease. These extra inches will ensure that your duvet fits well inside the cover without feeling too tight or restrictive.
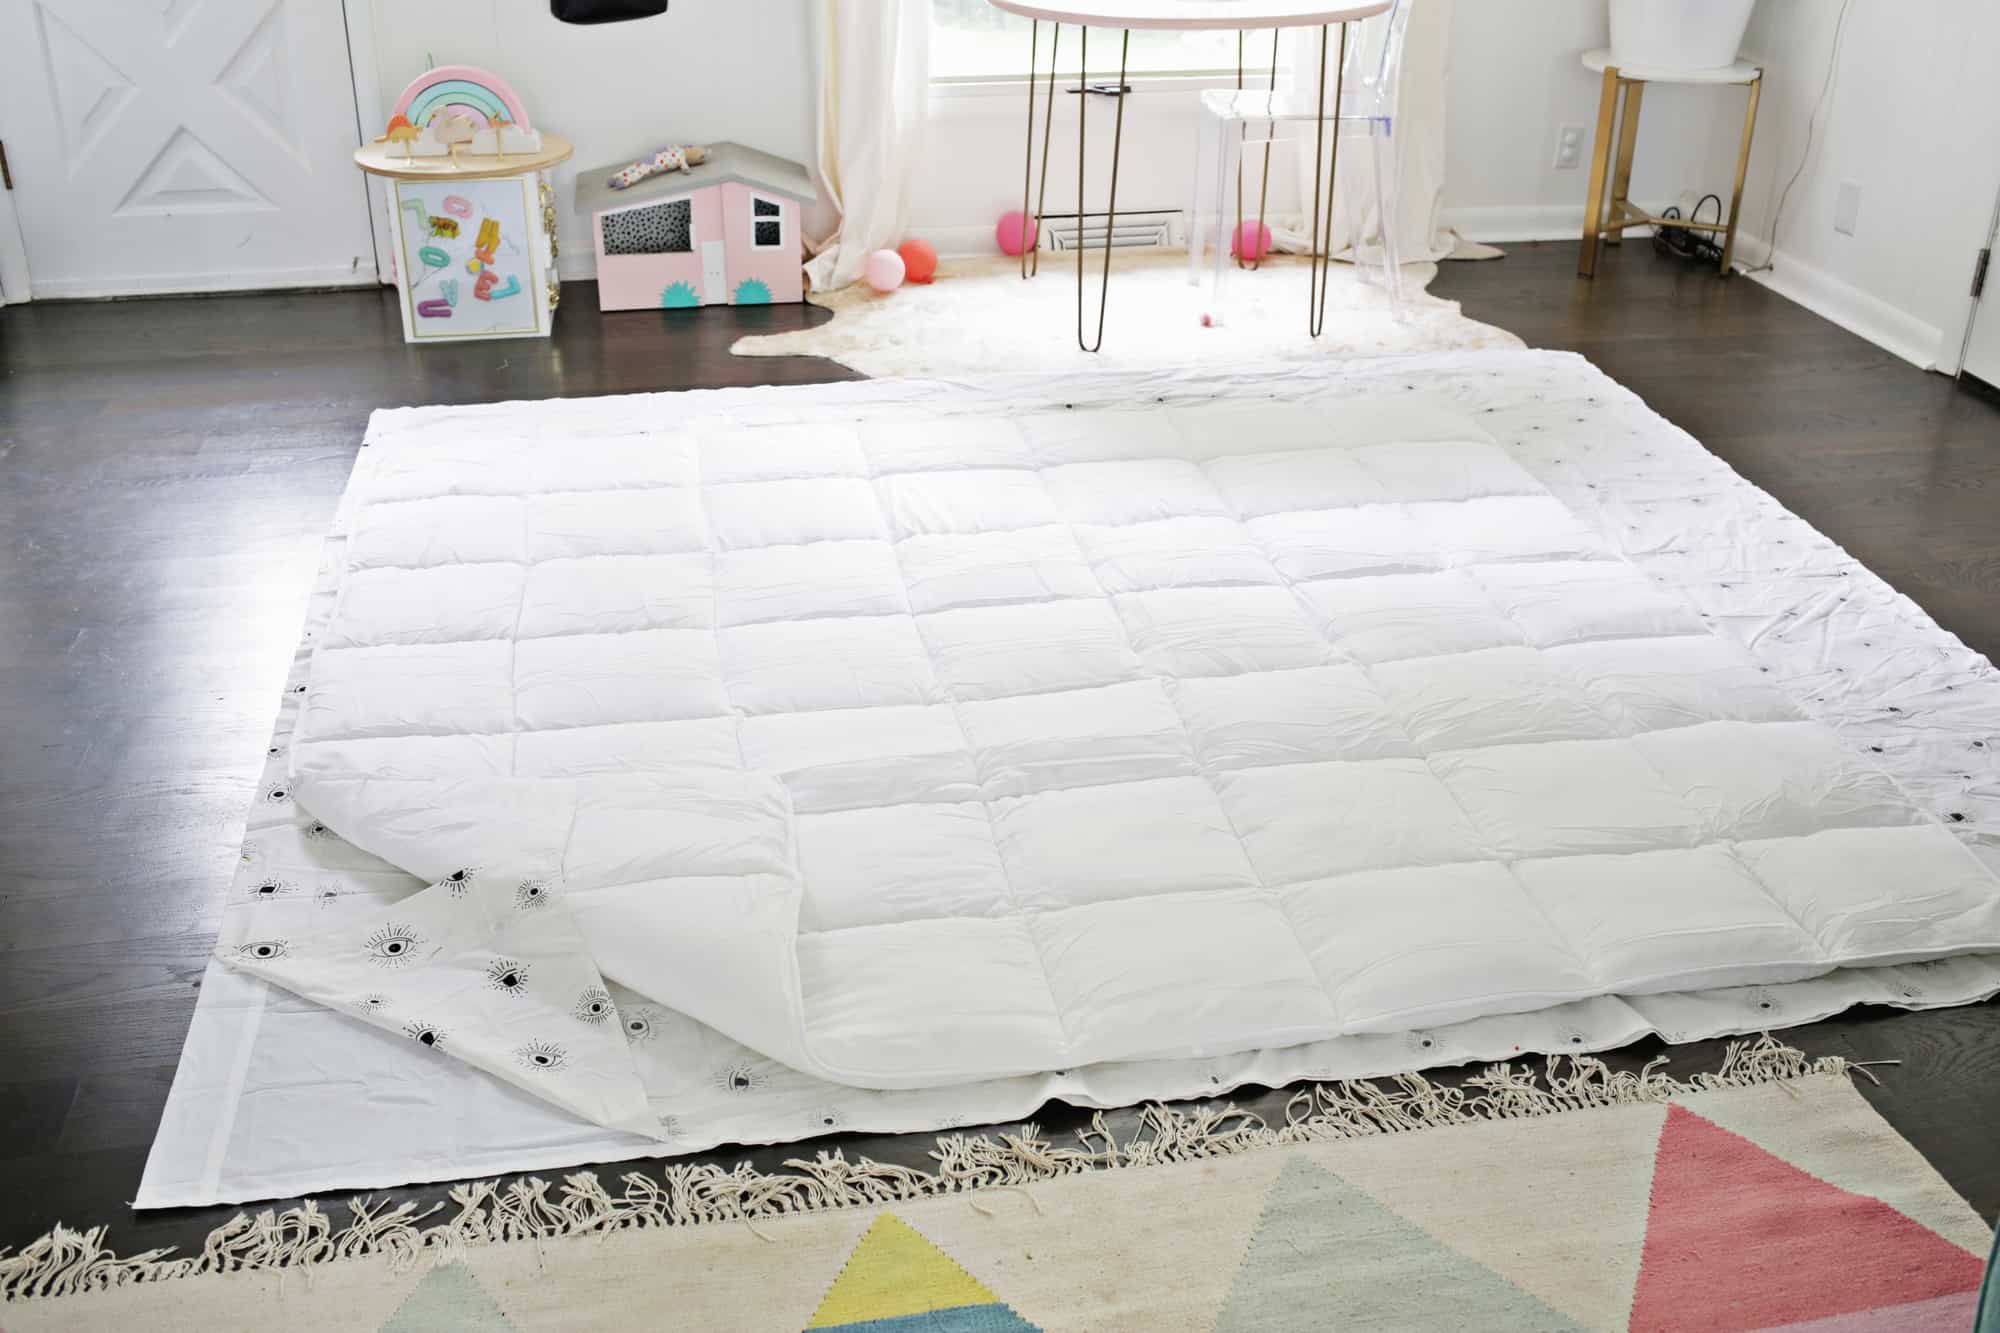
Next, lay out your fabric on a flat surface and measure and mark the dimensions of your duvet. Use your measuring tape to measure the width, length, and depth of the fabric, following the measurements you took for the duvet. Use fabric scissors to cut the fabric according to your marked dimensions. Be precise and make clean, straight cuts to ensure accuracy.
With your materials gathered and measurements taken care of, you’re now ready to move on to the next step: preparing the fabric. In the next section, we’ll guide you through the process of prepping the fabric for sewing.
Step 2: Preparing the Fabric
Before you start sewing your duvet cover, it’s important to prepare the fabric to ensure that it is clean, smooth, and ready for sewing.
Here are the steps to prepare your fabric:
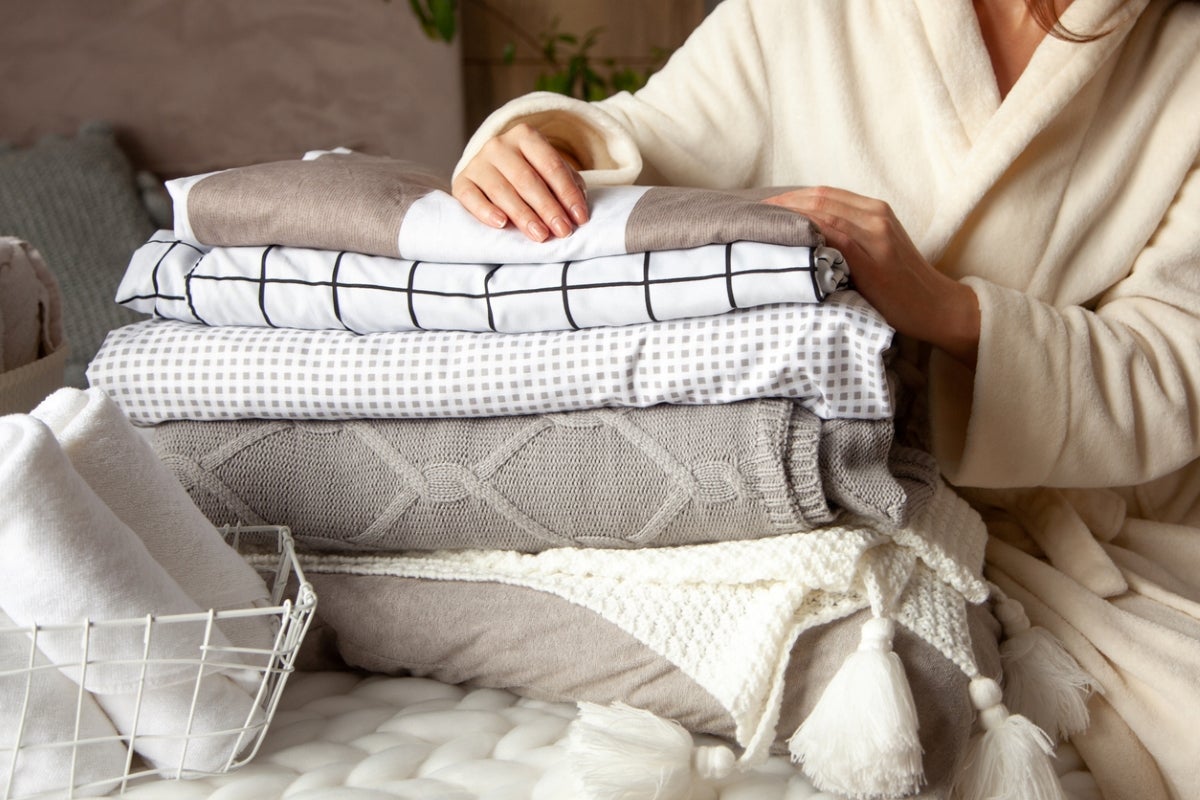
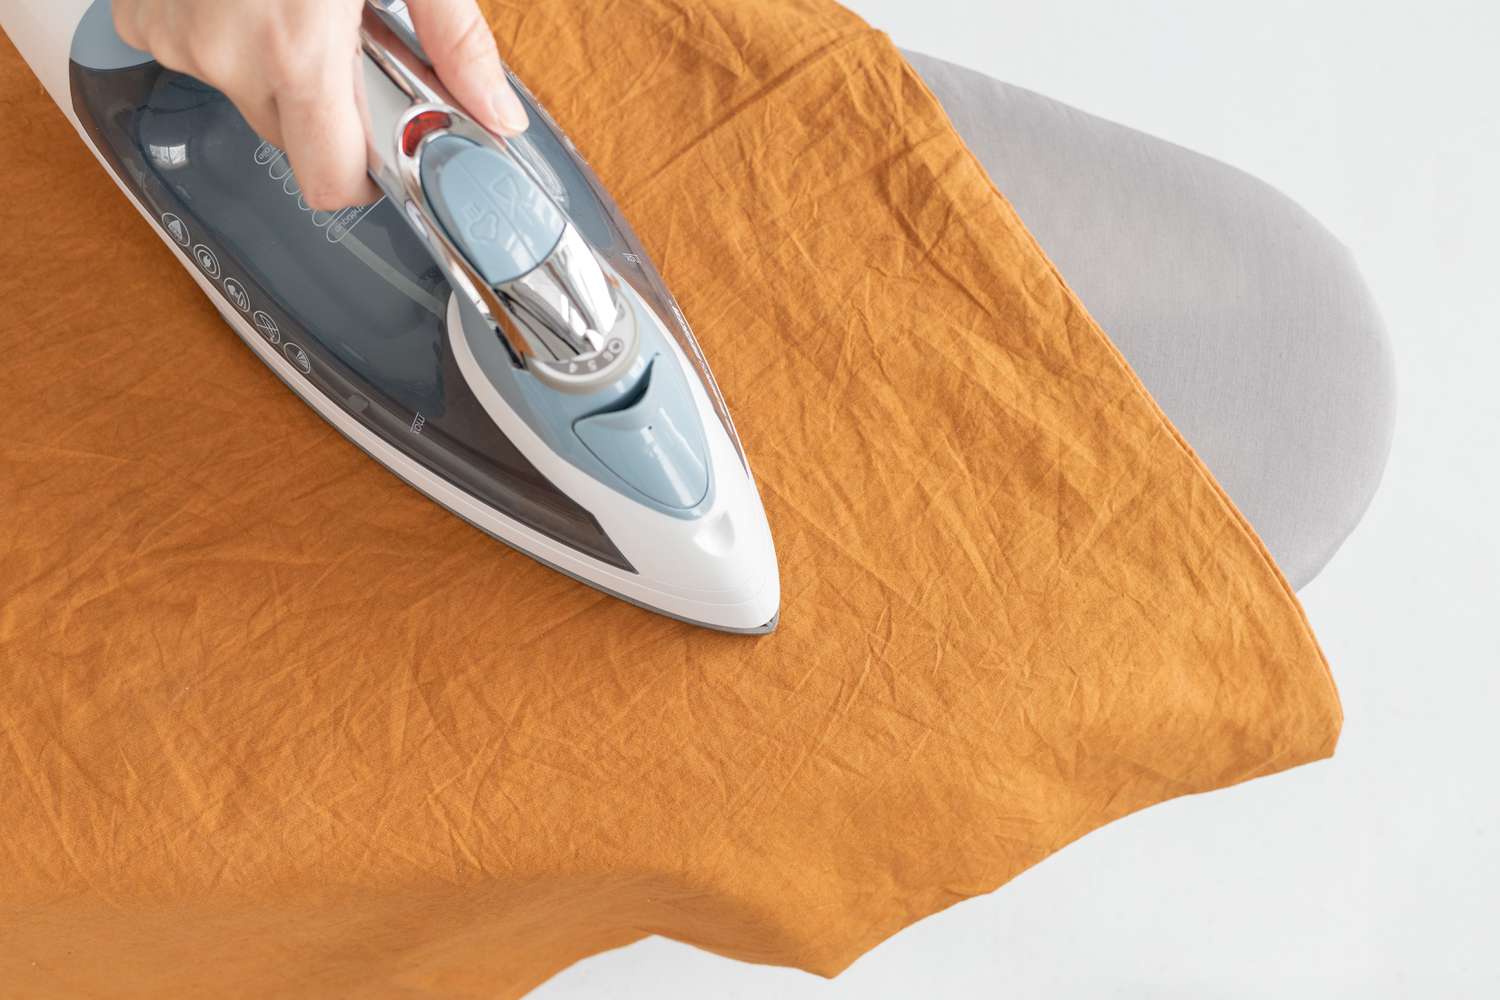
- Wash and Iron the Fabric: Before you begin, it’s recommended to wash and iron your fabric. This will remove any dirt, chemicals, or residual dye from the fabric and help prevent shrinkage later on. Follow the manufacturer’s instructions for washing and drying the fabric. Once clean, iron the fabric on a low heat setting to remove any wrinkles and create a smooth surface for sewing.
- Lay Out the Fabric: Find a large, flat surface, such as a table or a clean floor, and unfold the fabric. Smooth it out entirely, ensuring that there are no wrinkles or creases. This will make it easier to measure and cut the fabric accurately.
- Check the Fabric Grain: Fabrics have a grain, which refers to the direction in which the threads are woven. It’s essential to identify the fabric grain before cutting. To do this, look for the selvage edges, which are the finished edges of the fabric. The fabric grain runs parallel to these selvage edges. Align your ruler or measuring tape parallel to the selvage edges to ensure that your measurements are accurate and the fabric is cut straight.
- Secure the Fabric: Use pins or sewing clips to secure the fabric in place. Pin along the edges and at regular intervals to prevent the fabric from shifting or moving while you cut and sew. This will ensure that your duvet cover maintains its shape and proportions.
By properly preparing the fabric, you will eliminate any potential issues that may arise during the sewing process. Washing and ironing the fabric will prevent shrinkage, while laying it out flat and securing it will result in accurate cuts and consistent sewing.
Once your fabric is prepared, you’re ready to move on to the next step: cutting and sewing the main panels of the duvet cover. Stay tuned for step-by-step instructions on how to create the main body of your duvet cover and bring it to life!
Step 3: Cutting and Sewing the Main Panels
Now that you have prepared the fabric, it’s time to cut and sew the main panels of your duvet cover. This step will bring your duvet cover one step closer to completion.
Follow these steps to cut and sew the main panels:
- Measure and Mark: Using your measuring tape, measure the width and length of your duvet cover. Transfer these measurements onto the fabric with a fabric pen or tailor’s chalk. Remember to add seam allowances to each side for stitching.
- Cut the Fabric: Carefully cut along the marked lines using fabric scissors. It’s important to cut straight and accurately to ensure that the main panels are symmetrical and fit well together.
- Pin the Seam: Once the main panels are cut, pin the fabric pieces together, right sides facing each other. Align the edges evenly and use straight pins to secure the fabric along the seam line. This will help keep the fabric in place during sewing.
- Sew the Seam: Using a sewing machine or a needle and thread, sew along the pinned seam, removing the pins as you go. Use a straight stitch with a ½ inch seam allowance, ensuring that the stitches are straight and secure. Backstitch at the beginning and end of the seam to reinforce it.
- Press the Seam: After sewing the seam, open the fabric and press the seam flat with an iron. This will give the seam a professional finish and make it lie flat and smooth.
- Repeat for Other Panels: If your duvet cover has more than one main panel, such as a top panel and a bottom panel, repeat the above steps for each additional panel. Make sure to measure, cut, pin, sew, and press each panel separately.
By cutting and sewing the main panels, you are creating the foundation of your duvet cover. This step requires precision and attention to detail to ensure that all the panels fit together perfectly. Take your time and be meticulous throughout the process.
Once you have sewn all the main panels, you’re one step closer to completing your duvet cover. In the next step, we will cover how to add the closure to your duvet cover, ensuring that it stays securely in place.
Step 4: Adding the Closure
Adding a closure to your duvet cover is essential for keeping your duvet securely in place. The closure allows you to easily insert and remove the duvet when needed, while ensuring that it stays neatly tucked inside the cover.
Here’s how to add the closure:
- Measure the Width: Measure the width of one of the short ends of your duvet cover. This will determine the length of your closure.
- Cut the Closure Fabric: Cut a strip of fabric, approximately three times the width you measured plus a few extra inches for overlap and seam allowance. The width of the strip will depend on your personal preference.
- Fold and Press: Fold the strip in half lengthwise, with the right sides of the fabric facing each other. Press along the fold to create a crease.
- Sew the Edge: Sew along the long open edge of the strip, using a ½ inch seam allowance. This will create a long tube of fabric.
- Trim and Turn: Trim any excess fabric, leaving a small seam allowance. Turn the fabric tube right side out, using a turning tool or a safety pin to help you if needed.
- Press: Press the fabric tube flat with an iron, ensuring that the seam is at the center of the tube.
- Position the Closure: Place the closure fabric along the edge of one of the short ends of the duvet cover, aligning the raw edges. Position it so that the folded edge (seam) is facing towards the center of the duvet cover.
- Pin and Sew: Pin the closure fabric in place, securing it to the duvet cover. Sew along the raw edges, using a ½ inch seam allowance. Backstitch at the beginning and end to reinforce the seams.
By adding the closure to your duvet cover, you are ensuring that it stays securely fastened. This closure method allows for easy insertion and removal of your duvet while giving a clean and finished look to your duvet cover.
With the closure in place, it’s time to move on to the next step: attaching the closure. Stay tuned for step-by-step instructions on how to complete this crucial stage in your duvet cover making process.
When selecting fabric for a duvet cover, choose a durable, machine-washable material like cotton or linen to ensure easy care and longevity.
Read also: 11 Best Full Size Duvet for 2024
Step 5: Attaching the Closure
Attaching the closure is the next step in completing your duvet cover. This process involves securing the closure to the main panels, ensuring that it stays in place and provides a functional and seamless finish.
Follow these steps to attach the closure:
- Position the Closure: Start by folding your duvet cover in half lengthwise, with the right sides facing each other. Locate the closure on one of the short ends of the duvet cover, where you added it in the previous step.
- Pin the Closure: Align the edges of the closure fabric with the edges of the duvet cover, making sure they are evenly aligned. Pin the closure in place along the edges, securing it to the main panels. Use additional pins if necessary to ensure that the closure is securely attached.
- Sew the Closure: Using a sewing machine or a needle and thread, sew along the pinned edges of the closure. Use a straight stitch with a ½ inch seam allowance, ensuring that the stitches are straight and secure. Backstitch at the beginning and end of the closure to reinforce the seams.
- Trim Excess Fabric: Trim any excess fabric from the closure, leaving a small seam allowance. Be careful not to cut through the stitches or the main panels of the duvet cover.
- Press the Closure: After sewing, press the closure flat with an iron, ensuring that the seam is flat and neat. This will give the closure a professional, finished look.
By attaching the closure, you are completing the functional aspect of your duvet cover. This step ensures that your duvet will remain securely inside the cover without slipping or coming loose.
With the closure attached, we are nearing the end of the duvet cover making process. In the next step, we will guide you through creating the duvet ties to keep your duvet in place. Stay tuned for the next step of this exciting journey!
Step 6: Creating the Duvet Ties
The duvet ties serve an important function in keeping your duvet in place inside the cover, preventing it from shifting or bunching. Creating these ties will add an extra level of security to your duvet cover, ensuring that your duvet remains evenly distributed.
Follow these steps to create the duvet ties:
- Measure the Length: Start by measuring the distance between the corner of your duvet cover and the corresponding corner on the opposite side. This will determine the length of your duvet ties.
- Cut the Fabric: Cut several strips of fabric, each measuring twice the length you measured in the previous step, and approximately 1 inch wide. You will need four ties for each corner of your duvet cover.
- Fold and Press: Take each fabric strip and fold it in half lengthwise, with the right sides facing each other. Press along the fold to create a crease.
- Sew the Tube: Sew along the long open edge of each strip, using a ¼ inch seam allowance. This will create a long fabric tube.
- Trim and Turn: Trim any excess fabric, leaving a small seam allowance. Turn the fabric tube right side out, using a turning tool or a safety pin to help you if needed.
- Press: Press the fabric tube flat with an iron, ensuring that the seam is at the center of the tube.
- Repeat for all Ties: Repeat the above steps for each duvet tie you need, creating a set of four for each corner of your duvet cover.
By creating the duvet ties, you are adding an extra layer of security to your duvet cover. These ties will prevent the duvet from shifting inside the cover, ensuring a neat and well-kept appearance on your bed.
Now that you have your duvet ties ready, it’s time to move on to the next step: sewing the duvet ties onto your duvet cover. Stay tuned for detailed instructions on how to properly attach the ties and complete your duvet cover.
Step 7: Sewing the Duvet Ties
Now that you have created the duvet ties, it’s time to sew them onto your duvet cover. Sewing the ties onto the corners of your duvet cover will ensure that your duvet stays securely in place, preventing it from shifting or bunching up inside the cover.
Follow these steps to sew the duvet ties:
- Position the Ties: Start by folding your duvet cover inside out and locating the corners where you want to attach the ties. These corners should correspond with the corners of your duvet.
- Pin the Ties: Take one of the duvet ties and position it at the corner of your duvet cover, aligning the raw edges. Pin it in place, securing it to the fabric. Repeat this step for each corner of the duvet cover.
- Sew the Ties: Using a sewing machine or a needle and thread, sew along the raw edges of the duvet ties, attaching them to the duvet cover. Start sewing a few inches away from the top of the tie, and sew a few inches down. Sew a secure box or an “X” shape to reinforce the tie. This will ensure that it stays securely attached.
- Repeat for Other Ties: Repeat the above steps for each duvet tie, attaching them to the corresponding corners of the duvet cover. Take your time to sew each tie securely to provide maximum stability.
- Trim Excess Thread: After sewing all the ties, trim any excess thread, ensuring that the ties are neat and free from loose threads.
By sewing the duvet ties onto your duvet cover, you are adding the final touch that will keep your duvet in place. These ties will prevent the duvet from shifting or bunching up inside the cover, ensuring a comfortable and well-kept bedding experience.
Now that your duvet cover is nearly complete, it’s time for the final step: adding the finishing touches. In the next step, we will guide you through these important final steps to give your duvet cover a polished and professional look.
Step 8: Finishing Touches
Congratulations! You’re on the final step of completing your duvet cover. This step involves adding the finishing touches that will give your duvet cover a polished and professional look.
Follow these steps for the finishing touches:
- Press the Seams: Use an iron to press all the seams of your duvet cover once more. This will ensure that the seams are flat and give your duvet cover a crisp appearance.
- Trim any Loose Threads: Inspect your duvet cover for any loose threads and trim them with a pair of scissors. This will give your duvet cover a clean and tidy finish.
- Turn the Duvet Cover Right Side Out: Carefully turn your duvet cover right side out so that the finished side of the fabric is visible. Use your hands or a ruler to gently push out the corners of the cover for a smooth and crisp finish.
- Give It a Final Press: Give your duvet cover a final press with an iron to ensure that it’s wrinkle-free and ready for use.
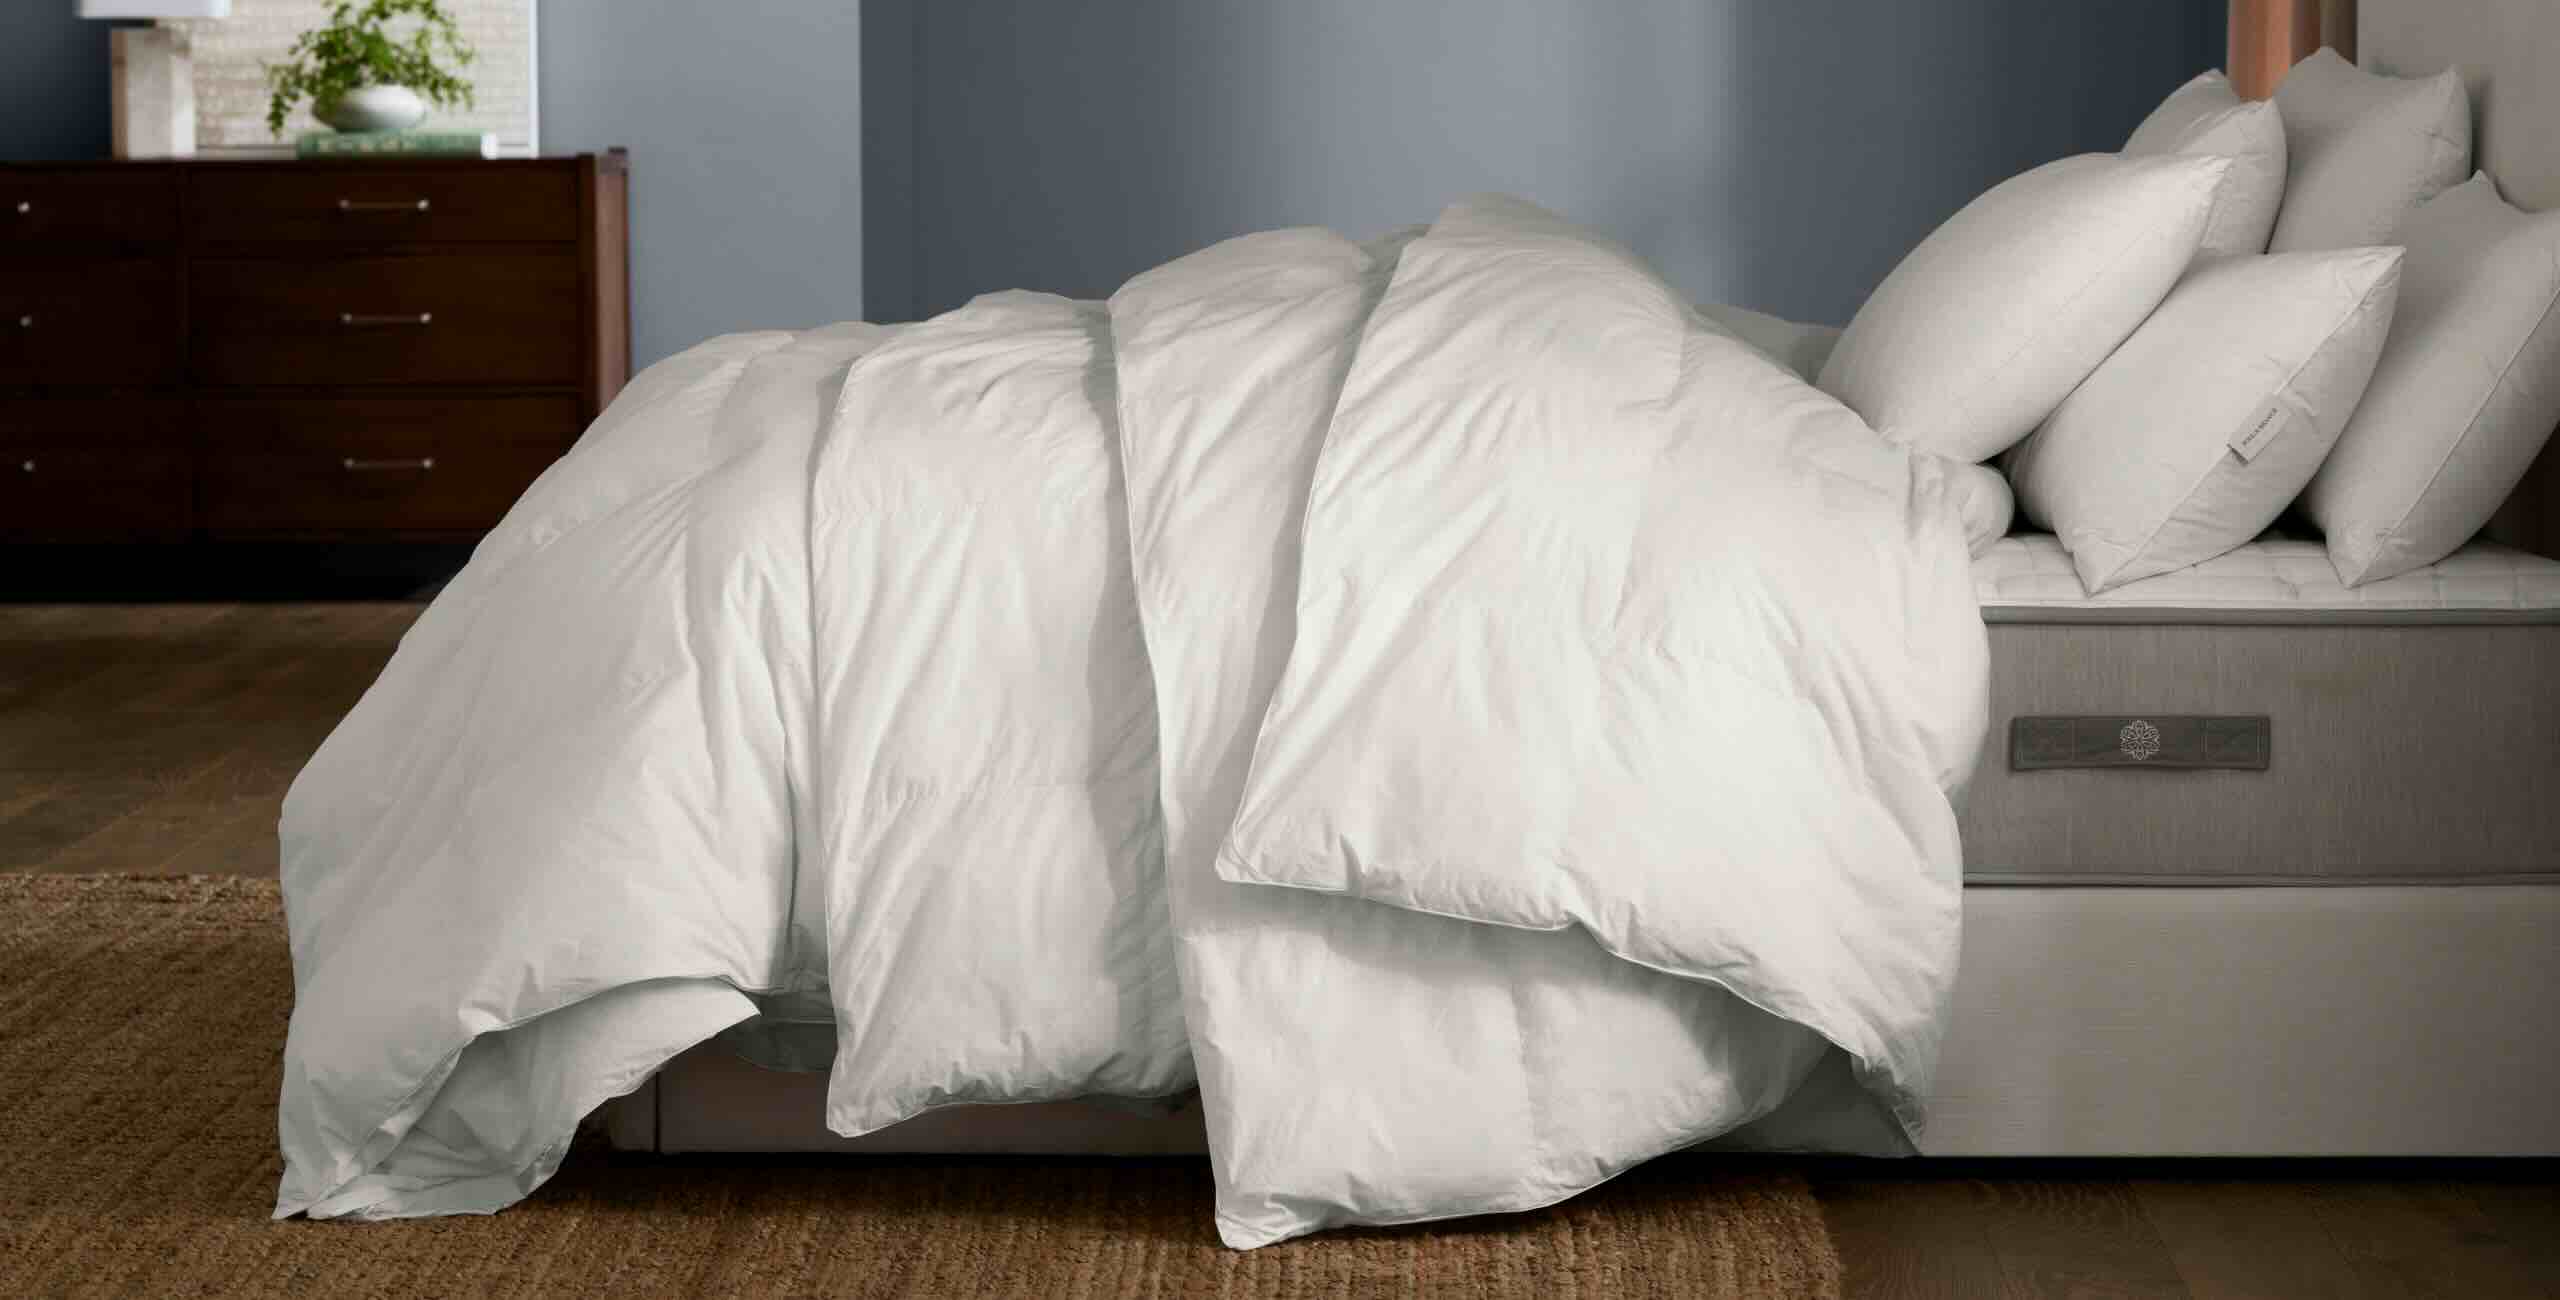
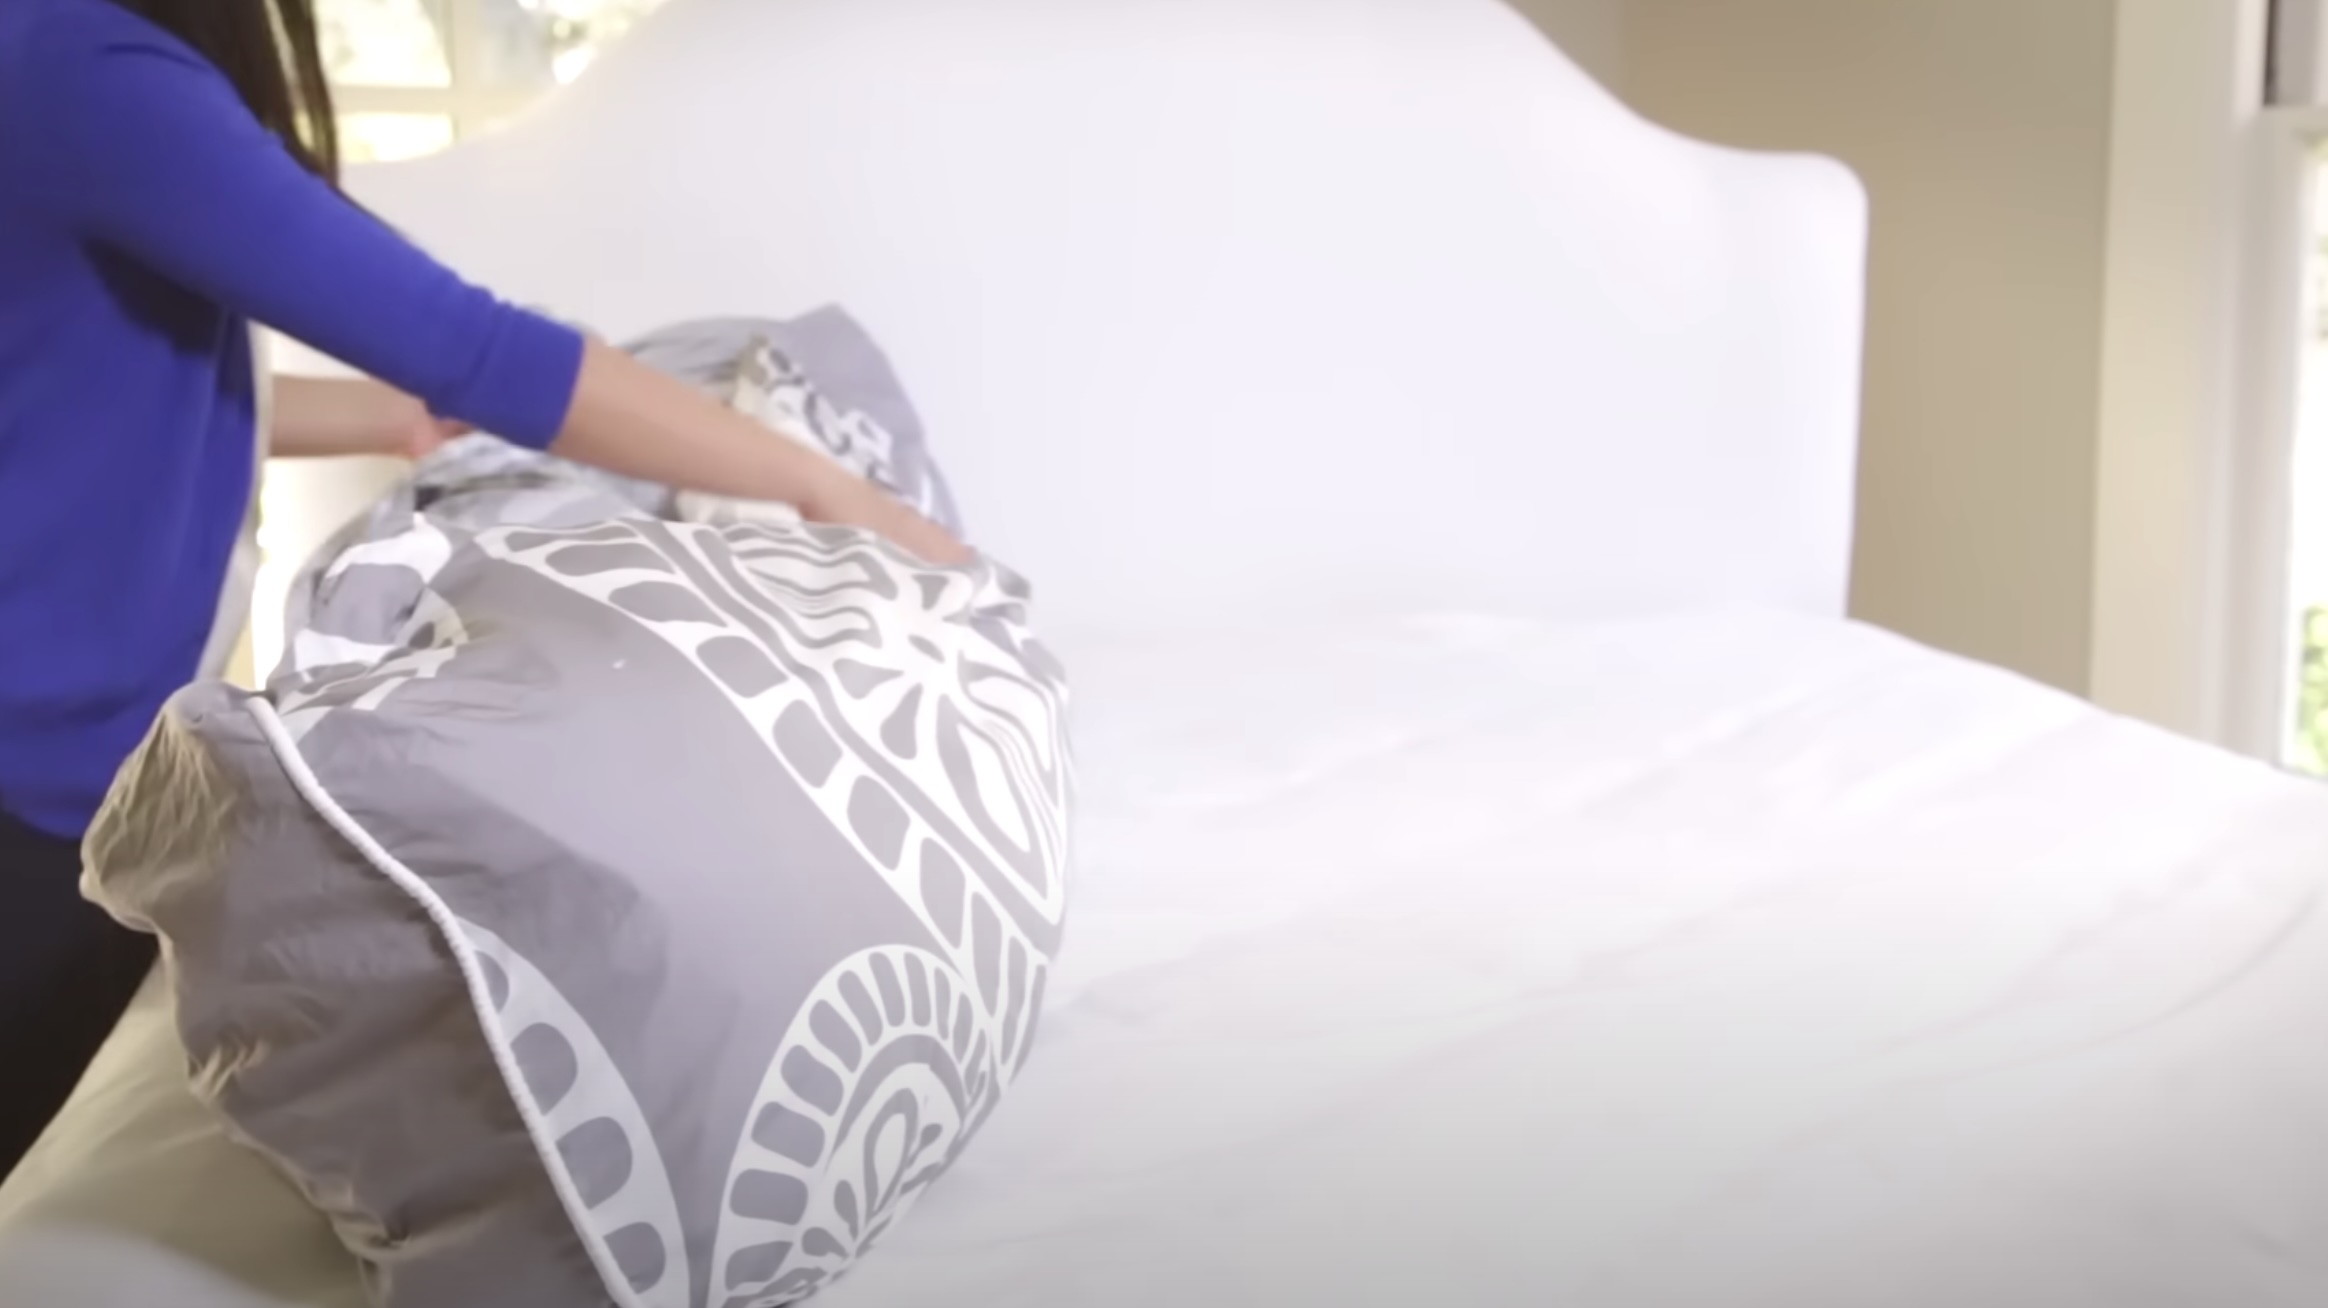
- Insert Your Duvet: Once your duvet cover is complete, insert your duvet into the cover through the closure. Make sure that the corners of your duvet fit snugly into the corners of the cover.
With these finishing touches, your duvet cover is now ready to be enjoyed. It’s time to make your bed and experience the comfort and style of your newly created duvet cover.
Remember, the beauty of making your own duvet cover is that you can customize it to suit your personal style and preferences. You can choose fabrics, patterns, and colors that reflect your individuality and create a beautiful focal point in your bedroom.
Now that you have learned how to make a full-size duvet cover, you can apply these skills to create more duvet covers for yourself or as thoughtful gifts for family and friends. Enjoy the satisfaction of snuggling up under a duvet cover that you made with your own hands.
Happy sewing, and sweet dreams!
Read more: What Size Is A Queen Duvet Cover
Conclusion
Congratulations on completing your journey of making a full-size duvet cover! You have successfully transformed a piece of fabric into a beautiful and functional bedding accessory. Now, you can enjoy the comfort and style of your handmade duvet cover.
Throughout this comprehensive guide, we have covered each step in the process, from gathering materials and taking measurements to sewing and adding finishing touches. By following these steps and infusing your personal touch, you have created a duvet cover that reflects your style and preferences.
Making your own duvet cover has several advantages. Firstly, it allows you to select fabrics, patterns, and colors that match your bedroom decor and express your individuality. Secondly, it gives you the satisfaction of creating something with your own hands, adding a personal touch to your home. Lastly, it can be a cost-effective alternative to purchasing pre-made duvet covers, saving you money while still achieving a high-quality and custom result.
As you continue your sewing journey, remember to explore other creative projects and experiment with different fabrics and techniques. The world of sewing is vast and offers endless possibilities for customization and self-expression.
Whether you’re an experienced sewing enthusiast or a beginner, making a duvet cover is a rewarding project that allows you to showcase your skills and creativity. With patience, attention to detail, and the guidance provided in this guide, you can create duvet covers that will transform your bedroom into a cozy and stylish retreat.
We hope this comprehensive guide has been helpful in your duvet cover-making process. Enjoy the warmth, comfort, and beauty of your handmade duvet cover as you snuggle up for a good night’s sleep. Sweet dreams!
Frequently Asked Questions about How To Make A Full Size Duvet Cover
Was this page helpful?
At Storables.com, we guarantee accurate and reliable information. Our content, validated by Expert Board Contributors, is crafted following stringent Editorial Policies. We're committed to providing you with well-researched, expert-backed insights for all your informational needs.


0 thoughts on “How To Make A Full Size Duvet Cover”