Articles
How To Turn A Duvet Cover Into A Quilt
Modified: May 6, 2024
Learn how to repurpose a duvet cover into a cozy quilt with our step-by-step guide. Read articles and tutorials to transform your bedding effortlessly.
(Many of the links in this article redirect to a specific reviewed product. Your purchase of these products through affiliate links helps to generate commission for Storables.com, at no extra cost. Learn more)
Introduction
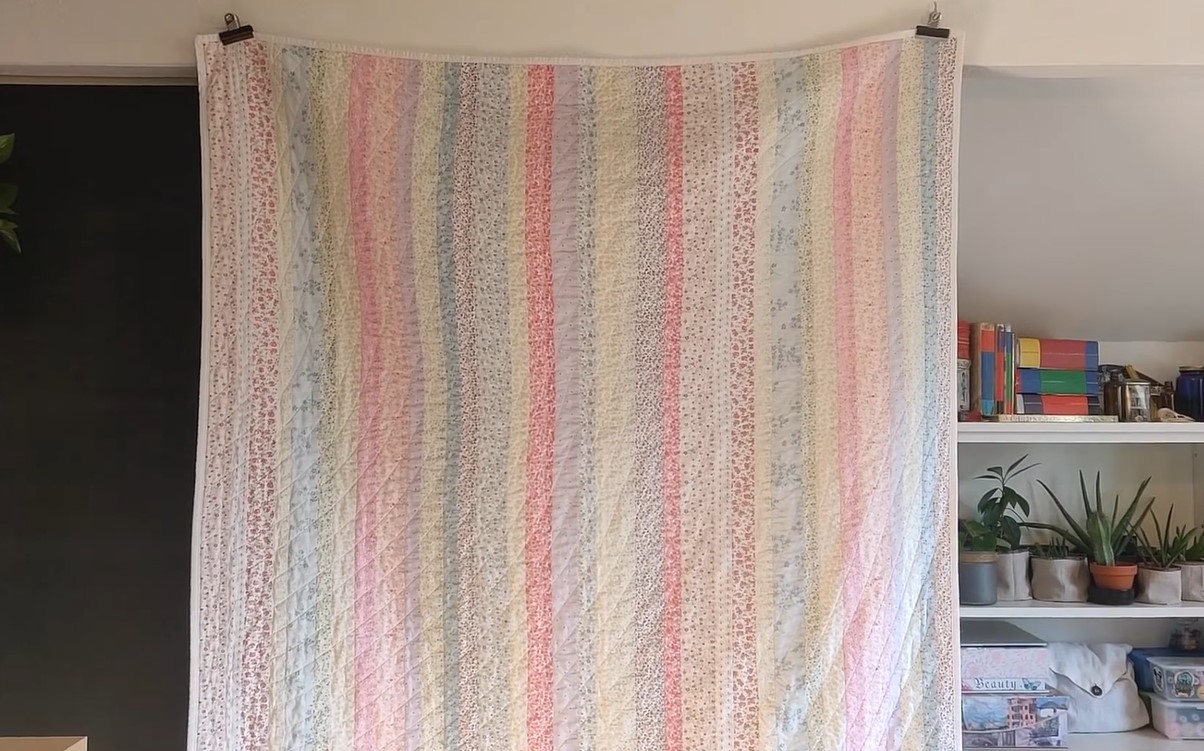
Quilting is a timeless craft that has been passed down through generations, creating beautiful and functional works of art. But what if you have a duvet cover that you love but don’t use anymore? Don’t let it go to waste – you can easily transform it into a quilt!
Turning a duvet cover into a quilt is a creative way to repurpose old bedding and add a personalized touch to your home decor. Whether you’re a seasoned quilter or new to the craft, this project is a great way to unleash your creativity and showcase your sewing skills.
In this article, we will guide you through the step-by-step process of turning a duvet cover into a quilt. From gathering the materials to adding the finishing touches, we’ll cover everything you need to know to create a beautiful and functional quilt that you can cherish for years to come.
So, grab your sewing machine and let’s get started on this exciting quilting adventure!
Key Takeaways:
- Repurpose old duvet covers into personalized quilts using simple sewing techniques. Showcase creativity and sewing skills while creating beautiful and functional works of art for your home decor.
- Transforming duvet covers into quilts is a creative and rewarding process. Embrace the journey of quilting, experiment with different fabrics and techniques, and enjoy the timeless craft of creating unique and cherished quilts.
Read more: What Is A Duvet Cover
Step 1: Gather Materials
Before you begin transforming your duvet cover into a quilt, make sure you have all the necessary materials on hand. Here’s a list of what you’ll need:
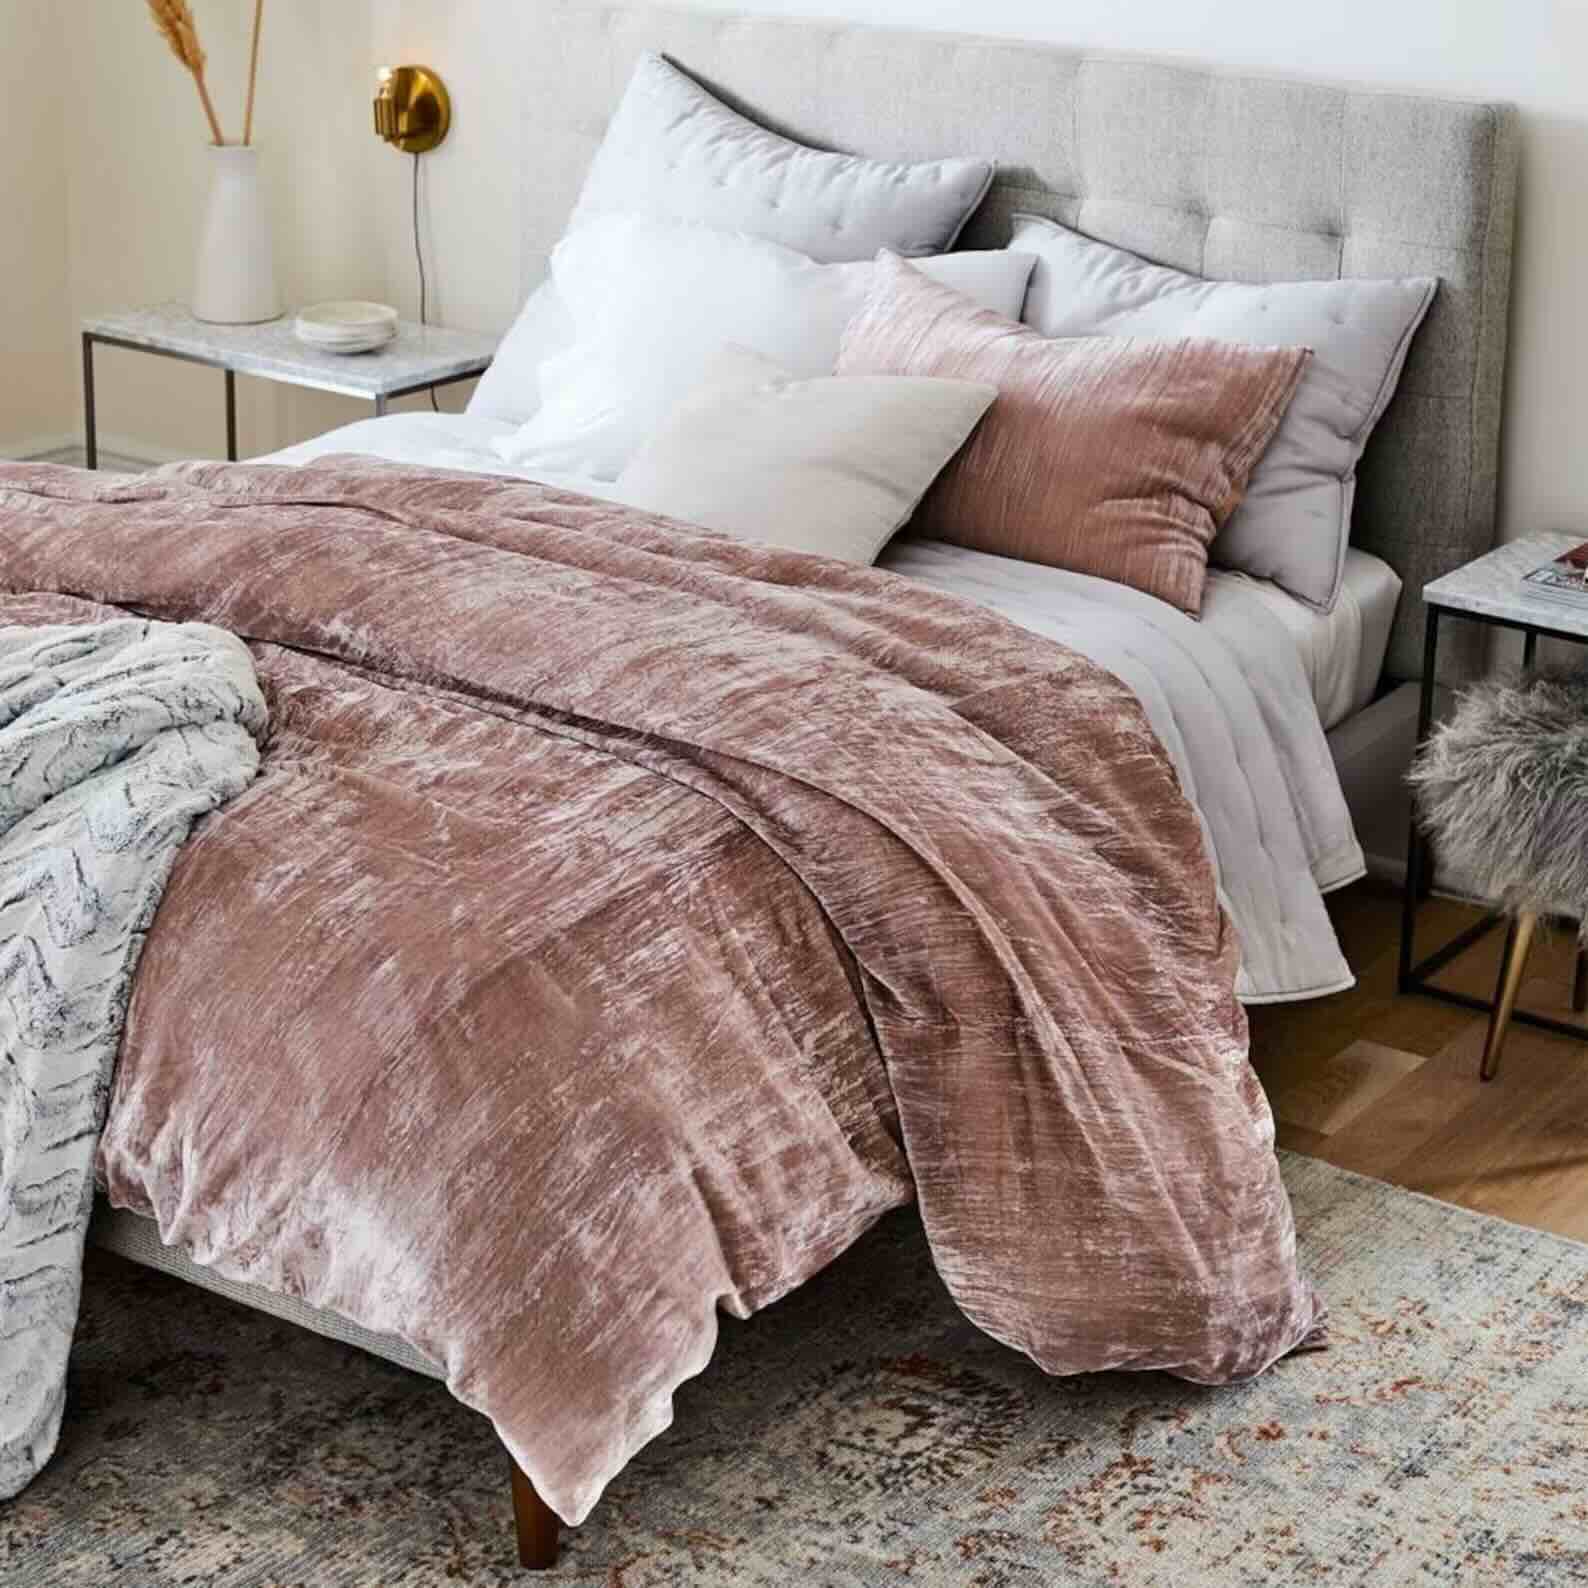
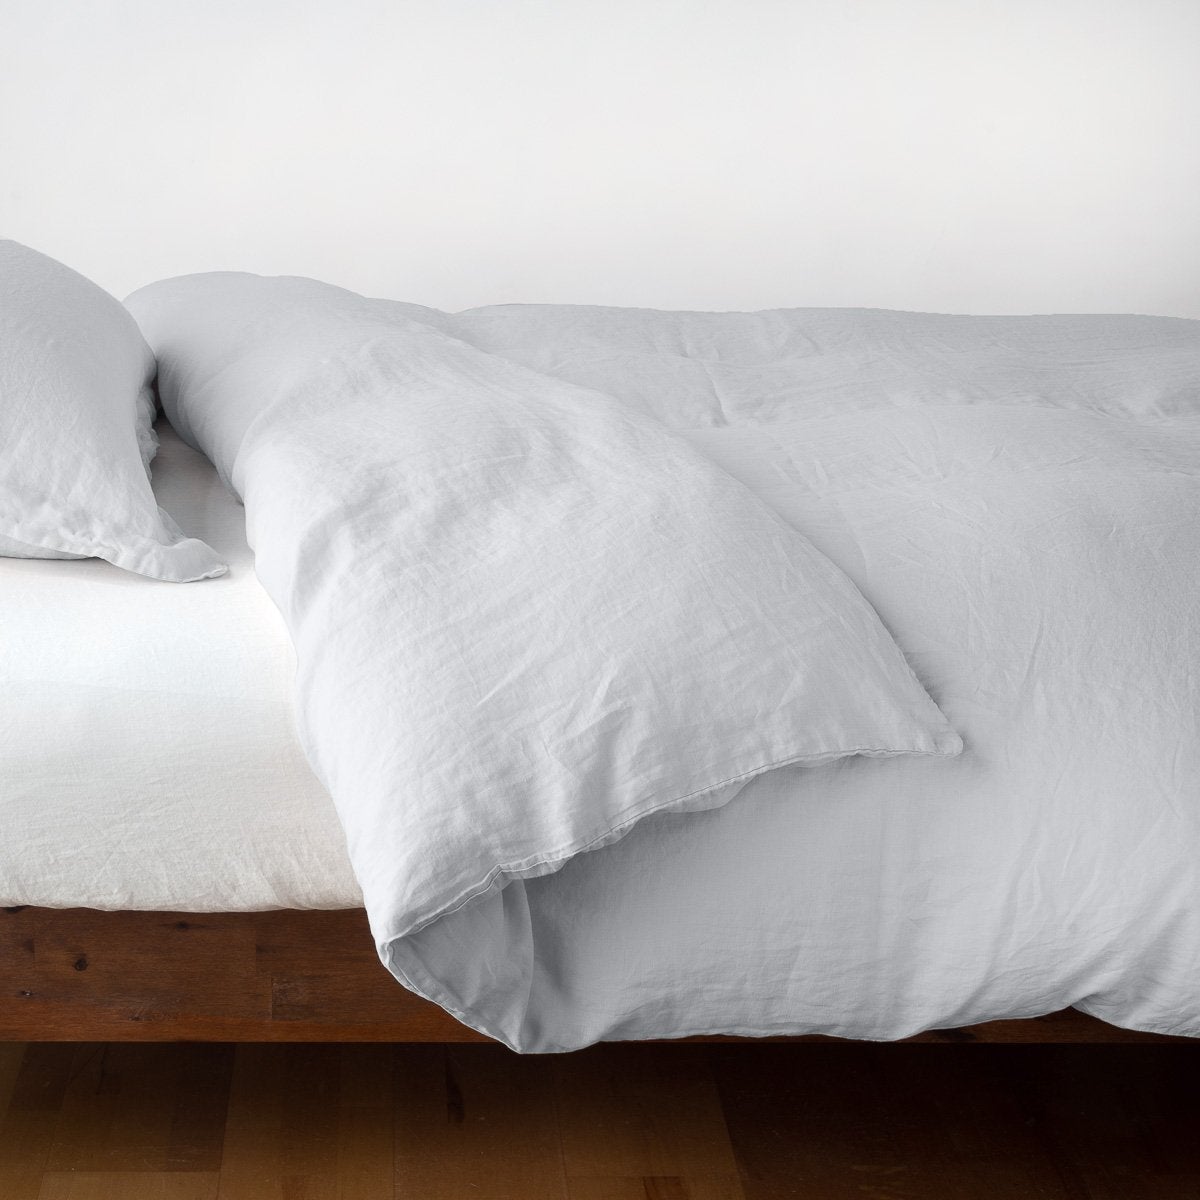
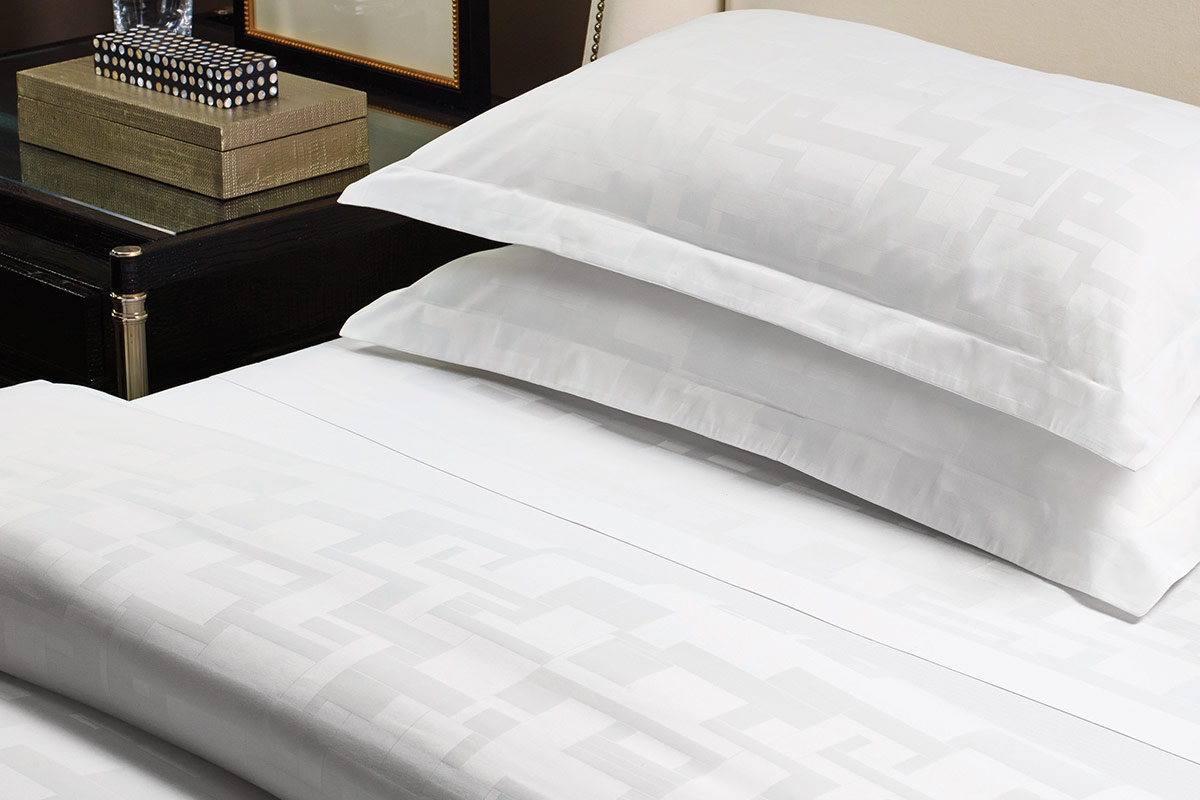
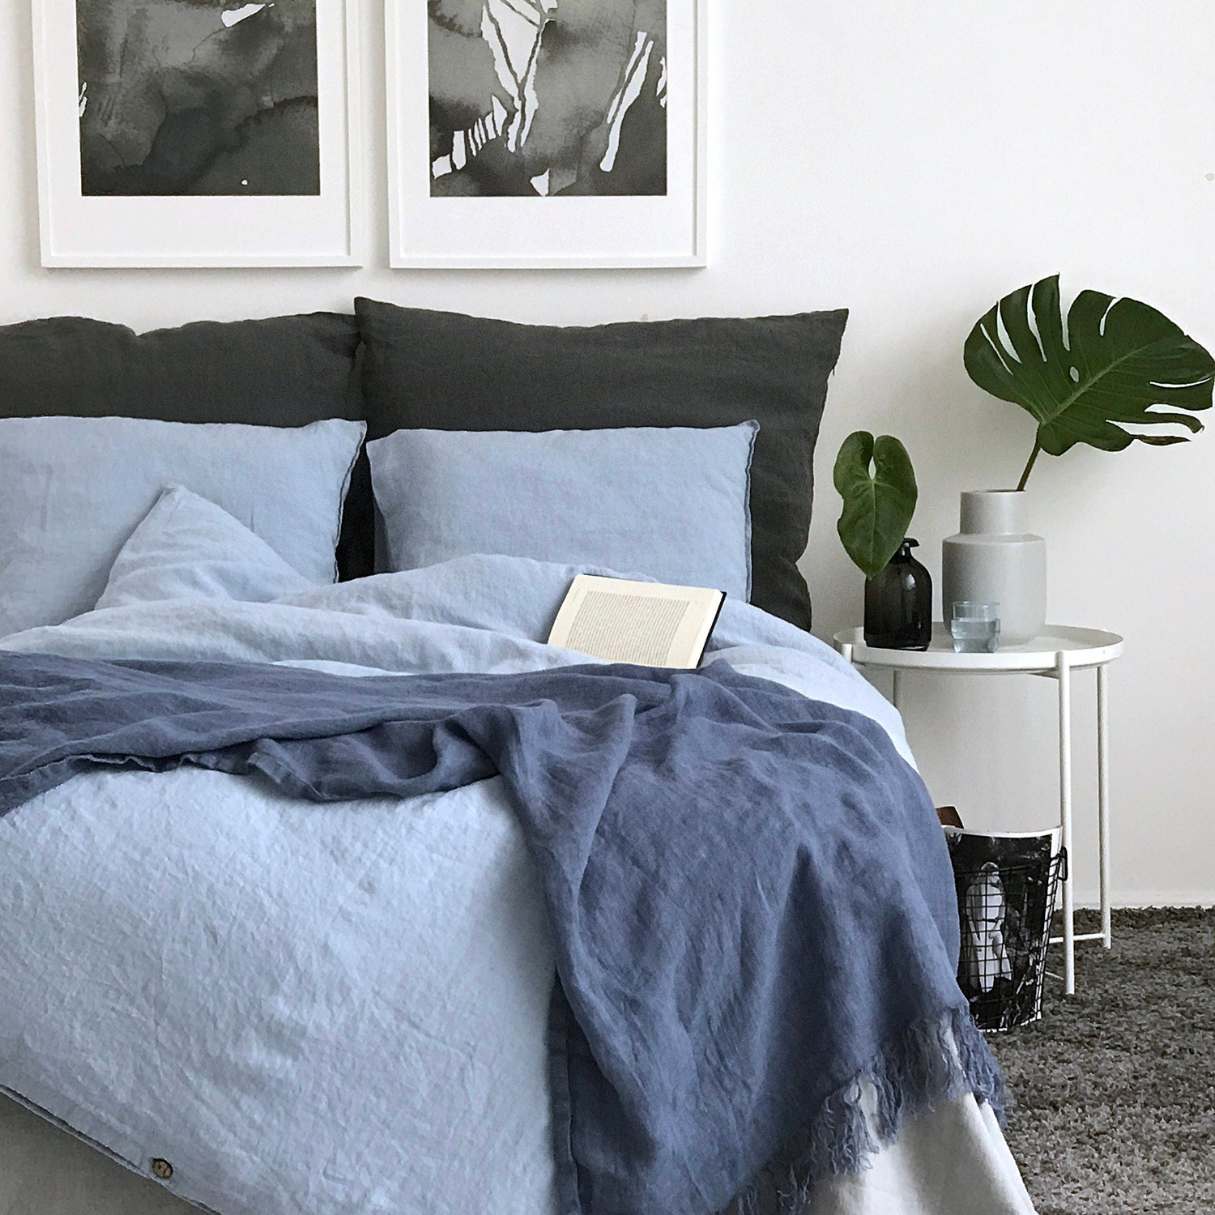
- A duvet cover – Choose one that you no longer use or one with a pattern or color that you love.
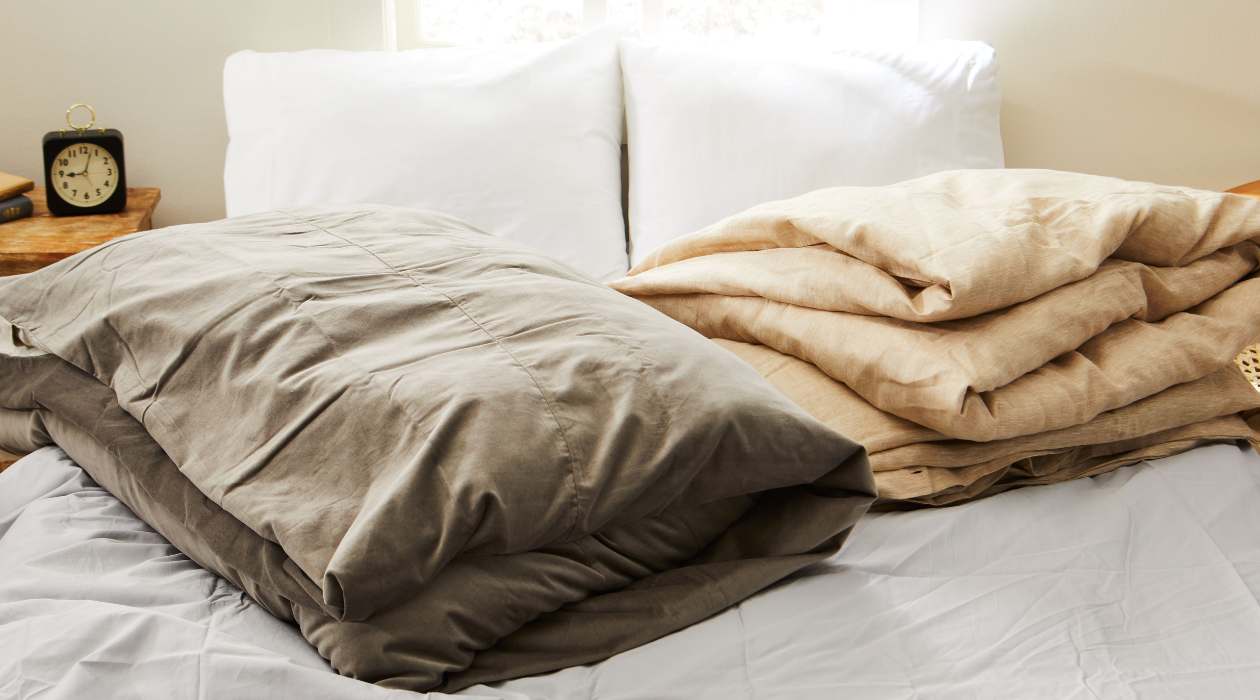
- Batting – This is the material that gives the quilt its warmth and softness. Consider the weight and loftiness of the batting based on your climate and personal preference.
- Fabric for the backing – You’ll need enough fabric to cover the back of the quilt. Choose a coordinating color or pattern that complements the duvet cover.
- Thread – Select a thread color that blends well with the duvet cover and backing fabric.
- Quilting ruler – This tool will help you with measurements and straight lines.
- Cutting mat – Use a cutting mat to protect your work surface and ensure precise cutting.
- Rotary cutter – This tool makes cutting fabric quick and accurate.
- Pins or clips – You’ll need these to hold the layers of fabric and batting together during the sewing process.
- Sewing machine – A sewing machine is essential for stitching the layers of fabric and batting together.
- Iron – Use an iron to press the fabric and batting as you work on the quilt.
- Scissors – Keep a pair of fabric scissors handy for cutting threads and trimming excess fabric.
Once you have gathered all the necessary materials, you’re ready to move on to the next step of transforming your duvet cover into a quilt.
Step 2: Measure the Duvet Cover
Before you start cutting and sewing, you’ll need to measure the duvet cover to determine the size of your quilt. Here’s how you can do it:
- Spread out the duvet cover on a flat surface, ensuring that it’s smooth and wrinkle-free.
- Using a quilting ruler, measure the length and width of the duvet cover. Take note of these measurements as they will determine the size of your finished quilt.
- Consider how large you want your quilt to be. You can either keep the same size as the duvet cover or make it slightly smaller for a more traditional quilt size.
- If you decide to resize the duvet cover, subtract a few inches from both the length and width measurements. This will allow for seam allowances and give your quilt a neater look.
- Write down your desired measurements so that you can refer to them during the cutting process.
Measuring the duvet cover accurately will ensure that your quilt turns out the way you envision. Take your time with this step and double-check your measurements before moving on.
Once you have the measurements ready, you’re now ready to cut the duvet cover to the appropriate size for your quilt.
Step 3: Cut the Duvet Cover to Size
Now that you have your measurements, it’s time to cut the duvet cover to the desired size for your quilt. Follow these steps:
- Lay the duvet cover flat on your cutting mat, ensuring it is smooth and free from any wrinkles.
- Using the quilting ruler and rotary cutter, measure and cut the duvet cover according to your desired measurements. Remember to account for seam allowances if you decided to resize the quilt.
- Make straight, clean cuts along the edges, ensuring that all sides are evenly sized.
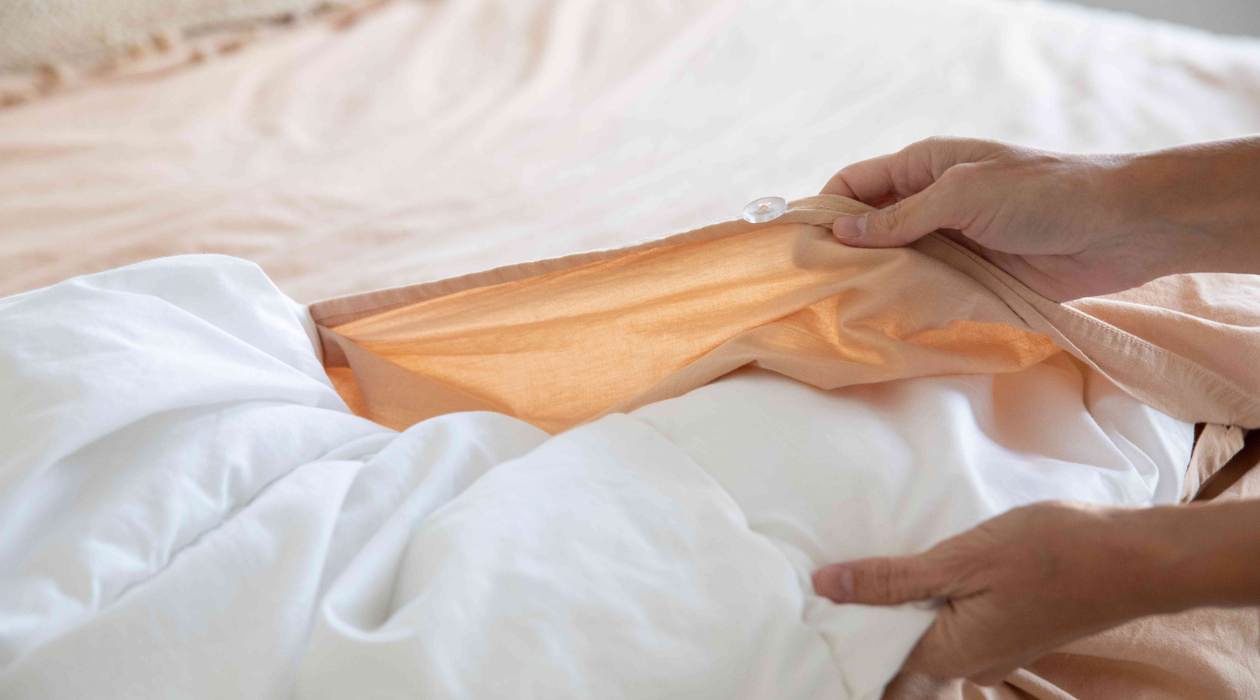
- If your duvet cover has buttons or a zipper, you may need to remove them before cutting. Use a seam ripper to carefully remove any fastenings without damaging the fabric.
Take your time to cut the duvet cover accurately. Precise cutting will make it easier to sew the layers together and achieve a professional-looking finished quilt.
Once you have cut the duvet cover to the desired size, it’s time to move on to the next step of preparing the batting.
Step 4: Prepare the Batting
Preparing the batting is an essential step in turning a duvet cover into a quilt. The batting is what gives the quilt its warmth and softness. Follow these steps to prepare the batting:
- Measure the dimensions of your cut duvet cover to determine the size of the batting you’ll need. It should match the size of your quilt top.
- Unroll the batting and lay it flat on a clean, smooth surface.
- Using the quilting ruler and scissors, carefully cut the batting to match the measurements of your cut duvet cover.
- Make sure to cut the batting slightly smaller than your duvet cover to allow for seam allowances.
- Smooth out any wrinkles or creases in the batting to ensure a flat and even surface.
Preparing the batting properly will ensure that your quilt has the desired level of warmth and comfort. Take your time to cut the batting accurately and make any necessary adjustments.
Once the batting is cut and ready, you can move on to the next step of layering the duvet cover and batting.
When turning a duvet cover into a quilt, consider adding a layer of batting between the duvet cover and a backing fabric to give it warmth and structure. This will help transform it into a cozy and functional quilt.
Read more: How To Layer A Duvet And Quilt
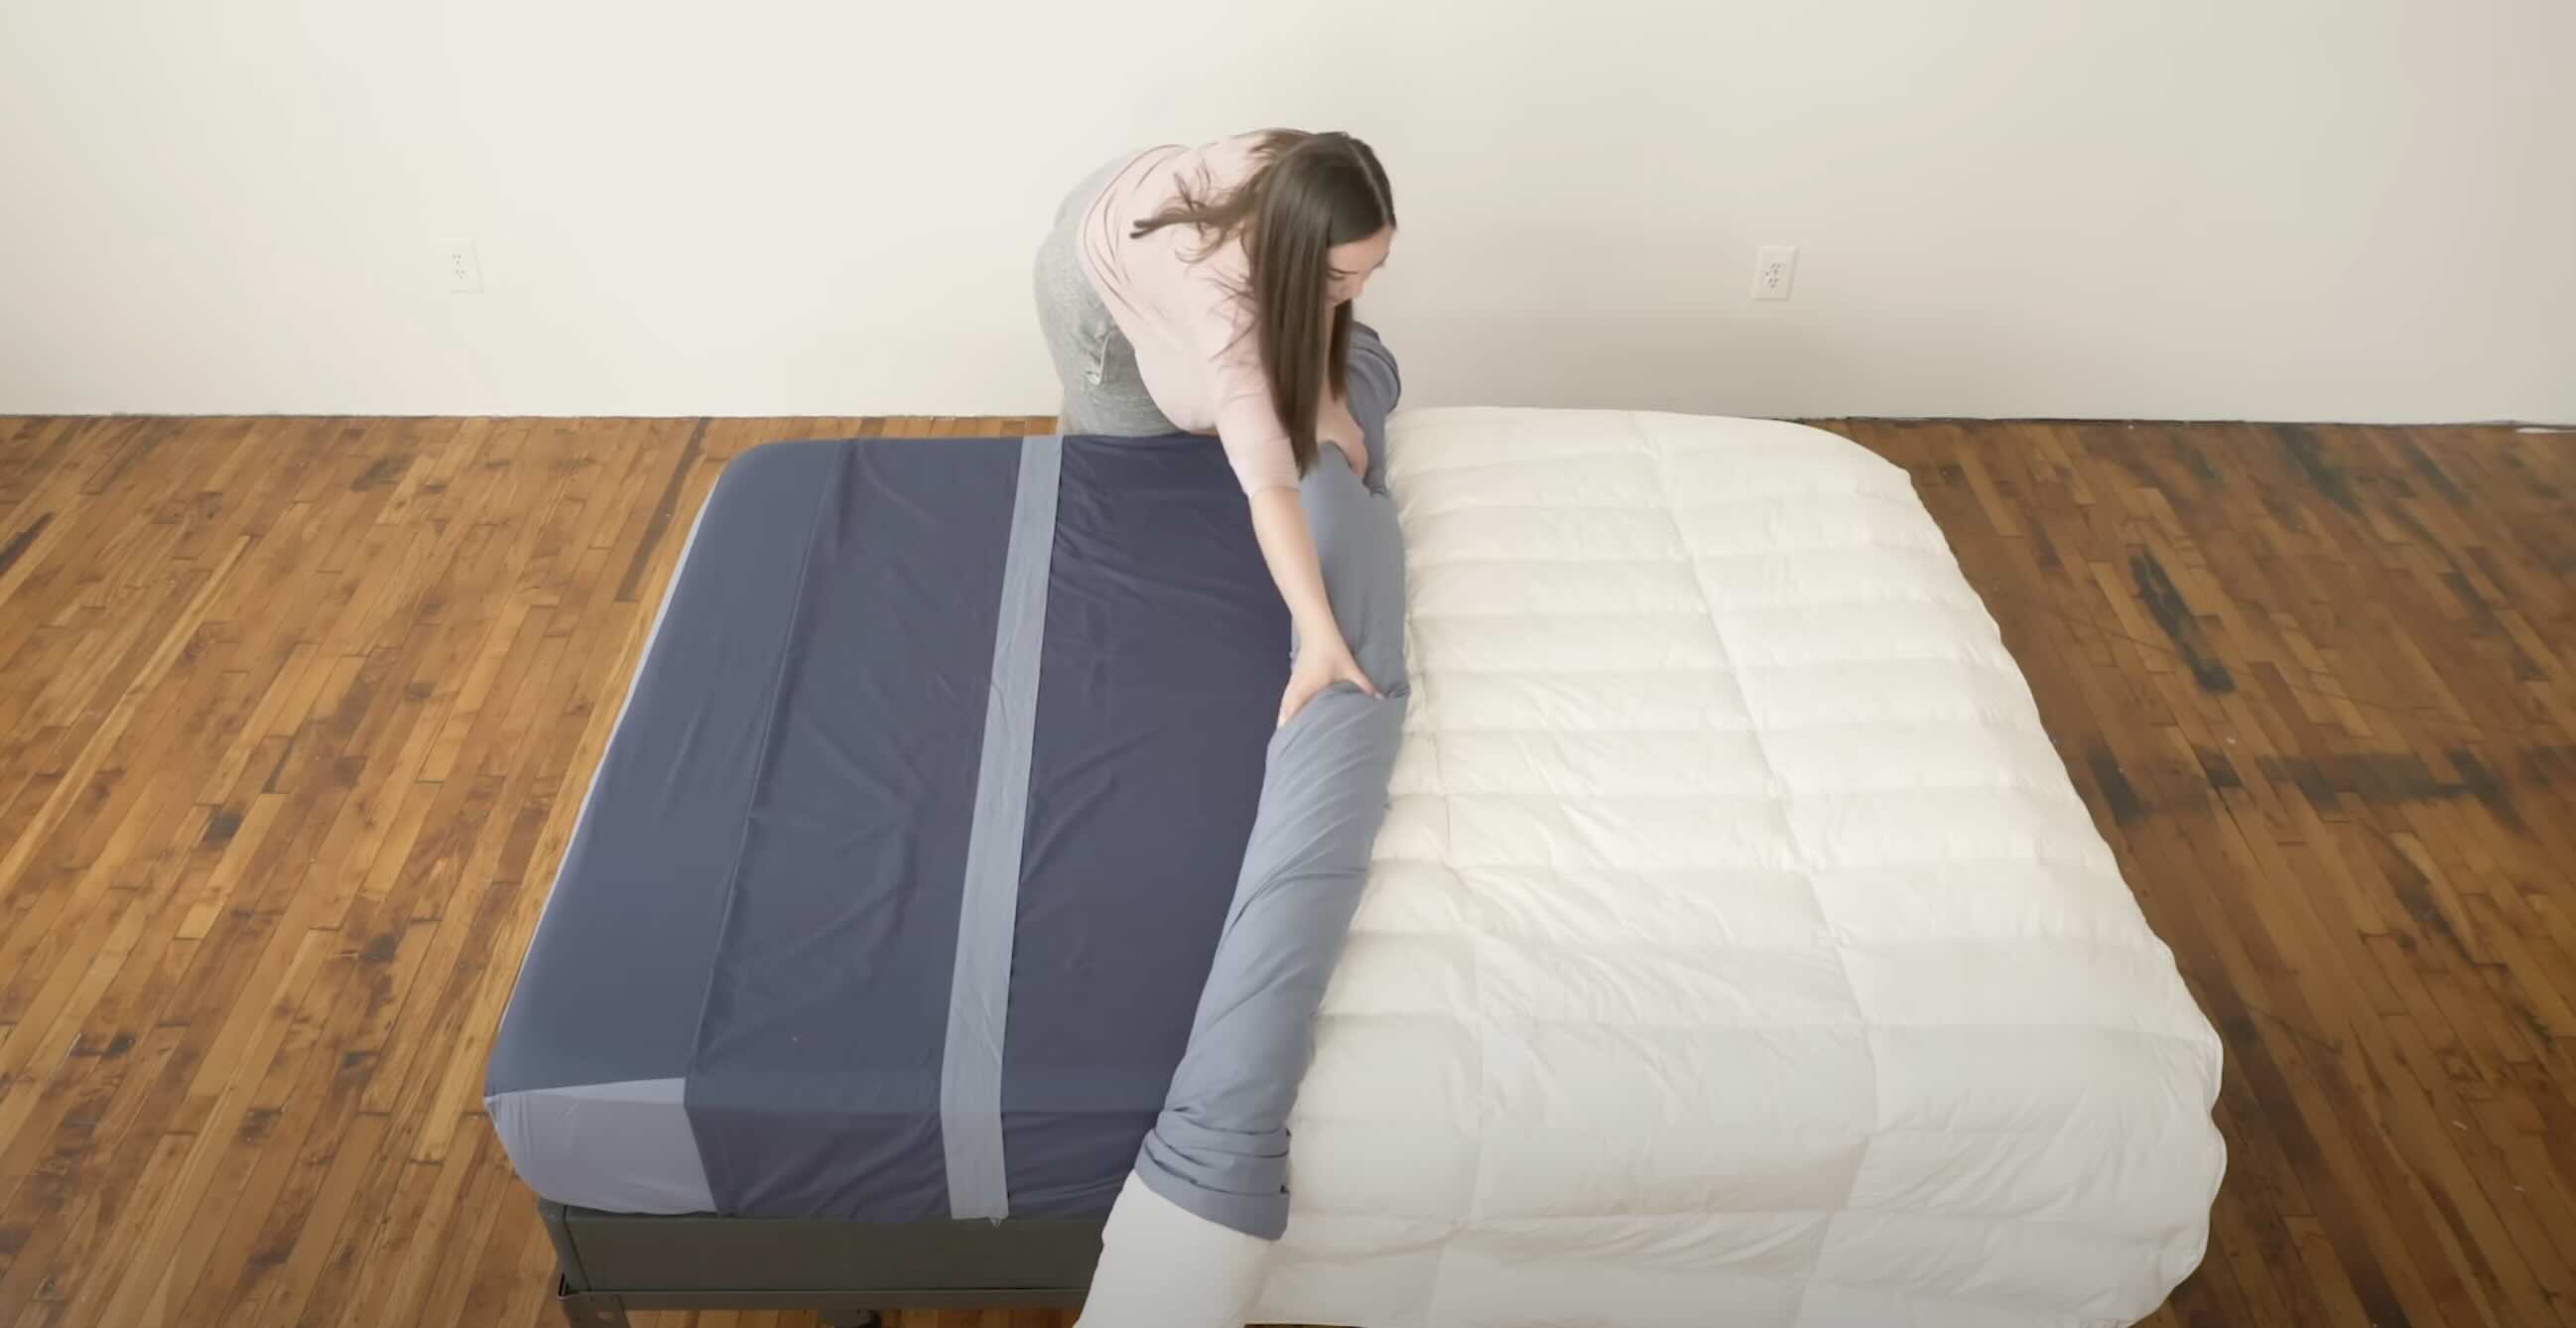
Step 5: Layer the Duvet Cover and Batting
Now that you have prepared the batting, it’s time to layer it with the duvet cover. Layering the fabrics is an important step in quilting as it ensures that the quilt remains sturdy and the layers stay in place. Follow these steps to layer the duvet cover and batting:
- Lay the duvet cover on a flat surface, right side down.
- Place the batting on top of the duvet cover, aligning the edges and corners.
- Smooth out any wrinkles or bumps in the fabric and batting to ensure a flat and even surface.
- Use pins or clips to secure the layers together, placing them evenly across the quilt top.
The layering process can be made easier by working on a large table or with the help of a quilting frame. Ensure that the edges of the duvet cover and batting are aligned to maintain a neat and symmetrical appearance.
With the layers successfully aligned and secured, you’re ready to move on to the next step of sewing them together.
Step 6: Sew the Layers Together
Sewing the layers together is where your quilt truly starts to take shape. Follow these steps to securely sew the duvet cover and batting layers:
- Set up your sewing machine with the appropriate thread and needle.
- Starting at one edge of the quilt, sew along the layers, approximately ¼ inch from the edge. This is called the seam allowance.
- Continue sewing along the edges, ensuring that the layers remain aligned and that you maintain a consistent seam width.
- Consider reinforcing the corners and edges with backstitches to add extra durability to your quilt.
- Use a walking foot or engage the feed dogs on your sewing machine to help feed the layers evenly and prevent shifting.
- Remove the pins or clips as you sew, making sure not to sew over them.
- As you work, periodically smooth out any wrinkles or folds in the quilt to ensure a neat and even appearance.
Take your time with the sewing process, as this step requires precision and attention to detail. Sewing with care will result in a well-constructed and visually appealing quilt.
Once you have sewn all the layers together, it’s time to move on to the next step of trimming and binding the edges.
Step 7: Trim and Bind the Edges
Trimming and binding the edges of your quilt will give it a polished and finished look. This step involves cutting off excess fabric and adding a binding to secure the edges. Follow these steps to trim and bind the edges:
- Place your quilt on a flat surface, ensuring that it’s smooth and free from any wrinkles.
- Using a quilting ruler and rotary cutter, trim the edges of the quilt to ensure they are straight and even.
- Be careful not to cut into the stitching or remove too much fabric.
- Measure and cut strips of fabric for the binding. The width of the binding strips should be double the desired finished width of the binding, plus a seam allowance.
- Sew the binding strips together at a 45-degree angle to create a continuous strip long enough to go around the edges of the quilt.
- Attach the binding to the quilt, starting in the middle of one side. Leave a few inches of binding free at the beginning.
- Align the raw edges of the binding strip with the raw edges of the quilt, right sides together.
- Sew the binding to the quilt using a ¼ inch seam allowance, stopping a few inches before reaching the corner.
- Turn the corner by folding the binding strip diagonally and then continuing to sew along the next edge.
- Continue sewing the binding to the quilt, mitering the corners as you go.
- Once you reach the starting point, trim the excess binding and fold the end under to create a finished edge.
- Sew the folded edge down, ensuring that it covers the raw edge of the binding.
Trimming and binding the edges can be a meticulous process, but it’s worth the effort to achieve a professional-looking finish. Take your time and sew with care to create beautiful and neatly bound edges for your quilt.
With the edges trimmed and bound, your quilt is almost complete. The final step involves adding the finishing touches.
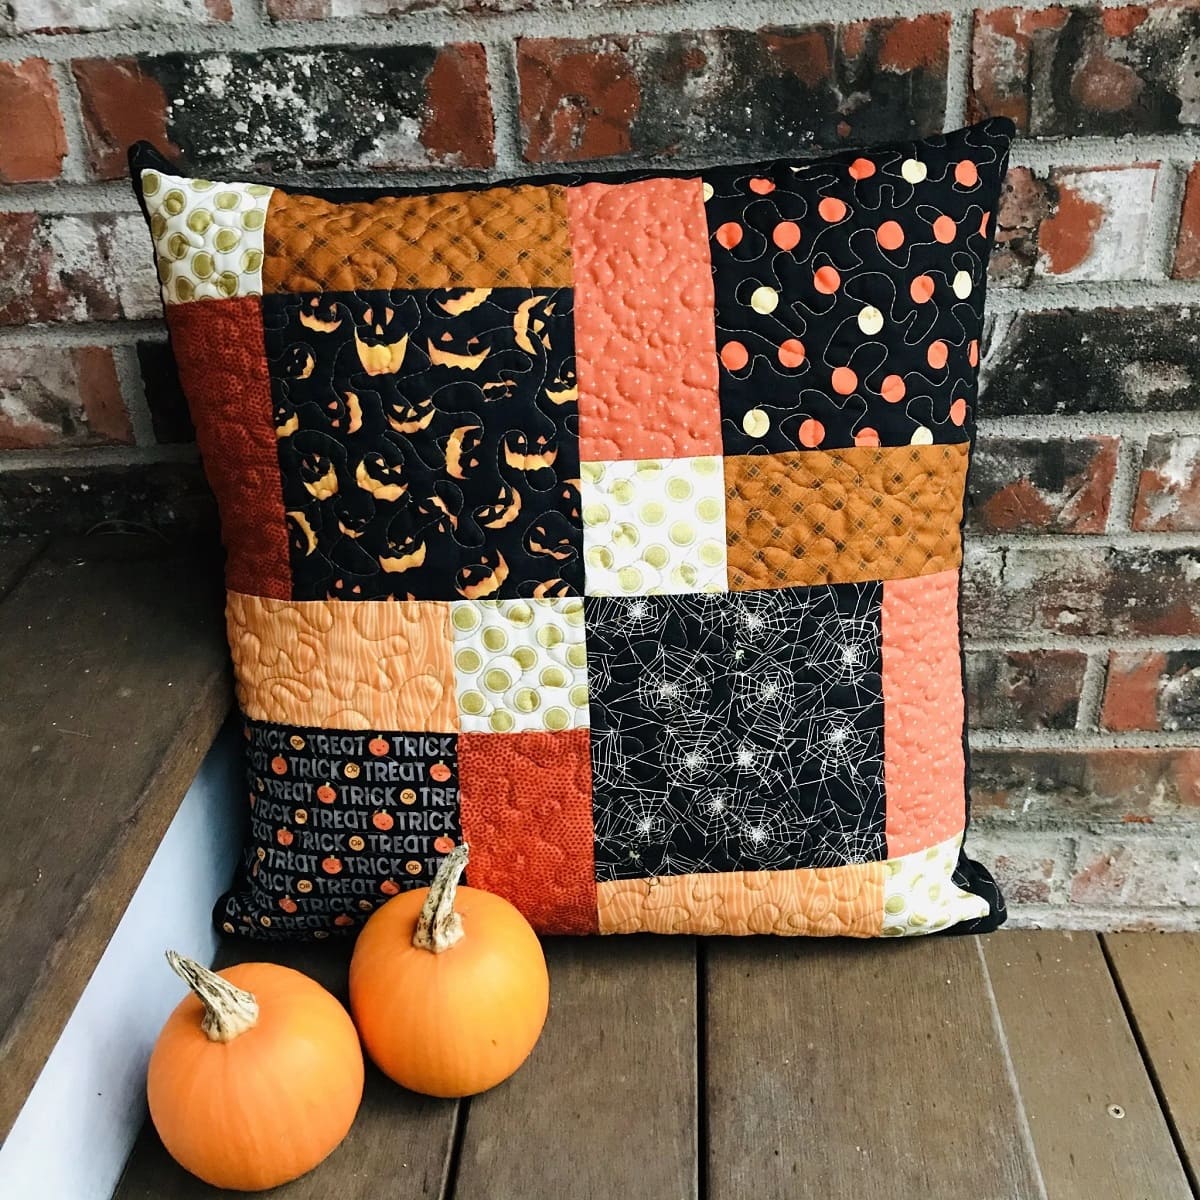
Step 8: Add Finishing Touches
Adding the finishing touches to your duvet cover quilt will give it that extra dose of charm and personalization. Here are some final steps to complete your quilt:
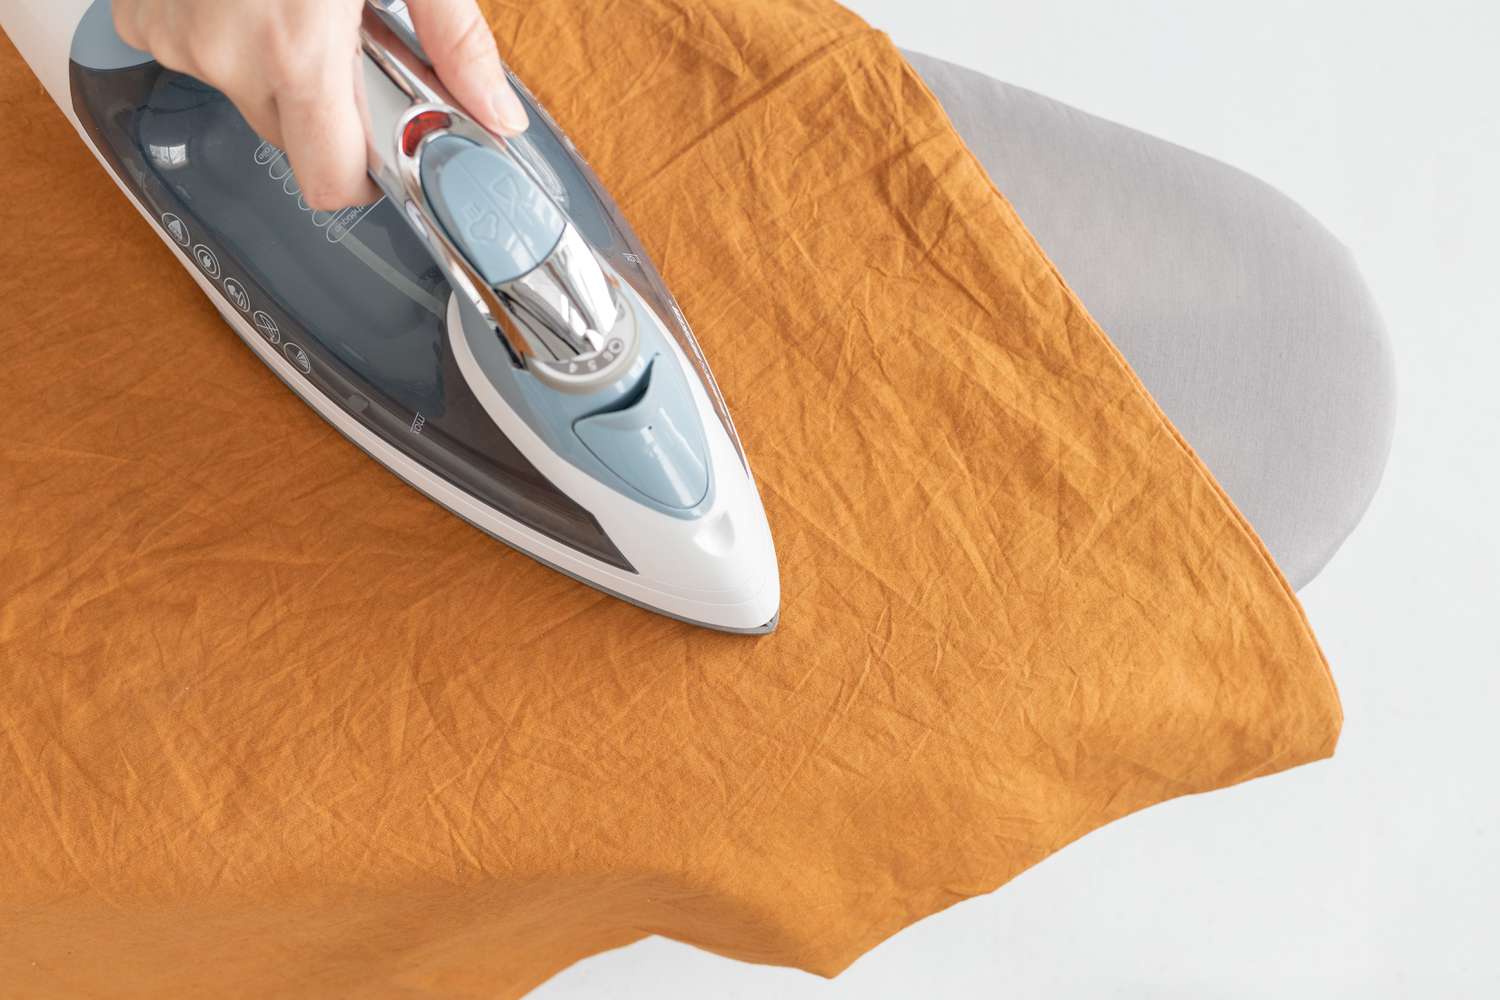
- Press the quilt with an iron to smooth out any wrinkles and give it a professional look.
- Consider quilting the layers together by stitching along the surface of the quilt. This not only adds a decorative touch but also helps secure the layers.
- You can choose from a variety of quilting designs such as straight lines, free-motion quilting, or even custom designs that suit your personal style. Let your creativity shine!
- Embroider or appliqué additional designs onto the quilt for added visual interest.
- Add a label to the back of the quilt with your name, the date, or a message to make it truly personalized.
- Give the quilt a final inspection, checking for any loose threads or areas that may need reinforcement.
- Wash and dry the quilt according to the fabric care instructions before displaying or using it.
Completing these final steps will ensure that your duvet cover quilt is not just functional but also a beautiful piece of art that can be cherished for years to come.
Congratulations on successfully turning your duvet cover into a quilt! You’ve showcased your sewing skills and transformed an old item into a new and meaningful creation.
With your quilt complete, feel free to showcase it on your bed, display it on a wall, or gift it to a loved one. The possibilities are endless!
Remember, quilting is a journey that allows your creativity to flourish. Feel free to experiment with different fabrics, patterns, and techniques to create unique quilts that reflect your personal style.
Enjoy the process, embrace your creativity, and happy quilting!
Note: Remember to validate the HTML encoding of this article for proper implementation and presentation.
Read more: How To Dye A Duvet Cover
Conclusion
Transforming a duvet cover into a quilt is not only a great way to repurpose old bedding but also an opportunity to showcase your creativity and sewing skills. By following the step-by-step process outlined in this article, you can create a beautiful and functional quilt that you will treasure for years to come.
We started by gathering all the necessary materials, including the duvet cover, batting, fabric for the backing, and sewing essentials. Then, we measured and cut the duvet cover to the desired size, ensuring that the measurements were accurate for a neat and symmetrical quilt.
Next, we prepared the batting, ensuring it matched the size of the cut duvet cover, and carefully layered it with the duvet cover. Securing the layers together using pins or clips ensured that they stayed in place during the sewing process.
Sewing the layers together required attention to detail, as we used a sewing machine to stitch along the edges, maintaining a consistent seam allowance. Trimming and binding the edges added a professional touch to the quilt, creating neat and finished edges.
Finally, we added the finishing touches, including pressing the quilt, quilting the layers together, and adding personalized embroidery or appliqué. Washing and drying the quilt before display or use ensured that it was clean and ready to be showcased or gifted.
Remember, quilting is a journey that allows you to express your creativity and create something unique. Don’t be afraid to experiment with different fabrics, patterns, and techniques to make your quilt truly one-of-a-kind.
So, dust off that old duvet cover and embark on your quilting adventure. With a little time, effort, and creativity, you can transform it into a beautiful quilt that will bring warmth and joy to your home.
Happy quilting!
Note: Remember to validate the HTML encoding of this article for proper implementation and presentation.
Now that you've transformed a duvet cover into a cozy quilt, why not dive deeper into the world of quilts? Our next read offers an engaging look into quilt making, detailing what quilts are and the intricate process of crafting them. Whether you're a seasoned sewer or just starting out, understanding these essentials will surely enrich your crafting journey and maybe even inspire your next project.
Frequently Asked Questions about How To Turn A Duvet Cover Into A Quilt
Was this page helpful?
At Storables.com, we guarantee accurate and reliable information. Our content, validated by Expert Board Contributors, is crafted following stringent Editorial Policies. We're committed to providing you with well-researched, expert-backed insights for all your informational needs.

0 thoughts on “How To Turn A Duvet Cover Into A Quilt”