Articles
How Do You Split A Log With Hand Tools
Modified: January 5, 2024
Discover the best techniques and tools for splitting logs by hand in this informative article. Learn how to safely and efficiently tackle this essential woodworking task.
(Many of the links in this article redirect to a specific reviewed product. Your purchase of these products through affiliate links helps to generate commission for Storables.com, at no extra cost. Learn more)
Introduction
Splitting logs by hand can be a rewarding and useful skill to learn. Whether you want to create firewood for your fireplace, build rustic furniture, or practice self-sufficiency in the great outdoors, knowing how to split logs with hand tools is a valuable technique to master. Not only is it a practical skill, but it can also offer a sense of accomplishment and a connection to nature.
In this article, we will guide you through the step-by-step process of splitting a log using hand tools. From selecting the right log to ensuring safety precautions, we will cover everything you need to know to handle this task effectively.
Before we dive into the details, let’s take a look at the tools and materials you will need to have on hand before getting started.
Key Takeaways:
- Master the art of log splitting with hand tools by following safety precautions, selecting the right log, and using proper techniques to efficiently and safely split wood for various purposes.
- Enhance your log-splitting skills with additional tips and tricks, such as using the right tools, sharpening equipment, and working in a team, to improve efficiency and make the process more enjoyable and rewarding.
Read more: How To Hollow Log With Hand Tools
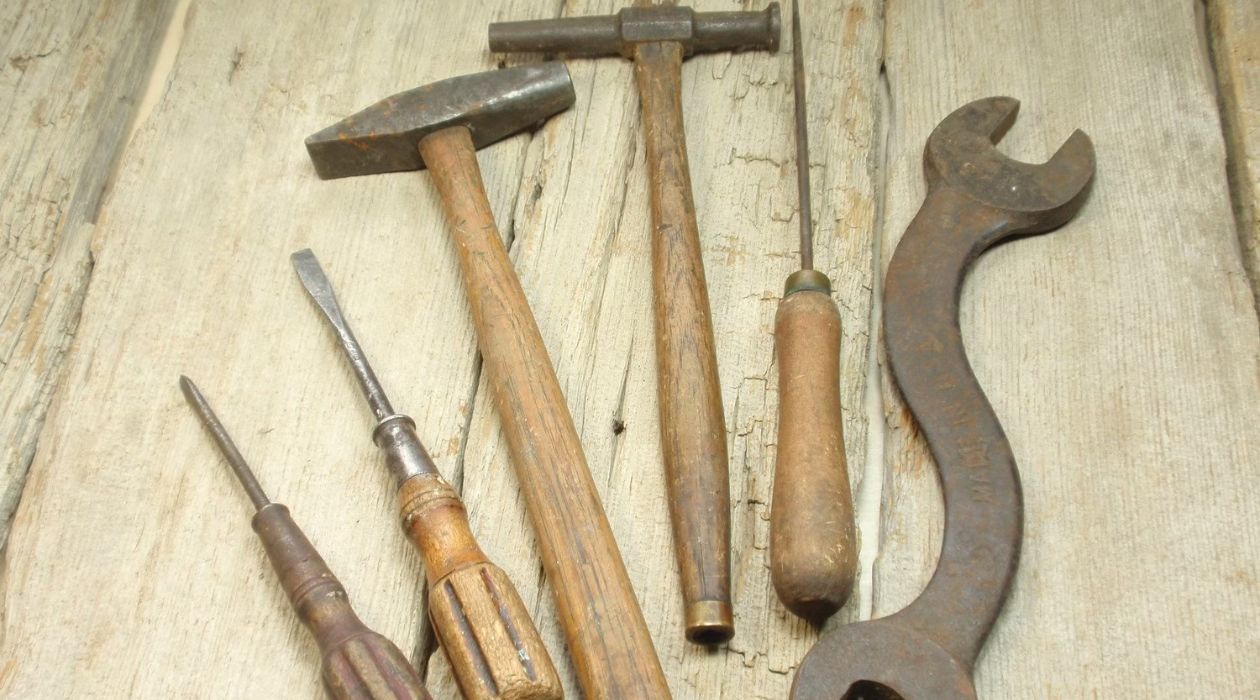
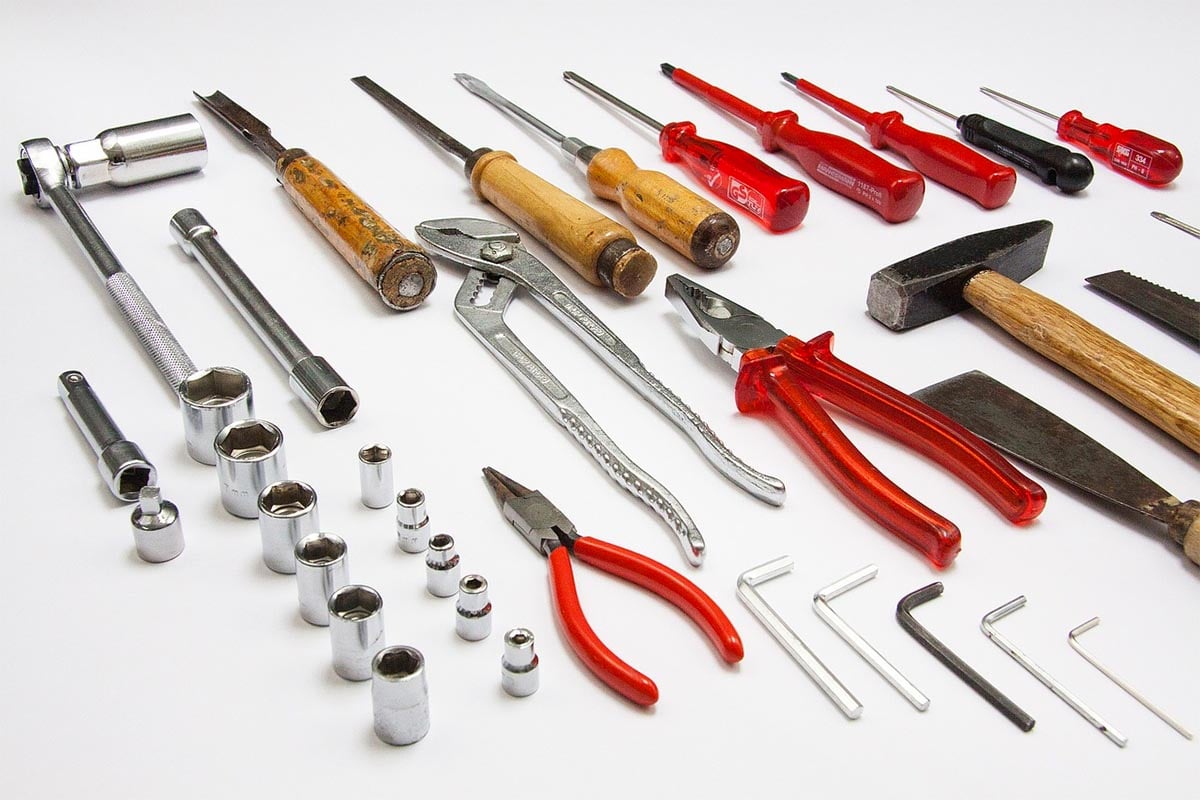
Tools and Materials Needed
Before you begin splitting a log with hand tools, it’s essential to gather the necessary tools and materials. Here’s a list of items you’ll need:
- Log: Choose a log that is straight and free from any defects like knots or rot. The length and diameter of the log depend on your specific needs, but a good starting point is a log around 16 to 24 inches in length and 8 to 12 inches in diameter.
- Wedge: A metal or wooden wedge is used to create initial splits in the log. The wedge’s shape helps to guide the splitting process and prevent the log from closing up during the split.
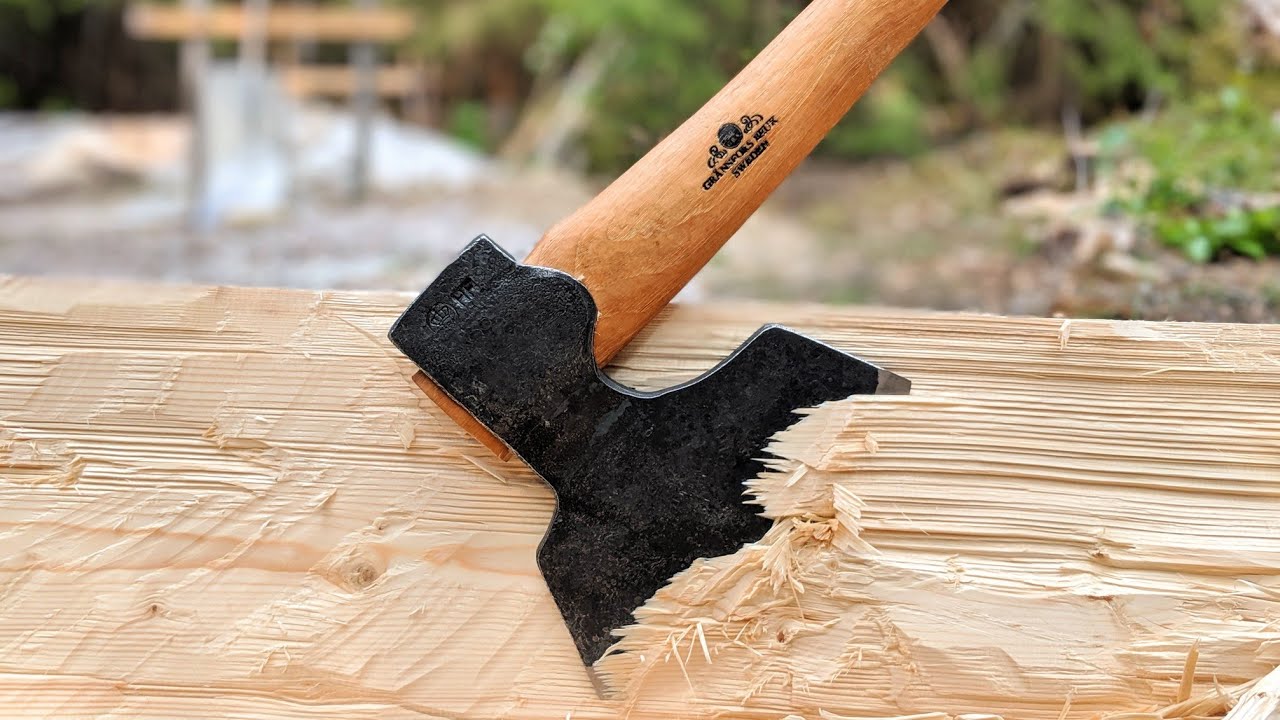
- Maul or Splitting Axe: A maul or splitting axe is used to deliver powerful blows to the log, driving the wedge deeper and splitting the wood along the grain. Choose a maul or axe with a sturdy and sharp head for effective splitting.
- Sledgehammer: A heavy-duty sledgehammer is useful for driving the wedge deeper into the log if you encounter resistance.
- Protective Gear: When working with hand tools, it’s crucial to prioritize safety. Wear safety goggles to protect your eyes from flying wood chips and debris. Additionally, wearing gloves and sturdy work boots will provide extra protection.
- Workbench or Sturdy Surface: Find a stable and secure workbench or a flat, solid surface to place the log for splitting. This will ensure stability and minimize the risk of injuries.
Now that you have all the necessary tools and materials, it’s essential to take some basic safety precautions before starting the log-splitting process. Let’s explore how to stay safe throughout the process.
Safety Precautions
Working with hand tools and splitting logs can be physically demanding and potentially hazardous. To ensure your safety, it’s important to follow these safety precautions:
- Wear Protective Gear: Always wear safety goggles to protect your eyes from flying wood chips and debris. Gloves and sturdy work boots will provide additional protection for your hands and feet.
- Choose a Safe Work Area: Find a spacious and well-lit area for log splitting. Ensure there is enough clearance around you to swing the maul or axe freely without obstructions.
- Inspect Your Tools: Before you start, inspect your tools for any damages or defects. Make sure your maul or axe is sharp and in good condition. Dull tools can be dangerous and may cause glancing blows.
- Maintain Good Posture: Stand with your feet shoulder-width apart and maintain a balanced posture throughout the process. Avoid overexertion and twisting movements that can lead to strains or injuries.
- Use Proper Technique: Use controlled and focused strikes with the maul or axe, directing the force towards the wedge. Avoid swinging the tool too forcefully, as it can lead to loss of control.
- Secure the Log: Ensure that the log is stable and properly positioned on the workbench or surface. A wobbling or unstable log can cause accidents and injuries.
- Work in a Well-Ventilated Area: If you are splitting logs indoors, make sure you have proper ventilation to avoid inhaling excessive dust and fumes.
- Know Your Limits: Splitting logs can be physically demanding. Take breaks as needed, stay hydrated, and listen to your body. If you feel fatigued or lightheaded, it’s time to take a rest.
By following these safety precautions, you can minimize the risk of accidents and enjoy a safe log-splitting experience. With the right precautions in place, let’s move on to the step-by-step process of splitting a log with hand tools.
Step 1: Choosing the Right Log
The first step in splitting a log with hand tools is to select the right log for the job. Here are some factors to consider when choosing the log:
- Straightness: Look for a log that is relatively straight. This will make the splitting process easier and more efficient.
- Diameter: Consider the diameter of the log. A log with a diameter between 8 to 12 inches is ideal for splitting by hand. Larger logs may require more force and effort.
- Length: The length of the log depends on your specific needs. If you plan to use the split wood for a fireplace or wood stove, a log length of around 16 to 24 inches is suitable.
- Quality: Inspect the log for any defects like knots, cracks, or rot. Avoid logs with significant defects as they can hinder the splitting process and produce low-quality firewood.
- Condition: Consider the moisture content of the log. Freshly cut, green logs are generally more challenging to split compared to well-seasoned logs. Seasoned logs have lower moisture content and are easier to split.
Once you have chosen the right log, it’s time to move on to the next step: marking the log for splitting.
Step 2: Marking the Log
After selecting a suitable log, the next step is to mark it to guide your splitting cuts. Marking the log will help you to maintain control and ensure consistent and precise splits. Here’s how to mark the log:
- Orientation: Decide on the desired orientation of the split. You can split the log into halves or quarters, depending on your needs.
- Ends: Identify the top and bottom ends of the log. Mark these ends with a small X or a line using chalk or a pencil.
- Center Line: Measure the length of the log and mark the center point using a measuring tape. Draw a straight line along the center of the log from the top to the bottom ends.
- Splitting Cuts: Now, mark additional lines on each side of the center line, indicating where you will make your splitting cuts. For example, if you plan to split the log into quarters, mark two lines parallel to the center line, dividing the log into four equal sections.
By marking the log, you will have a visual guide to follow when making your splitting cuts. This will help ensure that your splits are accurate and consistent, resulting in evenly-sized sections of firewood or wood for your projects.
With the log properly marked, it’s time to move on to the next step: positioning the log for splitting.
Read more: How To Build Log Cabin With Hand Tools
Step 3: Positioning the Log
Once you have marked the log, the next step in splitting it is to properly position it for optimal stability and safety. Follow these steps to position the log:
- Find a Sturdy Surface: Place the log on a stable and secure workbench or a flat, solid surface. Ensure that the surface is level and can withstand the force of the splitting process.
- Orientation: Position the log so that the marked lines are facing upward and visible. This will help you align your splitting tools correctly and accurately follow the desired splitting path.
- Secure the Log: To prevent the log from moving or rolling during the splitting process, you can secure it with wedges or clamps. This will provide additional stability and reduce the risk of accidents or injuries.
- Clear the Area: Make sure the area around the log is clear of any obstacles or objects that could interfere with your swings or movements. This will allow you to work safely and with full range of motion.
By properly positioning the log, you create a secure and controlled environment for the splitting process. This ensures stability, accuracy, and minimizes the risk of injuries. Once the log is correctly positioned, you are ready to move on to the next step: making initial cuts.
Step 4: Making Initial Cuts
With the log properly positioned, it’s time to make the initial cuts to create the starting points for the splitting process. Follow these steps to make the initial cuts:
- Align the Wedge: Place the wedge at the designated starting point of the log, aligning it with one of the marked lines. Position the wedge with the pointed end facing down toward the center of the log.
- Hammer the Wedge: Use a heavy mallet or a sledgehammer to strike the top of the wedge firmly and steadily, driving it into the log. Repeat this process until the wedge is embedded firmly in the log.
- Rotate the Log: Once the first wedge is in place, rotate the log slightly, so the next marked line is accessible. Align the wedge with the new starting point and repeat the hammering process to create a second starting point.
- Continue the Process: Repeat the process of rotating the log, aligning the wedge, and hammering it into the log until all the marked lines have a starting point. This will create a series of initial cuts along the desired splitting path.
The purpose of making initial cuts is to create gaps or splits in the log, allowing the subsequent splitting process to proceed more smoothly. These cuts serve as guide points for the wedges and help prevent the log from closing up during the splitting process.
Once you have made the initial cuts, it’s time to move on to the next step: splitting the log using a wedge and a maul or splitting axe.
Step 5: Splitting the Log with a Wedge
Now that you have made the initial cuts, it’s time to proceed with splitting the log using a wedge. Follow these steps to split the log using a wedge:
- Align the Wedge: Position the wedge into one of the initial cuts you have made. Make sure the wedge is aligned with the grain of the wood, pointing towards the center of the log. The initial cut will help guide the wedge into the log and prevent it from veering off.
- Strike the Wedge: Use a heavy maul or splitting axe to strike the wedge firmly and with controlled force. Deliver a powerful blow to drive the wedge deeper into the log. Repeat this process until the wedge is embedded firmly and the log starts to split along the grain.
- Move to the Next Cut: Once the log has split along the initial cut, move the wedge to the next marked cut along the splitting path. Repeat the process of aligning the wedge and striking it with the maul or axe. Continue moving along the marked cuts, splitting the log further.
- Adjust the Wedge: As you progress, you may need to adjust the angle and position of the wedge to follow the natural grain of the wood. Pay attention to any resistance or cracks in the log and adjust the wedge accordingly for smoother splits.
- Splitting Completion: Continue the splitting process, working your way along the marked cuts until the log has been completely split into the desired sections. Be patient, as splitting a log can be a physically demanding process that requires focus and precision.
Splitting the log with a wedge helps separate the wood along the grain, utilizing the natural weaknesses in the log. With each strike, the wedge drives deeper and widens the split, making it easier to divide the log into manageable sections.
However, if you prefer an alternative method to split the log, you can use a maul or splitting axe. Let’s explore this option in the next step.
When splitting a log with hand tools, make sure to use a sharp and sturdy splitting maul or axe. Position the log on a stable surface and aim for the center of the log to achieve a clean split. Always wear protective gear and be mindful of your surroundings.
Step 6: Splitting the Log with a Maul or Splitting Axe
If you prefer an alternative to using a wedge, you can split the log using a maul or splitting axe. Follow these steps to split the log with a maul or splitting axe:
- Position the Log: Ensure that the log is securely positioned on a sturdy surface, with the marked cuts visible and accessible.
- Hold the Maul or Axe: Grasp the handle of the maul or axe firmly with both hands, placing one hand near the base of the handle for better control and power.
- Aim for the Marked Cut: Align the blade of the maul or axe with one of the marked cuts on the log, focusing on hitting the wood along its grain for optimal splitting.
- Powerful Swing: Perform a powerful swing, bringing the maul or axe overhead and using the weight of the tool to deliver a forceful blow onto the log.
- Follow Through: Follow through with your swing, ensuring that the blade penetrates the wood and drives the split further along the grain.
- Repeat the Process: Continue moving along the marked cuts, delivering powerful swings with the maul or axe to split the log further. Adjust your stance and grip as necessary to maintain control and minimize strain.
- Be Mindful of Safety: Take care to keep your hands away from the blade and avoid standing directly in the path of the swing to prevent accidents or injuries.
Using a maul or splitting axe can provide a more direct and controlled approach to splitting a log. The weight and shape of the tool help deliver powerful blows that efficiently cut into the wood and separate it along the grain.
As you progress through the splitting process, remove the split sections from the work area to clear space for further splitting. Let’s move on to the next step to learn how to remove these split sections.
Read more: How Do You Clean Rusty Hand Tools
Step 7: Removing Split Sections
Once you have successfully split the log, it’s time to remove the split sections. Follow these steps to remove the split sections:
- Assess the Split Sections: Take a moment to assess the split sections that have been created. Determine if any further splitting is necessary to achieve your desired result.
- Remove Small Sections: For smaller split sections, you can simply lift and remove them from the work area. Use caution when handling the split sections, as they may have sharp edges or protrusions.
- Use a Wedge or Axe: If larger sections require further splitting, you can use a wedge or axe to divide them into more manageable pieces. Position the wedge or axe at the desired splitting point and deliver controlled strikes to separate the sections.
- Work Methodically: Take your time and work methodically to remove the split sections. Clear the work area of split wood to create space for additional splitting if needed.
By removing the split sections, you make way for easier processing, storage, or further use of the wood. Remember to exercise caution during this step, as handling split sections can still pose physical risks.
Now that you have removed the split sections, you can repeat the process with any remaining sections of the log or move on to the final step: cleaning up and concluding the log-splitting process.
Step 8: Repeating the Process
To effectively split a log with hand tools, it may be necessary to repeat the splitting process for any remaining sections of the log. Follow these steps to repeat the process:
- Evaluate Remaining Sections: Take a moment to assess any remaining sections of the log and determine if further splitting is needed.
- Position and Secure: Properly position and secure the remaining sections of the log on a stable surface, ensuring stability and safety.
- Begin with Initial Cuts: Mark the remaining sections of the log with initial cutting lines, similar to the marking process described earlier.
- Split with Wedge or Maul: Repeat the splitting process using a wedge or maul, as detailed in the earlier steps. Align your tools, deliver powerful blows, and split the remaining sections along the marked cuts.
- Remove Split Sections: As before, carefully remove the split sections from the work area, evaluating if further splitting is needed or if the wood is now ready for use.
It is important to approach each remaining section with the same level of caution, precision, and attention to detail as you did with the initial splitting process. By repeating the process, you can efficiently split the entire log into usable sections.
Remember, the log-splitting process requires physical effort and focus. Take breaks as needed, stay hydrated, and listen to your body to avoid fatigue or injuries.
After completing the necessary splits and removing the sections, it’s time to conclude the log-splitting process.
Conclusion
Congratulations! You have successfully learned how to split a log with hand tools. Whether you are looking to create firewood, build furniture, or practice self-sufficiency, this skill opens up a world of possibilities.
Throughout the process, we explored the steps involved in splitting a log. From selecting the right log to ensuring safety precautions, marking the log, positioning it correctly, making initial cuts, and finally splitting it with a wedge or maul, you have gained a solid foundation in the art of log splitting.
Remember, safety should always be a priority when working with hand tools. Wear protective gear, choose a safe work area, and ensure your tools are in good condition. Take the time to properly position the log, follow the marked cuts, and use controlled and powerful strikes when splitting.
By following the steps outlined in this guide, you can efficiently and safely split logs to meet your specific needs. Remember to take breaks when necessary and listen to your body to avoid strain or exhaustion.
Now that you have completed the log-splitting process, you can enjoy the fruits of your labor. Use the split wood for heating, woodworking projects, or any other purpose that fits your needs.
Continue to practice and refine your skills, as the more you split logs, the more proficient you will become. With time and experience, you will develop your techniques and find what works best for you.
Thank you for joining us on this log-splitting journey. Happy splitting!
Note: Before proceeding with log splitting, ensure that you comply with local regulations and obtain any necessary permits or permissions if required.
Additional Tips and Tricks
As you continue to develop your log-splitting skills, here are some additional tips and tricks that can help improve your efficiency and make the process smoother:
1. Use the right tools: Invest in quality hand tools such as a sturdy maul, sharp splitting axe, and reliable wedges. Choosing the right tools for the job will make the splitting process easier and more effective.
2. Sharpen your tools: Regularly sharpen your maul and axe to ensure optimal cutting efficiency. A sharp cutting edge makes splitting easier and requires less effort.
3. Season the wood: If possible, allow the logs to season or dry out for several months before splitting. Seasoned wood is generally easier to split compared to freshly cut or green wood.
4. Split smaller logs first: If you’re new to log splitting or want to conserve energy, start by practicing on smaller logs before moving on to larger ones. This will help you build confidence and develop the necessary techniques.
5. Splitting aids: Consider using splitting aids such as a splitting maul with a longer handle or a log splitter. These tools can assist in generating more force and efficiency during the splitting process.
6. Work in a team: If possible, enlist the help of a partner or friend to speed up the log splitting process. One person can focus on striking the wedge or maul, while the other person guides the log and removes split sections.
7. Take breaks and stay hydrated: Splitting logs can be physically demanding work. Take regular breaks to rest, stretch, and hydrate yourself. This will help prevent fatigue and reduce the risk of injuries.
8. Proper storage: After splitting the logs, stack and store the split wood in a dry and ventilated area. This will prevent moisture build-up and allow the wood to continue drying, making it more suitable for use.
By incorporating these additional tips and tricks into your log splitting routine, you can enhance your efficiency and effectiveness, making the process more enjoyable and rewarding.
Remember, practice makes perfect, so keep honing your skills and enjoy the satisfaction of creating usable firewood or wood for your projects.
Frequently Asked Questions
Q: Can I split a log with just an axe?
A: Yes, you can split a log with just an axe. A splitting axe is designed with a wedge-shaped head that helps to split the wood along the grain. However, using a wedge in conjunction with the axe can make the process more efficient and prevent the wood from closing up during the split.
Q: How do I know if a log is suitable for splitting?
A: Look for a log that is relatively straight, free from major defects like knots or rot, and has a diameter that is manageable with your hand tools. It’s also helpful to select well-seasoned logs, as they are typically easier to split compared to green or freshly cut logs.
Q: How much force should I use when swinging the maul or axe?
A: When swinging the maul or axe, use controlled and powerful strikes. The key is to let the weight of the tool do the work for you. Avoid overexerting yourself, but deliver enough force to drive the wedge or blade into the log and split it along the grain.
Q: What if the log doesn’t split easily?
A: If you encounter resistance while splitting the log, you can try adjusting your angle of attack or repositioning the wedge or axe blade. Applying additional force with a sledgehammer, if necessary, can also help overcome stubborn sections of the log. However, always prioritize safety and be cautious when using extra force.
Q: How do I store the split wood?
A: To store the split wood, stack it in a dry and ventilated area, allowing air circulation to prevent moisture buildup. It’s best to keep the split wood off the ground to avoid contact with moisture. If possible, cover the stacked wood to protect it from rain or snow.
Q: Can I split logs indoors?
A: It is generally recommended to split logs outdoors or in a well-ventilated area to minimize the inhalation of dust and fumes. However, if you have a designated indoor area with proper ventilation, you can split logs indoors. Just make sure to take the necessary precautions and maintain a safe environment.
If you have any more questions or concerns about log splitting or using hand tools, consult local experts or professionals in the field for further guidance.
References
During the creation of this article, the following sources were referred to for information and guidance:
1. “Wood Splitting Techniques: A Comprehensive Guide” – American Trails
2. “How to Split Firewood Correctly” – The Spruce
3. “Log Splitting Basics: How to Split Logs for Firewood” – Timberland Supply
4. “How to Split Logs for Firewood” – DIY Network
5. “The Art of Splitting Wood” – Mother Earth News
These references provided valuable insights into the process of splitting logs with hand tools, safety precautions, tips, and techniques. They served as reliable sources for accurate and detailed information.
It’s important to note that log splitting techniques may vary depending on regional practices and individual preferences. Always prioritize safety and consult local guidelines and regulations when engaging in log splitting activities.
By referring to these sources, we were able to compile a comprehensive and informative guide on how to split logs with hand tools.
Frequently Asked Questions about How Do You Split A Log With Hand Tools
Was this page helpful?
At Storables.com, we guarantee accurate and reliable information. Our content, validated by Expert Board Contributors, is crafted following stringent Editorial Policies. We're committed to providing you with well-researched, expert-backed insights for all your informational needs.


0 thoughts on “How Do You Split A Log With Hand Tools”