Articles
How To Build Log Cabin With Hand Tools
Modified: November 1, 2024
Learn how to build a log cabin using only hand tools with our comprehensive collection of articles. Discover step-by-step instructions and expert tips.
(Many of the links in this article redirect to a specific reviewed product. Your purchase of these products through affiliate links helps to generate commission for Storables.com, at no extra cost. Learn more)
Introduction
Building a log cabin with hand tools is a rewarding and fulfilling project that allows you to reconnect with nature and create a cozy retreat in the wilderness. Whether you are an experienced carpenter or a passionate DIY enthusiast, constructing a log cabin can be a challenging yet gratifying endeavor.
In this comprehensive guide, we will walk you through the step-by-step process of building a log cabin using hand tools. From gathering the necessary tools to selecting the right logs and completing the finishing touches, we will cover all the essential aspects of this timeless construction method.
While modern construction techniques often rely on power tools and machinery, building a log cabin with hand tools offers a unique sense of craftsmanship and connection with the natural materials. It allows you to work at your own pace, fostering a deeper appreciation for the art of woodworking.
Before you embark on this log cabin building journey, it is important to understand that it will require time, patience, and dedication. However, the end result is a beautiful, rustic sanctuary that you can proudly call your own.
So, if you are ready to take on the challenge, let’s dive into the world of log cabin construction with hand tools and discover the techniques and processes that will bring your dream cabin to life.
Key Takeaways:
- Embrace the timeless art of log cabin construction with hand tools, from selecting the right logs to crafting doors and windows. Create a cozy retreat that reflects your unique style and connection with nature.
- Building a log cabin with hand tools requires patience and dedication, but the rewards are a sturdy, beautiful sanctuary that stands the test of time. Balance functionality and aesthetics to create a space where memories are made and cherished.
Read more: How To Build A Log Cabin Shed
Gathering the Necessary Tools
Before you begin the construction of your log cabin, it is essential to gather all the necessary tools. While power tools may seem more efficient, building a log cabin with hand tools adds an authentic touch and allows you to fully immerse yourself in the process. Here are the essential tools you’ll need:
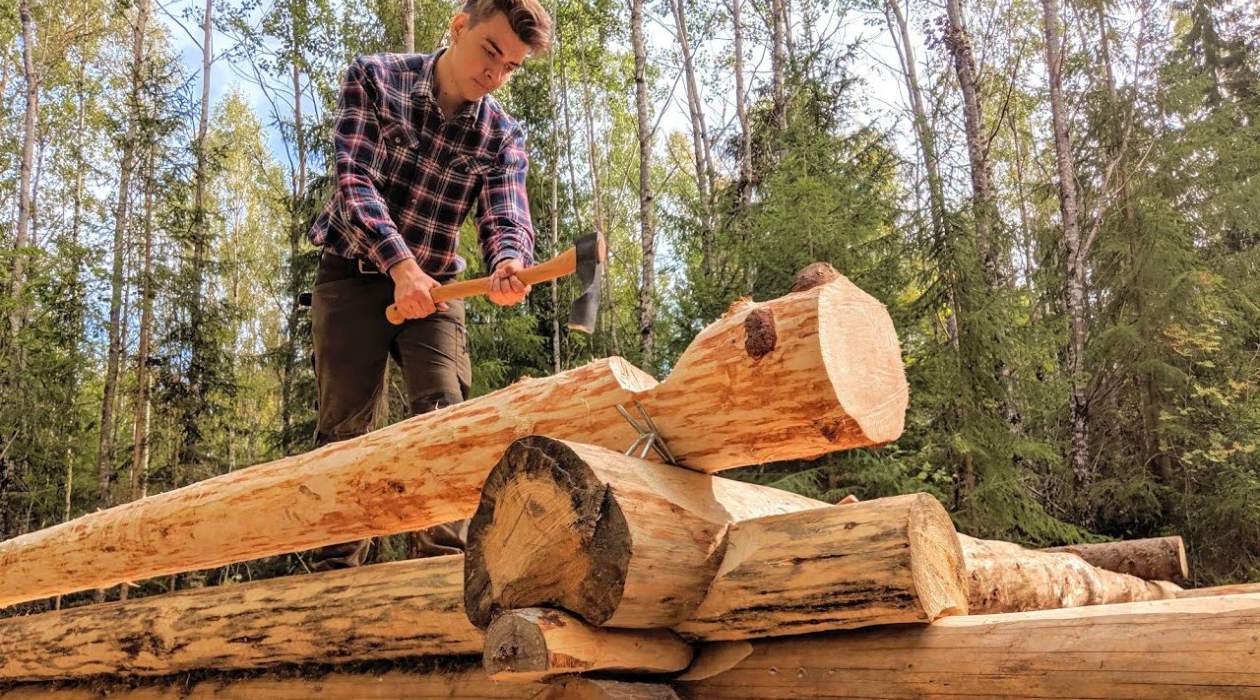
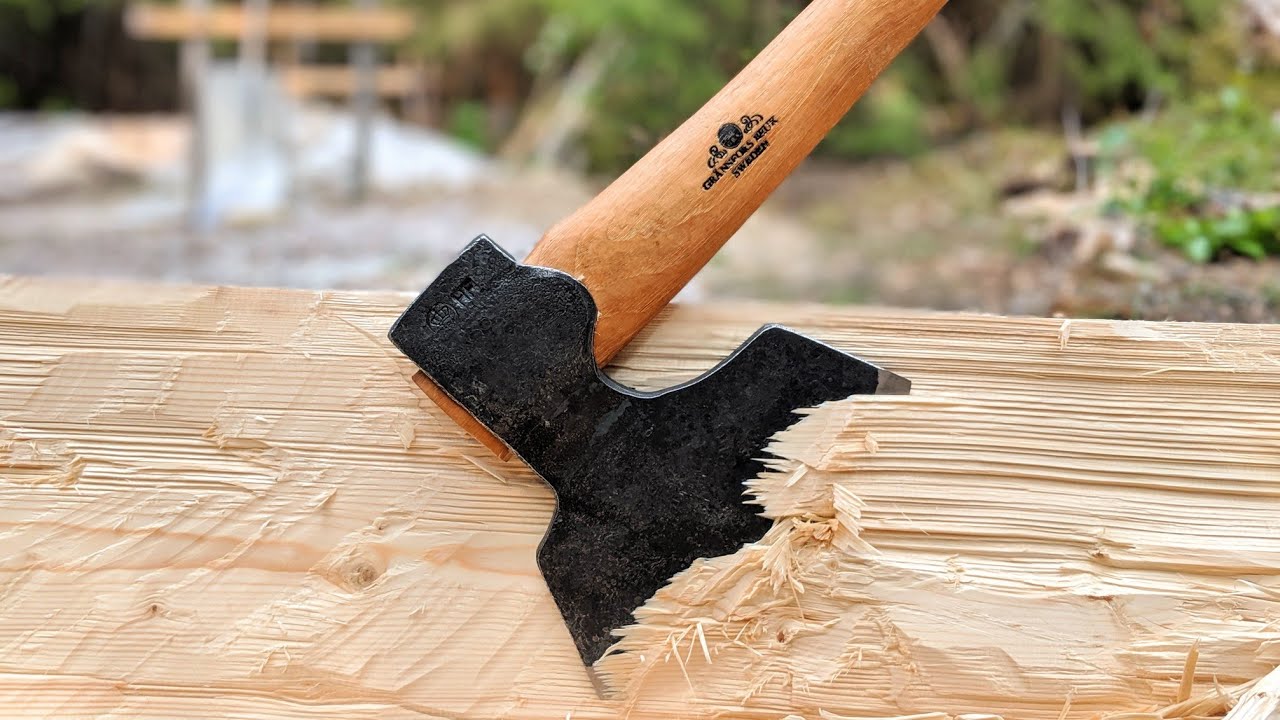
- Ax: An ax is a versatile tool that will be used to shape and square the logs. Choose a high-quality ax with a sharp blade for optimal performance.
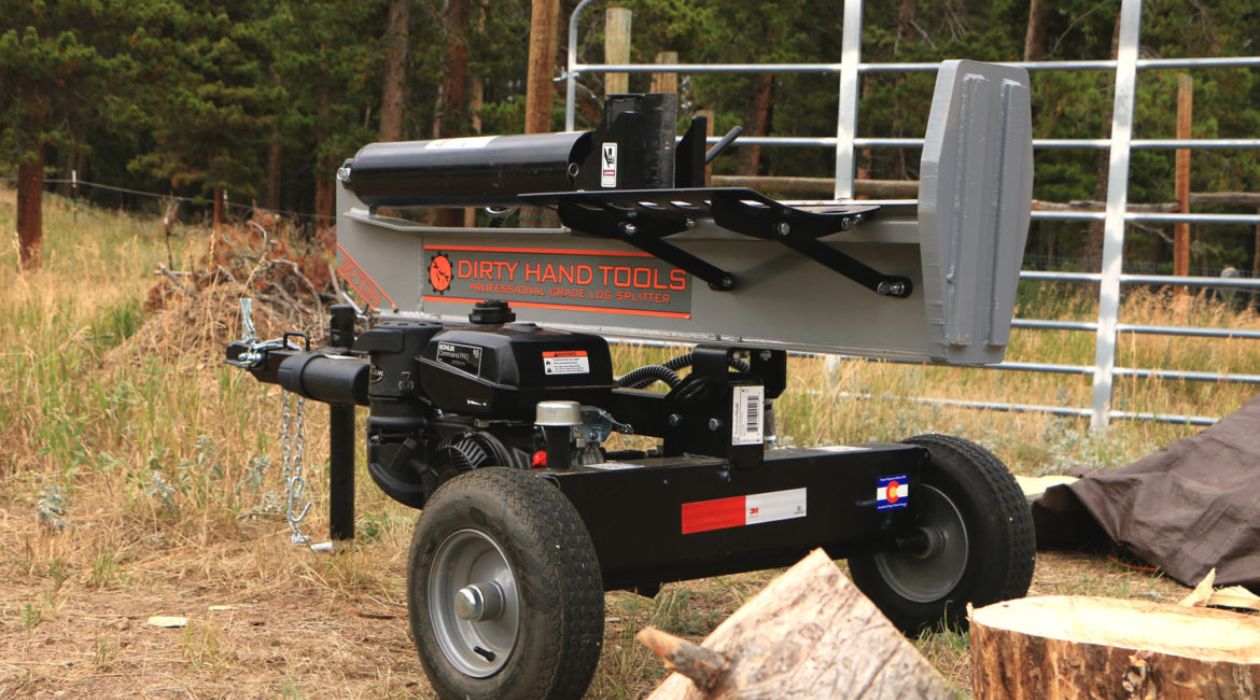
- Chainsaw: Although the emphasis is on hand tools, a chainsaw can be helpful for felling larger trees and cutting logs to size. Make sure to prioritize safety and wear protective gear when operating a chainsaw.
- Drawknife: A drawknife is used for peeling the bark off the logs and shaping them. Look for a drawknife with a comfortable grip and a sharp blade.
- Chisels: Chisels are essential for notching and joining the logs. Invest in a set of chisels with different widths to accommodate various log sizes.
- Hammers: You’ll need a variety of hammers for driving in nails, shaping logs, and general carpentry. Choose hammers of different weights to suit different tasks.
- Saws: While a chainsaw can handle the initial cutting, hand saws are necessary for more precise trimming and shaping. A crosscut saw and a rip saw are the two main types to consider.
- Scribe: A scribe is a tool used to mark and fit the notches on the logs accurately. Look for a scribe with an adjustable width to accommodate different log diameters.
- Square: A carpenter’s square is essential for ensuring the logs are level and the corners are squared. Choose a sturdy and accurate square for precise measurements.
- Gloves and Safety Gear: Protect your hands with durable work gloves and wear safety goggles, ear protection, and a hard hat for added safety.
These tools will form the foundation of your log cabin construction project. It is important to maintain and sharpen them regularly for optimal performance. Additionally, having a well-organized tool belt or tool chest will ensure that your tools are easily accessible while you work.
Now that you have gathered all the necessary tools, it’s time to move on to the next step: selecting the right logs for your log cabin.
Selecting the Right Logs
Choosing the right logs is a critical step in building a log cabin. The quality, size, and species of the logs will determine the overall strength and aesthetics of your cabin. Here are some factors to consider when selecting logs:
1. Size and Diameter: Select logs that are straight and have a consistent diameter. The diameter will determine the thickness of your cabin walls and should be suitable for your desired insulation and structural needs. Keep in mind that larger diameter logs provide better insulation and structural stability.
2. Species: Different tree species have different characteristics that will affect the longevity and appearance of your log cabin. Research the local tree species in the area where you plan to build and choose ones that are known for their durability and resistance to decay, such as cedar, pine, or oak.
3. Moisture Content: Ideally, the logs should be properly dried to prevent shrinkage and minimize the risk of insect infestation. Air-dried logs with a moisture content of around 15-20% are recommended. If possible, store the logs in a dry, well-ventilated area before construction.
4. Sustainability: Consider the environmental impact of harvesting the logs. Opt for sustainably sourced logs from responsibly managed forests. This ensures that your log cabin project aligns with eco-friendly practices and contributes to the preservation of natural resources.
5. Checking and Cracks: Inspect the logs for any visible cracks or checks. While small cracks are normal and can be filled during the construction process, large cracks can weaken the structural integrity of the logs. Avoid logs with extensive checking and focus on ones that are in good condition.
6. Natural Shape: Embrace the natural shape and character of the logs. Logs with knots, bends, and other unique features add visual interest and rustic charm to your cabin. However, ensure that the irregularities do not compromise the overall stability of the logs.
When purchasing or harvesting logs for your cabin, it is recommended to have a knowledgeable professional assess the quality and suitability of the logs. They can offer expert advice and help you make informed decisions.
Once you have selected the right logs, it’s time to move on to the next step: clearing and leveling the construction site.
Clearing and Leveling the Construction Site
Before you start laying the foundation for your log cabin, you need to clear and level the construction site. Proper site preparation ensures a stable and secure base for your cabin. Here are the steps to clear and level the construction site:
1. Clear Vegetation: Remove any trees, shrubs, and other vegetation from the area where your cabin will be constructed. This includes clearing the ground of rocks, stumps, and debris to provide a clean and even surface.
2. Survey the Site: Use a surveyor’s tool or a level to determine the highest and lowest points on the site. This will help you identify any areas that need to be filled or leveled to achieve a flat foundation.
3. Excavation: If your site is uneven or has significant slopes, you may need to excavate or fill certain areas to create a level surface. Use a shovel or a mini excavator to remove excess soil or add fill dirt as required.
4. Compact the Soil: After excavation or filling, compact the soil using a plate compactor or a hand tamper. This will ensure the stability of the foundation and prevent settling in the future.
5. Install Drainage: Consider the natural flow of water on your site and install appropriate drainage systems to divert water away from the cabin’s foundation. This may include building swales, leveling the ground away from the cabin, or installing French drains.
6. Lay Gravel Base: To further stabilize the foundation, spread a layer of compacted gravel over the leveled site. This will provide a solid base for the cabin’s footings and prevent water accumulation.
7. Check for Level: Use a laser level or a builder’s level to ensure that the entire site is level. This step is crucial for establishing a balanced and structurally sound foundation.
By properly clearing and leveling the construction site, you are setting the stage for a successful log cabin build. Take your time during this step to ensure accuracy and precision.
With the site cleared and leveled, it’s time to move on to the next phase: laying the foundation and assembling the cabin’s floor.
Foundation and Floor Assembly
The foundation and floor assembly are crucial components of your log cabin, providing stability and support for the entire structure. Here’s a step-by-step guide to help you lay the foundation and assemble the cabin’s floor:
1. Foundation Type: Determine the type of foundation that best suits your needs and budget. Common options include concrete slab, pier and beam, or concrete piers. Choose a foundation that is appropriate for the soil conditions and local building codes.
2. Excavation: If your chosen foundation requires excavation, mark the perimeter and excavate the area to the desired depth. Ensure that the excavation is level and free from any obstructions.
3. Footings: For a concrete foundation, pour footings at regular intervals along the perimeter of the excavation. Follow the recommended specifications for footing depth and width based on your local building codes.
4. Formwork: Construct formwork to create a mold for pouring the concrete foundation. Use plywood or wooden boards and stakes to create the formwork, ensuring that it is level and securely held in place.
5. Reinforcement: If required by local building codes, add reinforcement such as rebar or wire mesh to strengthen the foundation. Place the reinforcement within the formwork, ensuring that it is properly secured and spaced.
6. Pour Concrete: Once the formwork and reinforcement are in place, pour the concrete into the excavated area. Use a concrete mixer or hire a professional if necessary. Smooth the surface with a trowel and ensure that it is level.
7. Curing: Allow the concrete foundation to cure and gain strength according to the manufacturer’s recommendations. This typically takes several days, during which you should protect the foundation from excessive moisture and temperature fluctuations.
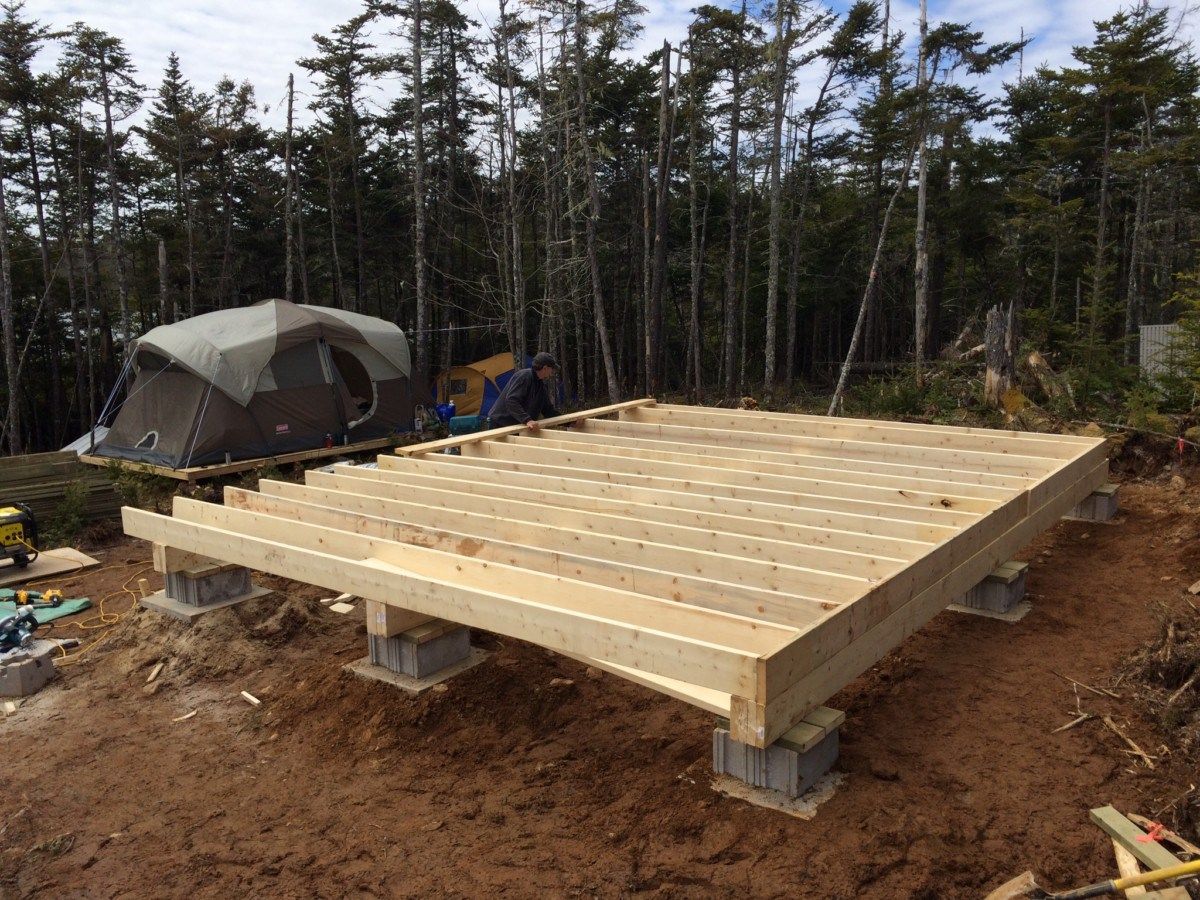
8. Floor Assembly: Once the foundation is fully cured, you can begin assembling the cabin’s floor. Lay treated lumber or plywood sheets over the foundation, ensuring that they are securely fastened together. Use a level to ensure the floor is even and adjust as needed.
9. Subfloor Insulation: Install insulation between the floor joists to improve energy efficiency and provide thermal comfort. Use foam insulation boards or roll insulation, and secure them in place to prevent movement.
10. Vapor Barrier: Cover the insulation with a vapor barrier to prevent moisture from seeping into the floor. This helps protect against mold and rot. Ensure the vapor barrier is properly sealed and taped at the edges.
By following these steps, you will establish a solid foundation and create a sturdy floor for your log cabin. With the foundation and floor assembly complete, it’s time to move on to the next phase: notching and joining the logs.
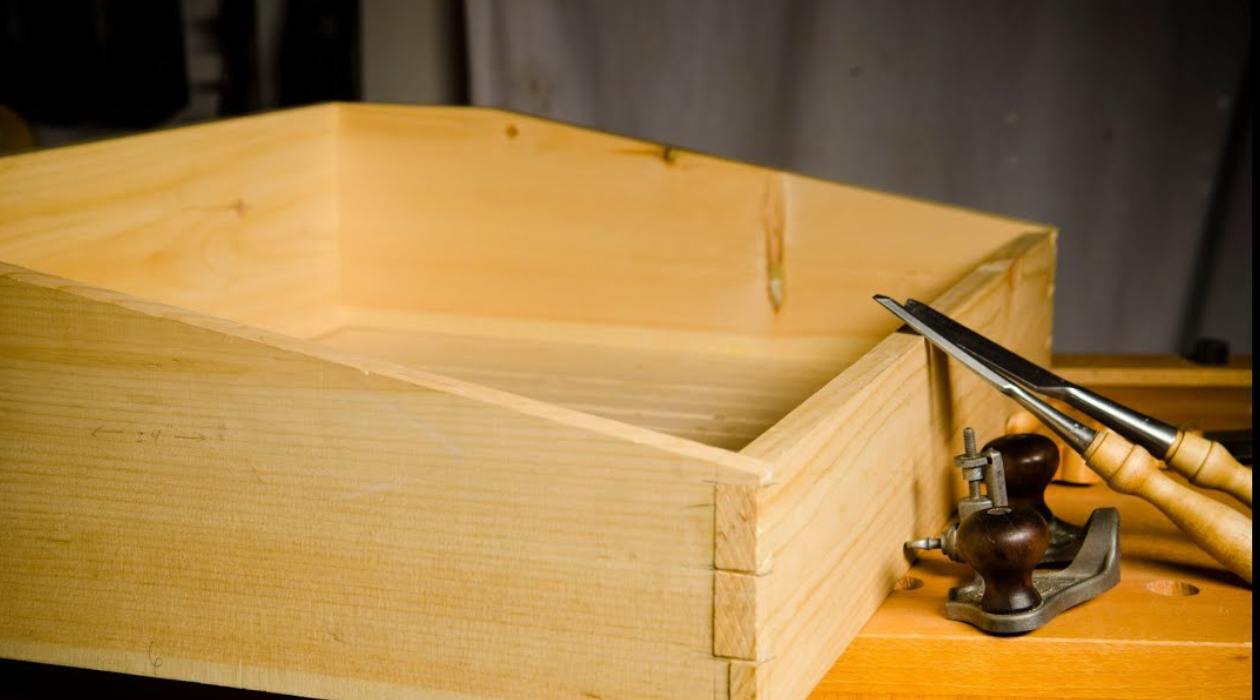
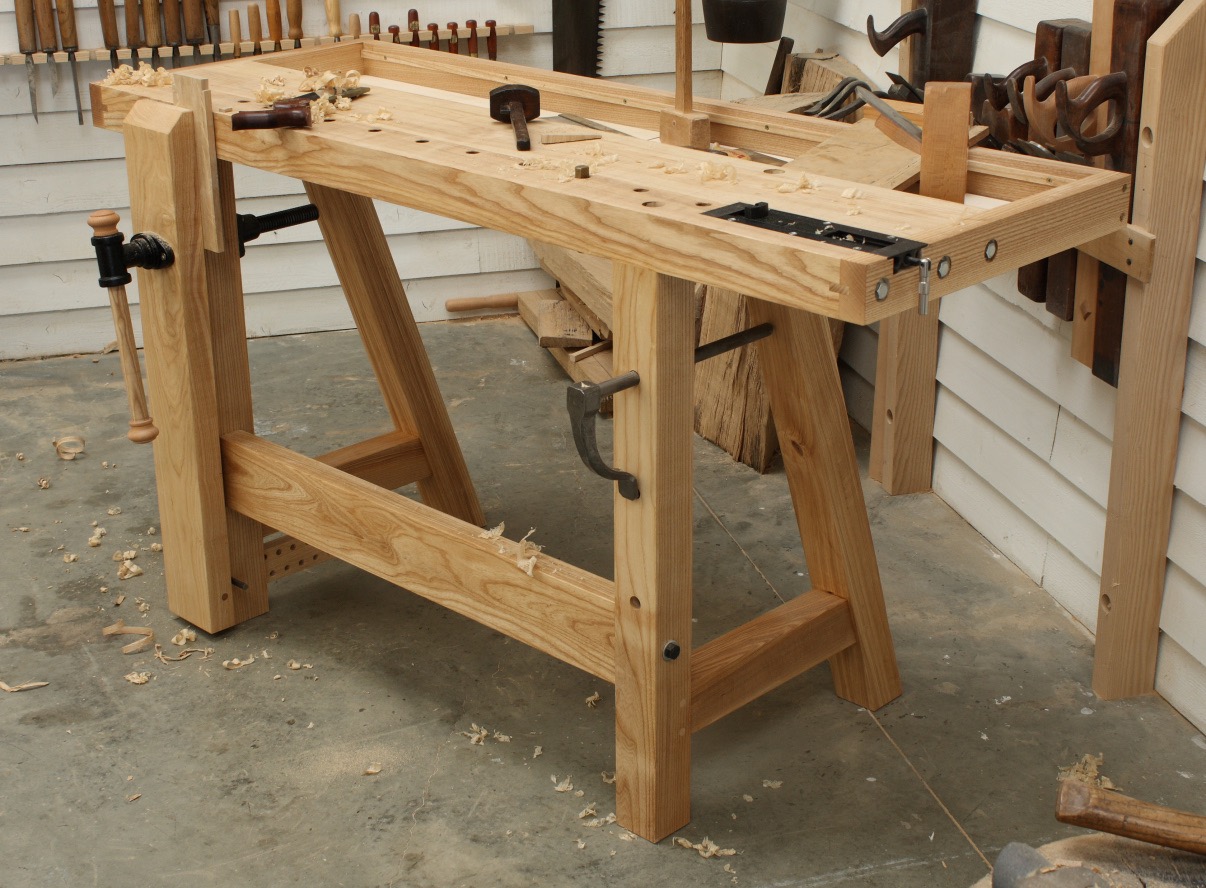
When building a log cabin by hand, make sure to have essential hand tools such as a drawknife, chisel, mallet, and hand saw. These tools will help you shape and fit the logs together with precision.
Read more: How To Hollow Log With Hand Tools
Notching and Joining the Logs
Notching and joining the logs is a crucial step in the construction of your log cabin. This process involves shaping the ends of the logs to create interlocking joints that provide structural stability and maintain the integrity of the cabin. Here’s a step-by-step guide to notching and joining the logs:
1. Prepare the Logs: Measure the desired length of each log and use a chainsaw or hand saw to cut them to size. Ensure that the ends are clean and free from any irregularities or obstructions.
2. Mark the Logs: Use a pencil or chalk to mark the locations for notches and notching depth on each log. This will help guide your cutting and ensure consistency throughout the construction process.
3. Choose a Notching Style: There are several types of notching styles, including saddle notch, dovetail notch, and Scandinavian notch. Research and choose a style that best suits your personal aesthetic and the specific requirements of your cabin design.
4. Notch the Logs: Use a chainsaw, chisel, and drawknife to remove the excess wood and create the notches according to the marked measurements. Take care to follow the designated notching style and maintain clean, precise cuts.
5. Test Fit and Adjust: After notching each log, test fit them together to ensure a snug and secure fit. Make any necessary adjustments to the notches or log ends to achieve proper alignment and optimal joint connections.
6. Secure the Joints: Once the logs fit perfectly, secure the joints by inserting wooden dowels or metal rods through pre-drilled holes in the logs. This will strengthen the connections and prevent the logs from shifting or separating over time.
7. Sealing and Insulating: Apply a sealant or caulking material to the joints to provide an additional layer of protection against air and water infiltration. Additionally, consider adding insulation between the logs to improve energy efficiency and maintain a comfortable indoor climate.
8. Repeat the Process: Continue notching, fitting, and securing each log in place, working your way up the walls of the cabin. Take your time to ensure accuracy and precision in the notching and joining process.
By following these steps, you will successfully notch and join the logs, creating a strong and secure structure for your log cabin. With the logs in place, it’s time to move on to the next phase: installing the roof.
Installing the Roof
Installing the roof is a significant milestone in the construction of your log cabin. A well-built roof provides protection against the elements and completes the overall structure. Here’s a step-by-step guide to installing the roof for your log cabin:
1. Determine the Roof Style: Choose a roof style that suits your cabin’s design and the local climate. Common options include gable, hip, or shed roofs. Consider factors such as snow load, rainfall, and the aesthetic appeal of different roof styles.
2. Prepare the Roofing Materials: Purchase or gather the necessary roofing materials, such as shingles, metal panels, or thatch. Ensure that you have enough materials to cover the entire roof area, allowing for some extra for waste or mistakes.
3. Install Roof Decking: Begin by installing the roof decking, which is typically made of plywood or oriented strand board (OSB). Secure the decking to the roof trusses or rafters, ensuring a smooth and even surface for the roofing material.
4. Install Underlayment: Lay a layer of roofing underlayment over the roof decking. This acts as a waterproof barrier and protects against moisture intrusion. Follow the manufacturer’s instructions for proper installation.
5. Apply Roofing Material: Depending on your chosen roofing material, follow the appropriate installation process. For shingles, start at the bottom edge of the roof and work your way up, overlapping each row. For metal panels, secure them to the roof with screws, ensuring they are properly aligned and fastened.
6. Flashing and Ventilation: Install flashing around roof penetrations such as chimneys, vents, and skylights to prevent water leakage. Additionally, ensure proper ventilation along the roof ridge and in the attic space to reduce heat buildup and prevent moisture-related issues.
7. Check for Leaks: Once the roof is installed, thoroughly inspect it for any leaks or areas of concern. Conduct a water test, if necessary, to identify any potential areas of water penetration. Address any issues promptly to avoid further damage.
8. Gutters and Downspouts: Install gutters and downspouts along the roof edges to collect and divert rainwater away from the cabin’s foundation. Proper gutter installation helps prevent water damage and protects the structural integrity of your cabin.
9. Maintain the Roof: Regularly inspect and maintain your log cabin’s roof to ensure its longevity and effectiveness. Clean the gutters, remove debris, and address any repair or maintenance needs promptly.
With the roof installed, your log cabin is now protected from the elements. The next phase involves crafting doors and windows to complete the exterior structure.
Crafting Doors and Windows
Crafting doors and windows for your log cabin is both a functional and aesthetic task. Well-crafted doors and windows provide security, insulation, and ventilation while adding character to your cabin’s exterior. Here’s a step-by-step guide to crafting doors and windows for your log cabin:
1. Determine Dimensions: Measure the openings in your cabin’s walls to determine the dimensions for the doors and windows. Take into account any desired trim or framing around the openings as well.
2. Select Wood: Choose a suitable wood species for your doors and windows. Opt for durable and weather-resistant woods such as cedar or oak, which can withstand the outdoor elements.
3. Plan the Design: Sketch out your desired door and window designs, considering factors such as style, number of panes, and hardware options. Ensure that your design complements the overall aesthetics of your log cabin.
4. Cut and Shape the Wood: Using a circular saw, table saw, or hand saw, cut the wood to the desired dimensions for each door and window component. Take care to make clean, precise cuts.
5. Frame the Door and Window Openings: Install rough framing around the door and window openings, ensuring that they are plumb and level. Leave space for the doors and windows to fit within the frames comfortably.
6. Assemble the Doors and Windows: Use wood glue and screws or nails to assemble the individual components of each door and window. Follow your design plans and take care to achieve sturdy and snug joints.
7. Install Hardware: Attach hinges, handles, and locks to the doors, ensuring that they operate smoothly and securely. Install window sashes and hardware, making sure they open and close properly.
8. Apply Finish: Sand the doors and windows to achieve a smooth surface, then apply a suitable wood finish or sealant to protect the wood from moisture and UV damage. Choose a finish that enhances the natural beauty of the wood and complements the overall design of your cabin.
9. Install Weather Stripping: To improve insulation and weatherproofing, install weather stripping around the doors and windows. This will help seal out drafts, moisture, and noise.
10. Test and Adjust: Before permanently installing the doors and windows, test their operation to ensure they open, close, and lock properly. Make any necessary adjustments to achieve a precise fit.
With your doors and windows crafted and installed, your log cabin is now complete from the exterior standpoint. The next phase involves adding interior finishing touches to create a comfortable and inviting space.
Interior Finishing Touches
The interior finishing touches of your log cabin are what truly bring the space to life and make it a cozy and inviting sanctuary. From flooring to wall treatments and accessories, these details can transform your cabin into a comfortable and personalized retreat. Here are some essential interior finishing touches to consider:
1. Flooring: Choose a flooring material that suits the aesthetics of your log cabin while being durable and easy to maintain. Popular options include hardwood, laminate, or tile flooring. Consider adding area rugs for extra warmth and comfort.
2. Walls: Enhance the natural beauty of the logs by leaving them exposed and applying a clear sealant or varnish to protect them. Alternatively, you can opt for painted walls or install drywall for a more traditional finish. Consider adding wainscoting or wood paneling to add character and texture to the interior.
3. Lighting: Install a combination of ambient, task, and accent lighting to create the desired mood in each area of your cabin. Utilize natural light as much as possible through strategically placed windows and skylights. Incorporate light fixtures and lamps that complement the overall decor.
4. Cabinetry: Choose cabinetry that matches the style of your log cabin, whether it be rustic, modern, or traditional. Custom-built wooden cabinets can add warmth and functionality to your kitchen, bathroom, and other storage areas.
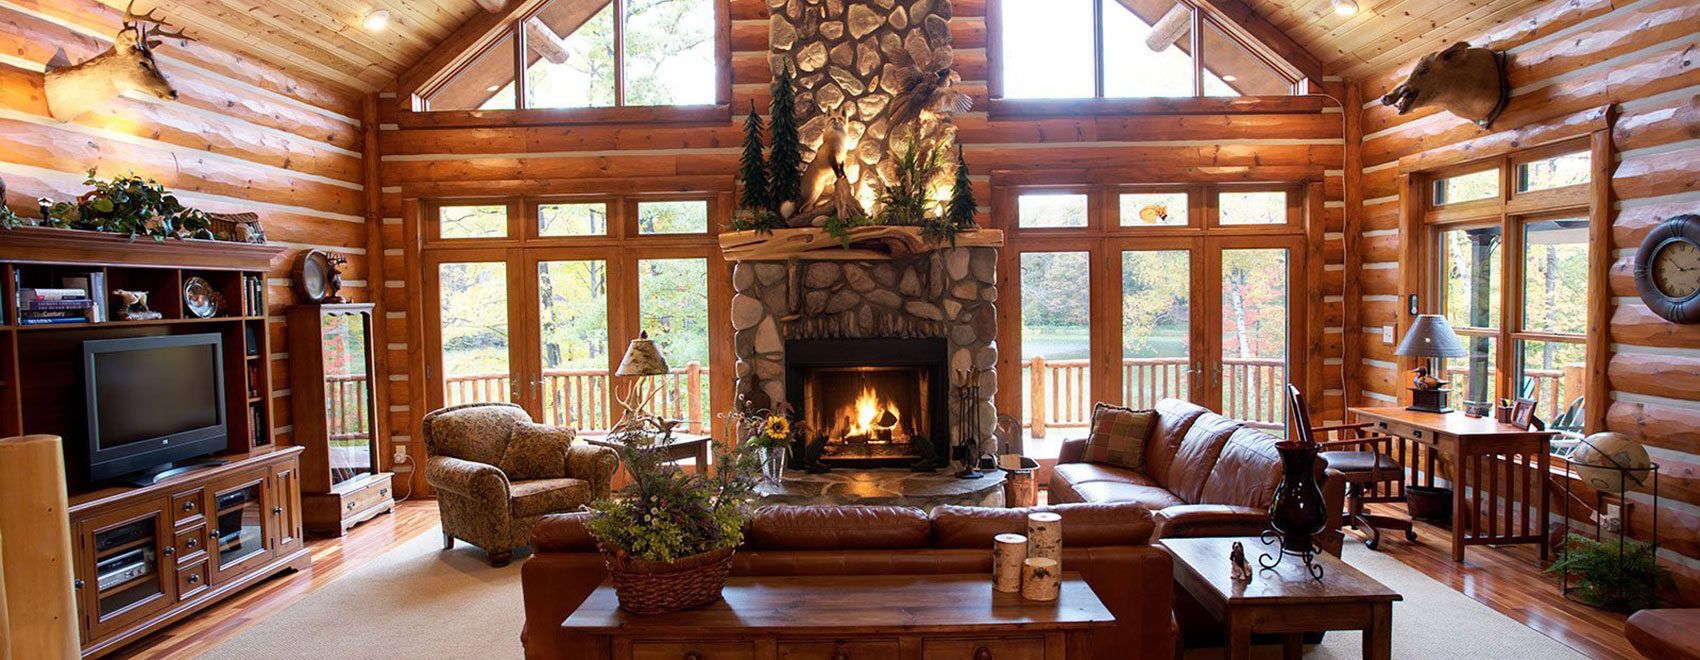
5. Fireplace or Wood Stove: If you desire a cozy and rustic vibe, consider installing a fireplace or wood-burning stove. This not only provides warmth and comfort but also serves as a focal point and adds to the cabin’s charm.
6. Furnishings: Select furniture that complements the style and scale of your log cabin. Opt for comfortable seating, cozy bedding, and functional storage solutions. Incorporate natural materials and textures, such as leather, wood, and cozy fabrics, to enhance the cabin’s rustic appeal.
7. Decorative Details: Add personal touches and decorative elements to reflect your style and create a welcoming atmosphere. Hang artwork, photographs, and mirrors on the walls, display collectibles, and adorn tabletops with candles, vases, or other decorative accents.
8. Window Treatments: Consider installing blinds, curtains, or shades to add privacy and control natural light. Choose materials, patterns, and colors that complement the overall decor and provide insulation when needed.
9. Greenery and Plants: Bring the outdoors in by incorporating plants and greenery into your log cabin. Plants not only add a touch of nature but also improve air quality and create a calming ambiance.
10. Personal Touches: Finally, make your log cabin truly feel like home by adding personal touches. Display family photos, heirlooms, or favorite mementos that hold special meaning. Inject your personality into the cabin’s decor, making it a reflection of your unique style and taste.
By paying attention to these interior finishing touches, you’ll transform your log cabin into a warm and inviting space that you’ll enjoy spending time in for years to come.
With the interior finishing touches complete, you have successfully built and personalized your log cabin. Take a moment to appreciate your hard work and enjoy the rewards of your labor.
Read more: How Much Is Log Cabin Siding
Conclusion
Building a log cabin with hand tools is a labor of love, allowing you to connect with nature while creating a rustic retreat that reflects your unique style. Throughout this comprehensive guide, we have covered the essential steps involved in building a log cabin, from gathering the necessary tools to adding the final interior finishing touches.
By starting with the right tools and selecting the best quality logs, you set the foundation for a sturdy and beautiful cabin. Clearing and leveling the construction site ensure a solid base, while notching and joining the logs create a structurally sound framework.
The installation of the roof protects your cabin from the elements, while crafting doors and windows adds functionality and character. The interior finishing touches, such as flooring, lighting, and personal decor, elevate your log cabin into a cozy and inviting haven.
Throughout the process, it is important to balance functionality and aesthetics, ensuring that your log cabin is not only structurally sound but also reflects your personal style and vision.
Remember that building a log cabin with hand tools requires patience, dedication, and a love for the craft. Embrace the challenges along the way, as they will only enhance your appreciation for the final result.
Whether you plan to use your log cabin as a weekend getaway, a full-time residence, or a space for creativity and relaxation, this project will reward you with a unique and rewarding experience. Not only will you have a physical structure that stands the test of time, but you will also have created a space where memories are made and cherished.
So, grab your tools, embrace the journey, and let the construction of your log cabin begin!
Frequently Asked Questions about How To Build Log Cabin With Hand Tools
Was this page helpful?
At Storables.com, we guarantee accurate and reliable information. Our content, validated by Expert Board Contributors, is crafted following stringent Editorial Policies. We're committed to providing you with well-researched, expert-backed insights for all your informational needs.


0 thoughts on “How To Build Log Cabin With Hand Tools”