Articles
How To Cut Plexiglass With Hand Tools
Modified: February 2, 2024
Learn how to cut plexiglass with hand tools in this comprehensive article. Discover the step-by-step process and safety tips for precise and efficient results.
(Many of the links in this article redirect to a specific reviewed product. Your purchase of these products through affiliate links helps to generate commission for Storables.com, at no extra cost. Learn more)
Introduction
When it comes to working with plexiglass, having the right tools and techniques is essential. Whether you’re a DIY enthusiast or a professional, knowing how to cut plexiglass with hand tools can save you time and money. Plexiglass, also known as acrylic glass, is a versatile material that is commonly used in various applications, including windows, picture frames, and signage. While it may seem daunting at first, cutting plexiglass by hand is a straightforward process that can be accomplished with a few simple tools and some safety precautions.
In this article, we will guide you through the step-by-step process of cutting plexiglass with hand tools. We will cover the necessary safety precautions, the tools and materials you will need, and the techniques to achieve clean and precise cuts. By following these instructions, you will be able to cut plexiglass effectively and confidently, allowing you to complete your project with ease.
Before we delve into the specific steps, it’s crucial to emphasize the importance of safety precautions. Working with plexiglass can pose risks, including the potential for sharp edges, flying debris, and heat buildup during the cutting process. As such, it is essential to wear appropriate safety gear, such as safety glasses, gloves, and a dust mask, to protect yourself from potential injuries or exposure to harmful particles.
Now that we’ve covered the necessary safety precautions, let’s move on to discussing the tools and materials you will need for cutting plexiglass by hand.
Key Takeaways:
- Master the art of cutting plexiglass by hand with essential safety precautions, proper tools, and step-by-step techniques for clean and precise cuts. Unleash your creativity with confidence!
- Prioritize safety, precision, and attention to detail when cutting plexiglass. From marking and scoring to breaking and smoothing, achieve professional results with hand tools and enjoy the DIY process.
Read more: How To Cut Asphalt With Hand Tools
Safety Precautions
When working with plexiglass, it’s essential to prioritize your safety. Follow these safety precautions to minimize the risk of accidents and ensure a safe working environment:
- Wear protective gear: Before you begin cutting plexiglass, make sure to wear safety glasses to protect your eyes from flying debris. Additionally, wear gloves to safeguard your hands and a dust mask to prevent inhalation of any harmful particles.
- Work in a well-ventilated area: Cutting plexiglass can create dust and fumes. Therefore, it’s crucial to have proper ventilation in your workspace. Open windows or set up a fan to ensure good air circulation.
- Choose the right tools: Make sure to select appropriate hand tools for cutting plexiglass. Using improper tools can lead to cracking or splintering of the material. We’ll discuss the recommended tools in the next section.
- Secure the plexiglass: Before cutting, ensure that the plexiglass is securely positioned to prevent it from moving or slipping. This will help you maintain control during the cutting process and avoid any mishaps.
- Use proper cutting techniques: It’s vital to use the correct cutting techniques to avoid damaging the plexiglass or injuring yourself. We’ll cover the step-by-step cutting process in detail later in this article.
- Take breaks: Cutting plexiglass can be a precise and delicate task that requires focus. To avoid fatigue and maintain accuracy, take regular breaks to rest and re-energize.
- Clean up properly: Once you’ve finished cutting the plexiglass, ensure that you clean up the workspace thoroughly. Remove any debris, dust, or leftover scraps to maintain a tidy and safe working environment.
- Store tools safely: After completing your project, store your cutting tools safely, keeping them out of reach of children or anyone who may mishandle them.
By following these safety precautions, you can minimize the risks associated with cutting plexiglass and ensure a safe and enjoyable DIY experience. Now let’s move on to the tools and materials you’ll need for the cutting process.
Tools and Materials Needed
Before you begin cutting plexiglass, it’s important to gather the necessary tools and materials. Here’s a list of what you’ll need:
- Plexiglass: The main material you’ll be cutting. Make sure to choose the appropriate thickness and size for your project.
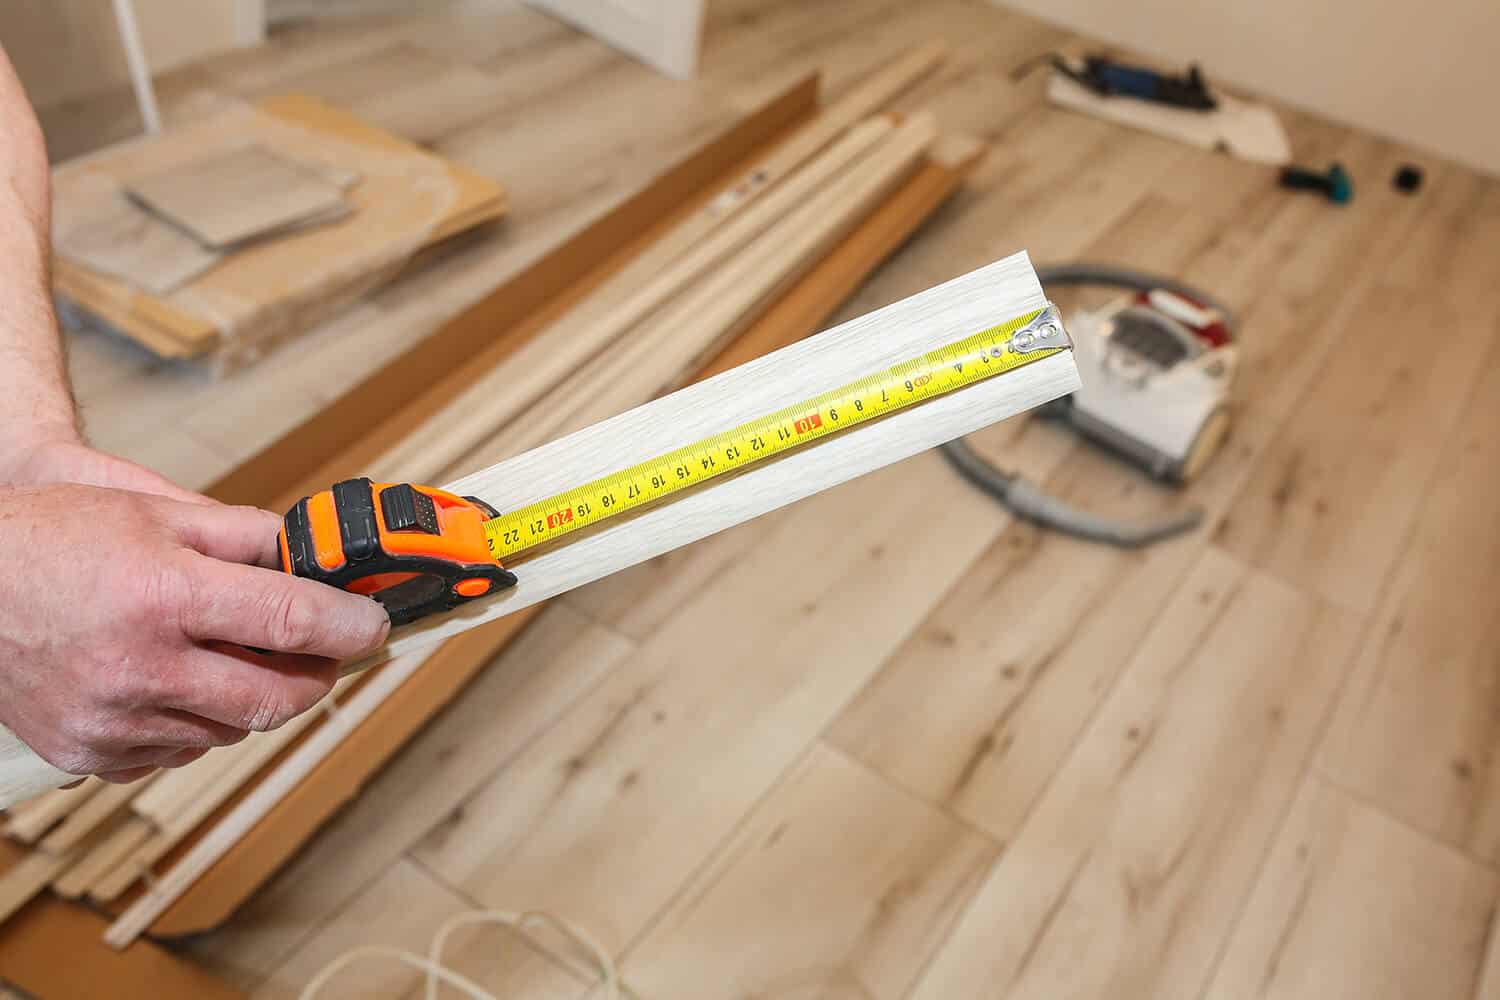
- Measuring tape or ruler: Used to measure and mark the desired dimensions on the plexiglass.
- Marker or grease pencil: Used to make clear and visible marks on the plexiglass, indicating where you’ll be making the cuts.
- Straightedge: A ruler, level, or any straight and sturdy object that you can use as a guide for scoring and cutting the plexiglass.
- Utility knife: A sharp utility knife with a retractable blade will be needed for scoring the plexiglass.
- Clamps: Optional but recommended. Clamps can be used to secure the plexiglass in place, ensuring stability during the cutting process.
- Sanding block or sandpaper: Used to smooth and refine the edges of the cut plexiglass.
- Safety glasses: Essential for protecting your eyes from any flying debris during the cutting process.
- Gloves: Protect your hands from sharp edges and potential cuts.
- Dust mask: Helps filter out dust particles that may be generated during the cutting and sanding process.
Having these tools and materials prepared before starting the cutting process will ensure a smoother and more efficient workflow. Now that you have everything ready, let’s move on to the step-by-step process of cutting plexiglass with hand tools.
Step 1: Marking the Plexiglass
The first step in cutting plexiglass is marking the area where you want to make the cut. Here’s how to do it:
- Measure and mark: Use a measuring tape or ruler to determine the desired dimensions of the cut you want to make on the plexiglass. Measure carefully and mark the dimensions using a marker or grease pencil.
- Double-check: Before proceeding, double-check your measurements to ensure accuracy. It’s better to be precise at this stage to avoid any mistakes later on.
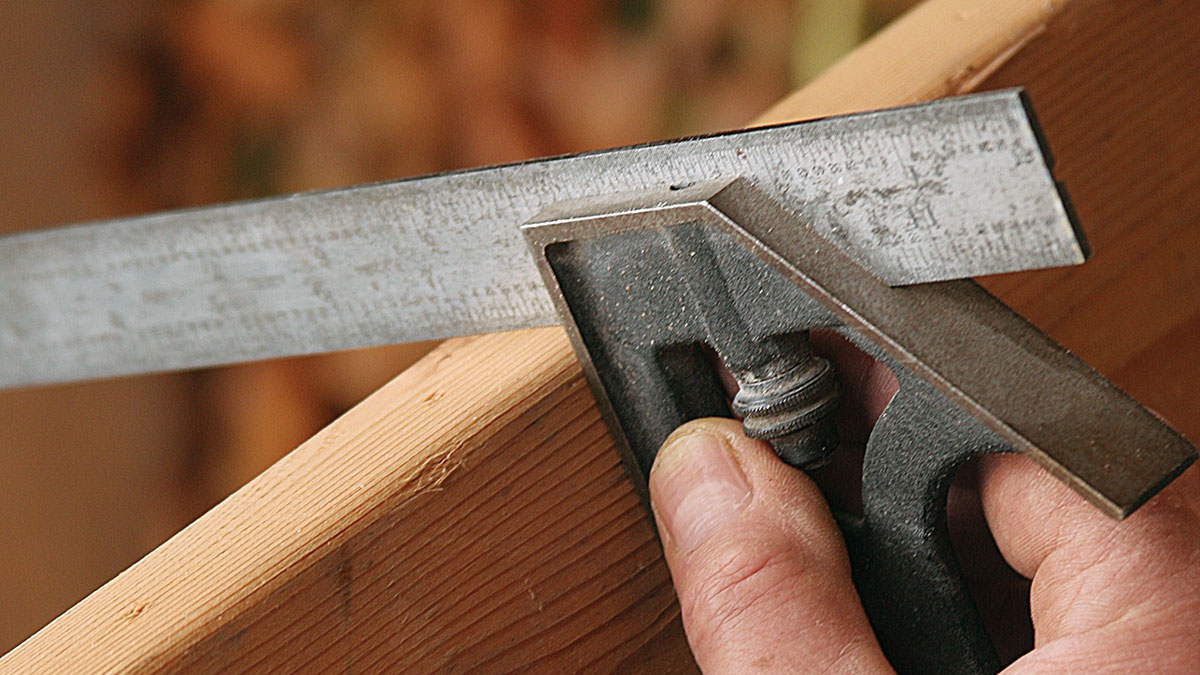
- Use a straightedge: Align a straightedge along the marked line. This will serve as a guide for scoring the plexiglass evenly.
- Secure the straightedge (optional): If necessary, use clamps to secure the straightedge in place. This will help keep the plexiglass steady during the cutting process.
- Extend the line: Using the straightedge as a guide, extend the marked line across the entire length or width of the plexiglass, depending on the direction of your cut. Apply consistent pressure while making the line to ensure it is visible and clear.
- Verify the marking: Once you’ve extended the line, check the mark again to ensure it is clear and accurate. This will help you maintain a straight cut during the next steps.
Marking the plexiglass correctly is essential for achieving precise and clean cuts. Take your time during this step to ensure accuracy. Once you’re satisfied with the marking, move on to the next step: scoring the plexiglass.
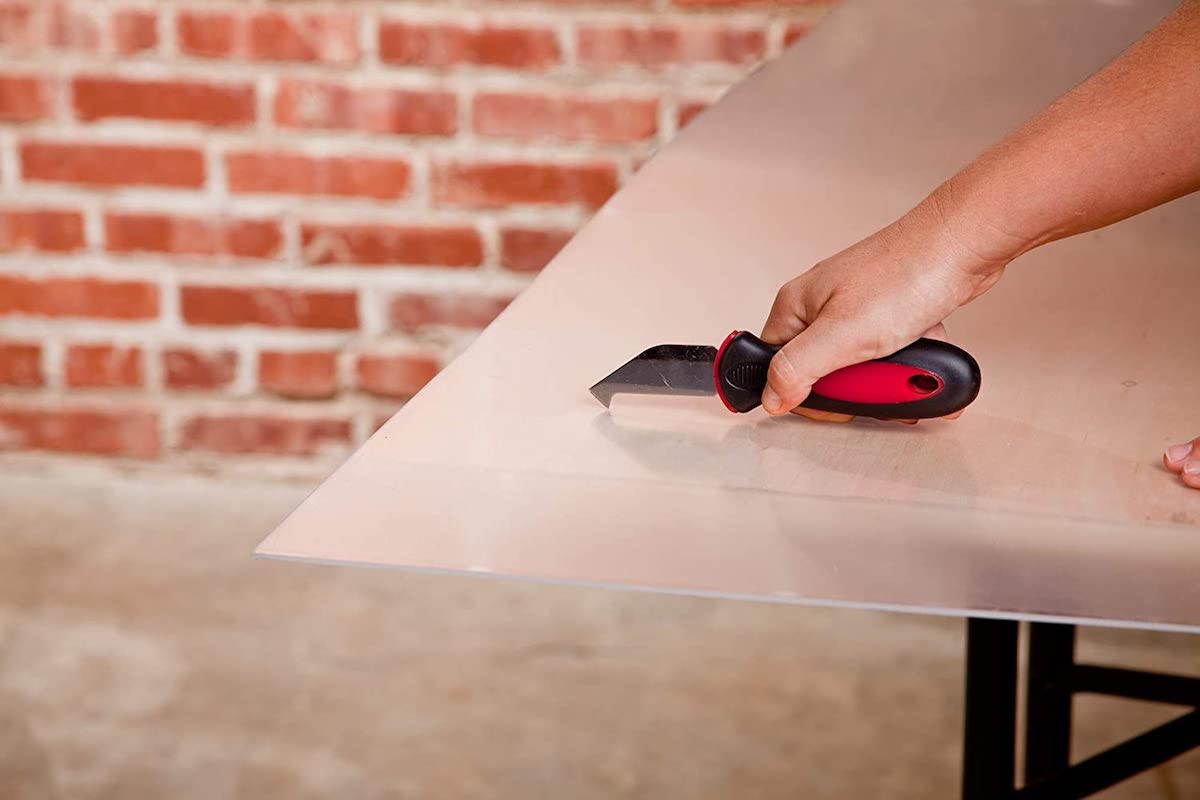
Step 2: Scoring the Plexiglass
Scoring the plexiglass is a crucial step that creates a weakened line along which the material can be broken. Follow these steps to score the plexiglass:
- Prepare the utility knife: Ensure that you have a sharp utility knife with a retractable blade. A sharp blade will make scoring easier and produce cleaner cuts.
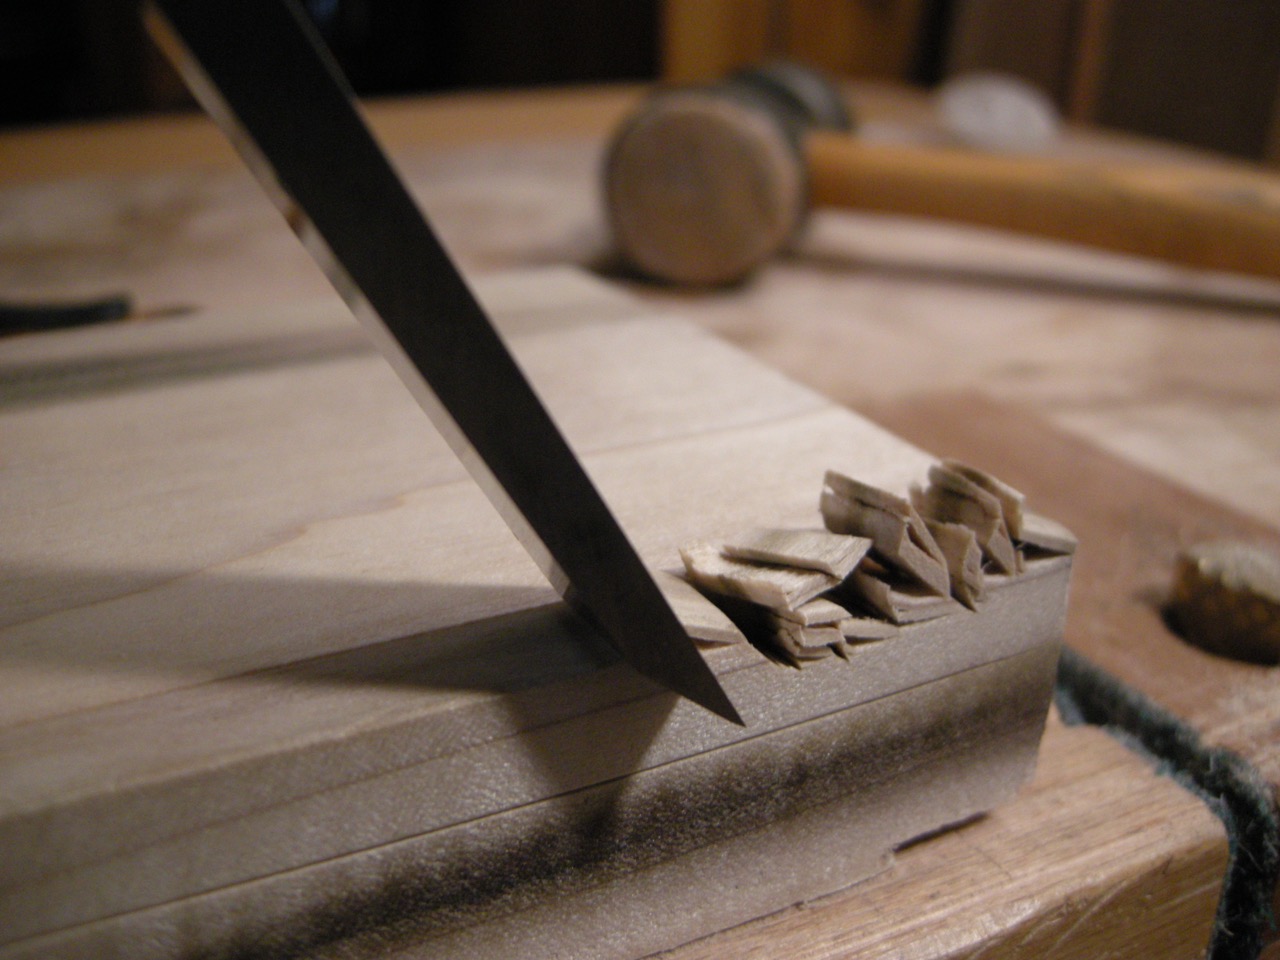
- Position the knife: Place the edge of the utility knife blade against the plexiglass, aligning it with the marked line. Hold the knife at a slight angle, around 30 degrees, for optimal scoring.
- Score the plexiglass: Apply firm and consistent pressure as you drag the blade along the marked line. Make multiple passes, gradually deepening the scored line. Aim to cut about one-third to half the thickness of the plexiglass.
- Score the entire line: Continue scoring the plexiglass along the entire length or width of the marked line, depending on the direction of your cut. Maintain an even and steady pace to create a uniform score line.
- Take breaks if needed: If you’re working with a large piece of plexiglass or if you’re starting to feel fatigued, take short breaks to rest and recharge. It’s important to maintain focus and precision during the scoring process.
- Verify the score line: Once you’ve completed scoring the plexiglass, double-check the score line to ensure it is consistent and deep enough. This will facilitate the subsequent breaking step.
Scoring the plexiglass creates a controlled weak area that will guide the break. Take your time and ensure a clean and well-defined score line. Once you’re satisfied with the scoring, move on to the next step: breaking the plexiglass along the score line.
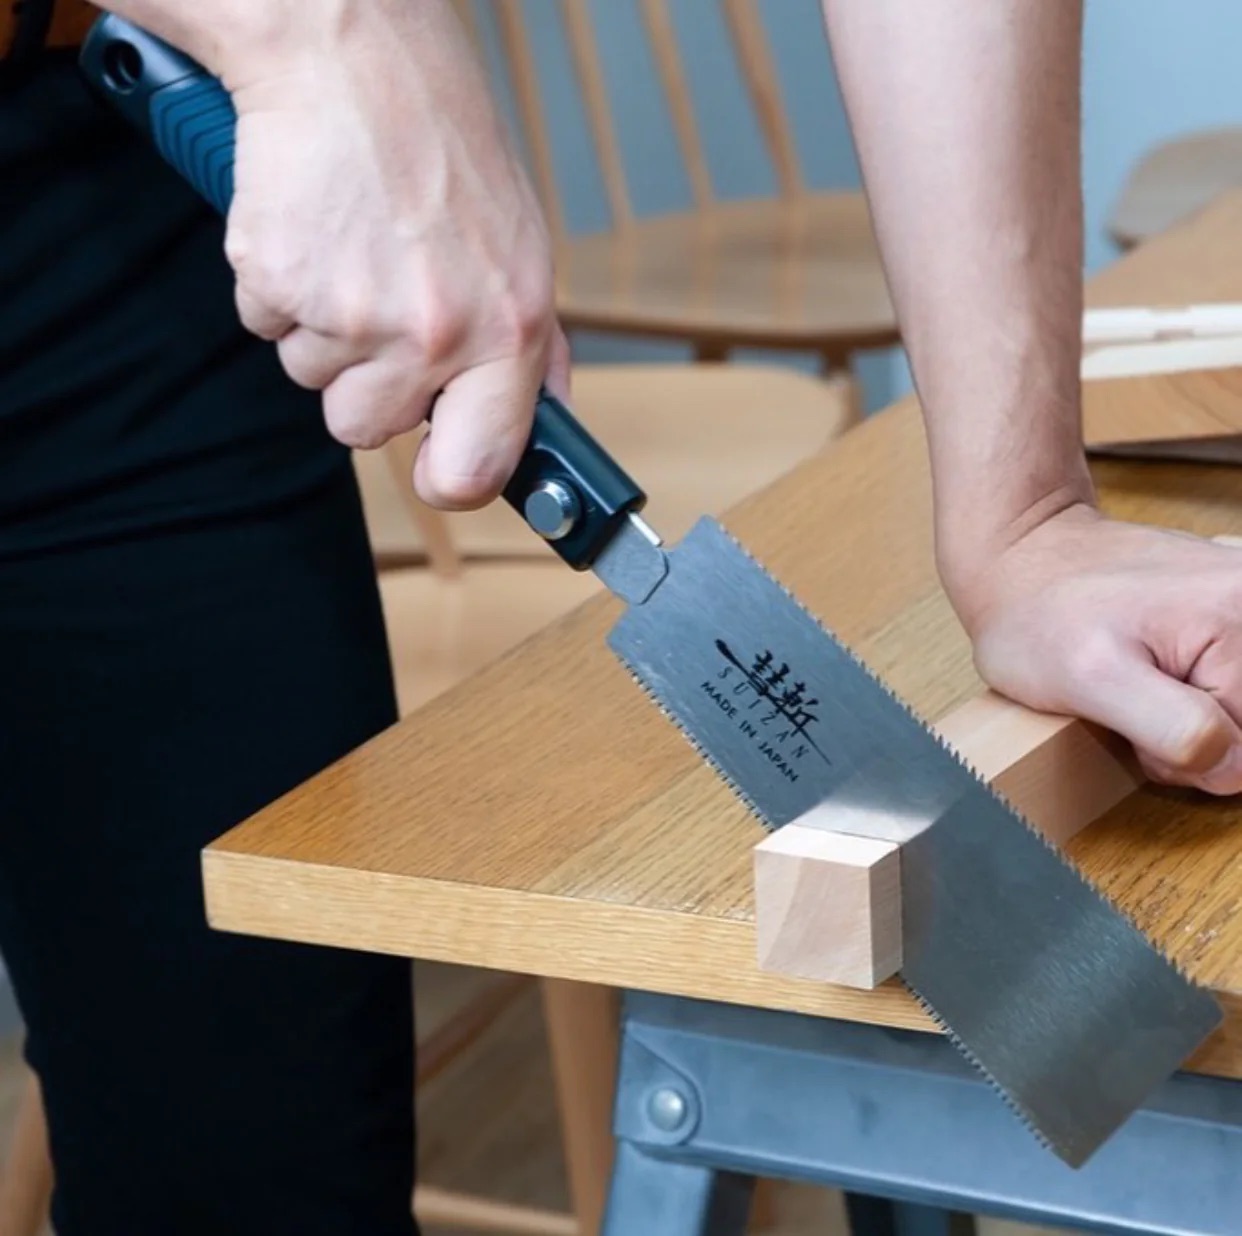
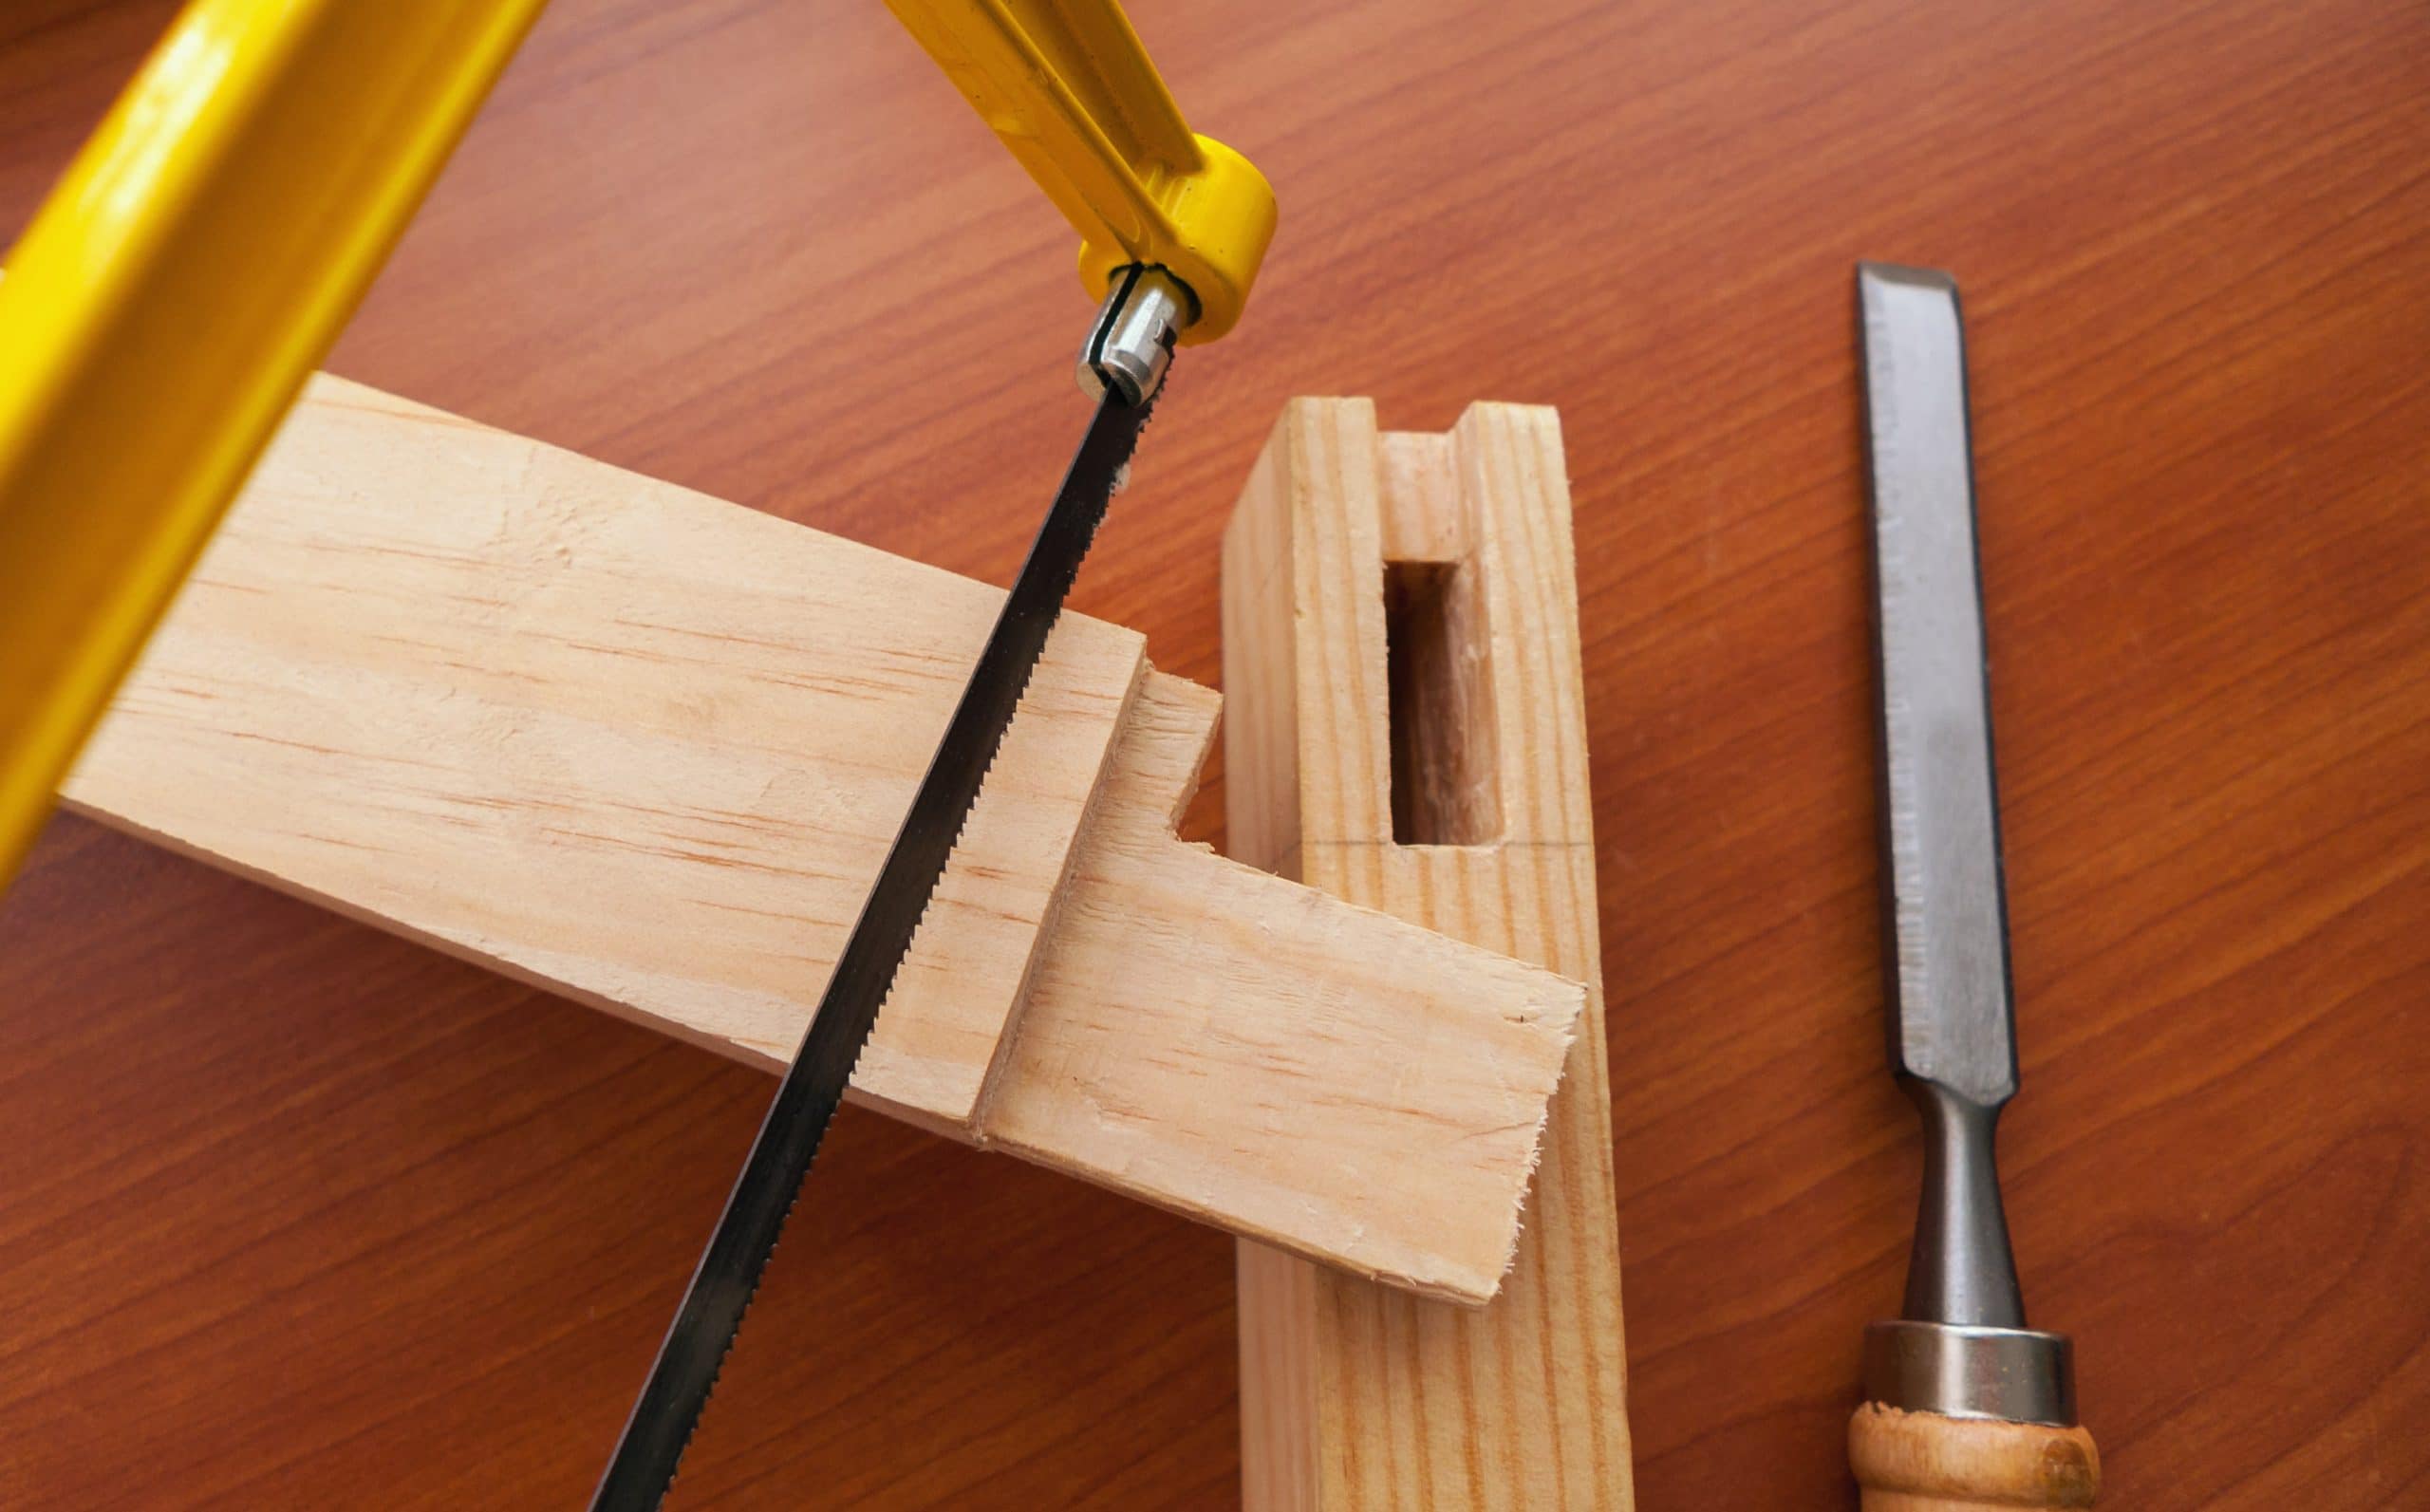
When cutting plexiglass with hand tools, use a fine-toothed saw or scoring knife to make a shallow cut first, then gradually increase the depth of the cut to avoid cracking or chipping.
Read more: How To Cut Miters With Hand Tools
Step 3: Breaking the Plexiglass along the Score Line
Breaking the plexiglass along the score line is a delicate process that requires precision and caution. Follow these steps to safely break the plexiglass:
- Position the plexiglass: Lay the scored plexiglass on a flat and stable surface with the scored line facing up. Make sure the piece you want to keep is properly supported and aligned with the edge of the surface.
- Apply pressure: Apply gentle, even pressure on both sides of the scored line. Support the plexiglass with your hands or use clamps to secure it in place.
- Break the plexiglass: With controlled force, press down on each side of the scored line simultaneously. The plexiglass should snap cleanly along the score line. Take your time and apply constant pressure to prevent any sudden or uneven breaks.
- Check the break: Once you’ve successfully broken the plexiglass, carefully inspect the resulting edges. They should be clean and smooth. If there are any rough or uneven sections, you can address them in the next step.
Breaking the plexiglass can be challenging, especially with larger or thicker pieces. Take your time and ensure even pressure distribution along the scored line. If the plexiglass does not break cleanly, it may require additional scoring or sanding in the following steps. Now that you’ve successfully broken the plexiglass, it’s time to move on to smoothing the edges in the next step.
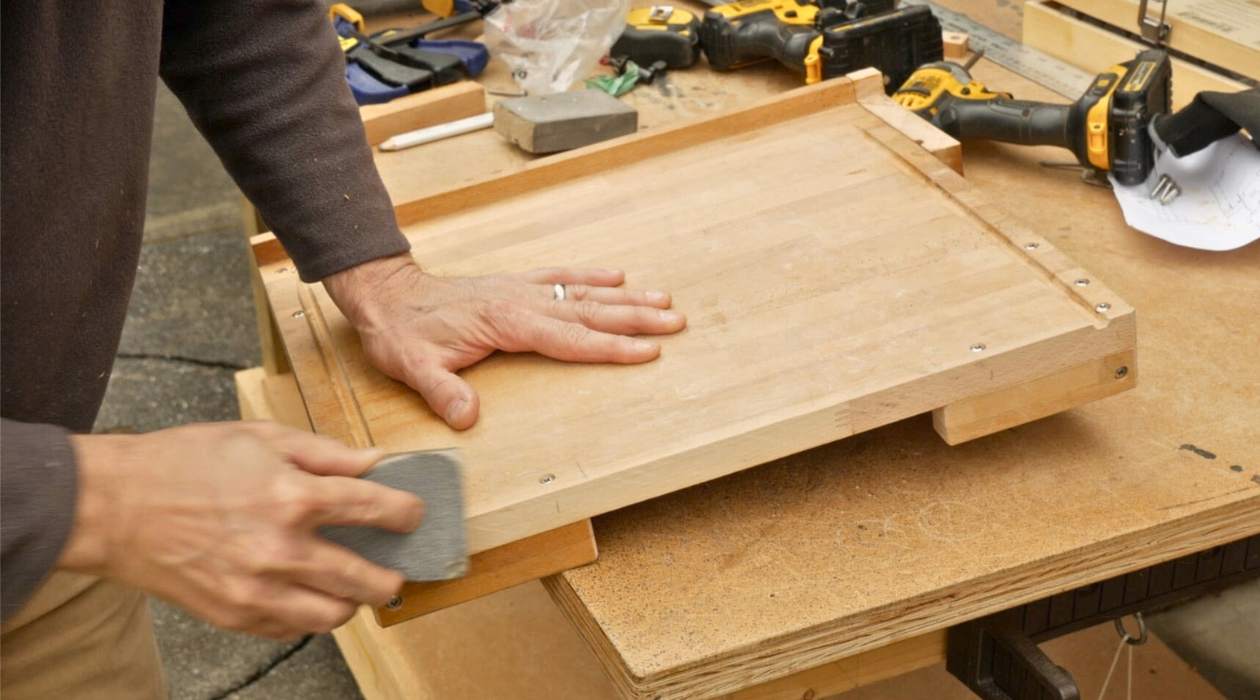
Step 4: Smoothing the Edges
After breaking the plexiglass, the edges may be rough or uneven. Smoothing the edges ensures a clean and polished finish. Follow these steps to smooth the edges of the plexiglass:
- Gather sanding materials: Prepare a sanding block or sandpaper with varying grits. Start with a coarse grit, such as 120 or 150, and gradually move to finer grits, such as 220 and 400.
- Hold the plexiglass securely: Hold the plexiglass securely in place to prevent any movement while sanding. You can use clamps or a non-slip mat to provide stability.
- Sand the edges: Begin sanding the edges of the plexiglass using the coarse grit sandpaper. Move the sandpaper in a circular or back-and-forth motion along the edges, applying light pressure. Continue sanding until the edges become smooth and even.
- Switch to finer grits: Gradually switch to finer grits of sandpaper to achieve a smoother finish. Repeat the sanding process with each successive grit until the edges are polished to your satisfaction.
- Clean the edges: Once you’ve finished sanding, use a clean cloth or towel to wipe away any dust or debris from the edges of the plexiglass.
- Inspect the finished edges: Carefully examine the edges to ensure they are smooth and free of any rough spots. If necessary, you can repeat the sanding process with a finer grit to achieve a smoother result.
Smoothing the edges of the plexiglass will enhance its appearance and eliminate any potential sharp or jagged edges. Take your time during this step to achieve a polished finish. Once you’re satisfied with the smoothed edges, it’s time for the final touches and clean-up in the next step.
Step 5: Final Touches and Clean-Up
After completing the cutting and smoothing processes, it’s time for the final touches and clean-up to ensure your plexiglass project is ready to use. Follow these steps to add the finishing touches:
- Inspect the cut piece: Examine the cut piece of plexiglass to ensure it meets your desired specifications. Check for any imperfections or areas that may need further refinement.
- Make any necessary adjustments: If you notice any rough spots, uneven edges, or other imperfections, use a fine-grit sandpaper to gently smooth and refine those areas. Take care to maintain the shape and dimensions of the cut piece.
- Clean the plexiglass: Use a clean cloth or microfiber cloth to wipe away any dust or debris from the plexiglass. Ensure that both sides of the plexiglass are clean and free from any marks or smudges.
- Remove any protective film: If your plexiglass came with a protective film, gently peel it off to reveal the clean and clear surface underneath. Dispose of the film properly.
- Dispose of waste materials: Dispose of any leftover plexiglass scraps or cut-offs in accordance with local regulations. Consider recycling the materials if possible.
- Organize and store tools: Clean and organize your cutting tools, sanding materials, and safety equipment. Store them in a safe and designated space for future use.
Completing the final touches and clean-up ensures that your cut plexiglass piece is in optimal condition and ready to be incorporated into your project. Taking the time to inspect and refine the cut piece will result in a professional and visually appealing outcome. With the clean-up process complete, you can now confidently use your cut plexiglass for your intended project.
Congratulations! You’ve successfully learned how to cut plexiglass with hand tools. By following these steps and practicing proper safety precautions, you can confidently tackle future projects involving plexiglass and achieve precise and clean cuts. Enjoy working with this versatile material and unleash your creativity.
Disclaimer: The information in this article is intended for guidance and informational purposes only. Always exercise caution and follow safety guidelines when working with tools and materials, including plexiglass.
Conclusion
Cutting plexiglass by hand may seem intimidating at first, but with the right tools, techniques, and safety precautions, it can be a straightforward and rewarding process. Throughout this article, we’ve explored the step-by-step guide to cutting plexiglass with hand tools. From marking the plexiglass to breaking it along the score line, and finally, smoothing the edges, each step is essential in achieving clean and precise cuts.
By prioritizing safety and wearing the appropriate protective gear, you can minimize the risks associated with working with plexiglass. Ensuring proper ventilation in your workspace and selecting the right tools are also crucial for a successful cutting process.
Remember, take your time to carefully measure, mark, score, and break the plexiglass. Use even pressure and smooth, deliberate motions to achieve clean cuts. After breaking the plexiglass, don’t forget to smooth the edges using a sanding block or sandpaper, gradually progressing to finer grits. This will result in polished edges that enhance the overall appearance of your project.
To complete the process, inspect the cut piece for any imperfections, make necessary adjustments, and clean the plexiglass thoroughly. Dispose of any waste materials properly and organize your tools for future use.
With the knowledge and skills you’ve gained from this article, you are now equipped to confidently cut plexiglass with hand tools for your DIY projects. Whether you’re creating windows, picture frames, or signage, plexiglass offers versatility and durability to bring your ideas to life.
Remember to always exercise caution, follow safety guidelines, and practice proper techniques when working with plexiglass and other materials. With practice and experience, you will develop your skills and achieve even more impressive results.
Now, go ahead and explore the possibilities of working with plexiglass. Get creative, embrace the process, and enjoy the satisfaction of crafting something beautiful with your own hands.
Frequently Asked Questions about How To Cut Plexiglass With Hand Tools
Was this page helpful?
At Storables.com, we guarantee accurate and reliable information. Our content, validated by Expert Board Contributors, is crafted following stringent Editorial Policies. We're committed to providing you with well-researched, expert-backed insights for all your informational needs.

0 thoughts on “How To Cut Plexiglass With Hand Tools”