Articles
How Long Does It Take To Install HVAC System
Modified: October 18, 2024
Discover the average time it takes to install an HVAC system in this informative article. Gain valuable insights and planning tips for a smooth installation process.
(Many of the links in this article redirect to a specific reviewed product. Your purchase of these products through affiliate links helps to generate commission for Storables.com, at no extra cost. Learn more)
Introduction
Installing an HVAC (Heating, Ventilation, and Air Conditioning) system is a major undertaking, and one of the most important decisions a homeowner can make to enhance indoor comfort. Whether you’re replacing an old system or installing a brand new one, it’s natural to wonder how long the installation process will take.
The duration of an HVAC installation can vary depending on numerous factors, such as the size and complexity of the project, the existing infrastructure, and the specific requirements of the chosen system. In this article, we will explore these factors in more detail and provide insights into the timeline of the HVAC installation process.
Key Takeaways:
- The duration of HVAC installation varies based on factors like system size, complexity, existing infrastructure, and contractor expertise. Thorough assessment, preparation, and testing are crucial for a successful and efficient installation process.
- Obtaining permits, scheduling inspections, and finalizing the installation with proper cleanup and documentation are essential steps to ensure compliance with safety standards and long-term performance of the HVAC system.
Read more: How Long Does It Take To Get A HVAC License
Factors Affecting HVAC Installation Time
Several key factors can influence the duration of an HVAC installation. Understanding these factors will give you a clearer picture of what to expect during the installation process. Let’s explore them:
- Size and Capacity: The size and capacity of the HVAC system play a significant role in determining the installation time. Larger systems often require more complex installation procedures and may take longer to complete.
- Complexity of the Project: The complexity of the project can impact the installation time. For example, if there are structural modifications or extensive ductwork modifications required, it will undoubtedly add to the installation duration.
- Existing Infrastructure: The condition and compatibility of the existing infrastructure can influence the installation time. If there are issues with the electrical connections, ductwork, or ventilation system, additional time may be needed to address these concerns.
- System Type: Different HVAC systems have their own installation requirements. For instance, a central air conditioning system will have different installation procedures compared to a ductless mini-split system. The type of system you choose will impact the installation time.
- Contractor Experience and Workforce: The experience and efficiency of the HVAC contractor handling the installation can affect the timeline. Contractors with a skilled workforce and ample experience will likely complete the installation more quickly while maintaining high-quality workmanship.
- The duration of HVAC installation varies based on factors like system size, complexity, existing infrastructure, and contractor expertise. Thorough assessment, preparation, and testing are crucial for a successful and efficient installation process.
- Obtaining permits, scheduling inspections, and finalizing the installation with proper cleanup and documentation are essential steps to ensure compliance with safety standards and long-term performance of the HVAC system.
- Size and Capacity: The size and capacity of the HVAC system play a significant role in determining the installation time. Larger systems often require more complex installation procedures and may take longer to complete. Additionally, the size of the space being cooled or heated will affect the calculations for the system’s capacity, which can impact installation time.
- Complexity of the Project: The complexity of the project can impact the installation time. For example, if there are structural modifications or extensive ductwork modifications required, it will undoubtedly add to the installation duration. Each additional step or adjustment needed will extend the overall timeline.
- Existing Infrastructure: The condition and compatibility of the existing infrastructure can also influence the installation time. If there are issues with the electrical connections, ductwork, or ventilation system, additional time may be needed to address these concerns. This could involve repairing or replacing damaged components, ensuring proper electrical wiring, or improving the ductwork layout for optimal airflow.
- System Type: Different HVAC systems have their own installation requirements. For instance, a central air conditioning system will have different installation procedures compared to a ductless mini-split system. The type of system you choose will impact the installation time. It’s important to consider the specific needs and constraints of your space to determine which system is best suited for your needs.
- Contractor Experience and Workforce: The experience and efficiency of the HVAC contractor handling the installation can affect the timeline. Contractors with a skilled workforce and ample experience will likely complete the installation more quickly while maintaining high-quality workmanship. It’s important to choose a reputable and experienced contractor who is familiar with the specific system you have selected.
- Weather Conditions: Extreme weather conditions can impact the installation time, especially if work needs to be done outdoors. Harsh weather, such as heavy rain or snow, can delay the installation process and may require rescheduling or temporary measures to protect the system and workers.
- Permit and Inspection Requirements: Depending on local regulations, obtaining the necessary permits and scheduling inspections can add to the overall installation timeline. It’s important to factor in any potential delays caused by these administrative processes.
Key Takeaways:
Read more: How Long Does It Take To Get A HVAC License
Factors Affecting HVAC Installation Time
Several key factors can influence the duration of an HVAC installation. Understanding these factors will give you a clearer picture of what to expect during the installation process:
Keep in mind that the duration of an HVAC installation can vary from a few days to several weeks, depending on these factors. It’s best to consult with an HVAC professional to assess your specific needs and receive an accurate estimate of the installation timeline.
Determining the Size and Capacity of HVAC System
One of the crucial steps in the HVAC installation process is determining the appropriate size and capacity of the system. Selecting the right size and capacity ensures optimal performance and energy efficiency. Here’s how this process is typically carried out:
The first step is to conduct a load calculation. This calculation takes into account factors such as the square footage of the space, the number of occupants, the climate zone, and the level of insulation. By considering these factors, HVAC professionals can accurately determine the BTU (British Thermal Unit) requirements for cooling or heating the space.
The load calculation helps determine the necessary cooling capacity, measured in tons or BTUs, to maintain comfortable indoor temperatures. It’s important to note that choosing an oversized or undersized system can lead to various issues. An oversized system may cycle on and off frequently, leading to poor energy efficiency and inconsistent temperature control. On the other hand, an undersized system may struggle to cool or heat the space adequately, resulting in discomfort.
Once the load calculation is complete, HVAC technicians will assess the layout and design of the space to determine the most suitable type of HVAC system. This could be a central air conditioning and heating system, a ductless mini-split system, or another appropriate option. Factors such as the availability of ductwork, the desired level of zonal control, and the budget will all influence the decision.
Additionally, HVAC professionals will consider other factors, such as the location of the outdoor unit, the placement of outlets and vents, and any existing infrastructure that may affect the installation process. By taking these factors into account, they can ensure a smooth and efficient installation.
In some instances, it may be necessary to upgrade the electrical system to support the added electrical load of the HVAC system. This can involve installing a dedicated circuit, upgrading the electrical panel, or making other necessary modifications to ensure safety and proper functioning.
Overall, accurately determining the size and capacity of the HVAC system is crucial to ensure optimal performance and energy efficiency. By consulting with an HVAC professional who can perform a load calculation and assess the specific needs of your space, you can make an informed decision and enjoy a comfortable indoor environment for years to come.
Assessing the Existing Infrastructure
Before proceeding with the installation of an HVAC system, it is necessary to assess the existing infrastructure in your home. This step helps determine if any modifications or upgrades are required to ensure compatibility and optimal performance of the new system. Here are key aspects that are assessed during this process:
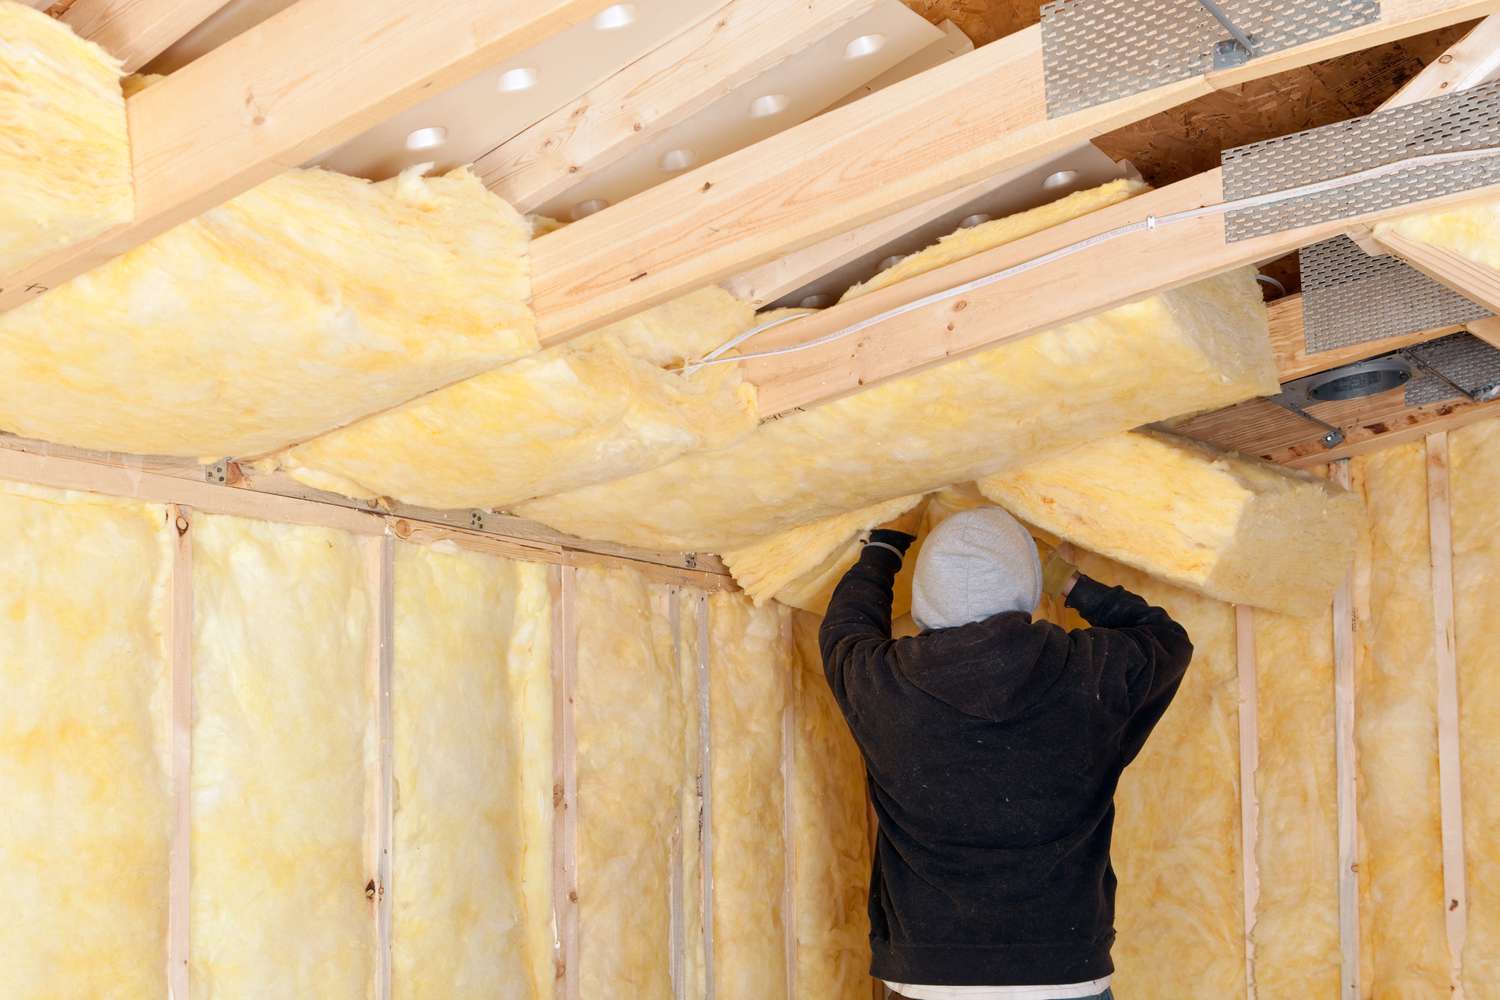
1. Ductwork: If your home already has a ducted HVAC system, the condition of the ductwork will be assessed. It is crucial to check for any leaks, damage, or inadequacies in the duct system. Leaky ducts can significantly reduce energy efficiency and compromise the effectiveness of the new HVAC system. If any issues are found, repairs or replacements may be necessary to ensure proper airflow and distribution of conditioned air.
2. Ventilation: Proper ventilation is essential for maintaining indoor air quality. During the assessment, the ventilation system, including exhaust fans and intake vents, will be checked to ensure they are functioning correctly. If any modifications or upgrades are needed, such as installing additional ventilation in specific areas, it will be addressed at this stage.
3. Electrical Wiring: The electrical system in your home must be capable of handling the electrical load of the new HVAC system. The existing wiring and electrical panel will be evaluated to determine if any upgrades or modifications are necessary to support the new installation. This includes ensuring proper grounding, installing dedicated circuits, and verifying that the electrical system meets local codes and regulations.
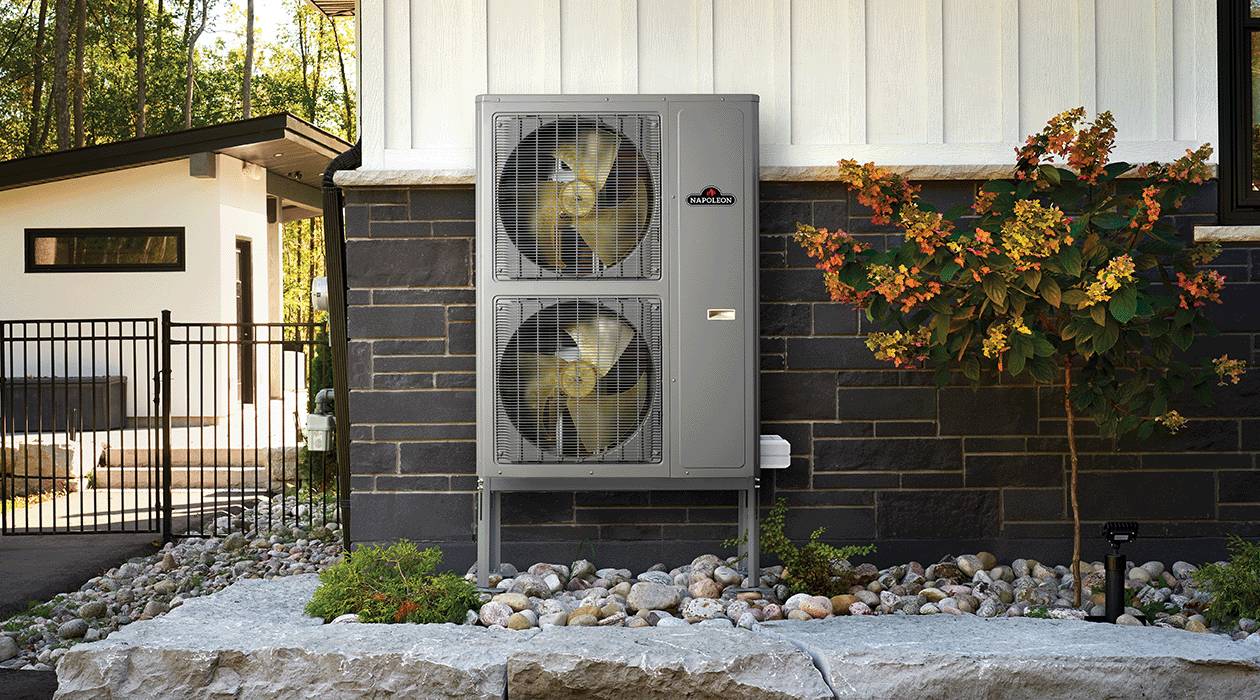
4. Outdoor Unit Placement: For central air conditioning systems, the placement of the outdoor unit is crucial. The HVAC technician will assess the available space and determine the most suitable location for the unit. Factors such as accessibility, airflow, and noise considerations will be taken into account to ensure optimal performance and convenience.
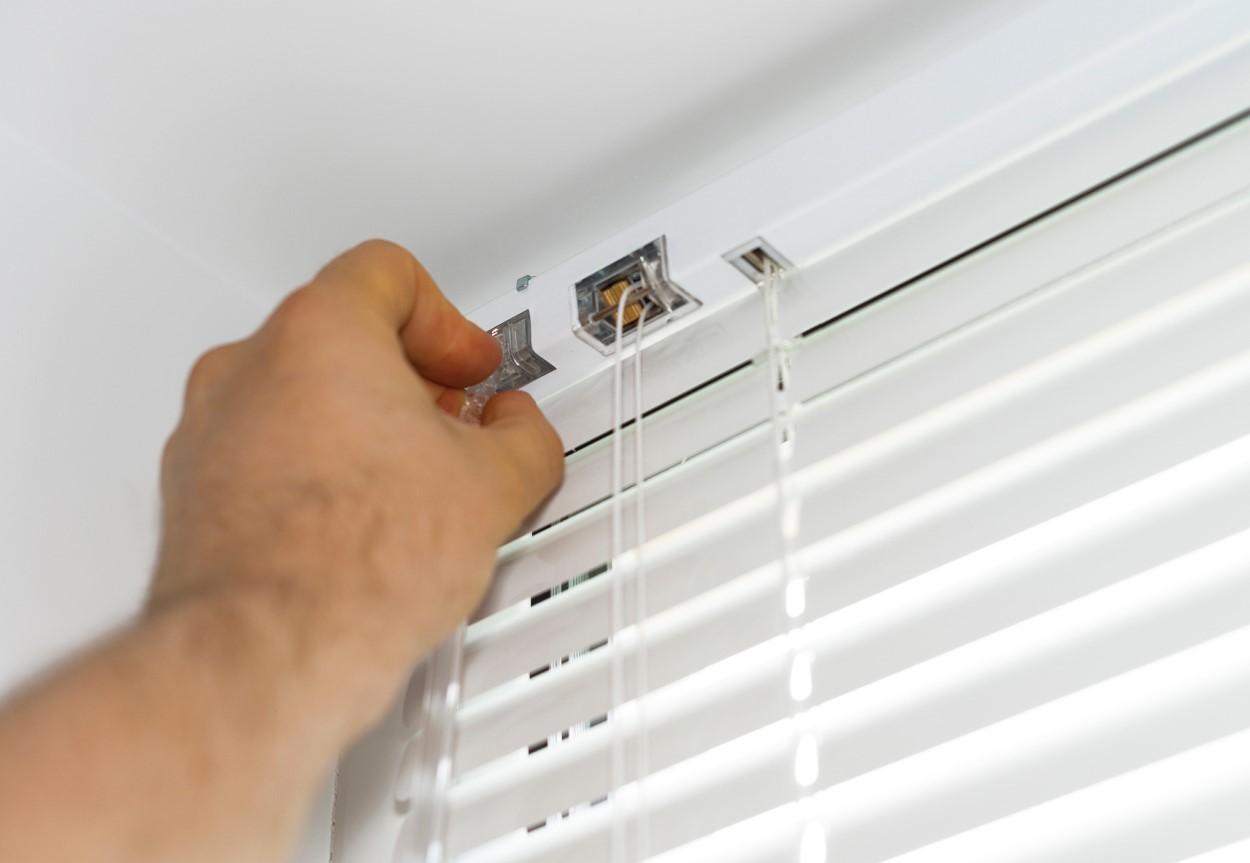
5. Thermostat Compatibility: The compatibility between the existing thermostat and the new HVAC system will be checked. In some cases, a thermostat upgrade may be required to ensure proper communication and control of the system. Modern HVAC systems often come with advanced features and smart thermostats, which may necessitate a new thermostat installation.
By thoroughly assessing the existing infrastructure, any necessary modifications, repairs, or upgrades can be addressed before the installation process begins. This ensures a smooth transition and helps avoid any potential complications that may arise during the installation or operation of the new HVAC system. It also allows for better customization and optimization of the system according to your home’s unique needs and requirements.
Preparing the Site for Installation
Proper site preparation is a crucial step in the HVAC installation process. It involves creating a suitable environment for the installation team to work efficiently and ensuring that the installation will meet safety and performance standards. Here are the key steps involved in preparing the site for an HVAC installation:
1. Cleaning and Clearing: The installation area needs to be clean and free of any debris or obstacles that could hinder the installation process. This includes removing any furniture, appliances, or personal belongings from the installation area to provide ample space for the technicians to work.
2. Protection and Covering: Adequate protection should be provided to protect your home’s interior during the installation. This may involve covering floors, furniture, and other vulnerable surfaces to prevent damage. HVAC technicians will take precautions to minimize any mess or disruption during the installation.
3. Accessibility: Ensure that the installation area is easily accessible for the technicians. This includes clearing pathways, removing any barriers, and ensuring that the HVAC equipment can be safely transported to the installation location without any obstructions.
4. Utilities Shutdown: Prior to installation, it may be necessary to shut down utilities, such as electricity and water, depending on the specific requirements of the installation. This ensures the safety of the installation team and prevents any potential damage during the process.
5. Permitting and Compliance: Check if there are any specific permits or approvals required for the HVAC installation. It’s important to ensure compliance with local building codes and regulations, and to obtain any necessary permits before the installation begins. This ensures that the installation meets safety standards and that any inspections are carried out smoothly.
6. Special Considerations: If the installation involves extensive modifications or additions to the existing structure, it’s crucial to address any special considerations. This may include reinforcing walls or ceilings to support the weight of the HVAC equipment, ensuring proper ventilation or exhaust systems, or making any required structural adjustments as per the manufacturer’s guidelines.
By properly preparing the site for HVAC installation, you help ensure a smooth and efficient process. This allows the installation team to work safely and effectively, reduces the risk of damage or delay, and helps maintain a clean and organized work area. Taking these steps also demonstrates your commitment to a successful and professional installation, ensuring that your HVAC system will be set up for optimal performance and longevity.
The time it takes to install an HVAC system can vary based on factors such as the size of the system, the complexity of the installation, and the experience of the installer. On average, a complete installation can take anywhere from 1 to 5 days.
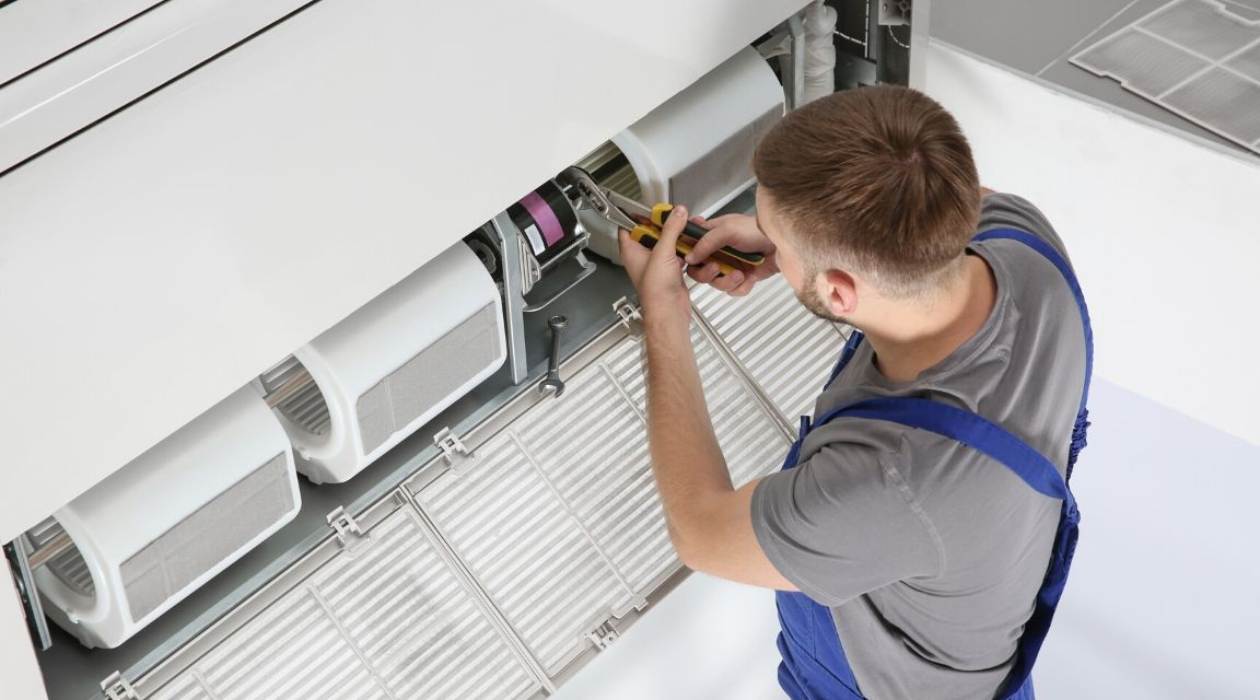
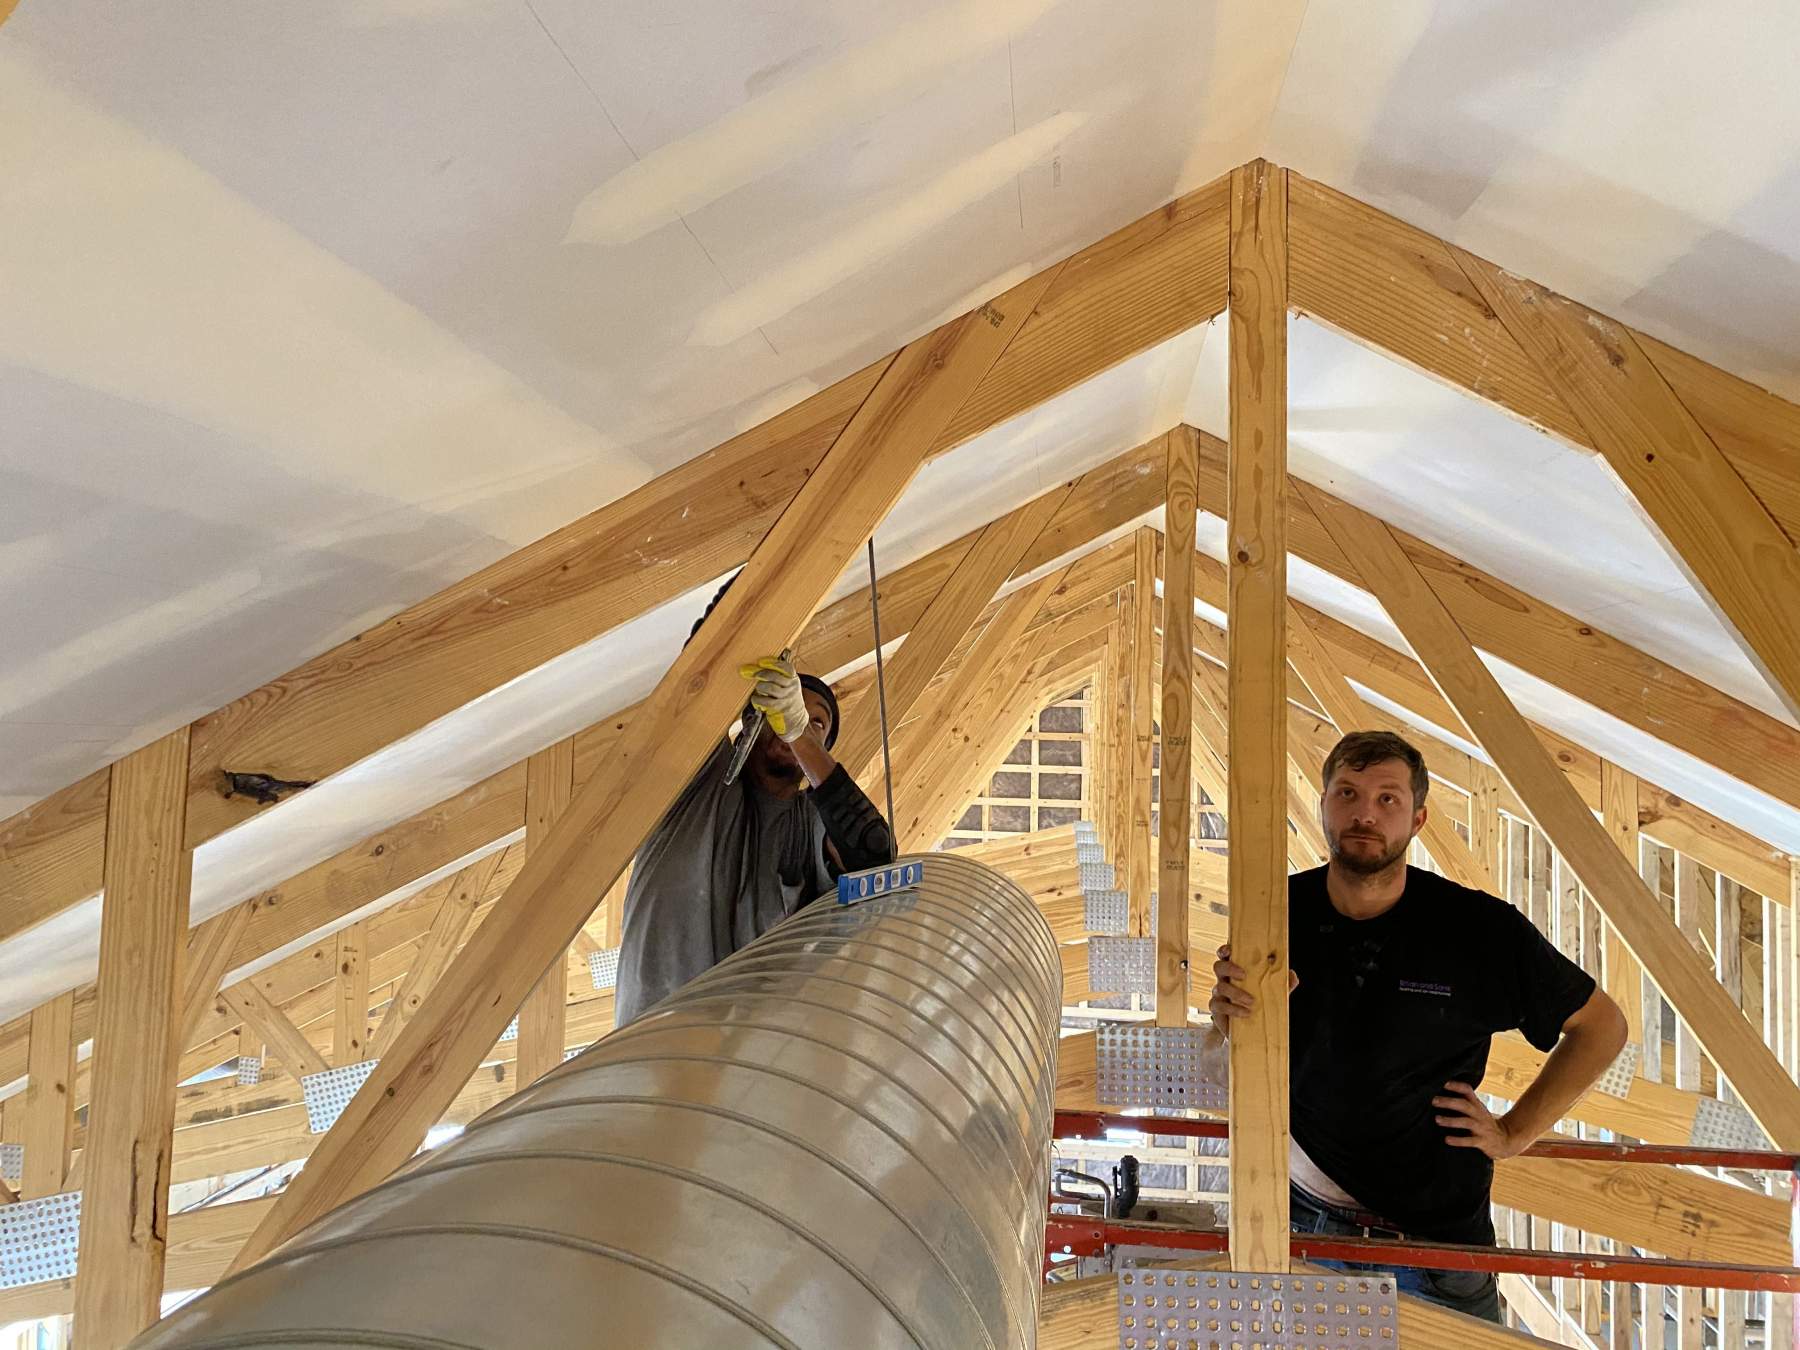
Installing the HVAC System Components
Installing the HVAC system components is the key stage of the installation process. This involves assembling and connecting the various components of the system to ensure proper functioning and efficient operation. Here’s an overview of the installation steps:
1. Indoor Unit: The installation typically begins with the placement and mounting of the indoor unit. For central air conditioning systems, this is the air handler or furnace. The unit is positioned in a suitable location, typically in a basement or utility room, and securely mounted following the manufacturer’s guidelines.
2. Ductwork: If your HVAC system includes ductwork, it will be installed next. The ducts are carefully sized, routed, and connected to distribute conditioned air throughout the living spaces. It’s important to ensure proper sealing and insulation of the ductwork to prevent air leakage and maximize energy efficiency.
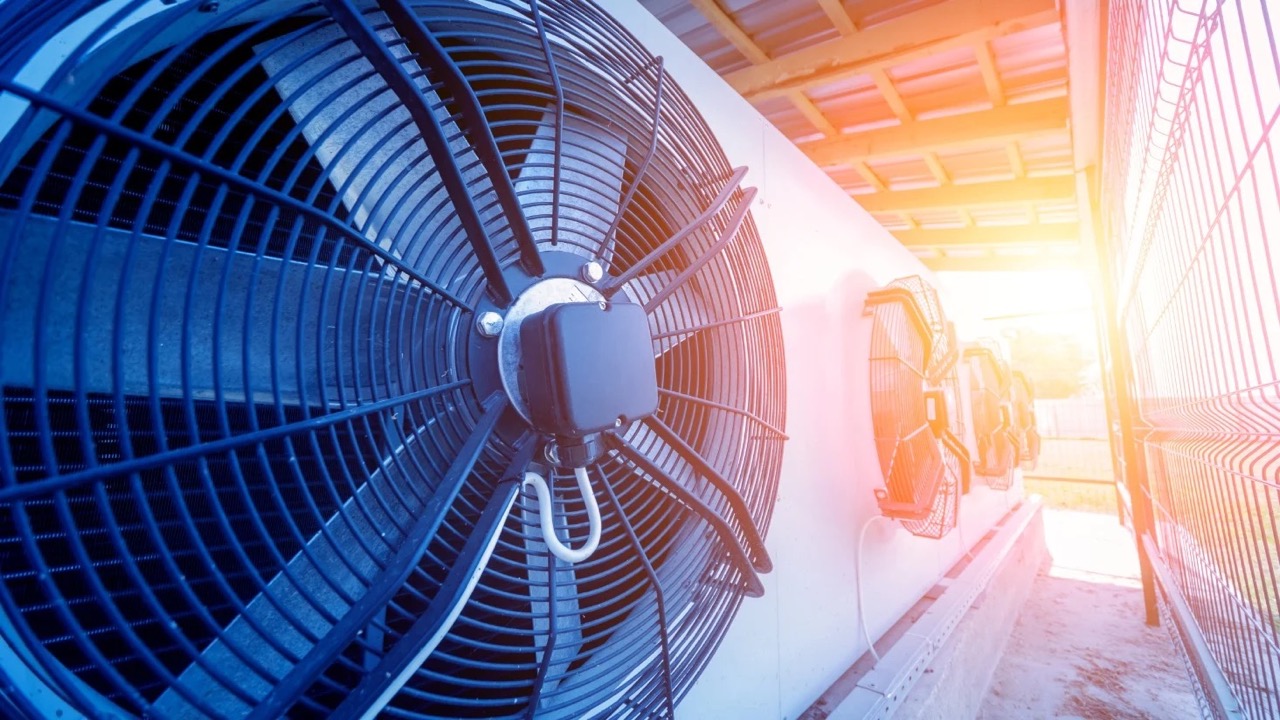
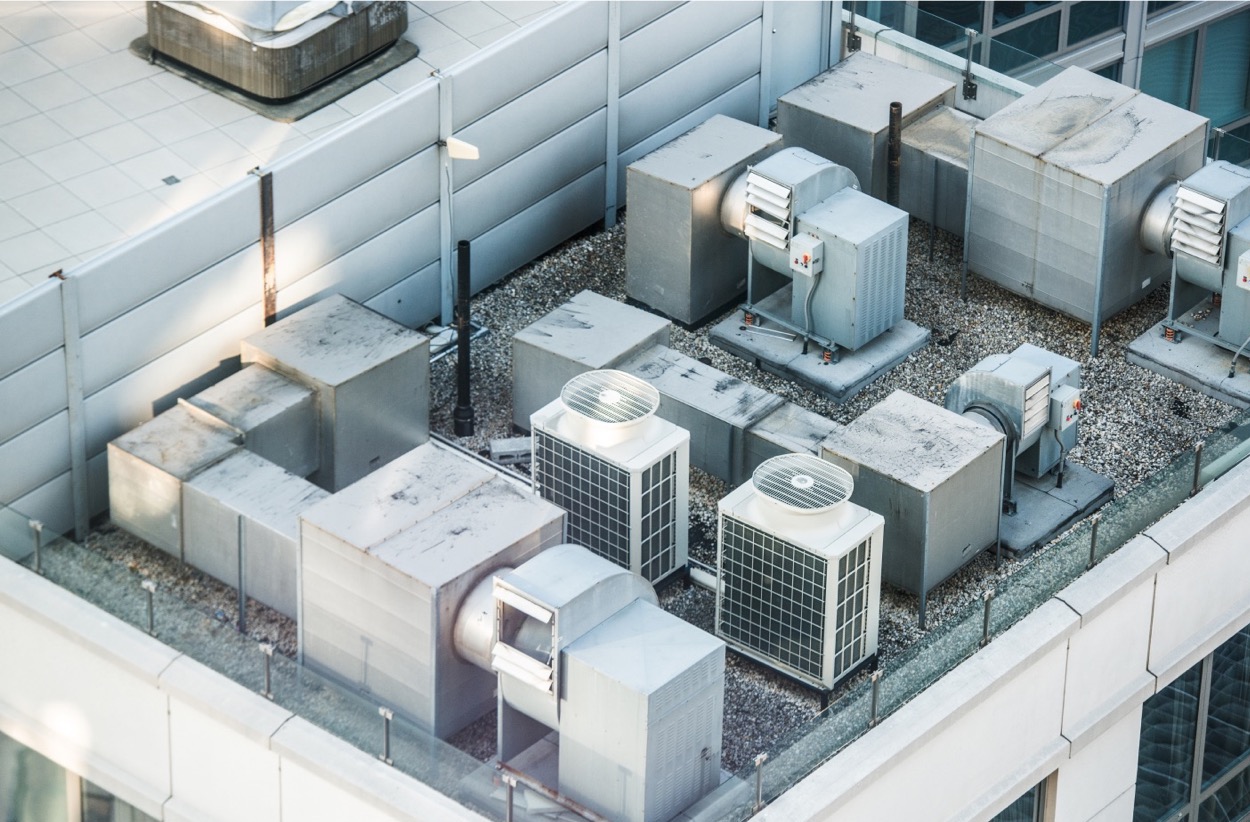
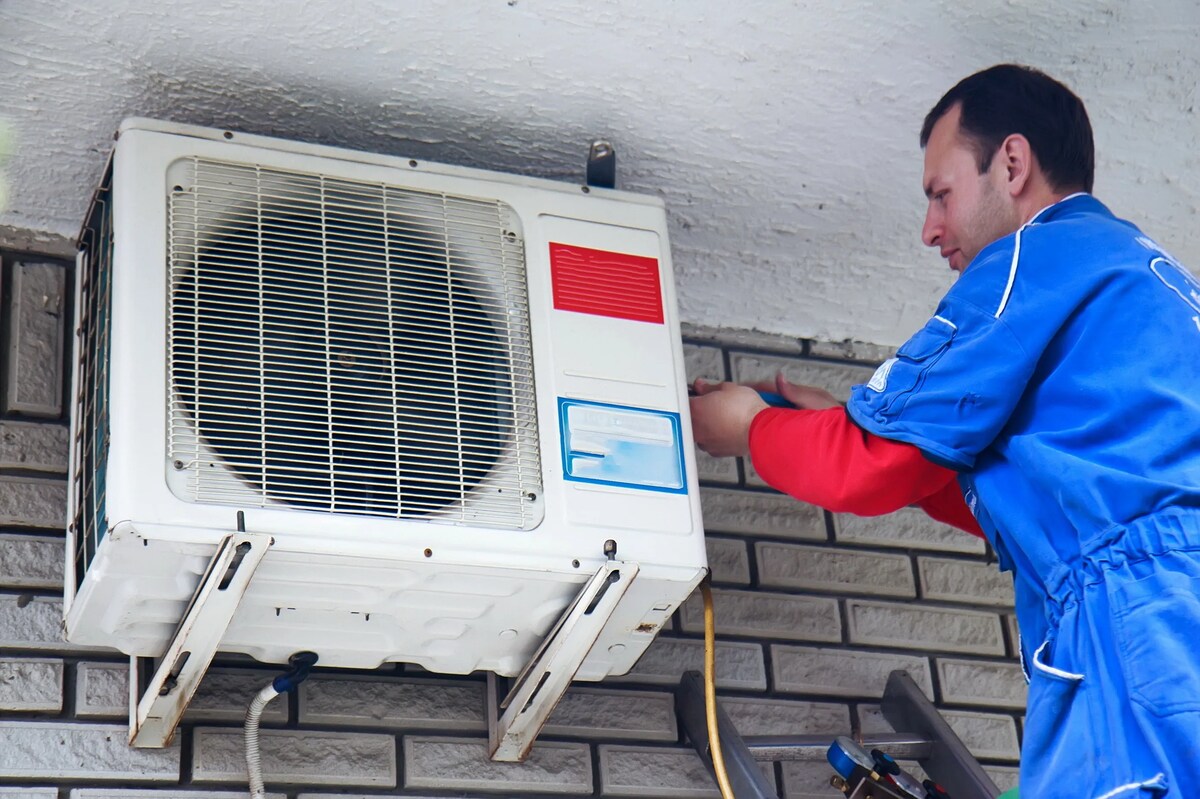
3. Outdoor Unit: For central air conditioning systems, the outdoor unit, known as the condenser, is installed. This unit contains the compressor and other components necessary for cooling the air. It is positioned in an appropriate location outside the home, taking into account factors such as airflow, accessibility, and noise considerations.
4. Refrigerant Lines: The refrigerant lines, which carry the refrigerant between the indoor and outdoor units, are installed and properly connected. HVAC technicians carefully measure, cut, and connect these lines, ensuring proper insulation and tight seals to prevent leaks.
5. Ventilation and Exhaust Systems: If your HVAC system includes ventilation or exhaust components, such as air exchangers or exhaust fans, these will be installed and connected according to the manufacturer’s instructions and local building codes. Proper ventilation is essential for maintaining indoor air quality and ensuring the system operates efficiently.
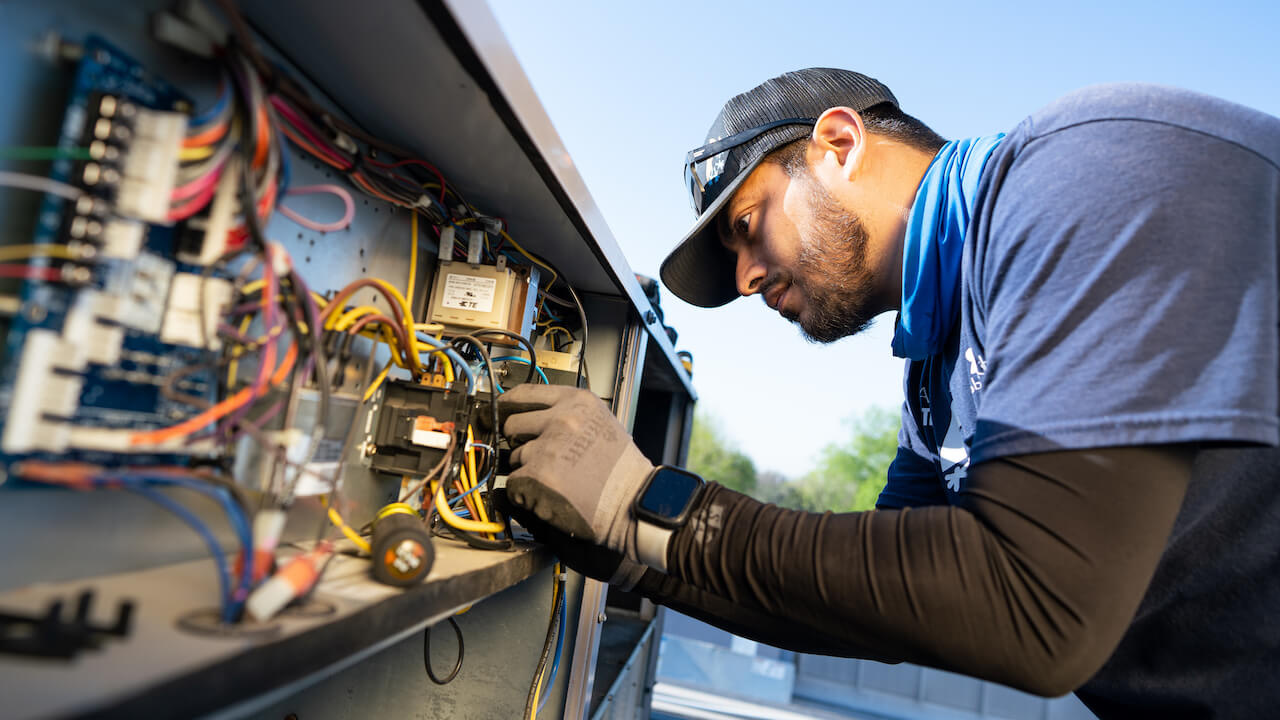
6. Electrical Connections: The electrical wiring and connections are crucial for the operation of the HVAC system. HVAC technicians will carefully wire and connect the indoor and outdoor units, ensuring proper grounding and compliance with electrical codes. It’s essential to follow safety protocols during this step to prevent electrical hazards.
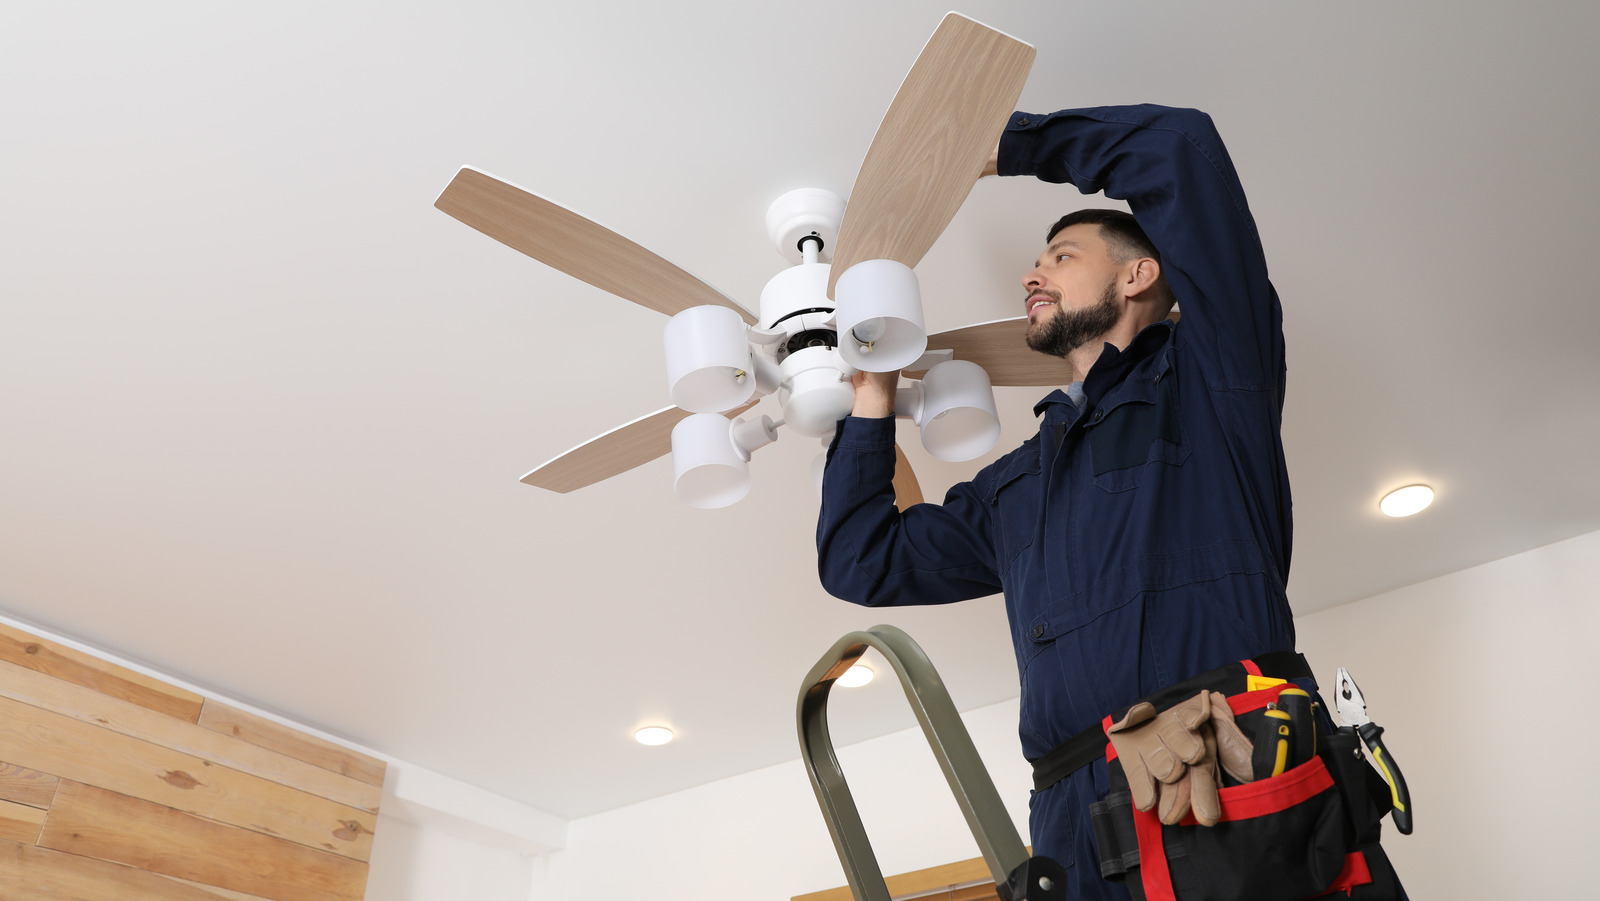
7. Thermostat and Controls: The thermostat or control panel is installed and connected to the HVAC system. This allows you to set and adjust the temperature, control system modes, and customize settings according to your preferences. HVAC technicians will ensure proper communication between the thermostat and the system to enable precise control and optimal performance.
8. Testing and Calibration: Before completing the installation process, HVAC technicians thoroughly test the system to ensure proper operation. This includes checking airflow, refrigerant levels, electrical connections, and system performance. Any necessary adjustments or calibrations are made to ensure optimal functionality.
By following these installation steps, HVAC professionals ensure that all components of the system are properly installed, connected, and calibrated. This meticulous approach to installation helps ensure that your HVAC system operates reliably, efficiently, and performs at its best to provide you with year-round comfort.
Connecting and Testing the System
Once the HVAC system components are installed, the next step is to connect and test the system to ensure proper functionality and performance. This stage is critical to ensure that the system operates efficiently and meets your heating and cooling needs. Here’s an overview of the connecting and testing process:
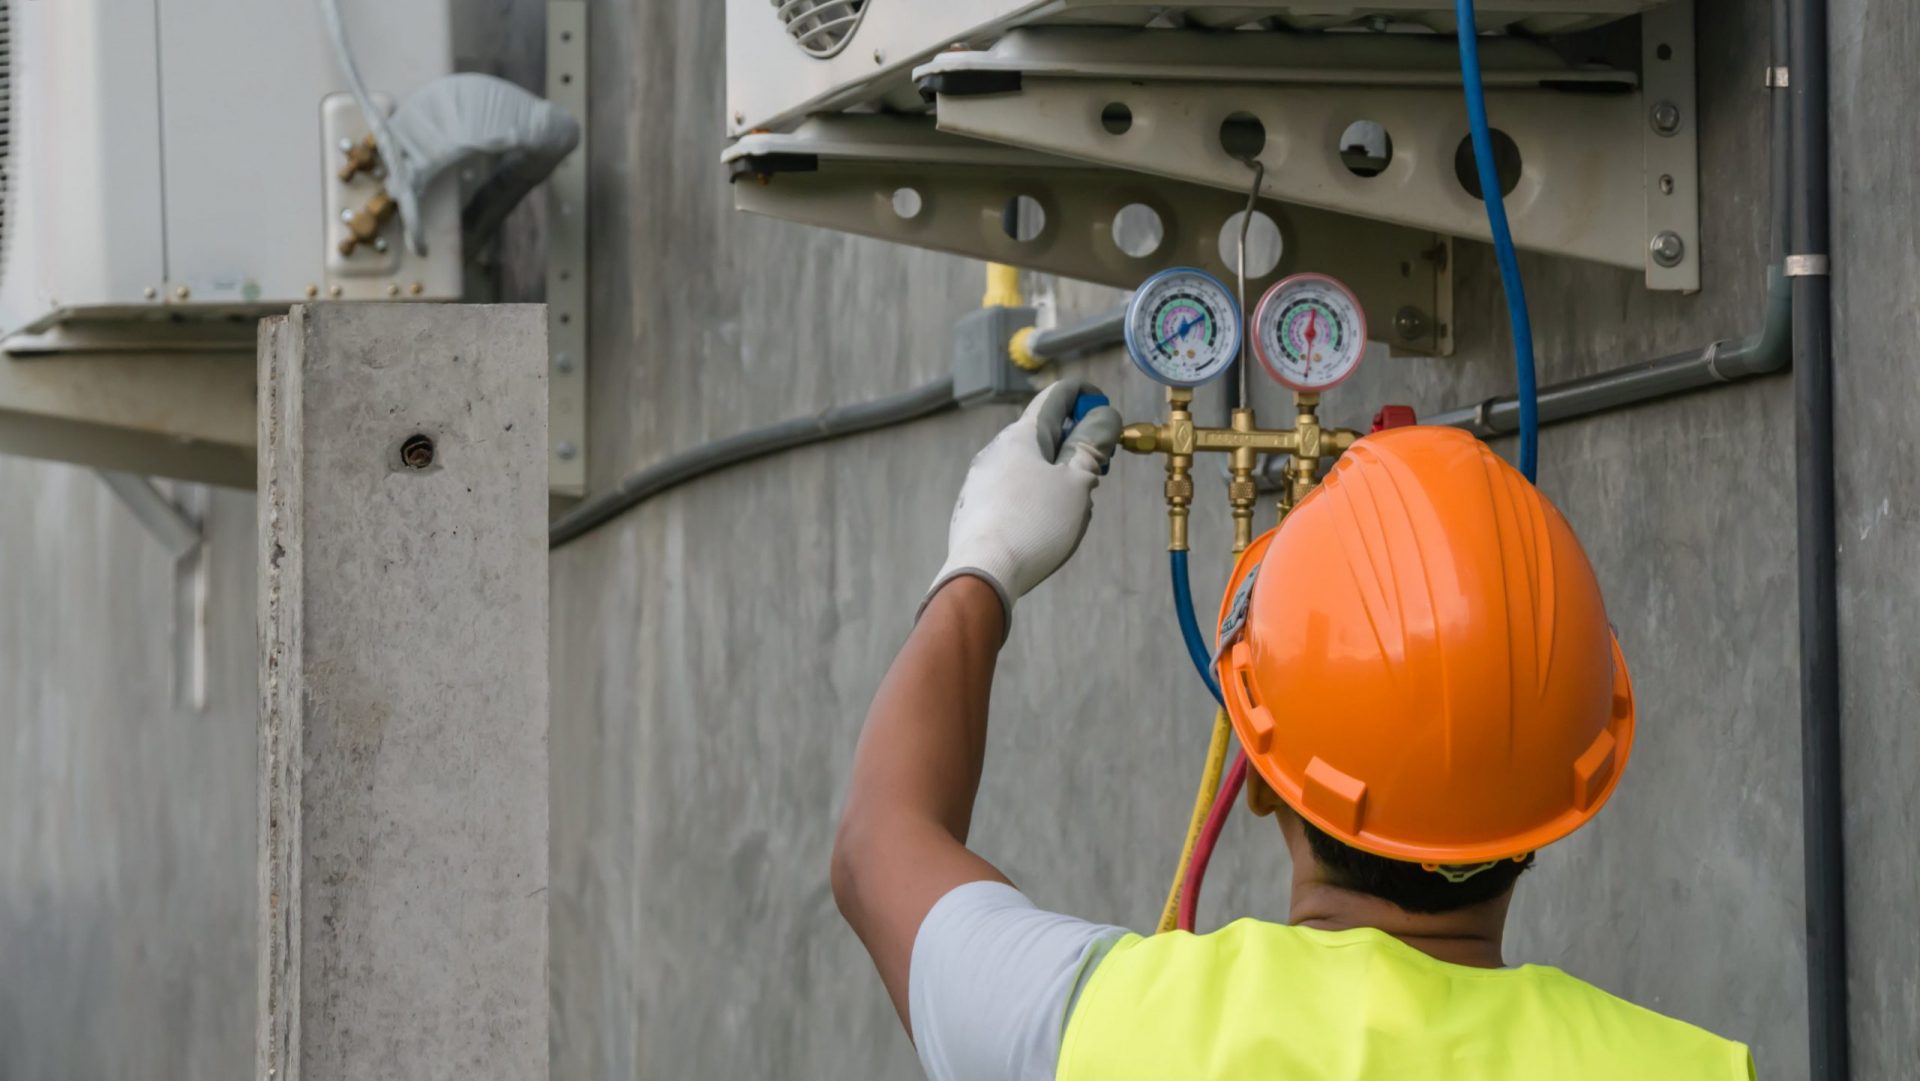
1. Refrigerant Charge: If your HVAC system includes an air conditioning component, it’s essential to properly charge the refrigerant. HVAC technicians carefully measure and adjust the refrigerant levels to ensure optimal cooling performance. This step requires expertise to prevent overcharging or undercharging, which can lead to inefficient operation and potential damage to the system.
2. Airflow and Ventilation: HVAC technicians will check the airflow and ventilation system to ensure proper distribution of conditioned air throughout your home. They will adjust dampers and registers to achieve balanced airflow, ensuring that each room receives adequate heating or cooling. Proper ventilation is also verified to maintain indoor air quality and prevent the buildup of stale air.
3. Electrical Connections and Controls: The electrical connections and control systems are thoroughly checked to ensure they are properly functioning. HVAC technicians verify that the wiring is secure and correctly connected, and that all safety features and control functions are operational. This includes testing the thermostat, programmable settings, and any additional control features of the system.
4. System Operation: The HVAC system is tested in various operational modes to ensure it performs as expected. This includes checking the heating and cooling functions, adjusting fan speeds, and evaluating the system’s response to temperature setpoints. Technicians also assess the system’s noise levels and overall performance to identify any potential issues that may need adjustment or troubleshooting.
5. Temperature and Humidity Control: HVAC technicians monitor temperature and humidity levels in different areas of your home to ensure that the system maintains consistent and comfortable conditions. They make necessary adjustments to optimize temperature control, humidity levels, and overall system performance. This may include adjusting airflow, fan speeds, or settings on the thermostat or control panel.
6. System Efficiency and Energy Consumption: During testing, HVAC technicians evaluate the system’s energy efficiency and energy consumption. They may use specialized equipment to measure energy usage and assess the system’s efficiency ratings. If any adjustments or optimizations are necessary to improve energy efficiency or reduce energy consumption, technicians will make the appropriate recommendations.
7. Final Checks and Cleanup: Once the system is connected and tested, HVAC technicians conduct a final inspection to ensure everything is in order. They check for proper functioning of all components, verify any warranty requirements or manufacturer guidelines, and ensure that the installation space is clean and organized. Any debris or leftover materials from the installation process are removed, leaving your home in excellent condition.
By thoroughly connecting and testing the HVAC system, technicians ensure that it operates efficiently, meets your comfort needs, and functions properly for years to come. This comprehensive testing and evaluation process allows them to address any potential issues and provide you with a reliable and high-performing HVAC system.
Obtaining Necessary Permits and Inspections
As part of the HVAC installation process, it is important to obtain the necessary permits and schedule inspections to comply with local building codes and regulations. This ensures that the installation meets safety standards and passes all necessary inspections. Here are the key steps involved in obtaining permits and inspections:
1. Research Local Requirements: Start by researching the specific permits and inspections required for HVAC installations in your local area. Building codes and regulations can vary, so it’s essential to familiarize yourself with the specific requirements set by your city or municipality.
2. Submit Permit Applications: Once you know the required permits, submit the necessary applications to the appropriate local authorities. This typically involves providing detailed information about the planned installation, including the system specifications, contractor information, and any additional documentation required.
3. Pay Permit Fees: Depending on your location, there may be fees associated with obtaining permits. It’s important to budget for these fees and make the necessary payments to ensure a smooth permit acquisition process. Keep in mind that permit fees can vary based on the scope and complexity of the installation.
4. Schedule Inspections: After obtaining the permits, you will need to schedule inspections at specific points during the installation process. Inspections are typically required at different stages, such as before the installation, during the installation, and after the completion of the project. These inspections verify that the work is being done properly and in compliance with local codes.
5. Coordinate with Contractors: Coordinate with your HVAC contractor to ensure that they are aware of the permit requirements and have the necessary documentation ready for the inspections. They will work closely with you to schedule the inspections and ensure that the installation meets all regulatory standards.
6. Inspections and Final Approval: On the scheduled inspection dates, a representative from the local building department will visit your property to evaluate the HVAC installation. They will check the compliance of the work with the approved permits and ensure that the system meets safety and quality standards. If any issues are identified during the inspection, they will need to be addressed and re-inspected for final approval.
7. Records and Compliance: Once the inspections are completed and the installation is approved, it is essential to maintain records of the permits and inspections for future reference. This documentation proves that the HVAC installation was done in compliance with local regulations, which can be important for insurance purposes or if you plan to sell your home in the future.
By obtaining the necessary permits and scheduling inspections, you ensure that your HVAC installation meets safety standards and regulatory requirements. This process helps to safeguard your investment and provides reassurance that the installation is done correctly, ensuring the long-term performance and efficiency of your HVAC system.
Read more: How Long Does It Take To Install AC Unit
Finalizing the Installation and Cleanup
After the HVAC system has been connected, tested, and inspected, the final steps of the installation process involve finalizing the installation and ensuring that the site is cleaned up properly. Here’s an overview of what is typically involved in finalizing the installation and cleanup:
1. Documentation and Instruction: HVAC technicians will provide you with the necessary documentation, including warranty information, owner’s manuals, and any maintenance instructions specific to your HVAC system. They will walk you through the system’s operation, explaining how to set temperatures, adjust settings, and troubleshoot minor issues. Take the time to familiarize yourself with the system’s controls and maintenance requirements.
2. Final Checks and Adjustments: HVAC technicians will conduct a final check of the installation to ensure that everything is in order. They will verify that all components are securely connected, all electrical connections are properly insulated, and that there are no visible issues with the system. Any adjustments or fine-tuning required to optimize system performance will be addressed at this stage.
3. System Startup and Calibration: HVAC technicians will run the system one final time to ensure that it starts up properly and provides the expected heating or cooling output. They will calibrate the system to ensure it meets the desired temperature setpoints and ensure that the system operates efficiently and effectively.
4. Cleanup and Debris Removal: HVAC technicians will thoroughly clean the installation area, removing any debris, tools, or equipment used during the installation process. They will ensure that your home is left in a clean and tidy state, taking care to remove any dust or residue that may have accumulated during the installation.
5. Explanation of Maintenance Requirements: HVAC technicians will provide you with a clear understanding of the maintenance requirements for your HVAC system. This may include information on how often to change filters, schedule regular maintenance inspections, and perform any necessary tasks to keep the system operating at peak performance.
6. Final Walkthrough: Before concluding the installation, the HVAC technician will walk you through the installed system, explaining the different components and controls if necessary. They will make sure you are comfortable with the system’s operation and answer any questions you may have regarding its functionality or maintenance.
7. Follow-Up Support: After the installation is complete, many HVAC contractors offer follow-up support to address any concerns or issues that may arise. They may provide contact information for customer support or offer warranty services to handle any unexpected problems that may occur during the initial period of system operation.
By finalizing the installation and ensuring proper cleanup, you can enjoy peace of mind knowing that your HVAC system has been installed correctly and is ready to provide reliable heating and cooling for your home. Follow the provided maintenance instructions to keep the system running efficiently and enlist the support of the HVAC contractor if any issues arise in the future.
Conclusion
Installing an HVAC system is a significant investment that can greatly enhance your home’s comfort and energy efficiency. Understanding the various stages of the installation process can help you prepare for what to expect and ensure a successful outcome. From determining the size and capacity of the system to finalizing the installation and cleanup, each step plays a crucial role in creating a comfortable and efficient living environment.
Factors such as the size and complexity of the project, the existing infrastructure, and the expertise of the HVAC contractor can all impact the duration of the installation. By taking the time to research and select a reputable contractor, you can ensure that the installation is carried out by skilled professionals who prioritize quality workmanship and adhere to safety standards.
Thoroughly assessing the existing infrastructure, preparing the site, and obtaining necessary permits and inspections are essential steps to ensure a smooth installation process. By addressing any modifications or upgrades needed before the installation begins, you can avoid potential delays or issues during the installation and ensure that the system is installed efficiently and safely.
Connecting and testing the HVAC system components, as well as calibrating and fine-tuning the system, are vital to ensure proper functionality and performance. By conducting thorough testing and verification, HVAC technicians can ensure that the system operates at its optimal efficiency and provides consistent heating and cooling throughout your home.
Lastly, finalizing the installation and cleanup reaffirm the commitment to a successful outcome. Proper documentation, instruction, and guidance on maintenance requirements are provided to allow you to make the most of your HVAC system. By maintaining regular maintenance and following the manufacturer’s guidelines, you can ensure the longevity and efficiency of your HVAC system for years to come.
In conclusion, investing in a well-planned and professionally executed HVAC installation will pay off in terms of improved indoor comfort, energy efficiency, and peace of mind. By understanding the various stages of the installation process and working closely with a reputable HVAC contractor, you can enjoy the benefits of a reliable and efficient HVAC system that enhances your home’s comfort for years to come.
Frequently Asked Questions about How Long Does It Take To Install HVAC System
Was this page helpful?
At Storables.com, we guarantee accurate and reliable information. Our content, validated by Expert Board Contributors, is crafted following stringent Editorial Policies. We're committed to providing you with well-researched, expert-backed insights for all your informational needs.


0 thoughts on “How Long Does It Take To Install HVAC System”