Articles
How To Install Air Filter In HVAC Unit
Modified: December 7, 2023
Learn how to easily install an air filter in your HVAC unit with our informative articles. Improve indoor air quality and extend the life of your system.
(Many of the links in this article redirect to a specific reviewed product. Your purchase of these products through affiliate links helps to generate commission for Storables.com, at no extra cost. Learn more)
Introduction
Welcome to our guide on how to install an air filter in your HVAC unit. Having a clean and efficient air filter is essential for maintaining good indoor air quality and ensuring that your HVAC system operates at its best. Over time, air filters can become clogged with dust, dirt, and debris, which can restrict airflow and reduce the effectiveness of your HVAC system. By regularly replacing your air filter, you can improve energy efficiency, prolong the lifespan of your equipment, and enjoy cleaner, healthier air in your home.
In this step-by-step guide, we will walk you through the process of replacing your air filter. Whether you are a seasoned DIY enthusiast or a beginner, this article will provide you with clear instructions and helpful tips to make the task easy and hassle-free.
Key Takeaways:
- Regularly replacing your HVAC unit’s air filter is crucial for improving energy efficiency, prolonging equipment lifespan, and enjoying cleaner, healthier indoor air quality.
- Establishing a regular maintenance schedule, including professional HVAC maintenance, ensures optimal system performance, better indoor air quality, and energy efficiency.
Read more: How To Clean AC Air Filter
Step 1: Gather Necessary Tools and Materials
Before you begin the process of installing a new air filter in your HVAC unit, it’s important to gather all the necessary tools and materials. By having everything ready, you can streamline the installation process and ensure a successful outcome. Here are the items you will need:
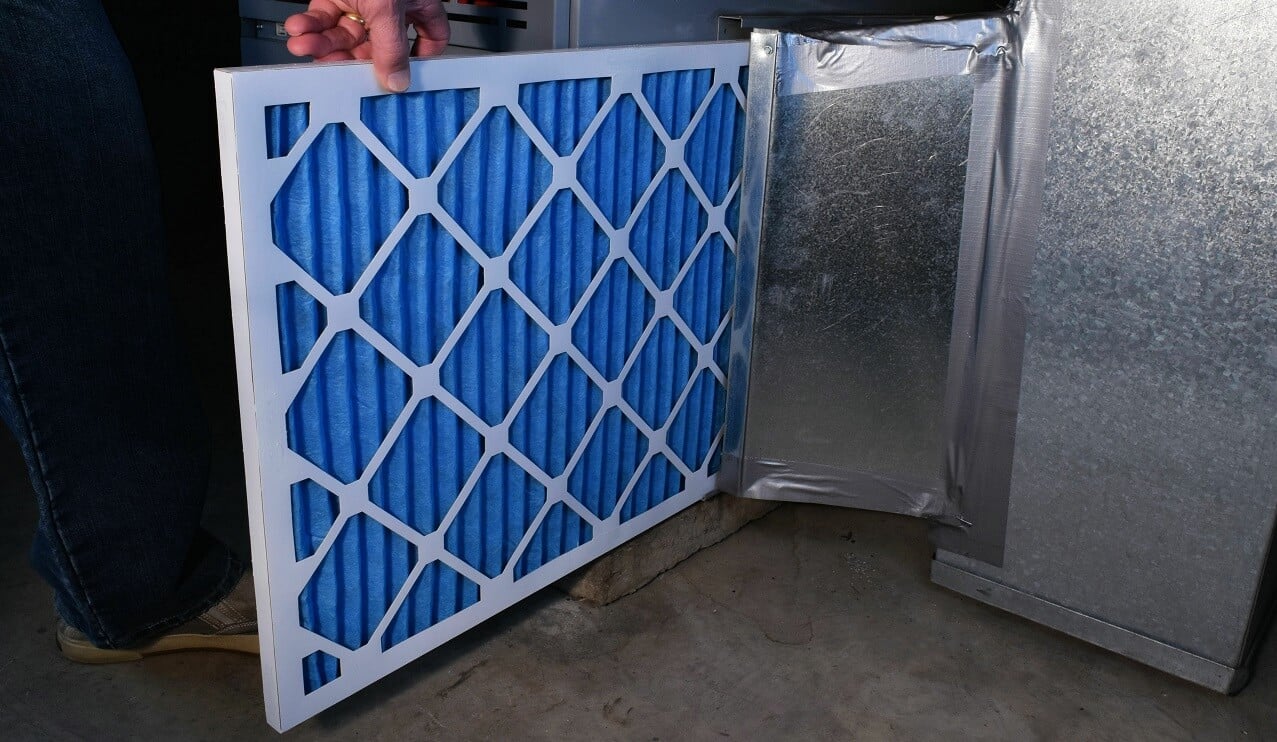
- New air filter: Make sure to check the size and type of filter recommended for your specific HVAC unit.
- Screwdriver or wrench: Depending on the type of HVAC unit you have, you may need a screwdriver or wrench to open the filter compartment.
- Flashlight: A flashlight will come in handy to provide better visibility, especially if the filter compartment is located in a dimly lit area.
- Mask and gloves: It’s always a good idea to wear a mask and gloves during the installation process to protect yourself from dust and debris.
Once you have gathered all the necessary tools and materials, you are ready to move on to the next step.
Step 2: Locate the Air Filter Compartment
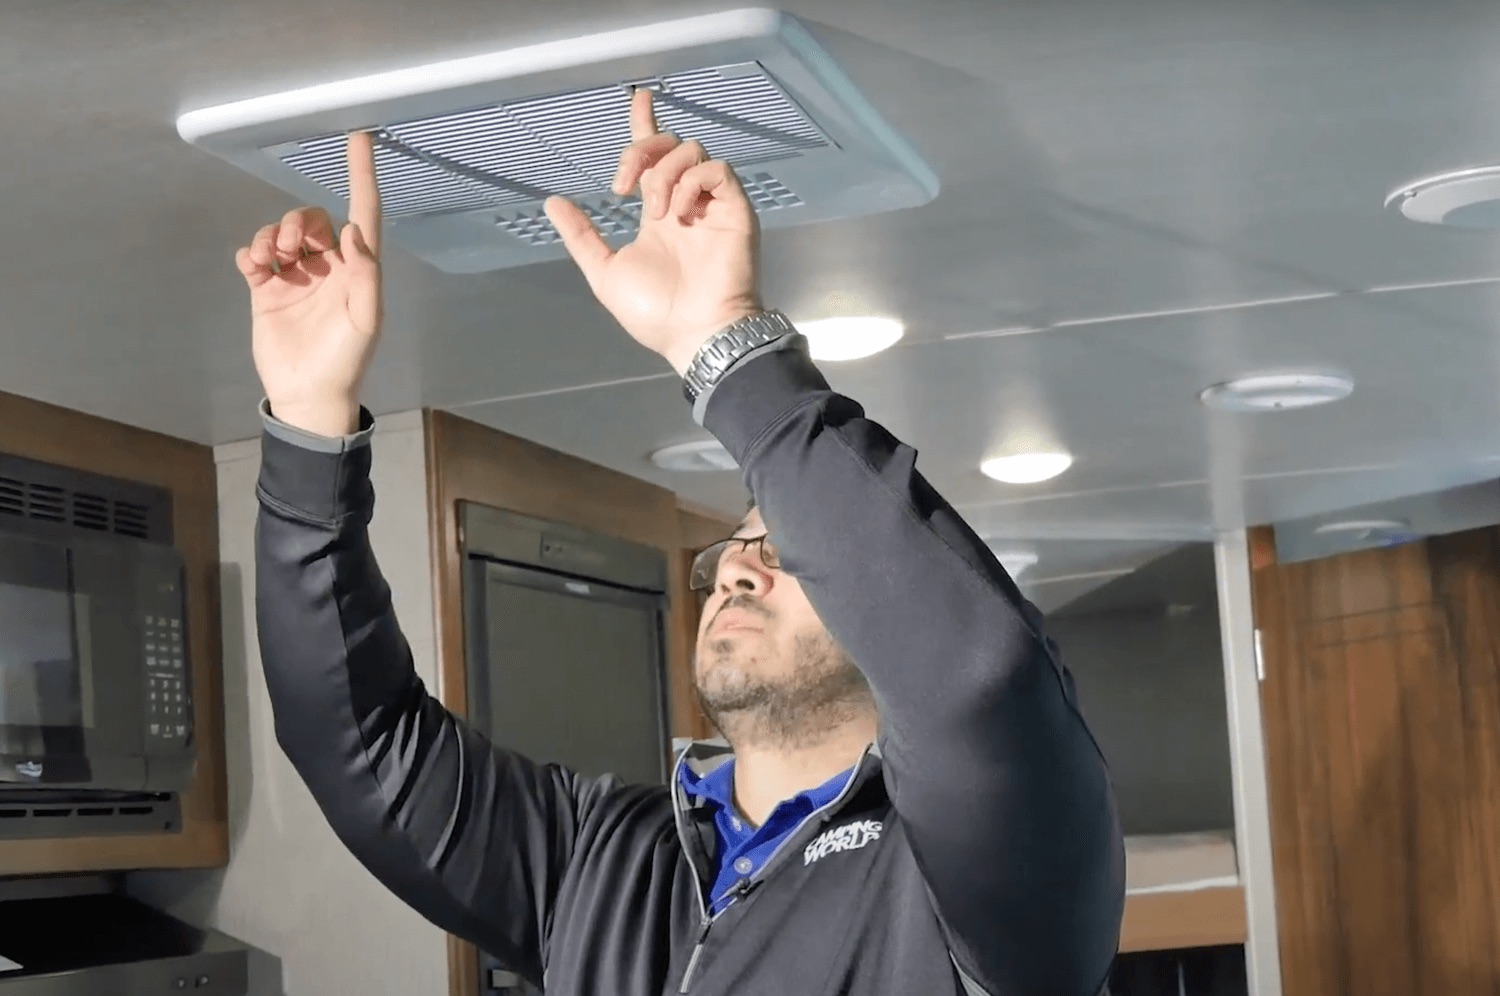
The next step in installing an air filter in your HVAC unit is to locate the filter compartment. Depending on the type and model of your HVAC unit, the filter compartment may be located in different areas.
The most common places to look for the filter compartment include:
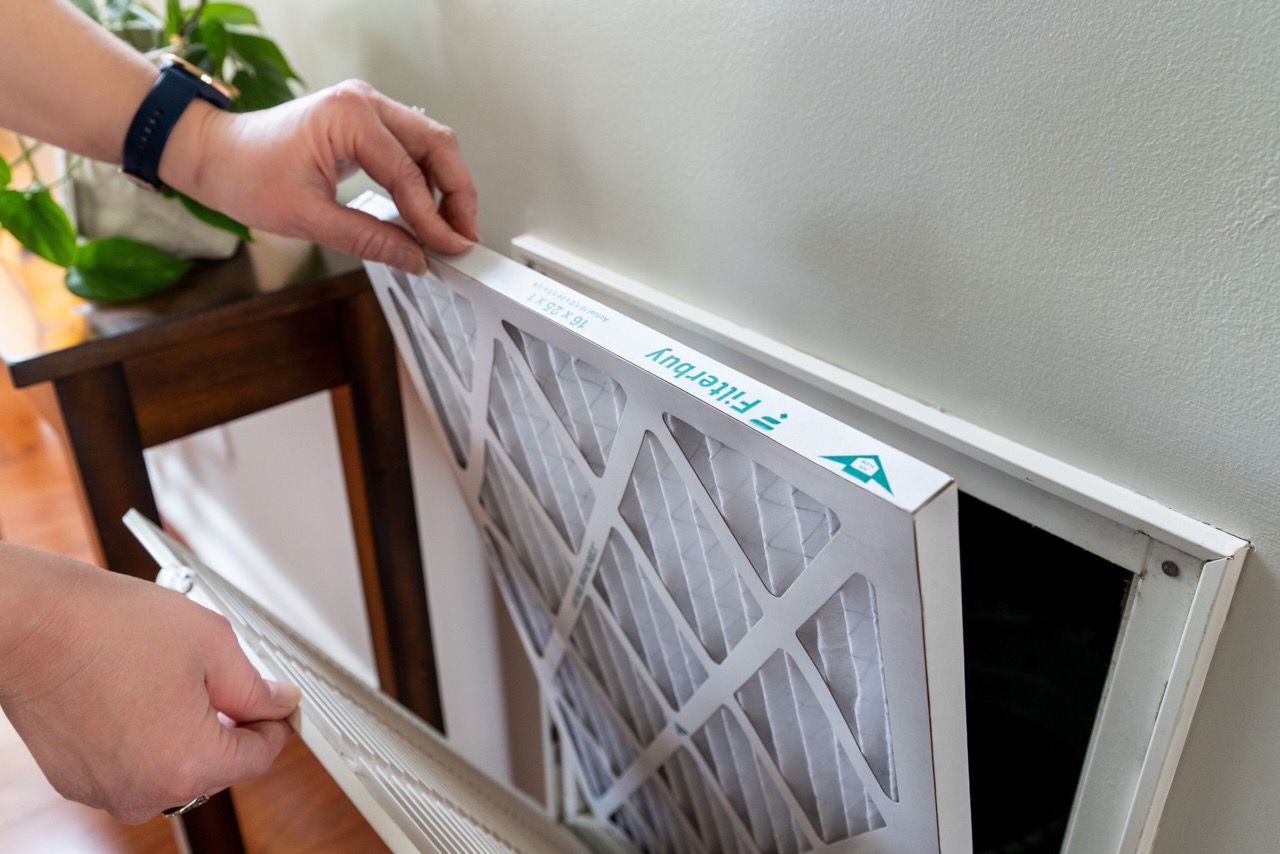
- Behind the return air grille: This is a common location for residential HVAC units. The grille is usually located on a wall or ceiling, and you can easily remove it to access the filter compartment.
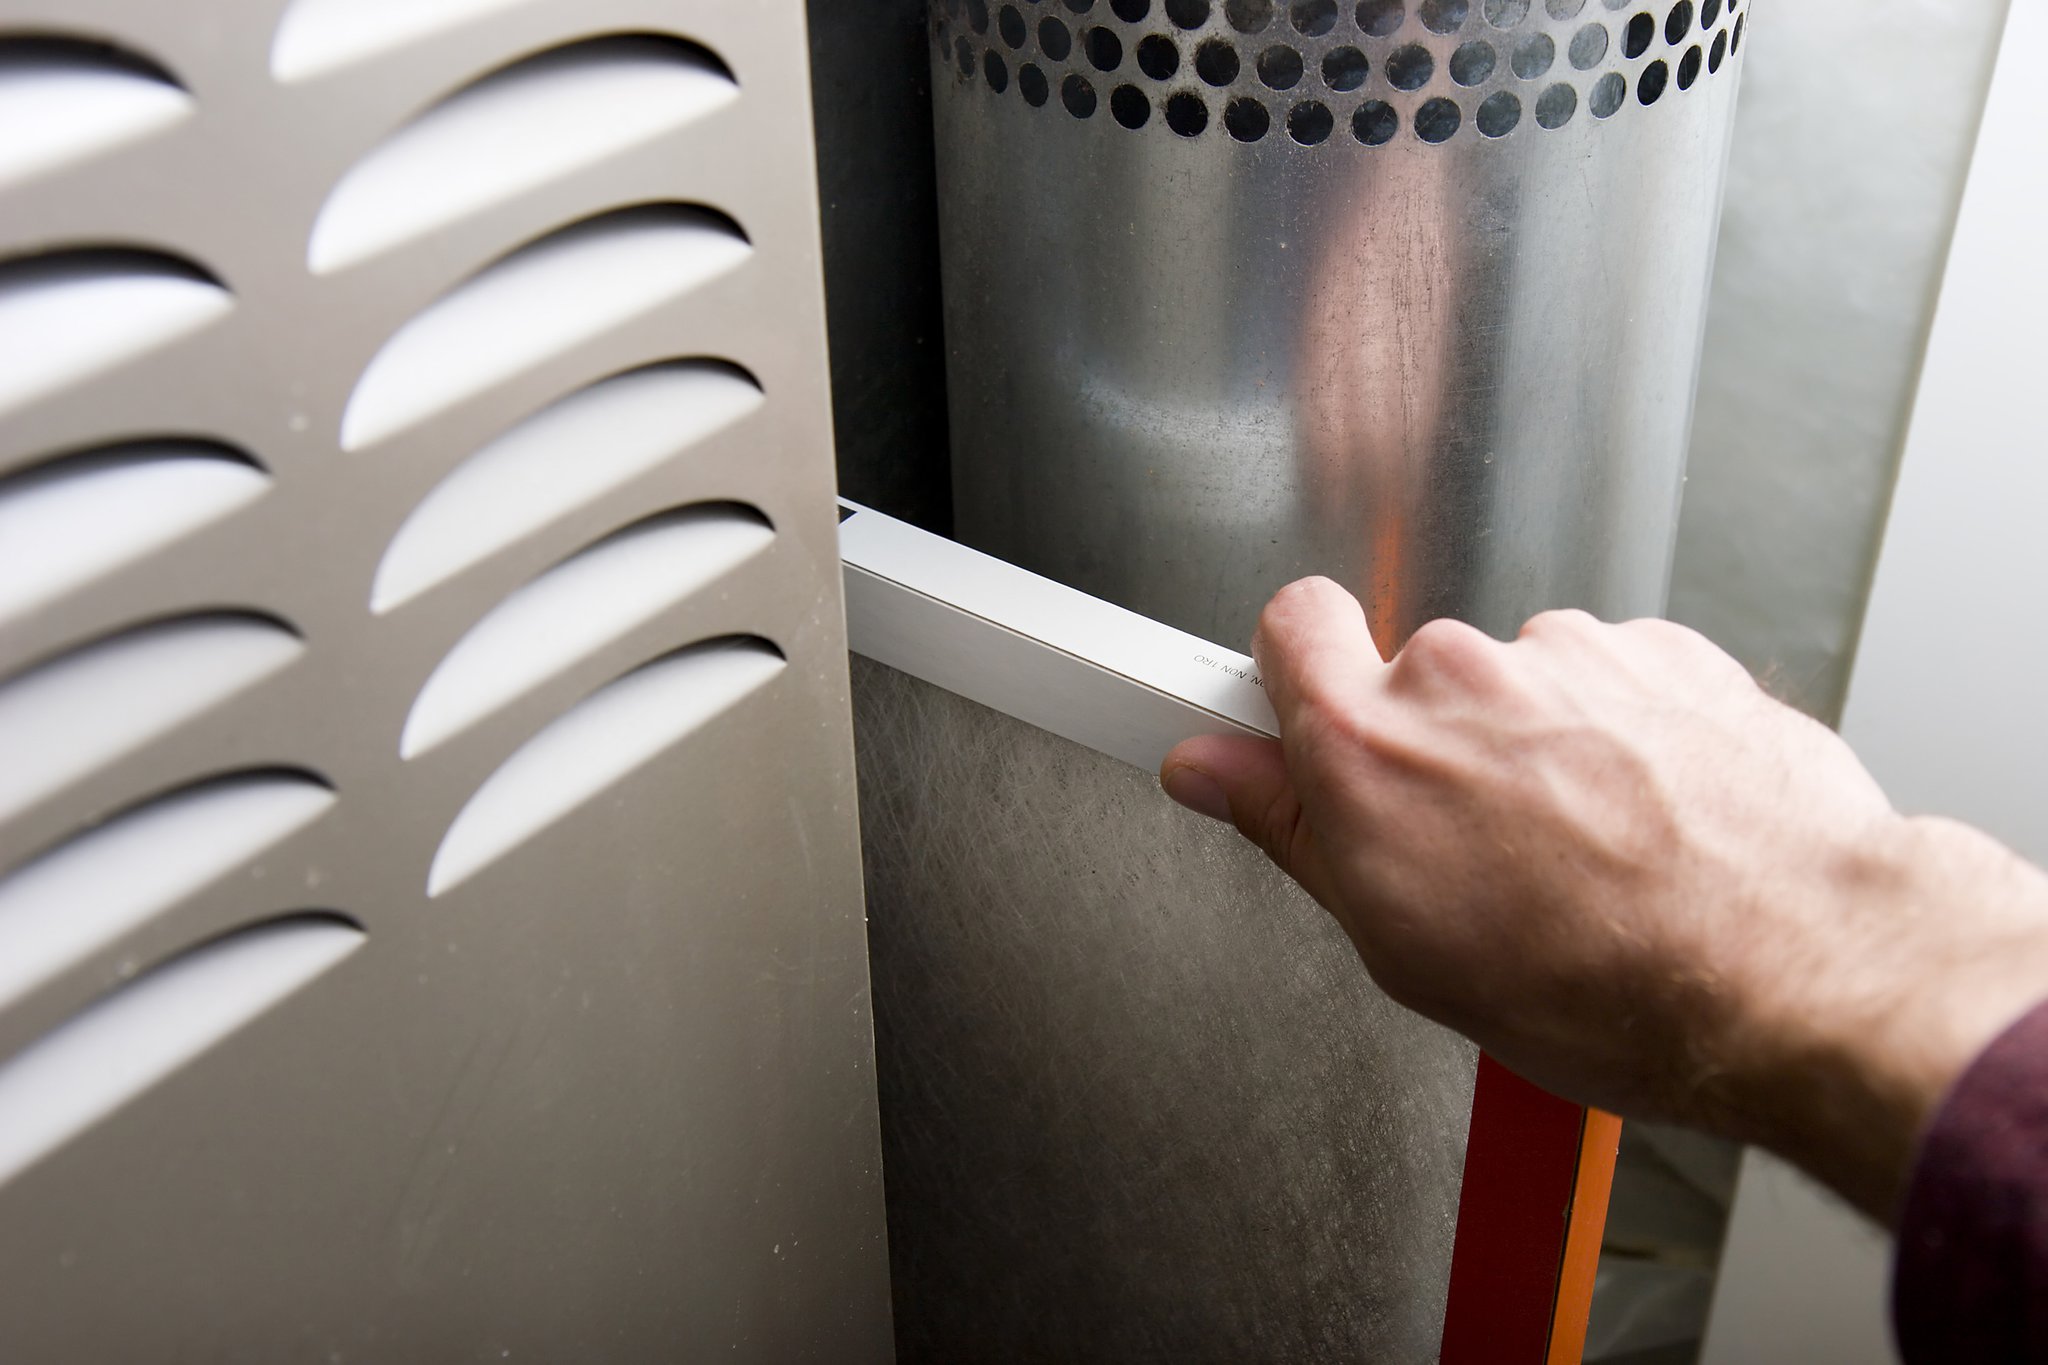
- Inside the blower compartment: In some HVAC units, the filter compartment is located inside the blower compartment. To access it, you may need to remove a panel or grille.
- On the side or bottom of the HVAC unit: In certain cases, the filter compartment is built into the HVAC unit itself. Check the sides or bottom of the unit for a removable panel.
If you are having trouble locating the filter compartment, refer to the owner’s manual of your HVAC unit. It should provide specific instructions on where to find the filter compartment for your particular model.
Once you have identified the location of the filter compartment, move on to the next step.
Step 3: Turn off the HVAC Unit
Before you proceed with removing the old air filter and installing a new one, it is crucial to turn off the HVAC unit. This step is important to ensure your safety and prevent any potential damage to the system.
To turn off the HVAC unit, follow these steps:
- Locate the power switch: Look for a power switch near the HVAC unit, typically located on a nearby wall or in the electrical panel.
- Switch off the power: Flip the switch or turn off the breaker that controls power to the HVAC unit. This will effectively shut down the system and prevent any accidents or injuries.
- Double-check the power: Once you have turned off the HVAC unit, verify that it is indeed powered off. You can do this by testing the system’s operation or checking if the air conditioning or heating functions have stopped running.
Keep in mind that turning off the HVAC unit is not only important for your safety, but it also allows you to work on the system without any interference. This step should never be skipped or overlooked.
With the HVAC unit safely turned off, you’re now ready to proceed to the next step of removing the old air filter.
Step 4: Remove the Old Air Filter
Now that the HVAC unit is safely turned off, it’s time to remove the old air filter. Removing the old filter is a straightforward process, but it’s important to do it correctly to avoid spreading dust and debris into the air. Here’s how to do it:
- Open the filter compartment: Depending on the type of HVAC unit you have, you may need to remove a panel, grille, or access door to reach the filter compartment. Use a screwdriver or wrench if necessary.
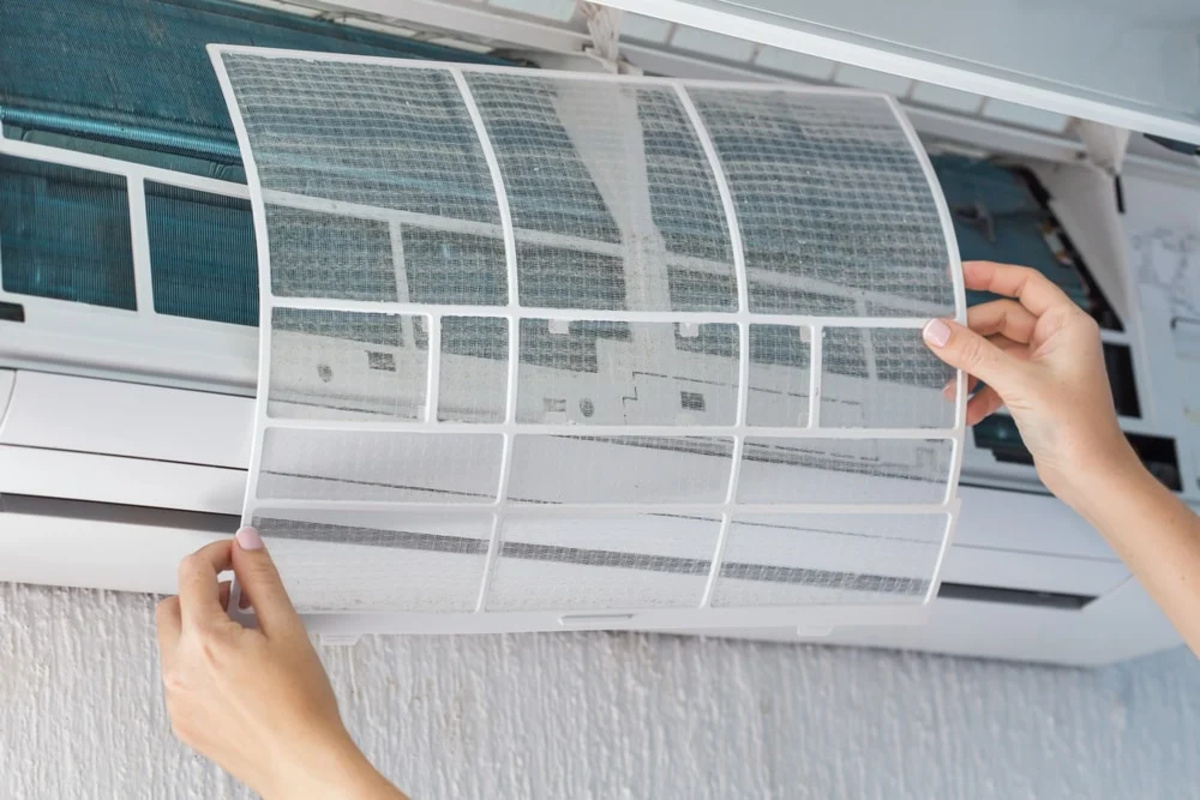
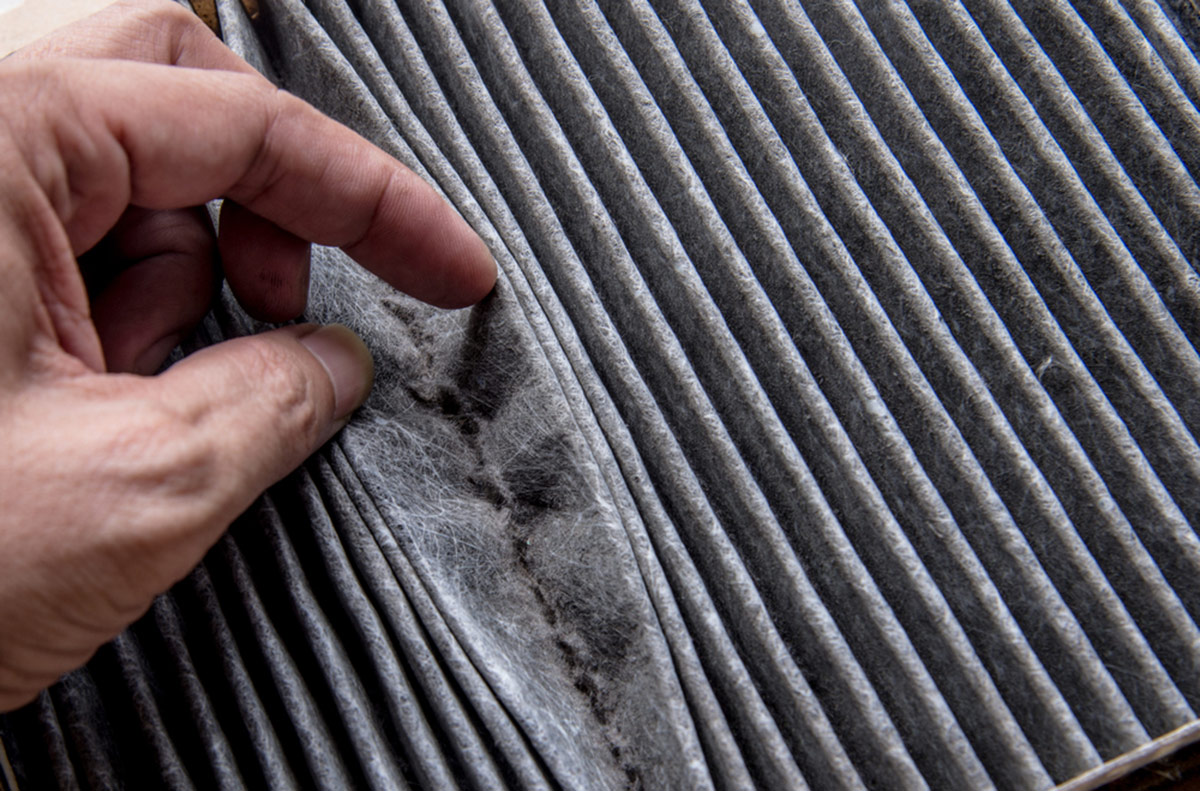
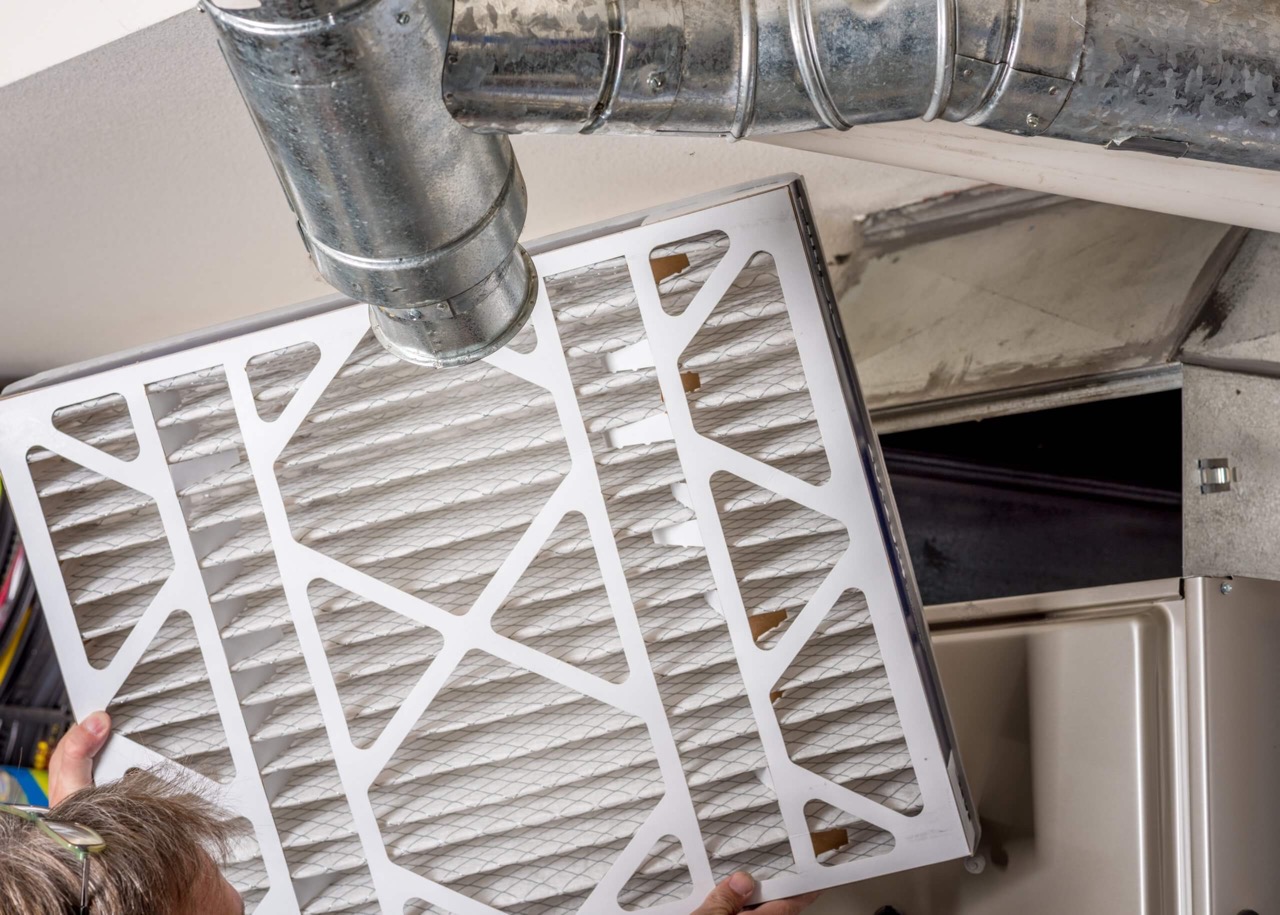
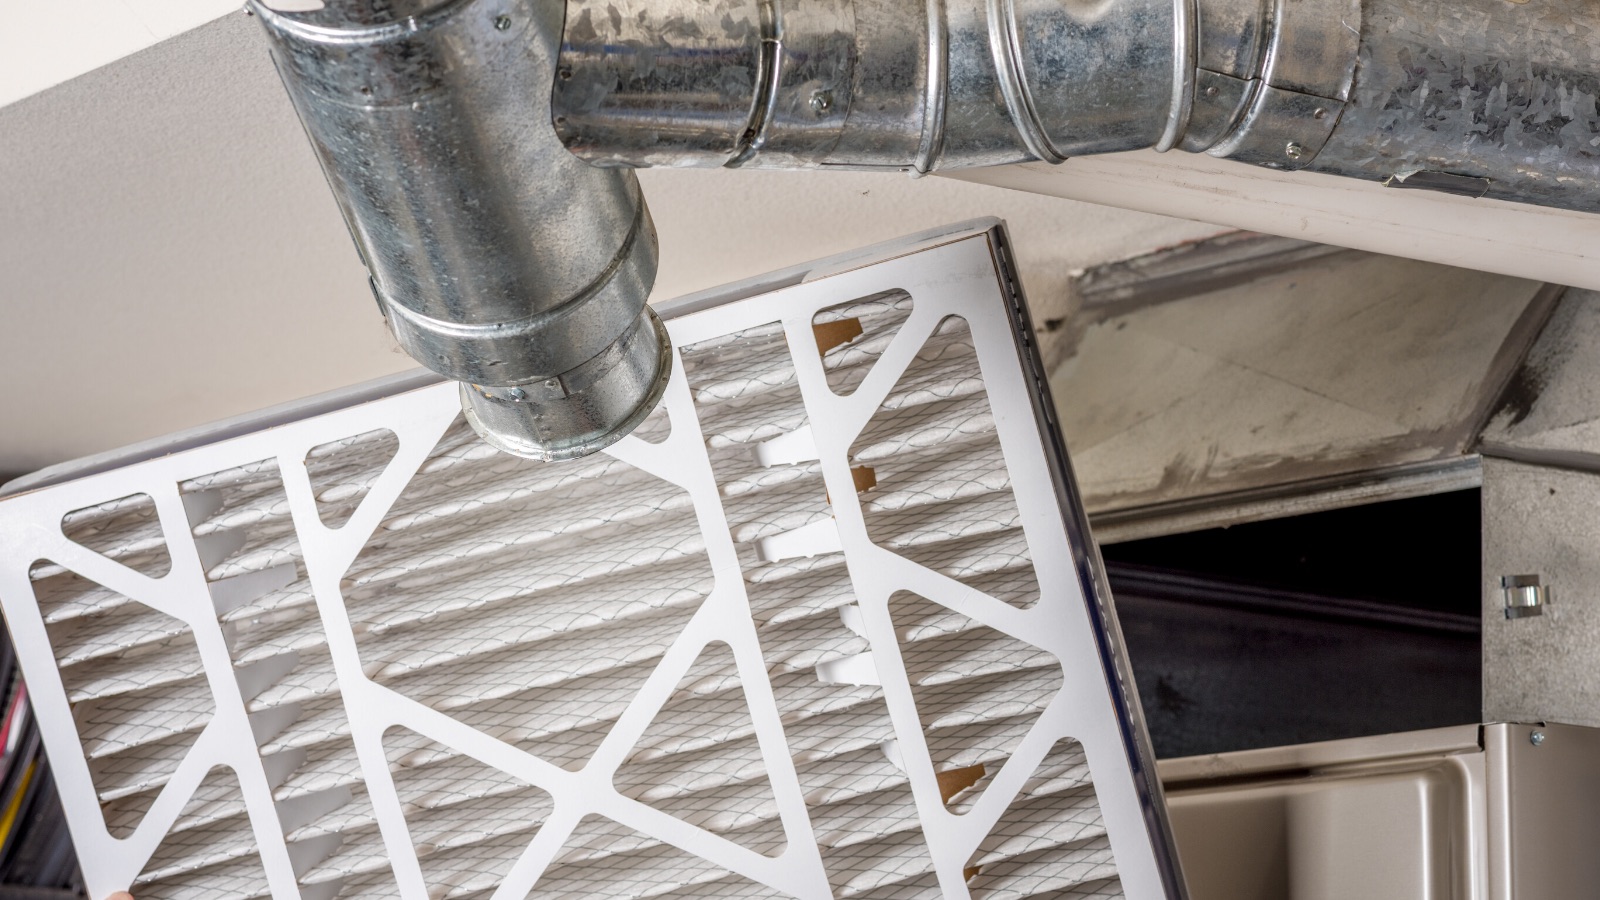
- Inspect the old filter: Take a moment to examine the old filter. It’s common for air filters to accumulate dust, dirt, and debris over time, which can affect their efficiency and airflow. If the filter is visibly clogged or damaged, it’s definitely time for a replacement.
- Remove the old filter: Carefully slide or pull out the old filter from the compartment. Take note of the direction in which the filter is installed, as this will be important when installing the new filter.
- Dispose of the old filter: Properly dispose of the old filter in a garbage bag or recycling bin. Be cautious when handling the old filter to prevent any loose particles from spreading into the air.
Once the old filter is removed and disposed of, you’re ready to move on to the next step of inspecting the filter compartment to ensure it’s clean and free from debris.
Read more: How Often Should You Change HVAC Air Filter
Step 5: Inspect the Filter Compartment
After removing the old air filter, it’s important to inspect the filter compartment to ensure it’s clean and free from any debris. A dirty or clogged filter compartment can hinder the performance of the new air filter and reduce the airflow in your HVAC system. Here’s how to inspect the filter compartment:
- Use a flashlight: Use a flashlight to provide better visibility inside the filter compartment. This will help you identify any dust, dirt, or debris that may have accumulated.
- Check for debris: Look for any visible debris in the filter compartment, such as leaves, dust, or pet hair. If you notice any buildup, use a soft brush or vacuum to gently remove the debris.
- Inspect the seals: Pay attention to the seals around the filter compartment. Ensure that they are intact and in good condition. Damaged seals can allow unfiltered air to bypass the filter, reducing its effectiveness.
- Clean the compartment if necessary: If the filter compartment is dirty or has excessive debris, consider giving it a thorough cleaning. Use a damp cloth or mild cleaning solution to wipe the surfaces and remove any accumulated grime.
By inspecting and cleaning the filter compartment, you’ll ensure optimal airflow and improve the performance of the new air filter. Once you’re satisfied with the cleanliness of the compartment, you’re ready to proceed to the next step of inserting the new air filter.
When installing an air filter in your HVAC unit, make sure to check the filter size and airflow direction before placing it in the unit. This will ensure proper filtration and efficient operation.
Step 6: Insert the New Air Filter
With the old filter removed and the filter compartment inspected and cleaned, it’s time to insert the new air filter. Properly installing the new filter is crucial for optimal filtration and airflow in your HVAC system. Here’s how to insert the new air filter:
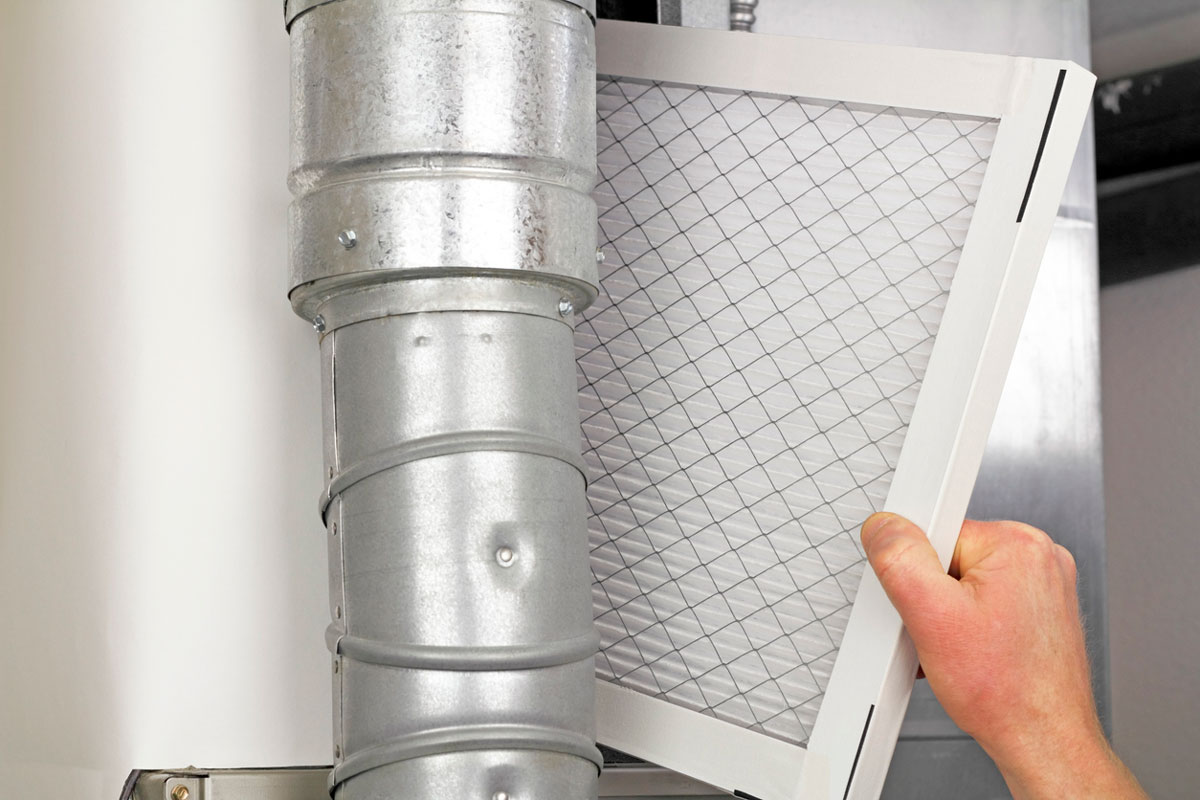
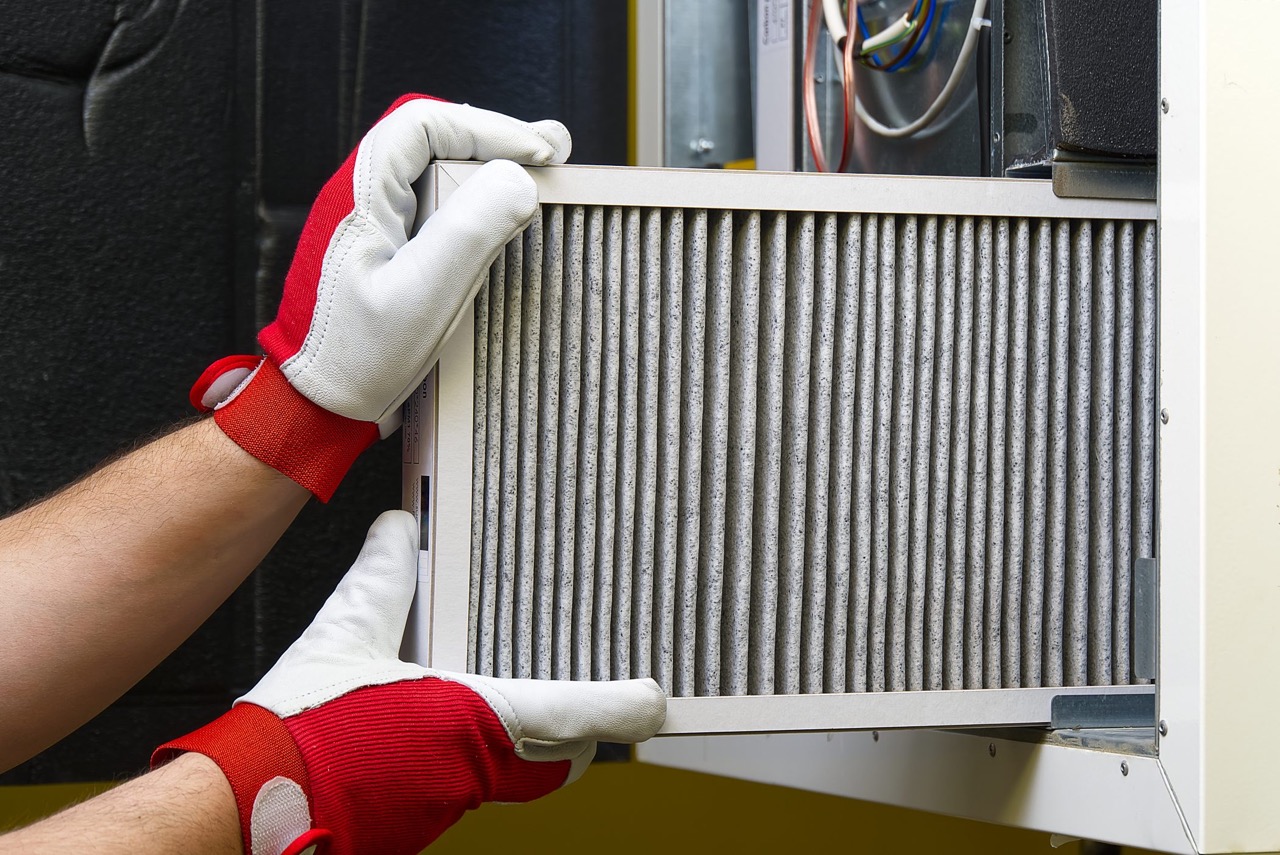
- Check the filter orientation: Look for the markings on the new air filter indicating the correct direction of airflow. Typically, there will be an arrow indicating the airflow direction. Ensure that the new filter is oriented in the same direction as the old filter.
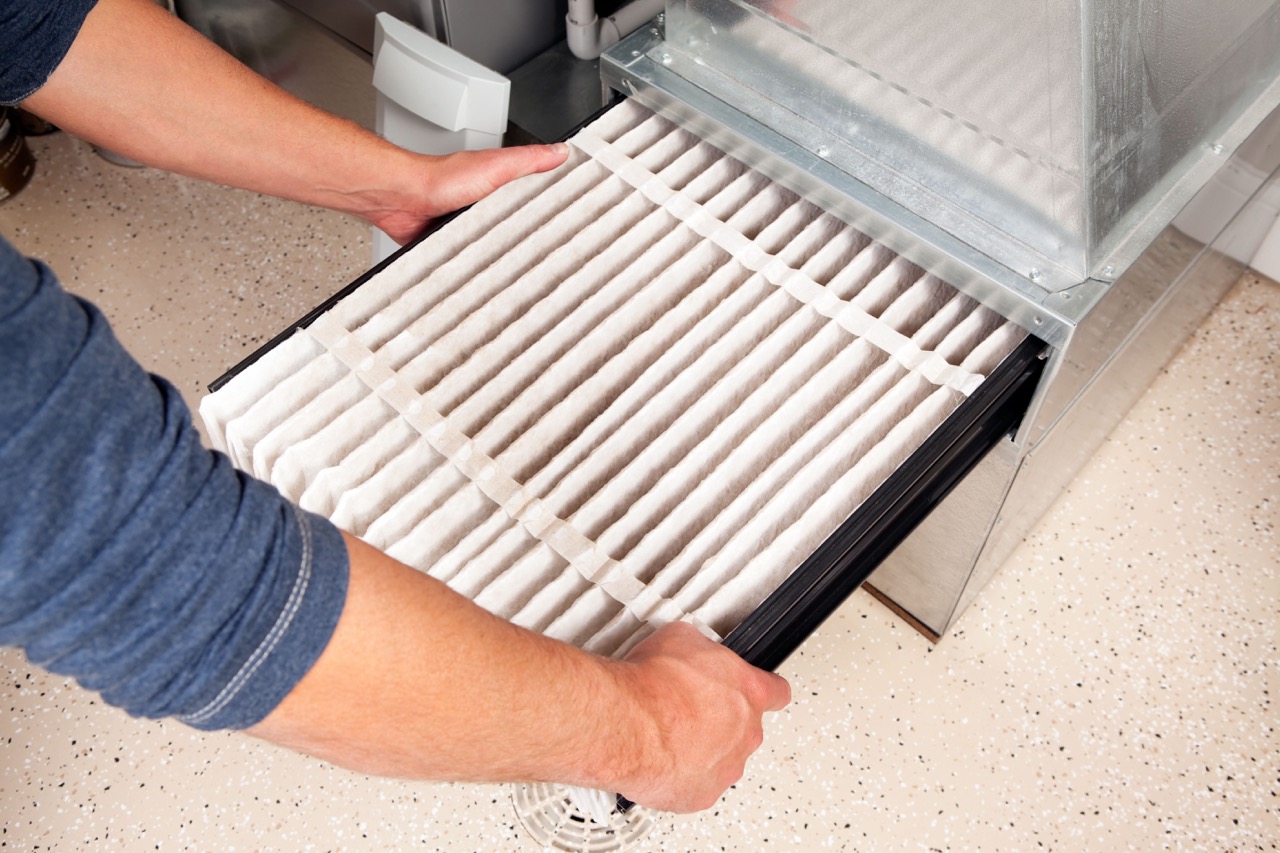
- Slide the new filter in: Carefully slide the new filter into the filter compartment, following the arrows or markings for the correct orientation. Ensure that the filter fits snugly and is positioned correctly within the compartment.
- Secure the filter compartment: If there is a panel or door that covers the filter compartment, close and secure it properly. Make sure it is tightly sealed to prevent any air leakage around the filter.
- Double-check the installation: Take a moment to double-check that the new filter is securely in place and properly installed. Ensure there are no gaps or loose connections that could compromise the airflow.
Properly inserting the new air filter will help ensure that your HVAC system operates efficiently and effectively. Once the new filter is in place, you can proceed to the next step of turning on the HVAC unit and checking for proper installation.
Step 7: Turn on the HVAC Unit
After successfully inserting the new air filter, it’s time to turn on the HVAC unit and resume its normal operation. Follow these steps to safely and efficiently turn on the HVAC unit:
- Ensure the filter compartment is securely closed: Before powering on the HVAC unit, double-check that the filter compartment panel or door is properly closed and sealed. This will prevent any air leakage and ensure proper functioning of the system.
- Locate the power switch: Locate the power switch for the HVAC unit, which is typically found near the unit or in the electrical panel.
- Switch on the power: Flip the power switch or turn on the breaker to supply power to the HVAC unit. You may hear a click or a humming sound as the system powers up.
- Wait for the system to start: Give the HVAC unit a moment to start up. Depending on the model, it may take a few moments for the system to initiate and begin operating.
Once the HVAC unit is turned on, you will start to feel the air circulating through your home. You can adjust the thermostat settings to your desired temperature and mode (cooling, heating, or fan only).
Turning on the HVAC unit is the final step in ensuring that the new air filter is properly installed and in working order. However, it’s important to also check for proper airflow and monitor the unit’s performance, which leads us to the next step of checking for proper installation.
Step 8: Check for Proper Installation
After turning on the HVAC unit, it’s important to check for proper installation of the new air filter. This step ensures that the filter is correctly in place and allows for efficient airflow throughout your HVAC system. Here’s how to check for proper installation:
- Inspect the filter compartment: Take a moment to visually inspect the filter compartment and ensure that it is securely closed. Verify that there are no gaps or loose connections that could lead to air leakage.
- Check for proper airflow: Place your hand near the air vents or registers throughout your home. Feel for a steady and consistent airflow. If the airflow feels weak or uneven, it could indicate a problem with the filter or HVAC system.
- Monitor the system’s performance: Observe the HVAC unit as it operates. Pay attention to any unusual sounds, odors, or fluctuations in temperature. If you notice anything out of the ordinary, it may be necessary to seek professional assistance.
- Set a reminder for future replacement: Note down the date of the filter replacement or set a reminder to regularly inspect and replace the air filter according to the manufacturer’s recommendations.
By performing these checks, you can ensure that the new air filter is installed correctly and that your HVAC system is operating efficiently. Proper installation will help maintain good indoor air quality and extend the lifespan of your HVAC equipment.
If any issues are noticed during the check, it is recommended to consult a professional HVAC technician for further assessment and assistance.
Step 9: Establish a Regular Maintenance Schedule
Now that you have successfully installed the new air filter and confirmed its proper functioning, it’s essential to establish a regular maintenance schedule for your HVAC unit. Regular maintenance helps to keep your system running efficiently and prolong its lifespan. Here are some steps to follow when setting up a maintenance schedule:
- Consult the manufacturer’s recommendations: Review the manufacturer’s documentation or user manual for specific guidelines on maintenance and filter replacement. They will provide valuable information on how often the filter should be replaced and other maintenance tasks.
- Mark a calendar reminder: Schedule regular reminders on your calendar or set alerts on your smartphone to remind yourself of upcoming maintenance tasks. This will help you stay on top of important maintenance activities.
- Inspect the air filter regularly: Regularly check the air filter for any signs of dirt, dust, or damage. If it appears dirty or clogged, replace it according to the manufacturer’s recommendations.
- Clean the filter compartment: During each filter replacement, take the opportunity to clean the filter compartment. Remove any accumulated dust or debris to ensure optimal airflow and performance.
- Consider professional maintenance: In addition to your own efforts, schedule professional HVAC maintenance at least once a year. A qualified technician can perform a thorough inspection, cleaning, and tune-up of your HVAC system to identify any potential issues.
Establishing a regular maintenance schedule for your HVAC unit will help prevent major problems and ensure its longevity. It’s important to stay consistent with your maintenance tasks and promptly address any issues that arise.
Remember, proper maintenance not only keeps your HVAC system running smoothly but also contributes to better indoor air quality and energy efficiency.
Conclusion
Congratulations! You have successfully learned how to install an air filter in your HVAC unit. By following the step-by-step guide provided, you can ensure that your HVAC system operates efficiently, maintains good indoor air quality, and enjoys a longer lifespan.
Remember, regular filter replacement is essential for optimal performance. A clean air filter improves airflow, reduces energy consumption, and helps filter out dust, allergens, and other airborne contaminants. By establishing a regular maintenance schedule, you can stay on top of filter replacements and other important maintenance tasks, ensuring that your HVAC system continues to operate effectively.
Additionally, don’t forget to consult the manufacturer’s recommendations and seek professional HVAC maintenance when necessary. This will help identify any underlying issues and keep your system running at its best.
By giving attention to your HVAC system and properly maintaining it, you can enjoy cleaner air, lower energy bills, and a comfortable living environment for you and your family.
Thank you for using our guide, and we hope this information has been helpful in your journey to install an air filter in your HVAC unit.
Frequently Asked Questions about How To Install Air Filter In HVAC Unit
Was this page helpful?
At Storables.com, we guarantee accurate and reliable information. Our content, validated by Expert Board Contributors, is crafted following stringent Editorial Policies. We're committed to providing you with well-researched, expert-backed insights for all your informational needs.


0 thoughts on “How To Install Air Filter In HVAC Unit”