Articles
How Long To Cook Brats On Indoor Grill
Modified: August 25, 2024
Discover the perfect cooking time for brats on your indoor grill with our informative articles. Get expert tips and enjoy delicious grilled brats every time!
(Many of the links in this article redirect to a specific reviewed product. Your purchase of these products through affiliate links helps to generate commission for Storables.com, at no extra cost. Learn more)
Introduction
Welcome to the world of grilling! Few things can match the sizzling aroma and mouthwatering taste of grilled food. While grilling outdoors is a favorite pastime, sometimes weather conditions or limited space may prevent us from firing up the traditional outdoor grill. However, with the convenience of indoor grills, you can still enjoy the same deliciousness and charred perfection from the comfort of your own kitchen.
In this article, we will focus on one popular grilling choice: brats. Brats, short for bratwurst, are flavorful sausage links made from pork, beef, or a combination of both. They are a staple at outdoor barbecues and can be enjoyed in various ways, from sandwiches to Oktoberfest celebrations. But how can you achieve that signature grilled taste when using an indoor grill? Stick with us, and we will guide you through the process of cooking brats to perfection on an indoor grill.
Before we delve into the specifics of cooking brats on an indoor grill, it’s essential to choose the right type of indoor grill for your needs. There are various options available, including electric grills, stovetop grills, and countertop grills. Each type has its own advantages, so consider factors such as size, cooking capacity, and heat distribution when making your selection. Once you’ve found the perfect indoor grill, it’s time to prepare your brats.
Key Takeaways:
- Enjoy the mouthwatering taste of grilled brats year-round with an indoor grill. Choose the right grill, prepare the brats, and follow expert tips for juicy, flavorful results.
- Impress guests with perfectly grilled brats using indoor grilling techniques. From preheating the grill to serving with flair, create a memorable dining experience with delicious, charred brats.
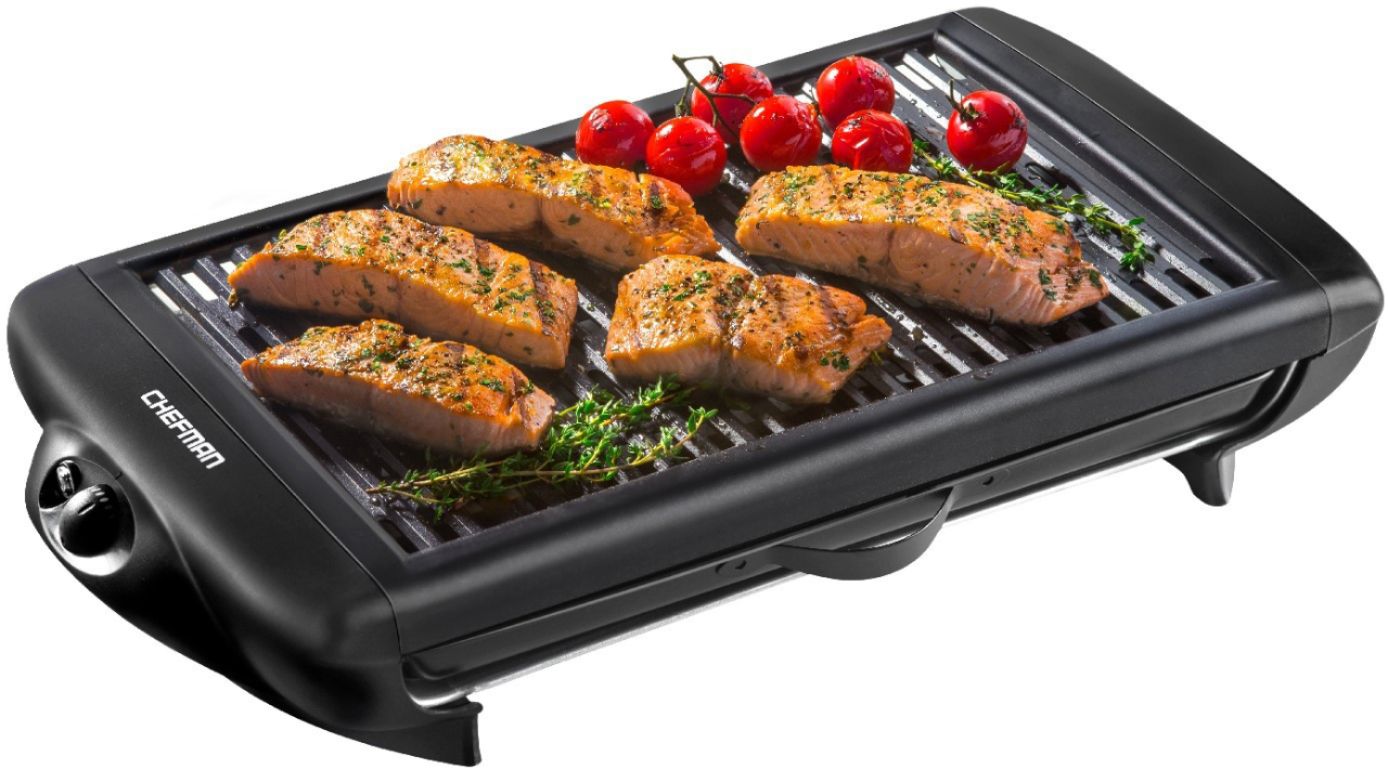
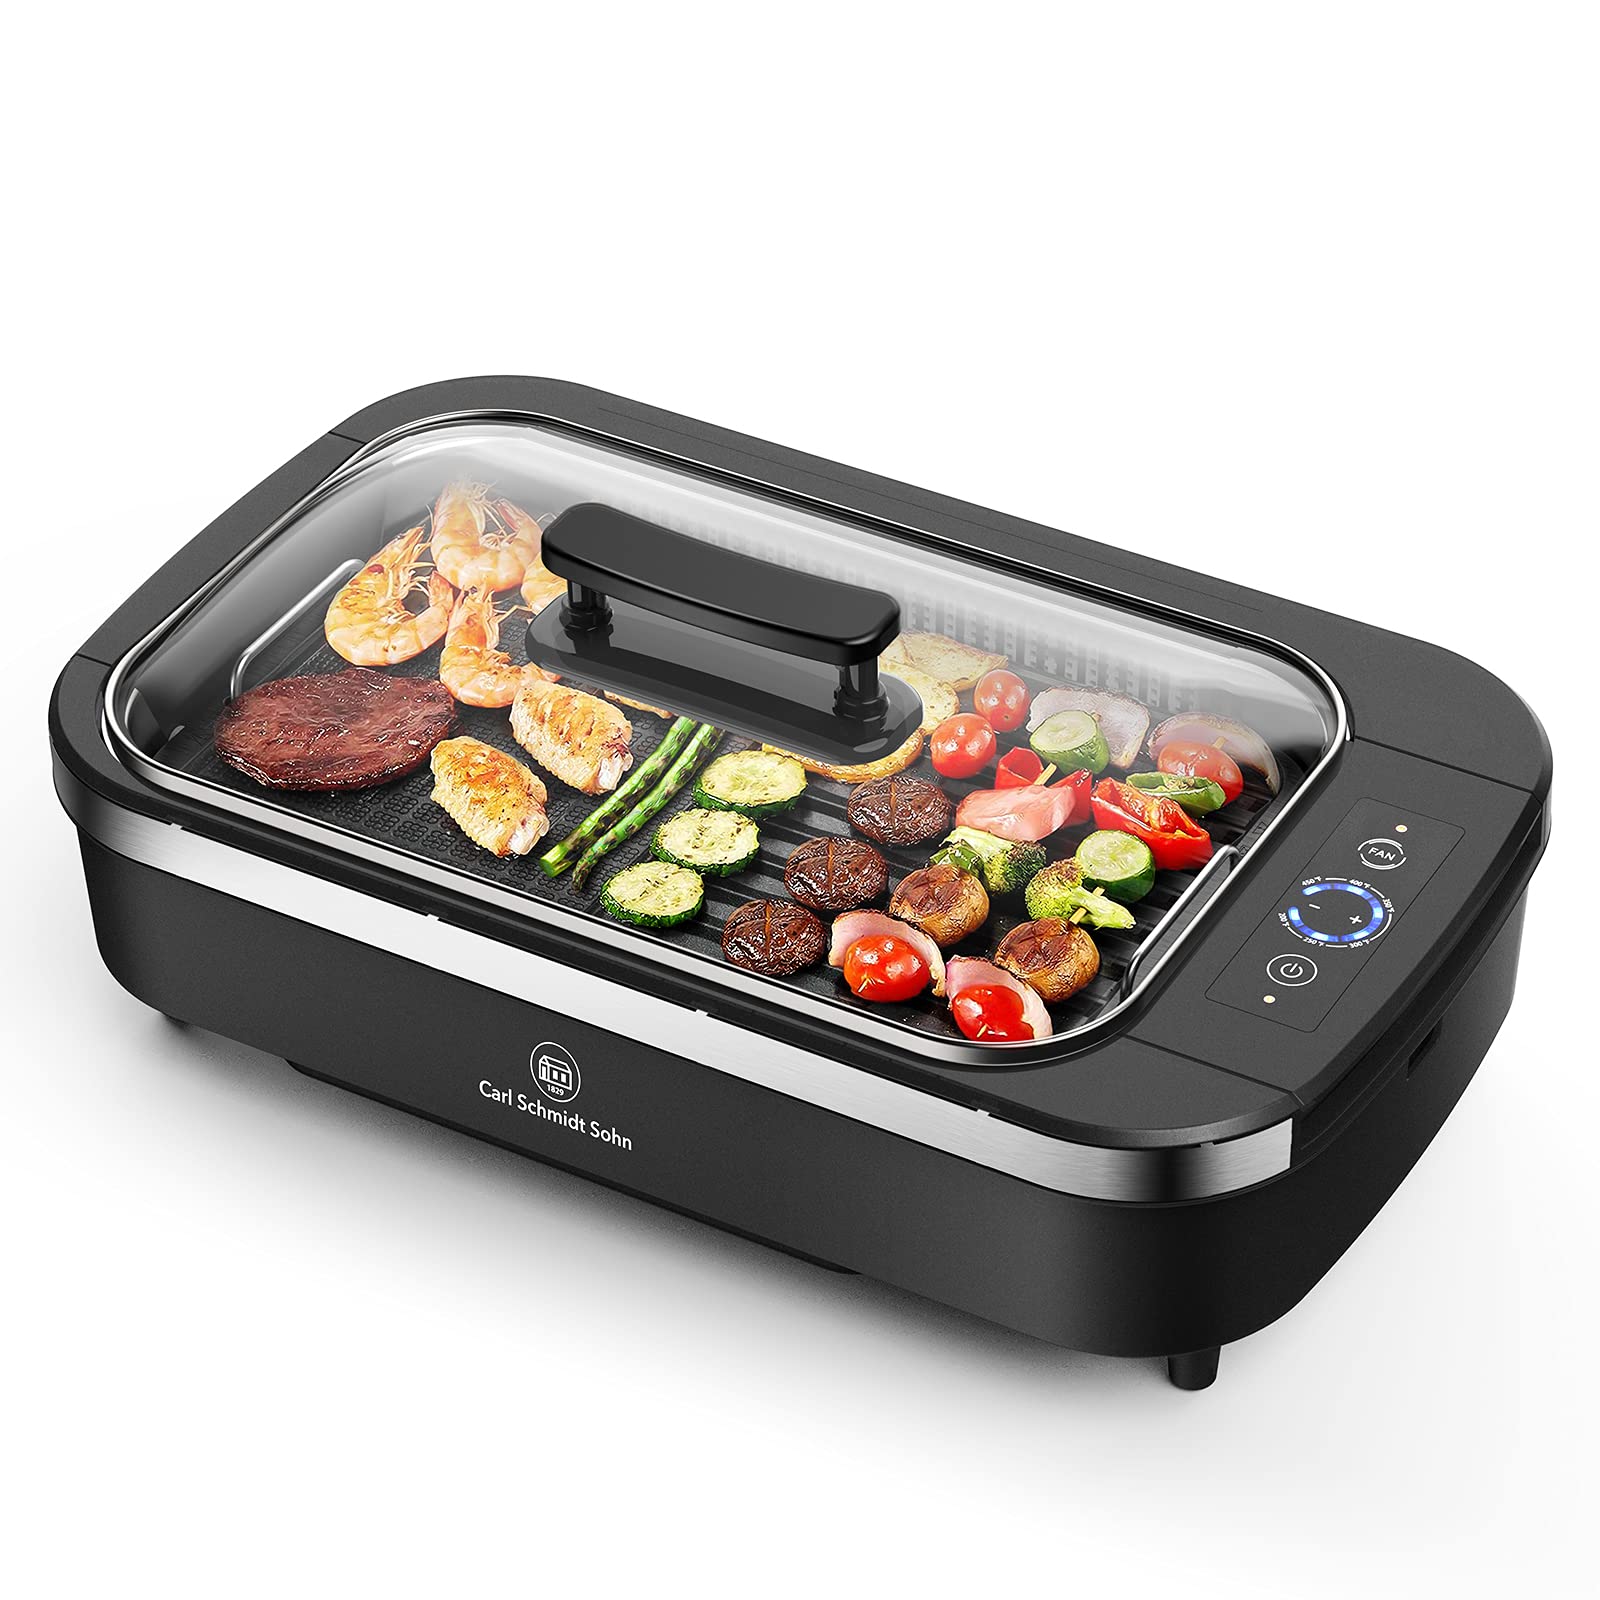
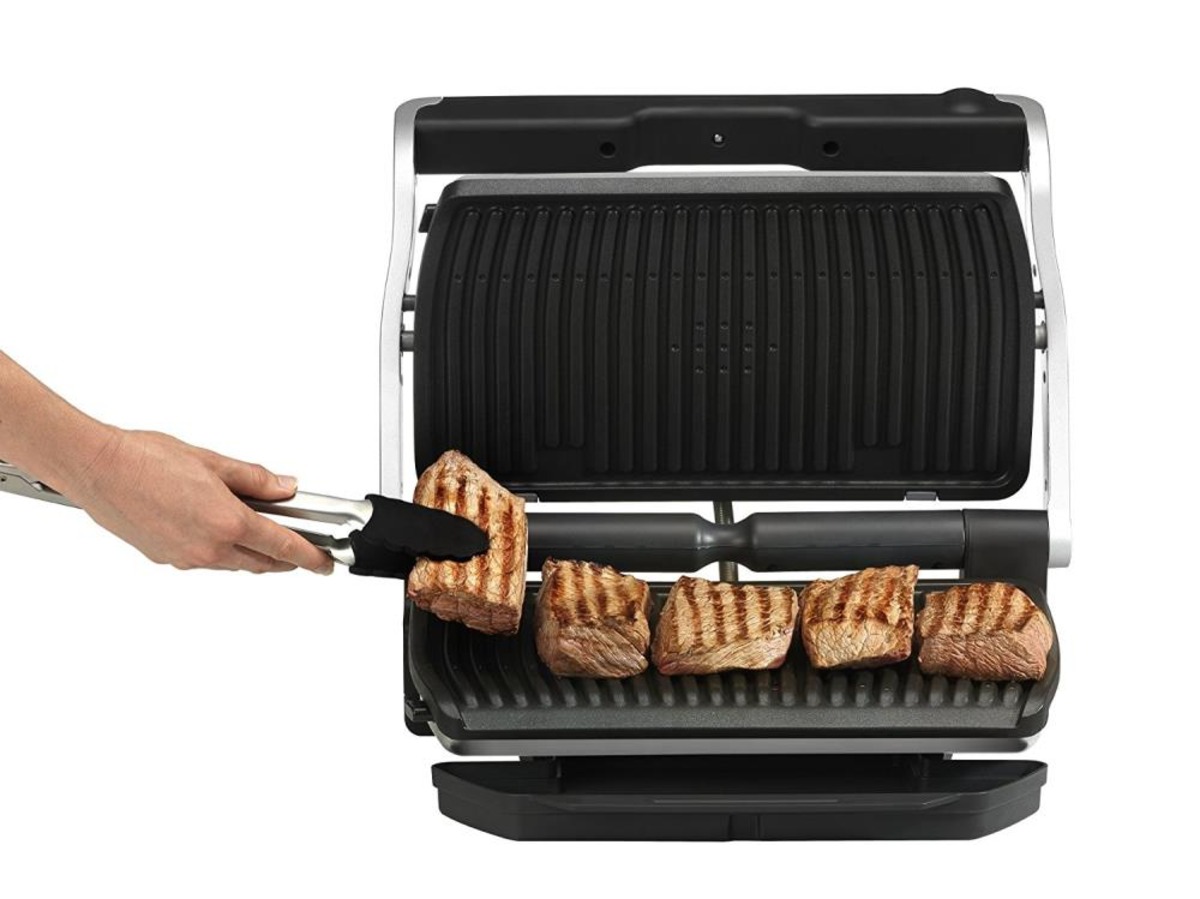
Choosing the right indoor grill
When it comes to grilling brats indoors, selecting the right grill is crucial to get delicious results. Here are some factors to consider when choosing an indoor grill:
- Type of grill: There are several types of indoor grills available, including electric grills, stovetop grills, and countertop grills. Electric grills are convenient and easy to use, as they plug into an electrical outlet and provide consistent heat. Stovetop grills can be used on gas or electric stoves, and they offer the added benefit of using the stove’s heat source. Countertop grills are standalone units that can be placed on your kitchen counter, providing a dedicated grilling space.
- Size and capacity: Consider the size of the grill and the amount of food you plan to cook. If you often entertain guests or have a large family, a grill with a larger cooking surface area would be ideal. However, if you have limited kitchen space or only cook for a small number of people, a compact grill may be more suitable.
- Heat distribution: Look for an indoor grill that provides even heat distribution across the cooking surface. This will ensure that your brats cook uniformly and avoid any hot spots that could lead to uneven cooking.
- Temperature control: A grill with adjustable temperature settings allows you to have better control over the cooking process. This is particularly important when grilling brats, as you want to ensure they are cooked thoroughly without burning the outside.
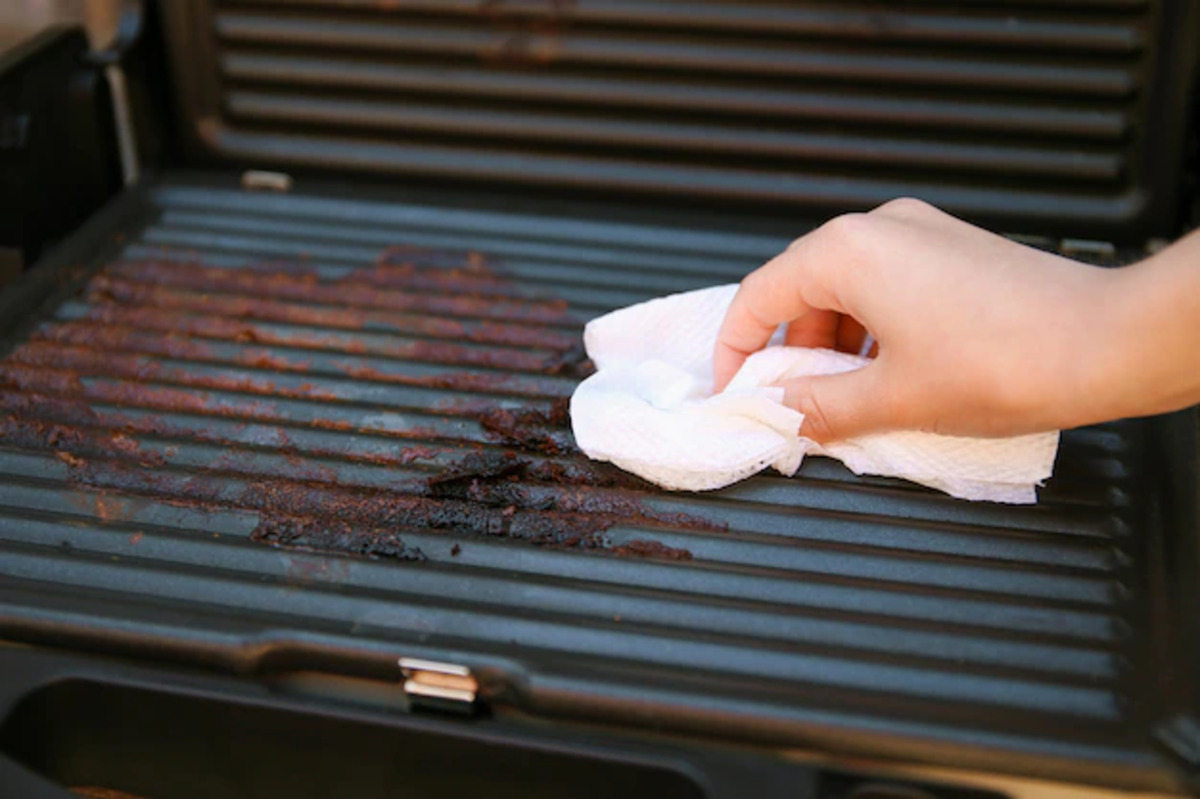
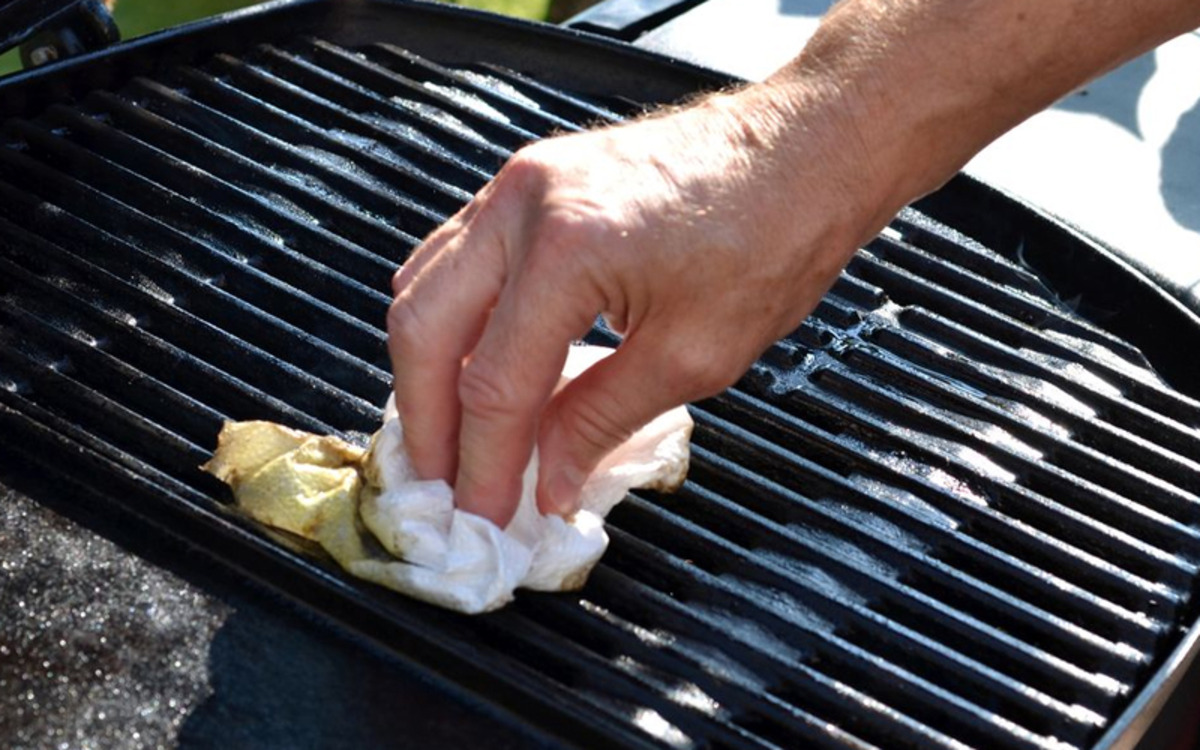
- Ease of cleaning: Consider how easy the grill is to clean. Look for grills with removable grill plates or drip trays that can be easily cleaned either by hand or in the dishwasher. This will make your grilling experience more enjoyable and less time-consuming when it comes to cleanup.
Ultimately, the right indoor grill for you will depend on your personal preferences, cooking needs, and available space. Take the time to research and read reviews to find a grill that suits you best. Once you have chosen your indoor grill, it’s time to move on to the next step: preparing the brats.
Preparing the brats
Now that you have your indoor grill ready, it’s time to prepare the brats for cooking. Here are some steps to follow to ensure your brats are ready for grilling:
- Choose high-quality brats: Start by selecting fresh, high-quality bratwurst from your local butcher or grocery store. Look for brats that are well-seasoned and have a good ratio of meat to fat.
- Remove the casings: Most brats come encased in a thin sausage casing. Before grilling, it’s important to remove these casings as they can become tough and chewy when cooked. To remove the casings, gently score the brats’ surface with a sharp knife and peel away the casing.
- Marinate for flavor: While brats are flavorful on their own, marinating them can enhance their taste. Prepare a simple marinade using ingredients like beer, mustard, garlic, onions, and spices. Place the brats in a zip-top bag, add the marinade, and let them marinate in the refrigerator for at least 30 minutes or up to overnight. This allows the flavors to penetrate the meat and adds a delicious depth of flavor to the brats.
- Bring the brats to room temperature: Before grilling, remove the marinated brats from the refrigerator and let them come to room temperature. This ensures more even cooking and helps prevent the brats from drying out.
By following these simple steps, you will have well-prepared brats that are ready to be cooked on your indoor grill. Now it’s time to move on to the next step: preheating the indoor grill.
Preheating the indoor grill
Preheating your indoor grill is an essential step to ensure that your brats cook evenly and develop that delicious grilled flavor. Here’s how to preheat your indoor grill:
- Clean the grill: Before preheating, make sure to clean your grill. Remove any leftover food particles or grease from previous use. This will prevent any unwanted flavors from transferring to your brats and ensure a clean cooking surface.
- Adjust the temperature: Depending on the type of indoor grill you have, adjust the temperature accordingly. Electric grills usually have adjustable temperature settings, while stovetop grills require you to adjust the heat source on your stove. Refer to the manufacturer’s instructions to determine the appropriate preheating temperature for your grill.
- Preheat for at least 10 minutes: Allow your grill to preheat for at least 10 minutes before adding the brats. This will ensure that the grill reaches the desired temperature and that the cooking surface is evenly heated.
During the preheating stage, you may notice some smoke or odors as any remaining residues burn off. This is normal and should dissipate quickly. Once your indoor grill is preheated, it’s time to move on to the next step: cooking the brats.
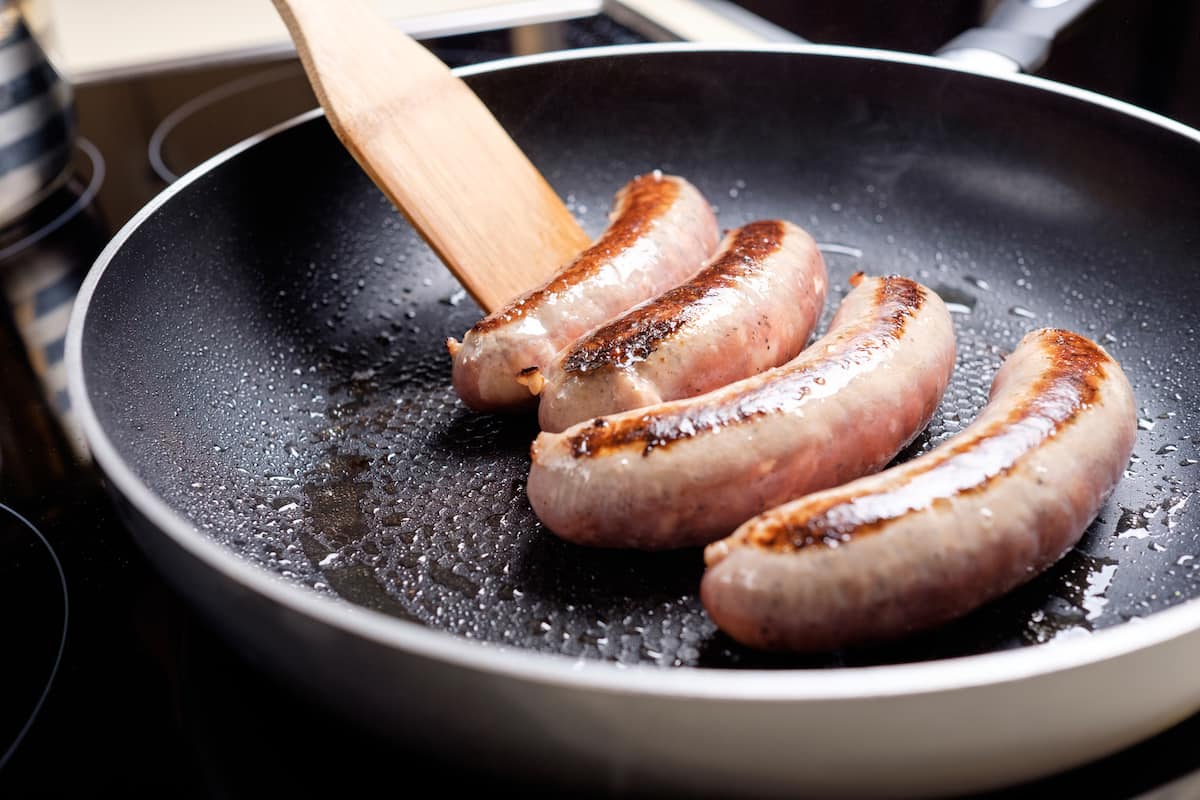
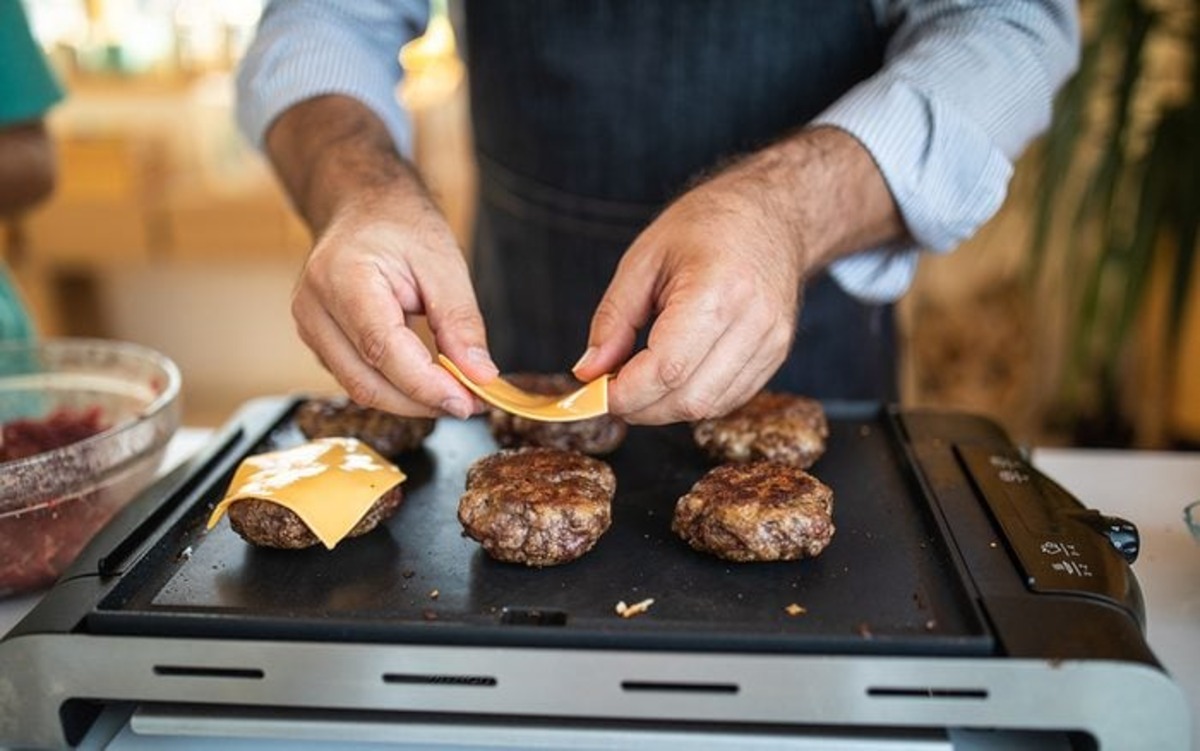
Cooking the brats
Now comes the exciting part – cooking the brats on your preheated indoor grill. Follow these steps to achieve perfectly grilled brats:
- Oil the grill: Before placing the brats on the grill, lightly brush or spray the cooking surface with oil to prevent sticking.
- Place the brats on the grill: Carefully lay the marinated brats on the hot grill. Ensure that they are evenly spaced and have enough room for heat circulation.
- Cook with the lid closed: If your indoor grill has a lid, close it while cooking. This helps to create a controlled cooking environment and traps the heat, allowing the brats to cook evenly.
- Turn the brats: After a few minutes of cooking, use tongs to gently turn the brats over. This ensures that all sides of the brats are evenly cooked and develop that desirable charred exterior.
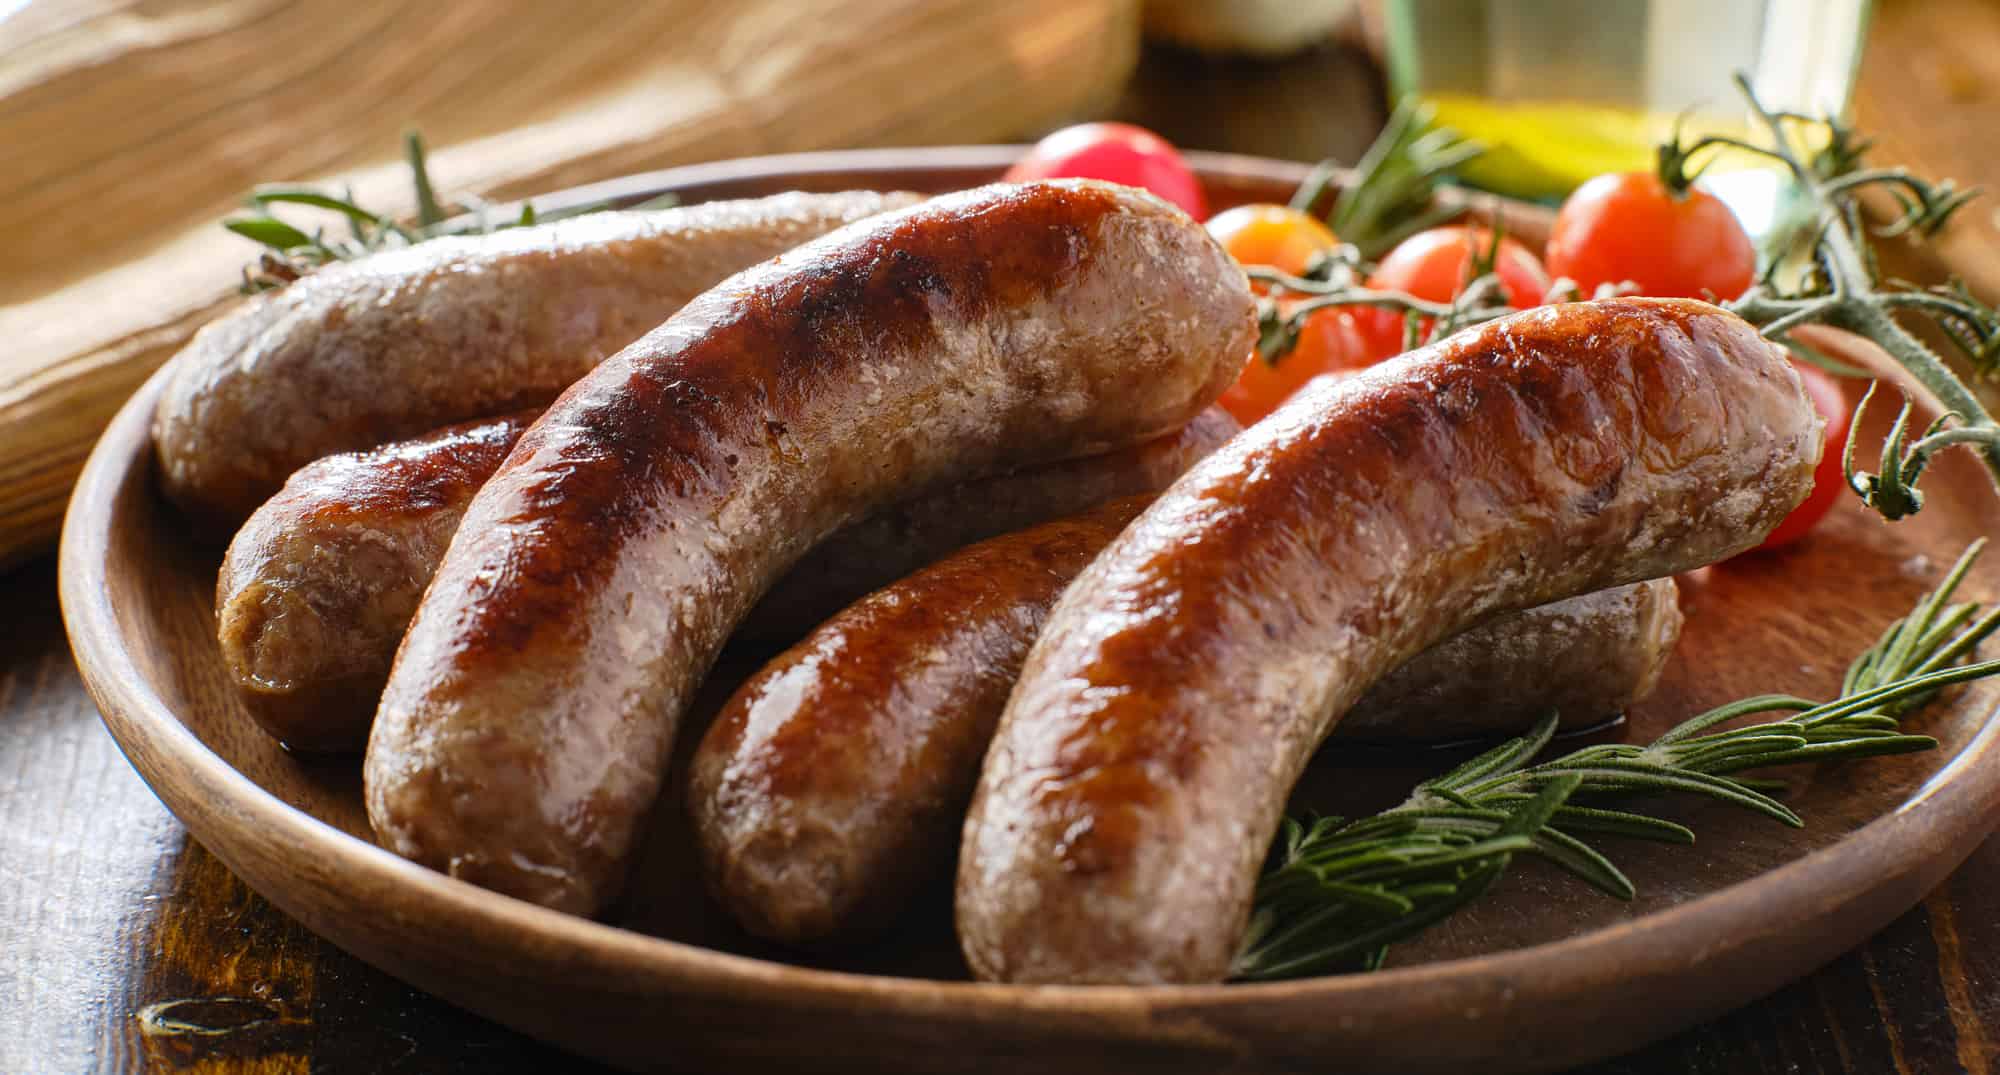
- Continue grilling: Cook the brats for around 10-15 minutes, depending on their size and thickness. Keep an eye on them and turn them occasionally to prevent burning. The internal temperature should reach 160°F (71°C) to ensure they are fully cooked.
Remember, the cooking time may vary depending on your grill’s heat settings and the thickness of the brats. It’s essential to monitor them closely and use an instant-read thermometer to check for doneness. Once the brats are cooked to perfection, it’s time to move on to the next step: checking for doneness.
Preheat your indoor grill to medium-high heat. Cook the brats for 15-20 minutes, turning occasionally, until they reach an internal temperature of 160°F.
Read more: How Long To Cook Brats In Air Fryer
Checking for doneness
Checking for doneness is a crucial step to ensure that your brats are cooked to perfection. Here are a few methods to determine if your brats are done:
- Internal temperature: Use an instant-read thermometer to check the internal temperature of the brats. Insert the thermometer into the center of the thickest part of the brat without touching the grill. The brats should reach an internal temperature of 160°F (71°C) to be considered fully cooked.
- Visual cues: One way to check for doneness is by visually assessing the brats. They should have a golden brown color on the outside with nicely charred grill marks. The brats should be firm to the touch and no longer pink in the center.
- Juices: Another indicator of doneness is the juices that come out of the brats when pierced. If the juices run clear with no signs of pink or red, the brats are likely cooked through.
It’s important not to overcook the brats as they can become dry and lose their juiciness. Remember, the internal temperature of the brats will continue to rise slightly after removing them from the grill due to residual heat. Once you have determined that your brats are cooked to perfection, it’s time to move on to the final step: serving the brats.
Serving the brats
Now that your brats are cooked to perfection, it’s time to indulge in their deliciousness. Here are some serving suggestions to make your brats shine:
- Buns and condiments: Place the grilled brats in soft, toasted buns. You can choose traditional hot dog buns or opt for crusty rolls for a heartier option. Add your favorite condiments such as mustard, ketchup, sauerkraut, relish, or onions to enhance the flavors.
- Side dishes: Serve your brats with delicious side dishes to complete the meal. Classic options include potato salad, coleslaw, baked beans, or a fresh green salad. These side dishes provide a refreshing contrast to the smoky flavors of the brats.
- Beverages: Pair your brats with your favorite beverages to complement the flavors. Popular choices include beer, lemonade, or iced tea. These beverages enhance the overall grilling experience and create a festive atmosphere.
- Garnish: Sprinkle some chopped fresh herbs like parsley or chives over the brats for an added burst of flavor and a vibrant touch. These garnishes not only add visual appeal but also elevate the taste of the dish.
Encourage your guests to customize their brats with a variety of toppings and condiments to suit their preferences. The beauty of brats lies in their versatility and ability to adapt to different flavor profiles.
Now that you know how to serve brats with flair, impress your friends and family with this delicious grilled treat. With your perfectly cooked brats and well-selected accompaniments, you’re sure to create a memorable dining experience.
Tips for grilling brats on an indoor grill
To ensure a successful indoor grilling experience and perfectly cooked brats, here are some valuable tips to keep in mind:
- Choose the right brats: Opt for high-quality brats with a good ratio of meat to fat. Look for fresh options and consider flavors like beer brats or cheddar-filled brats for an extra twist.
- Don’t forget to remove the casings: Before grilling, make sure to remove the thin sausage casing from the brats. This will prevent them from becoming tough and chewy when cooked.
- Experiment with marinades: While brats are delicious on their own, marinating them can add an extra layer of flavor. Get creative with marinades using beer, mustard, garlic, herbs, and spices to infuse the brats with unique tastes.
- Preheat your indoor grill: Take the time to preheat your indoor grill for at least 10 minutes to ensure even cooking and to create those desired grill marks.
- Oil the grill grates: Before placing the brats on the grill, lightly oil the grates to prevent sticking. This will make it easier to flip the brats and ensure they come off the grill easily once cooked.
- Use medium heat: Opt for medium heat when grilling brats on your indoor grill. This helps to achieve a golden brown exterior while ensuring the brats are cooked through.
- Flip the brats gently: Use tongs to carefully flip the brats, ensuring they cook evenly on both sides. Avoid piercing the brats with a fork, as this can cause the juices to escape and result in drier brats.
- Avoid pressing the brats: Refrain from pressing down on the brats with a spatula while they are cooking. This can cause the flavorful juices to be lost and result in drier brats.
- Rest the brats before serving: Once the brats are fully cooked, let them rest for a few minutes before serving. This allows the juices to redistribute within the meat, resulting in a juicy and flavorful bite.
- Be mindful of cooking time: Keep a close eye on the brats as they cook, as cooking times may vary depending on the thickness of the brats and the heat of your grill. Use an instant-read thermometer to ensure they reach the recommended internal temperature of 160°F (71°C).
By following these helpful tips, you’ll be well on your way to grilling mouthwatering brats on your indoor grill. Enjoy the delicious flavors and the satisfaction of creating a tasty grilled meal without having to step outside.
Conclusion
Grilling brats on an indoor grill is a fantastic way to enjoy the flavors of summer barbecues all year round. With the right indoor grill, proper preparation, and cooking techniques, you can achieve perfectly grilled brats that are juicy, flavorful, and reminiscent of outdoor cookouts.
Choosing the right indoor grill, whether it’s an electric grill, stovetop grill, or countertop grill, is the first step towards a successful grilling experience. Consider factors such as size, heat distribution, and temperature control to find the best grill for your needs.
Preparing the brats by removing the casings and marinating them with your favorite flavors adds an extra level of taste to the final dish. Preheating the indoor grill ensures even cooking and those characteristic grill marks that we all love.
When cooking the brats, remember to oil the grill grates, flip them gently, and avoid pressing down on them. By checking for doneness using visual cues, internal temperature, and juiciness, you can ensure that the brats are cooked through but still succulent.
Serving the brats with a variety of buns, condiments, side dishes, and beverages allows you to customize the meal to your liking. Don’t forget to garnish the brats with fresh herbs for an added touch of flavor and visual appeal.
Lastly, follow the tips provided to enhance your indoor grilling experience and achieve mouthwatering brats every time. By choosing quality ingredients, properly preparing the brats, and paying attention to cooking times, you will become a master at grilling brats on your indoor grill.
So don’t let limited space or unfavorable weather conditions stop you from enjoying the taste of grilled brats. With an indoor grill and these expert tips, you can savor the smoky, charred flavors right in the comfort of your kitchen.
Frequently Asked Questions about How Long To Cook Brats On Indoor Grill
Was this page helpful?
At Storables.com, we guarantee accurate and reliable information. Our content, validated by Expert Board Contributors, is crafted following stringent Editorial Policies. We're committed to providing you with well-researched, expert-backed insights for all your informational needs.
0 thoughts on “How Long To Cook Brats On Indoor Grill”