Home>Articles>How Long To Cook Chicken Kabobs On Indoor Grill
Articles
How Long To Cook Chicken Kabobs On Indoor Grill
Modified: August 20, 2024
Discover how long it takes to cook chicken kabobs on an indoor grill with these informative articles. Learn the best techniques and get delicious results.
(Many of the links in this article redirect to a specific reviewed product. Your purchase of these products through affiliate links helps to generate commission for Storables.com, at no extra cost. Learn more)
Introduction
Welcome to the delicious world of chicken kabobs! Whether you’re hosting a summer BBQ, looking for a quick and easy dinner option, or simply craving a flavorful and protein-packed meal, chicken kabobs are the perfect choice. These skewered delights are not only easy to prepare, but they also allow for endless customizations and flavor combinations.
In this article, we will guide you through the process of cooking chicken kabobs on an indoor grill. We’ll provide you with the necessary information on preparing the chicken, preheating the grill, determining the cooking time, and checking for doneness. So, let’s fire up that grill and get ready to indulge in some mouth-watering chicken kabobs!
Before we dive into the cooking process, it’s important to ensure that you have all the necessary ingredients and equipment for making chicken kabobs. You’ll need boneless, skinless chicken breasts or chicken thighs, your favorite vegetables, such as bell peppers, onions, and mushrooms, marinade or seasoning of your choice, skewers, and an indoor grill.
When it comes to choosing the chicken, you can opt for chicken breasts for a leaner option or chicken thighs for a more juicy and flavorful result. Cut the chicken into bite-sized pieces, ensuring they are all uniform in size to ensure even cooking. The vegetables you choose should also be cut into similar-sized pieces to ensure they cook evenly alongside the chicken.
Now that you have all your ingredients ready, it’s time to move on to the next step: preheating the indoor grill.
Note: It’s important to follow the manufacturer’s instructions for preheating and using your specific indoor grill. The following instructions are general guidelines.
Key Takeaways:
- Grilling chicken kabobs on an indoor grill requires proper preparation, preheating, and testing for doneness. Follow recommended cooking times, use skewers effectively, and experiment with flavors for juicy, flavorful results.
- Serving and enjoying chicken kabobs is an art – pair them with complementary sides, sauces, and garnishes for a visually appealing and scrumptious meal. Prioritize food safety and savor the fruits of your grilling efforts.
Preparing the Chicken Kabobs
Before you can start grilling your chicken kabobs, it’s essential to properly prepare them for cooking. This includes marinating the chicken, seasoning it, and assembling the kabobs on skewers.
The first step in preparing the chicken kabobs is marinating the chicken. Marinating not only infuses the chicken with flavor but also helps to tenderize it. You can choose from a variety of marinades, such as teriyaki, lemon herb, or barbecue. Alternatively, you can create your own marinade using a combination of spices, herbs, and liquids like soy sauce, olive oil, or lemon juice. Place the chicken pieces in a resealable plastic bag or a shallow dish, then pour the marinade over the chicken. Make sure the chicken is fully coated and let it marinate for at least 30 minutes or up to 24 hours in the refrigerator, allowing the flavors to develop.
If you prefer to season your chicken kabobs instead of marinating them, sprinkle your desired seasonings over the chicken pieces. You can go for a simple combination of salt, pepper, and garlic powder, or get creative and use your favorite spice blend to add a burst of flavor.
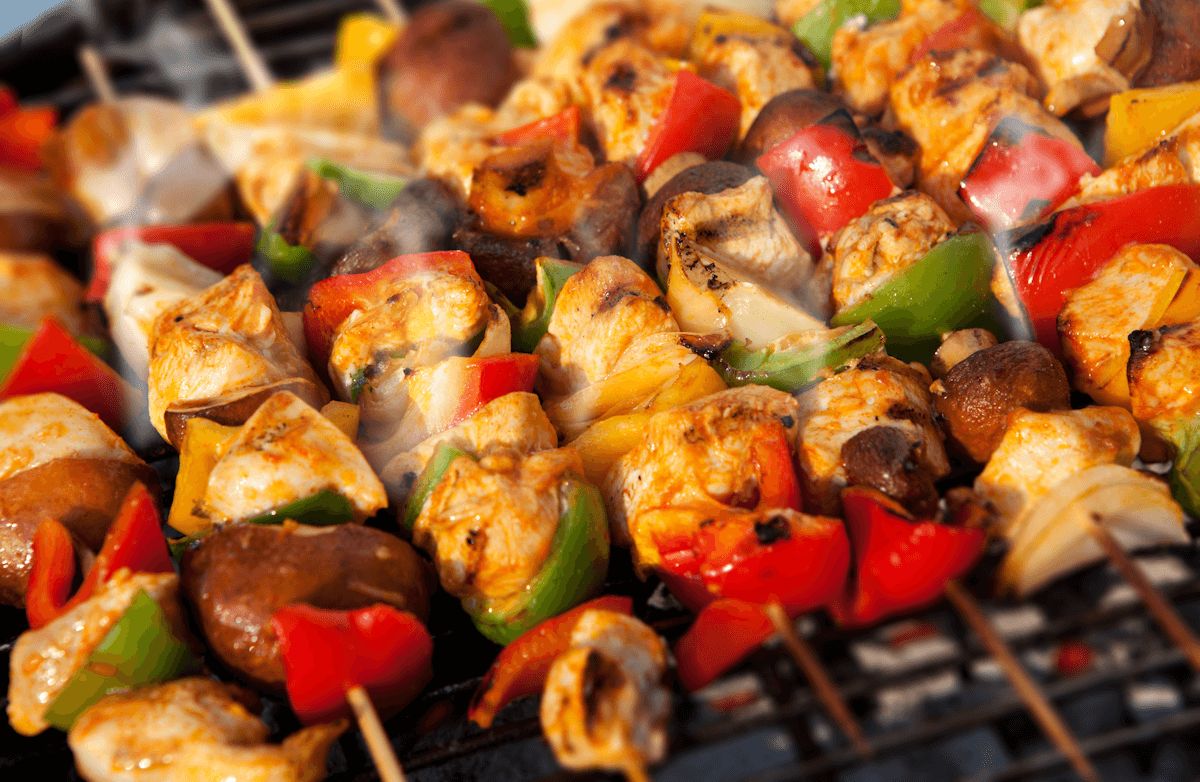
Once your chicken is marinated or seasoned, it’s time to assemble the kabobs. Soak wooden skewers in water for about 30 minutes to prevent them from burning on the grill. Then, start threading the chicken pieces onto the skewers, alternating with your choice of vegetables. This adds not only visual appeal but also a variety of flavors and textures. Be sure to leave a bit of space between each piece to ensure even cooking.
Once you have assembled all the chicken and vegetables onto the skewers, you’re ready to move on to the next step: preheating the indoor grill.
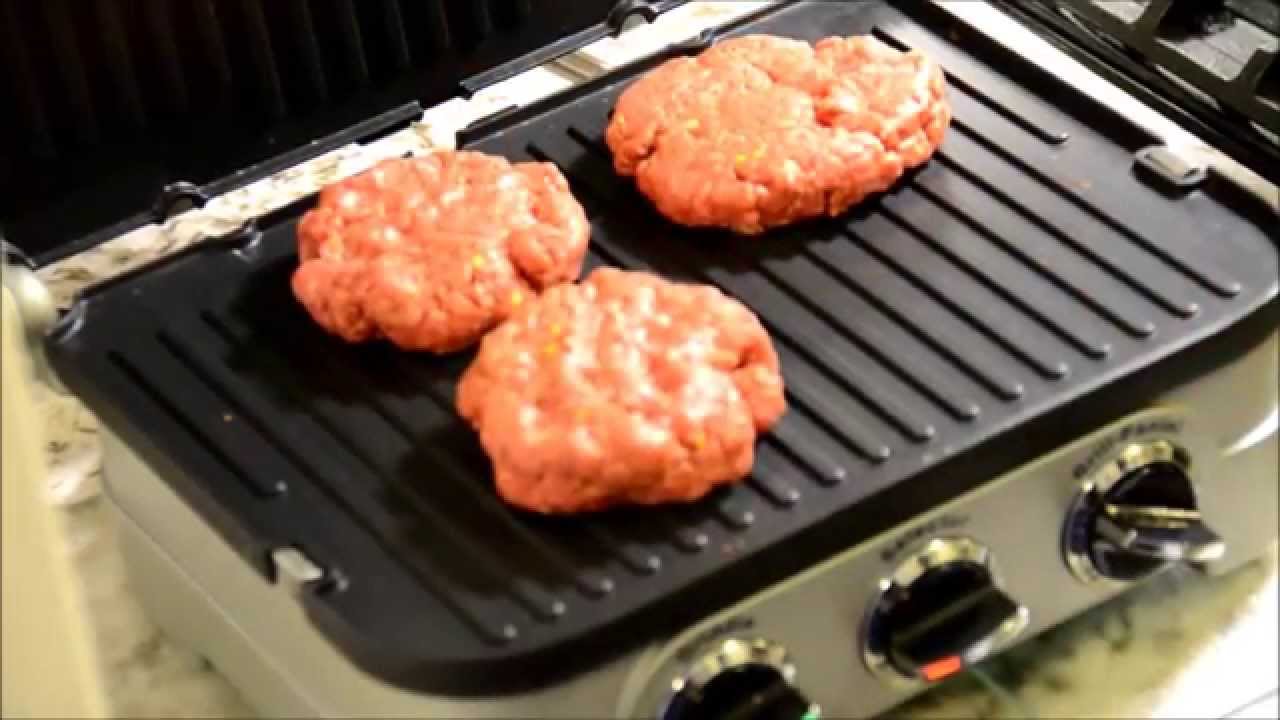
Preheating the Indoor Grill
Now that your chicken kabobs are assembled and ready to be grilled, it’s time to preheat your indoor grill. Preheating ensures that the grill reaches the optimal temperature for cooking the kabobs evenly and efficiently.
Follow these steps to preheat your indoor grill:
- Place the grill on a flat, stable surface, ensuring that it is away from any flammable objects or materials.
- Plug in the indoor grill and turn it on.
- Adjust the temperature setting according to the manufacturer’s instructions. Typically, a medium-high heat setting works well for cooking chicken kabobs.
- Allow the grill to preheat for at least 5-10 minutes.
- During this time, you can brush the grill grates with a little oil to prevent sticking.
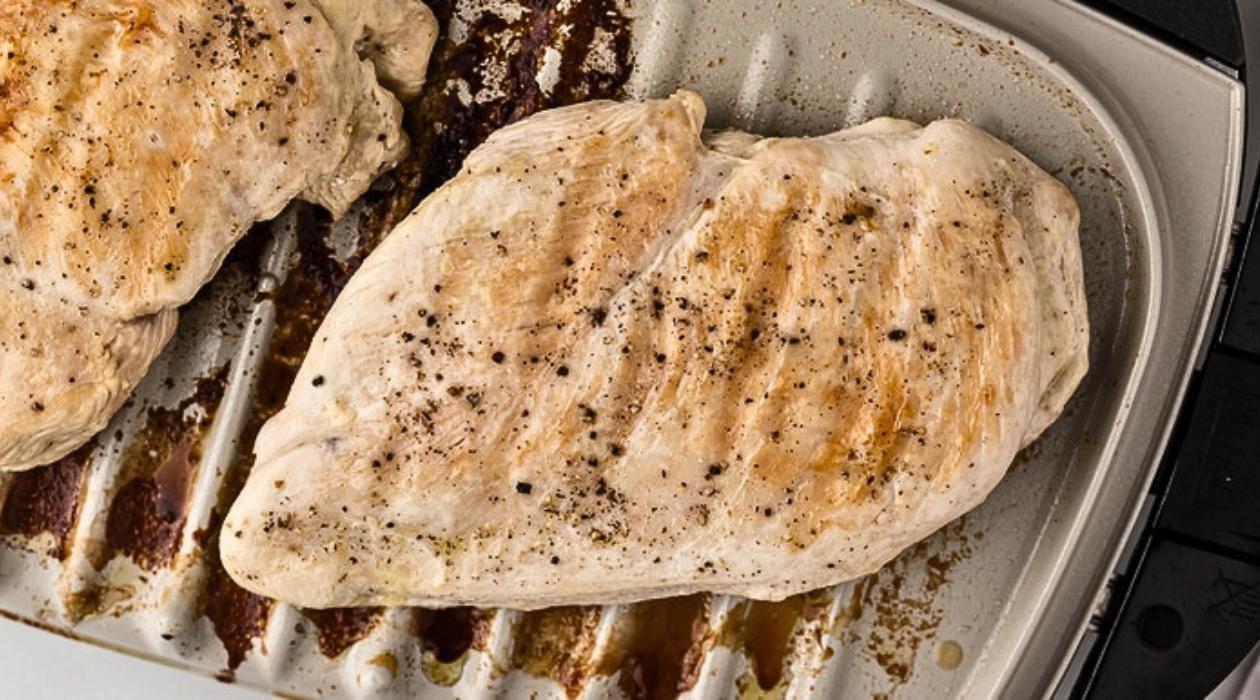
As the grill preheats, the grates will heat up, creating those desirable grill marks and helping to sear the chicken and vegetables. The preheating process also ensures that the grill gets hot enough to cook the chicken thoroughly while maintaining its juicy tenderness.
Once the grill is adequately preheated, it’s time to start grilling those delicious chicken kabobs. But before we do that, let’s talk about the cooking time for chicken kabobs.
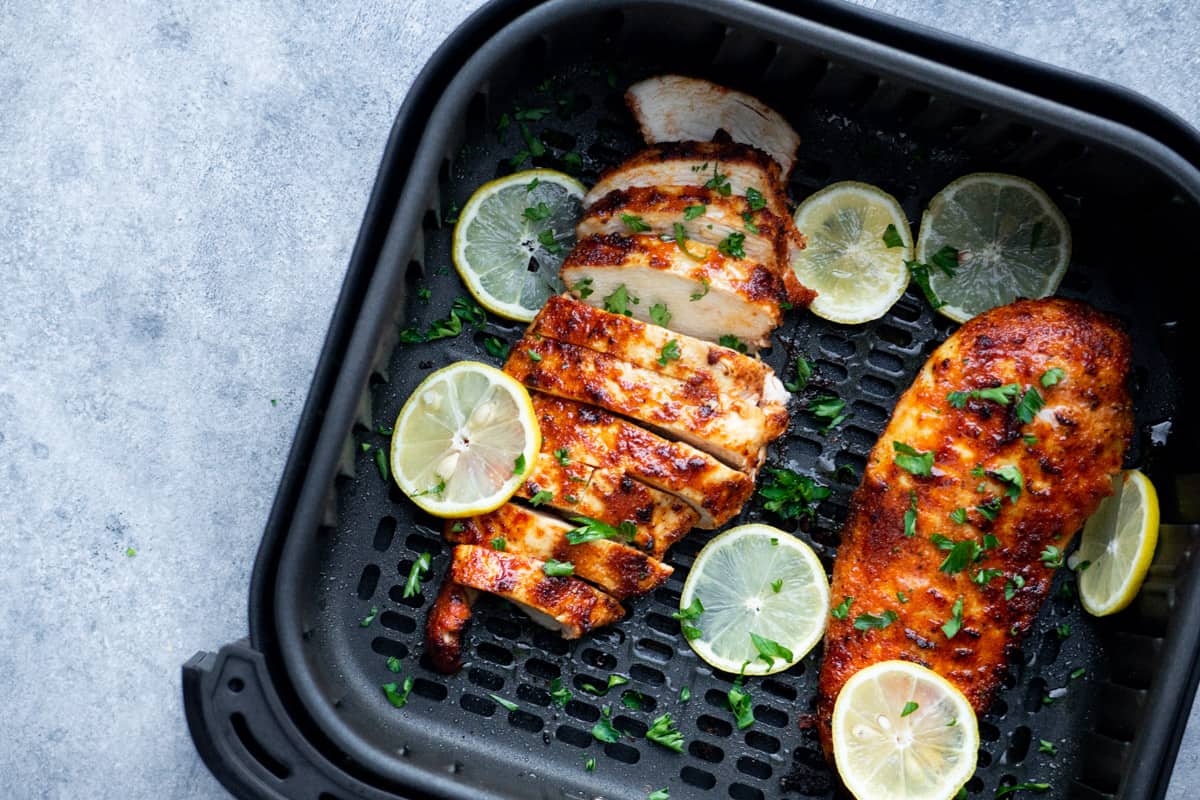
Cooking Time for Chicken Kabobs
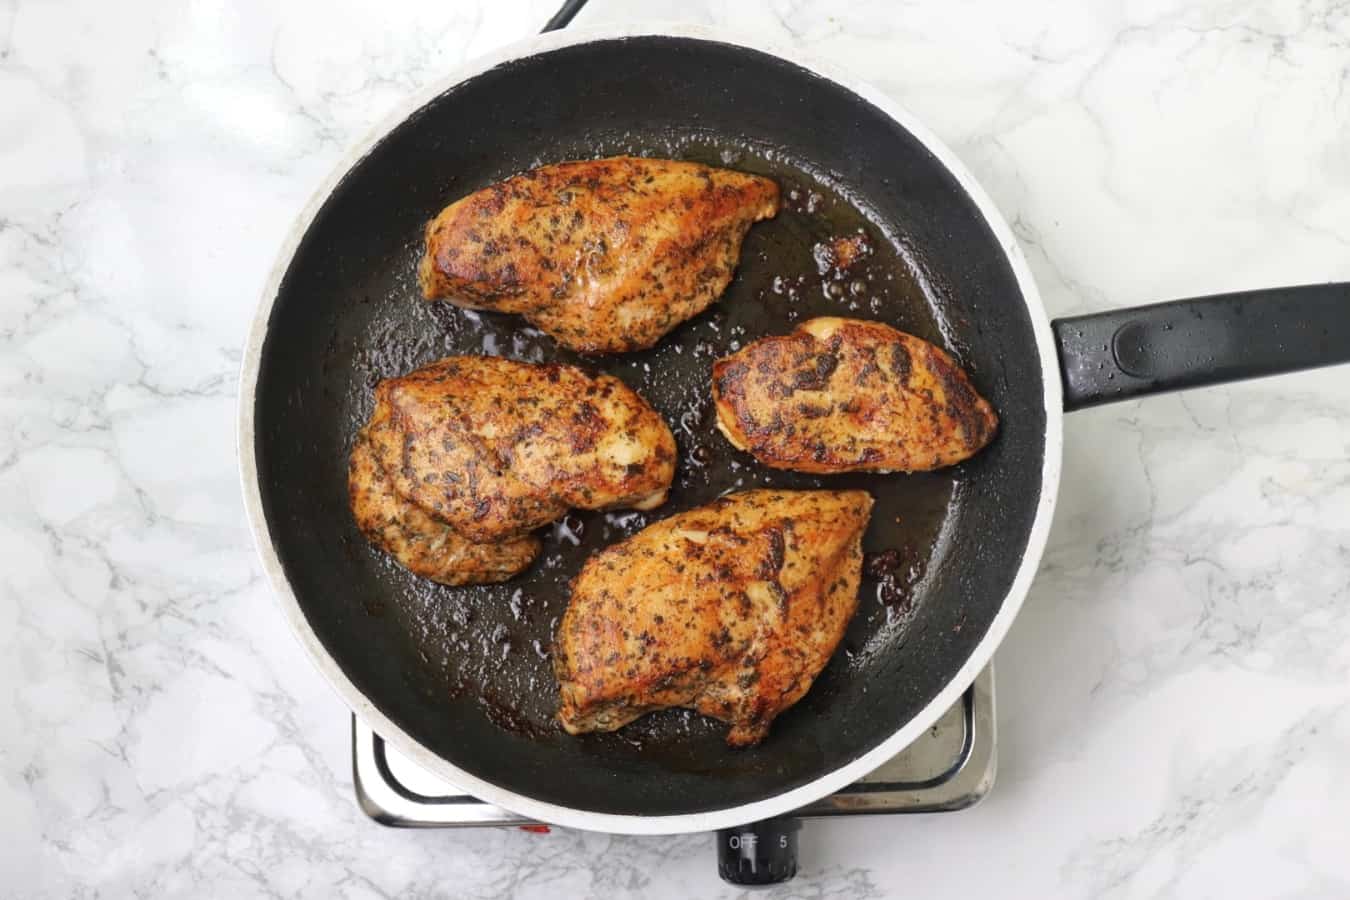
When it comes to cooking chicken kabobs on an indoor grill, it’s crucial to cook them for the right amount of time to ensure they are fully cooked and safe to eat, while also maintaining their juicy and tender texture. The cooking time primarily depends on the thickness of the chicken pieces and the heat level of your grill.
As a general guideline, you can follow these recommended cooking times:
- For small chicken pieces (about 1-inch thick): Cook for approximately 6-8 minutes, flipping halfway through.
- For larger chicken pieces (about 1.5 inches thick): Cook for around 8-10 minutes, flipping halfway through.
- For boneless chicken thighs: Cook for about 10-12 minutes, flipping halfway through. Ensure the internal temperature reaches 165°F (74°C) for safe consumption.
These cooking times are approximate and can vary depending on your specific grill’s heat output and the desired level of doneness. It’s always a good idea to keep an eye on the kabobs and use a meat thermometer to check the internal temperature of the chicken.
Remember, it’s better to slightly undercook the chicken rather than overcook it, as overcooked chicken can become dry and tough. If you’re uncertain about the doneness, you can cut into one of the chicken pieces to check for any signs of pinkness. However, be mindful that this may cause some of the juices to escape, potentially resulting in slightly drier chicken.
Once you feel confident that your chicken kabobs are fully cooked, it’s time to test them for doneness.
Preheat your indoor grill to medium-high heat. Cook the chicken kabobs for 10-12 minutes, turning occasionally, until they reach an internal temperature of 165°F. Enjoy!
Testing the Chicken Kabobs for Doneness
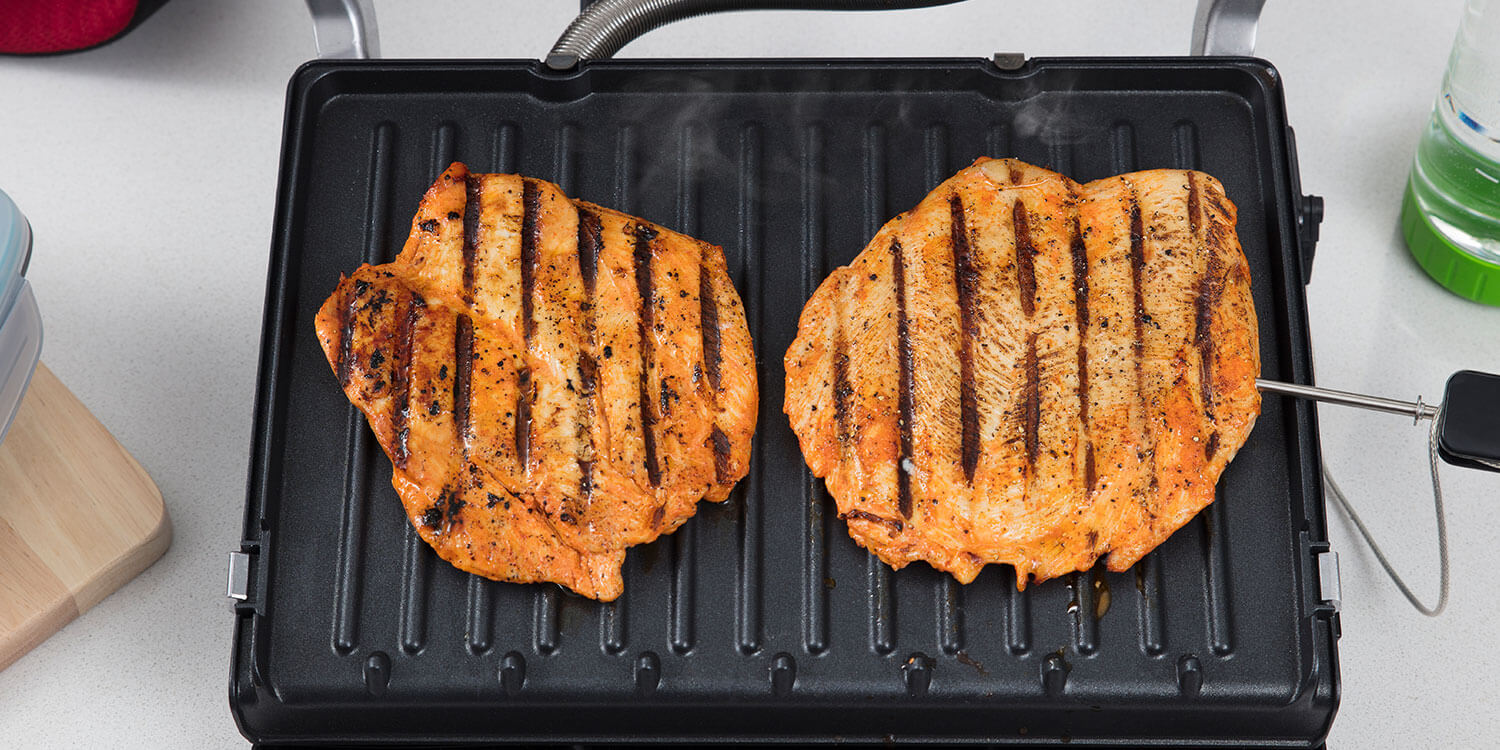
Properly testing the chicken kabobs for doneness is essential to ensure they are safe to eat and cooked to perfection. While cooking times can provide a general guideline, it’s always best to rely on visual cues and internal temperature measurements.
Here are a few ways to test the chicken kabobs for doneness:
- Color and Texture: Fully cooked chicken should have a golden brown color on the outside and a firm, slightly springy texture. If the chicken appears pink or feels raw, it needs more time on the grill.
- Internal Temperature: Using a meat thermometer is the most accurate way to determine the doneness of your chicken kabobs. Insert the thermometer into the thickest part of the chicken, avoiding contact with the skewer or bone. The chicken should reach an internal temperature of 165°F (74°C) for safe consumption.
- Juices: When the chicken is cooked thoroughly, the juices should run clear, not pink or cloudy. You can test this by gently pressing a chicken piece with tongs and checking the color of the juices that come out.
If the chicken does not pass any of these tests, it means it needs more time on the grill. Close the lid of the indoor grill and continue cooking for a few more minutes, periodically checking for desired doneness.
Once your chicken kabobs are fully cooked and have passed the doneness tests, it’s time to remove them from the grill and get ready to savor their delicious flavors. Before serving, let the chicken rest for a couple of minutes to allow the juices to redistribute for maximum tenderness.
Now that you know how to test your chicken kabobs for doneness, let’s explore some additional tips to enhance your grilling experience.
Tips for Grilling Chicken Kabobs
Grilling chicken kabobs on an indoor grill can be a breeze with the right techniques and tips. Here are some helpful tips to ensure your chicken kabobs turn out flavorful and perfectly cooked:
- Choose the Right Grill: Select an indoor grill that offers adjustable temperature controls and even heat distribution. This will ensure consistent cooking and prevent hot spots on the grill surface.
- Preheat the Grill Properly: Give your grill enough time to preheat so that it reaches the desired cooking temperature. This ensures that the chicken kabobs cook evenly and develop delicious grill marks.
- Use Skewers Effectively: Soak bamboo skewers in water for about 30 minutes before using them. This prevents them from burning on the grill. Thread the chicken and vegetables onto the skewers, leaving a small gap between each piece for even cooking.
- Oil the Grill Grates: Brushing the grill grates lightly with oil prevents the chicken from sticking to the surface and helps achieve those coveted grill marks.
- Don’t Overcrowd the Grill: Leave some space between the chicken kabobs on the grill to allow proper air circulation and even cooking. Overcrowding can result in unevenly cooked chicken.
- Baste with Marinade: While grilling, baste your chicken kabobs with the leftover marinade or a fresh batch of sauce. This adds an extra layer of flavor and helps keep the chicken moist during cooking.
- Consider Direct and Indirect Heat: If you’re using an indoor grill with adjustable heat zones, you can cook the chicken kabobs on both direct and indirect heat. Start by searing the kabobs over direct heat, then move them to indirect heat to finish cooking. This helps prevent burning and ensures even cooking.
- Add Fresh Herbs: Just before removing the chicken kabobs from the grill, sprinkle them with fresh herbs, such as chopped parsley, cilantro, or basil, for a burst of freshness and added aroma.
- Experiment with Different Flavors: Don’t be afraid to get creative with your marinades or spice rubs. Try different combinations of herbs, spices, and sauces to create unique flavor profiles for your chicken kabobs.
Following these tips will help you achieve juicy, flavorful chicken kabobs every time you grill them indoors. Now, let’s move on to the final part – serving and enjoying your delicious creation!
Serving and Enjoying Chicken Kabobs
After all the preparation and grilling, it’s time to plate up your delicious chicken kabobs and savor the flavors you’ve worked so hard to create. Here are some tips on how to serve and enjoy your chicken kabobs:
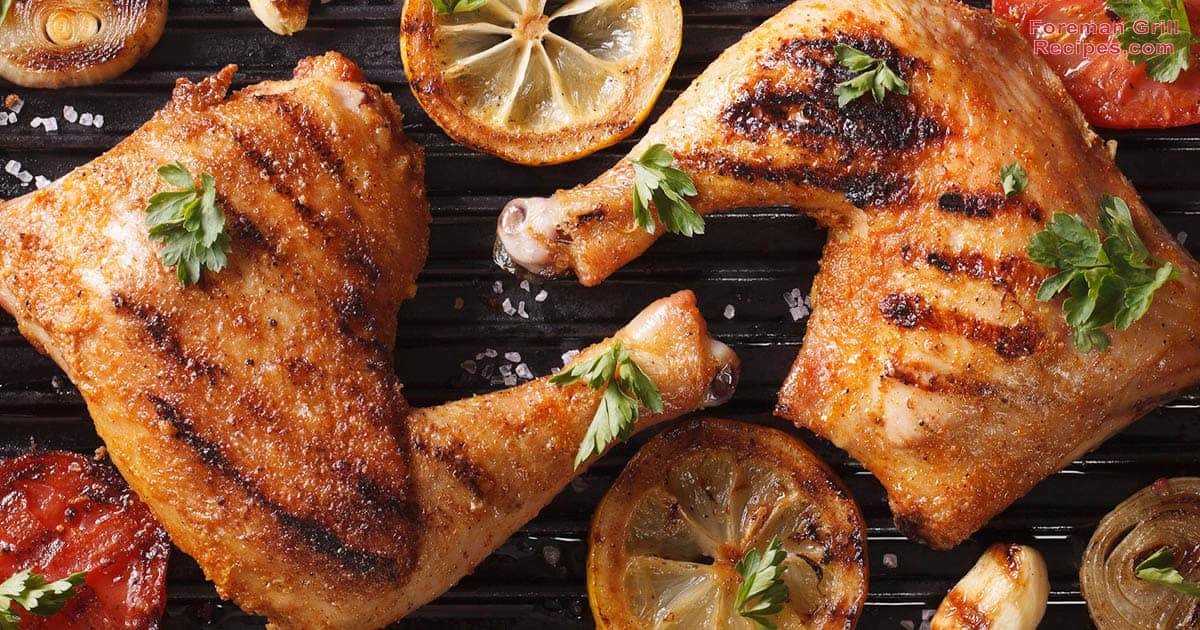
- Presentation is Key: Arrange the chicken kabobs on a platter or individual plates. The vibrant colors of the grilled vegetables combined with the golden-brown chicken will be visually appealing and make your dish more appetizing.
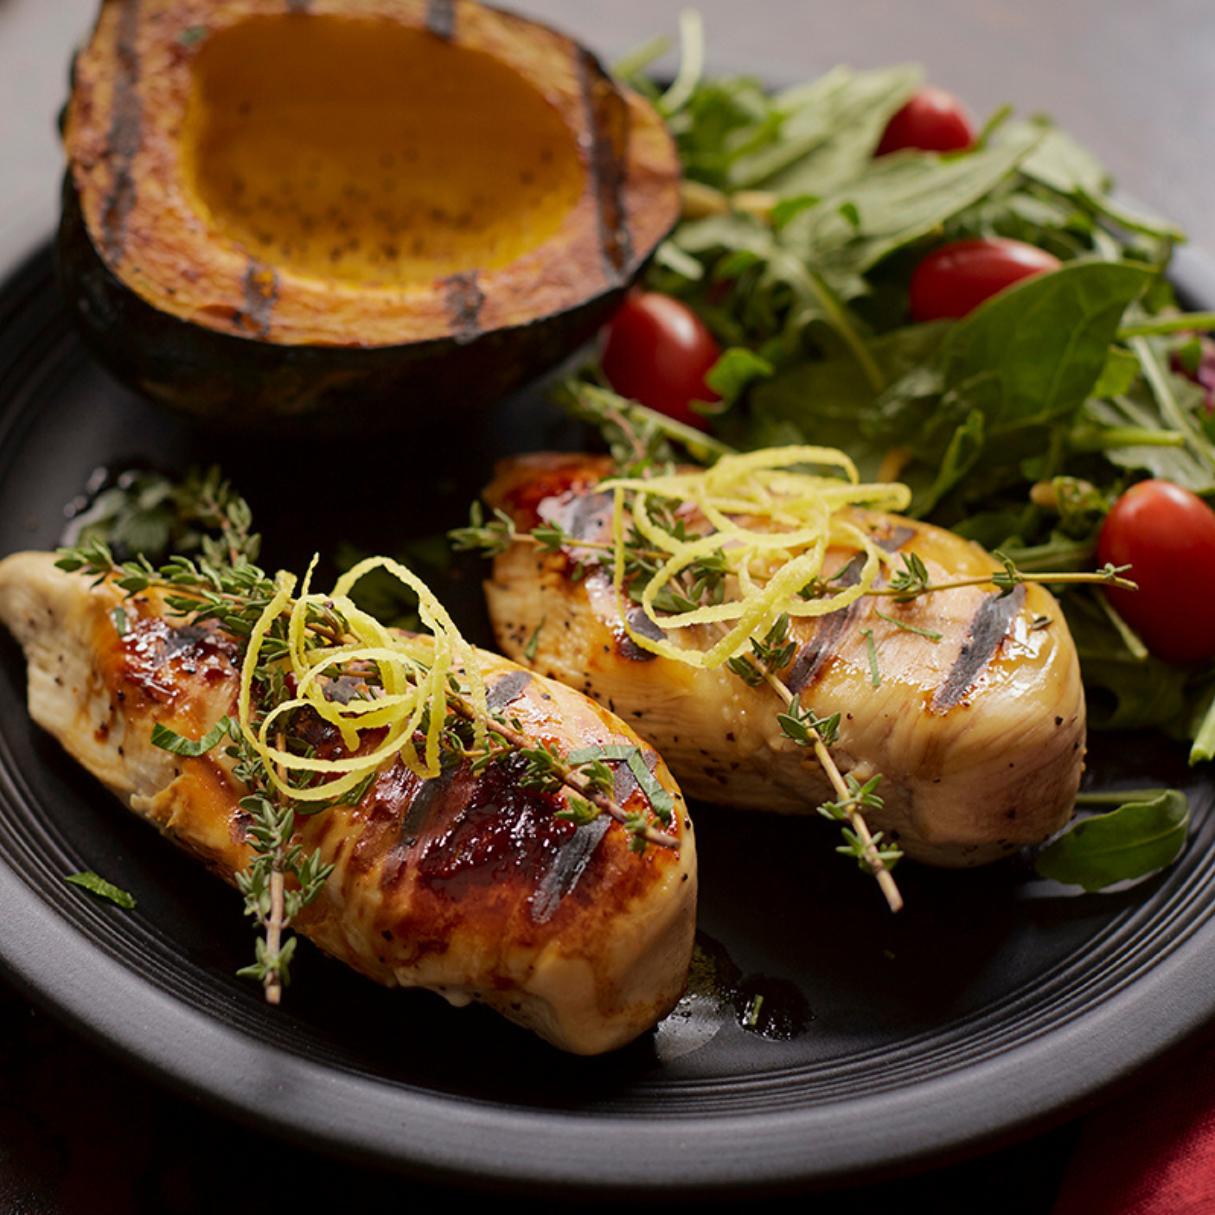
- Pair with Sides: Chicken kabobs pair well with a variety of sides. Consider serving them with steamed rice, grilled vegetables, a fresh salad, or warm, crusty bread. These sides complement the flavors of the chicken and make for a well-rounded meal.
- Sauce it Up: Serve your chicken kabobs with a dipping sauce or a drizzle of sauce over them. Some popular options include tzatziki, barbecue sauce, salsa, or a homemade yogurt-based sauce. These sauces add an extra burst of flavor and enhance the overall taste of the dish.
- Garnish and Freshen Up: Sprinkle some chopped fresh herbs, such as parsley or cilantro, over the chicken kabobs before serving. This not only adds a pop of color but also infuses the dish with freshness.
- Enjoy the Grilling Experience: Gather with friends and family around the table and savor the amazing flavors of your grilled chicken kabobs. Share stories, laugh, and enjoy the satisfaction of a delicious homemade meal.
Remember to handle the hot skewers with caution and remove the chicken pieces from the skewers before eating. Don’t forget to take a moment to appreciate the aroma and the effort you put into creating these mouthwatering kabobs.
Whether you’re hosting a BBQ party, serving a weeknight dinner, or simply indulging in a flavorful meal, chicken kabobs on an indoor grill are a crowd-pleasing option that satisfies both the taste buds and the soul. So, fire up your indoor grill, get creative with flavors, and enjoy every bite of your perfectly grilled chicken kabobs!
Now that you have all the knowledge and tips for grilling chicken kabobs, it’s time to put them into practice and enjoy a delicious meal. Happy grilling!
Remember to follow proper food safety practices, including storing and handling raw chicken properly, cooking it to the recommended internal temperature, and refrigerating any leftovers promptly.
Disclaimer: Cooking times may vary depending on the specific indoor grill model and the size and thickness of the chicken pieces. Always follow the manufacturer’s instructions for your specific indoor grill.
Conclusion
Chicken kabobs cooked on an indoor grill are not only delicious and flavorful but also a versatile and convenient meal option. With the right preparation, preheating, cooking time, and testing for doneness, you can create juicy and tender chicken kabobs that will impress your family and friends.
Throughout this article, we have covered the essential steps for cooking chicken kabobs on an indoor grill. From marinating or seasoning the chicken to assembling the kabobs and preheating the grill, each step plays a crucial role in achieving delicious results. Testing the chicken kabobs for doneness is vital to ensure they are safe to eat, and incorporating tips such as choosing the right grill, oiling the grates, and experimenting with flavors will enhance your grilling experience.
Once your chicken kabobs are perfectly cooked, serve them with complementary sides, sauces, and garnishes to create a visually appealing and scrumptious meal. And don’t forget to savor each bite and enjoy the fruits of your grilling efforts.
Remember to prioritize food safety by handling and cooking raw chicken properly, ensuring it reaches the recommended internal temperature, and refrigerating any leftovers promptly.
So, whether you’re hosting a backyard BBQ, preparing a weeknight dinner, or simply enjoying a flavorful and protein-packed meal, chicken kabobs on an indoor grill are a surefire way to delight your taste buds and satisfy your hunger.
Now that you have all the knowledge and tips necessary, it’s time to grab your skewers, fire up your indoor grill, and embark on a delicious grilling adventure. Happy cooking!
Frequently Asked Questions about How Long To Cook Chicken Kabobs On Indoor Grill
Was this page helpful?
At Storables.com, we guarantee accurate and reliable information. Our content, validated by Expert Board Contributors, is crafted following stringent Editorial Policies. We're committed to providing you with well-researched, expert-backed insights for all your informational needs.

0 thoughts on “How Long To Cook Chicken Kabobs On Indoor Grill”