Articles
How To Fry Chicken On Stove Top
Modified: October 27, 2024
Discover the best techniques and tips for frying chicken on the stove top with our informative articles. Learn how to achieve the perfect crispy and flavorful chicken every time.
(Many of the links in this article redirect to a specific reviewed product. Your purchase of these products through affiliate links helps to generate commission for Storables.com, at no extra cost. Learn more)
Introduction
Frying chicken on the stove top is a classic cooking method that can result in deliciously crispy and tender chicken. It’s a versatile technique that can be used for any cut of chicken, from wings and drumsticks to breast and thighs. Whether you’re a seasoned cook or a beginner in the kitchen, frying chicken on the stove top is a skill worth mastering.
In this article, we will guide you through the step-by-step process of how to fry chicken on the stove top, ensuring that you achieve a perfect golden brown crust and juicy interior every time. We’ll also provide tips and tricks for achieving optimal results, so you can impress your family and friends with your cooking prowess.
Before we delve into the details, it’s important to note that frying chicken on the stove top can be a bit messy, so make sure you have all your equipment and ingredients ready before you start. With that said, let’s gather our supplies and get ready to fry up some delicious chicken!
Key Takeaways:
- Master the art of frying chicken on the stove top by preparing the chicken, coating it in flavorful flour, and maintaining the right oil temperature. Experiment with seasonings to create your signature recipe for crispy, juicy fried chicken.
- Ensure success when frying chicken on the stove top by using a deep pan, monitoring oil temperature, and preheating the oil. Remember to let the chicken rest, serve it hot, and practice food safety for a delicious and safe cooking experience.
Read more: How To Stew Chicken On Stove Top
Equipment Needed
Before you start frying chicken on the stove top, it’s important to gather all the necessary equipment. Here’s a list of what you’ll need:
- A deep, heavy-bottomed skillet or frying pan: This is the key tool for frying chicken on the stove top. Look for a pan with deep sides to prevent oil splatters. Cast iron or stainless steel pans are ideal for even heat distribution.
- A cooking thermometer: This will help you monitor the temperature of the oil to ensure that it reaches the correct frying temperature.
- Tongs or a slotted spoon: These tools will help you safely flip the chicken and remove it from the hot oil.
- A paper towel-lined plate or wire rack: This will be used to drain the fried chicken and remove any excess oil.
- Heat-resistant gloves or oven mitts: These will protect your hands from the hot oil and pan.
- A splatter screen (optional): This can help minimize oil splatters while frying.
Once you have all the necessary equipment, you’re ready to move on to gathering the ingredients for frying chicken on the stove top.
Ingredients
To fry chicken on the stove top, you’ll need the following ingredients:
- Chicken pieces: Choose your preferred cuts, such as thighs, drumsticks, wings, or breast. Make sure they are fresh and skin-on for maximum flavor.
- All-purpose flour: This will be used to coat the chicken and create a crispy crust.
- Seasonings: Customize your fried chicken by adding a variety of seasonings, such as salt, pepper, paprika, garlic powder, onion powder, or any other spices you prefer.
- Eggs: These will be used to create the batter that helps the flour coating adhere to the chicken.
- Vegetable oil: This will be used for frying. Look for an oil with a high smoke point, such as canola, peanut, or vegetable oil.
- Salt: This will be used to season the chicken before and after frying.
- Optional sauces or seasonings: If you prefer, you can serve your fried chicken with sauces like hot sauce, honey mustard, or barbecue sauce. Additionally, you can sprinkle some extra seasoning on the chicken after frying for added flavor.
Make sure all your ingredients are readily available and properly measured before you start frying the chicken on the stove top. With everything prepared, let’s move on to the step-by-step process of frying chicken on the stove top.
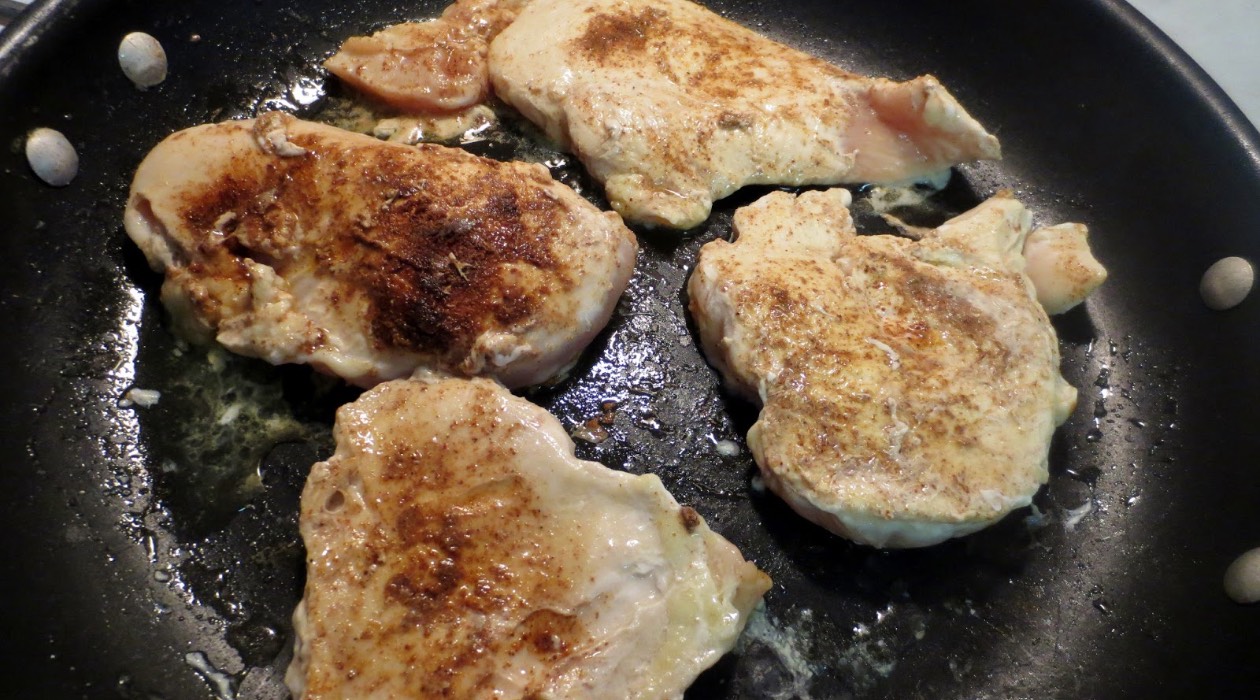
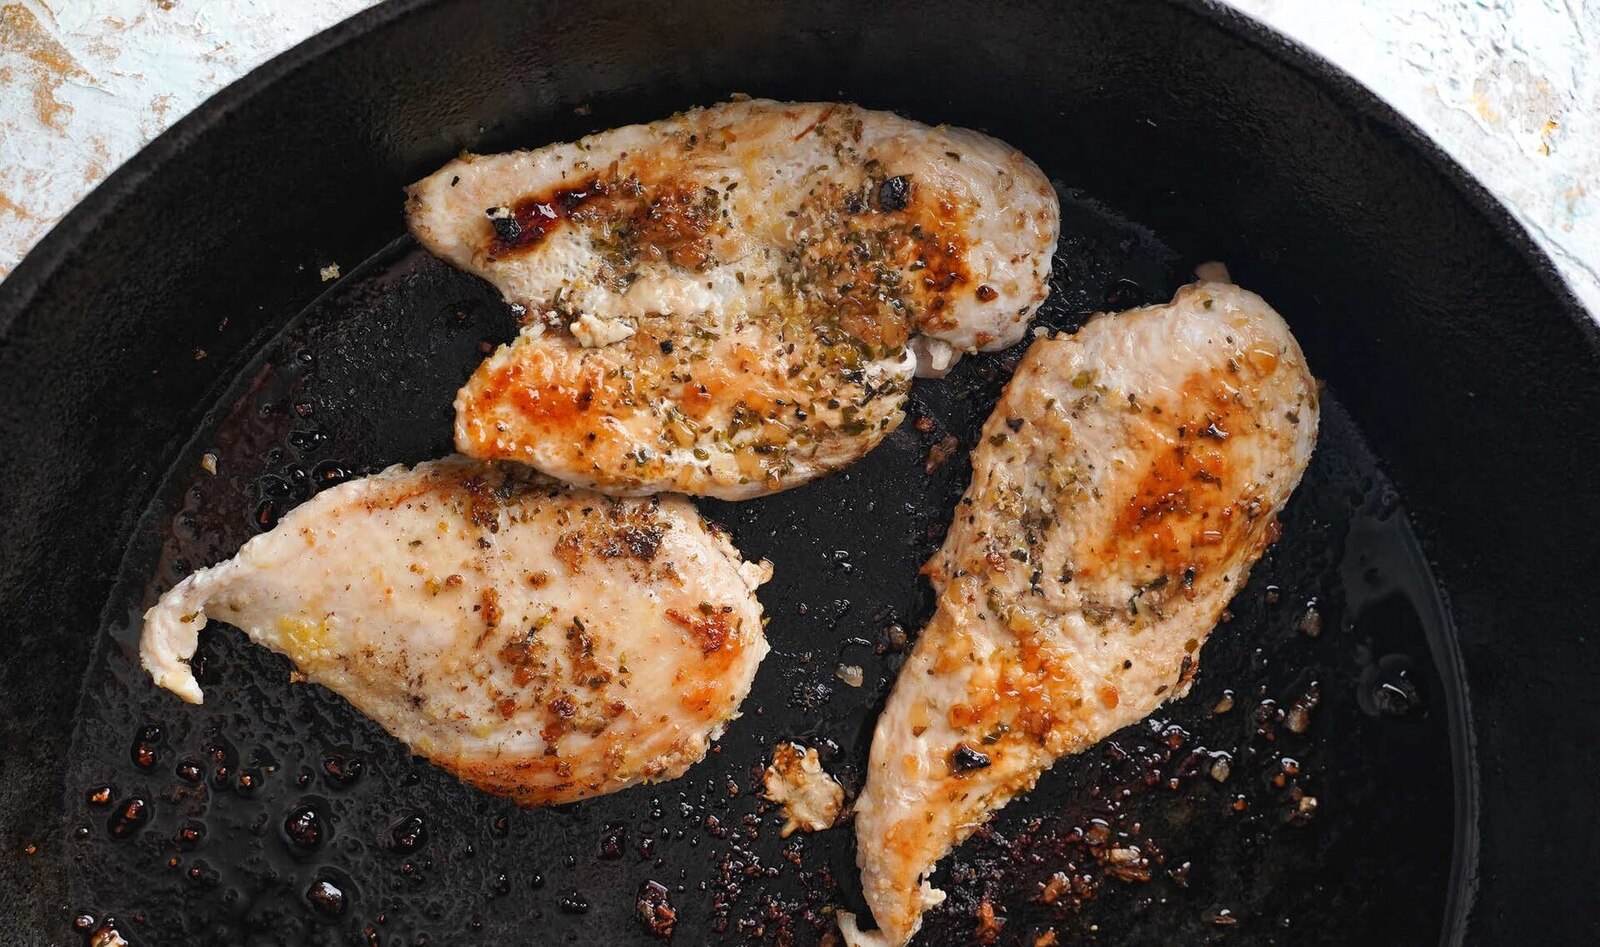
Step 1: Preparing the Chicken
Before you start frying the chicken on the stove top, you need to prepare the chicken pieces by cleaning and seasoning them. Here’s how:
- Pat the chicken dry: Use paper towels to remove any excess moisture from the chicken pieces. This will help the coating adhere better and result in a crispier crust.
- Season the chicken: Generously season the chicken with salt and any additional spices or herbs you desire. This will add flavor to the meat itself.
- Let the chicken rest: Allow the seasoned chicken to sit at room temperature for about 15-20 minutes. This will help the seasoning penetrate the meat and ensure even cooking.
By properly preparing the chicken before frying, you’ll enhance the flavor and texture of the final dish. Now that the chicken is ready, it’s time to move on to the next step: coating the chicken.
Step 2: Coating the Chicken
Coating the chicken is an important step in achieving that perfectly crispy and flavorful exterior. Here’s how to coat the chicken before frying:
- Prepare the flour mixture: In a shallow dish or bowl, combine all-purpose flour with your preferred seasonings. This is where you can get creative and add spices like paprika, garlic powder, onion powder, or any other flavors you enjoy.
- Dip the chicken in flour: Take each piece of seasoned chicken and dredge it in the flour mixture, making sure to coat all sides. Press the flour onto the chicken to ensure a thick, even coating.
- Shake off excess flour: Gently shake the chicken to remove any excess flour. This will prevent the coating from becoming too thick or clumpy when frying.
- Let the coated chicken rest: Allow the coated chicken to rest for a few minutes. This will help the flour adhere better to the chicken and create a crispier crust.
Coating the chicken will give it a crunchy and flavorful exterior that contrasts beautifully with the juicy interior. Now that the chicken is properly coated, let’s move on to the next step: heating the pan.
Read more: How To Cook Whole Chicken On Stove Top
Step 3: Heating the Pan
Heating the pan properly is crucial to achieving perfectly fried chicken on the stove top. Follow these steps to ensure your pan is at the ideal temperature:
- Select the right pan: Choose a deep, heavy-bottomed skillet or frying pan that can hold enough oil to submerge the chicken pieces. A cast iron or stainless steel pan is recommended for even heat distribution.
- Add the cooking oil: Pour enough vegetable oil into the pan to create a depth of about 1 inch. The exact amount will depend on the size of your pan and the amount of chicken you’re frying.
- Heat the oil: Place the pan on the stove over medium-high heat. Allow the oil to heat up until it reaches a temperature of around 350°F (175°C). Use a cooking thermometer to ensure accuracy.
- Monitor the heat: Throughout the frying process, keep an eye on the heat. Adjust the burner as needed to maintain a steady temperature of around 350°F (175°C). This will ensure that the chicken cooks evenly and achieves a crispy exterior.
By heating the pan properly, you’ll create the ideal cooking environment for your chicken. Now that the pan is hot and ready, it’s time to move on to the next step: frying the chicken.
Use a heavy-bottomed pan for even heat distribution. Pat the chicken dry before dredging in seasoned flour. Fry in batches to avoid overcrowding the pan.
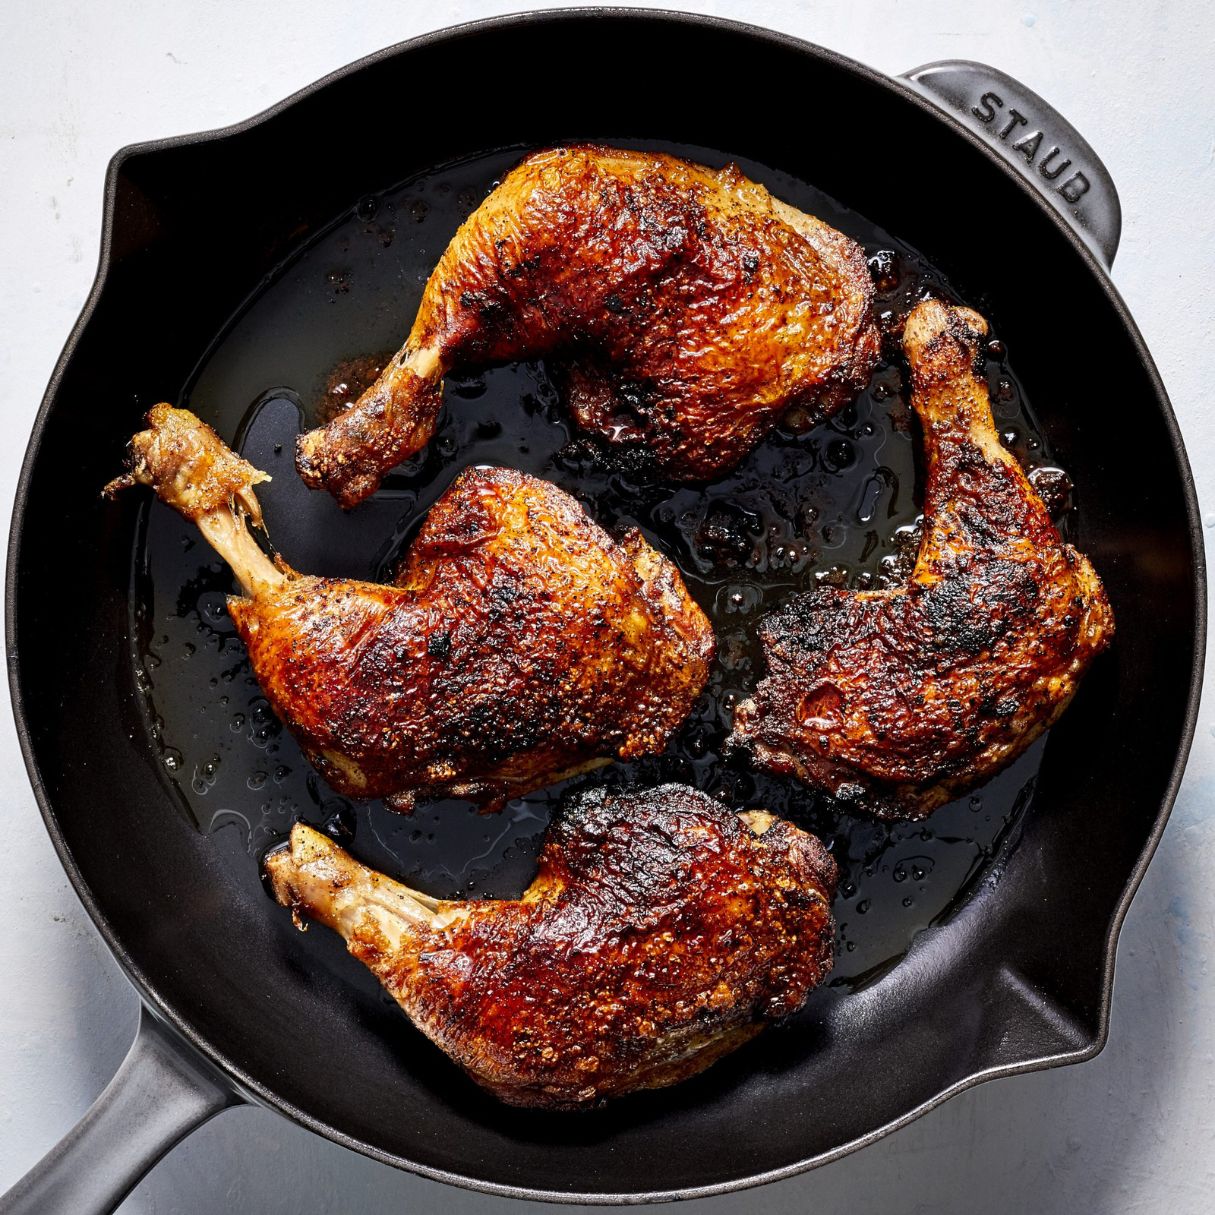
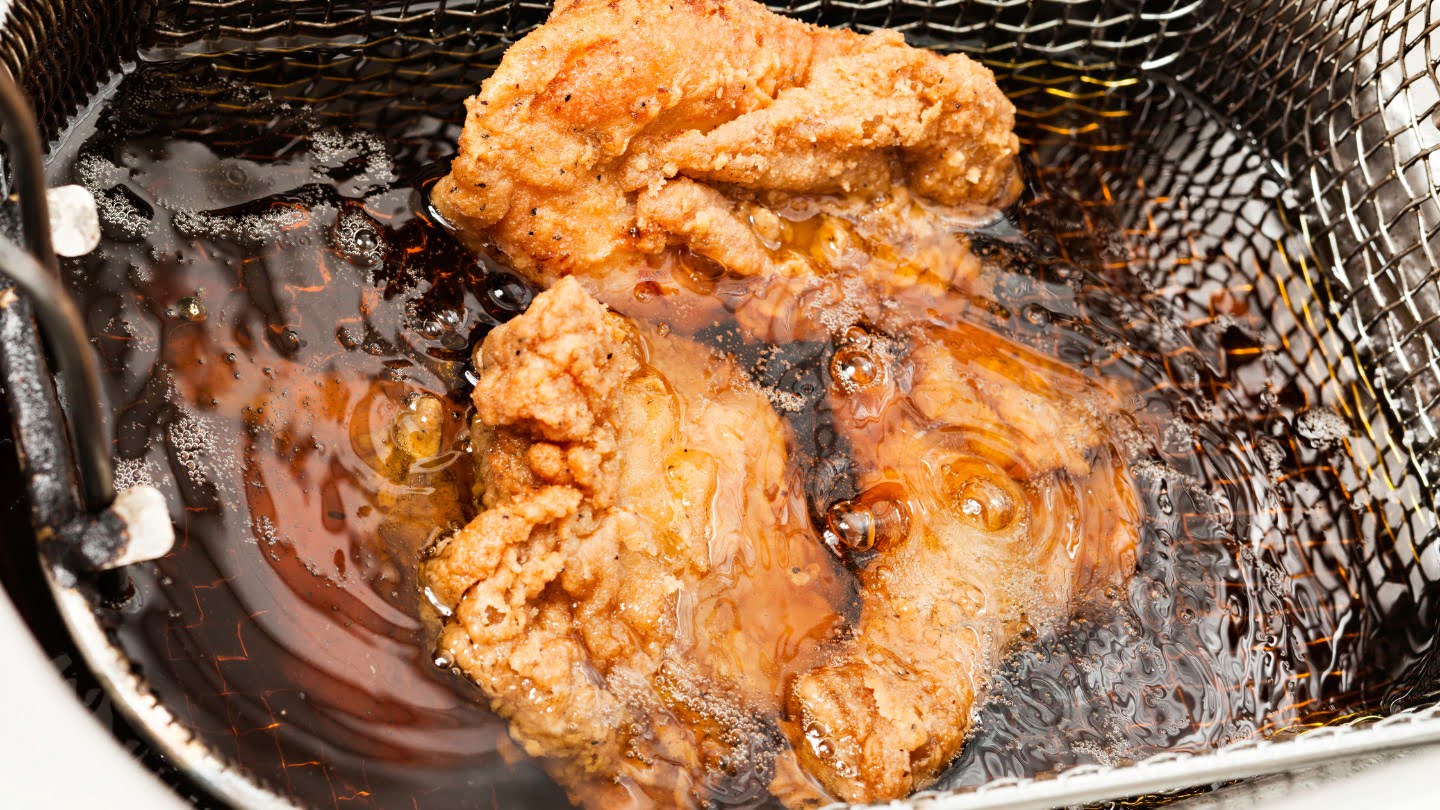
Step 4: Frying the Chicken
Now comes the exciting part – frying the chicken on the stove top! Follow these steps to ensure your chicken cooks evenly and develops a crispy and golden crust:
- Carefully place the chicken in the hot oil: Gently place the coated chicken pieces into the hot oil, one at a time, using tongs or a slotted spoon. Be cautious to avoid any splattering or oil spills.
- Don’t overcrowd the pan: Make sure not to overcrowd the pan with too many chicken pieces at once, as this can lower the temperature of the oil and result in uneven cooking. Fry the chicken in batches, if necessary.
- Allow the chicken to cook: Let the chicken fry undisturbed for about 6-8 minutes on each side, or until it develops a deep golden brown color. Flip the chicken halfway through the cooking time to ensure even browning.
- Maintain a consistent temperature: Throughout the frying process, monitor the oil temperature and adjust the heat as needed to keep it around 350°F (175°C). This will help to achieve a crispy exterior while ensuring the chicken cooks through.
- Continue frying the remaining chicken: Once the first batch of chicken is cooked to perfection, carefully remove it from the oil using tongs or a slotted spoon. Transfer it to a paper towel-lined plate or wire rack to drain any excess oil. Repeat the process with the remaining chicken pieces.
By following these steps, you’ll achieve beautifully fried chicken with a crispy exterior and moist interior. Now that the chicken is cooked, let’s move on to the next step: checking for doneness.
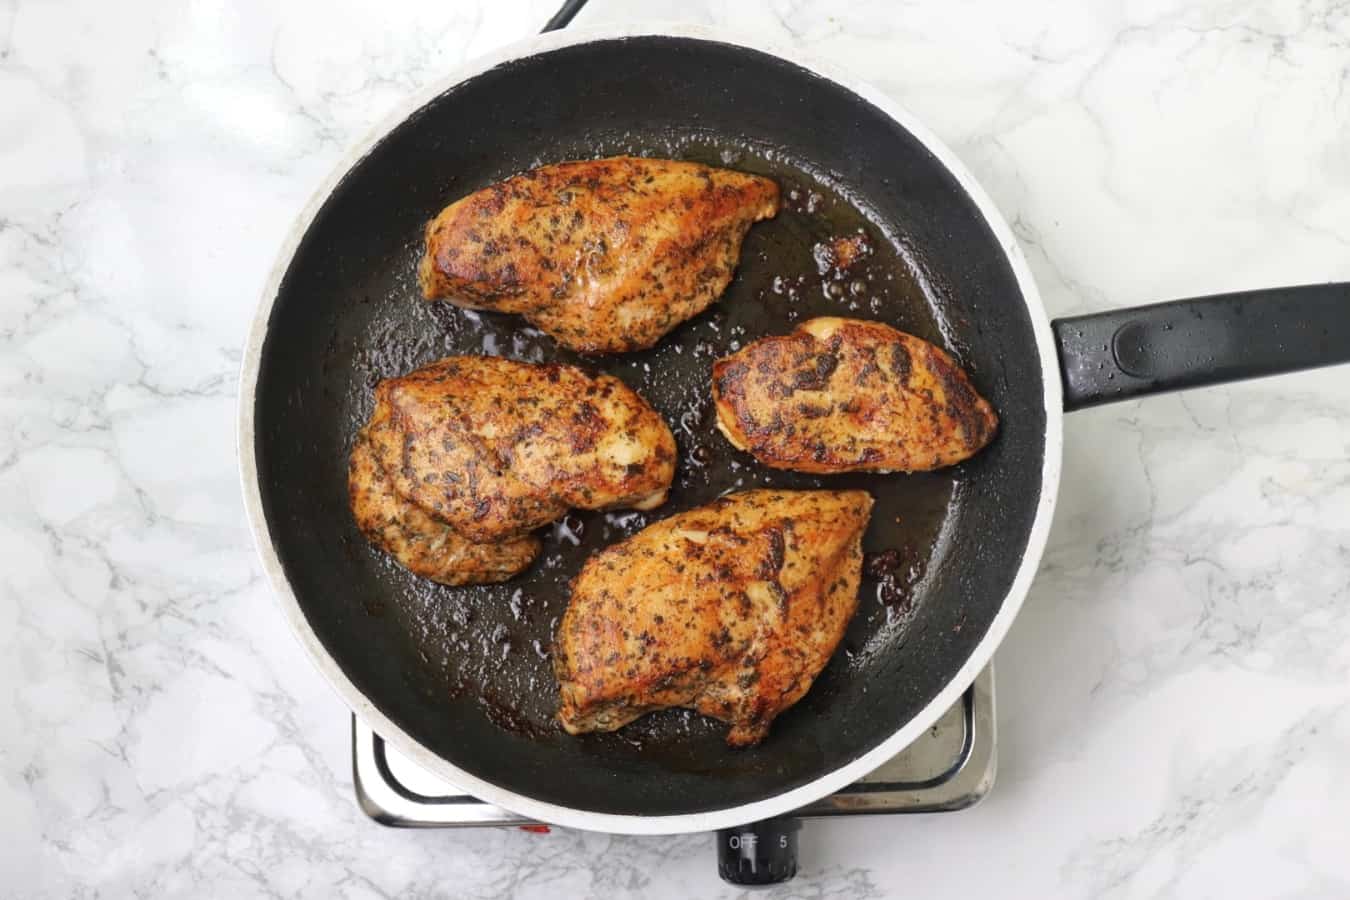
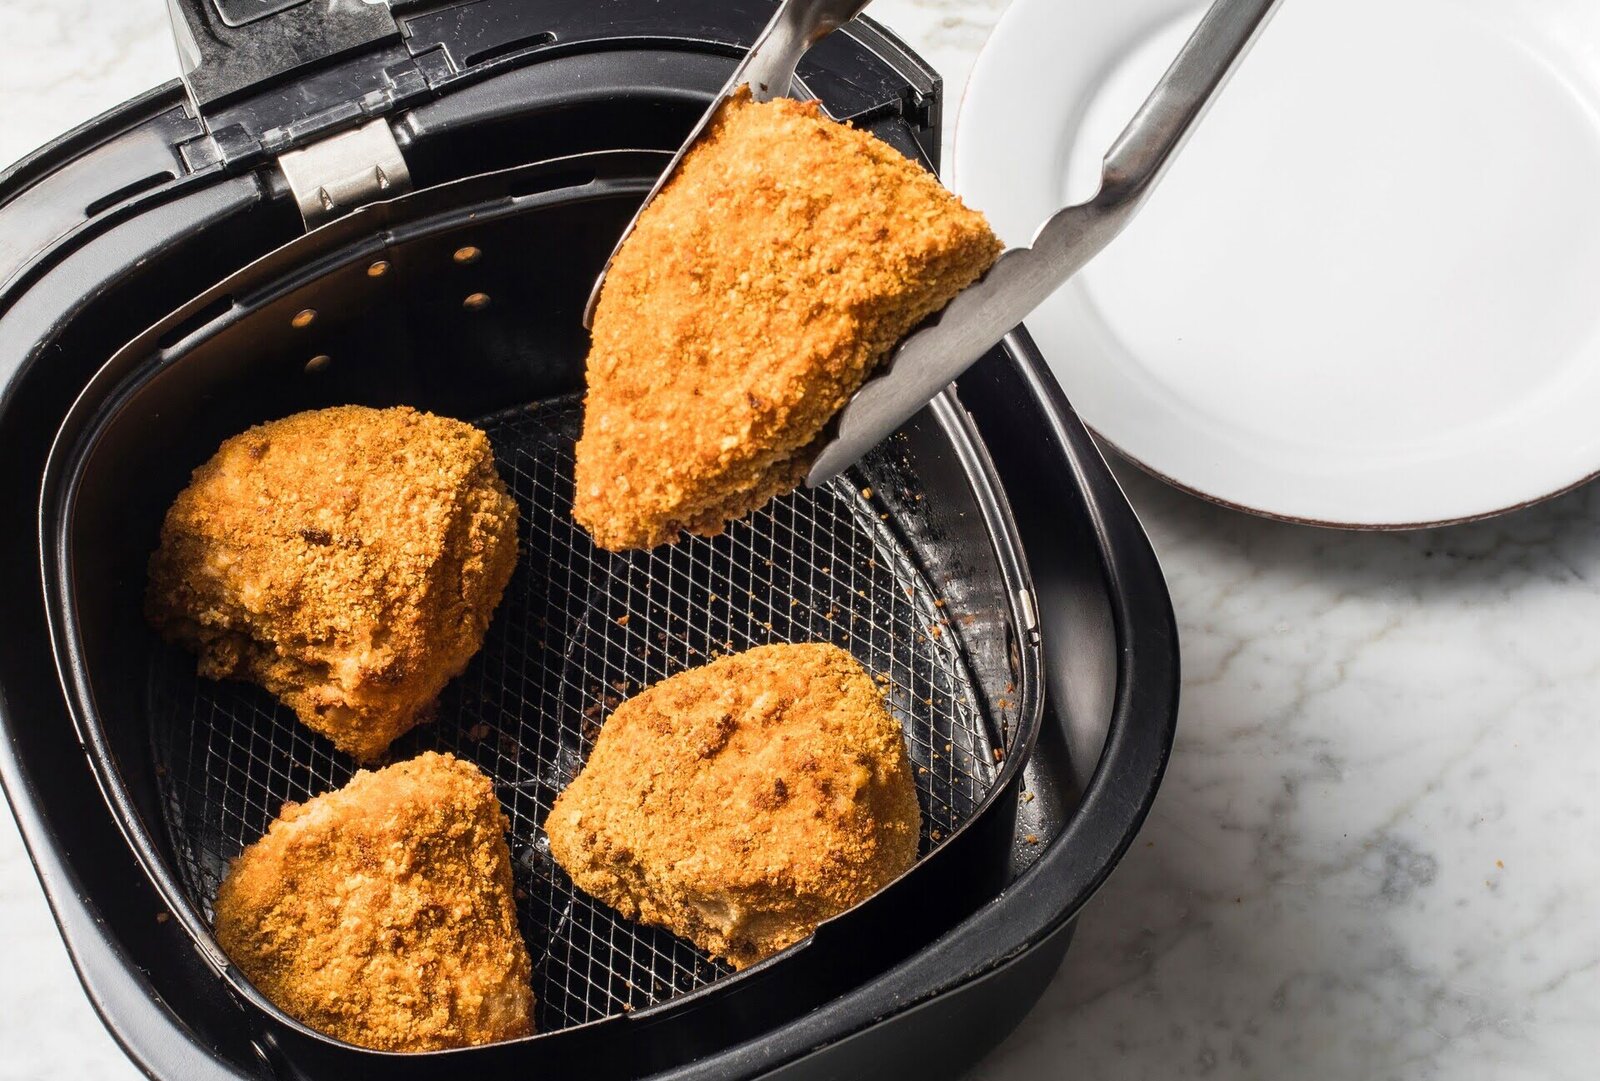
Step 5: Checking for Doneness
It’s important to ensure that the fried chicken is cooked through and safe to eat. Follow these steps to check for doneness:
- Test the internal temperature: Insert an instant-read thermometer into the thickest part of the chicken pieces, making sure not to touch bone. The chicken should reach an internal temperature of 165°F (74°C). If it hasn’t reached this temperature, return it to the hot oil and continue frying for a few more minutes.
- Check the color and texture: The fried chicken should have a crisp, golden brown crust. The juices should run clear, indicating that the chicken is fully cooked. Cut into a piece to ensure there are no pink or raw areas.
By checking for doneness, you can guarantee that the fried chicken is cooked through and safe to enjoy. If the chicken has reached the desired temperature and is golden brown and fully cooked, it’s time to move on to the next step: draining and serving.
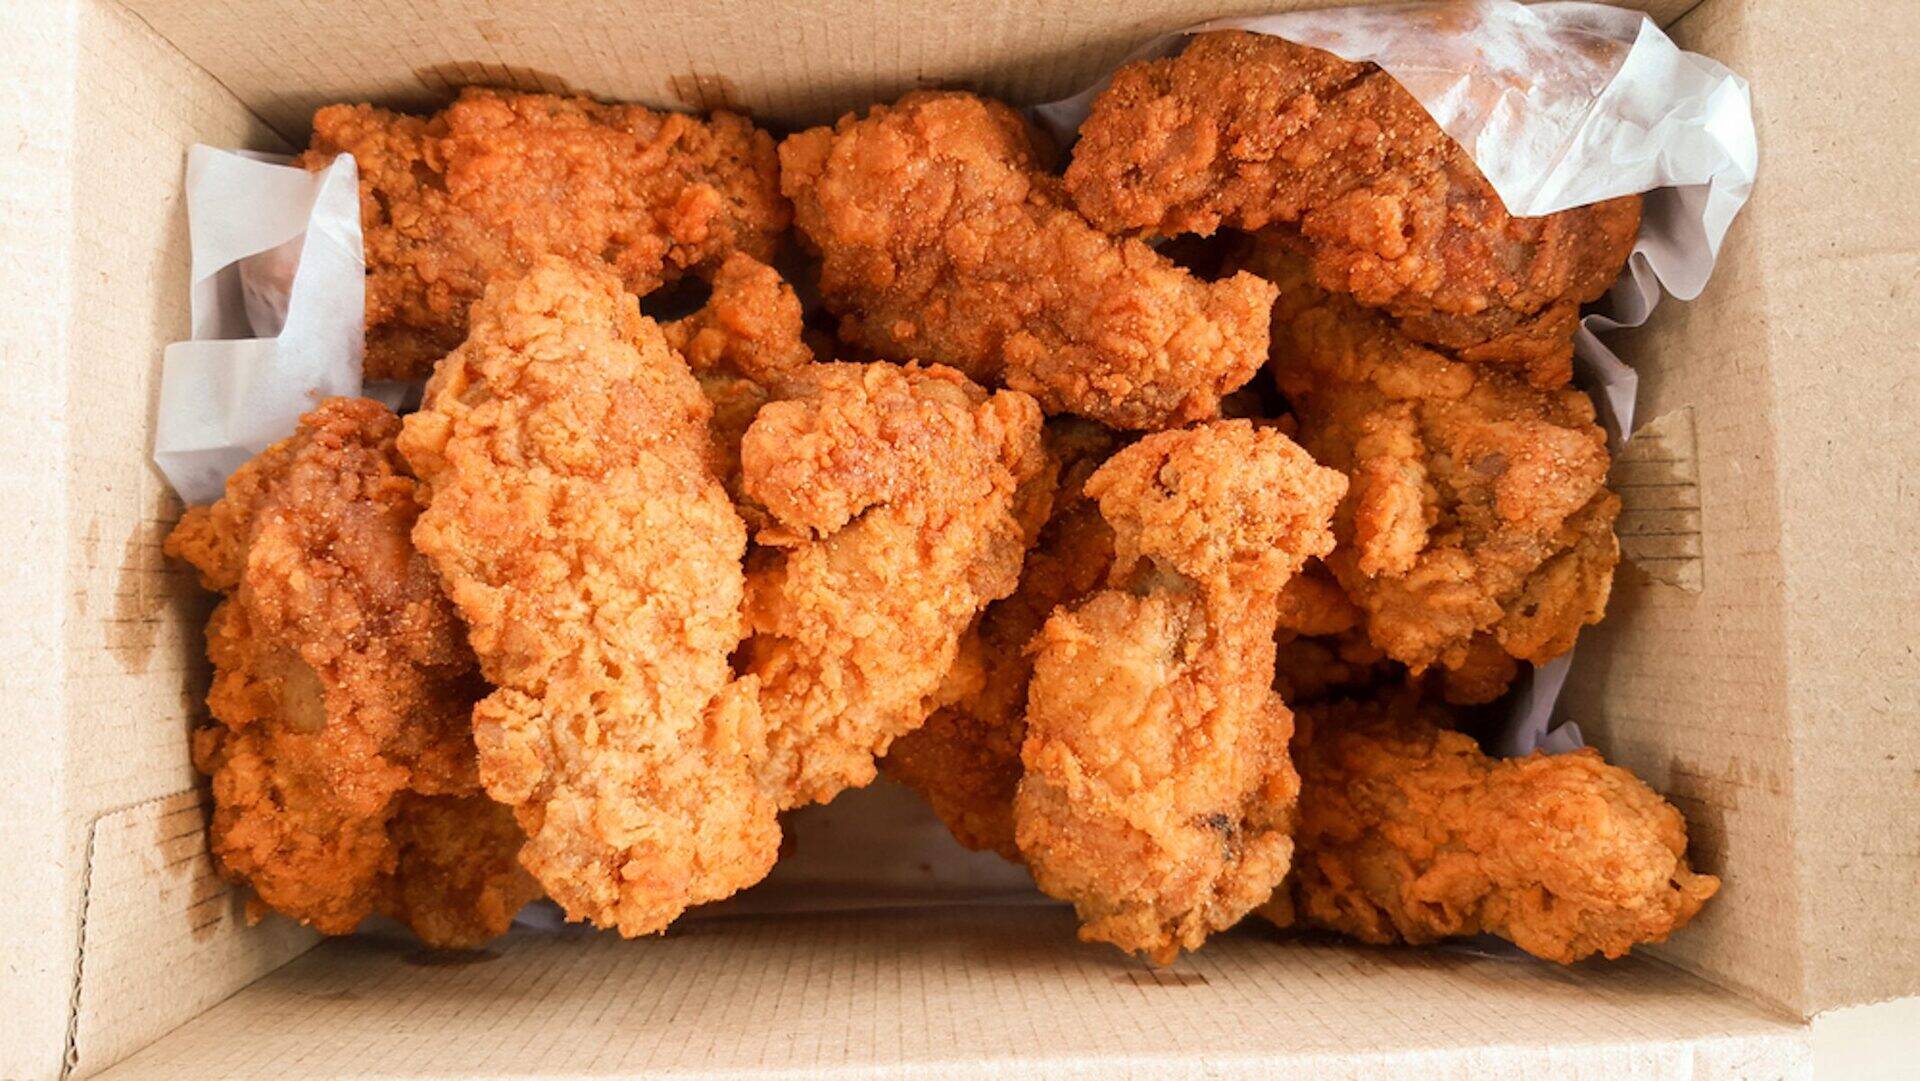
Step 6: Draining and Serving
Once the fried chicken is cooked to perfection, it’s time to drain any excess oil and serve it up. Follow these steps for the final touches:
- Transfer the fried chicken: Using tongs or a slotted spoon, carefully remove the fried chicken from the oil and place it on a paper towel-lined plate or wire rack. The paper towels will absorb any excess oil and help keep the chicken crispy.
- Let the chicken rest: Allow the fried chicken to rest for a few minutes before serving. This will help the juices redistribute and ensure maximum flavor and tenderness.
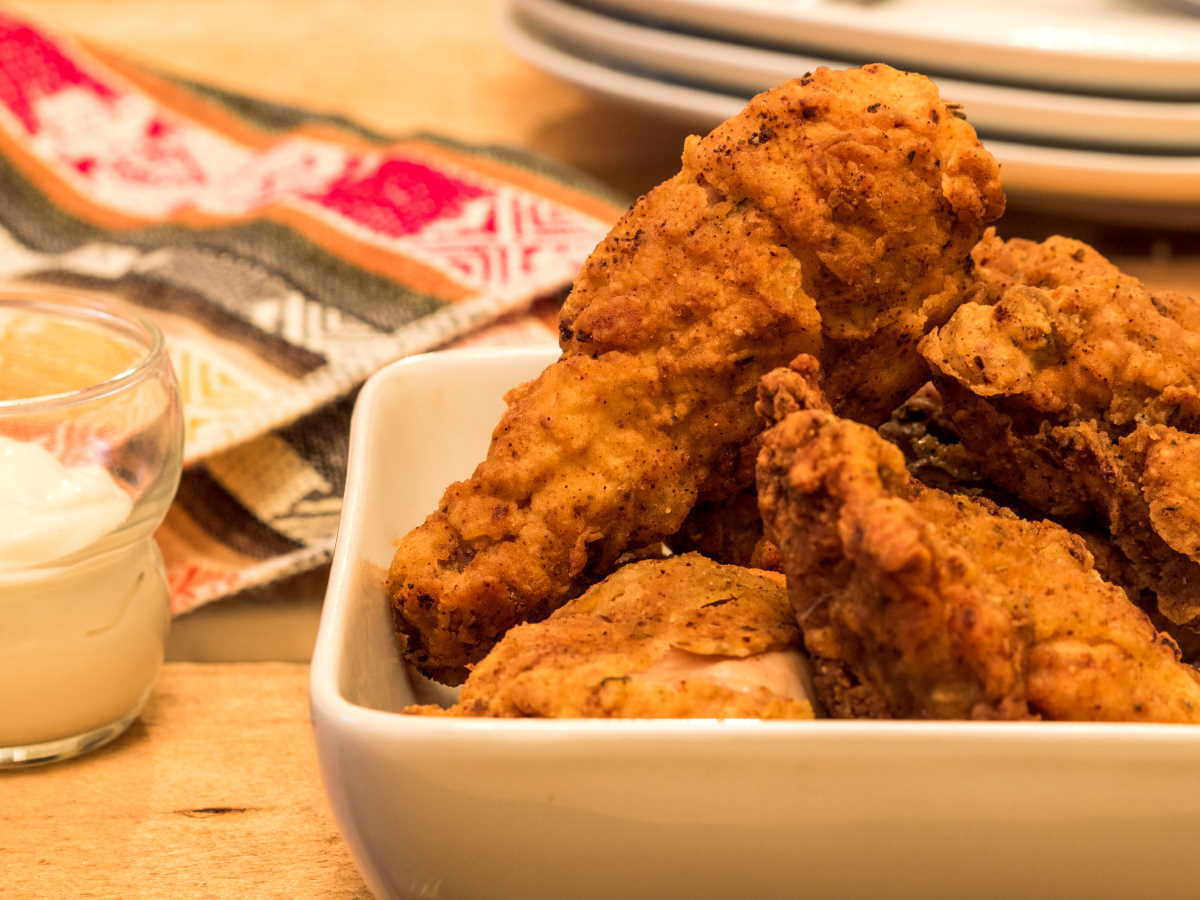
- Serve and enjoy: Place the fried chicken on a serving platter and garnish with fresh herbs, if desired. Serve it hot and crispy alongside your favorite sides, such as mashed potatoes, coleslaw, or cornbread. Enjoy and indulge in the deliciousness of your homemade fried chicken!
Remember, fried chicken is best enjoyed immediately while it’s still hot and crispy. If you have any leftovers, store them in an airtight container in the refrigerator and consume within a day or two.
Now that you’ve mastered the art of frying chicken on the stove top, experiment with different seasonings and spices to create your own signature fried chicken recipe. Happy frying!
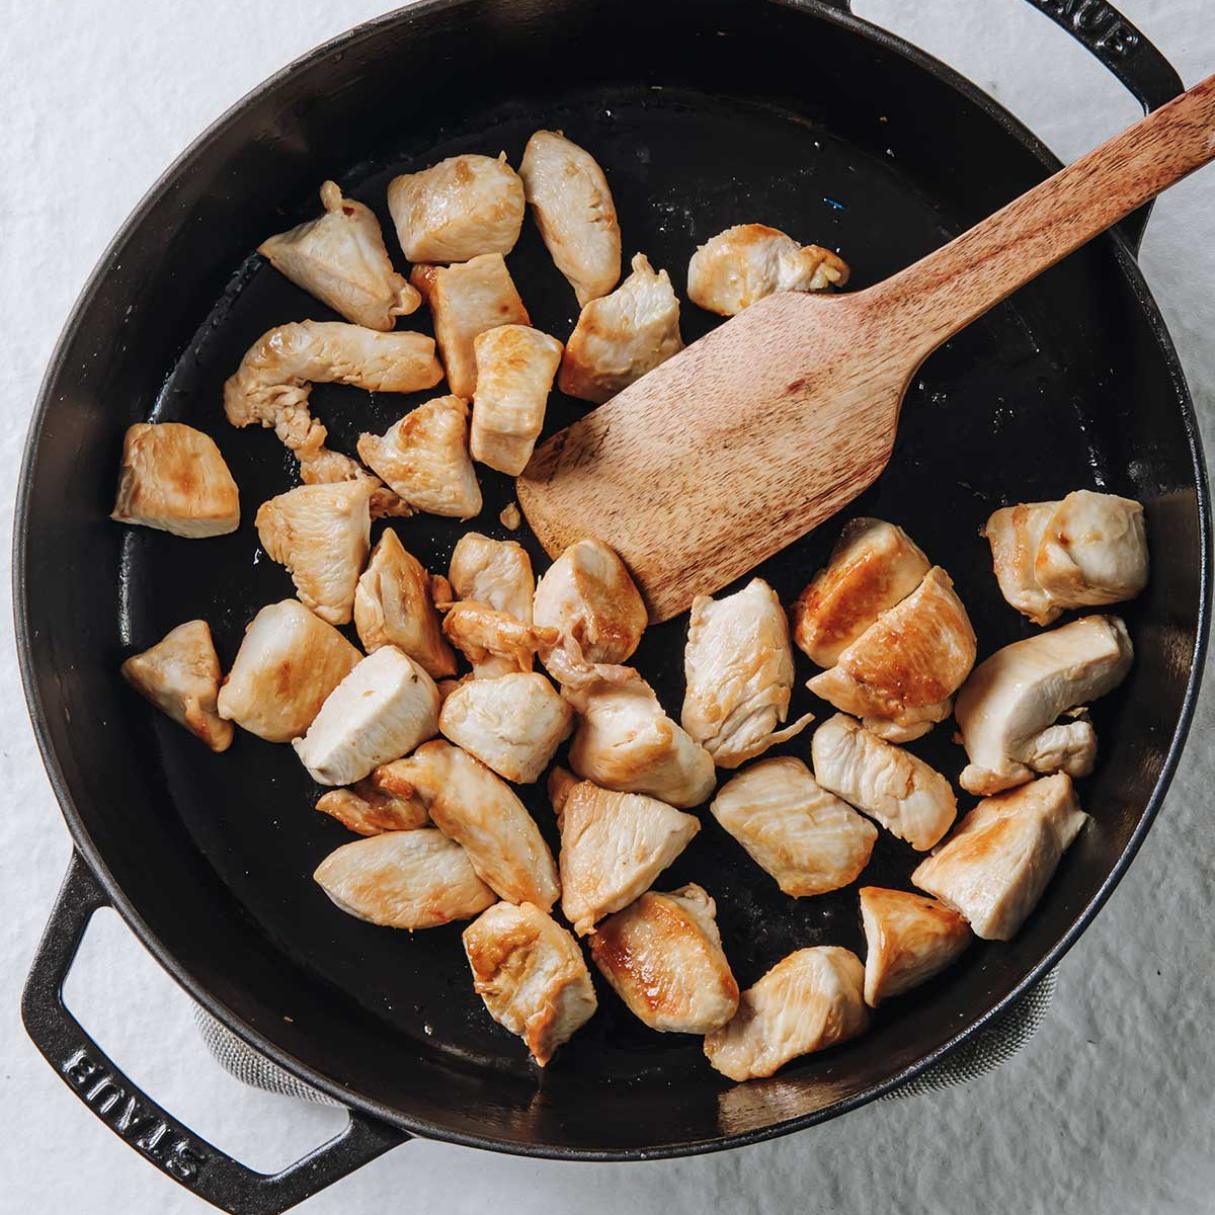
Read more: How To Cook Chicken Tenderloins On Stove Top
Tips for Success
Frying chicken on the stove top can be a rewarding experience, but it does require some attention to detail. Here are some tips to ensure your fried chicken turns out perfectly every time:
- Use a deep pan: To prevent oil splatters and maintain a consistent cooking temperature, use a pan with deep sides.
- Monitor the oil temperature: Invest in a cooking thermometer to keep track of the oil temperature and adjust the heat as needed to maintain around 350°F (175°C).
- Preheat the oil: Make sure the oil is hot before adding the chicken. This helps create a crispy crust and prevents the chicken from becoming greasy.
- Don’t overcrowd the pan: Fry the chicken in batches to avoid overcrowding the pan, which can lead to uneven cooking and a greasy result.
- Let the chicken rest: Allowing the chicken to rest after frying helps to lock in moisture, resulting in juicier meat.
- Serve immediately: Fried chicken is best enjoyed when it’s hot and crispy, so serve it as soon as it’s done.
- Experiment with seasonings: Feel free to get creative with your seasonings to customize the flavor of your fried chicken. Try different spice blends and herbs to find your perfect combination.
- Practice food safety: Make sure to clean all surfaces and utensils that come into contact with raw chicken, and ensure the chicken reaches an internal temperature of 165°F (74°C) for safety.
With these tips in mind, you’ll be well on your way to creating mouthwatering, homemade fried chicken that will impress your family and friends. Enjoy the process and savor the delicious results!
Conclusion
Frying chicken on the stove top is a timeless cooking method that can result in a delectable combination of juicy meat and crispy, golden-brown skin. By following the step-by-step process outlined in this article and implementing the tips for success, you can perfect your fried chicken skills and create a dish that will have everyone coming back for more.
Remember to start by preparing the chicken, coating it in a flavorful flour mixture, and heating the pan to the right temperature. Fry the chicken in batches, ensuring even cooking and maintaining the proper oil temperature. Once the chicken is cooked through and has reached a beautiful golden color, it’s important to properly drain it to remove any excess oil. Finally, take the time to let the chicken rest for a few minutes before serving, allowing the flavors to meld and the meat to remain tender and succulent.
Don’t be afraid to experiment with different seasonings and spice combinations to create your own signature fried chicken recipe. Whether you like it extra crispy or prefer a little kick of heat, there are endless possibilities to satisfy your taste buds.
With a bit of practice and attention to detail, you can become a master of stove top fried chicken. So gather your equipment, gather your ingredients, and embark on a culinary adventure that will delight your senses and bring joy to the dinner table.
So what are you waiting for? Get ready to fry up some delicious chicken on the stove top and experience the satisfaction of creating a classic comfort dish that will surely become a favorite in your household!
Frequently Asked Questions about How To Fry Chicken On Stove Top
Was this page helpful?
At Storables.com, we guarantee accurate and reliable information. Our content, validated by Expert Board Contributors, is crafted following stringent Editorial Policies. We're committed to providing you with well-researched, expert-backed insights for all your informational needs.


0 thoughts on “How To Fry Chicken On Stove Top”