Articles
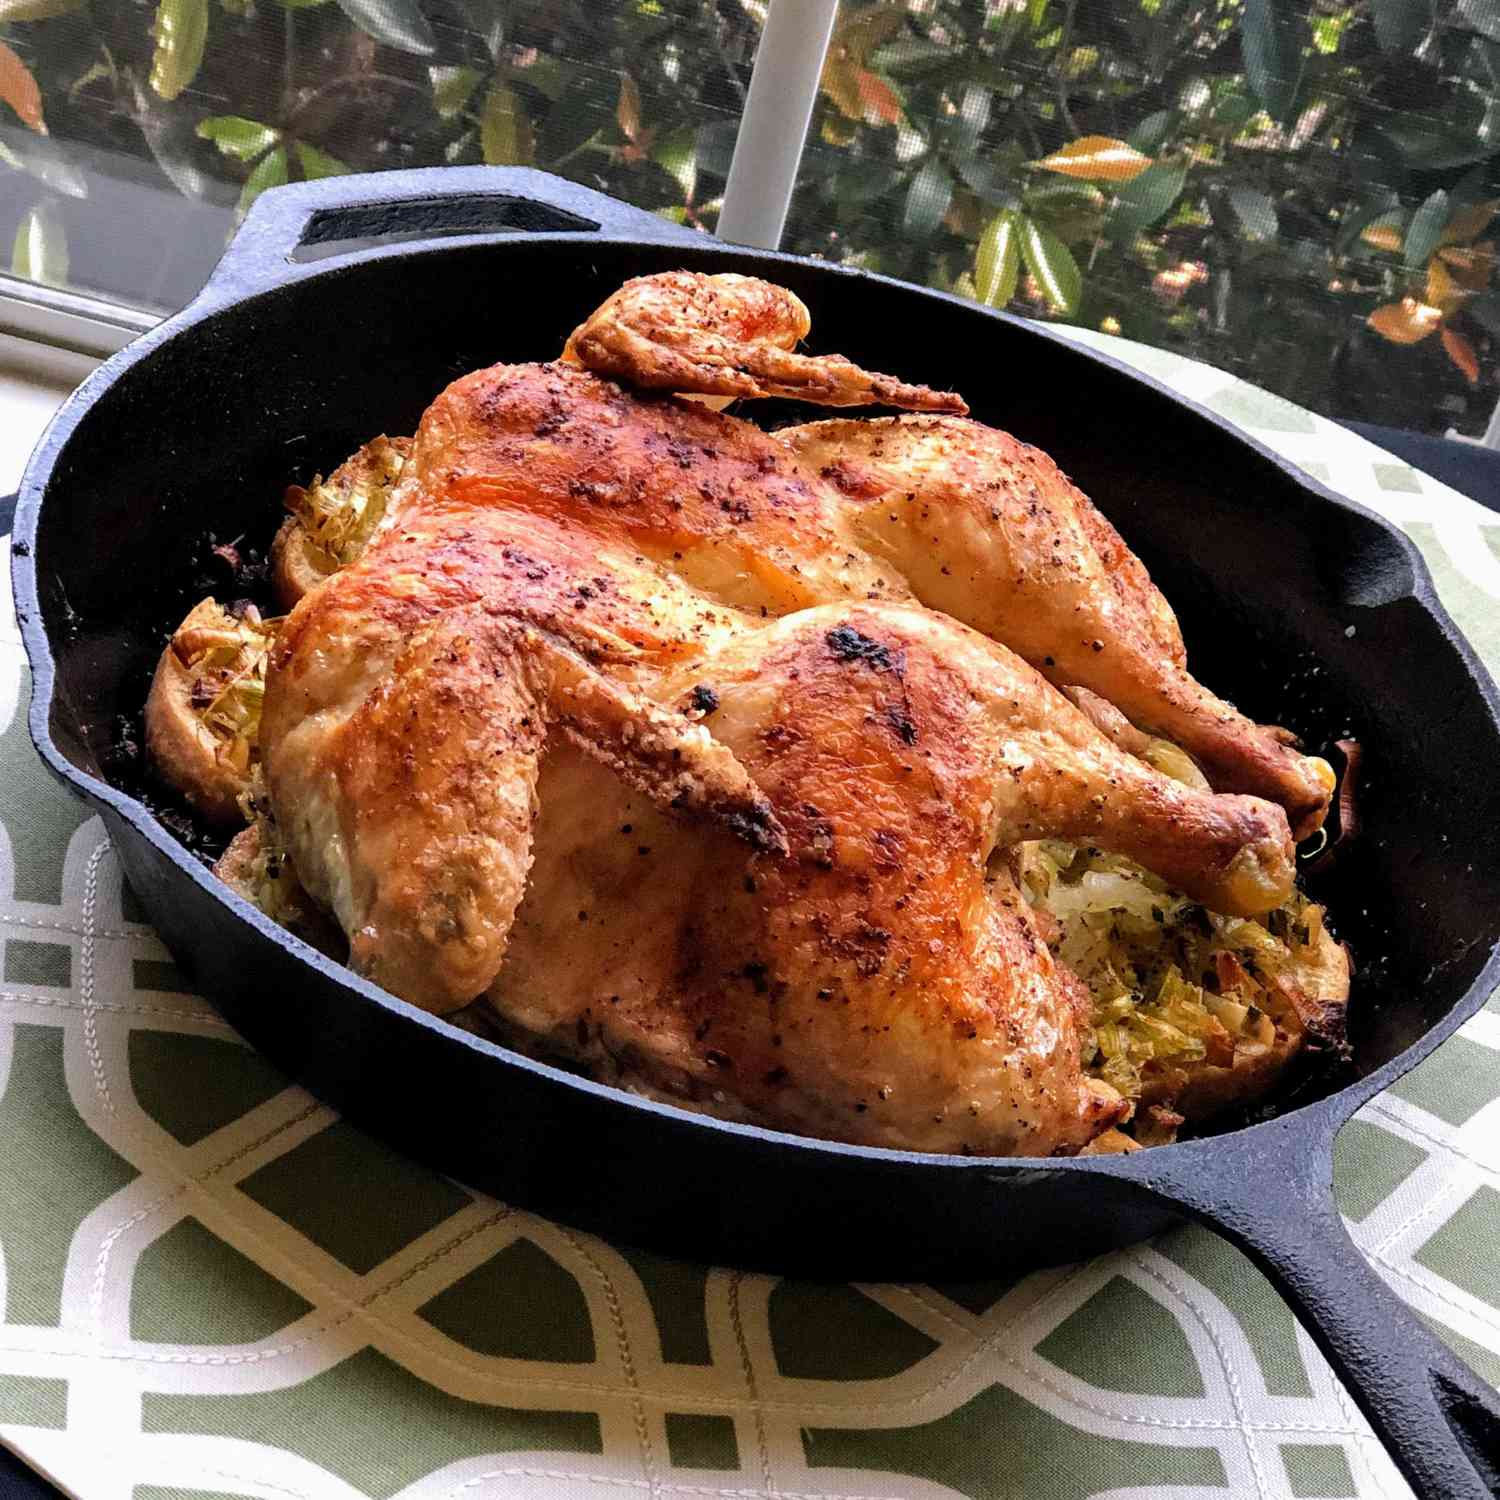
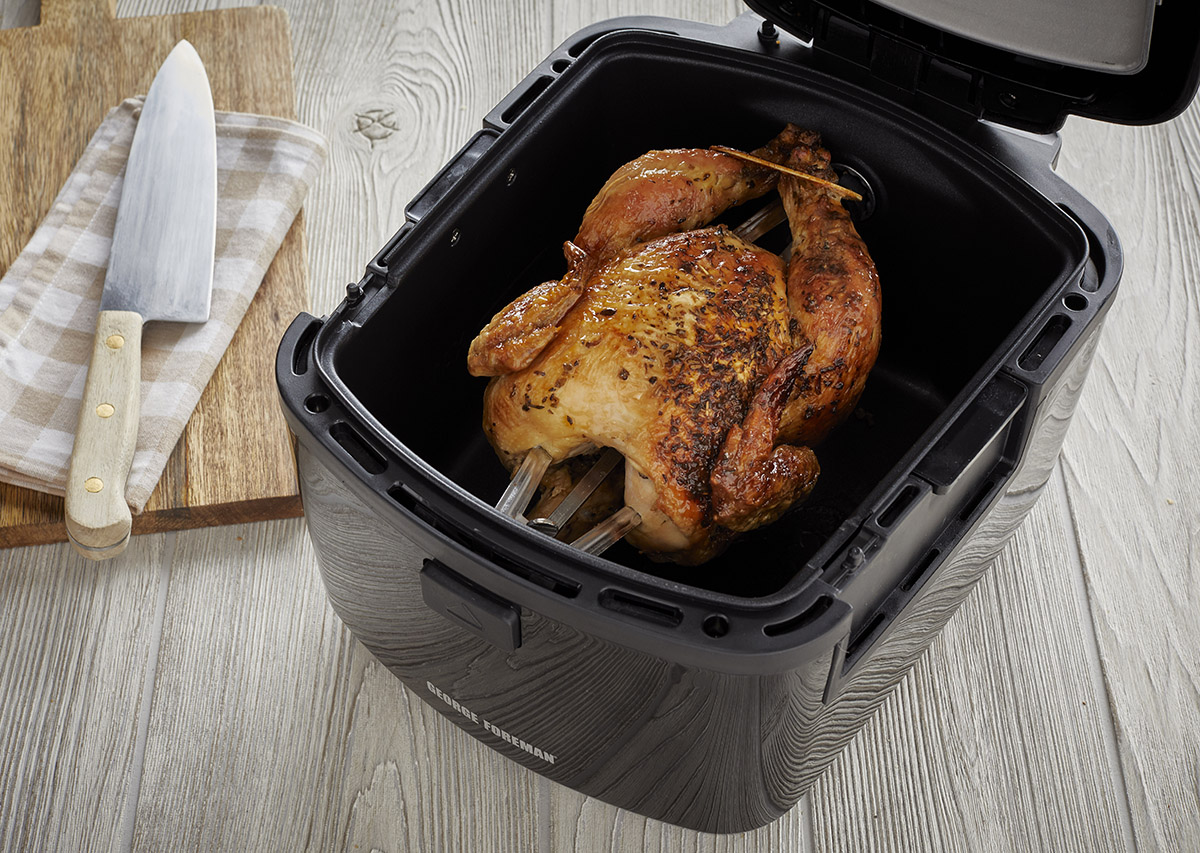
How To Cook Whole Chicken On Stove Top
Modified: January 5, 2024
Learn how to cook a delicious whole chicken on the stove top with these easy-to-follow articles. Impress your family and friends with your cooking skills.
(Many of the links in this article redirect to a specific reviewed product. Your purchase of these products through affiliate links helps to generate commission for Storables.com, at no extra cost. Learn more)
Introduction:
Cooking a whole chicken on the stove top is a versatile and convenient way to prepare a delicious meal. Whether you’re aiming for a crispy skin or tender meat infused with flavorful seasonings, mastering the art of cooking a whole chicken on the stove top is a valuable skill.
In this article, we will guide you through the step-by-step process of cooking a whole chicken on the stove top. From preparing the chicken to carving and serving it, we’ll cover everything you need to know to achieve a mouthwatering result.
Not only is cooking a whole chicken on the stove top a tasty cooking method, but it also saves you time and energy. Unlike roasting in the oven, stove top cooking allows for more even heat distribution and quicker cooking times.
So, whether you’re a seasoned home cook looking to try a new technique or a beginner wanting to impress your family and friends, let’s dive into the wonderful world of cooking a whole chicken on the stove top!
Key Takeaways:
- Master the art of cooking a whole chicken on the stove top for crispy skin and juicy meat. Save time and impress with flavorful, tender results.
- Prepare, season, and cook with precision to achieve a mouthwatering whole chicken. From stove top preparation to carving and serving, savor the delicious outcome.
Read more: How To Stew Chicken On Stove Top
Step 1: Preparing the Whole Chicken:
Before you start cooking, it’s essential to properly prepare the whole chicken. Follow these steps to ensure your chicken is clean and ready for the stove top:
- Remove the packaging: Begin by removing the chicken from its packaging. Make sure to discard any giblets or organs that may be stored inside the cavity.
- Rinse the chicken: Give the chicken a thorough rinse under cold water to remove any excess juices or debris. This step helps to ensure cleanliness.
- Pat dry: Use paper towels to blot the chicken dry. Removing excess moisture from the skin will help achieve a crispier texture.
- Trim excess fat: Trim any excess fat from the chicken. While fat adds flavor, removing excessive amounts will prevent unnecessary grease in your final dish.
- Optional: Truss the chicken: Trussing the chicken is an optional step, but it can help promote even cooking and a more appealing appearance. To truss, use kitchen twine to tie the legs together and secure the wings against the body.
Once you’ve completed these preparation steps, your whole chicken is now ready to be seasoned and cooked on the stove top. Remember to wash your hands thoroughly after handling raw poultry to maintain kitchen hygiene.
Step 2: Seasoning the Chicken:
Seasoning is crucial for imparting flavor and enhancing the taste of the chicken. Here’s how to properly season your whole chicken:
- Salt the chicken: Sprinkle a generous amount of salt all over the chicken, both on the surface and inside the cavity. Salt helps to enhance the natural flavors and tenderize the meat.
- Add herbs and spices: Choose your favorite herbs and spices to season the chicken. Common choices include garlic powder, onion powder, paprika, thyme, rosemary, or a poultry seasoning blend. Rub the herbs and spices all over the chicken, ensuring even coverage.
- Drizzle with oil: Lightly drizzle the chicken with olive oil or melted butter. This will help to create a crisp and golden-brown skin.
After seasoning, allow the chicken to marinate for at least 30 minutes to let the flavors penetrate the meat. For an even more flavorful result, you can marinate the chicken overnight in the refrigerator. Just make sure to cover it securely.
Remember that seasoning preferences can vary, so feel free to customize the flavors to your liking. The seasoning step is where you can get creative and experiment with different herb and spice combinations to elevate the taste of your whole chicken.
Once your chicken is seasoned to perfection, it’s time to move on to the next step: preparing the stove top for cooking.
Step 3: Preparing the Stove Top:
Before you start cooking the chicken on the stove top, it’s important to prepare the cooking surface for optimal heat distribution and to prevent any sticking. Follow these steps to get your stove top ready:
- Select the right pan: Choose a large, heavy-bottomed skillet or a Dutch oven with a tight-fitting lid. These types of pans retain heat well and provide even cooking.
- Preheat the pan: Place the pan on the stove over medium heat and allow it to preheat for a few minutes. This will ensure that the chicken cooks evenly and prevent it from sticking to the pan.
- Add cooking fat: Once the pan is hot, add a tablespoon of cooking fat, such as vegetable oil, olive oil, or butter. Swirl it around the pan until it melts and coats the bottom evenly.
By preheating the pan and adding cooking fat, you create a non-stick surface and initiate the browning process. This will contribute to a flavorful crust on the chicken.
With the stove top adequately prepared, it’s time to move on to the next step: cooking the chicken on the stove top.
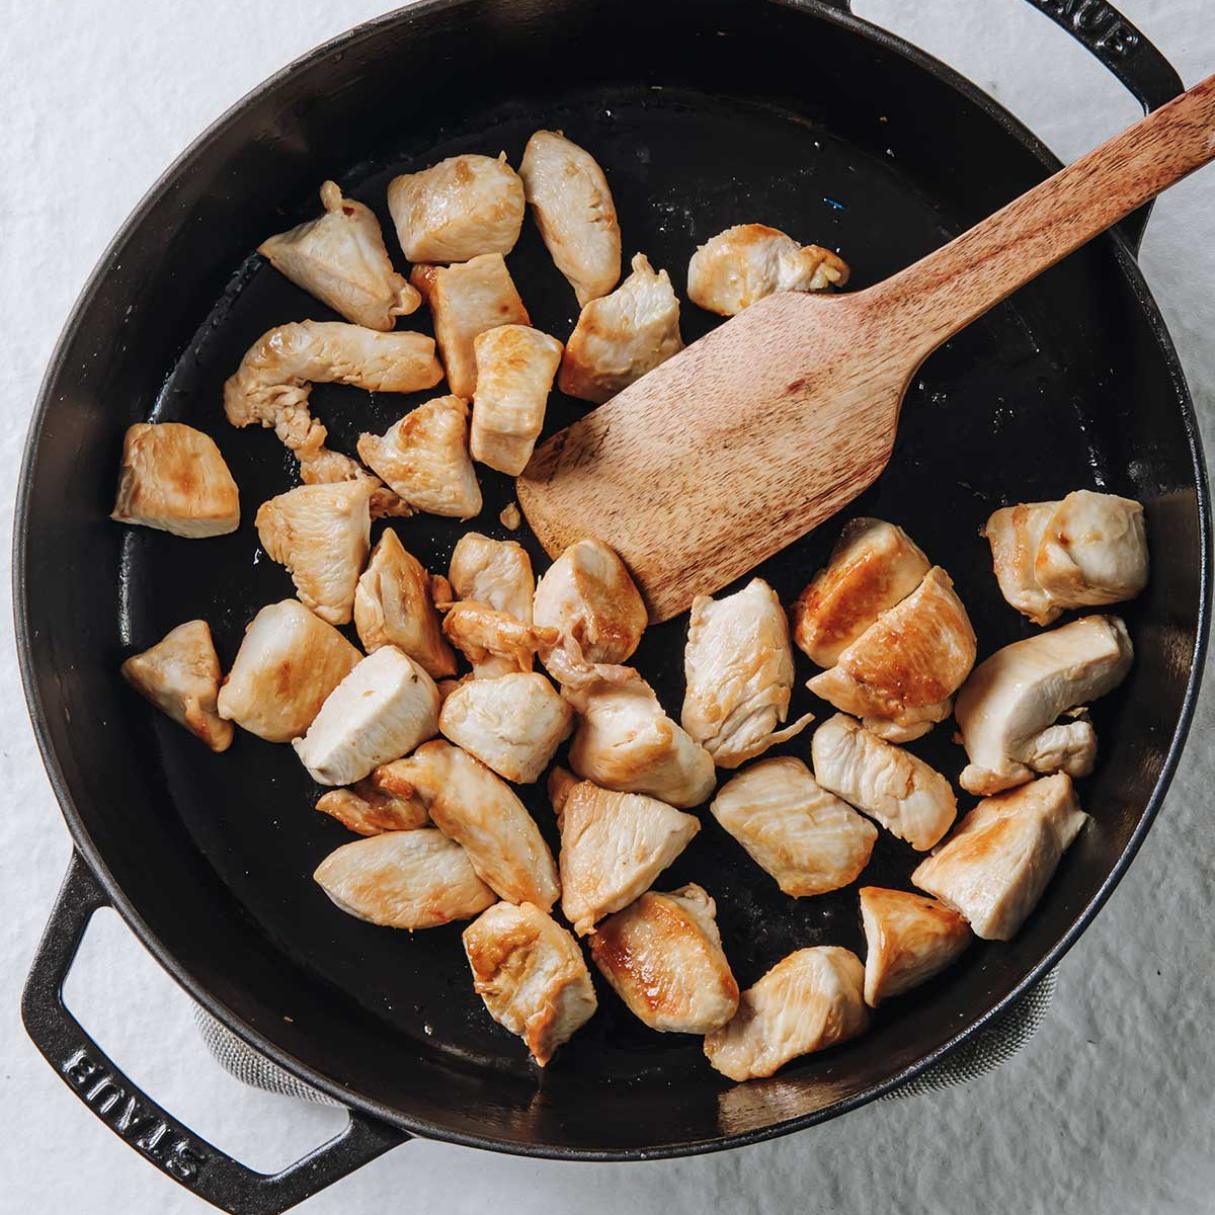
Step 4: Cooking the Chicken on the Stove Top:
Now that your chicken is prepared and the stove top is ready, it’s time to start cooking. Follow these steps to cook the chicken on the stove top:
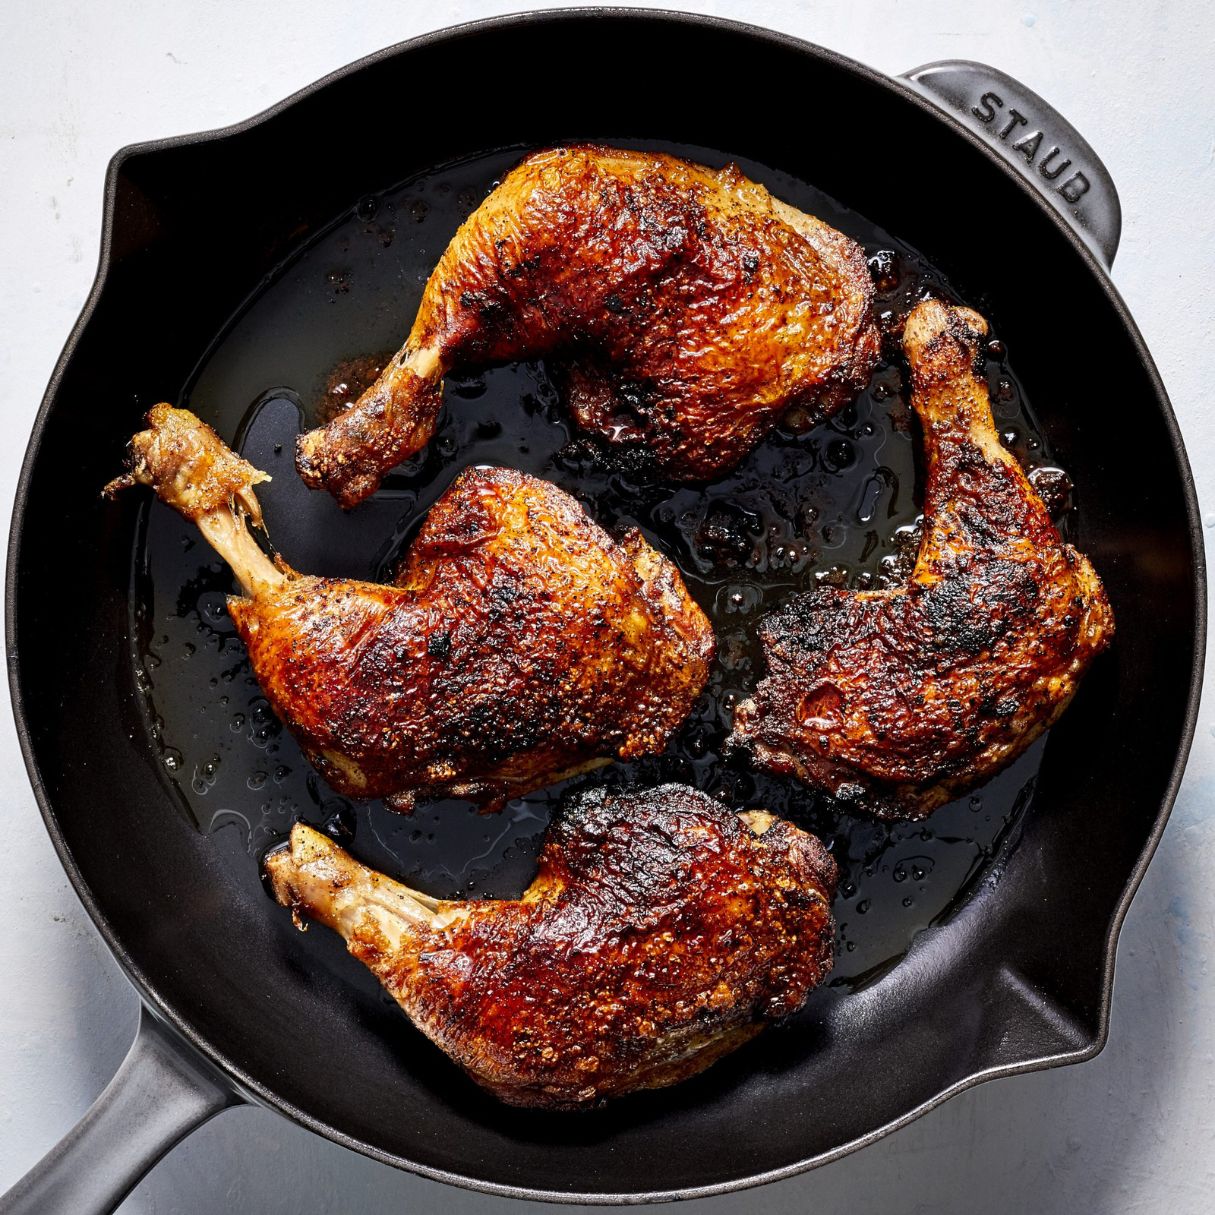
- Place the chicken in the pan: Carefully place the seasoned chicken, breast side down, in the preheated pan. This allows the skin to crisp up as it cooks.
- Cook on medium-high heat: Cook the chicken on medium-high heat for about 5-7 minutes or until the skin turns golden brown and crispy. Flip the chicken using tongs or a spatula.
- Cook on the other side: Cook the chicken on the other side for another 5-7 minutes, allowing the skin on this side to brown and become crispy as well.
- Reduce the heat: Once both sides are nicely browned, reduce the heat to medium-low. This gentle heat will ensure that the chicken cooks through without burning the skin.
- Cover the pan: Cover the pan with a lid to create a moist cooking environment. This helps to trap the heat and steam, allowing the chicken to cook evenly and remain tender.
- Cook until done: Continue cooking the chicken for approximately 25-30 minutes, or until an instant-read thermometer inserted into the thickest part of the chicken reads 165°F (74°C). This indicates that the chicken is fully cooked.
Throughout the cooking process, you may need to adjust the heat slightly to maintain a gentle simmer. This will prevent the chicken from sticking or burning. Juices should run clear when the chicken is pierced, and the meat should be tender and no longer pink.
Now that your chicken is cooked to perfection, let’s move on to the next step: checking for doneness.
To cook a whole chicken on the stove top, start by searing the chicken in a hot pan to lock in the juices. Then, cover and simmer on low heat until fully cooked, turning occasionally. Use a meat thermometer to ensure it reaches an internal temperature of 165°F.
Read more: How To Fry Chicken On Stove Top
Step 5: Checking for Doneness:
Checking for doneness is an important step to ensure that your chicken is cooked thoroughly and ready to be enjoyed. Here’s how to check if the chicken is done:
- Use an instant-read thermometer: Insert an instant-read thermometer into the thickest part of the chicken, making sure to avoid touching the bone. The temperature should read 165°F (74°C), which indicates that the chicken is fully cooked.
- Check for clear juices: Pierce the chicken near the bone with a fork or skewer. If the juices run clear with no trace of pink, it’s a good indication that the chicken is done.
- Test the leg joint: If you’re unsure about the temperature or juices, wiggle the leg joint of the chicken gently. If it moves easily and the meat pulls away from the bone, the chicken is likely cooked through.
It’s important to ensure that the chicken is fully cooked to prevent any risk of foodborne illnesses. Undercooked chicken can harbor harmful bacteria, so it’s better to be safe than sorry.
If the chicken needs additional cooking time, return it to the stove top and continue cooking. Remember to monitor the temperature and check for doneness regularly.
Once you are confident that the chicken is cooked through, it’s time to move on to the next step: letting the chicken rest.
Step 6: Letting the Chicken Rest:
Allowing the chicken to rest after cooking is a crucial step that ensures the juices redistribute throughout the meat, resulting in a moist and flavorful final dish. Follow these steps to let the chicken rest:
- Remove from heat: Once the chicken reaches the desired level of doneness, remove it from the stove top and transfer it to a cutting board.
- Cover loosely: Loosely tent the cooked chicken with aluminum foil. This helps to retain heat and prevents the chicken from cooling too quickly.
- Rest for 10-15 minutes: Let the chicken rest for about 10-15 minutes. This allows the juices to settle and redistribute throughout the meat, ensuring a tender and juicy result when you carve and serve the chicken.
While the chicken rests, you can use this time to prepare any side dishes or sauces to accompany the meal.
After the resting period, your chicken is now ready to be carved and served. Let’s move on to the final step: carving and serving the chicken.
Step 7: Carving and Serving the Chicken:
Carving the chicken properly ensures that each serving is presented beautifully and that everyone gets a taste of both white and dark meat. Follow these steps to carve and serve the chicken:
- Locate the joints: Begin by locating the joints where the legs and wings meet the body of the chicken. Use a sharp knife or poultry shears to separate these joints.
- Remove the legs and wings: Once the joints are cut, remove the legs and wings from the chicken. Hold the chicken steady with a fork or tongs while you cut through the joints.
- Separate the breast meat: Cut along the breastbone or in between the breast and the bone to separate the breast meat from the carcass. Slice the breast meat into thin, even slices.
- Optional: Split the breast in half: If desired, you can further split the breast meat in half, giving you two smaller portions with both white and dark meat.
- Arrange on a platter: Transfer the carved chicken pieces to a serving platter or individual plates. Arrange them attractively for presentation.
Now, it’s time to enjoy your perfectly cooked and beautifully carved chicken. Serve it with your favorite side dishes, such as roasted vegetables, mashed potatoes, or a fresh salad.
Remember to handle the carved chicken with care and maintain good hygiene practices in the kitchen. It’s always a good idea to wash your hands and utensils thoroughly after handling raw poultry.
With the chicken carved and served, you’re now ready to savor the fruits of your labor. Enjoy!
Conclusion:
Cooking a whole chicken on the stove top can be a rewarding culinary experience. With the right techniques and attention to detail, you can achieve a perfectly cooked chicken with crispy skin and juicy, flavorful meat.
In this article, we have guided you through the step-by-step process of preparing, seasoning, and cooking a whole chicken on the stove top. From prepping the chicken to carving and serving it, each step is essential to ensure a delicious and satisfying outcome.
Remember to take the time to properly prepare and season the chicken, allowing the flavors to penetrate the meat. Preparing the stove top with the right pan and cooking fat ensures ideal cooking conditions and prevents sticking.
Cook the chicken on medium-high heat until the skin is crispy and golden-brown. Then, reduce the heat and cover the pan to cook the chicken through without drying it out.
Checking for doneness with an instant-read thermometer, clear juices, and a flexible leg joint ensures that the chicken is cooked to the perfect temperature and tenderness.
Allowing the chicken to rest after cooking allows the juices to redistribute, resulting in a moist and flavorful final dish. And finally, carving and serving the chicken with care and precision ensures an appetizing presentation.
Now that you have mastered the art of cooking a whole chicken on the stove top, you can explore different seasoning combinations and experiment with various side dishes to make each meal unique and enjoyable.
So, gather your ingredients, fire up the stove, and get ready to impress your family and friends with a deliciously cooked whole chicken on the stove top. Happy cooking!
Frequently Asked Questions about How To Cook Whole Chicken On Stove Top
Was this page helpful?
At Storables.com, we guarantee accurate and reliable information. Our content, validated by Expert Board Contributors, is crafted following stringent Editorial Policies. We're committed to providing you with well-researched, expert-backed insights for all your informational needs.


0 thoughts on “How To Cook Whole Chicken On Stove Top”