
Articles
How Many Shirts Are Needed For A Quilt
Modified: August 17, 2024
Looking for articles on how many shirts are needed for a quilt? Discover the answer and other helpful tips for your quilting project.
(Many of the links in this article redirect to a specific reviewed product. Your purchase of these products through affiliate links helps to generate commission for Storables.com, at no extra cost. Learn more)
Introduction
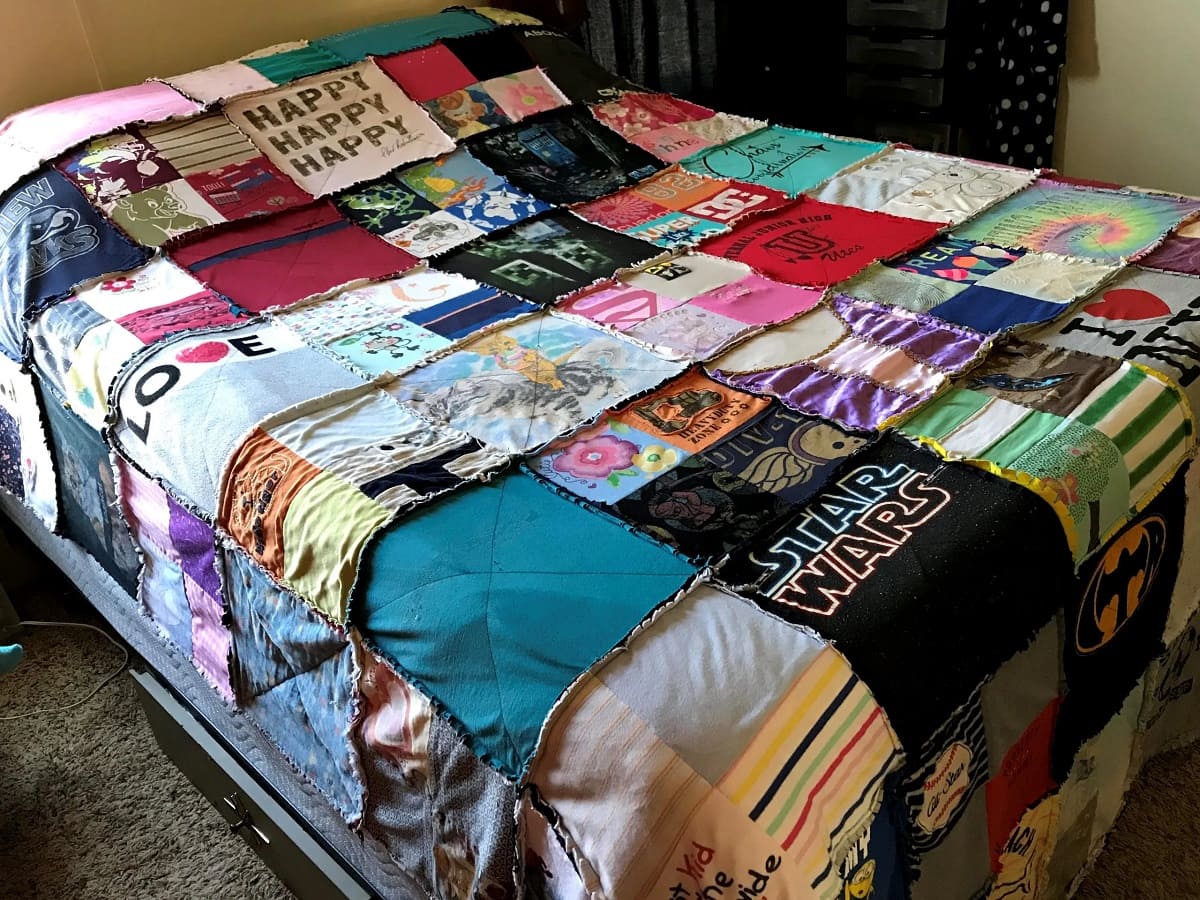
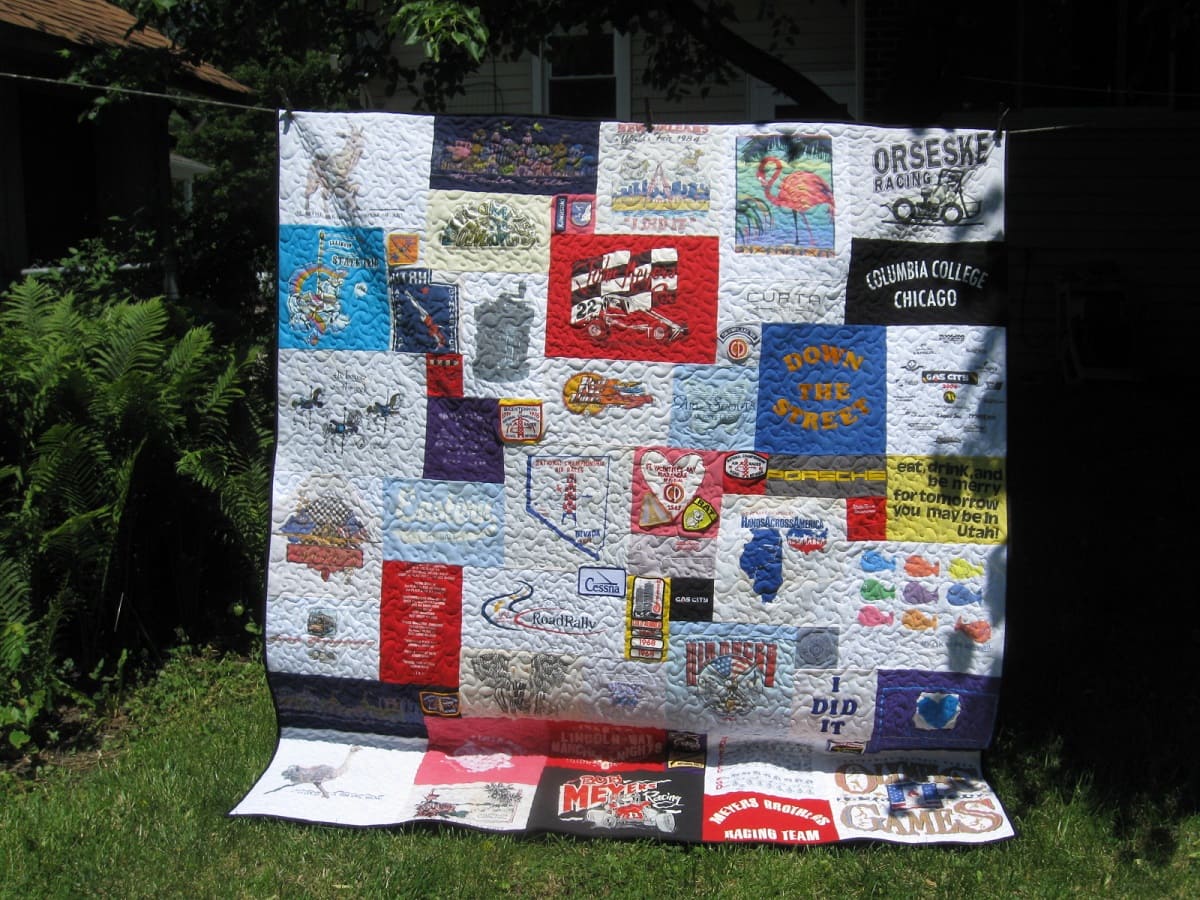
Quilting is an ancient art form that has been passed down through generations. It involves stitching together layers of fabric to create a cozy and decorative blanket called a quilt. One popular approach to quilting is using old t-shirts to make a sentimental quilt that tells a story.
Whether you have a collection of t-shirts from memorable events, school activities, or sports teams, turning them into a quilt can preserve those memories and create a unique keepsake. But before embarking on this quilting journey, it’s important to know how many shirts you’ll need for your project.
In this article, we’ll delve into the process of quilting with t-shirts and discuss how many shirts you’ll need based on the size of your quilt. We’ll guide you through the steps of preparing the shirts, cutting and arranging the pieces, sewing them together, adding borders, and ultimately finishing your quilt. So, let’s get started!
Key Takeaways:
- Preserve memories and create a unique quilt by transforming cherished t-shirts. Enjoy the journey of curating, cutting, and sewing to craft a personalized keepsake filled with sentimental value.
- Infuse creativity and patience into the quilting process to create a warm and visually stunning t-shirt quilt. Embrace the journey of transforming shirts into a cherished heirloom.
Understanding the Quilting Process
Before we dive into determining the number of shirts needed for a quilt, let’s take a moment to understand the quilting process itself.
A quilt is typically made up of three layers: the quilt top, which is the visible part made from fabric pieces; the batting, which provides insulation and thickness; and the backing, which is the bottom layer that holds everything together. These layers are stitched together using various quilting techniques to create a sturdy and beautiful finished product.
When using t-shirts for a quilt, the first step is to prepare the shirts by stabilizing them with interfacing. This helps reinforce the fabric and prevents stretching during the quilting process. Once the shirts are ready, they can be cut into squares or rectangles to achieve the desired design.
The shirt pieces are then arranged in a pattern or layout that suits your aesthetic preferences. This step allows you to showcase the different designs and colors of the shirts while creating a cohesive overall design. Once the layout is finalized, the shirt pieces are sewn together to form quilt blocks, which are the building blocks of the quilt top.
After the quilt blocks are assembled, a border can be added to frame the quilt and provide a finished look. The border can be made from coordinating fabric or even additional t-shirts. Once the quilt top is complete, it is layered with batting and backing, and then quilted together using hand or machine stitching.
Finally, the quilt is finished by binding the edges to secure all the layers and give the quilt a polished appearance. This is done by sewing a strip of fabric around the perimeter of the quilt, enclosing all the raw edges.
Now that we have a basic understanding of the quilting process, let’s move on to determining the appropriate number of shirts needed for your quilt.
Choosing the Size of the Quilt
When it comes to quilting with t-shirts, the size of your quilt will depend on your personal preference and the number of shirts you have available. Before you begin, consider the purpose of the quilt and where you plan to use it. Do you want a small lap quilt for cozying up on the couch, or a larger bed-sized quilt?
Standard quilt sizes include twin, full/queen, and king. A twin-sized quilt typically measures around 68 inches by 88 inches, while a full/queen-sized quilt is around 88 inches by 88 inches. For a king-sized quilt, the dimensions usually range from 104 inches by 88 inches to 120 inches by 120 inches.
Take into account the size of your t-shirts as well. If you have larger shirts with intricate designs that you want to showcase, you may need to opt for a larger quilt size to accommodate the shirt pieces.
Another factor to consider is whether you want a symmetrical or asymmetrical design. Symmetrical designs require equal-sized shirt pieces, while asymmetrical designs allow for varying sizes and shapes. This can affect the amount of fabric you need from each shirt and, consequently, the number of shirts needed.
Keep in mind that quilting with t-shirts may require additional fabric for sashing, borders, and backing. Sashing refers to strips of fabric that separate the shirt pieces and create a cohesive look. Borders can be added to frame the quilt, while the backing is the fabric that covers the back of the quilt. These components may impact the overall size of the quilt and the number of shirts needed.
Consider your own personal style, the intended use of the quilt, and the availability of shirts to determine the appropriate size for your project. Once you have a size in mind, you can move on to estimating the number of shirts needed and calculating the size of each shirt piece.
Determining the Size of Each Shirt Piece
When quilting with t-shirts, it’s important to determine the size of each shirt piece to ensure that the design comes together seamlessly. The size of the shirt pieces depends on the overall size of the quilt, the number of shirts available, and the desired layout.
A common approach is to cut the shirt pieces into squares or rectangles. The size of these pieces can vary based on your design preference and the size of the shirts. Standard dimensions for shirt pieces range from 10 inches by 10 inches to 16 inches by 16 inches.
If you have a specific pattern or design in mind, you may need to adjust the size of the shirt pieces accordingly. For example, if you plan to include borders between the shirt pieces or sashing around each piece, you may want to cut the shirt pieces slightly smaller to account for those additional elements.
Consider the designs on the shirts as well. If the shirts have large graphics or logos that you want to showcase, you may need to cut the shirt pieces larger to accommodate those specific designs. Conversely, if the shirts have smaller designs or you’re looking for a more abstract layout, you can opt for smaller shirt pieces.
It’s essential to plan out your quilt design and calculate the number of shirt pieces needed based on the desired size and layout. This will give you a clear idea of how many shirts you should collect or how many shirts you can include in the quilt. Remember to account for any extra fabric you may need for sashing, borders, or backing as well.
By determining the size of each shirt piece in advance, you can ensure that your quilt has a balanced and visually appealing layout. So, take some time to explore different design possibilities and experiment with different shirt piece sizes to find the perfect combination for your quilt.
Selecting the Shirts for the Quilt
Choosing the shirts for your quilt is an exciting part of the process. Each shirt holds memories and tells a unique story, so it’s important to carefully select the shirts that hold the most meaning for you or the intended recipient of the quilt.
Consider the theme or purpose of the quilt. Are you creating a quilt to commemorate a specific event, like a sports team or a graduation? Perhaps you want to showcase a collection of favorite band t-shirts or shirts from memorable vacations. Selecting shirts that align with the theme will add depth and coherence to the overall design.
Look for shirts that have sentimental value and evoke special memories. Pay attention to the colors, designs, and uniqueness of each shirt. You may come across shirts that have worn-out areas or stains, but don’t let that deter you. These imperfections can be creatively integrated into the quilt, adding character and nostalgia.
When selecting shirts, it’s helpful to have more options than necessary. This allows you to choose the shirts that work best together in terms of color coordination and design compatibility. You can set aside any shirts that don’t quite fit the theme or don’t complement the other shirts you’ve chosen.
It’s also worth considering the fabric composition of the shirts. Most t-shirts are made from cotton, which is easy to work with and typically quilts well. However, some shirts may have synthetic materials or blends, which may require additional care and attention during the quilting process.
Ultimately, the goal is to curate a collection of shirts that not only hold sentimental value but also create a visually appealing and harmonious quilt. Take your time during the shirt selection process and trust your instincts. Remember, this quilt will be a cherished heirloom, so choose shirts that truly resonate with you or the quilt recipient.
Once you have gathered an assortment of shirts, you can move on to the next steps of preparing the shirts for quilting and cutting them into the appropriate sizes for your quilt design.
Preparing the Shirts for Quilting
Before you can start cutting and sewing the shirts into your quilt, it’s important to properly prepare them for quilting. This step ensures that the shirts are stabilized and ready for the quilting process.
The first step in preparing the shirts is to wash and dry them. This helps remove any dirt, oils, or stains from the fabric. Be sure to follow the cleaning instructions on each shirt to prevent shrinking or color bleeding.
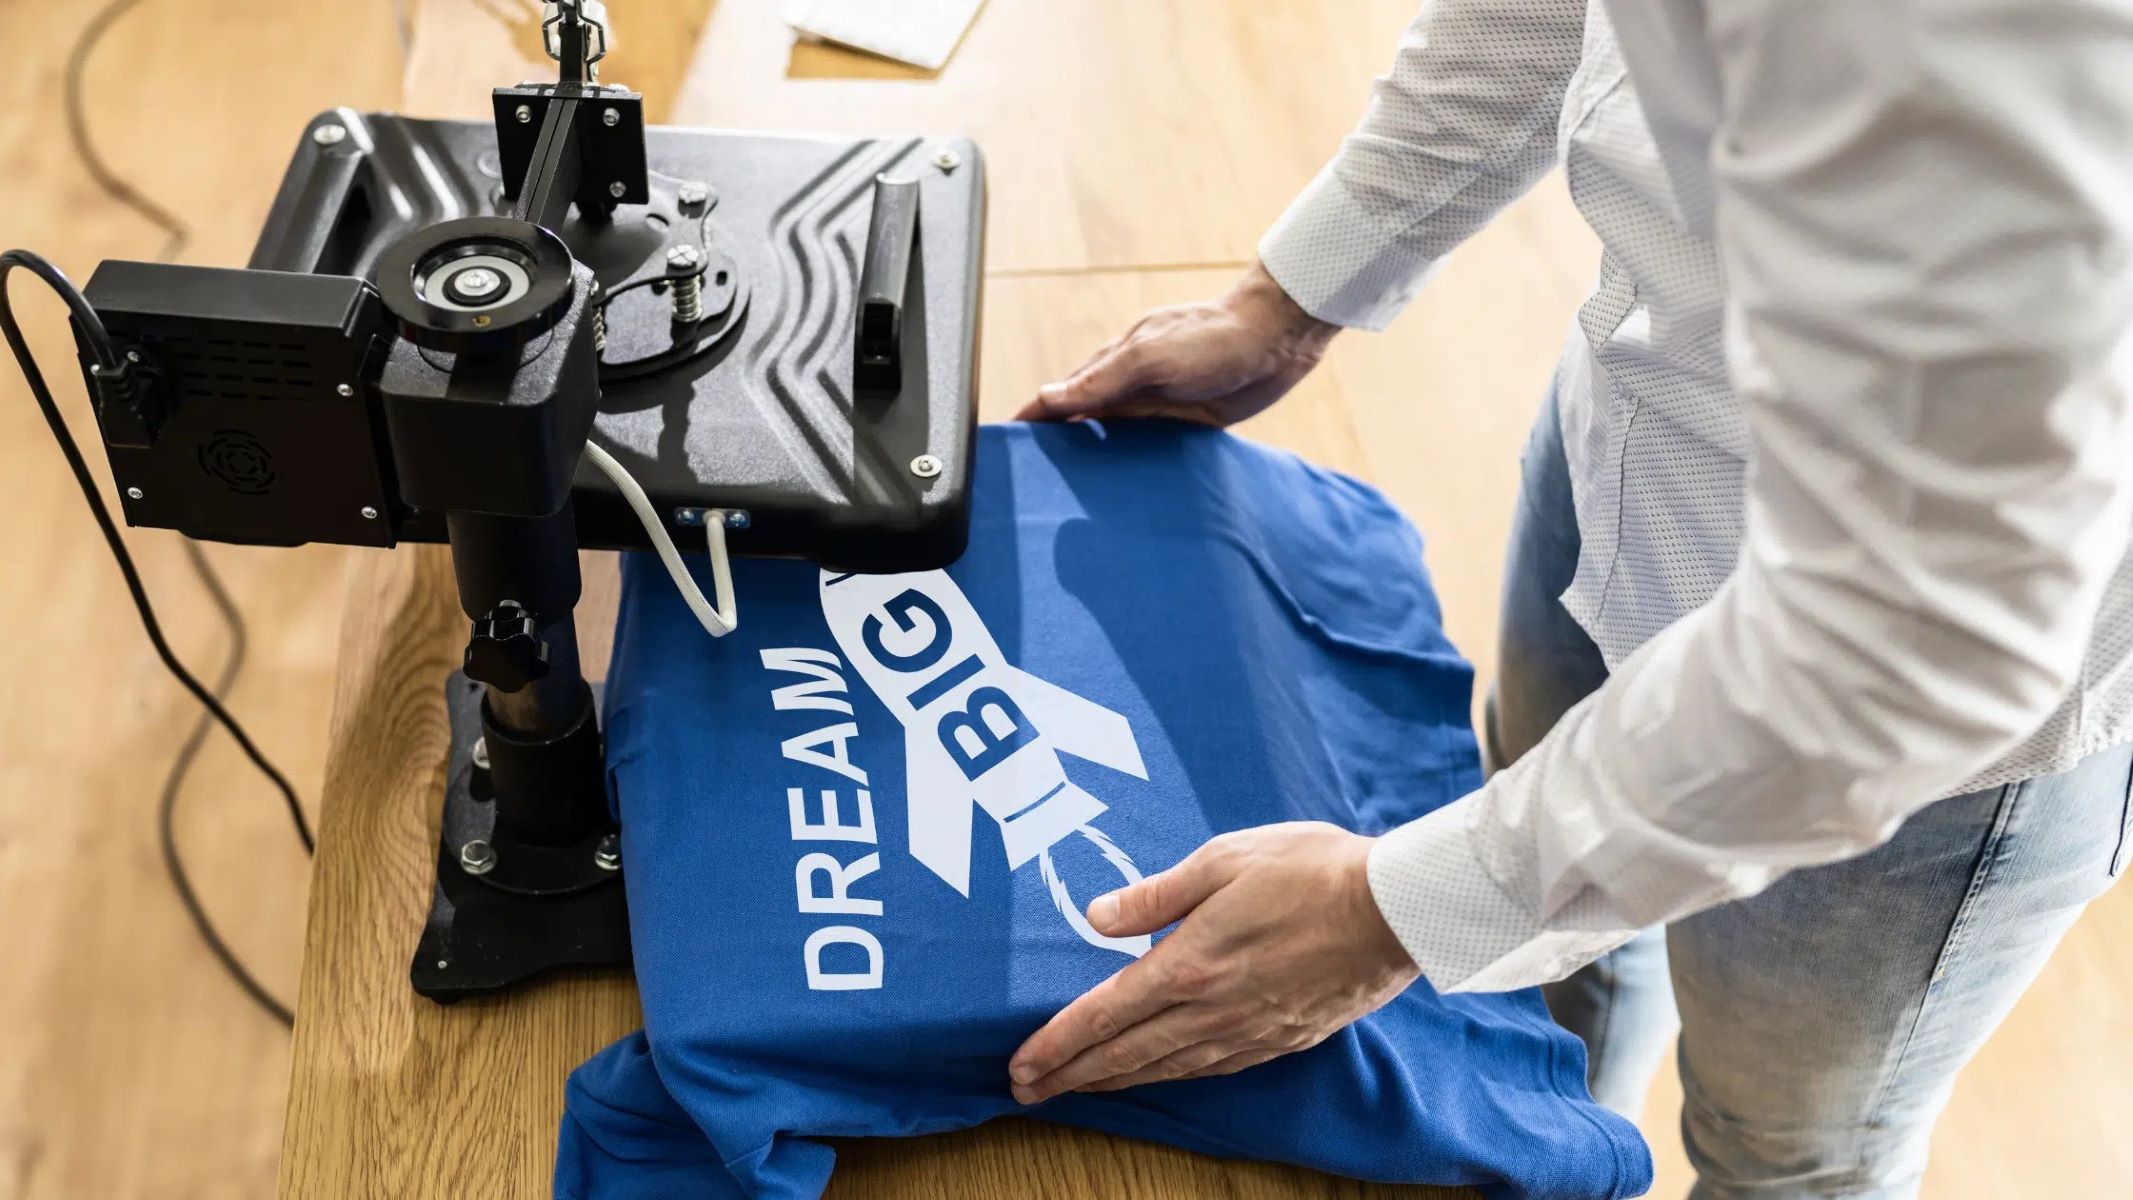
Once the shirts are clean, you can reinforce the fabric by using a stabilizing material called interfacing. Interfacing is a lightweight fabric that is applied to the back of the shirt to add stability and prevent stretching during the quilting process.
To apply the interfacing, cut it slightly smaller than the size of the shirt. Place the interfacing adhesive-side down on the back of the shirt and press it with an iron. Follow the manufacturer’s instructions for heat and duration to ensure proper adhesion.
After the interfacing is applied, trim any excess fabric or interfacing from the edges of the shirt. This will create a neat and even surface for cutting and sewing.
It’s important to note that some t-shirts may have embellishments, such as buttons, appliques, or patches. These embellishments can be incorporated into the quilt design, but it’s recommended to remove them before quilting to prevent bulk and distortion. Carefully cut around the embellishments or use a seam ripper to detach them from the shirt.
Once the shirts are washed, stabilized, and any embellishments are removed, they are ready to be cut into the appropriate sizes for your quilt design. Take the time to plan and measure your desired shirt pieces, considering any additional fabric you may need for sashing or borders.
Preparing the shirts for quilting may be time-consuming, but it’s a crucial step in ensuring the longevity and durability of your quilt. With the shirts properly stabilized, you can move forward with cutting and arranging the shirt pieces to bring your quilt design to life.
Consider the size of the quilt and the desired shirt block size. A standard lap quilt may require 12-20 shirts, while a queen size may need 25-30 shirts. Always add a few extra shirts for flexibility.
Cutting the Shirt Pieces
Now that the shirts are prepared and stabilized, it’s time to start cutting them into the desired shapes and sizes for your quilt design. This step is crucial in creating the foundation of your quilt top and requires precision and attention to detail.
Before you begin cutting, it’s important to have a clear plan and layout for your quilt design. This will determine the dimensions and number of shirt pieces needed for each section of the quilt.
Start by measuring and marking the desired dimensions for each shirt piece on the back of the shirt. Use a ruler or a quilting template to ensure accurate and consistent measurements. Depending on your design, you might be cutting squares, rectangles, or even more intricate shapes.
When cutting the shirt pieces, make sure to leave a seam allowance around each piece. The seam allowance is the extra fabric beyond the desired dimensions of the shirt piece that allows for sewing the pieces together. A quarter-inch or half-inch seam allowance is commonly used in quilting, but you can adjust it based on your preference.
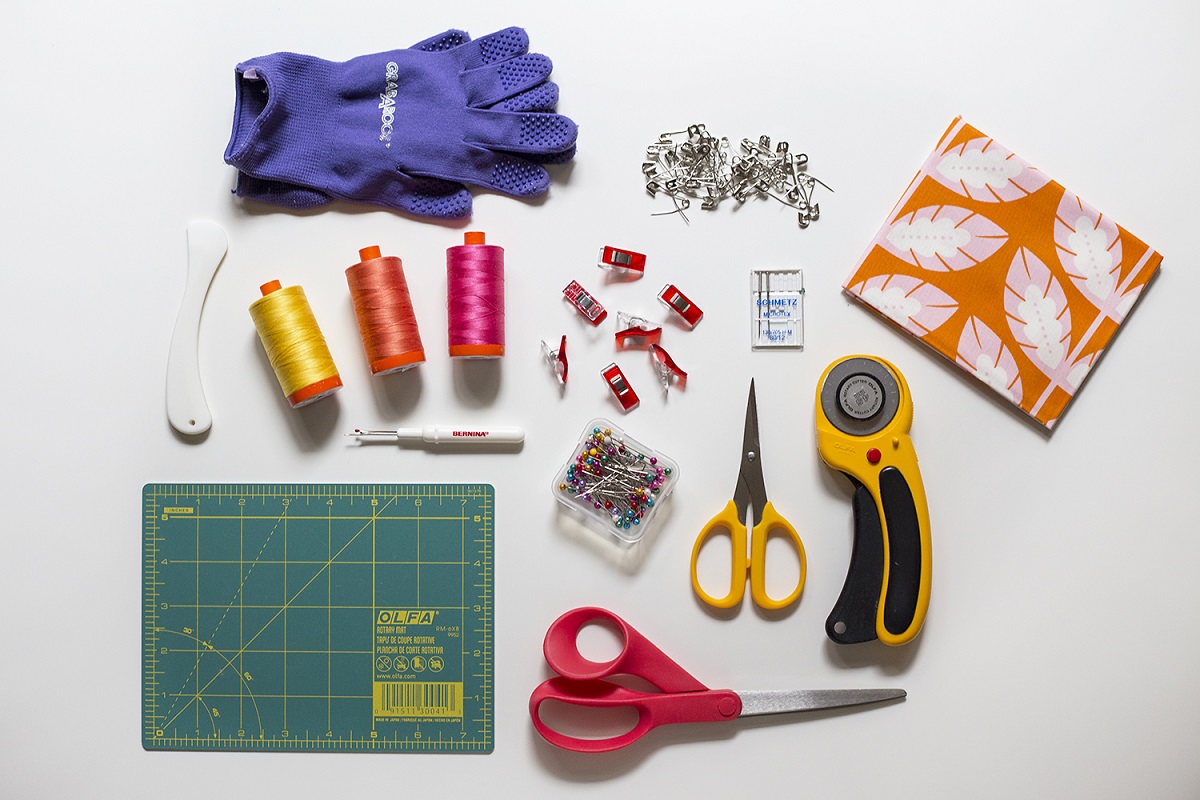
Using sharp fabric scissors or a rotary cutter and cutting mat, carefully cut along the marked lines to separate the shirt pieces. Take your time and make straight, clean cuts to ensure that the pieces fit together seamlessly when you start sewing.
If you have shirts with large graphics or designs that you want to showcase, carefully consider where to position them within each shirt piece. You can center the design or strategically place it based on your overall quilt layout.
It’s important to note that during the cutting process, some shirts may stretch or distort slightly, even with the stabilizing interfacing. Take extra care when handling and cutting stretchy fabrics to maintain the integrity of the shirt pieces.
As you cut the shirt pieces, set them aside in an organized manner based on your design plan. This will make it easier to arrange the pieces later when sewing the quilt top together.
Remember to take breaks and measure twice before cutting to ensure accuracy. Mistakes can happen, but taking your time and double-checking measurements will minimize any errors.
Cutting the shirt pieces is a significant step in the quilting process, so take your time and enjoy the creativity involved in transforming the shirts into the building blocks of your quilt top. Once all the shirt pieces are cut, you’re ready to move on to the next step: arranging the pieces into your desired quilt design.
Arranging the Shirt Pieces
Now that you have cut all the shirt pieces, it’s time to bring your quilt design to life by arranging the pieces. This step allows you to experiment with different layouts and create a visually appealing pattern for your quilt top.
Start by gathering all the shirt pieces and laying them out on a large, flat surface. This can be a design wall, a bed, or even the floor. Take a step back and observe the colors, designs, and overall balance of the pieces.
Consider the layout options available to you. You can arrange the shirt pieces in a symmetrical design, where each shirt piece is the same size and shape, or opt for an asymmetrical design, where the shirt pieces vary in size and shape. Both options can result in stunning and unique quilts.
Experiment with the placement of the shirt pieces until you find a layout that you love. Try different combinations, rotations, and placements to see what works best for your design. If you have extra fabric or sashing, consider how these additional elements can enhance the overall pattern and flow of the quilt.
Pay attention to color distribution and contrast. Ideally, you’ll want a good mix of light, medium, and dark-colored shirt pieces to create visual interest in your quilt. Look for complementary colors or consider using a color wheel to guide your choices.
When arranging the shirt pieces, be mindful of any motifs, logos, or images on the shirts. You may want to strategically position them to create focal points or highlight special memories within the quilt.
Take photos or make sketches of the different layouts you try. This will help you visualize the options and compare them side by side. It’s also helpful to step back and view the layout from a distance to get an overall perspective on how the pieces work together.
Once you’re satisfied with the arrangement, consider taking a break and revisiting it with fresh eyes. Making adjustments or trying a different layout the next day can help you make more informed decisions and ensure that you’re truly happy with the arrangement.
Remember, there are no set rules when it comes to arranging shirt pieces in a quilt. Trust your instincts, have fun with the process, and let your creativity shine as you find the perfect arrangement for your unique t-shirt quilt.
Now that you’ve arranged the shirt pieces, it’s time to sew them together to create the quilt blocks, which will eventually form the quilt top. The next step in the quilting process involves careful stitching and precision sewing to bring your design together.
Sewing the Quilt Blocks Together
Now that you have arranged the shirt pieces and created the design for your quilt top, it’s time to sew the quilt blocks together. This step involves precision sewing to ensure that the pieces align correctly and create a cohesive quilt top.
Start by organizing your shirt pieces into rows based on your design layout. This will make it easier to sew them together in the correct order. Reference your layout sketch or photos as a guide.
With the right sides of the shirt pieces facing each other, align the edges of two pieces that need to be sewn together. Pin them in place to secure them during sewing. Repeat this process for all the pieces in the row.
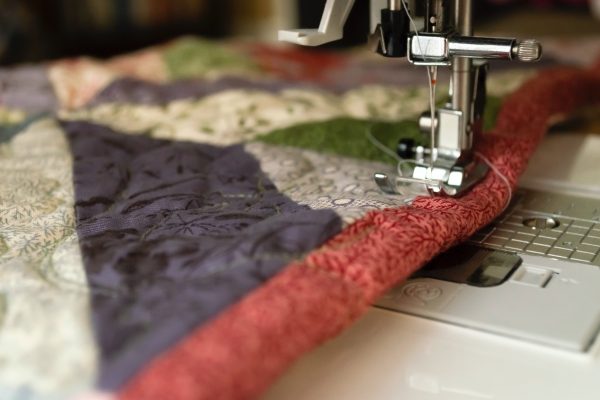
Using a sewing machine and a 1/4-inch or 1/2-inch seam allowance, stitch along the pinned edges of the shirt pieces. Backstitch at the beginning and end of each seam to reinforce the stitches. Take your time and sew slowly to ensure accurate stitching.
Once the row is complete, press the seam allowances flat with an iron. This will help the quilt lay flat and give a polished look to the finished project. Pressing after each row is sewn is essential to avoid bulk and ensure neat seams.
Continue sewing the remaining rows together in the same manner until all the shirt pieces are joined into quilt blocks. Remember to press the seam allowances after each row.
After all the quilt blocks are complete, it’s time to sew them together to assemble the quilt top. Lay out the blocks according to your design and start sewing them row by row, again ensuring that right sides are facing each other and matching the seams.
Pin the blocks together at the seams to keep them aligned. Sew along the pinned edges, using the same seam allowance as before. Press the seam allowances flat after sewing each row to maintain a flat quilt top.
As you sew the quilt blocks together, be mindful of matching patterns, motifs, or images across the seams to maintain continuity in the design. Adjust the blocks as necessary to achieve the desired visual effect.
Once all the quilt blocks are sewn together, give the entire quilt top one final pressing to ensure that all seams are flat and the quilt top is smooth.
Congratulations! You have successfully sewn the quilt blocks together, creating the foundation of your t-shirt quilt. The next steps involve adding a quilt border, quilting the layers together, and finishing your quilt. Stay tuned for the continuation of the quilting process!
Read more: What Interfacing To Use For T-Shirt Quilt
Adding the Quilt Border
Adding a quilt border is not only a practical step in the quilting process but also a decorative element that enhances the overall appearance of your t-shirt quilt. The quilt border frames the quilt top, giving it a finished and polished look. Here’s how you can add a quilt border to your project.
Before you begin, consider the desired width of your border. This can vary depending on your personal preference and the scale of your quilt. A border width of around 3 to 5 inches is commonly used, but feel free to adjust it based on your design and aesthetic preferences. Remember to include the seam allowances when cutting the border fabric.
First, measure the length and width of your quilt top. Cut two border strips to match the width of the quilt top. Attach one strip to the top edge of the quilt top, aligning the raw edges and pinning them in place. Stitch the border strip to the quilt top, using a 1/4-inch seam allowance. Press the seam towards the border strip.
Measure the new length of the quilt top (including the attached border strip) and cut two more border strips to match that length. Attach one strip to each side of the quilt top, aligning the raw edges and pinning them in place. Stitch the border strips to the quilt top, using a 1/4-inch seam allowance. Press the seam towards the border strip.
Finally, measure the new width of the quilt top (including the attached border strips) and cut two more border strips to match that width. Attach one strip to the bottom edge of the quilt top, aligning the raw edges and pinning them in place. Stitch the border strip to the quilt top, using a 1/4-inch seam allowance. Press the seam towards the border strip.
Once all four border strips are sewn to the quilt top, press the entire quilt top, including the border, to ensure a smooth and professional appearance.
If you desire a more decorative border, you can experiment with different fabrics, colors, or even incorporate additional t-shirt pieces into the border design. This can add visual interest and further showcase your collection of shirts.
Remember to square up the quilt top and trim any excess fabric to ensure that the borders are straight and even. This will help align the edges of the quilt top and make it easier to attach the backing and batting layers later in the quilting process.
Once the quilt border is added, you’re one step closer to completing your t-shirt quilt. The next steps involve quilting the layers together and finishing the quilt, giving it the final touches it deserves.
Quilting and Finishing the Quilt
After adding the quilt border, it’s time to move on to the next exciting phase of the quilting process – quilting the layers together and finishing your t-shirt quilt. This step involves securing the quilt top, batting, and backing layers, as well as adding any additional decorative elements. Here’s how you can quilt and finish your quilt:
1. Layering the Quilt: Lay the quilt backing fabric on a flat surface, wrong side up. Smooth out any wrinkles or creases. Place the batting on top, ensuring it is centered and covers the entire quilt top. Finally, place the quilt top on the batting, right side up, aligning the edges of all three layers. Pin or baste the layers together to prevent shifting during the quilting process.
2. Quilting Methods: There are several ways to quilt your t-shirt quilt. You can opt for hand quilting, where you stitch through all layers by hand using decorative or straight stitches. Alternatively, you can use a sewing machine with a walking foot attachment to quilt straight lines or free-motion quilt for more intricate designs. Choose a quilting method that suits your skill level and desired aesthetic.
3. Quilt Design: Consider the design and layout of your quilt when deciding on a quilting pattern. You can follow the seam lines of the shirt pieces, create a grid pattern, or quilt an overall design. Take your time and quilt at a pace that allows you to maintain even stitches.
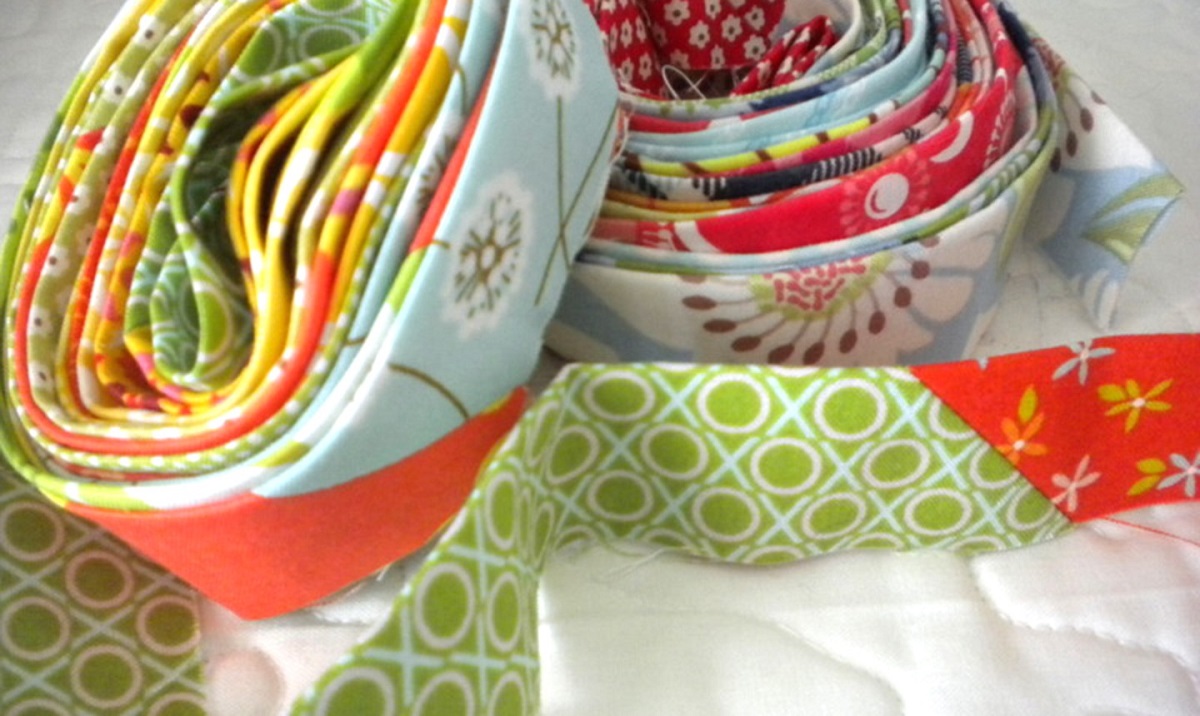
4. Binding the Quilt: After quilting, it’s time to bind the edges of your quilt to give it a clean and finished look. Cut fabric strips for the binding, ensuring they are long enough to go around the entire quilt. Fold and press the strips in half lengthwise, wrong sides together. Attach the binding to the raw edges of the quilt, starting on one side and leaving a few inches of binding at the beginning. Sew the binding to the quilt using a 1/4-inch seam allowance. Join the ends of the binding and finish sewing it to the quilt. Fold the binding over the raw edges of the quilt and hand or machine stitch it in place for a neat and professional finish.
5. Finishing Touches: Once the binding is complete, inspect your quilt for any loose threads or areas that may require reinforcement. Trim any excess batting or backing fabric, ensuring a clean and straight edge. Give the quilt a final press to smooth out any wrinkles or creases.
Congratulations! You have successfully quilted and finished your t-shirt quilt. This labor of love is not only a beautiful and functional piece but also a cherished keepsake filled with memories. Take a step back and admire your creation, knowing that it is a reflection of your creativity and dedication.
Whether you choose to display it on a bed, drape it over a couch, or gift it to a loved one, your t-shirt quilt will provide warmth and comfort for years to come. Enjoy the satisfaction of completing this quilting journey, and don’t forget to reflect on the memories that each shirt represents.
Conclusion
Quilting with t-shirts is a wonderful way to preserve memories and create a unique and personalized quilt. Whether you’re commemorating special events, showcasing your favorite shirts, or creating a meaningful gift, the process of transforming those cherished t-shirts into a quilt is a labor of love.
Throughout this article, we’ve explored the various steps involved in quilting with t-shirts, from choosing the shirt pieces and determining the quilt size to cutting, arranging, and sewing the pieces together. We’ve also delved into adding a quilt border, quilting the layers, and finishing the quilt with binding.
By following these steps and infusing your own creativity and personal touch, you can create a quilt that not only keeps you warm but also serves as a visual reminder of the memories tied to each shirt. The process of quilting itself is a journey, requiring patience, attention to detail, and a willingness to experiment and grow as a quilter.
So, as you embark on your own t-shirt quilting adventure, remember to enjoy the process. Take the time to curate a collection of meaningful shirts, prepare them for quilting, and carefully cut and arrange the pieces to bring your design to life. Embrace the sewing, quilting, and finishing steps, knowing that each stitch brings you closer to a completed quilt that holds a lifetime of memories.
As your t-shirt quilt comes to fruition, admire the beauty and uniqueness of your creation. Share it with loved ones, knowing that it holds not only physical warmth but also an abundance of sentimental value. It is a testament to your skill as a quilter, as well as a cherished memento of the experiences and moments that have shaped your life.
Now, gather your t-shirts, thread your needle, and let your creativity soar as you embark on the journey to create a t-shirt quilt that will be treasured for generations to come.
Frequently Asked Questions about How Many Shirts Are Needed For A Quilt
Was this page helpful?
At Storables.com, we guarantee accurate and reliable information. Our content, validated by Expert Board Contributors, is crafted following stringent Editorial Policies. We're committed to providing you with well-researched, expert-backed insights for all your informational needs.



0 thoughts on “How Many Shirts Are Needed For A Quilt”