
Articles
How To Make A No Sew Fleece Quilt
Modified: September 1, 2024
Learn how to make a cozy fleece quilt with no sewing required. Our articles provide step-by-step instructions for creating a beautiful blanket without the need for a needle and thread.
(Many of the links in this article redirect to a specific reviewed product. Your purchase of these products through affiliate links helps to generate commission for Storables.com, at no extra cost. Learn more)
Introduction
Are you looking to create a cozy and stylish quilt without the hassle of sewing? Look no further! In this article, we will guide you through the process of making a no-sew fleece quilt. Whether you’re a beginner or an experienced DIY enthusiast, this project is perfect for anyone looking to add a personal touch to their home or make a heartfelt handmade gift for a loved one.
Traditionally, quilts are made by sewing together layers of fabric and batting. However, with the no-sew fleece quilt technique, you can achieve the same warmth and comfort without needing a sewing machine. All you need is some soft and cuddly fleece fabric, a pair of sharp scissors, and a little bit of time and creativity.
Join us as we explore the materials you’ll need, the process of measuring and cutting the fabric, and how to tie the layers together to create a sturdy and beautiful no-sew fleece quilt. So grab your scissors and let’s get started on this fun and rewarding project!
Key Takeaways:
- Create a cozy and stylish no-sew fleece quilt using simple materials and easy techniques, perfect for personalized home decor or heartfelt handmade gifts.
- Choose high-quality fleece fabric, measure and cut with precision, and tie the layers together to craft a durable and visually appealing quilt. Add optional decorative touches for a unique finish.
Read more: How To Make A Tie Quilt With Fleece
Materials Needed
- Fleece fabric (2 pieces of equal size)
- Sharp scissors
- Ruler or measuring tape
- Straight pins (optional)
- Chalk or fabric marker (optional)
- Decorative trim (optional)
Before we dive into the step-by-step process of making a no-sew fleece quilt, let’s gather the necessary materials. The key component of this project is, of course, the fleece fabric. You will need two pieces of equal size, a top layer and a bottom layer, to create the quilt. Choose a high-quality fleece fabric that is soft, warm, and durable. Consider the thickness and weight of the fleece based on your preference and the climate you live in.
Next, make sure you have a pair of sharp scissors on hand. It’s essential to use scissors that are sharp and capable of cleanly cutting through the fleece fabric. Dull scissors may result in uneven edges and make the cutting process more difficult.
A ruler or measuring tape is also necessary to accurately measure and cut the fleece fabric. This will help ensure that both pieces are the same size and that your quilt turns out well-proportioned.
While not mandatory, some additional tools can make the process easier. Straight pins can be used to hold the fabric in place while you work or to mark specific spots. Chalk or a fabric marker can be used to draw cutting lines if needed. Additionally, if you want to add a decorative trim to your quilt, gather that as well.
With these materials ready, you’re now fully equipped to start creating your no-sew fleece quilt. Let’s move on to the next step, which involves choosing the right fleece fabric.
Choosing the Right Fleece Fabric
When it comes to making a no-sew fleece quilt, selecting the right fabric is essential. The fleece you choose will determine the overall look, feel, and durability of your quilt. Here are some factors to consider when selecting your fleece fabric:
1. Quality: Opt for high-quality fleece fabric that is soft, plush, and has a considerable weight. Quality fleece will provide the warmth and coziness you desire while ensuring that your quilt stands the test of time.
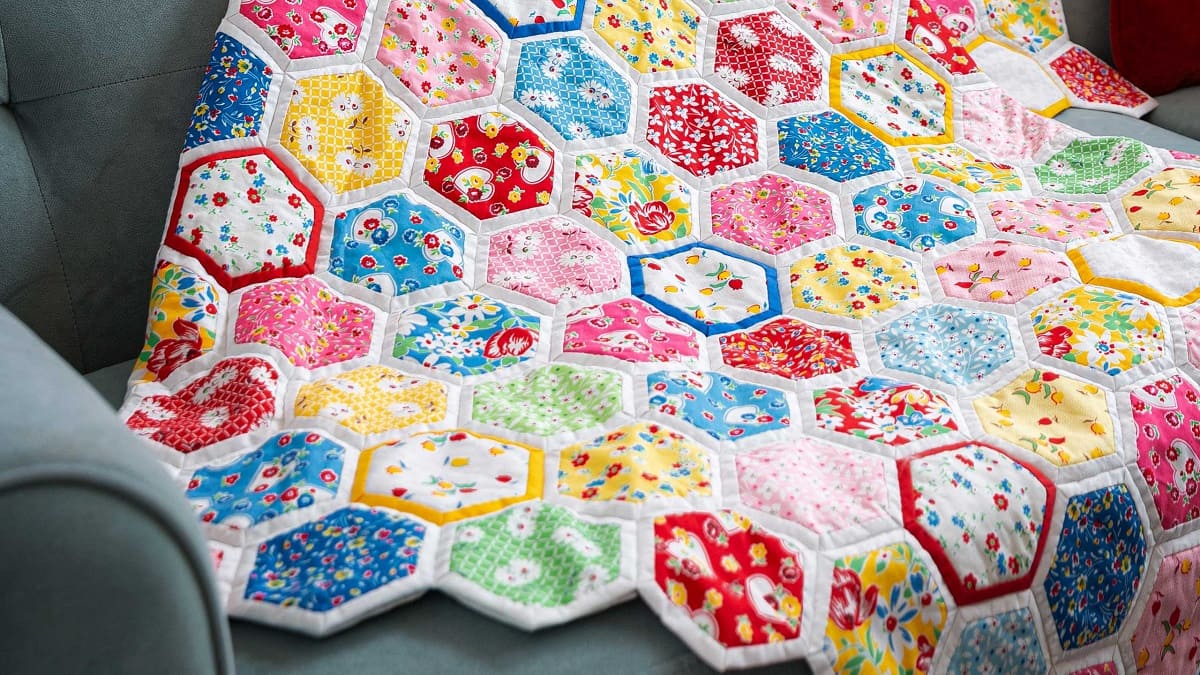
2. Design and Pattern: Fleece fabric comes in a wide variety of designs and patterns, ranging from simple solid colors to vibrant prints. Consider the aesthetic you want for your quilt and choose a fabric that complements your personal style or the intended recipient’s preferences.
3. Colorfastness: Check if the fleece fabric is colorfast, meaning it won’t bleed or fade when washed. This is crucial to maintaining the appearance of your quilt over time. To test colorfastness, you can dab a small, damp white cloth on a sample of the fabric and see if any color transfers.
4. Thickness and Weight: Fleece fabric comes in different weights, ranging from lightweight to heavyweight. Consider the climate you live in and the intended use of the quilt. If you live in a colder region, a heavier fleece will provide more warmth, while a lighter fleece may be suitable for warmer climates or as a lighter cover during transitional seasons.
5. Texture: Fleece fabric can have different textures, including smooth, brushed, or plush. Choose a texture that matches your preferences and the desired feel of the quilt. Keep in mind that some textures may require extra care during cutting and tying.
Take your time to browse through different options, touch the fabric, and visualize how it will look as a completed quilt. By choosing the right fleece fabric, you’ll ensure that your no-sew quilt is not only visually appealing but also a delight to snuggle up with.
Now that you have chosen the perfect fleece fabric, we can move on to measuring and cutting the fabric to create your no-sew fleece quilt.
Measuring and Cutting the Fabric
Now that you have selected the ideal fleece fabric, it’s time to measure and cut it to the desired size for your no-sew fleece quilt. Follow these steps to ensure accurate measurements and clean cuts:
1. Measurements: Start by determining the size of the quilt you want to make. Consider whether you want it to be a lap quilt, a baby blanket, or a larger size for a bed. Measure the dimensions accordingly. If you’re unsure, a standard lap quilt size is usually around 50 inches by 60 inches (127 cm by 152 cm).
2. Cut the fabric: Lay one piece of fleece fabric flat on a clean and spacious working surface. Smooth out any wrinkles or creases. Measure and mark the dimensions of your desired quilt size on the fabric using a ruler or measuring tape. You can use chalk or a fabric marker to make the markings if needed.
3. Cut straight lines: With the fabric marked, carefully cut along the lines to create the desired size for your quilt. Ensure that you cut straight and in smooth motions to achieve clean edges. Use the ruler or measuring tape as a guide to maintain accuracy.
4. Repeat with the second piece: Take the second piece of fleece fabric and align it with the cut edges of the first piece. Make sure both pieces are aligned and the edges are even. Use the first cut piece as a template to guide the cutting of the second piece. This will ensure that both pieces are the same size.
By following these steps, you will have two equal-sized pieces of fleece fabric, ready to be turned into a cozy no-sew fleece quilt. Ensure that the edges of the fabric are smooth and without any jagged edges or irregularities, as this will affect the final appearance of the quilt.
Now that the fabric is measured and cut, we can move on to preparing the edges for the no-sew construction process.
Preparing the Fleece Edges
Before we proceed with tying the layers of fleece together, it’s important to prepare the edges of the fabric for a clean and finished look. Here’s how you can do that:
1. Trimming: Start by inspecting the edges of the fleece fabric. If there are any uneven or frayed edges, trim them with sharp scissors to create straight and neat edges. Be cautious not to cut too close to the fabric, as this may lead to unraveling.
2. Optional Fringe: If you wish to add a decorative touch to your quilt, you can create a fringe along the edges. To do this, use a ruler or measuring tape to mark a line a couple of inches in from the edge of the fabric. Make small, evenly spaced cuts from the edge of the fabric up to the marked line. Repeat this process along all the edges of the fabric, creating a fringe effect.
3. Evening the Fringe (Optional): If the fringe edges appear uneven, you can trim them to ensure a consistent and tidy look. Take care to maintain the same length for each fringe strip.
4. Tying the Fringe Knots (Optional): To further enhance the decorative fringe, you can tie knots along the edges. Take the upper strip and the lower strip of the fringe and tie them together in a double knot. Repeat this process along all the edges of the fabric.
Trimming the edges and adding a fringe is optional, but it can add an extra touch of style and uniqueness to your no-sew fleece quilt. It’s important to note that the process of preparing the fleece edges may vary depending on your personal preference and the design you want to achieve. Feel free to get creative and explore different techniques to personalize your quilt.
With the fleece fabric edges prepared, we are now ready to tie the layers together to create a durable and cozy quilt. Stay tuned for the next step!
When making a no sew fleece quilt, be sure to use sharp fabric scissors to ensure clean and precise cuts, which will make the process much easier and the finished product more professional-looking.
Read more: How To Sew A Double-Sided Fleece Blanket
Tying the Fleece Layers Together
Now that you have prepared the edges of the fleece fabric, it’s time to start tying the layers together to create a sturdy and cozy quilt. Follow these step-by-step instructions to ensure a successful no-sew construction:
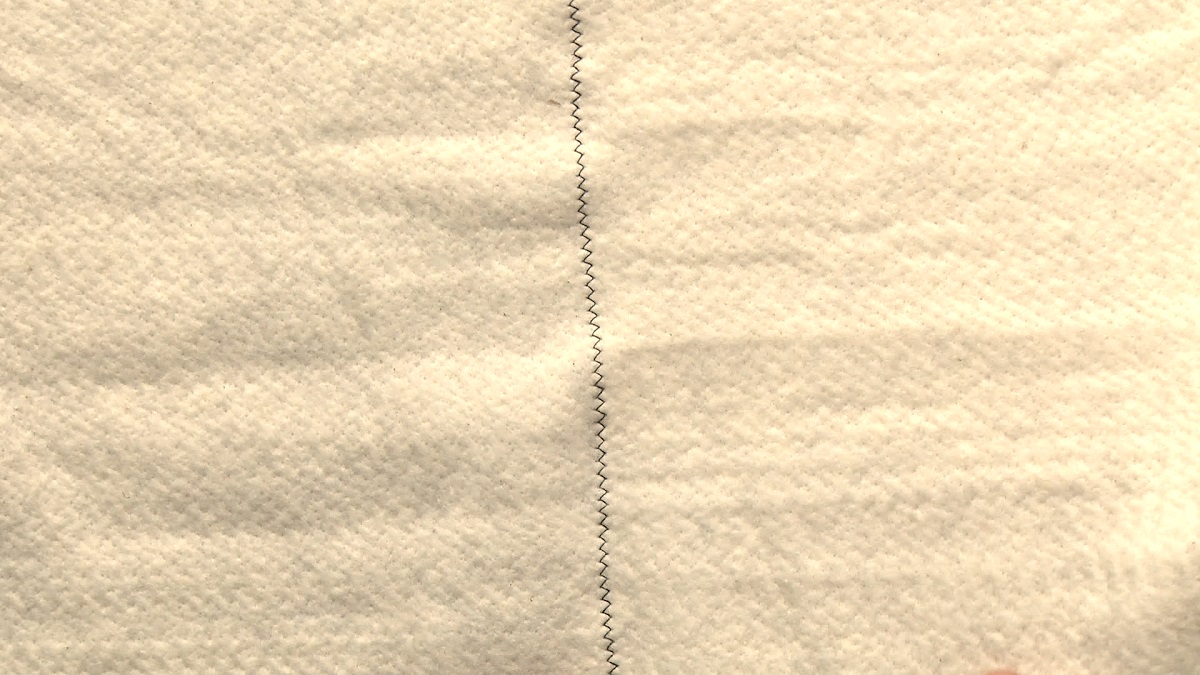
1. Lay the fabric layers: Lay one piece of fleece fabric flat on a clean and spacious working surface with the right side facing up. Position the second piece of fleece fabric on top of the first piece with the right side facing down. Make sure the edges of both pieces are aligned.
2. Align and secure the layers: Take your time to smooth out any wrinkles or creases and ensure that the layers are aligned properly. You can use straight pins or heavy objects to secure the layers together temporarily. This will prevent the fabric from shifting while tying.
3. Start tying: Beginning in one corner, make a small incision or hole through both layers of fabric, approximately 1 inch (2.5 cm) from the edge of the quilt. Use your fingers or the tip of your scissors to create the hole.
4. Tie a double knot: Take the two corresponding strips from the top and bottom layers, pull them through the hole, and tie them in a double knot. Ensure that the knot is tight enough to secure the layers but not too tight to distort the fabric.
5. Continue tying: Repeat the process of making a hole and tying a double knot every few inches along the quilt’s edges. Space the knots evenly to ensure the layers are secured throughout the entire quilt. You can use your fingers or a small crochet hook to help guide the strips through the holes if needed.
6. Remove any temporary pins: As you progress with tying the layers together, remove any temporary pins or objects that were used to secure the fabric layers.
7. Check the tightness: Periodically check the tightness of the knots as you work your way around the quilt. Make any necessary adjustments to ensure consistent tightness throughout.
8. Finish the last knot: When you reach the last corner of the quilt, tie a double knot as you did with the first corner. Trim any excess fabric from the knots, leaving a small tail.
By following these steps, you will successfully tie the layers of fleece fabric together, creating a no-sew quilt that is both functional and visually appealing. With the tying process complete, you can now consider adding a decorative edging, which is optional but can add a delightful finishing touch to your quilt.
Stay tuned for the next step on how to add a decorative edging to your no-sew fleece quilt!
Adding Decorative Edging (Optional)
If you want to add an extra decorative touch to your no-sew fleece quilt, consider adding a decorative edging. This step is optional but can elevate the overall appearance of your quilt. Here’s how you can do it:
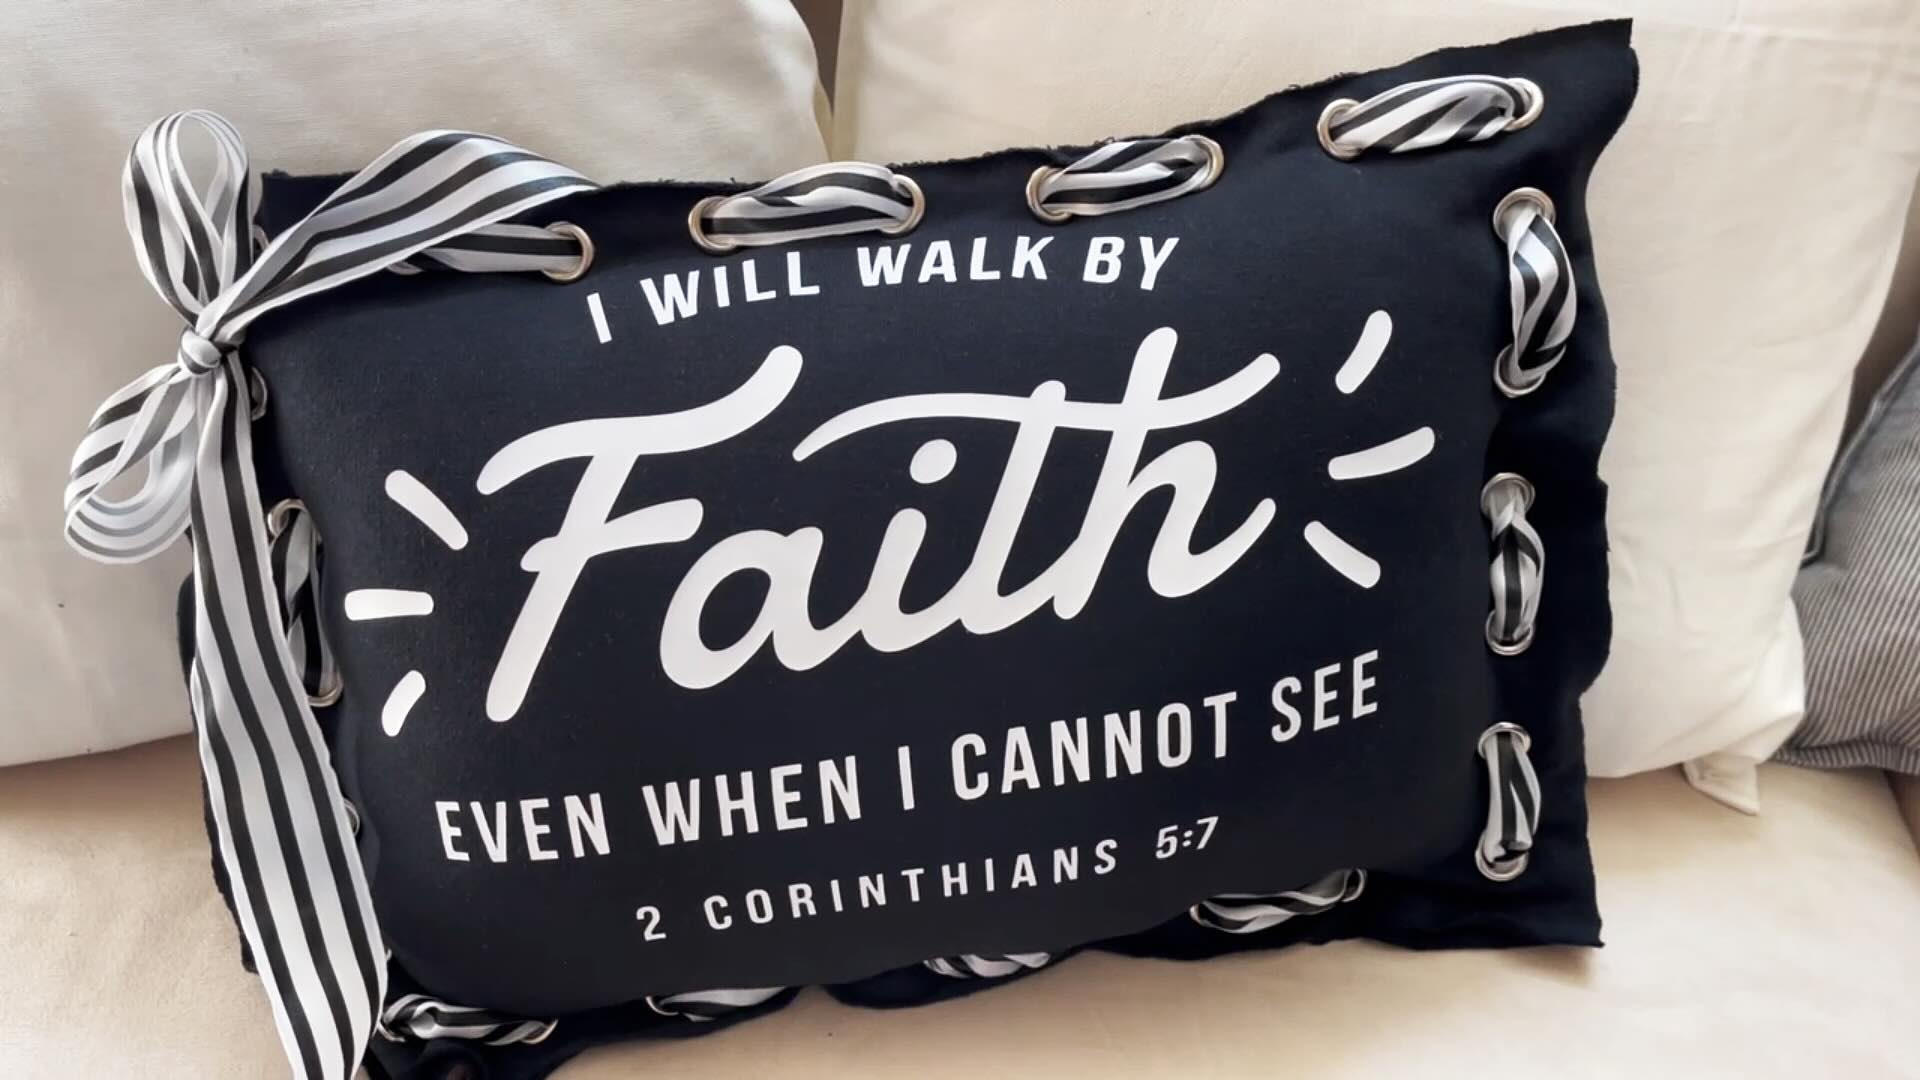
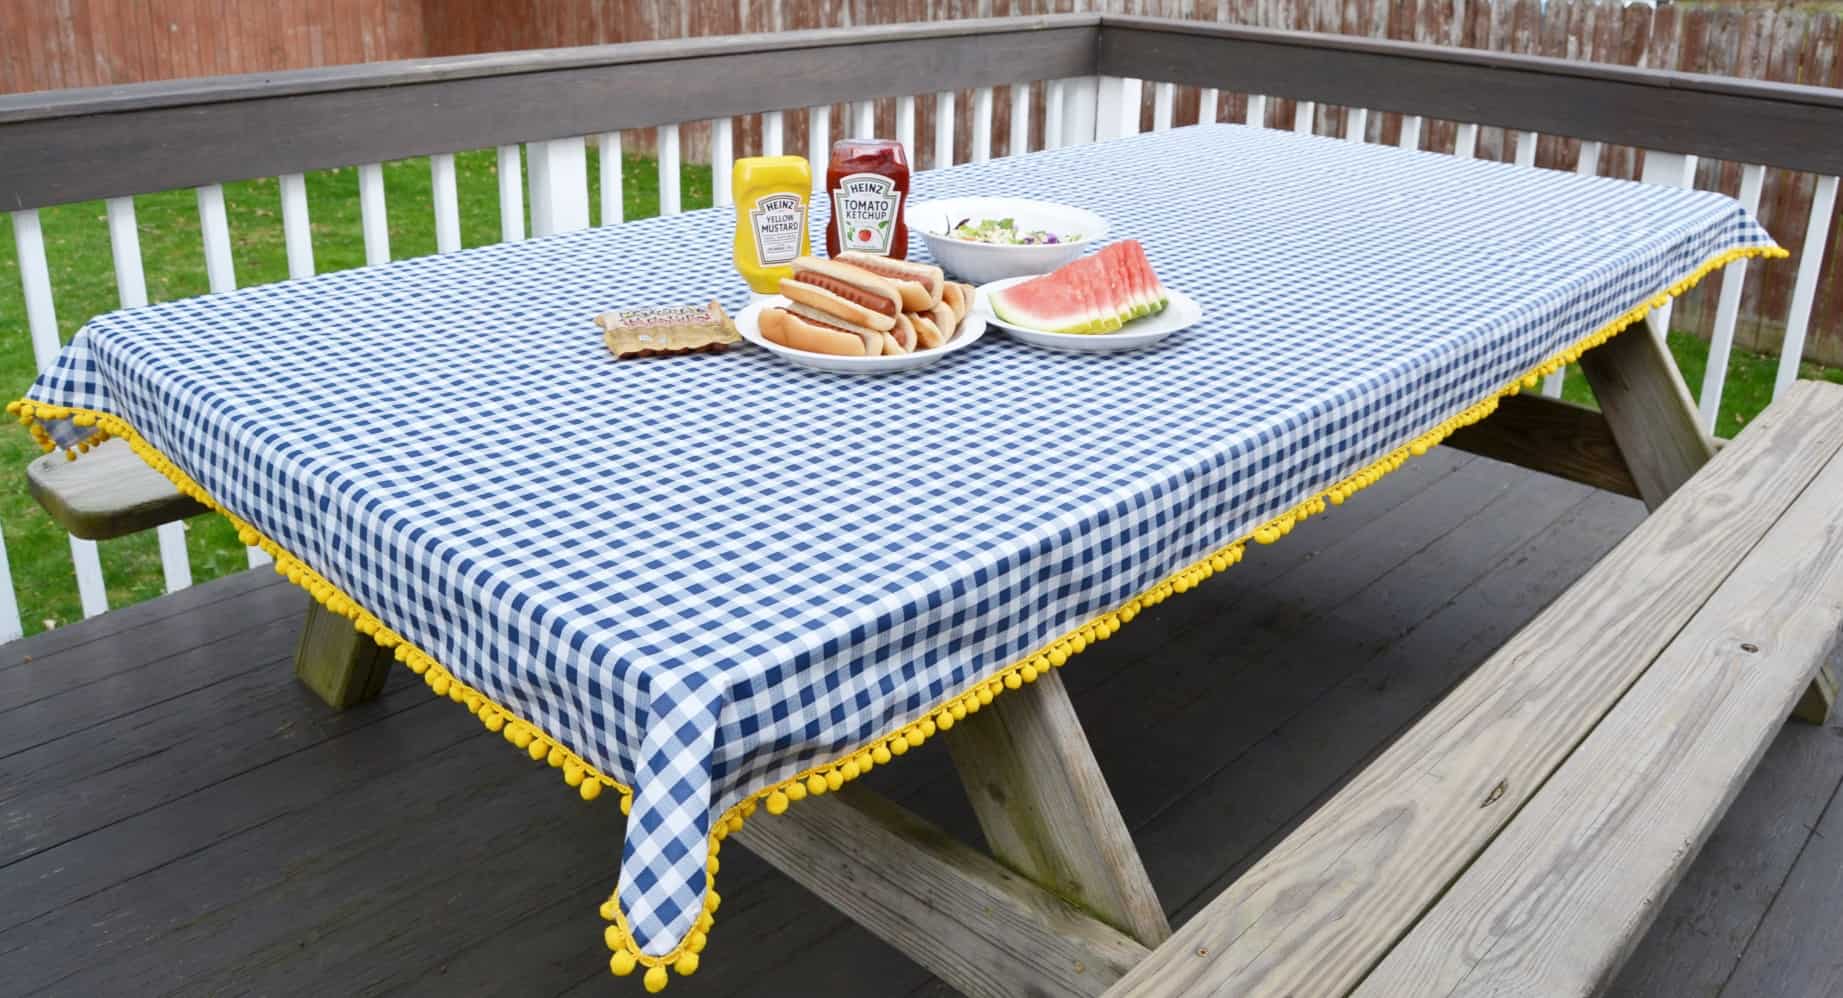
1. Select a trim: Choose a trim that complements the design and color scheme of your quilt. There are various options available, such as satin ribbon, pom-pom trim, lace, or even a strip of contrasting fleece fabric. Select a trim that appeals to your personal style and enhances the overall look of your quilt.
2. Preparing the quilt: Lay your quilt flat on a working surface with the tied side facing up. Smooth out any wrinkles or creases to ensure a clean and even surface for attaching the trim.
3. Attach the trim: Start at one corner of the quilt and position the trim along the edge. Use fabric glue or a hot glue gun to secure the trim in place. Be careful not to use excessive glue, as it may seep through the fleece fabric and affect the appearance. Continue attaching the trim along all the edges of the quilt, making sure it lies flat and is securely attached.
4. Finishing the trim: When you reach the end of the trim, cut off any excess length. To create a neat and finished look, fold over the raw end of the trim and glue it down to prevent fraying or unraveling.
Adding a decorative edging can truly personalize your no-sew fleece quilt and make it stand out. Experiment with different trims and placement options to find the one that best suits your quilt’s design. Remember that the decorative edging is an optional step, and if you prefer a simpler look, you can skip this and proceed to the finishing touches.
With the decorative edging completed (or skipped), your no-sew fleece quilt is nearly finished! Let’s move on to the final step: adding the finishing touches.
Finishing Touches
Congratulations! You’re almost done with your no-sew fleece quilt. Now it’s time to add a few finishing touches to ensure the quilt is complete and ready to be enjoyed. Here are some final steps to consider:
1. Inspect the quilt: Take a moment to inspect the quilt and make sure all the knots are secure and the edges are neat. If you notice any loose knots or uneven edges, take the time to make any necessary adjustments and tighten the knots as needed.
2. Trim any excess fabric: Carefully trim any excess fabric or thread tails that may be visible to create a polished and clean appearance.
3. Check for stability: Ensure that the layers of fleece are tied together securely by gently pulling on different areas of the quilt. This will ensure that it can withstand regular use and laundering without coming apart.
4. Give it a shake: Now is the perfect time to give your quilt a good shake to fluff up the fleece and release any trapped air. This will add loft to the quilt and make it even cozier.
5. Embellish (optional): If you want to further personalize your quilt, consider adding some decorative elements. You can attach fabric appliques, embroidery, or even personalized patches to give it a unique touch.
Once you have completed these finishing touches, step back and admire your beautiful no-sew fleece quilt. It’s now ready to be used, displayed, or gifted with pride.
Before you start snuggling up with your quilt or present it as a gift, it’s important to know how to properly care for it to ensure its longevity.
Continue reading for some essential care instructions for maintaining your no-sew fleece quilt.
Care Instructions
To keep your no-sew fleece quilt in excellent condition, it’s essential to follow the proper care instructions. By taking the time to care for your quilt, you can ensure its longevity and keep it looking and feeling cozy for years to come. Here are some care tips to consider:
1. Machine wash on gentle cycle: Most fleece fabrics are machine washable. However, it’s important to select a gentle cycle to prevent excessive agitation and potential damage. Use cold water to preserve the colors and prevent shrinking.
2. Mild detergent: Choose a mild, gentle detergent specifically designed for delicate fabrics. Avoid using harsh chemicals or bleach, as they can degrade the fleece fabric.
3. Avoid fabric softeners: Fabric softeners can leave a residue on fleece fabric, reducing its softness and absorbency. Instead, for a fresh scent, consider using a fabric refresher spray or adding a small amount of vinegar to the rinse cycle.
4. Do not wring or twist: After washing, gently squeeze out excess water without twisting or wringing the quilt. Twisting the fabric can cause the layers to shift and may distort the shape.
5. Dry flat or tumble dry on low: Lay the quilt flat to dry or tumble dry on a low heat setting. Avoid high heat, as it can cause the fleece to shrink or become distorted. If using a dryer, include a few dryer balls or clean tennis balls to help restore the quilt’s fluffiness.
6. Fluff and shake: Once the quilt is dry, shake it out and gently fluff it with your hands to restore its loft and appearance.
7. Spot clean as needed: If there are minor stains or spills on the quilt, spot clean them using a mild detergent and a clean cloth. Blot the stain gently, rather than rubbing, to avoid spreading it further.
It’s important to note that every fleece fabric may have specific care instructions, so it’s always a good idea to check the manufacturer’s recommendations. Additionally, if your quilt has any special embellishments, such as appliques or embroidery, take extra care when cleaning those areas to avoid damage.
By following these care instructions, you can keep your no-sew fleece quilt looking and feeling its best for years of cozy enjoyment.
Now that you have all the necessary information on how to care for your quilt, it’s time to wrap up this article.
Read more: How To Make A Quilt Without A Sewing Machine
Conclusion
Congratulations on completing your no-sew fleece quilt! You’ve learned how to transform simple fleece fabric into a cozy and stylish quilt without the need for sewing. This DIY project is perfect for adding a personal touch to your home or creating a heartfelt handmade gift for someone special.
Throughout this article, we explored the materials needed for the project, how to choose the right fleece fabric, and the step-by-step process of measuring, cutting, and tying the fabric layers together. We also discussed the optional addition of a decorative edging and provided care instructions to ensure your quilt stays beautiful and cozy for years to come.
Remember, the beauty of a no-sew fleece quilt lies in its simplicity and versatility. You can customize it to match your style, from the selection of fabric patterns and designs to the optional embellishments and decorative trims. Let your creativity shine and enjoy the process of creating a unique and functional piece that brings warmth and comfort to your home.
Now that you have completed your no-sew fleece quilt, it’s time to cozy up with it on chilly evenings or gift it to someone deserving of a heartfelt handmade present. The joy and satisfaction you will feel every time you wrap yourself in your creation or witness the delight of the recipient are truly rewarding aspects of this DIY project.
We hope this article has provided you with the knowledge and inspiration to embark on your no-sew fleece quilt journey. Remember to have fun, be creative, and embrace the joy of creating something with your own hands. Happy quilting!
Frequently Asked Questions about How To Make A No Sew Fleece Quilt
Was this page helpful?
At Storables.com, we guarantee accurate and reliable information. Our content, validated by Expert Board Contributors, is crafted following stringent Editorial Policies. We're committed to providing you with well-researched, expert-backed insights for all your informational needs.


0 thoughts on “How To Make A No Sew Fleece Quilt”