Articles
How To Make T-shirt Quilt Without Interfacing
Modified: February 24, 2024
Learn how to make a stunning T-shirt quilt without the need for interfacing. Follow our step-by-step guide with helpful articles and tips.
(Many of the links in this article redirect to a specific reviewed product. Your purchase of these products through affiliate links helps to generate commission for Storables.com, at no extra cost. Learn more)
Introduction
Welcome to the world of T-shirt quilting! If you have a collection of old T-shirts that hold sentimental value but are no longer wearable, why not turn them into a cozy and meaningful quilt? T-shirt quilts are a fantastic way to preserve memories, celebrate milestones, and showcase your personal style.
In this article, we will guide you through the process of creating a T-shirt quilt without using interfacing. Interfacing is a common material used in quilting to stabilize knit fabrics like T-shirts, but with the right techniques and materials, you can achieve stunning results without it.
Before we get started, it’s important to gather all the materials needed for this project. Knowing what you’ll need ahead of time will save you from any unnecessary trips to the store and ensure a smooth quilting journey.
Key Takeaways:
- Preserve memories and showcase personal style by creating a T-shirt quilt without interfacing. Follow the step-by-step process to transform cherished shirts into a cozy and meaningful quilt.
- Enjoy the journey of transforming old T-shirts into a beautiful and durable quilt. From selecting and preparing shirts to quilting the layers together, create a unique piece that preserves memories and brings warmth.
Read more: What Interfacing To Use For T-Shirt Quilt
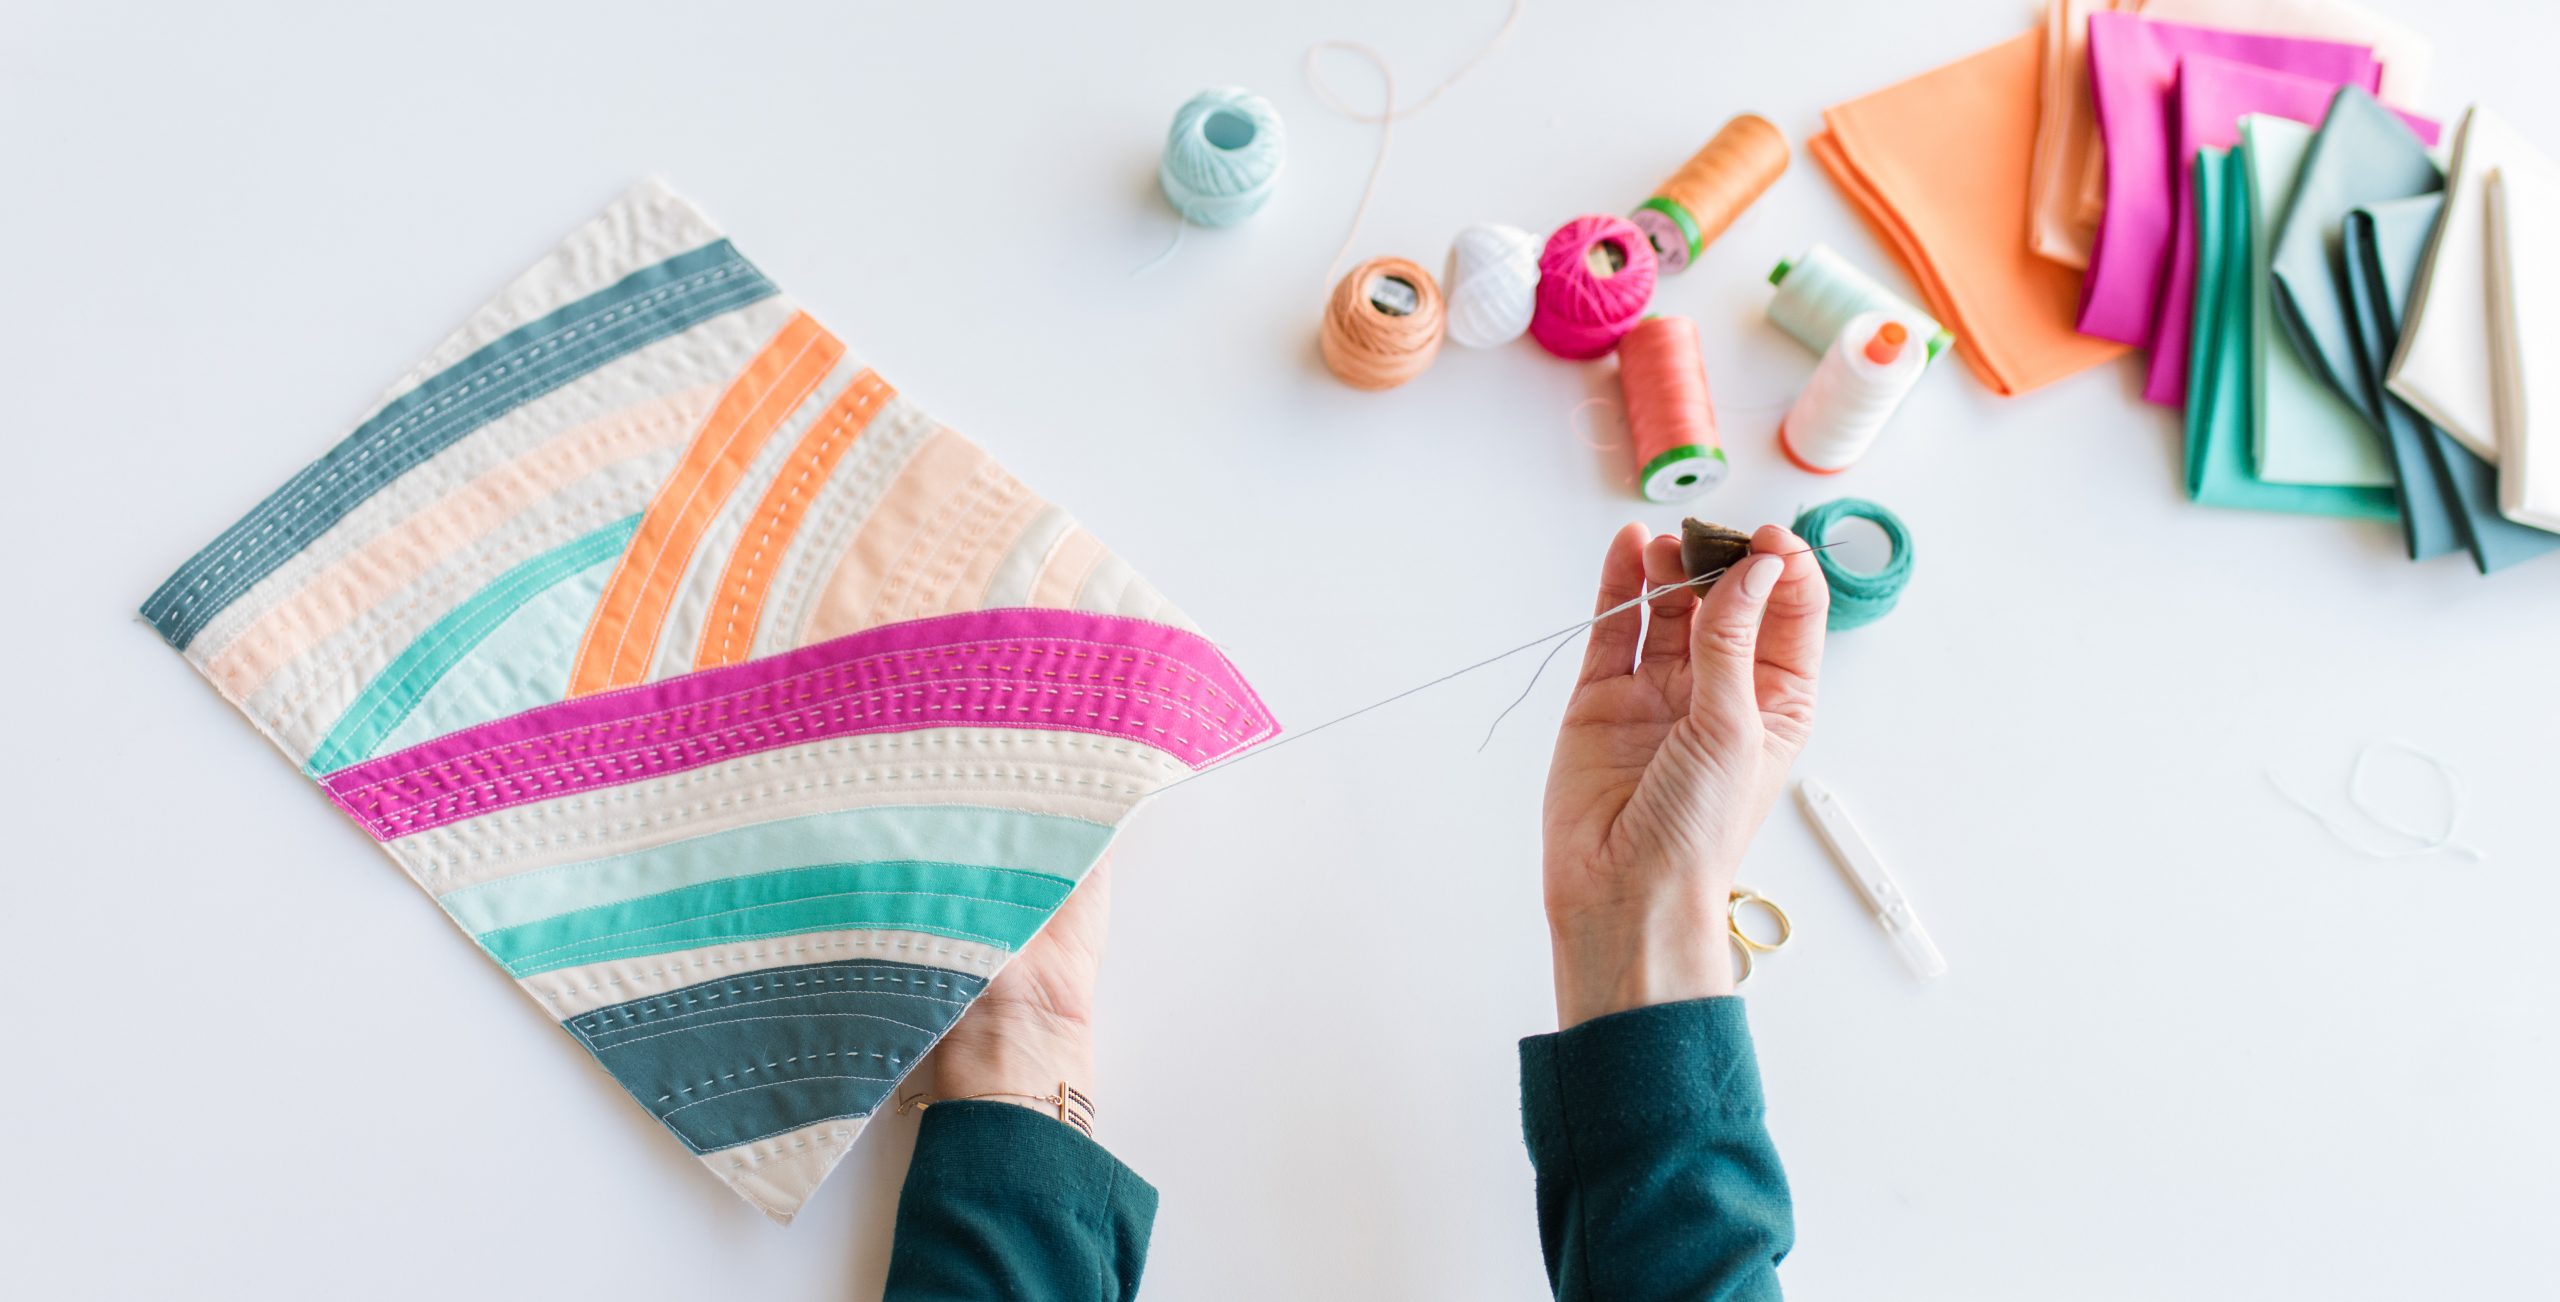
Materials Needed
Before you dive into creating your T-shirt quilt without interfacing, here’s a list of the essential materials you’ll need:
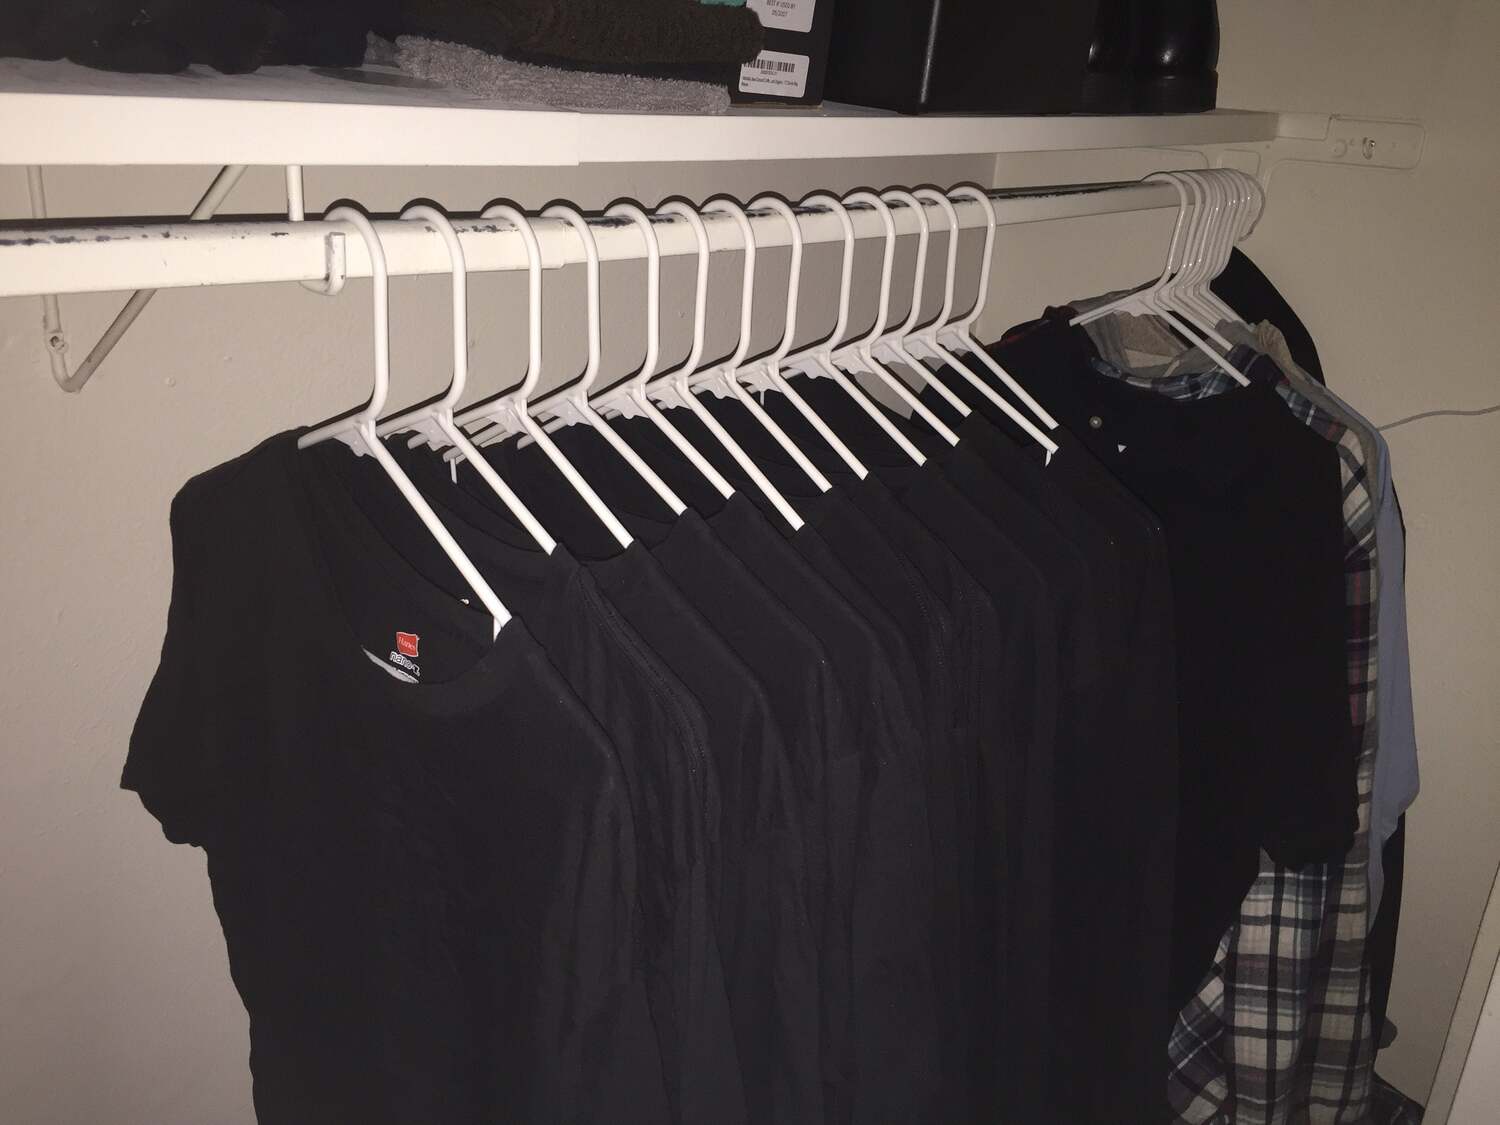
- T-shirts: Gather a collection of T-shirts that you want to include in your quilt. These can be old concert shirts, sports team shirts, or any other shirts with sentimental value.
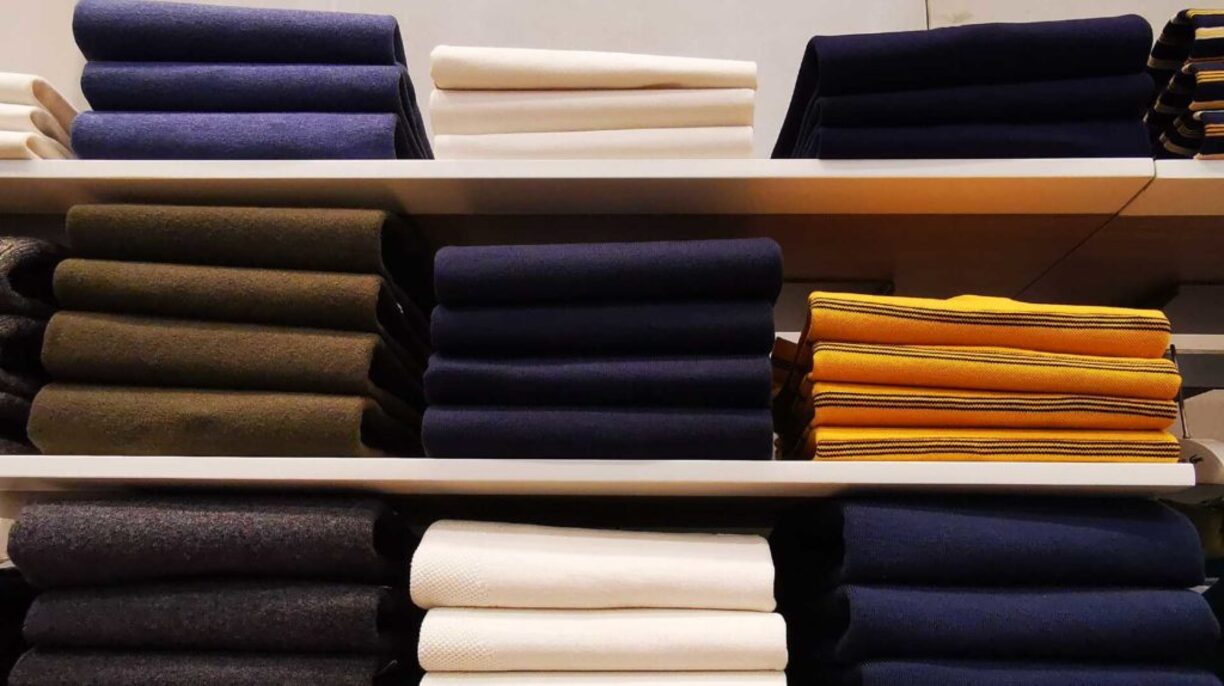
- Fabric for sashing: Choose a coordinating fabric that will be used to create strips between the T-shirt squares. This fabric will help separate and frame each T-shirt design.
- Fabric for backing: Select a fabric that will serve as the backing for your quilt. Consider the size of your quilt and choose a fabric that is wide enough to cover it.
- Batting: This is the layer of material that provides insulation and thickness to your quilt. Choose a batting that suits your desired level of warmth and loft.
- Thread: Opt for a high-quality thread that matches or complements the colors in your T-shirts and fabric.
- Quilting pins or safety pins: These will be used to secure the layers of your quilt together during the quilting process.
- Ruler and rotary cutter: These tools are essential for precise cutting of your T-shirt squares and other fabric pieces.
- Sewing machine: A sewing machine with a zigzag or stretch stitch capability is recommended for sewing the knit fabrics.
- Iron and ironing board: These will be used to press your fabric and create smooth seams.
- Quilting gloves (optional): If you find it easier to maneuver and control the quilt layers while quilting, quilting gloves can be a useful addition.
With these materials on hand, you’ll be well-equipped to create your T-shirt quilt without interfacing. Let’s move on to the step-by-step process of making your quilt!
Step 1: Choose and Prepare T-shirts
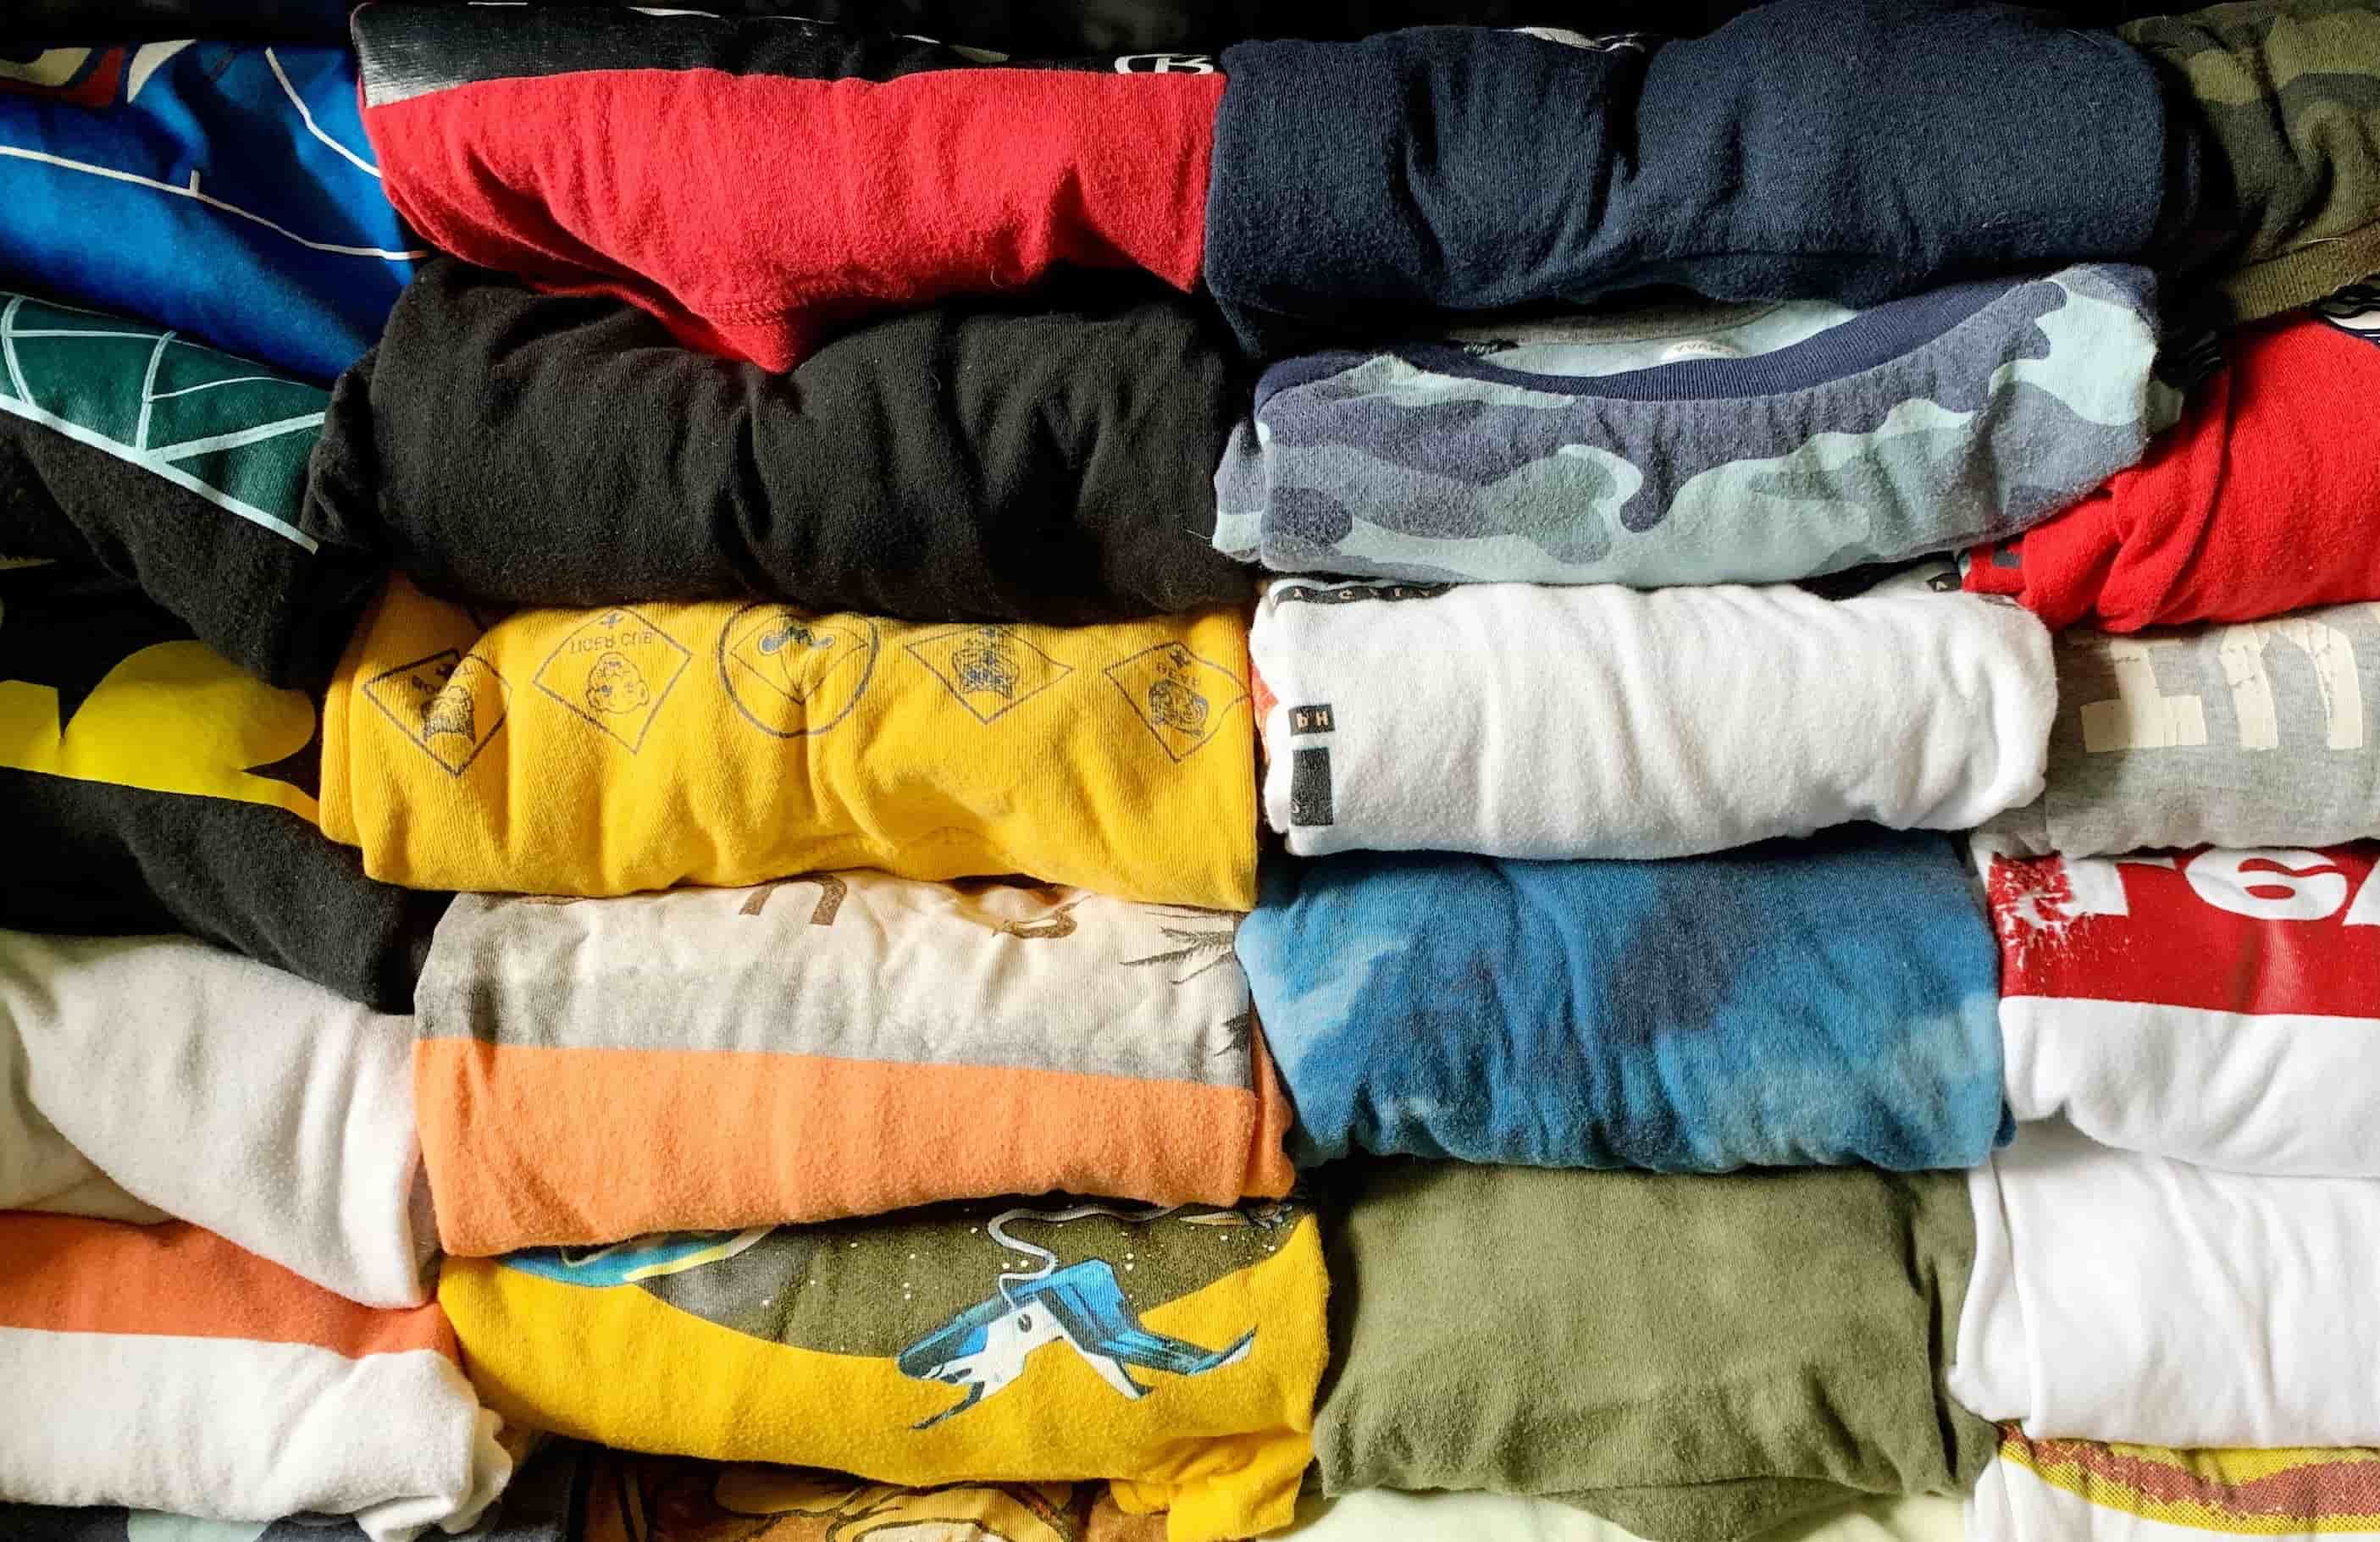
The first step in creating your T-shirt quilt is selecting the T-shirts you want to include. Choose shirts that hold sentimental value or represent special memories. It’s important to ensure that the T-shirts are in good condition, without significant stains or damage.
Once you have chosen your T-shirts, it’s time to prepare them for quilting:
- Wash and dry the T-shirts: Start by washing the T-shirts to remove any dirt, oils, or stains. Use mild detergent and follow the washing instructions on the labels of the shirts. Avoid using fabric softener, as it may affect the adherence of interfacing, which we are not using in this project. After washing, tumble dry the shirts or air-dry them.
- Smooth out the T-shirts: Lay each T-shirt on a flat surface and carefully smooth out any wrinkles or creases. This will make it easier to cut the shirts into squares later on.
- Decide on the T-shirt design: Take a moment to determine which part of each T-shirt you want to showcase in your quilt. It could be the logo, a graphic, or any other significant design element. Keep in mind that the size of the design will determine the size of the T-shirt square you will cut.
- Measure and mark the T-shirt squares: Use a ruler and a fabric marker or chalk to measure and mark the desired size of each T-shirt square. A common size for T-shirt squares is usually 12 inches by 12 inches, but feel free to adjust the size based on your preferences and the size of your T-shirt design.
- Cut out the T-shirt squares: With a pair of sharp scissors or a rotary cutter, carefully cut out each T-shirt square along the marked lines. Take your time and ensure clean and precise cuts.
Now that your T-shirts are prepared and cut into squares, you’re ready to move on to the next step: arranging and sewing the T-shirt squares together.
Step 2: Cut T-shirt Squares
Now that you have chosen your T-shirts and prepared them, it’s time to cut the T-shirt squares that will form the main design of your quilt. The size of the squares will depend on your personal preference and the size of your T-shirt designs.
Follow these steps to cut the T-shirt squares:
- Lay out your T-shirts: Start by laying out the T-shirts that you want to use for your quilt. Arrange them in a way that allows you to easily see the designs and determine which parts you want to include in the squares.
- Measure and mark the squares: Using a ruler and fabric marker or chalk, measure and mark the desired size of each T-shirt square. Common sizes for T-shirt squares are 12 inches by 12 inches, but you can adjust the size based on your preference and the size of your T-shirt designs.
- Cut the squares: With a pair of sharp scissors or a rotary cutter, carefully cut along the marked lines to create the T-shirt squares. Take your time and make clean, straight cuts to ensure that the squares are uniform in size.
- Set aside the T-shirt squares: As you cut each T-shirt square, set it aside in a designated area. This will help you stay organized and keep track of the squares you have prepared.
- Repeat for all T-shirts: Continue measuring, marking, and cutting squares for all the T-shirts you plan to include in your quilt. Remember to handle each T-shirt with care and be mindful of the designs you want to showcase in the squares.
Once you have cut all your T-shirt squares, you can move on to the next step: arranging and sewing the squares together to create the quilt top.
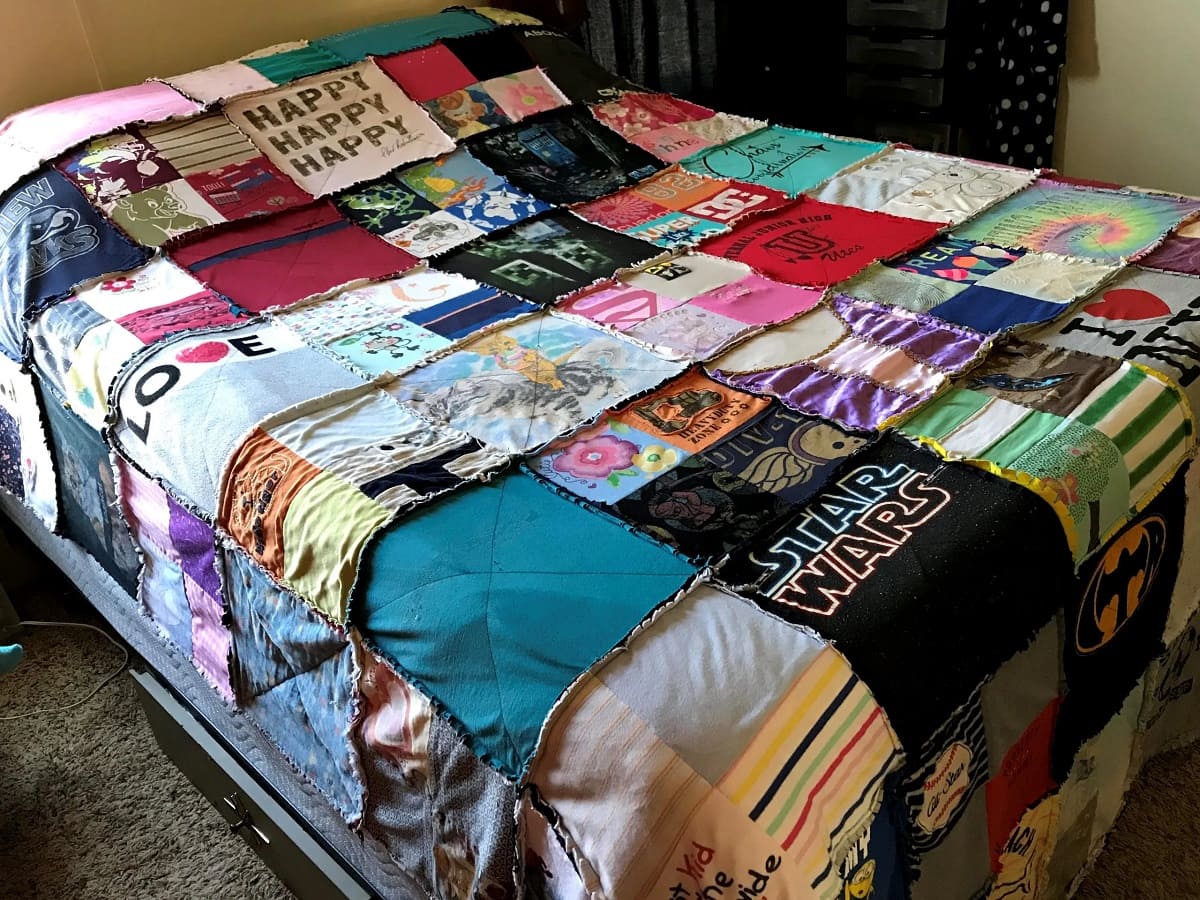
Step 3: Arrange and Sew T-shirt Squares
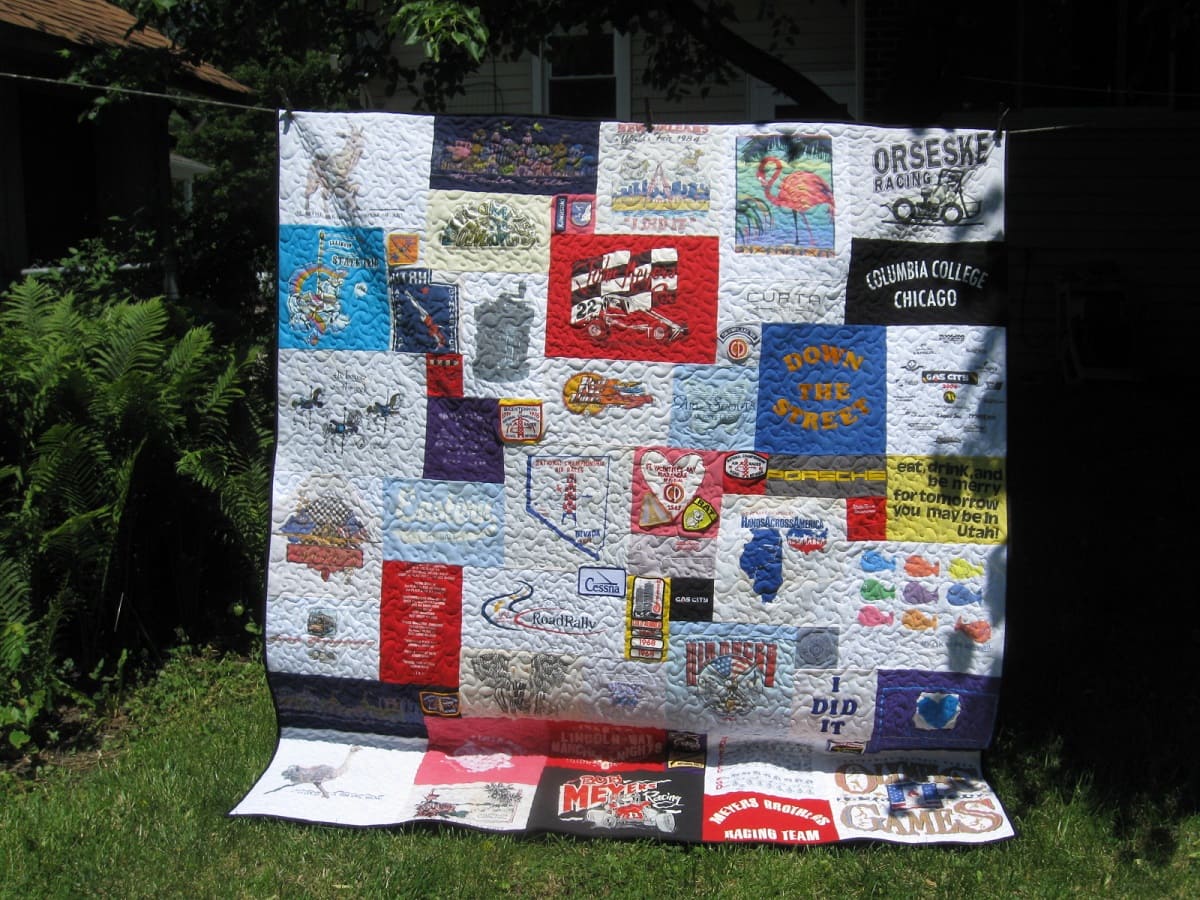
Now that you have cut your T-shirt squares, it’s time to get creative and arrange them in a way that pleases you. The arrangement of the squares will determine the overall design and visual impact of your T-shirt quilt.
Follow these steps to arrange and sew your T-shirt squares:
- Lay out the T-shirt squares: Start by laying out your T-shirt squares on a large, flat surface, such as a table or the floor. Experiment with different arrangements until you find a pattern that you like. You can try alternating colors, creating a gradient effect, or arranging them randomly for a more eclectic look.
- Consider adding sashing: If you want to add a border or separation between your T-shirt squares, now is the time to cut and add fabric strips as sashing. Measure and cut fabric strips that are the same width as your T-shirt squares and sew them between the squares for a cohesive look.
- Take a photo for reference: Before you start sewing, it’s helpful to take a photo of your arranged T-shirt squares. This will serve as a reference guide as you sew the squares together.
- Sew the squares together: Starting with the first row, pick up the squares one at a time and sew them together using a ¼-inch seam allowance. Use a zigzag or stretch stitch on your sewing machine to accommodate the stretchiness of the T-shirt fabric. Press the seams open or to one side as you prefer. Repeat this process for each row of squares until the entire quilt top is pieced together.
- Trim any excess fabric: After sewing the squares together, trim any excess fabric, threads, or uneven edges to ensure that your quilt top is neat and even.
Congratulations! Your T-shirt squares are now arranged and sewn together to create the quilt top. In the next step, we will move on to sewing the quilt top to the batting and backing fabric.
When making a t-shirt quilt without interfacing, be sure to use a lightweight fusible interfacing on the back of each t-shirt to prevent stretching and distortion while sewing. This will help the quilt hold its shape and durability over time.
Step 4: Sew Quilt Top
With your T-shirt squares sewn together to create the quilt top, it’s time to move on to attaching it to the batting and backing fabric. This step will ensure that your quilt is well-padded and has a finished look.
Follow these steps to sew your quilt top:
- Prepare the batting: Lay out the batting on a large, flat surface. Smooth out any wrinkles or creases to ensure that it lies flat.
- Place the quilt top on the batting: Carefully lay the quilt top on top of the batting, aligning the edges. Make sure that the T-shirt squares are facing up and the quilt top is centered on the batting.
- Smooth out any wrinkles: Gently smooth out any wrinkles or folds in the quilt top and batting, ensuring that they lie flat and are free of any unwanted creases.
- Prepare the backing fabric: Lay out the backing fabric on a clean and flat surface, with the right side facing down. Smooth out any wrinkles or creases.
- Place the quilt top and batting on the backing fabric: Carefully lift the quilt top and batting and place them on top of the backing fabric, aligning the edges. The backing fabric should be slightly larger than the quilt top and batting on all sides.
- Pin the layers together: Starting from the center and working your way out, use quilting pins or safety pins to secure the layers together. Place pins at regular intervals to ensure that the layers do not shift while sewing.
- Baste the layers: Using a long stitch length, baste the layers together around the edges. This will temporarily hold the layers in place and make it easier to quilt the layers together without any shifting.
By following these steps, you have successfully sewn your quilt top to the batting and backing fabric. In the next step, we will go through the process of quilting the layers together to create a cohesive and durable quilt.
Step 5: Add Batting and Quilt Backing
Now that you have basted the layers together, it’s time to add the batting and quilt backing to complete the sandwiched layers of your T-shirt quilt. This step will provide the warmth, thickness, and stability your quilt needs.
Follow these steps to add the batting and quilt backing:
- Prepare the quilt backing fabric: Lay out the quilt backing fabric on a large, flat surface with the wrong side facing up. Smooth out any wrinkles or creases to ensure it lies flat.
- Place the batting on the backing fabric: Carefully place the batting on top of the backing fabric, ensuring that it is centered and covers the entire quilt backing.
- Smooth out any wrinkles: Gently smooth out any wrinkles or folds in the batting and backing fabric, ensuring they lay flat and are free of any unwanted creases.
- Trim the excess batting and backing fabric: Using sharp scissors or a rotary cutter, carefully trim the excess batting and backing fabric, leaving a 1-2 inch border around all sides of the quilt. This will allow for sufficient fabric to work with during the quilting process.
- Pin the layers together: Starting from the center and working your way out, use quilting pins or safety pins to secure the layers together. Place pins at regular intervals to prevent shifting during quilting.
By following these steps, you have successfully added the batting and quilt backing to your T-shirt quilt. In the next step, we’ll explore how to quilt the layers together to create a beautiful and durable quilt.
Step 6: Quilt the Layers Together
With the layers of your T-shirt quilt securely pinned together, it’s time to quilt them to create a cohesive and durable quilt. Quilting not only adds decorative stitching but also ensures that the layers are securely attached.
Follow these steps to quilt the layers together:
- Select a quilting design: Decide on the quilting design you want to use. This can be anything from simple straight lines to intricate patterns or free-motion quilting. Consider the overall aesthetic of your quilt and choose a design that complements it.
- Set up your sewing machine: Prepare your sewing machine by selecting the appropriate quilting foot and thread. Ensure that you have enough bobbin thread to complete your desired quilting design.
- Start quilting: Begin quilting from the center of the quilt and work your way out. Sew along the selected quilting design, making sure to stitch through all layers. Take your time and maintain a steady pace to ensure even stitches.
- Continue quilting: Once you have quilted the center section, move on to the surrounding areas. Gradually work your way towards the edges of the quilt, filling in the entire quilt top with your chosen quilting design.
- Backstitch at the beginning and end: Remember to backstitch at the beginning and end of each quilting line to secure the stitching and prevent unraveling.
- Experiment with decorative stitches (optional): If you want to add an extra touch of creativity, consider using decorative stitches or thread colors to highlight certain elements of your T-shirt designs or to create additional visual interest.
Quilting the layers together is an opportunity to enhance the design and durability of your T-shirt quilt. Take your time with this step and enjoy the process of transforming your quilt into a work of art.
Now that your quilt layers are beautifully quilted together, it’s time to move on to the final step: trimming and binding the quilt.
Step 7: Trim and Bind the Quilt
With your T-shirt quilt quilted and all layers securely attached, it’s time to give it a clean and finished look by trimming and binding the edges.
Follow these steps to trim and bind your quilt:
- Trim the excess batting and backing fabric: Using sharp scissors or a rotary cutter, carefully trim the excess batting and backing fabric along the edges of the quilt. Ensure that all sides are even and straight.
- Prepare the binding strips: Cut fabric strips for the binding, ensuring that they are long enough to go around the entire perimeter of the quilt. The width of the binding strip is typically 2.5 inches, but you can adjust it to your liking.
- Attach the binding strips: Start by folding and pressing one end of the binding strip at a 45-degree angle. Align the raw edges of the binding strip with the raw edges of the quilt top, starting from one corner. Pin or clip in place.
- Sew the binding: Using a ¼-inch seam allowance, sew the binding strip to the quilt, removing the pins or clips as you go. When you reach a corner, stop sewing a ¼-inch away from the edge and pivot the quilt. Fold the binding strip up, away from the quilt, and then fold it back down, aligning with the next edge. Continue sewing the binding until you reach the starting point, leaving a small excess length.
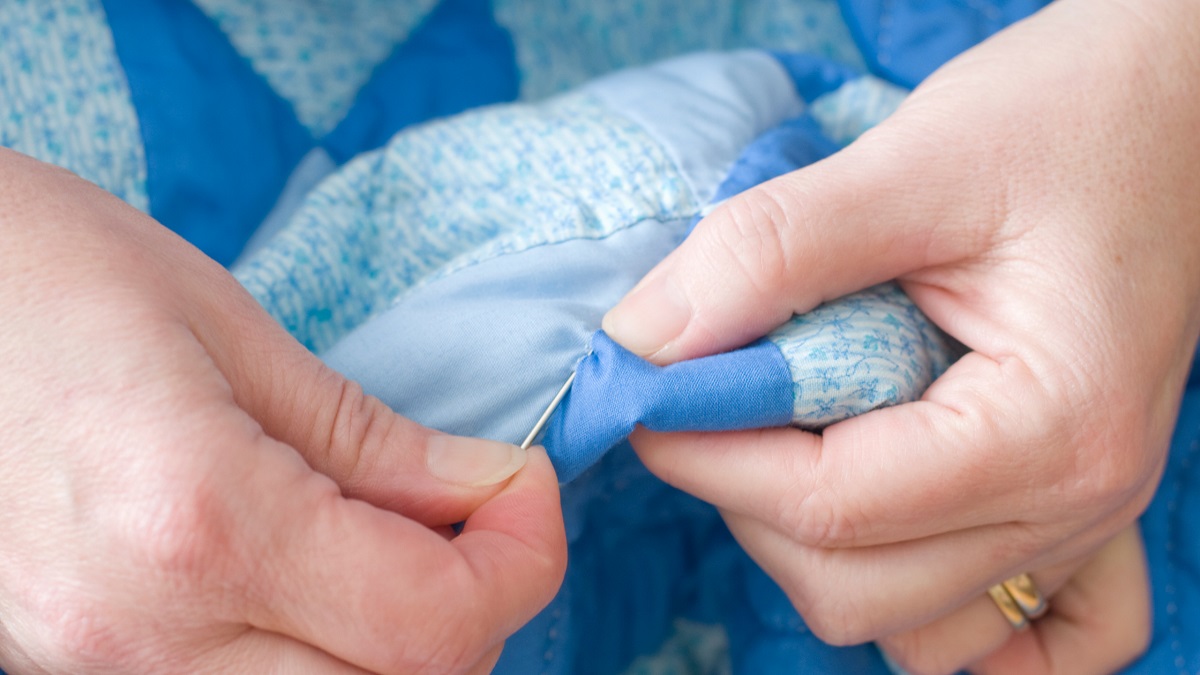
- Join and finish the binding: Trim the excess binding fabric, leaving approximately ½ inch overlap. Open the ends of the binding and fold the excess fabric to create a neat seam. Stitch the ends together, ensuring a secure and seamless finish. Fold the binding strip over the raw edge of the quilt and hand stitch it in place on the backside, or use a binding tool to attach it by machine.
- Press the quilt: Finally, give your quilt a final press to ensure neat and crisp edges. Use a pressing cloth to protect the T-shirt designs while pressing.
By trimming and binding your quilt, you have completed the final step in creating your T-shirt quilt. Take a moment to admire your hard work and the memories stitched into each square.
Congratulations! You now have a beautiful T-shirt quilt without using interfacing. Enjoy the warmth, comfort, and nostalgia it brings as you snuggle up and cherish the memories incorporated within.
Remember, this is just one method of making a T-shirt quilt. Feel free to experiment, add your own personal touches, and adapt the steps to suit your preferences. Happy quilting!
Read more: How To Make Rugs Out Of T Shirts
Conclusion
Congratulations on completing your T-shirt quilt without the use of interfacing! Through careful preparation, cutting, arranging, sewing, and quilting, you have transformed your treasured T-shirts into a beautiful and meaningful quilt that preserves memories and tells a unique story.
By following the step-by-step process outlined in this article, you have learned how to choose and prepare T-shirts, cut them into squares, arrange and sew them together, add batting and quilt backing, quilt the layers together, and finish the quilt with trimming and binding. Each step contributed to the creation of a quilt that is not only visually appealing but also sturdy and durable.
Remember, the beauty of a T-shirt quilt lies not only in the finished product itself but also in the memories and emotions it represents. From concert memories and sports victories to cherished moments and milestones, each T-shirt holds a special place in your heart.
As you snuggle up under your T-shirt quilt, take a moment to reflect on the journey it took to create it. The late-night cutting sessions, the joy of seeing the quilt top come together, and the satisfaction of sewing the final stitches. It’s a testament to your creativity, perseverance, and ability to transform something simple into something meaningful.
Whether you decide to keep your T-shirt quilt for yourself or gift it to someone special, it will undoubtedly be a cherished item that brings warmth, comfort, and a flood of memories for years to come.
So, grab your T-shirts, gather your materials, and embark on the journey of creating your very own T-shirt quilt without the need for interfacing. Let your creativity soar, and embrace the joy of quilting with your treasured T-shirt collection.
Happy quilting!
Frequently Asked Questions about How To Make T-shirt Quilt Without Interfacing
Was this page helpful?
At Storables.com, we guarantee accurate and reliable information. Our content, validated by Expert Board Contributors, is crafted following stringent Editorial Policies. We're committed to providing you with well-researched, expert-backed insights for all your informational needs.


0 thoughts on “How To Make T-shirt Quilt Without Interfacing”