Articles
How Repair Refrigerator
Modified: October 30, 2024
Discover helpful articles on how to repair your refrigerator and keep it running efficiently. Find step-by-step guides and expert tips to save time and money.
(Many of the links in this article redirect to a specific reviewed product. Your purchase of these products through affiliate links helps to generate commission for Storables.com, at no extra cost. Learn more)
Introduction
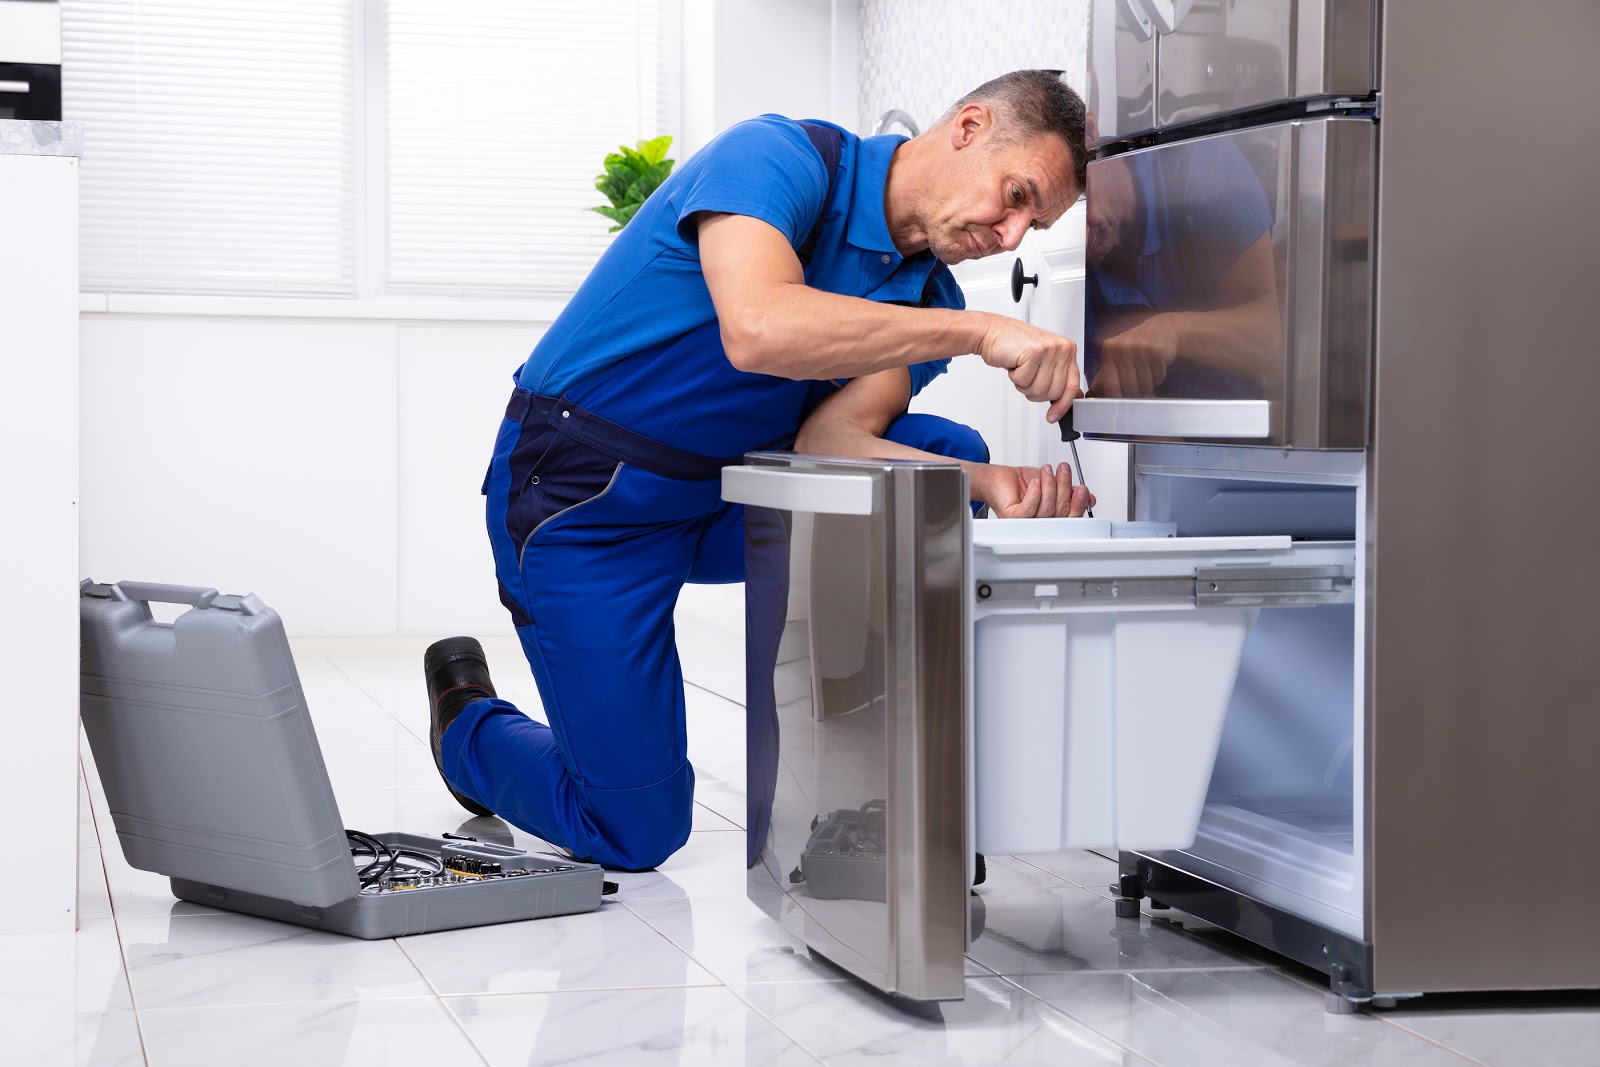
Having a malfunctioning refrigerator can be a major inconvenience. Whether it’s a warm fridge, a leaking freezer, or a noisy compressor, it’s essential to address these issues promptly to ensure the longevity and efficient operation of your appliance. While calling a professional technician may be necessary for complex problems, there are several common refrigerator issues that you can tackle yourself with the right tools and knowledge.
This article will guide you through the process of repairing your refrigerator, from diagnosing the problem to ordering and replacing parts. Additionally, we will provide safety precautions to keep in mind throughout the repair process.
Before getting started, make sure to gather the necessary tools and equipment. This will help streamline the repair process and ensure that you have everything you need.
Key Takeaways:
- Repairing your refrigerator requires proper diagnosis, safety precautions, and step-by-step repairs. From ordering parts to testing functionality, this guide ensures efficient and safe troubleshooting for common issues.
- Prioritize safety, gather necessary tools, and follow manufacturer instructions for successful refrigerator repairs. Regular maintenance and testing ensure optimal performance and longevity of your appliance.
Read more: How To Fill Refrigerant In HVAC
Common Refrigerator Problems
Refrigerators are complex appliances with various components that can experience issues. Here are some of the most common problems you may encounter:
- Warm Fridge: If your refrigerator isn’t cooling properly, it may be due to a faulty thermostat, compressor, or condenser fan. This can result in food spoilage and potential health risks.
- Leaking Freezer: A leaky freezer can be caused by a clogged defrost drain, a malfunctioning water inlet valve, or a damaged water line. Not only can this create a mess, but it can also lead to ice buildup and decreased cooling efficiency.
- Noisy Compressor: If you notice loud noises coming from your refrigerator, it may be due to a faulty compressor or fan motor. These components can wear out over time, resulting in unusual sounds during operation.
- Ice Maker Issues: Problems with the ice maker can range from not producing ice to dispensing improperly sized ice cubes. These issues may be caused by a defective water inlet valve, a clogged water line, or a malfunctioning ice maker module.
- Door Seal Problems: A worn or damaged door seal can lead to air leakage, causing the refrigerator to work harder to maintain the desired temperature. This can result in higher energy consumption and decreased cooling efficiency.
Identifying the specific problem with your refrigerator will be the first step in the repair process. Once you have determined the issue, you can move on to the necessary repairs.
Tools and Equipment Needed for Repair
Before starting any repair work on your refrigerator, it’s important to gather the necessary tools and equipment. Here are the essential items you’ll need:
- Screwdriver Set: A set of screwdrivers with various sizes and types will come in handy for disassembling and reassembling different components of the refrigerator.
- Multimeter: A multimeter is essential for testing electrical components and diagnosing any electrical issues that may be causing problems with your refrigerator.
- Adjustable Wrench: An adjustable wrench will be useful for tightening or loosening nuts and bolts during the repair process.
- Pliers: Pliers will be required for gripping and manipulating small objects such as wires or connectors.
- Socket Set: A socket set with various sizes will be necessary for removing and replacing components that are attached with bolts.
- Leak Detector: If you suspect a refrigerant leak, a leak detector will help you identify the source of the leak for proper repair.
- Cleaning Supplies: Cleaning supplies such as a damp cloth, mild detergent, and a brush will be needed to clean the interior and exterior of the refrigerator during the repair process.
- Replacement Parts: Depending on the specific problem with your refrigerator, you may need to order replacement parts such as a thermostat, fan motor, defrost drain, water inlet valve, or door seal.
Having these tools and equipment readily available will make the repair process smoother and more efficient. It’s recommended to have a dedicated toolbox or storage area to keep these items organized and easily accessible for future repairs.
Now that you have the necessary tools, let’s move on to the safety precautions to keep in mind during the repair process.
Safety Precautions
When working on your refrigerator, it is important to prioritize safety to avoid any accidents or injuries. Here are some safety precautions to keep in mind:
- Unplug the Refrigerator: Before starting any repairs, make sure to unplug the refrigerator from the power source. This will prevent any electrical shocks or injuries during the repair process.
- Wear Protective Gear: Wear appropriate protective gear such as gloves and safety goggles to protect yourself from sharp edges, electrical components, and chemical cleaners.
- Work in a Well-Ventilated Area: If you are using any chemical cleaners during the repair process, make sure to work in a well-ventilated area to avoid inhaling fumes.
- Use Caution When Handling Sharp Objects: Be mindful of sharp edges and corners when removing and replacing components. Use caution and consider using gloves or other protective measures to prevent cuts or injuries.
- Avoid Excessive Force: When disassembling or reassembling components, avoid using excessive force. If something does not come apart or fit back together easily, double-check to ensure there are no missed screws or other obstacles.
- Follow Manufacturer Instructions: Refer to the manufacturer’s instructions and guidelines for your specific refrigerator model. This will help you understand the proper procedures and precautions to take during the repair process.
- Ask for Assistance if Needed: If you feel unsure about any part of the repair process or encounter a situation beyond your expertise, do not hesitate to seek professional assistance. Your safety should always be the top priority.
By following these safety precautions, you can minimize the risk of accidents and ensure a smooth and safe repair process.
Now that you’re familiar with the safety precautions, let’s move on to the step-by-step process of repairing your refrigerator.
Step 1: Unplugging the Refrigerator
Before beginning any repair work on your refrigerator, it is crucial to ensure your safety by disconnecting the appliance from its power source. Follow these steps to properly unplug your refrigerator:
- Locate the Power Cord: Identify the power cord of your refrigerator, typically located at the back of the appliance.
- Move the Refrigerator: Carefully pull the refrigerator away from the wall, ensuring that you have enough space to access the power cord.
- Unplug the Power Cord: Firmly grip the power cord plug and gently pull it out from the electrical outlet. Avoid yanking or tugging forcefully on the cord to prevent damage.
- Confirm Disconnection: Verify that the refrigerator is completely disconnected from the power source by checking for any illuminated lights or signs of power.
Unplugging the refrigerator will eliminate the risk of electric shock or other electrical accidents during the repair process. It is important to keep the refrigerator unplugged until all repairs are completed.
Once the refrigerator is safely disconnected, you can proceed to the next steps of diagnosing and repairing the problem.
Step 2: Diagnosing the Problem
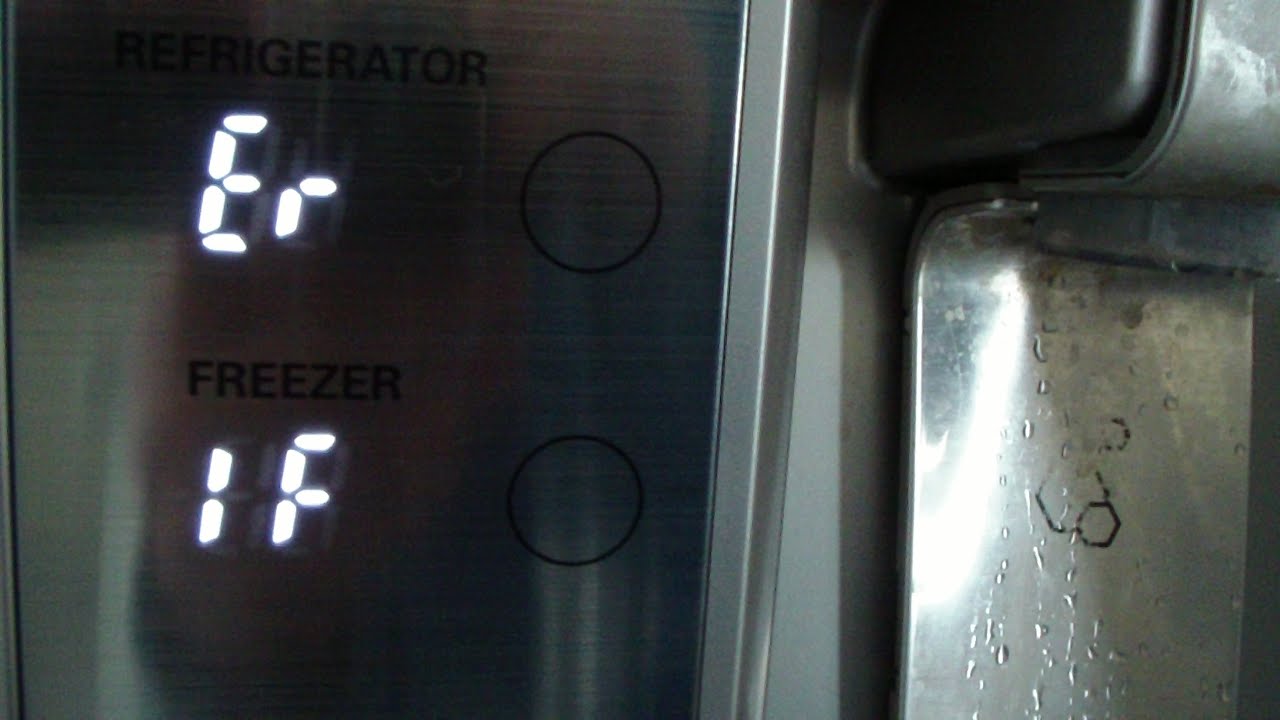
After unplugging the refrigerator, the next step in the repair process is to diagnose the specific problem or issue you are experiencing. Here are some steps to help you identify the problem:
- Observe the Symptoms: Take note of any noticeable symptoms such as a warm fridge, leaking water, unusual noises, or a malfunctioning ice maker. These observations will help guide your diagnosis.
- Check for Power: Confirm that the refrigerator is not receiving power by checking for any lights or sounds indicating that it is functioning. If there are no signs of power, the issue may be electrical.
- Inspect the Components: Examine the various components of the refrigerator, including the thermostat, compressor, condenser fan, defrost drain, water inlet valve, and door seal. Look for any signs of wear, damage, or blockage that could be causing the problem.
- Perform Basic Tests: Use a multimeter to test the electrical components such as the thermostat, compressor, and fan motor for proper functionality. Refer to the manufacturer’s instructions for specific testing procedures.
- Refer to Troubleshooting Guides: Consult the refrigerator’s user manual or online troubleshooting guides provided by the manufacturer. These resources often have detailed troubleshooting steps and common problems associated with specific refrigerator models.
- Seek Professional Assistance if Needed: If you are unable to diagnose the problem or if it requires specialized knowledge or equipment, it may be best to seek the assistance of a professional technician.
By carefully diagnosing the problem, you will have a better understanding of the underlying issue and be able to proceed with the necessary repairs in the following steps.
Now that you have identified the problem, we can move on to ordering and replacing any required parts in Step 3.
Regularly clean the coils on the back or bottom of your refrigerator to ensure it runs efficiently. Use a vacuum or brush to remove dust and debris.
Step 3: Ordering and Replacing Parts
Once you have diagnosed the problem with your refrigerator and identified the specific parts that need replacement, it’s time to order the necessary parts and prepare for their installation. Follow these steps to order and replace the parts:
- Find the Correct Parts: Refer to the manufacturer’s instructions or consult an appliance parts supplier to ensure you are ordering the correct parts for your specific refrigerator model. Provide them with the necessary information, such as the make, model, and serial number of your appliance.
- Compare Prices and Availability: Compare prices and availability from different suppliers to find the best deal. Consider factors such as warranty, shipping costs, and customer reviews to make an informed decision.
- Place Your Order: Once you have selected the parts and supplier, proceed to place your order. Provide the necessary shipping and payment information, and confirm the order details.
- Wait for Delivery: Depending on the supplier and shipping method chosen, wait for the delivery of the ordered parts. Use this time to prepare your workspace and gather the required tools.
- Unbox and Inspect the Parts: When the parts arrive, carefully unbox and inspect them for any damages or defects. Ensure that you have received all the necessary components.
- Follow Installation Instructions: Refer to the manufacturer’s instructions or online resources for step-by-step guidance on installing the replacement parts. Take note of any specific tools or techniques mentioned.
- Replace the Faulty Parts: Using the appropriate tools, remove and replace the faulty parts with the new ones. Follow the instructions carefully to ensure proper installation.
- Test the Replacements: Once the parts are installed, plug in the refrigerator and test the functionality of the replaced components. Monitor the appliance to ensure that the problem has been resolved.
Ordering and replacing the necessary parts is a critical step in the repair process. By following these steps, you can ensure that you have the correct parts and install them correctly for optimal performance.
Next, we will move on to Step 4, which covers repairing the electrical system of your refrigerator.
Step 4: Repairing the Electrical System
Repairing the electrical system of your refrigerator requires careful attention and adherence to safety precautions. Follow these steps to effectively repair the electrical components:
- Ensure Safety: Before starting any electrical repairs, ensure that the refrigerator is unplugged and follow proper safety precautions such as wearing protective gear and working in a well-ventilated area.
- Identify the Electrical Issue: Refer to your earlier diagnosis and determine which electrical components are causing the problem. This may include the thermostat, compressor, condenser fan, or any other electrical connections.
- Check for Loose Connections: Inspect all electrical connections, plugs, and wires for any signs of looseness or damage. Tighten any loose connections and replace any damaged wires or plugs.
- Test Electrical Components: Use a multimeter to check the functionality of electrical components such as the thermostat, compressor, condenser fan, and defrost heater. Follow the manufacturer’s instructions for proper testing techniques.
- Replace Faulty Components: If any electrical components are found to be faulty, carefully remove them and replace them with new ones. Follow the manufacturer’s instructions for proper installation.
- Inspect the Control Board: Examine the control board for any signs of burnt components or damage. If found, consider replacing the control board or consult a professional technician for repair.
- Reassemble the Refrigerator: Once the electrical repairs are completed, carefully reassemble the refrigerator, ensuring that all components are properly connected and secured.
- Plug in and Test: Plug the refrigerator back into the power source and test its functionality. Monitor the appliance for any unusual sounds or malfunctions to ensure that the electrical repairs have been successful.
Keep in mind that electrical repairs can be complex and may require a certain level of expertise. If you are unsure about any aspect of the electrical system repair, it is recommended to seek the assistance of a professional technician.
Next, we will move on to Step 5, which covers repairing the cooling system of your refrigerator.
Step 5: Repairing the Cooling System
Repairing the cooling system of your refrigerator is crucial to ensure optimal temperature control and food preservation. Follow these steps to effectively repair the cooling components:
- Ensure Safety: Before starting any cooling system repairs, make sure the refrigerator is unplugged and follow proper safety precautions such as wearing protective gear and working in a well-ventilated area.
- Identify the Cooling Issue: Refer to your earlier diagnosis and determine which cooling components are causing the problem. This may include the evaporator fan, condenser coils, refrigerant levels, or any other cooling-related components.
- Clean the Condenser Coils: Inspect and clean the condenser coils, located either at the back or beneath the refrigerator. Dust and debris can accumulate on the coils, hindering efficient cooling. Use a brush or vacuum cleaner to gently remove the dirt and debris.
- Check the Evaporator Fan: Verify that the evaporator fan, responsible for circulating cool air within the refrigerator, is functioning properly. If it is not spinning or making unusual noises, it may need to be replaced.
- Check for Refrigerant Leaks: Perform a thorough inspection of the refrigerant lines, looking for any signs of oil or gas leaks. If a leak is detected, consult a professional technician for proper refrigerant recharge and repair.
- Inspect the Defrost System: Check the defrost system, which prevents excess ice buildup on the evaporator coils. If the defrost timer, defrost thermostat, or defrost heater is faulty, it may result in cooling issues. Replace any defective components as needed.
- Recharge the Refrigerant: If the refrigerant levels are low, it may indicate a leak or improper seal. Consult a professional technician to recharge the refrigerant and address any underlying issues.
- Reassemble the Refrigerator: Once the cooling system repairs are completed, carefully reassemble the refrigerator, ensuring all components are properly connected and secured.
- Plug in and Test: Plug the refrigerator back into the power source and test its cooling functionality. Monitor the appliance to ensure it reaches the desired temperature and that the cooling repairs have been successful.
Repairing the cooling system requires attention to detail and may require professional assistance for complex issues such as refrigerant leaks or recharge. Don’t hesitate to reach out to a technician for guidance or support in these cases.
Finally, we will move on to Step 6, where we will discuss reassembling the refrigerator.
Read more: How Long Can Meat Stay In The Refrigerator
Step 6: Reassembling the Refrigerator
After completing the necessary repairs on your refrigerator, it’s time to reassemble the appliance. Follow these steps to ensure a proper reassembly:
- Refer to Documentation: Consult the manufacturer’s instructions or any documentation you kept during disassembly. This will help you remember the proper order and placement of components.
- Organize Spare Parts: If you have any spare parts or screws left from the disassembly process, organize them and double-check that everything is accounted for.
- Clean Components: Take the opportunity to clean the interior and exterior components of the refrigerator, such as shelves, drawers, and door seals. Use a mild detergent, a damp cloth, and a brush as needed.
- Reinstall Components: Start by reinstalling the components that were removed in reverse order. Secure them with the appropriate screws or fasteners, ensuring they are tightly fastened but not overly tightened.
- Attach Electrical Connections: Reconnect any electrical connections that were detached, ensuring that they are properly inserted and secured.
- Reposition Drain Tubes and Water Lines: If applicable, reposition any drain tubes or water lines that were removed during disassembly. Make sure they are properly connected and free from kinks or blockages.
- Restore Shelving and Accessories: Place shelves, drawers, and other accessories back into their designated positions inside the refrigerator. Ensure they are properly aligned and functioning correctly.
- Verify Door Seals: Check the door seals for any damage or wear. If necessary, replace them to ensure a tight seal and optimal cooling efficiency.
Take your time during the reassembly process to ensure that each component is correctly installed and functioning properly. Double-check all connections and fasteners before proceeding to the final step.
Now that the refrigerator is reassembled, we can move on to Step 7, where we will test the repairs.
Step 7: Testing the Repairs
After successfully reassembling your refrigerator, it’s important to thoroughly test the repairs to ensure that the appliance is functioning properly. Follow these steps to test the repairs:
- Plug in the Refrigerator: Connect the refrigerator back to the power source by plugging it into the electrical outlet.
- Power On the Appliance: Turn on the power switch or adjust the temperature settings to activate the refrigerator.
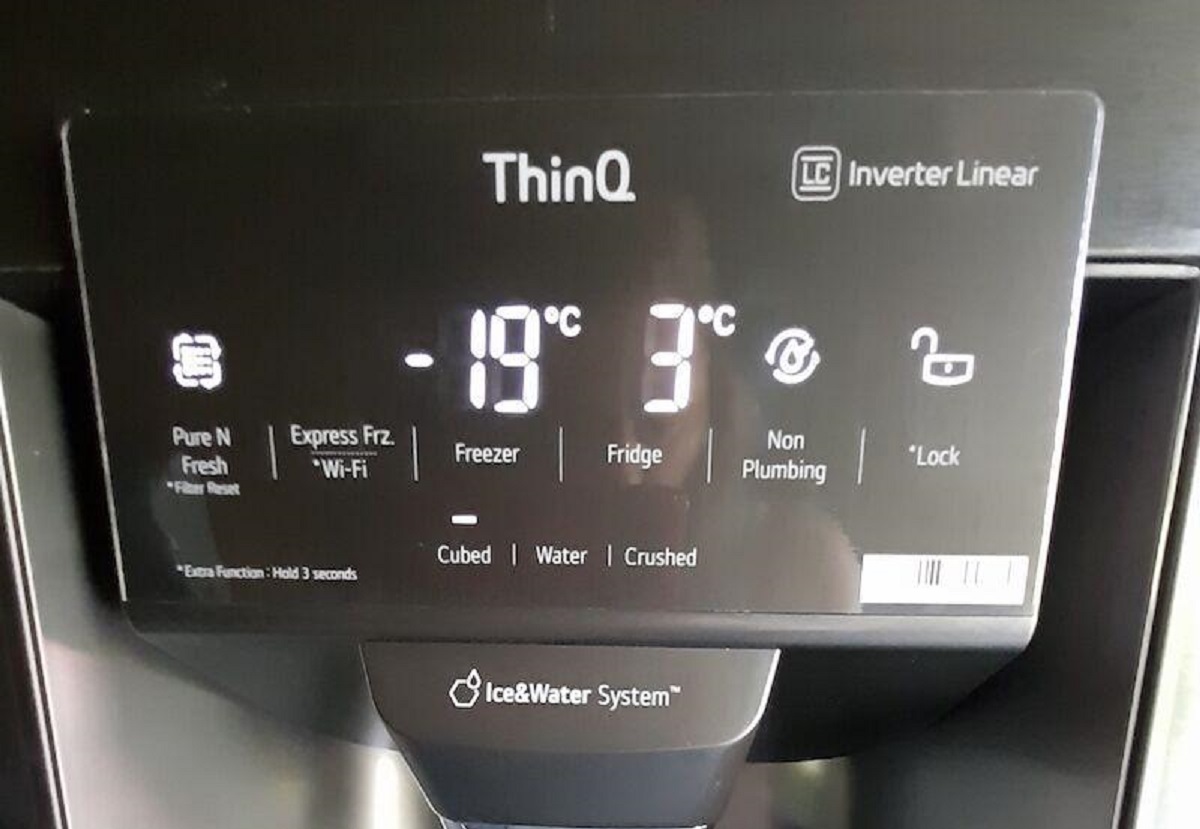
- Monitor Temperature: Keep an eye on the temperature inside the refrigerator and freezer compartments. Allow some time for the appliance to reach the desired temperature.
- Check Cooling Operation: Ensure that the refrigerator is cooling properly by verifying that both compartments are adequately cold. Use a refrigerator thermometer to measure the temperature if necessary.
- Listen for Unusual Noises: Pay attention to any unusual sounds or noises coming from the refrigerator during operation, such as buzzing, clicking, or grinding. If you notice any new or persistent noises, further inspection may be needed.
- Test Ice Maker: If your refrigerator has an ice maker, test its functionality by dispensing ice cubes into a container. Verify that the ice maker is producing and dispensing ice properly.
- Inspect for Leaks: Check for any water leaks or drips, both inside and outside the refrigerator. Ensure that the defrost drain and water inlet valve are functioning correctly.
- Verify Door Seals: Confirm that the door seals are sealing tightly and creating a proper vacuum when the doors are closed. Check for any air leaks or condensation around the door edges.
- Monitor for Several Days: Keep an eye on the refrigerator’s performance over the next few days to ensure that the repairs have resolved the initial problem and that the appliance is running smoothly.
Testing the repairs is crucial in determining the success of your efforts. By carefully monitoring the refrigerator’s performance, you can identify any lingering issues or adjustments needed.
If you notice any persistent problems or concerns during the testing phase, it may be necessary to consult a professional technician for further assistance or evaluation.
Congratulations! You have successfully repaired your refrigerator and ensured its optimal functioning.
As a final note, always follow proper maintenance practices and schedule regular inspections to prolong the lifespan of your refrigerator and prevent future issues.
Conclusion
Repairing your refrigerator can save you time and money while ensuring the efficient operation and longevity of your appliance. By following the step-by-step process outlined in this article, you can tackle common refrigerator problems with confidence.
Remember to prioritize safety throughout the repair process by wearing protective gear, unplugging the refrigerator, and taking precautions when working with electrical components. If you encounter complex issues or feel unsure about any aspect of the repair, don’t hesitate to seek the assistance of a professional technician.
By diagnosing the problem, ordering and replacing the necessary parts, and carefully reassembling the refrigerator, you can address issues such as warm fridge, leaking freezer, noisy compressor, or ice maker malfunction. Additionally, repairing the electrical and cooling systems will ensure optimal performance and temperature control.
Thoroughly test the repairs by monitoring the refrigerator’s temperature, listening for unusual noises, checking for leaks, and verifying proper door seals. Keep an eye on the appliance’s performance over several days to ensure that the repairs have resolved the initial problem and that the refrigerator is running smoothly.
Regular maintenance and proper care are essential for preserving the functionality of your refrigerator in the long run. Clean the condenser coils, check and replace door seals if necessary, and schedule routine inspections to keep your appliance in top shape.
Repairing a refrigerator may seem daunting initially, but with the right tools, knowledge, and guidance, you can successfully troubleshoot and fix common issues. Remember, when in doubt, it’s always best to consult a professional technician to avoid any further damage or safety risks.
By taking care of your refrigerator and addressing repairs promptly, you can extend its lifespan, reduce energy consumption, and enjoy the benefits of a fully functional appliance for years to come.
Frequently Asked Questions about How Repair Refrigerator
Was this page helpful?
At Storables.com, we guarantee accurate and reliable information. Our content, validated by Expert Board Contributors, is crafted following stringent Editorial Policies. We're committed to providing you with well-researched, expert-backed insights for all your informational needs.


0 thoughts on “How Repair Refrigerator”