Articles
Why Is My Refrigerator Not Cooling
Modified: November 2, 2024
Discover articles on why your refrigerator is not cooling and how to fix it. Find expert tips and troubleshooting guides to get your fridge running smoothly again.
(Many of the links in this article redirect to a specific reviewed product. Your purchase of these products through affiliate links helps to generate commission for Storables.com, at no extra cost. Learn more)
Introduction
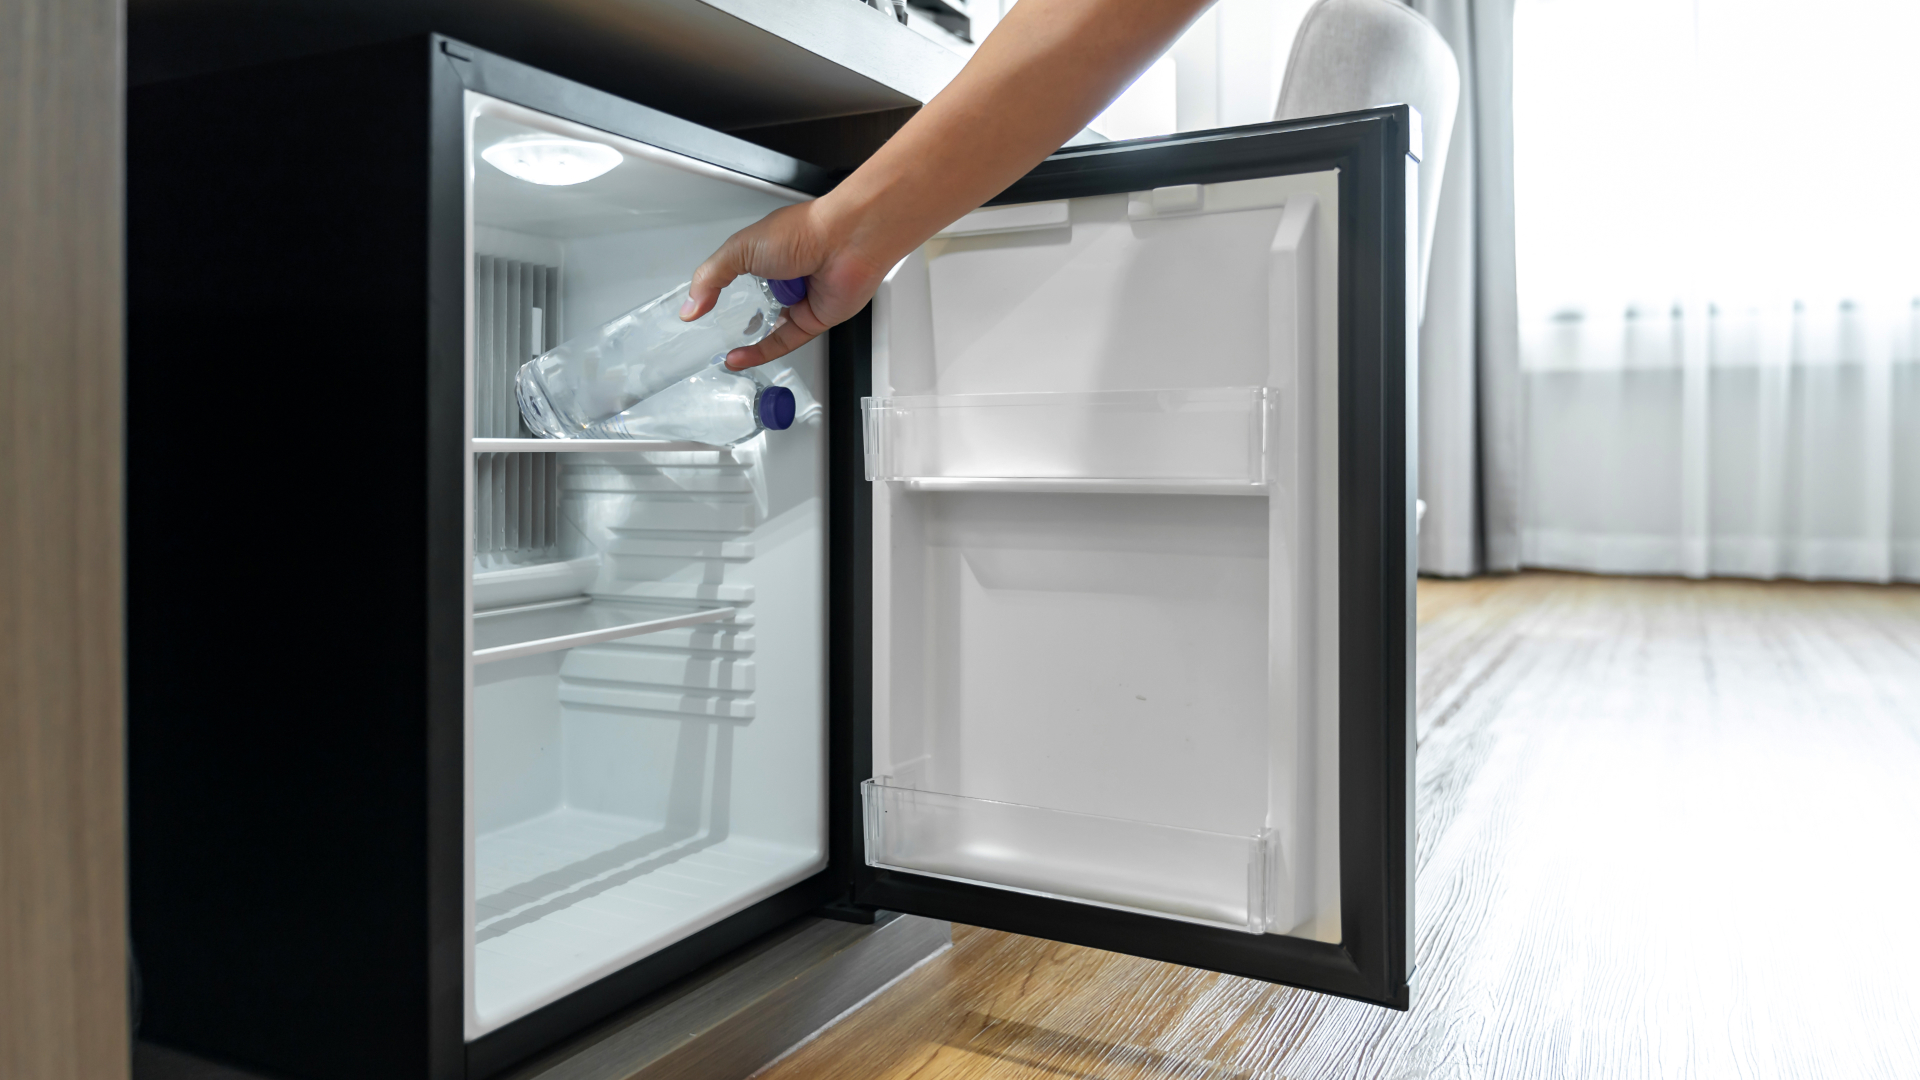
Having a refrigerator that is not cooling properly can be a frustrating experience. We rely on our refrigerators to keep our food fresh and our beverages cold, so when it fails to perform its essential function, it can cause inconvenience and potential food spoilage. Understanding the reasons behind a refrigerator not cooling can help you troubleshoot the issue and get it working again.
There can be several possible causes for a refrigerator not cooling adequately. It could be due to simple issues like dirty condenser coils or improper temperature settings, or it could be a more complex problem like a faulty compressor or low refrigerant charge. In this article, we will explore some of the common causes of a refrigerator not cooling and provide troubleshooting steps to help you resolve the issue.
Before we dive into the specific causes, it is important to note that the troubleshooting steps should only be performed if you have basic knowledge of refrigerator mechanics. If you are unsure or uncomfortable with attempting to fix the issue on your own, it is best to seek the assistance of a professional technician.
Now, let’s examine some of the potential causes of a refrigerator not cooling and how to address them.
Key Takeaways:
- Regularly cleaning condenser coils and ensuring proper air circulation can prevent common refrigerator cooling issues, such as inadequate cooling and temperature fluctuations.
- Troubleshooting steps, such as checking power supply and inspecting components like the evaporator fan motor and start relay, can help identify and resolve refrigerator cooling problems.
Read more: Why Is My Standing Fan Squeaking
Possible Causes of Refrigerator Not Cooling
When your refrigerator is not cooling properly, there can be several underlying issues. Here are some of the common causes to consider:
- Dirty Condenser Coils: Over time, the condenser coils at the back or bottom of your refrigerator can become clogged with dust and debris. This can restrict airflow and cause the cooling efficiency to decrease. Regularly cleaning the condenser coils can help resolve this issue.
- Faulty Evaporator Fan Motor: The evaporator fan motor is responsible for circulating cool air throughout the refrigerator. If it fails to operate correctly, the refrigerator may not cool properly. You can check if the fan is running by opening the freezer and listening for the sound of the fan. If it’s not running, it may need to be replaced.
- Malfunctioning Start Relay: The start relay is a component that helps kickstart the compressor. If it becomes faulty, the compressor may not run, resulting in inadequate cooling. You can test the start relay using a multimeter to check for continuity. If it’s defective, it will need to be replaced.
- Damaged Thermostat: The thermostat controls the refrigerator’s temperature. If it is malfunctioning, it may not signal the compressor to run, leading to cooling issues. You can test the thermostat by adjusting the temperature control and listening for a click. If there is no click, the thermostat may need to be replaced.
- Low Refrigerant Charge: Refrigerant is responsible for absorbing heat and cooling the air. If there is a leakage or low refrigerant charge, the refrigerator may not cool properly. Checking for any visible signs of leaks and contacting a professional refrigeration technician to recharge the refrigerant can help resolve this issue.
- Clogged or Frozen Evaporator Coils: The evaporator coils can become clogged with dirt or ice, reducing the cooling efficiency. If you notice ice build-up or obstructed coils, defrosting the refrigerator and clearing any blockages can help restore proper cooling.
- Defective Compressor: The compressor is the heart of the refrigeration system. If it fails, the refrigerator will not cool effectively. You can listen for any unusual noises coming from the compressor or check if it’s running by touching it (be cautious of hot surfaces). If the compressor is faulty, it will need to be replaced by a professional technician.
- Inadequate Air Circulation: Blocking the air vents in the refrigerator can prevent proper airflow and cooling. Make sure there is adequate space around the vents and avoid overpacking the refrigerator, especially near the back wall where the vents are located.
- Improper Temperature Settings: Double-check the temperature settings on your refrigerator to ensure it is set to the desired cooling level. Sometimes, accidentally adjusting the temperature dial can cause the refrigerator to warm up. Setting it to the recommended temperature range, usually between 36 to 38 degrees Fahrenheit (2 to 3 degrees Celsius), is ideal.
Now that we have explored the potential causes of a refrigerator not cooling, let’s move on to troubleshooting steps to help you resolve the issue.
Dirty Condenser Coils
Dirty condenser coils can significantly impact the cooling efficiency of your refrigerator. Over time, dust, dirt, and pet hair can accumulate on the coils located at the back or bottom of the refrigerator. This accumulation acts as an insulator, preventing the coils from releasing heat effectively. As a result, the refrigerator has to work harder and longer to cool down, leading to inadequate cooling or warm temperatures inside the unit.
To address this issue, you will need to clean the condenser coils. Here’s how:
- Unplug the refrigerator from the power source to ensure safety.
- Locate the condenser coils. They are usually located at the back of the refrigerator, behind a panel, or at the bottom behind a grille.
- Use a vacuum cleaner with a brush attachment or a coil cleaning brush to gently remove the debris from the coils. Be careful not to damage the delicate fins of the coils.
- If there is excessive dirt or grime on the coils, you can use a coil cleaning solution or a mixture of mild detergent and water to clean them. Apply the solution to a soft cloth or sponge and wipe the coils gently.
- Once you have cleaned the coils, allow them to dry completely before plugging in the refrigerator and turning it back on.
- Lastly, check if there are any visible signs of damage or wear on the coils. If you notice any bent fins or corrosion, it is recommended to contact a professional technician for further assistance.
Regularly cleaning the condenser coils every 3-6 months can help maintain optimal cooling efficiency and prevent future problems. In addition to cleaning the coils, it is also important to keep the area around the refrigerator clean and free from dust and obstructions to ensure proper airflow.
If cleaning the condenser coils does not resolve the cooling issue, you may need to investigate other potential causes, such as a faulty fan motor, malfunctioning thermostat, or low refrigerant charge. These will be discussed in the following sections.
Faulty Evaporator Fan Motor
The evaporator fan motor plays a crucial role in circulating cool air throughout the refrigerator. It draws air over the evaporator coils, where the refrigerant absorbs heat, and then pushes the cooled air into the fridge and freezer compartments. If the evaporator fan motor is not functioning properly, it can result in inadequate cooling.
Here’s how to troubleshoot a faulty evaporator fan motor:
- First, unplug the refrigerator from the power source to ensure safety.
- Locate the evaporator fan motor. It’s usually found in the freezer compartment behind the back panel or at the back of the refrigerator, near the evaporator coils.
- Check if the fan motor is running by opening the freezer door and listening for the sound of the fan. If you do not hear the fan running or if it’s running at a slower speed than usual, it may indicate a faulty motor.
- Inspect the fan blades for any obstructions such as ice or debris. If there is anything blocking the blades, remove it carefully.
- Test the fan motor by manually spinning the blades. If they are difficult to turn or if the motor does not start running on its own, it is likely that the motor needs to be replaced.
If you determine that the evaporator fan motor needs to be replaced, it’s recommended to consult a professional technician for assistance. They will have the expertise to safely replace the motor and ensure proper functionality.
It’s worth noting that sometimes the fan motor may be fine, but there could be other issues causing the fan not to operate correctly, such as a faulty fan motor relay or a malfunctioning control board. In such cases, professional diagnosis and repair may be necessary.
Resolving a faulty evaporator fan motor should help restore proper cooling in your refrigerator. However, if the issue persists, it’s important to investigate other potential causes, such as a malfunctioning thermostat or a low refrigerant charge. These will be discussed in the following sections.
Malfunctioning Start Relay
A refrigerator’s start relay is responsible for initiating the compressor’s operation, which is vital for cooling. If the start relay is malfunctioning, it can prevent the compressor from running, leading to inadequate cooling or no cooling at all. This is a common issue that can be easily diagnosed and resolved.
Here are the steps to troubleshoot a faulty start relay:
- Unplug the refrigerator from the power source for safety.
- Locate the start relay, which is typically found at the back of the refrigerator, near the compressor.
- Inspect the start relay for any signs of damage, such as burns or loose connections. If there are visible issues, the start relay may need to be replaced.
- To further diagnose the start relay, you can use a multimeter to check for continuity. Set the multimeter to the ohms or resistance setting and touch the probes to the start relay terminals. If there is no continuity, it indicates a faulty start relay.
- If you have determined that the start relay is faulty, it will need to be replaced. It’s important to note that the exact process for replacing the start relay may vary depending on the refrigerator model. It is recommended to consult the manufacturer’s instructions or seek the assistance of a professional technician.
Replacing a malfunctioning start relay should restore proper cooling functionality to your refrigerator. However, if the cooling issue persists, it is essential to investigate other potential causes, such as a damaged thermostat, low refrigerant charge, or clogged evaporator coils. These will be discussed in the following sections.
Remember, if you are unsure about performing any troubleshooting or repair tasks yourself, it is best to seek the help of a qualified technician who has the necessary knowledge and expertise to handle refrigerator repairs safely.
Read more: Why Is My Gpu Fan Not Spinning
Damaged Thermostat
The thermostat in your refrigerator is responsible for regulating the temperature by signaling the compressor to turn on and off as needed. If the thermostat is damaged or not functioning correctly, it can result in improper cooling or inconsistent temperatures inside the refrigerator.
Here are the steps to troubleshoot a damaged thermostat:
- Start by unplugging the refrigerator from the power source to ensure safety.
- Locate the thermostat, which is usually found inside the refrigerator compartment, near the control panel.
- Check the temperature settings on the thermostat. Make sure it is not set to the coldest or warmest setting, as extreme settings may disrupt proper cooling.
- Turn the temperature control knob or switch to different settings and listen for a click sound. The click indicates that the thermostat is signaling the compressor to turn on or off. If there is no click, it may indicate a faulty thermostat.
- Further test the thermostat by using a multimeter to check for continuity. Set the multimeter to the ohms or resistance setting and touch the probes to the thermostat terminals. If there is no continuity, it indicates a faulty thermostat.
- If you have determined that the thermostat is damaged, it will need to be replaced. Consult your refrigerator’s user manual or contact a professional technician for guidance on replacing the thermostat. They will have the necessary expertise to safely handle the repair.
Replacing a damaged thermostat should help restore proper temperature control and cooling in your refrigerator. However, if the issue persists, it is crucial to investigate other potential causes, such as a faulty evaporator fan motor, low refrigerant charge, or clogged evaporator coils. These will be discussed in the following sections.
Remember, when performing any troubleshooting or repair tasks, ensure that the refrigerator is unplugged and be cautious of any sharp or electrical components. If you are uncomfortable with any step or unsure about your abilities, it is best to seek professional assistance to avoid any accidents or further damage to the appliance.
Low Refrigerant Charge
Refrigerant is a crucial component in the cooling process of a refrigerator. It absorbs heat from the air inside the refrigerator and releases it outside, allowing for the cooling of the interior compartments. If the refrigerator has a low refrigerant charge or if there is a refrigerant leak, it can result in inadequate cooling or complete loss of cooling.
Here’s how to troubleshoot and address low refrigerant charge:
- First, unplug the refrigerator from the power source to ensure safety.
- Locate the refrigerant lines, which are usually found at the back of the refrigerator or within the condenser unit.
- Inspect the lines for any visible signs of leakage, such as oil spots or hissing sounds. If you notice any signs of leakage, it is best to contact a professional refrigeration technician to handle the repair. Refrigerant handling requires specialized knowledge and equipment.
- If there are no visible signs of leakage, but you suspect a low refrigerant charge, it is crucial to contact a professional technician. They will have the necessary tools and expertise to check the refrigerant levels accurately and recharge the system if needed.
It’s important to note that refrigerant recharge is not a DIY task and should only be performed by qualified professionals. They will ensure the correct type and amount of refrigerant is used and address any potential leaks or issues.
Resolving a low refrigerant charge will help restore proper cooling in your refrigerator. However, if the cooling problem persists, it is essential to investigate other potential causes, such as clogged or frozen evaporator coils, a malfunctioning compressor, or inadequate air circulation. These will be discussed in the following sections.
Remember, refrigerant handling requires specialized knowledge and equipment. It is always recommended to seek the assistance of a professional technician for any refrigerant-related issues to ensure the safety and proper functioning of your refrigerator.
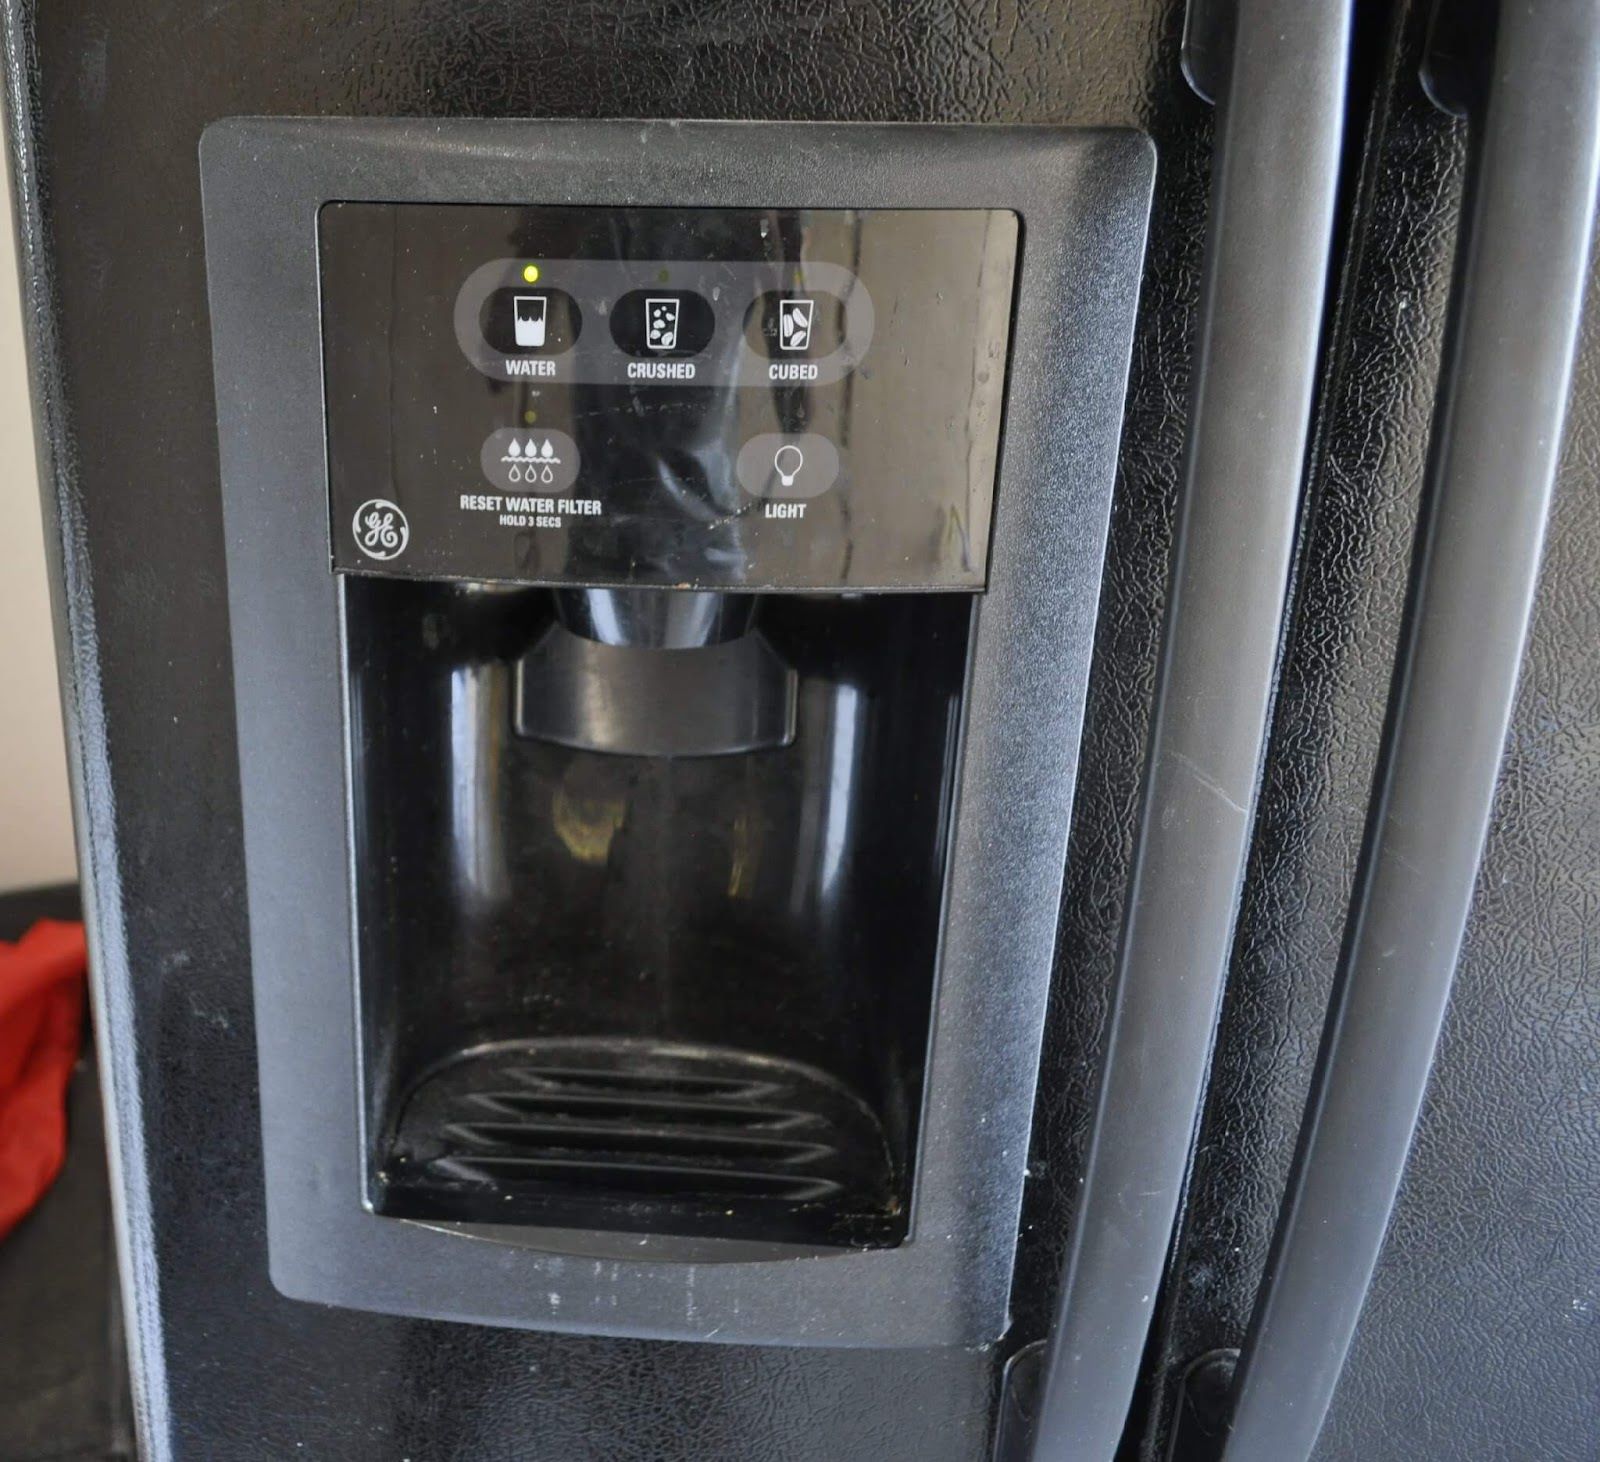
Check the condenser coils for dirt and debris. Dirty coils can cause the refrigerator to not cool properly. Use a coil brush to clean them and improve cooling efficiency.
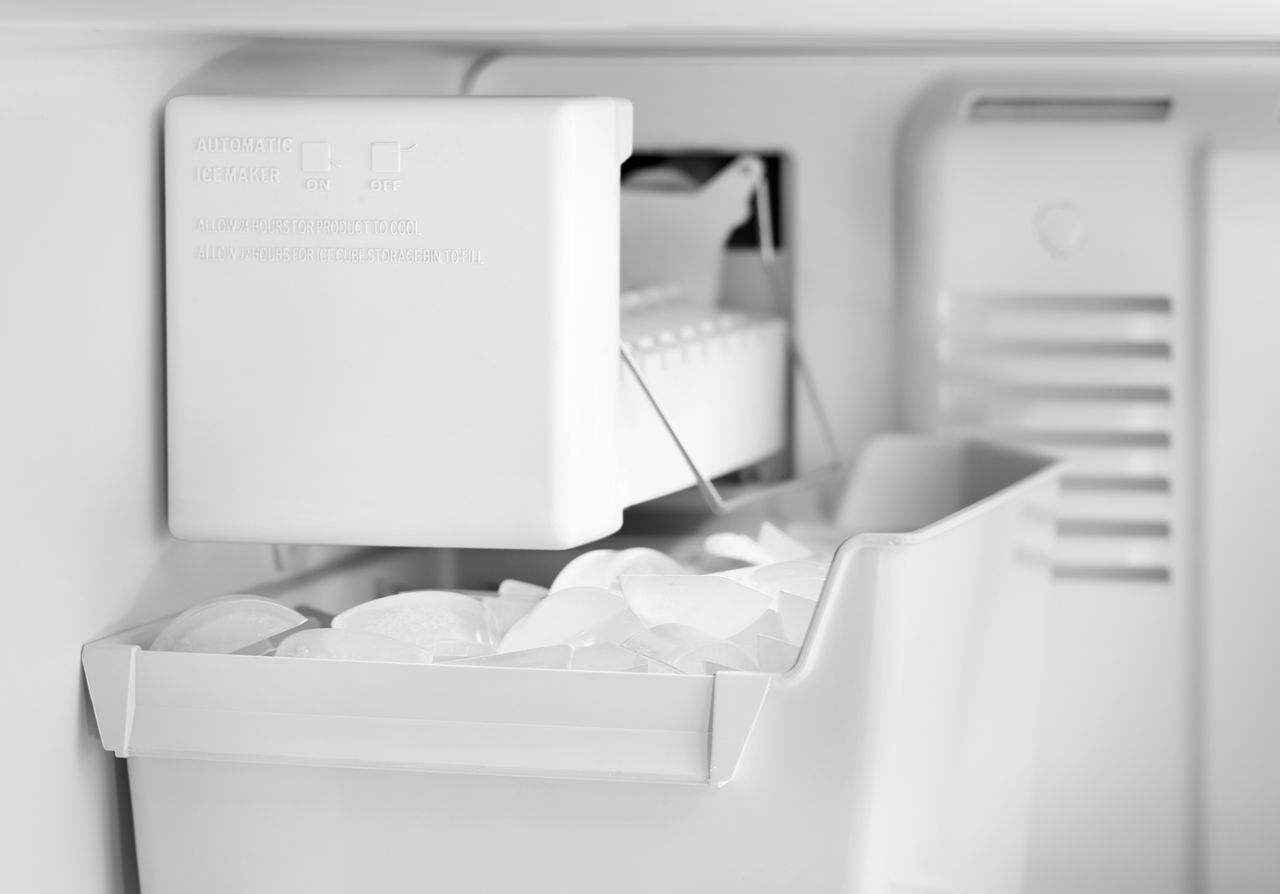
Clogged or Frozen Evaporator Coils
The evaporator coils in your refrigerator play a vital role in removing heat from the air to cool down the interior compartments. However, over time, these coils can become clogged with dirt, debris, or ice, which can impede their ability to absorb heat efficiently. As a result, the refrigerator may not cool properly or may not cool at all.
Here’s how to troubleshoot and address clogged or frozen evaporator coils:
- Start by unplugging the refrigerator from the power source for safety.
- Locate the evaporator coils, which are typically found behind a panel in the freezer compartment or at the back of the refrigerator.
- Inspect the coils for any visible signs of dirt, dust, or ice buildup. If you notice any blockages or ice accumulation, it indicates clogged or frozen coils.
- If the coils are covered in ice, it is crucial to defrost them before proceeding. You can do this by turning off the refrigerator and leaving the freezer door open to allow the ice to melt naturally. Placing towels or a shallow pan to collect the melting ice can help prevent water damage.
- Once the ice has melted, clean the coils using a soft brush or a coil cleaning tool to remove any remaining debris. Be careful not to damage the delicate fins of the coils.
- After cleaning the coils, reassemble any panels or covers that were removed during the process.
- Plug in the refrigerator and turn it back on. Monitor the temperature to ensure that the cooling is restored.
Regularly cleaning the evaporator coils every few months can help prevent them from becoming clogged or frozen in the future, ensuring efficient cooling performance.
If clogged or frozen evaporator coils were the cause of the cooling issue, cleaning and defrosting them should restore proper cooling in your refrigerator. However, if the problem persists, it is important to investigate other potential causes, such as a malfunctioning compressor, improper airflow, or low refrigerant charge. These will be discussed in the following sections.
Remember, if you are unsure or uncomfortable with performing any troubleshooting or repair tasks on your own, it is best to seek professional assistance to avoid any risks or further damage to the appliance.
Defective Compressor
The compressor is often referred to as the heart of a refrigerator’s cooling system. It is responsible for compressing the refrigerant gas and circulating it through the condenser and evaporator coils to remove heat from the interior of the refrigerator. If the compressor is defective or fails to operate correctly, it can result in insufficient cooling or no cooling at all.
Here’s how to troubleshoot and address a defective compressor:
- Start by unplugging the refrigerator from the power source for safety.
- Locate the compressor, which is typically found at the back of the refrigerator, often covered by a metal or plastic panel.
- Listen for any unusual noises coming from the compressor. Grinding, clicking, or buzzing sounds could indicate a compressor issue.
- Check if the compressor is running by touching it carefully. If it feels excessively hot or vibrating excessively, it may indicate a problem with the compressor motor.
- If you suspect a defective compressor, it is recommended to contact a professional technician. They will have the expertise and tools to properly diagnose the issue and determine if a compressor replacement is necessary.
Replacing a defective compressor is a complex task that requires specialized knowledge and expertise. It is not recommended for DIY repair. A professional technician will ensure the correct replacement compressor is installed and the system is properly recharged with refrigerant.
If a defective compressor is found to be the cause of the cooling problem, replacing the compressor should restore proper cooling in your refrigerator. However, it is important to note that if the refrigerator is older or experiencing other significant issues, it may be more cost-effective to consider replacing the entire unit.
Continue to the next sections to explore other potential causes of a refrigerator not cooling, such as inadequate air circulation and improper temperature settings.
Remember, when dealing with a faulty compressor or any complex repairs, it is best to rely on the expertise of a professional technician to ensure the safety and proper functioning of your refrigerator.
Read more: Why Is My Ceiling Fan Clicking
Inadequate Air Circulation
Adequate air circulation is essential for proper cooling in a refrigerator. When the air cannot flow freely, it can result in uneven cooling or warm spots within the refrigerator compartments. Inadequate air circulation can occur due to various factors, including overcrowding, blocked vents, or malfunctioning fans.
Here’s how to troubleshoot and address inadequate air circulation:
- Start by unplugging the refrigerator from the power source to ensure safety.
- Inspect the interior of the refrigerator and freezer to check for any items that may be blocking the vents. Overcrowding the shelves can restrict the airflow and hinder proper cooling. Rearrange the contents to create space and allow for better circulation.
- Check the air vents located in the refrigerator and freezer compartments. Ensure they are not blocked by food items or debris. Clear any obstructions to allow the air to flow freely.
- Verify if the evaporator fan motor is running properly. Open the freezer compartment and listen for the sound of the fan. If it is not running or running at a slower speed, it may need to be replaced. A faulty fan can hinder airflow and affect cooling efficiency.
- Inspect the door seals to ensure they are in good condition and properly sealing. Damaged or worn-out door seals can allow warm air to enter the refrigerator, affecting cooling performance. If the seals are damaged, they will need to be replaced.
- Ensure that the refrigerator is not placed too close to walls or other objects that could obstruct airflow. Leave some space around the refrigerator to allow for proper ventilation.
- Once you have addressed any issues with ventilation and airflow, plug in the refrigerator and turn it back on. Monitor the temperature to ensure that the cooling is consistent.
Optimizing air circulation within the refrigerator should help restore proper cooling. However, if the problem persists, it is important to investigate other potential causes, such as improper temperature settings or other mechanical issues.
Remember, regular maintenance, such as cleaning the vents and ensuring proper airflow, can help prevent future problems with inadequate air circulation in your refrigerator.
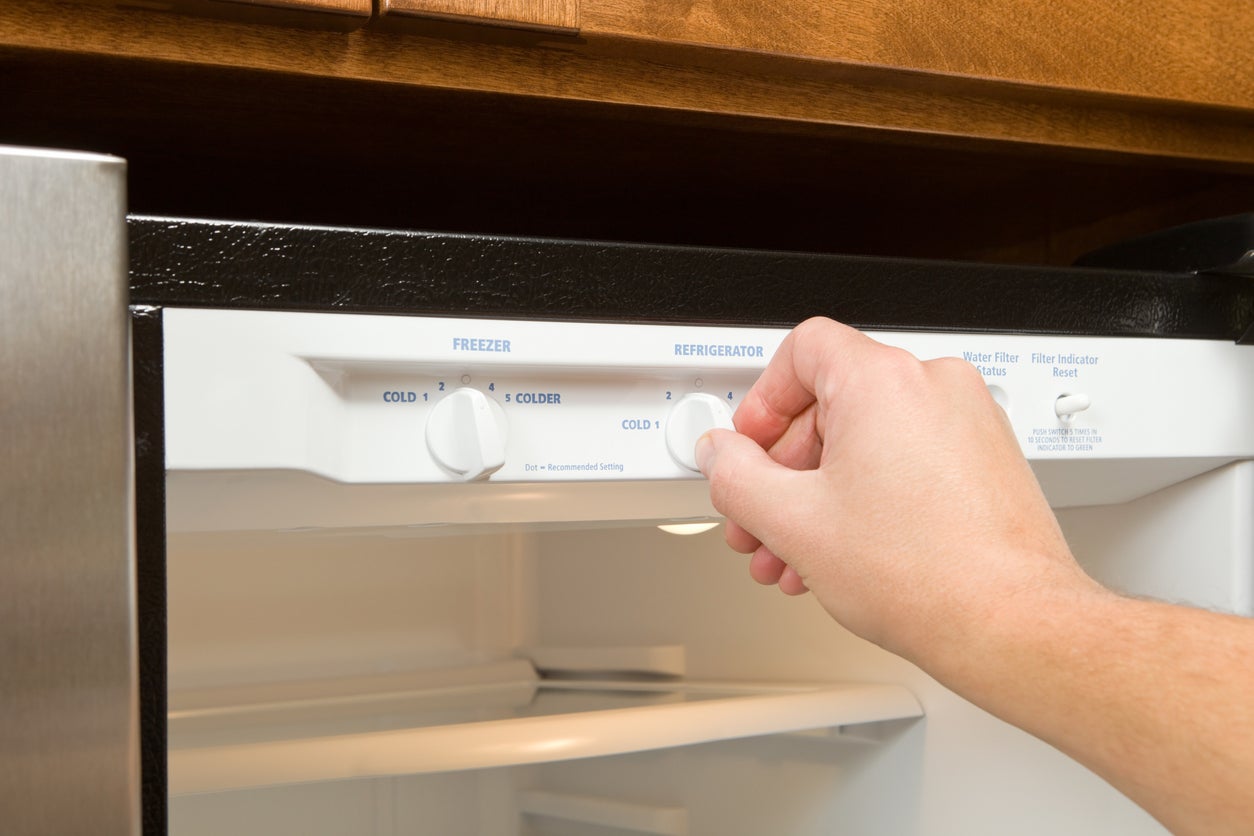
Improper Temperature Settings
Setting the temperature correctly in your refrigerator is crucial for maintaining proper cooling. If the temperature settings are too high or too low, it can result in inadequate cooling and fluctuating temperatures inside the refrigerator compartments.
Here’s how to troubleshoot and address improper temperature settings:
- Start by unplugging the refrigerator from the power source for safety.
- Check the temperature control settings on your refrigerator. The control may be a dial, slider, or digital display.
- Refer to the manufacturer’s instructions or user manual to determine the recommended temperature range for your model. Typically, refrigerator compartments should be set between 36 to 38 degrees Fahrenheit (2 to 3 degrees Celsius).
- Adjust the temperature control to the desired setting within the recommended range.
- Wait for a few hours to allow the refrigerator to stabilize at the new temperature setting.
- Monitor the temperature inside the refrigerator using a thermometer to ensure that it is maintaining the desired temperature. Place the thermometer in a glass of water and leave it in the refrigerator for accurate readings.
- If the temperature is still not within the desired range, it may indicate a faulty thermostat or control board. In such cases, it is recommended to contact a professional technician for further diagnosis and repair.
Properly setting the temperature in your refrigerator is essential for maintaining optimal food preservation and cooling efficiency. It is recommended to periodically check the temperature and make adjustments as necessary, especially during seasonal changes.
If you have addressed the temperature settings, but the cooling problem persists, it is important to investigate other potential causes such as a malfunctioning thermostat, clogged coils, or a defective compressor.
Remember, when troubleshooting temperature-related issues, it is advisable to seek professional assistance if you are unfamiliar with the inner workings of your refrigerator or if the issue is complex.
Troubleshooting Steps to Fix a Refrigerator Not Cooling Issue
When your refrigerator is not cooling properly, it can be a frustrating experience. However, there are several troubleshooting steps you can take to identify and fix the issue. Here are some steps to follow:
- Check the power supply: Ensure that the refrigerator is properly plugged into a working power outlet. Check the circuit breaker or fuse box to ensure there are no tripped breakers or blown fuses. If the refrigerator has a power switch, make sure it is turned on.
- Clean the condenser coils: Dirty condenser coils can impede cooling efficiency. Locate the condenser coils (usually at the back or bottom of the refrigerator) and clean them using a vacuum cleaner or a brush to remove dust and debris.
- Inspect the evaporator fan motor: The evaporator fan motor circulates cool air throughout the refrigerator. If it’s not running, check for any obstructions or signs of damage. Replace the fan motor if necessary.
- Check the start relay: The start relay is responsible for starting the compressor. If it is faulty, the compressor may not run. Test the start relay using a multimeter and replace it if needed.
- Examine the thermostat: A defective thermostat can prevent the refrigerator from reaching the desired temperature. Check the thermostat settings and listen for a click when adjusting the temperature. Replace the thermostat if it’s damaged or not functioning properly.
- Inspect for low refrigerant charge: Low refrigerant levels can lead to inadequate cooling. Look for signs of leakage or contact a professional technician to check the refrigerant levels and recharge the system if necessary.
- Clear clogged or frozen evaporator coils: Clogged or frozen evaporator coils can obstruct airflow and affect cooling. Defrost the coils and clean them to restore proper functionality.
- Check the compressor: A defective compressor can cause cooling issues. Listen for unusual noises or excessive vibration. If the compressor is faulty, it will need to be replaced by a professional technician.
- Ensure adequate air circulation: Blocked air vents or overcrowding can hinder airflow. Clear any obstructions and ensure sufficient space around the refrigerator for proper ventilation.
- Verify temperature settings: Adjust the temperature control to the recommended range (usually between 36 to 38 degrees Fahrenheit or 2 to 3 degrees Celsius) and monitor the temperature with a thermometer to ensure it remains within the desired range.
It’s important to note that while these troubleshooting steps can help resolve common issues, refrigerator mechanics can be complex. If you are unsure or uncomfortable with performing any repairs yourself, it is best to seek the assistance of a professional technician. They have the expertise to diagnose and fix more complex problems, ensuring the proper functioning of your refrigerator.
By following these troubleshooting steps, you can identify and resolve many common causes of a refrigerator not cooling properly. However, if the issue persists, it may require professional intervention to diagnose and address the problem effectively.
Conclusion
A refrigerator not cooling properly can be a frustrating problem that needs to be resolved promptly. By understanding the potential causes and following the appropriate troubleshooting steps, you can often identify and fix the issue, restoring proper cooling functionality to your appliance.
In this article, we explored some of the common causes of a refrigerator not cooling, including dirty condenser coils, a faulty evaporator fan motor, malfunctioning start relay, damaged thermostat, low refrigerant charge, clogged or frozen evaporator coils, defective compressor, inadequate air circulation, and improper temperature settings.
We discussed how to address each of these issues through cleaning condenser coils, replacing a faulty fan motor or start relay, replacing a damaged thermostat, recharging refrigerant levels, defrosting and cleaning evaporator coils, replacing a defective compressor, ensuring proper air circulation, and correctly setting the temperature controls.
However, it’s important to note that refrigerator mechanics can be complex, and if you are unsure or uncomfortable with performing any repairs yourself, it is always best to seek the assistance of a professional technician. They have the knowledge, experience, and proper tools to diagnose and fix complex issues.
Regular maintenance, such as cleaning condenser coils, checking air vents, and ensuring proper airflow, can help prevent many of these problems from occurring. Additionally, paying attention to temperature settings and promptly addressing any cooling issues can help extend the lifespan of your refrigerator and ensure the freshness and quality of your food.
Remember, the troubleshooting steps provided in this article are general guidelines, and it is important to consult your refrigerator’s user manual or contact the manufacturer for specific instructions tailored to your appliance model.
We hope this article has been helpful in assisting you in troubleshooting and resolving a refrigerator not cooling issue. By following the appropriate steps, you can potentially avoid costly repairs or the need for a new refrigerator, and instead, enjoy the reliable cooling performance of your appliance once again.
If your fridge isn't cooling properly, you might be facing issues that require more than a quick fix. For those who've enjoyed our guide on troubleshooting a non-cooling refrigerator, diving deeper into DIY fixes could save you time and money. Need to tackle repairs directly? Our detailed guide on refrigerator repair offers practical steps to get your appliance back in top shape. Alternatively, if you're dealing with ice maker glitches, learning effective refrigerator maintenance strategies could prevent future problems and keep your machine running smoothly.
Frequently Asked Questions about Why Is My Refrigerator Not Cooling
Was this page helpful?
At Storables.com, we guarantee accurate and reliable information. Our content, validated by Expert Board Contributors, is crafted following stringent Editorial Policies. We're committed to providing you with well-researched, expert-backed insights for all your informational needs.


0 thoughts on “Why Is My Refrigerator Not Cooling”