Home>Articles>How To Make Dried Flower Arrangements In Vases
Articles
How To Make Dried Flower Arrangements In Vases
Modified: February 7, 2024
Learn how to make stunning dried flower arrangements in vases with our informative articles. Discover tips, techniques, and inspiration for creating unique floral displays.
(Many of the links in this article redirect to a specific reviewed product. Your purchase of these products through affiliate links helps to generate commission for Storables.com, at no extra cost. Learn more)
Introduction
Welcome to the wonderful world of dried flower arrangements in vases! If you are looking to add a touch of natural beauty and everlasting charm to your home or office, dried flower arrangements are the perfect choice. Not only do they bring the enchanting essence of nature indoors, but they also offer a unique and sustainable way to decorate your space.
In this article, we will guide you through the process of creating stunning dried flower arrangements in vases. From selecting the right flowers to designing the arrangement and maintaining its beauty, we will cover everything you need to know to make your own exquisite floral masterpiece.
But first, let’s talk about the materials you will need to get started.
Key Takeaways:
- Creating stunning dried flower arrangements in vases requires careful selection of flowers, proper preparation, and thoughtful design. With patience and creativity, you can capture the everlasting beauty of nature in your own unique floral masterpiece.
- To maintain the longevity of your dried flower arrangements, it’s essential to provide proper care by avoiding direct sunlight, minimizing moisture exposure, and regularly dusting the flowers. With attention to detail and a touch of creativity, your arrangements can bring lasting beauty to your space.
Materials Needed
To create beautiful dried flower arrangements in vases, you will need the following materials:
- A variety of fresh flowers: Choose flowers that have just started to bloom and are not fully opened.
- Pruning shears or scissors: These will help you trim the stems and remove any unwanted foliage.
- Vases: Select vases of different shapes, sizes, and materials to add visual interest to your arrangements.
- Floral tape: This will be used to secure the stems and create a grid to hold the flowers in place.
- Floral foam or chicken wire: These can be used as a base to provide stability and support for the flowers.
- Decorative elements: Optional items such as ribbons, dried grasses, feathers, or beads can be used to add a personal touch to your arrangements.
- A well-ventilated space: Drying flowers can release pollen and other particles, so it’s best to work in a room with good air circulation.
- Time and patience: Drying flowers is a process that requires time and patience, so be prepared to let nature work its magic.
Now that you have all the necessary materials, let’s move on to the next step – choosing the right flowers for your dried flower arrangements.
Choosing the Right Flowers
When it comes to dried flower arrangements, not all flowers are created equal. Some flowers retain their color, shape, and texture better than others when dried. Here are a few popular flower choices that work well for dried arrangements:
- Roses: Roses are known for their romantic and timeless beauty, and they retain their color well when dried.
- Lavender: With its lovely fragrance and delicate purple flowers, lavender adds a rustic charm to dried arrangements.
- Sunflowers: These cheerful flowers with their vibrant yellow color and large size make a bold statement in dried arrangements.
- Hydrangeas: Hydrangeas dry beautifully and come in a variety of colors, making them a versatile choice for arrangements.
- Statice: With its tiny, papery flowers in various shades of purple, blue, and white, statice adds texture and visual interest to dried arrangements.
- Wheat: Wheat stalks are popular for their natural, rustic look and can be incorporated into dried flower arrangements for a touch of country charm.
When choosing flowers for your dried arrangements, it’s important to select flowers that are just beginning to bloom and are not fully opened. This ensures that they will retain their shape and color during the drying process. Avoid using flowers that are wilted or damaged, as they will not dry well.
It’s also a good idea to mix different types of flowers to add variety and texture to your arrangements. Combine blooms of different sizes, shapes, and colors to create a visually appealing composition.
Now that you’ve chosen your flowers, let’s move on to the next step – preparing the flowers for drying.
Preparing the Flowers for Drying
Before you begin the drying process, it’s important to prepare your flowers to ensure they dry properly and retain their beauty. Here are the steps to follow:
- Harvest at the right time: Choose flowers that are in their prime but not fully opened. Morning tends to be the best time to harvest flowers when they are still fresh and hydrated.
- Remove excess foliage: Trim the stems of your flowers and remove any excess leaves or foliage that will not contribute to the overall look of your dried arrangement. This will also help the flowers dry faster and more evenly.
- Remove thorns and prickles: If you’re working with roses or other thorny flowers, use gardening gloves and carefully remove the thorns and prickles from the stems. This will make it easier to handle and arrange the dried flowers later on.
- Bunch the flowers together: Gather a small bunch of flowers, securing them with a rubber band or string. This will help them maintain their shape as they dry.
- Hang them upside down: Hang the flower bunches upside down in a warm, well-ventilated area. This allows air to circulate around the flowers and encourages even drying.
Keep in mind that drying times will vary depending on the type of flower and the environmental conditions. Some flowers may take a few weeks to dry completely, while others may take longer. Be patient and allow the flowers to dry naturally without rushing the process.
Once your flowers are fully dried, it’s time to move on to the next step – choosing a drying method that suits your needs and preferences.
Drying Methods
There are several different methods you can use to dry your flowers, each with its own advantages and considerations. Here are three popular methods for drying flowers:
- Air Drying: This is the most traditional and simple method of drying flowers. To air dry your flowers, hang them upside down in a cool, dark, and well-ventilated area. Make sure the flowers are spread out and not touching each other to allow for proper air circulation. This method works best for flowers with sturdy stems, such as roses, lavender, and statice.
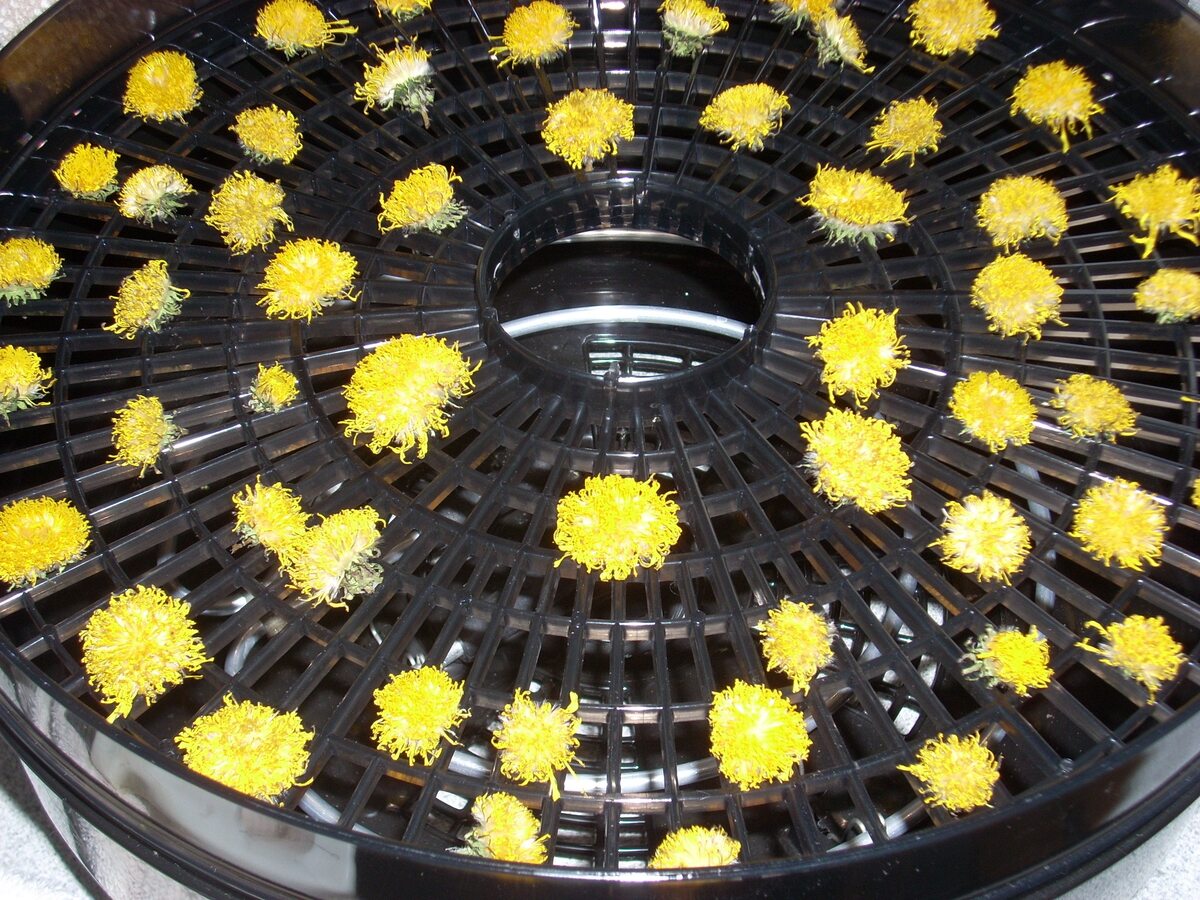
- Oven Drying: If you’re looking for a quicker drying method, you can use your oven. Preheat your oven to its lowest setting and place the flowers on a baking sheet lined with parchment paper. Keep a close eye on the flowers and check them frequently to prevent scorching or overheating. This method is suitable for flowers like daisies, zinnias, and marigolds.
- Silica Gel Drying: Silica gel is a desiccant that absorbs moisture quickly, making it an excellent option for drying delicate flowers that may lose their shape or color when air-dried. Fill a container with silica gel and bury the flowers inside, making sure they are completely covered. Leave them undisturbed for several days until they are dry. Silica gel can be reused multiple times, making it a cost-effective option.
Each method has its pros and cons, so choose the one that aligns with your preferences and the type of flowers you are working with. Regardless of the method you choose, remember to handle the dried flowers delicately to avoid breaking or damaging them.
Now that your flowers are dried and ready, it’s time to move on to the fun part – designing the arrangement.
Air Drying
Air drying is the most traditional and widely-used method for drying flowers. It is a simple and effective way to preserve the natural beauty of your blooms. Here are the steps to air dry your flowers:
- Prepare the flowers: Trim the stems of your flowers to your desired length, removing any excess foliage that may impede the drying process. It’s best to do this right after harvesting the flowers when they are still fresh.
- Secure the stems: Bundle a few flowers together, securing the stems with a rubber band or string. This will help maintain the shape of the arrangement as the flowers dry.
- Select an ideal location: Find a cool, dark, and well-ventilated area to hang the flower bundles. Avoid areas with direct sunlight, as it can cause the colors to fade. Make sure there is enough space between the flower bundles to allow for proper airflow.
- Hang the flowers: Attach the flower bundles upside down from a hook or a clothesline using a string or twine. Ensure that the flowers are not touching each other, as this can lead to moisture retention and mold growth.
- Be patient: Leave the flowers undisturbed for several weeks or until they are completely dry. The drying time will vary depending on the flower type and environmental conditions, so be patient and resist the urge to check on them too frequently.
- Test for dryness: To check if the flowers are dry, gently touch the petals. If they feel crisp and paper-like, they are ready. If they are still slightly pliable or retain any moisture, give them more time to dry.
- Remove and store: Once the flowers are completely dry, carefully remove them from the drying location. Remove any rubber bands or strings, and gently shake off any loose petals or debris. You can now store your dried flowers in airtight containers or use them to create beautiful arrangements.
Air drying is a simple and cost-effective method that allows the natural beauty and shape of the flowers to be preserved. It is well-suited for flowers with sturdy stems like roses, lavender, and statice.
Now that you know how to air dry your flowers, you can move on to the next step – choosing a drying method that suits your needs and preferences.
Oven Drying
If you’re looking for a quicker method to dry your flowers, oven drying is a great option. It provides faster results compared to air drying, and it works well with flowers that are more delicate or prone to losing their color when air-dried. Here are the steps to oven dry your flowers:
- Preheat your oven: Start by preheating your oven to its lowest temperature. Most ovens have a setting between 140°F (60°C) and 200°F (93°C).
- Prepare the flowers: Trim the stems of your flowers and remove any excess foliage. This will help the flowers dry more evenly and prevent them from touching the oven rack.
- Arrange the flowers: Lay the flowers in a single layer on a baking sheet lined with parchment paper. Make sure to leave some space between the flowers to allow for airflow.
- Place in the oven: Place the baking sheet with the flowers in the preheated oven. Keep a close eye on the flowers to prevent overheating or scorching.
- Monitor and rotate: Check the flowers every 15-30 minutes and rotate the baking sheet to ensure even drying. The drying time will vary depending on the flower type and the oven temperature, so be vigilant.
- Test for dryness: To check if the flowers are dry, gently touch the petals. They should feel crispy and papery. If they are still slightly moist or pliable, continue drying them for a little longer.
- Remove and cool: Once the flowers are completely dry, remove them from the oven and let them cool on a wire rack. This will help them retain their shape and prevent moisture buildup.
Oven drying is a convenient method that allows for faster drying times. However, it’s important to keep a close eye on the flowers to prevent overheating or scorching. Oven drying is ideal for flowers like daisies, zinnias, and marigolds that may lose their color or shape when air-dried.
Now that you know how to oven dry your flowers, you can move on to the next step – choosing a drying method that suits your needs and preferences.
Silica Gel Drying
Silica gel drying is a method that works well for preserving the shape and color of delicate flowers. Silica gel is a desiccant that rapidly absorbs moisture, making it an effective option for drying flowers. Here are the steps to silica gel dry your flowers:
- Select a container: Choose a container with a tight-fitting lid, such as a plastic or glass container. Make sure it is deep enough to accommodate the flowers and has enough room for the silica gel.
- Prepare the flowers: Trim the stems of your flowers to your desired length, removing any excess foliage. Keep the stems long enough to insert into the silica gel without touching the sides or bottom of the container.
- Add a layer of silica gel: Pour a layer of silica gel into the container, approximately 1 inch deep. Spread it evenly to create a level surface.
- Place the flowers: Gently place the flower stems upright into the layer of silica gel, making sure they are evenly spaced and not touching each other or the sides of the container. The silica gel should surround the flowers, but not bury them completely.
- Fill the container: Carefully pour more silica gel over the flowers, ensuring that they are completely covered and supported by the gel. Use a spoon or spatula to gently arrange the gel around the flowers, ensuring they maintain their shape. The gel will slowly dry out the flowers as it absorbs the moisture.
- Seal the container: Close the container tightly with its lid to create an airtight seal. This will prevent moisture in the air from affecting the drying process.
- Let it dry: Leave the container undisturbed for several days or weeks, depending on the flower type and size. The drying time may vary, so it’s important to be patient and resist the urge to check on the flowers too often.
- Check for dryness: After the drying period, carefully remove a flower from the silica gel and gently touch the petals. If they feel dry, crisp, and papery, they are ready. If they are still slightly pliable or retain any moisture, give them more time to dry.
- Remove and clean: When the flowers are completely dry, carefully remove them from the container, shaking off any excess silica gel. Use a soft brush or a can of compressed air to clean off any remaining silica gel from the flowers.
Silica gel drying is a great option for delicate flowers that may lose their shape or color when air-dried. It provides a controlled drying environment and helps preserve the intricate details of the flowers.
Now that you know how to silica gel dry your flowers, you can move on to the next step – designing the arrangement.
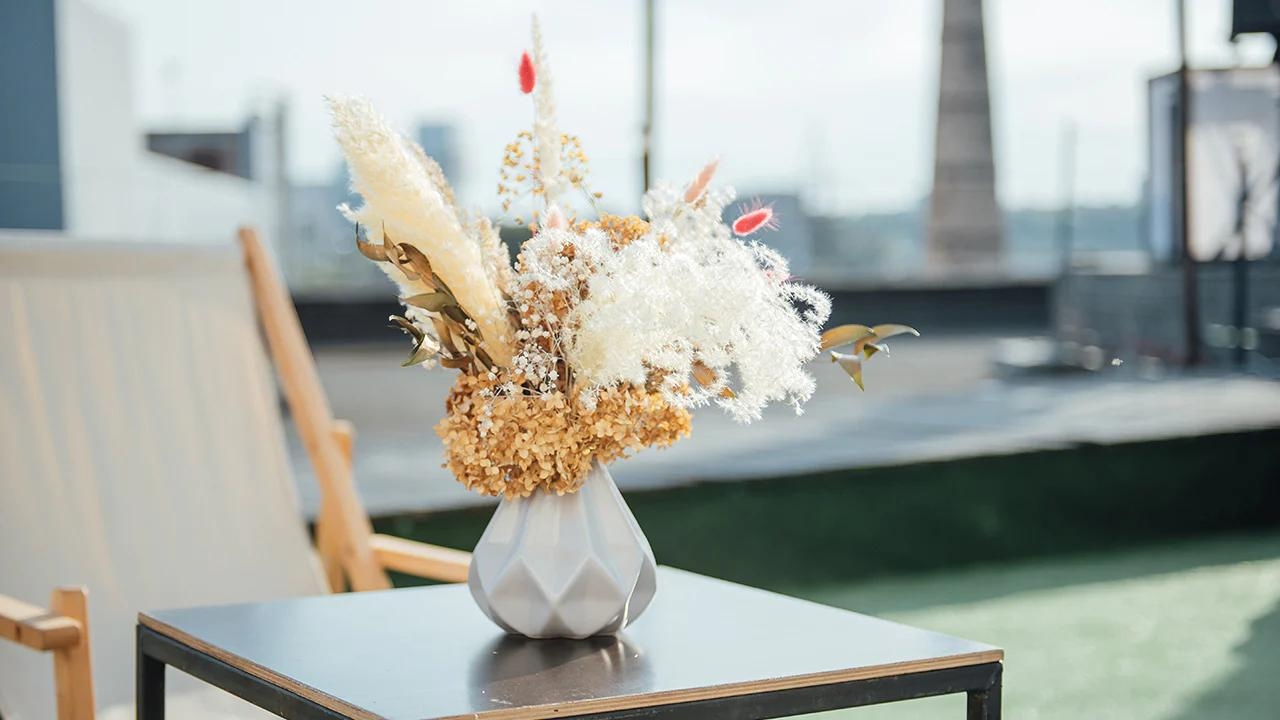
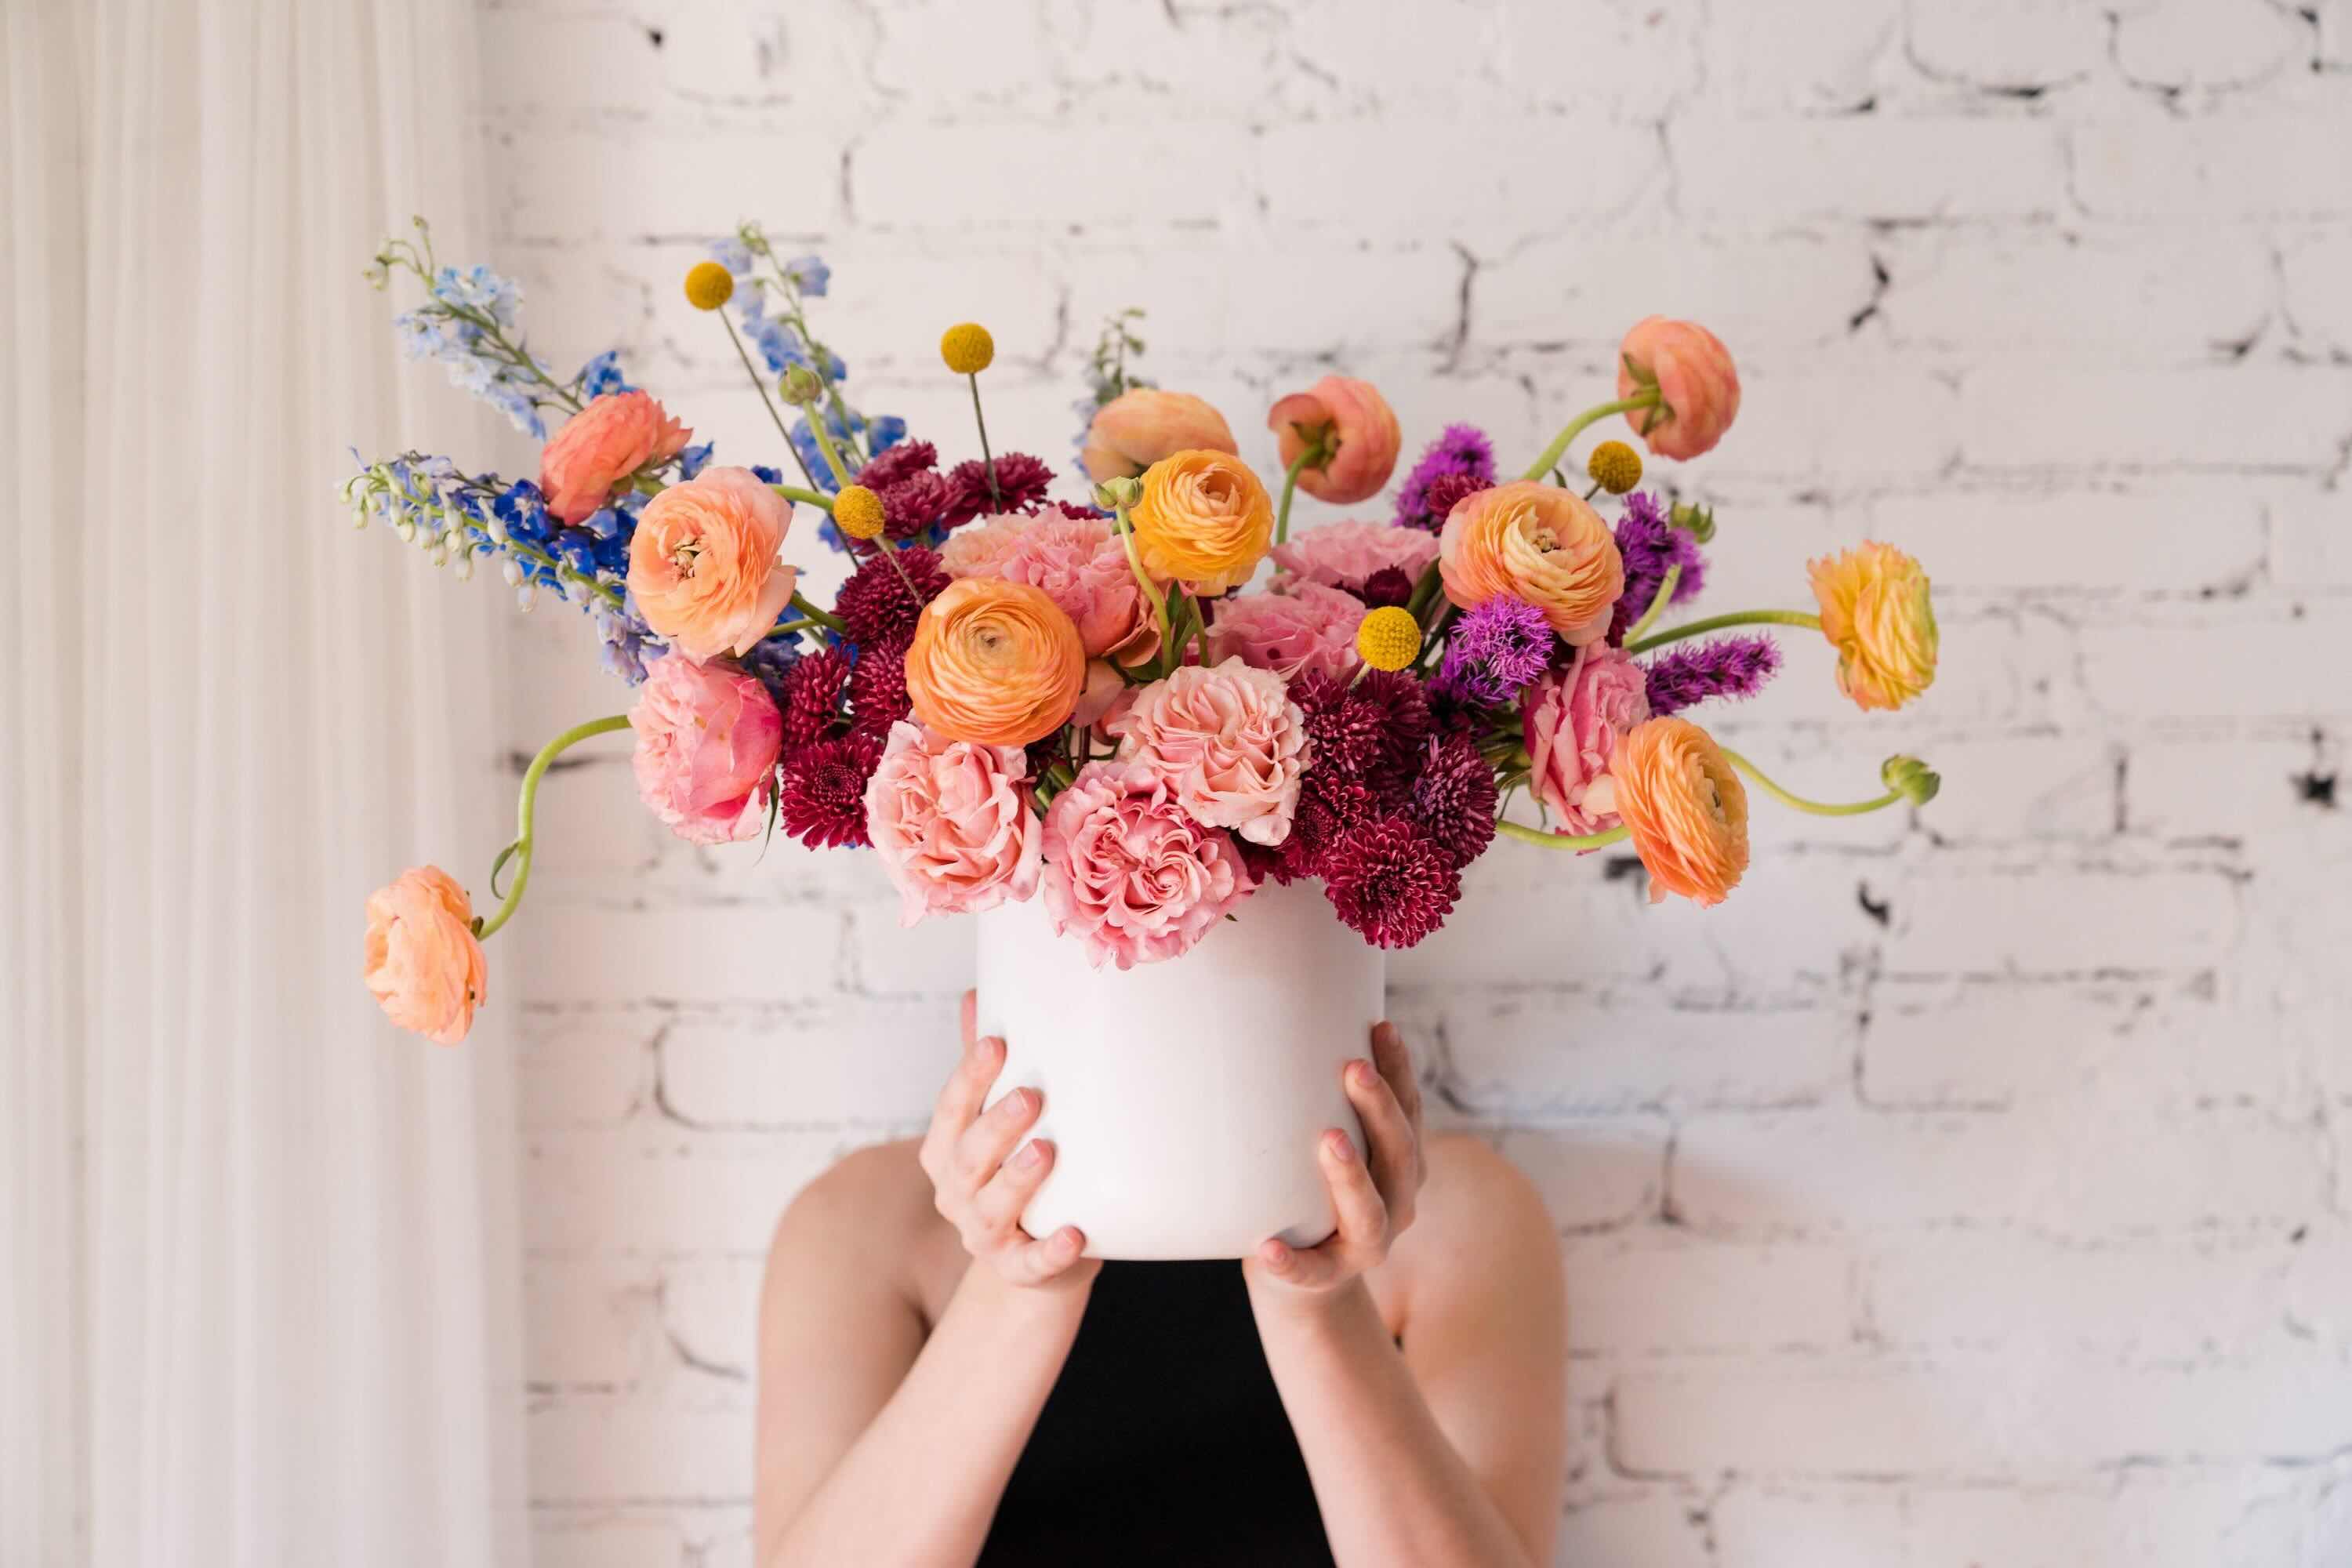
Designing the Arrangement
Now that you have your dried flowers ready, it’s time to let your creativity shine by designing a beautiful arrangement. Here are some steps to help you create a stunning dried flower arrangement:
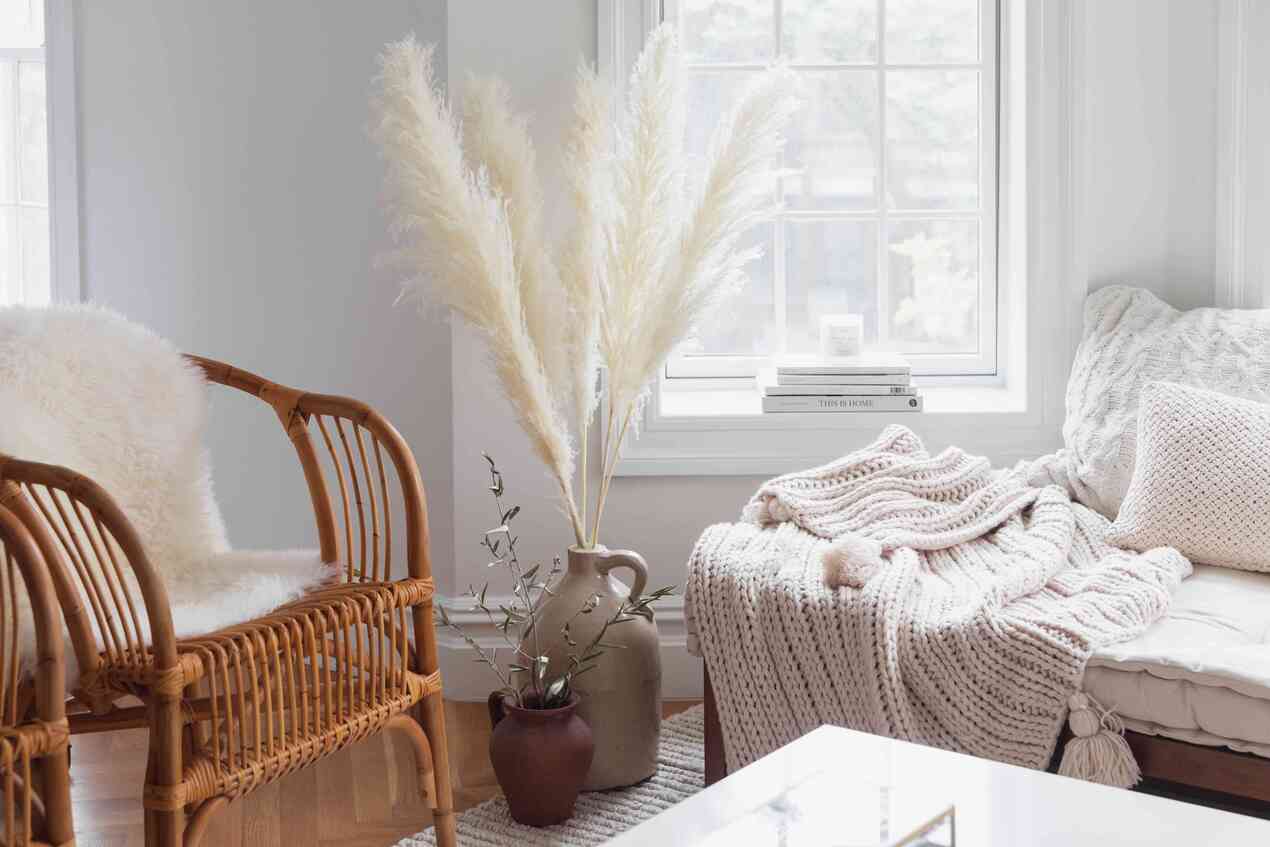
- Select a vase: Choose a vase that complements the style and colors of your dried flowers. Consider the size and shape of the vase to ensure it can properly accommodate the arrangement.
- Build the base: Start by creating a base layer in the vase using floral foam or chicken wire. This will provide stability and support for the flowers as you arrange them. Cut the foam or shape the chicken wire to fit snugly in the vase.
- Style the arrangement: Begin by placing the larger dried flowers in the center of the vase to serve as focal points. Play around with different heights and angles to create visual interest. Use floral tape to secure the stems and keep them in place.
- Add focal flowers: Surround the focal flowers with medium-sized blooms to add depth and texture to the arrangement. These flowers should complement the focal flowers in color and shape.
- Arrange fillers and greenery: Introduce smaller dried flowers, grasses, or foliage to fill in any gaps and create a fuller look. These elements can add texture and a natural touch to the arrangement.
- Consider symmetry and balance: As you place the flowers, aim for a sense of symmetry and balance. Distribute the flowers evenly throughout the arrangement, considering their colors, shapes, and sizes.
- Final touches and decorative elements: Add finishing touches to enhance the arrangement. Consider adding decorative elements like ribbons, dried grasses, feathers, or beads to elevate the design and reflect your personal style.
Remember to step back and evaluate your arrangement as you go along. Adjust and rearrange the flowers as needed until you achieve the desired look.
Once you have finalized your arrangement, place it in a prominent spot where it can be admired. Dried flower arrangements can last for a long time if properly cared for, bringing lasting beauty to your space.
Now that you have learned how to design a dried flower arrangement, let’s move on to the care and maintenance of these delightful creations.
When making dried flower arrangements in vases, choose a variety of flowers with different shapes and sizes for visual interest. Additionally, consider using a mix of textures and colors to create a dynamic and eye-catching arrangement.
Read more: How To Make Outdoor Flower Pot Arrangements
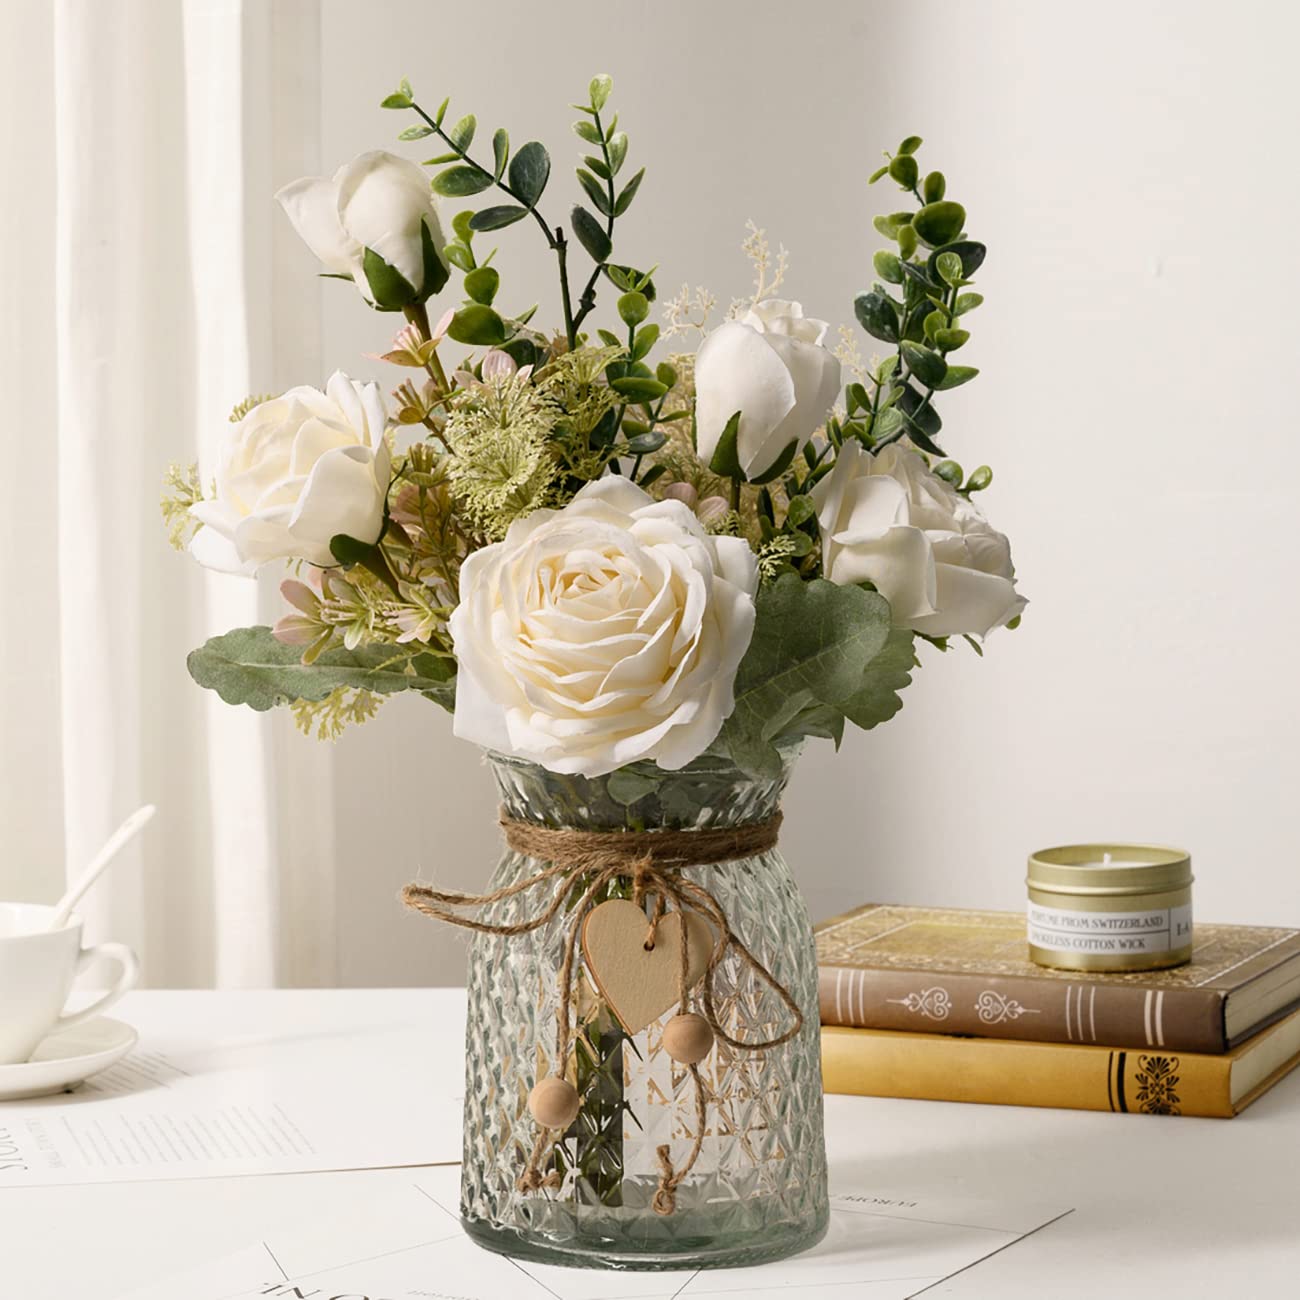
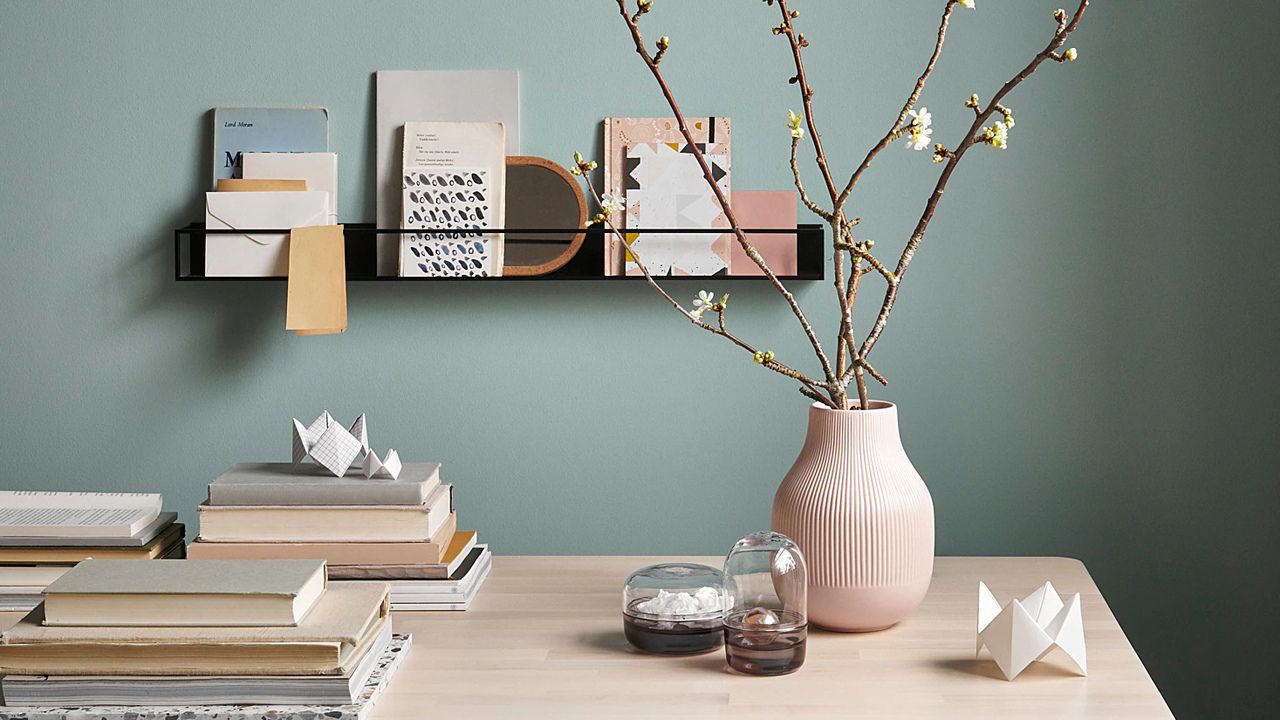
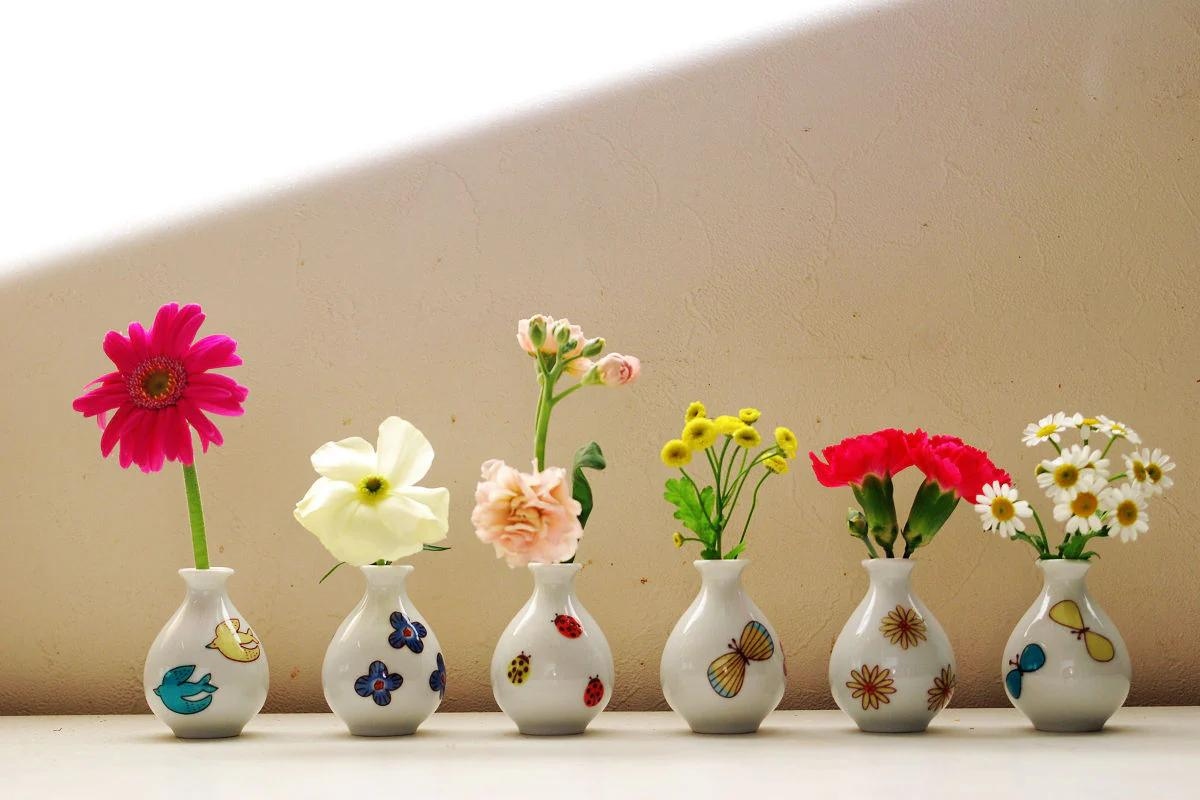
Selecting a Vase
Choosing the right vase is crucial for creating a visually pleasing dried flower arrangement. The vase you select should complement the style and colors of the dried flowers while providing stability and support. Here are some factors to consider when selecting a vase:
- Size and shape: Consider the size and shape of the vase in relation to the size and shape of your dried flower arrangement. A vase that is too small may overcrowd the flowers, while a vase that is too large may make the arrangement look sparse. Choose a vase that can accommodate the number of flowers you have and allow them to be displayed attractively.
- Material: Vases come in various materials, including glass, ceramic, metal, or even wood. Each material can create a different aesthetic and ambiance. Glass vases are a popular choice as they provide a transparent view of the dried flowers, allowing their colors and textures to shine. Ceramic vases often come in different colors and patterns, adding a touch of personality to the arrangement.
- Color and style: Consider the color and style of the vase in relation to the colors and style of your dried flowers. A neutral-colored vase can provide a timeless and elegant backdrop, while a vibrant-colored vase can add a pop of color and enhance the visual appeal. Additionally, the style of the vase should complement the overall theme or ambiance you want to create. For example, a sleek and modern vase can pair well with contemporary-style arrangements, while a rustic or vintage-style vase can complement a more natural or farmhouse-inspired arrangement.
- Stability and support: Ensure that the vase is stable and can adequately support the weight of the dried flower arrangement. The opening of the vase should be wide enough to provide stability and prevent the arrangement from toppling over. It’s also helpful to choose a vase with a flat or wide base to prevent any wobbling or tipping.
- Functionality: Consider the practical aspects of the vase. If you plan to display the dried flower arrangement on a tabletop or shelf, choose a vase with a flat and stable base. If you want to hang the arrangement, select a vase with a built-in hook or loop. Additionally, consider the ease of cleaning and maintenance, as some materials or shapes may be more challenging to clean than others.
By considering these factors, you can select a vase that enhances the beauty of your dried flower arrangement while providing stability and visual appeal. Remember, the vase plays an important role in showcasing your dried flowers, so choose wisely to create a harmonious display.
Now that you know how to choose the right vase, let’s move on to the next step – building the base of your arrangement.
Building the Base
Building a solid base is essential for creating a stable and visually pleasing dried flower arrangement. It provides support for the stems and helps the flowers stay in place. Here are the steps to build the base of your arrangement:
- Select the base material: The base material can be floral foam or chicken wire. Floral foam is a popular choice as it can easily hold the flower stems and provide stability. However, if you prefer a more eco-friendly option, you can use chicken wire. It allows for flexibility and can be molded to fit the shape of your vase.
- Prepare the base material: If you are using floral foam, measure the size needed by placing it in a container of water until it sinks and absorbs enough moisture. Trim the foam to fit the vase, leaving enough room for the flowers to be inserted. If you are using chicken wire, cut a piece large enough to cover the opening of the vase and shape it into a dome or mound that fits snugly.
- Secure the base material: Place the floral foam or chicken wire in the vase, ensuring that it sits securely and fills the bottom part of the vase. You can use a small amount of adhesive or tape to secure the base material in place if necessary.
- Trim excess material: If the base material extends above the rim of the vase, carefully trim any excess to create a neater appearance.
Building a sturdy base is crucial in maintaining the overall structure and stability of your dried flower arrangement. It provides a solid foundation for the stems and ensures that the flowers stay in place. Additionally, the base material helps retain moisture, keeping the flowers hydrated for an extended period.
Now that you have built the base, it’s time to move on to the next step – styling the arrangement with your dried flowers.
Styling the Arrangement
Styling the arrangement is where your creativity comes into play as you bring your dried flower arrangement to life. Here are some steps to help you style your arrangement:
- Start with the focal flowers: Begin by placing your larger and more visually striking dried flowers in the center of the arrangement. These flowers will serve as the focal point and draw attention. Adjust their height and angle until you are satisfied with their position.
- Work with odd numbers: As you add more flowers to the arrangement, consider working in odd numbers. Odd numbers create a more visually pleasing and balanced composition. Place the flowers in groups of three or five, staggering the heights and positions to add dimension and interest.
- Vary the heights: To create visual interest, vary the heights of the flowers within the arrangement. Trim the stems of some flowers shorter and leave others longer. This will add depth and movement to the overall design.
- Consider color and texture: Pay attention to the colors and textures of the dried flowers. Mix and match complementary or contrasting colors to create an eye-catching arrangement. Consider incorporating different textures, such as feathery grasses or delicate foliage, to add dimension and variety.
- Balance the arrangement: Step back and assess the arrangement to ensure it is visually balanced. Distribute the flowers evenly, both in terms of colors and sizes. Consider the shape of the arrangement and adjust the placement of the flowers as needed to achieve balance.
- Fill in the gaps: Once the focal flowers are in place, add smaller dried flowers or fillers to fill in any empty spaces. These additional elements will add fullness to the arrangement and create a cohesive look. Be mindful not to overcrowd the arrangement and leave room for each flower to shine.
- Step back and assess: Throughout the process, step back and assess the arrangement from different angles. Make any necessary adjustments, ensuring that the arrangement looks pleasing from all sides.
Remember, there are no hard and fast rules when it comes to styling a dried flower arrangement. Let your creativity guide you and experiment with different placements and combinations until you achieve a design that brings you joy.
Now that you have styled your dried flower arrangement, it’s time to move on to the next step – adding focal flowers to enhance the beauty of the arrangement.
Adding Focal Flowers
Adding focal flowers to your dried flower arrangement is a crucial step in creating a visually captivating centerpiece. Focal flowers are often larger, more visually striking blooms that serve as the centerpiece and draw the viewer’s attention. Here’s how you can add focal flowers to enhance the beauty of your arrangement:
- Select your focal flowers: Choose focal flowers that have a significant visual impact and complement the overall theme and colors of your arrangement. Roses, sunflowers, hydrangeas, or any vibrant, eye-catching blooms work well as focal flowers.
- Begin with placement: Start by placing one or two focal flowers in the center of your arrangement. Adjust their height and angle until you achieve the desired focal point. This will serve as the anchor of your arrangement.
- Build around the focal flowers: Arrange the other flowers around the focal flowers, working with odd numbers for a more balanced look. Keep in mind the varying heights to add depth and dimension to the arrangement.
- Consider color and texture: Focal flowers play an essential role in adding pops of color and texture to your dried flower arrangement. Select colors that complement or contrast with the other flowers in the arrangement to create visual interest. Introduce different textures, such as velvety petals or unique shapes, to add depth and variety.
- Avoid overcrowding: While focal flowers bring attention to the center of the arrangement, be careful not to overcrowd the design. Leave space for each focal flower to stand out and shine. Maintain a visually balanced composition by distributing the focal flowers evenly throughout the arrangement.
- Step back and assess: Periodically step back and evaluate the arrangement from different angles. Make any necessary adjustments to ensure the focal flowers are positioned in a way that enhances the overall beauty and harmony of the arrangement.
Adding focal flowers to your dried flower arrangement provides a focal point and visual interest. They are the stars of the show and can transform an ordinary arrangement into an extraordinary one. With their vibrant colors and captivating presence, focal flowers bring life and beauty to your arrangement.
Now that the focal flowers are in place, you can move on to the next step – arranging fillers and greenery to complete the look.
Read more: How To Arrange Greenery In A Vase
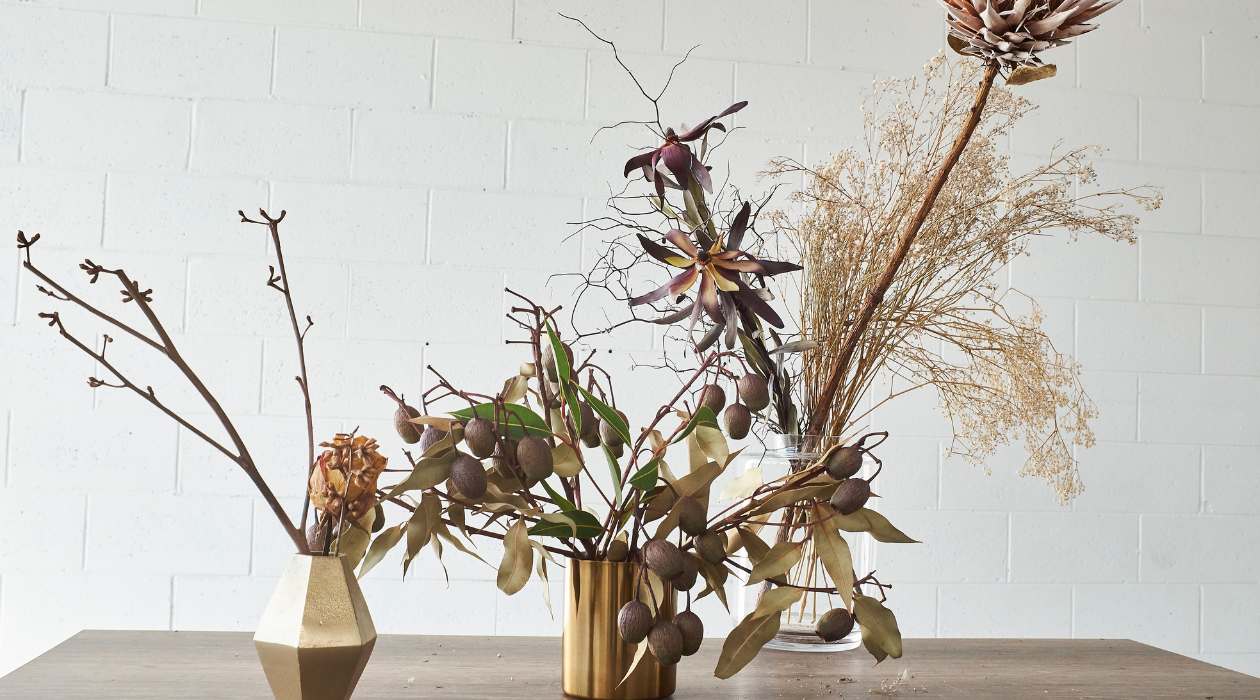
Arranging Fillers and Greenery
To create a lush and dynamic dried flower arrangement, it’s important to incorporate fillers and greenery. Fillers add texture, volume, and visual interest, while greenery adds freshness and a natural touch. Here’s how you can arrange fillers and greenery in your dried flower arrangement:
- Select your fillers: Choose fillers that complement the colors and textures of your dried flowers. Fillers can include dried grasses, baby’s breath, statice, or any other delicate blooms that add volume without overpowering the arrangement.
- Consider height and placement: Begin by inserting the fillers into the arrangement, paying attention to their height relative to the focal flowers. Place some fillers at a slightly lower height to create layers and depth within the arrangement. Distribute them evenly throughout the design, avoiding clustering in one area.
- Add texture and movement: Fillers can add texture and movement to the arrangement. Arrange some fillers to cascade or drape over the sides of the vase, creating an elegant and flowing effect. Combine different types of fillers to add variety and visual interest.
- Introduce greenery: Greenery, such as preserved leaves or twigs, can provide a natural and refreshing element to the arrangement. Insert the greenery stems evenly throughout the design, taking care not to overpower the other flowers. The greenery should complement the colors and shapes of the dried flowers while adding a touch of liveliness.
- Avoid overcrowding: As you add fillers and greenery, be mindful not to overcrowd the arrangement. Leave space for the flowers to breathe and for each element to be showcased. Maintain a sense of balance and harmony by distributing the fillers and greenery evenly throughout the arrangement.
- Step back and assess: Take a moment to step back and evaluate the arrangement from different angles. Make any necessary adjustments to ensure the fillers and greenery are creating the desired effect and enhancing the overall beauty of the arrangement.
Arranging fillers and greenery is a crucial step in creating a visually captivating dried flower arrangement. These elements add texture, volume, and a natural touch that complements the main focal flowers. With careful placement and attention to detail, you can create a stunning and well-balanced arrangement.
Now that you have arranged fillers and greenery, it’s time to move on to the final touches and decorative elements to complete your dried flower arrangement.
Final Touches and Decorative Elements
Adding final touches and decorative elements to your dried flower arrangement can elevate its beauty and make it truly unique. These final touches can enhance the overall aesthetic and add a personal touch to your creation. Here are some ideas for adding those final touches and decorative elements:
- Ribbons and bows: Tie a ribbon or bow around the vase to add a touch of elegance and charm. Choose a ribbon that complements the colors and style of your arrangement. You can wrap the ribbon around the neck of the vase or create a bow on the side.
- Dried grasses and feathers: Introduce dried grasses or feathers to add texture and visual interest. Tuck them among the flowers or let them gently cascade over the sides of the arrangement for a whimsical touch.
- Beads and jewelry accents: Consider adding beads, pearls, or other small jewelry accents to enhance the arrangement’s elegance and glamour. String them onto thin wires and place them among the flowers for a delicate and ornate touch.
- Preserved leaves or botanicals: Include preserved leaves, herbs, or other botanical elements that complement the colors and theme of the arrangement. These can provide a natural and organic touch that adds depth and dimension.
- Sparkling accents: Add a touch of sparkle with glitter or faux gems. Lightly dust some glitter over the flowers or strategically place sparkling gems among the arrangement for a dazzling effect.
- Aromatics: Enhance the sensory experience by adding dried herbs or flowers with pleasant scents. Lavender, rosemary, or eucalyptus can add a delightful fragrance to the arrangement.
- Personal mementos: Incorporate sentimental or meaningful items such as small trinkets, charms, or pictures into the arrangement. These personal touches can make the arrangement even more special and unique to you.
When adding final touches and decorative elements, be mindful not to overpower the beauty of the dried flowers. Strive for a harmonious balance between the flowers and the added elements. Experiment and let your creativity guide you in selecting the final touches that speak to your style and personality.
Now that you have added the final touches to your dried flower arrangement, it’s time to learn about the care and maintenance to keep it looking beautiful for a long time.
Care and Maintenance of Dried Flower Arrangements
While dried flower arrangements require less maintenance than fresh flowers, proper care is still important to ensure their longevity and beauty. Here are some tips for caring and maintaining your dried flower arrangements:
- Keep away from direct sunlight: Display your dried flower arrangement in a location away from direct sunlight. Sunlight can cause the colors to fade over time and may dry out the flowers further.
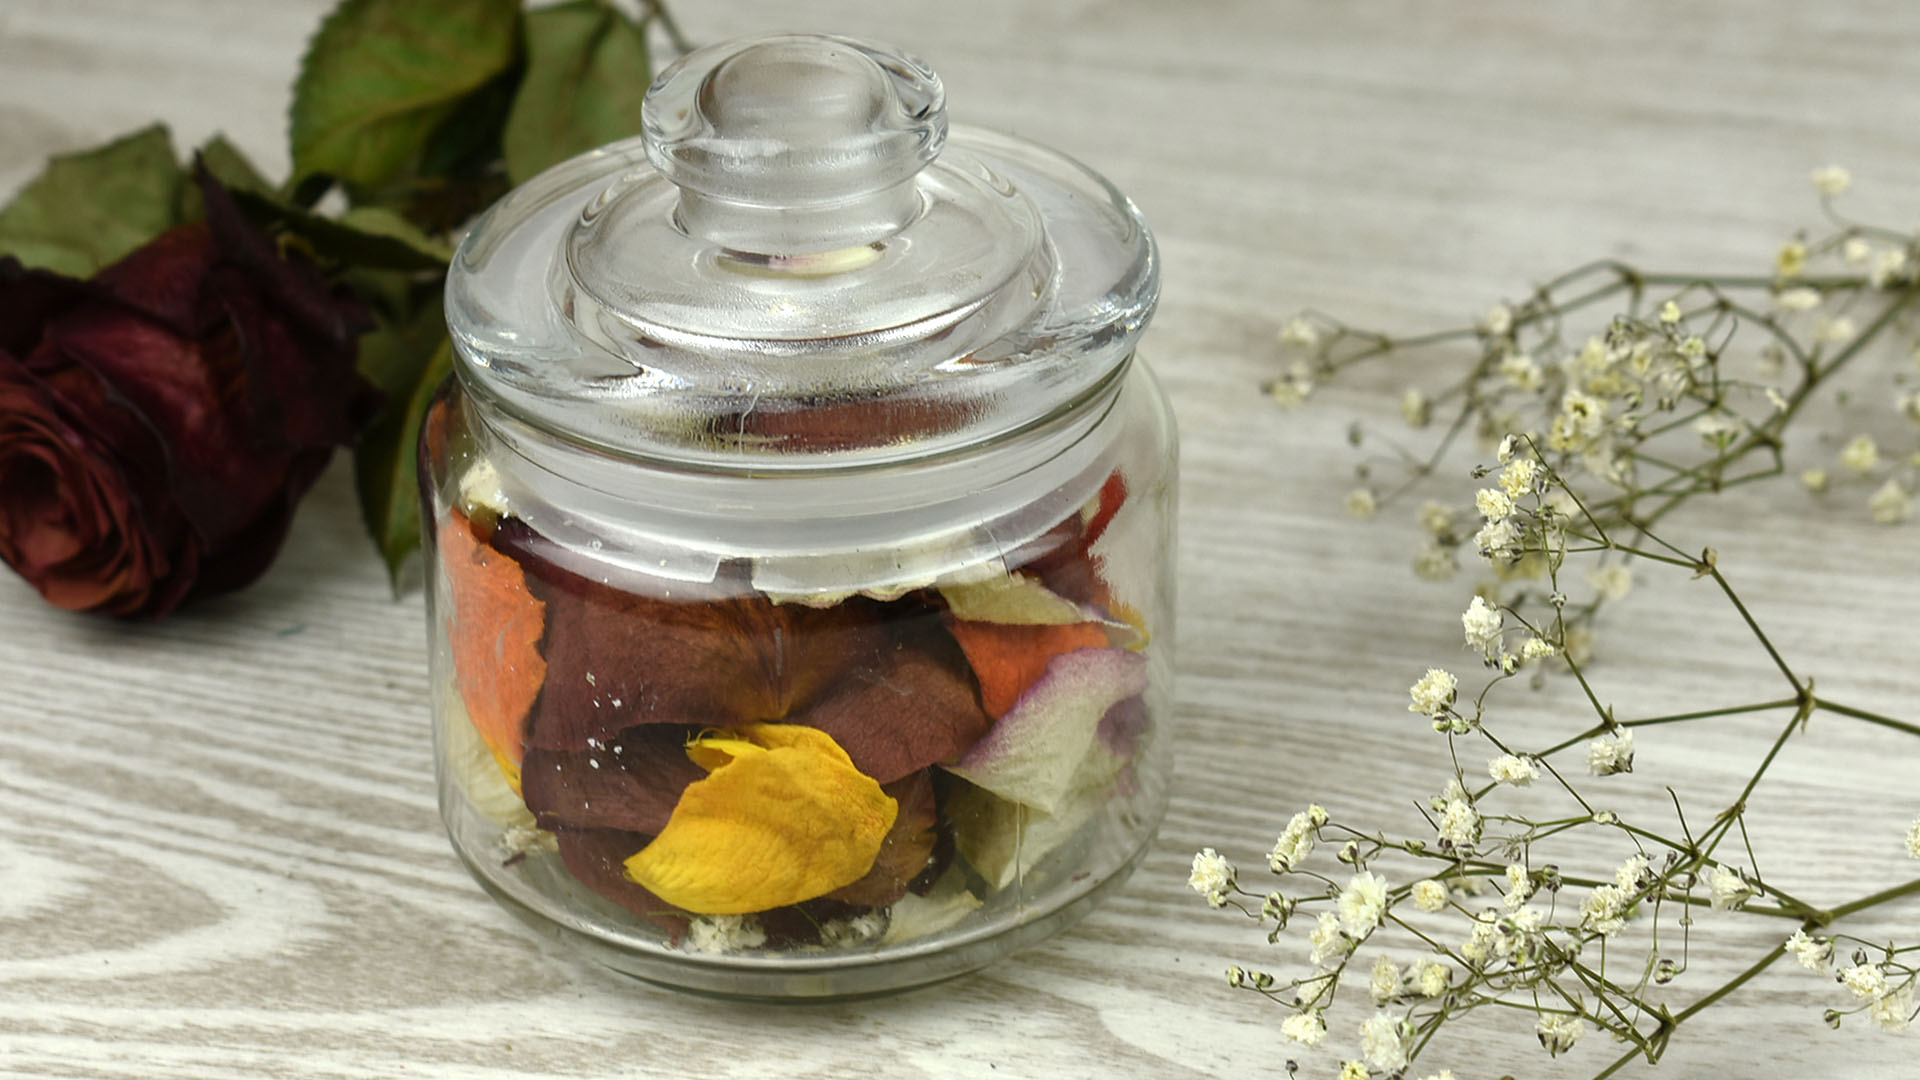
- Avoid excessive moisture: Dried flowers are susceptible to moisture, as it can cause them to mold or lose their shape. Keep your arrangement in a dry environment and avoid contact with water or excessive humidity.
- Dust regularly: Use a soft brush or a can of compressed air to gently remove dust from the dried flowers and foliage. Regular dusting helps maintain their appearance and prevents buildup.
- Avoid touching: Limit handling the dried flowers to avoid damage or dislodging them from the arrangement. Handle them delicately when necessary, using clean and dry hands.
- Stabilize the arrangement: If you notice any shifting or movement in the arrangement, carefully reposition the flowers and stems to maintain the desired composition. Keep an eye out for any signs of loose or detached flowers and secure them as needed.
- Refresh with essential oils (optional): If you desire a pleasant fragrance from your dried flower arrangement, you can lightly spritz essential oils (diluted in water) onto the flowers. This will give the arrangement a subtle and refreshing scent.
- Maintain a dust-free environment: To minimize dust accumulation on your dried flower arrangement, keep the surrounding area clean and dust-free. Regularly clean the surface on which the arrangement is displayed to prevent particles from settling on the flowers.
- Monitor for pests: Occasionally inspect your dried flower arrangement for any signs of insects or pests. If necessary, gently remove any affected flowers and treat the area to prevent further issues.
- Rotate and reposition: To ensure even exposure and prevent one side from fading more than the other, periodically rotate and reposition your dried flower arrangement.
- Enjoy their beauty: Finally, take the time to appreciate and enjoy the enduring beauty of your dried flower arrangement. Admire the intricate details, colors, and textures that make it unique.
With proper care and maintenance, your dried flower arrangement can last for an extended period, becoming a lasting centerpiece in your home or office.
Now that you understand how to care for your dried flower arrangement, it’s time to conclude this guide.
Conclusion
Creating dried flower arrangements in vases is a delightful and rewarding process that allows you to capture the everlasting beauty of nature. Whether you’re a seasoned flower enthusiast or a beginner, this comprehensive guide has provided you with the knowledge and steps to create stunning dried flower arrangements that will bring joy and charm to your space.
We began by discussing the materials needed, including a variety of fresh flowers, pruning shears, vases, floral tape, and more. We then explored the importance of choosing the right flowers, considering factors such as color, shape, and drying potential.
We moved on to preparing the flowers for drying, emphasizing the significance of harvesting at the right time and removing excess foliage. We explored three popular drying methods: air drying, oven drying, and silica gel drying, each offering its own advantages and considerations.
To design a visually captivating arrangement, we discussed the selection of a suitable vase, building a stable base using floral foam or chicken wire, and styling the arrangement using focal flowers, fillers, and greenery. We learned the importance of symmetry, balance, and playing with heights and textures to create an eye-catching composition.
Adding final touches and decorative elements allowed us to personalize our arrangements, incorporating ribbons, dried grasses, beads, and more to enhance the overall aesthetic appeal.
We then turned our attention to the care and maintenance of dried flower arrangements. We explored the significance of keeping them away from direct sunlight, avoiding excessive moisture, dusting regularly, and handling them delicately.
By following these tips and guidelines, you can keep your dried flower arrangement looking beautiful for an extended period. These arrangements bring a touch of nature’s elegance and charm into your home or office, brightening up any space with their everlasting beauty.
Now, armed with the knowledge and inspiration from this guide, it’s time for you to unleash your creativity and create your own stunning dried flower arrangements in vases. Enjoy the process, let your imagination flow, and savor the beauty of nature captured in time.
Frequently Asked Questions about How To Make Dried Flower Arrangements In Vases
Was this page helpful?
At Storables.com, we guarantee accurate and reliable information. Our content, validated by Expert Board Contributors, is crafted following stringent Editorial Policies. We're committed to providing you with well-researched, expert-backed insights for all your informational needs.
0 thoughts on “How To Make Dried Flower Arrangements In Vases”