Articles
How To Adjust Blinds String
Modified: February 24, 2024
Learn how to adjust blinds string with our informative articles. Find step-by-step guides and tips for troubleshooting common issues.
(Many of the links in this article redirect to a specific reviewed product. Your purchase of these products through affiliate links helps to generate commission for Storables.com, at no extra cost. Learn more)
Introduction:
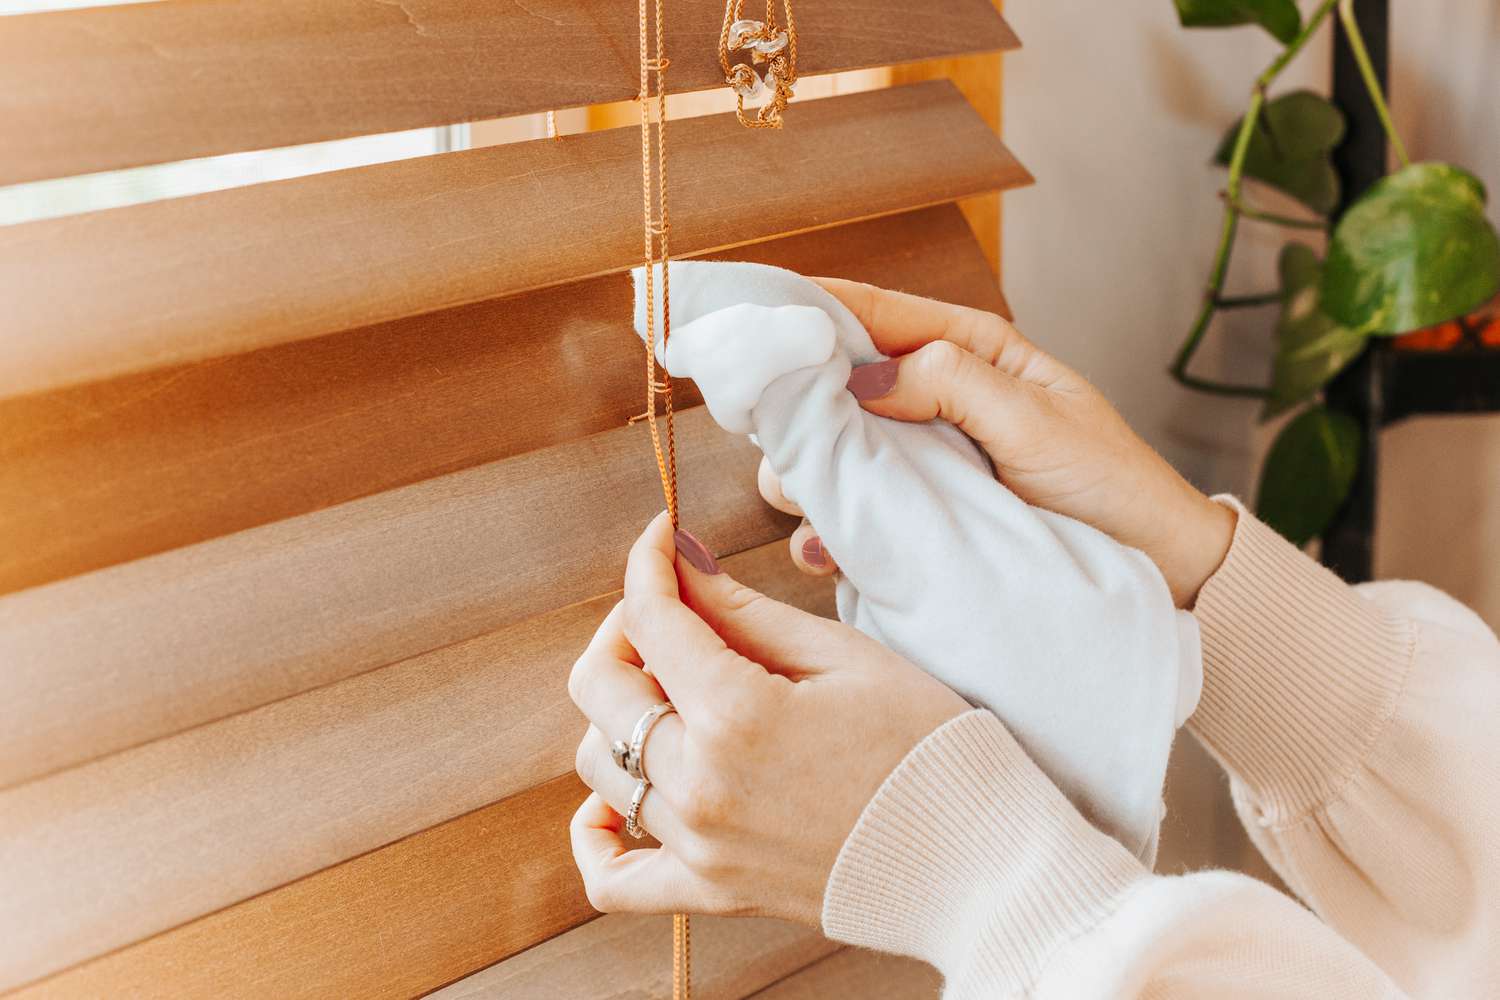
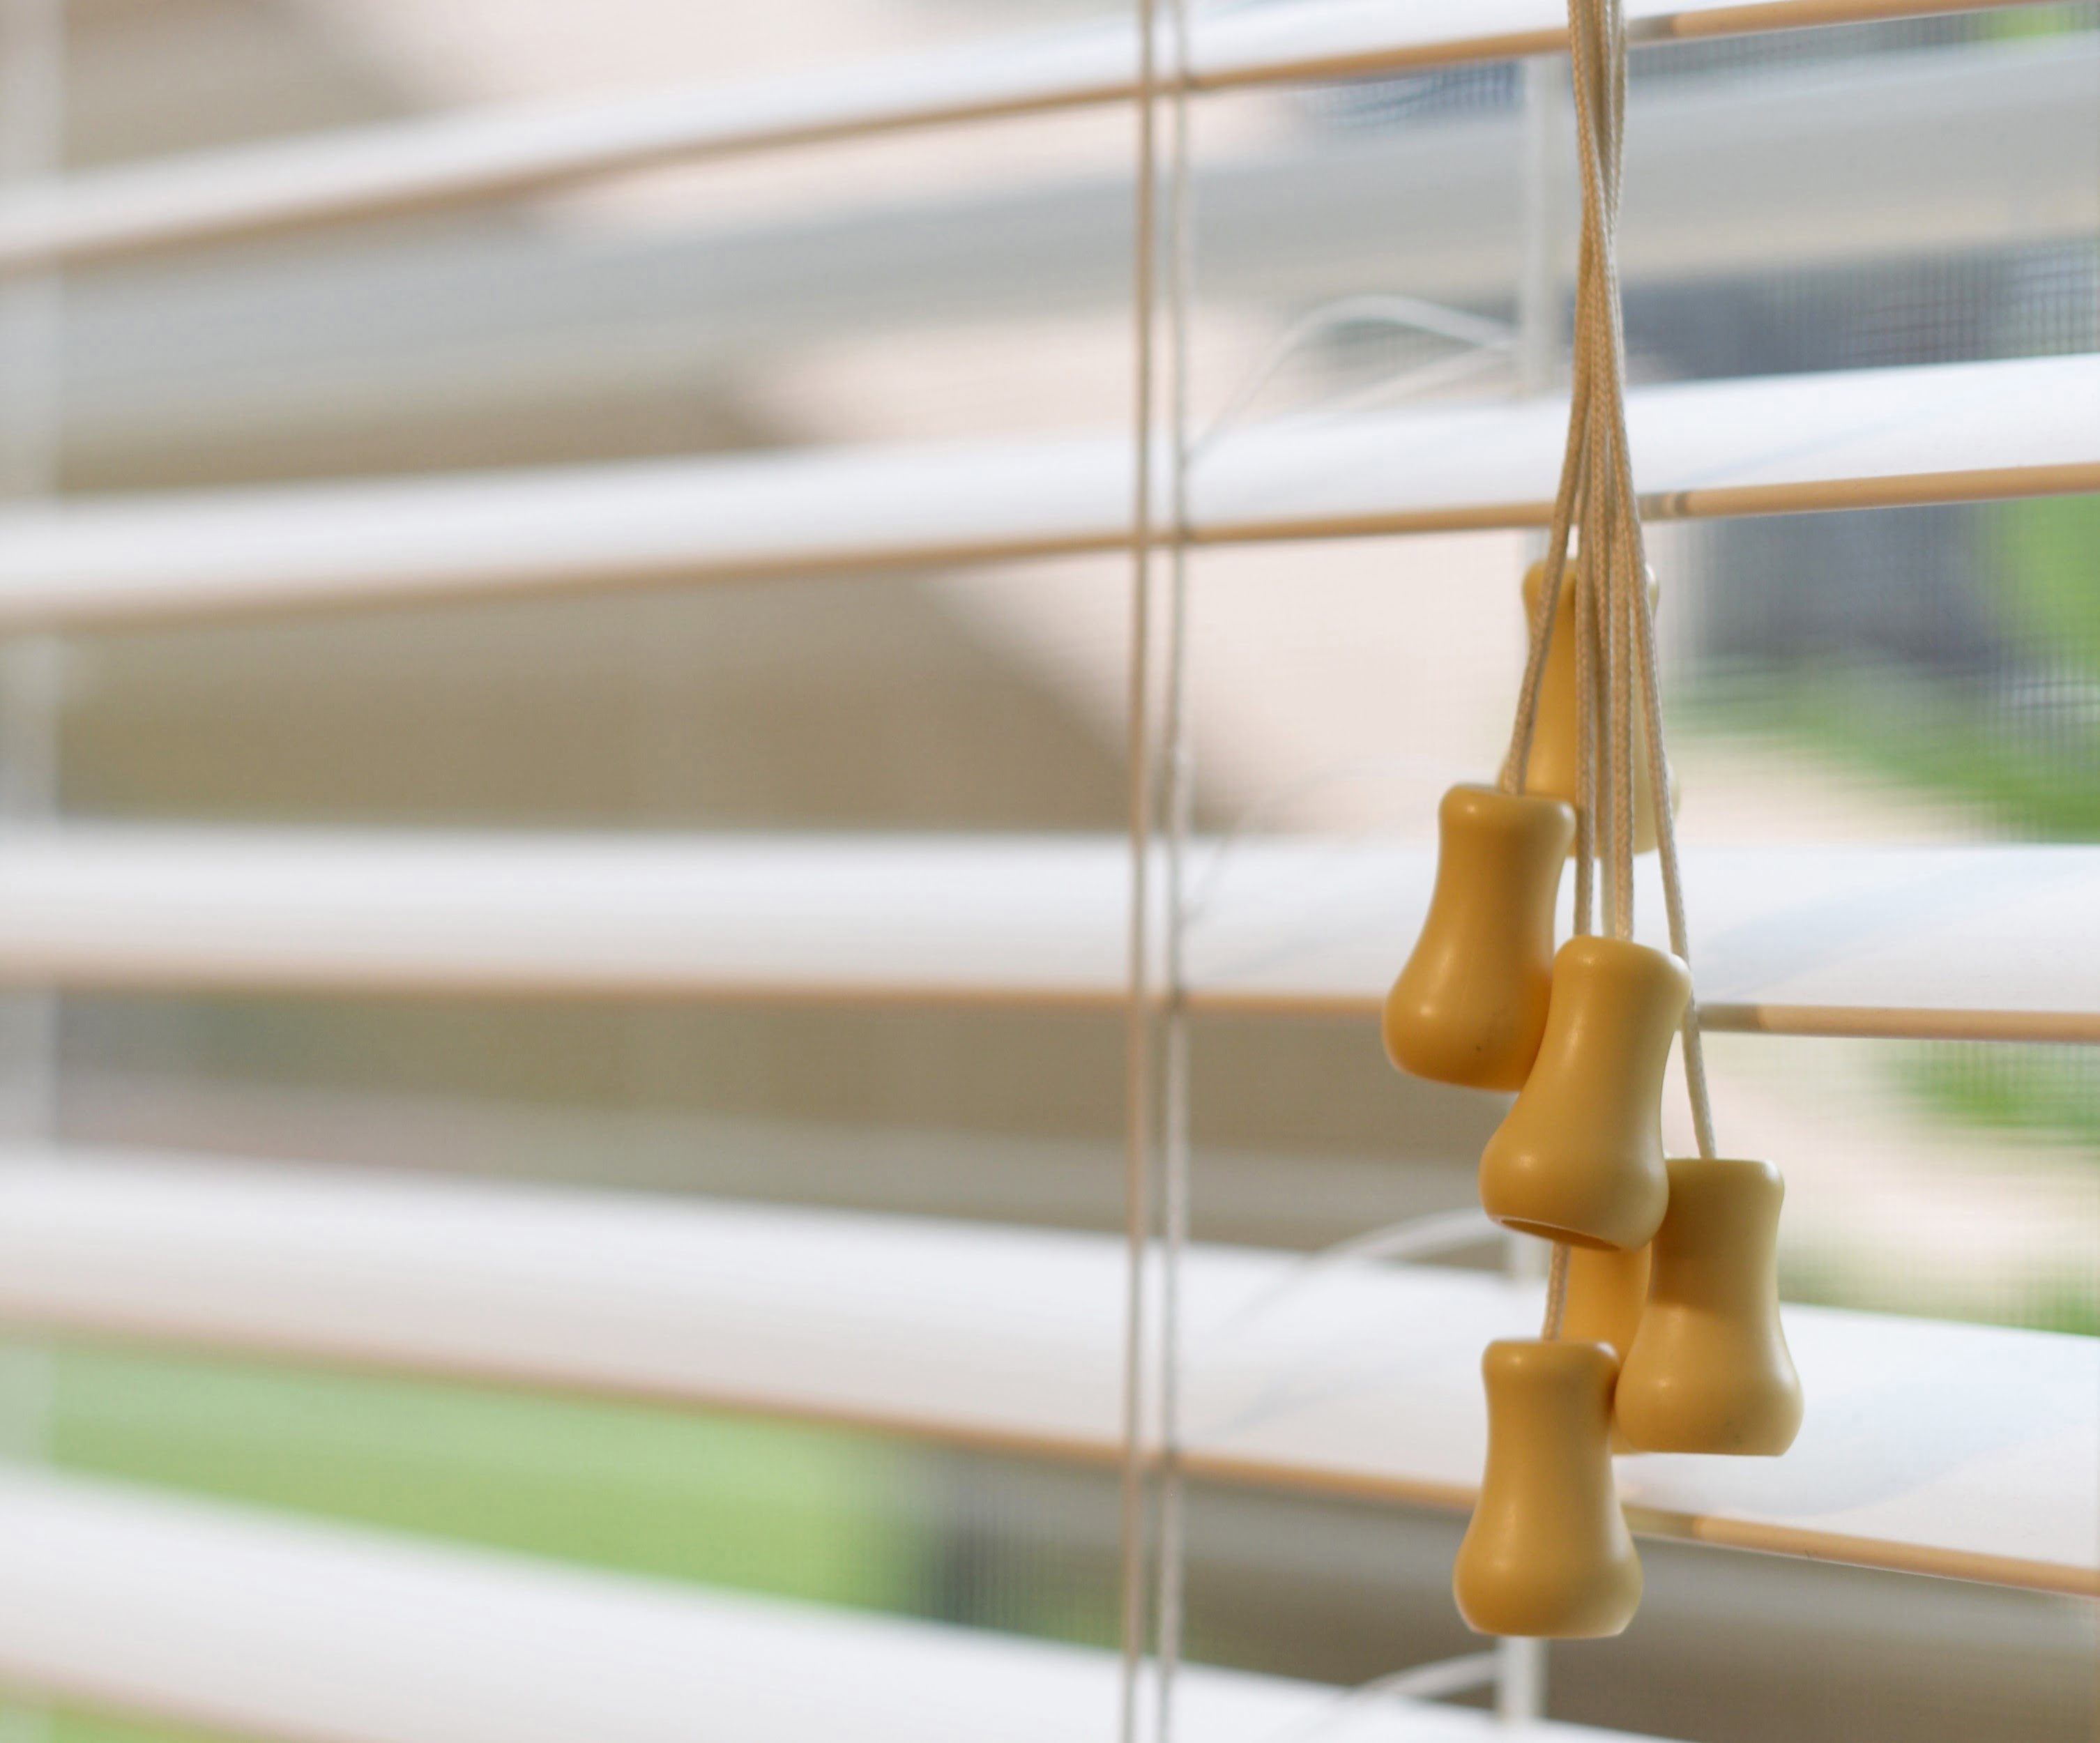
Welcome to our comprehensive guide on how to adjust blinds string. Blinds are a popular and versatile window covering choice, but over time, the string that controls their movement may become loose, frayed, or need adjustment. Fortunately, with a few simple steps, you can easily replace or adjust the blinds’ string to restore their functionality and extend their lifespan.
In this article, we will walk you through the process, providing detailed instructions and tips to ensure a successful outcome. Whether you are a seasoned DIY enthusiast or new to home maintenance, rest assured that our guide is designed to be beginner-friendly and accessible to all skill levels.
Before we begin, it is important to note that we will be focusing on adjustable blinds with a string mechanism. If you have blinds with a different type of control, such as a cord or wand, the steps may vary. However, many of the principles discussed here can still apply, and it is always a good idea to consult the manufacturer’s instructions for specific guidance.
With that said, let’s dive into the exciting world of blinds string adjustment, and learn how to get your blinds back in top-notch condition!
Key Takeaways:
- Easily replace or adjust blinds’ string with simple steps, ensuring smooth and efficient movement for years to come. Gather materials, remove old string, measure and cut new string, reattach, adjust length, and test movement for success.
- Empower yourself to confidently adjust blinds’ string, maintaining optimal functionality and appearance. Follow the comprehensive guide, gather materials, reattach new string, adjust length, and test movement for a satisfying DIY project.
Read more: How To Fix The String On Blinds
Step 1: Gathering Materials:
Before you begin adjusting the blinds string, it’s important to gather all the necessary materials. Having everything prepared will make the process smoother and save you time. Here’s a list of items you’ll need:
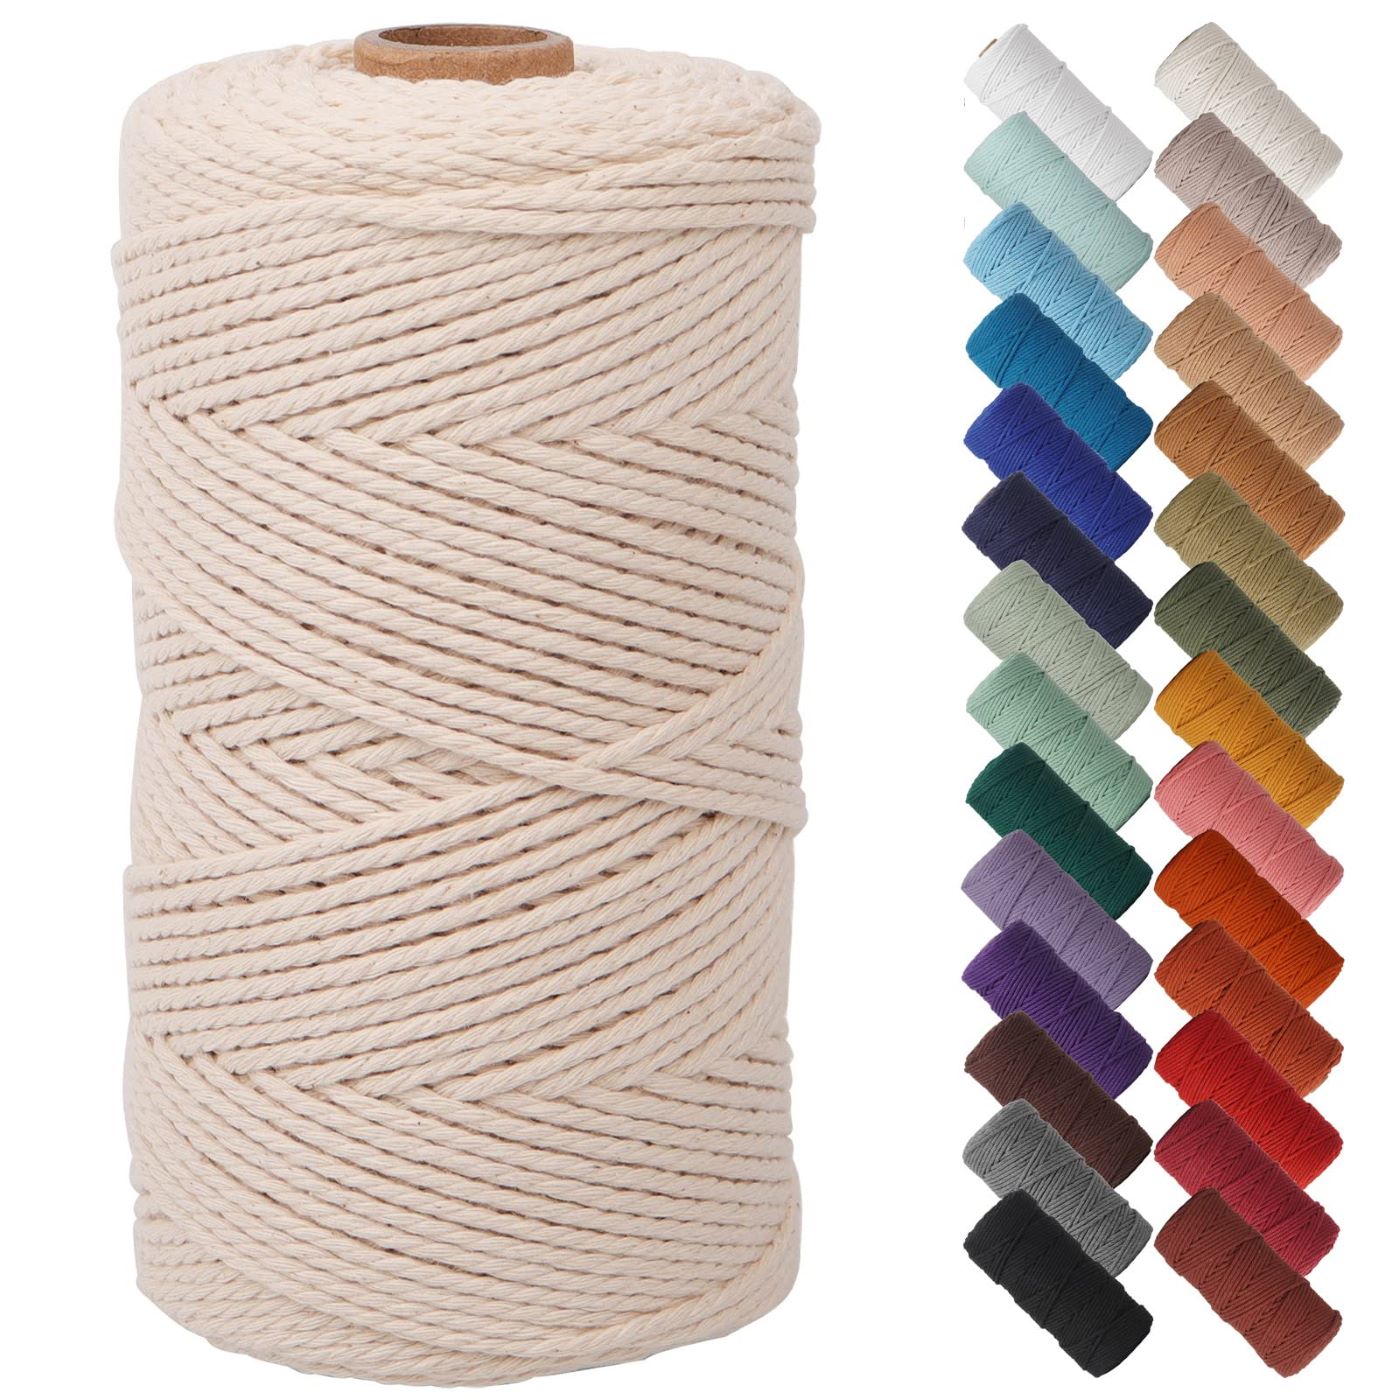
- Replacement String: Measure the length of the old string to determine how much replacement string you’ll need. It’s always a good idea to have a little extra just in case.
- Scissors: Ensure that you have a sharp pair of scissors to cut the new string to the desired length and to remove any excess material.
- Tape or Clips: These can be helpful for temporarily securing the blinds’ slats while you work on the string.
- Needle or Safety Pin: You’ll need a small, sturdy tool to thread the string through the blinds’ mechanism.
- Pliers: Pliers can come in handy for gripping and manipulating the string during the adjustment process.
- Optional Lubricant: If your blinds’ string has become stiff or difficult to work with, a lubricant like silicone spray can help ease its movement.
Once you have gathered all the necessary materials, ensure you have a clear workspace with ample lighting. It’s also a good idea to have a soft surface, such as a towel or blanket, to place the blinds on to prevent scratches or damage while working on them.
Remember, safety should always be a priority. If you are using any sharp tools or handling fragile materials, take precautions to avoid injury. It’s also a good idea to turn off any power sources near the blinds if they are electrically operated.
Now that you have everything you need, it’s time to move on to the next step: removing the old string.
Step 2: Removing the Old String:
Now that you have gathered all the necessary materials, it’s time to remove the old string from your blinds. Follow the steps below:
- Start by lowering the blinds completely to ensure that the strings are fully extended and accessible.
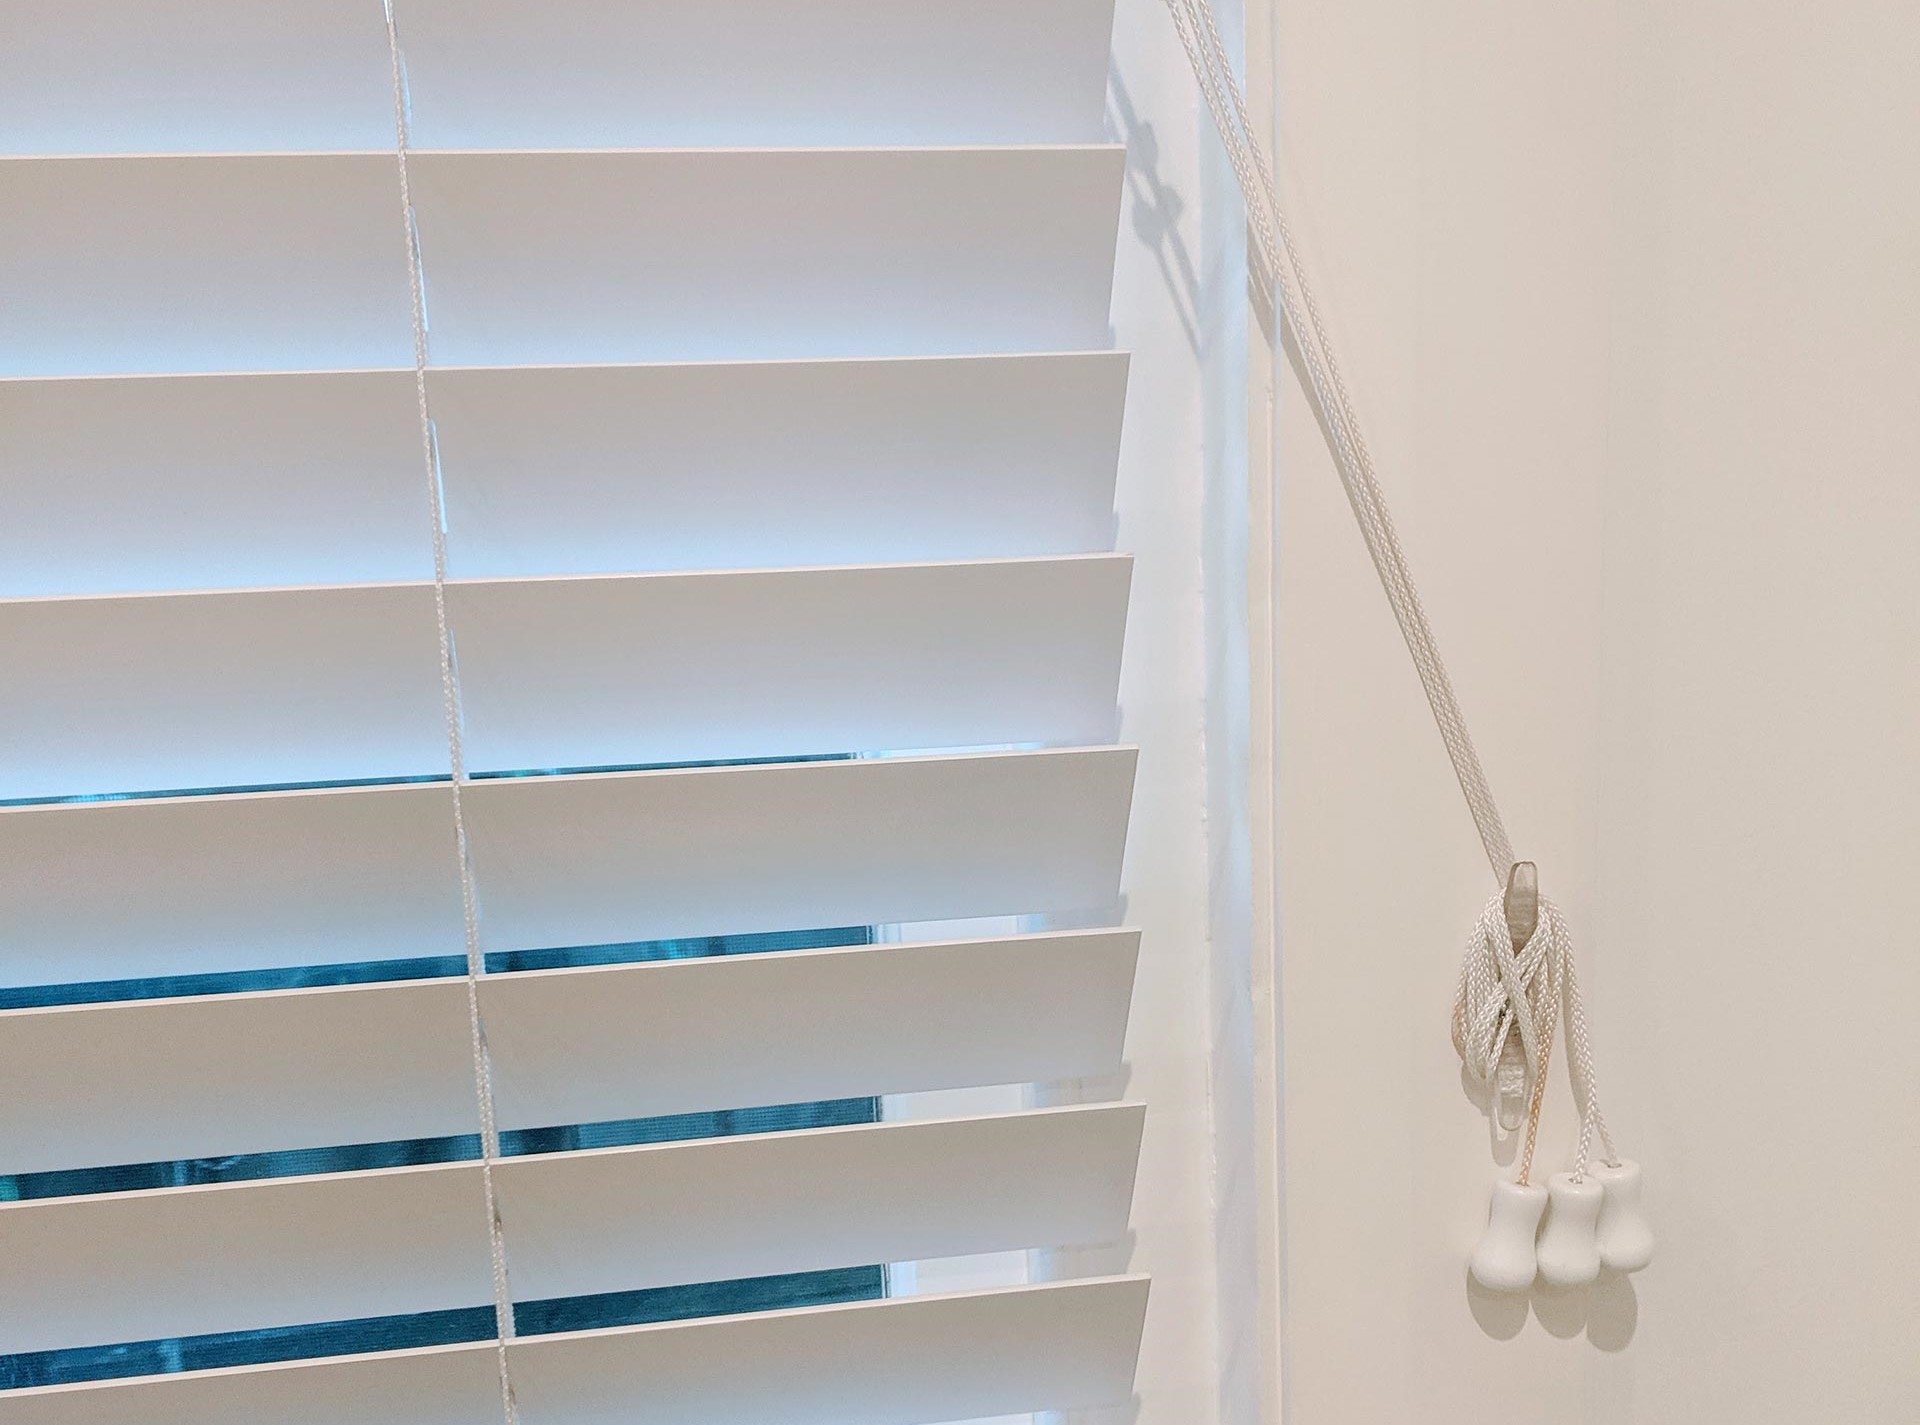
- Locate the control mechanism, which is typically found on one side of the blinds. It may be a plastic wheel or a series of gears.
- Inspect the control mechanism and look for any knots or attachments holding the string in place.
- Carefully untie any knots or remove any attachments securing the string. Take note of how the string is threaded through the mechanism for future reference.
- Slowly and gently pull the old string out of the control mechanism, guiding it through any guides or pulleys along the way. Be cautious not to yank the string too forcefully as it may cause damage to the blinds.
- If the string is stubborn or stuck, you can use a pair of pliers to grip it and carefully pull it out. Again, exercise caution to avoid causing any harm.
- Once the old string is completely removed, set it aside for disposal.
With the old string removed, you are now ready to move on to the next step: measuring and cutting the new string.
Step 3: Measuring and Cutting the New String:
Now that you have successfully removed the old string, it’s time to measure and cut the new string. Follow the steps below:
- Take the old string and measure its length from end to end. This will give you a guide for determining the length of the new string.
- Add a few extra inches to the measured length to ensure that the new string is long enough to reach through the entire blinds mechanism.
- Using a pair of scissors, carefully cut the new string to the measured length. Ensure that the cut is clean and straight.
- Once the new string is cut, inspect the ends for any fraying. If there are any frayed strands, you can use a lighter to briefly pass the flame near the frayed area to melt and seal the fibers, preventing further fraying.
- Once the new string is cut and inspected, set it aside temporarily.
It’s important to note that if you are replacing the string for multiple blinds in the same room, it’s advisable to measure and cut all the strings at once to ensure consistency in length. This will help maintain an even appearance when the blinds are adjusted.
With the new string cut and ready to go, let’s move on to the next step: reattaching the new string to the blinds.
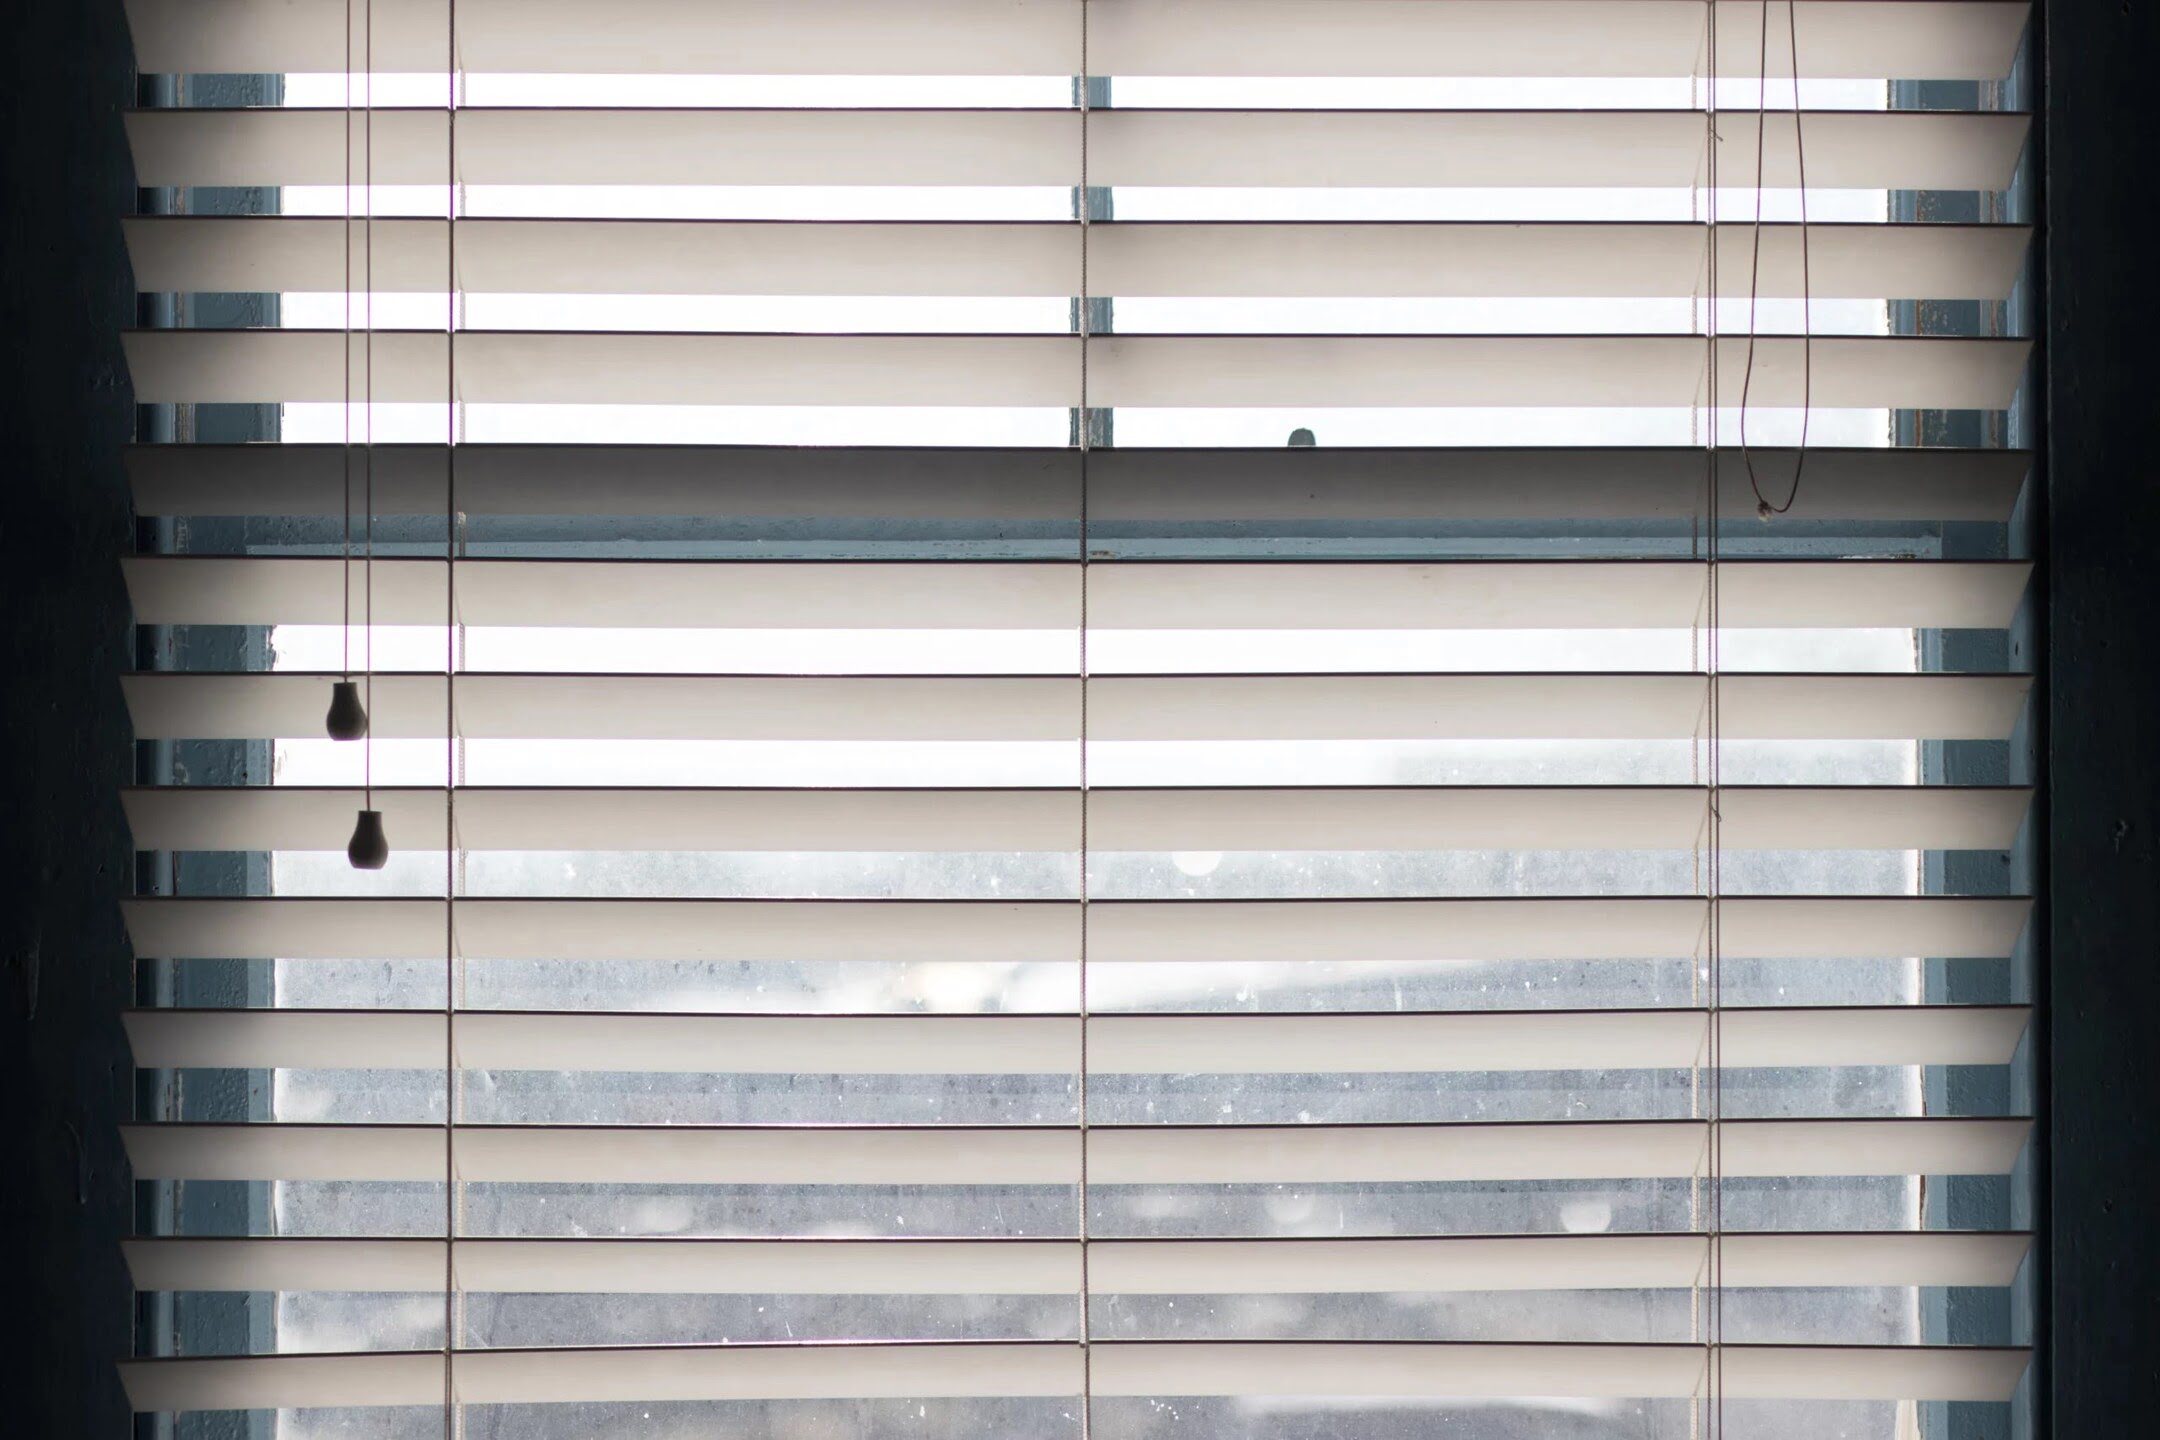
When adjusting blinds strings, start by removing the blinds from the window. Then, untangle and re-thread the strings through the appropriate holes or hooks, making sure they are evenly tensioned before reattaching the blinds.
Step 4: Reattaching the New String to the Blinds:
Now that you have the new string prepared, it’s time to reattach it to the blinds. Follow the steps below:
- Start by threading one end of the new string through the control mechanism of the blinds. Refer to the notes or observation you made during the removal of the old string to guide you in properly threading the new one.
- If necessary, use a needle or safety pin to help guide the string through any guides or pulleys along the way. Be patient and gentle to avoid any unnecessary tugging or snagging.
- Continue threading the new string through the blinds, ensuring that it follows the same path as the old string. Keep the string taut as you go to prevent any slack or sagging.
- Once you have threaded the new string through the mechanism and guides, secure it in place using any knots or attachments that were present with the old string. Ensure they are secure but not overly tight, as this may restrict the movement of the blinds.
Take a moment to test the movement of the blinds by pulling on the new string. Make sure the blinds raise and lower smoothly, without any tangles or obstacles along the way. If you encounter any issues, carefully retrace your steps and double-check that the new string is properly threaded and secured.
Congratulations! You have successfully reattached the new string to the blinds. Now it’s time to move on to the next step: adjusting the string length.
Read more: How To Close Blinds Without String
Step 5: Adjusting the String Length:
Now that you have reattached the new string to the blinds, it’s important to adjust the string length to ensure proper functionality and appearance. Follow the steps below:
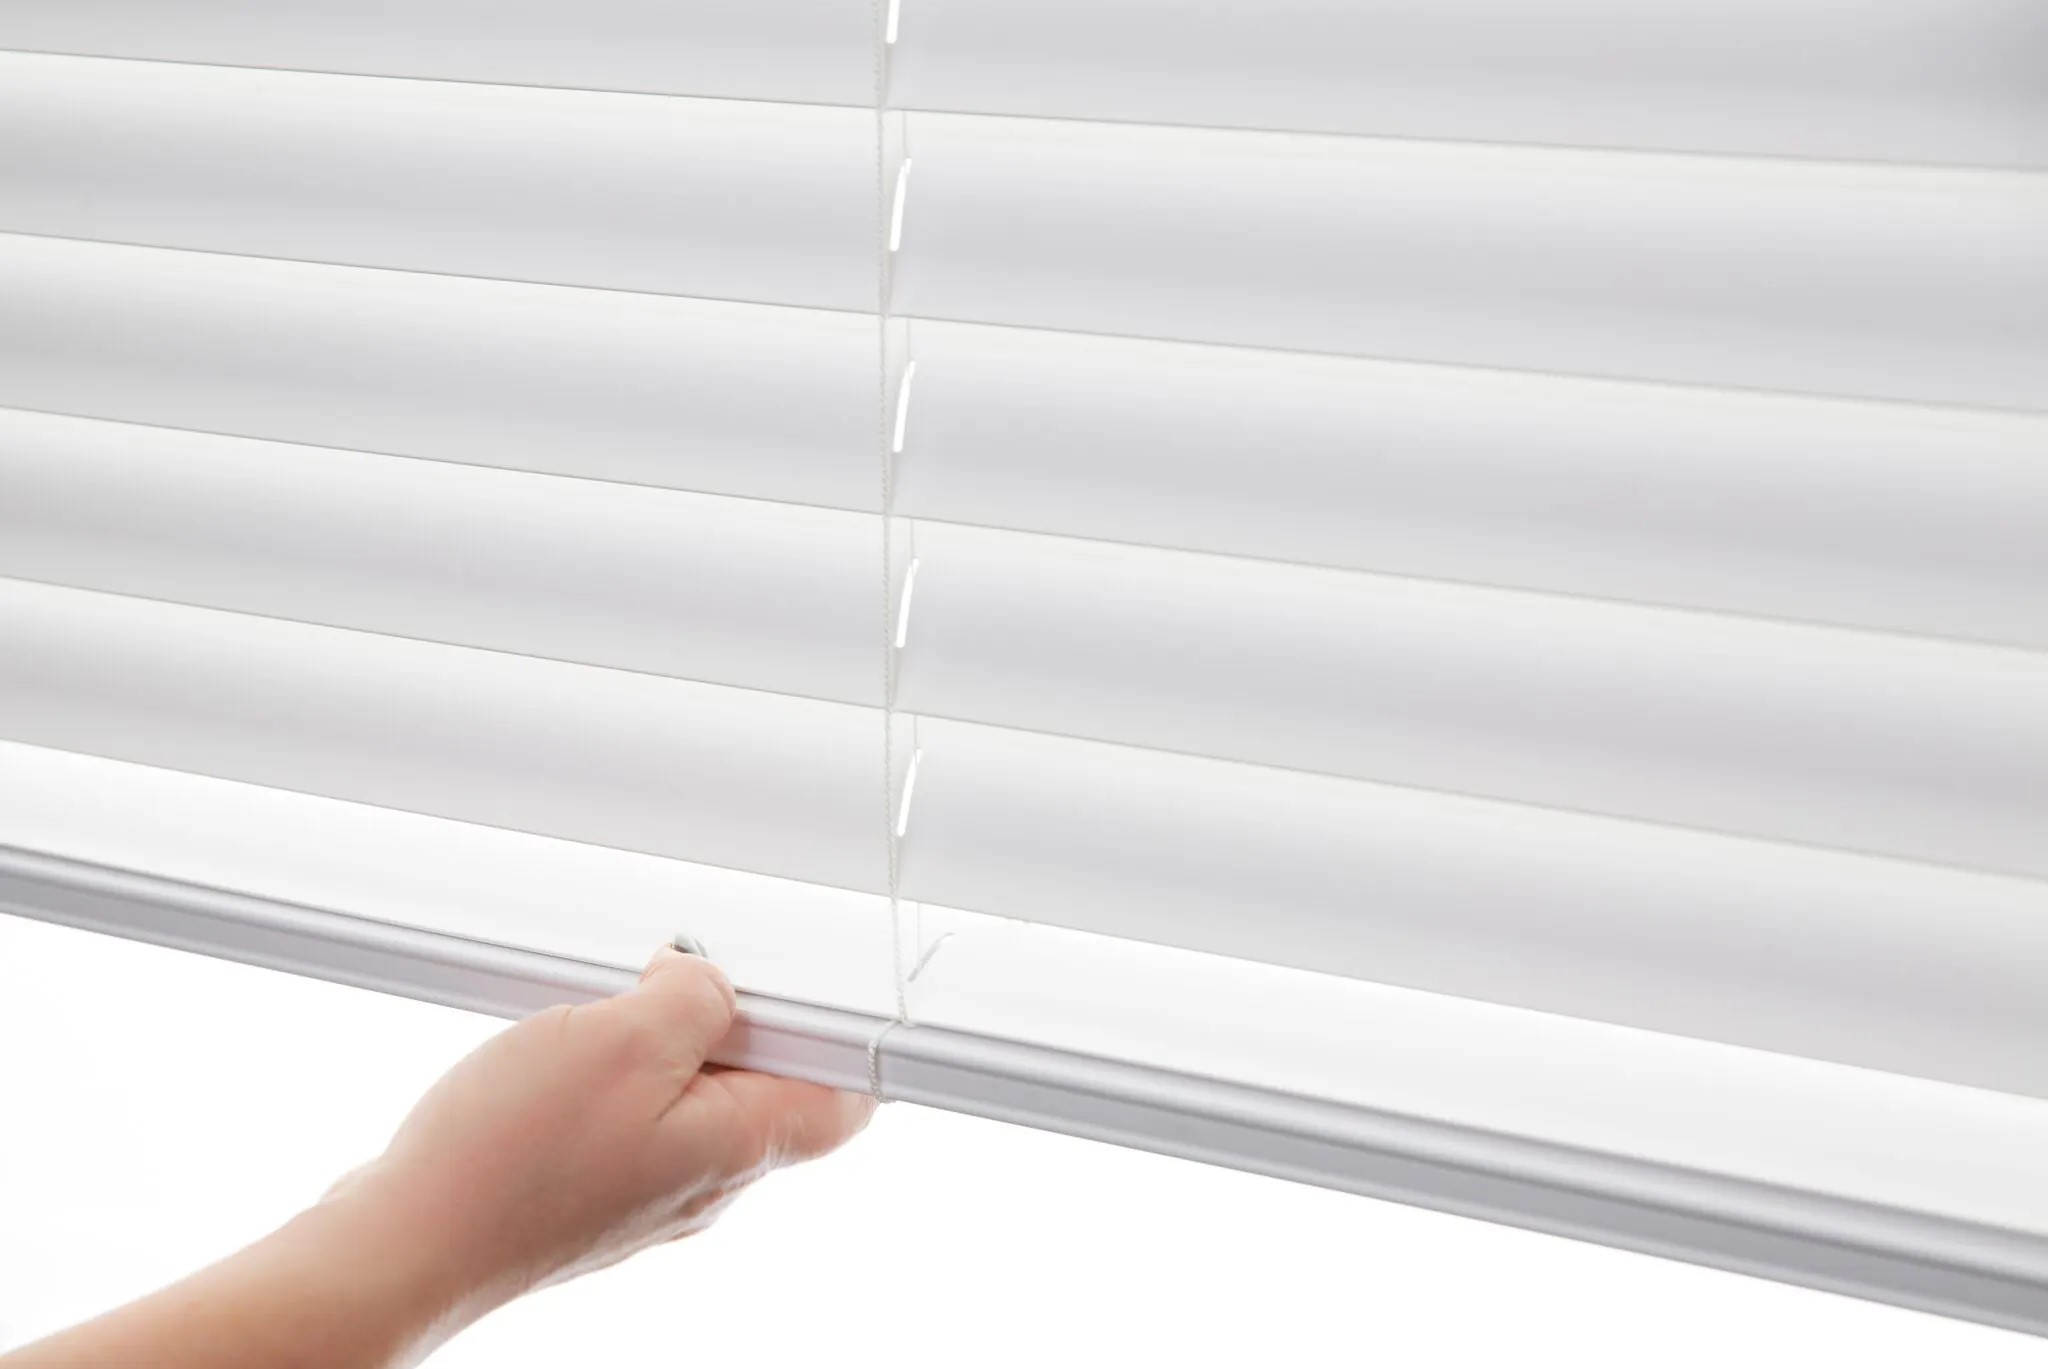
- Start by raising the blinds to their maximum height, using the control mechanism to lift them.
- Take note of the excess string hanging below the bottom rail. This excess string will need to be trimmed to achieve a neat and tidy appearance.
- Carefully lower the blinds back down to a desired level, making sure the string has some tension and the blinds are hanging straight.
- Using a pair of scissors, trim the excess string, leaving approximately 6-8 inches below the bottom rail.
- If desired, you can melt and seal the cut end of the string with a lighter similar to what was mentioned in Step 3. This will prevent potential fraying.
- Repeat the trimming process for any additional blinds you are adjusting.
It’s important to note that the length of the string may vary depending on personal preference and the type of blinds. Adjust the length accordingly to achieve the desired look and functionality.
With the string length adjusted, you are ready to move on to the final step: testing the blinds’ movement.
Step 6: Testing the Blinds’ Movement:
Now that you have completed all the necessary steps to adjust the blinds’ string, it’s time to test their movement and ensure everything is in working order. Follow the steps below:
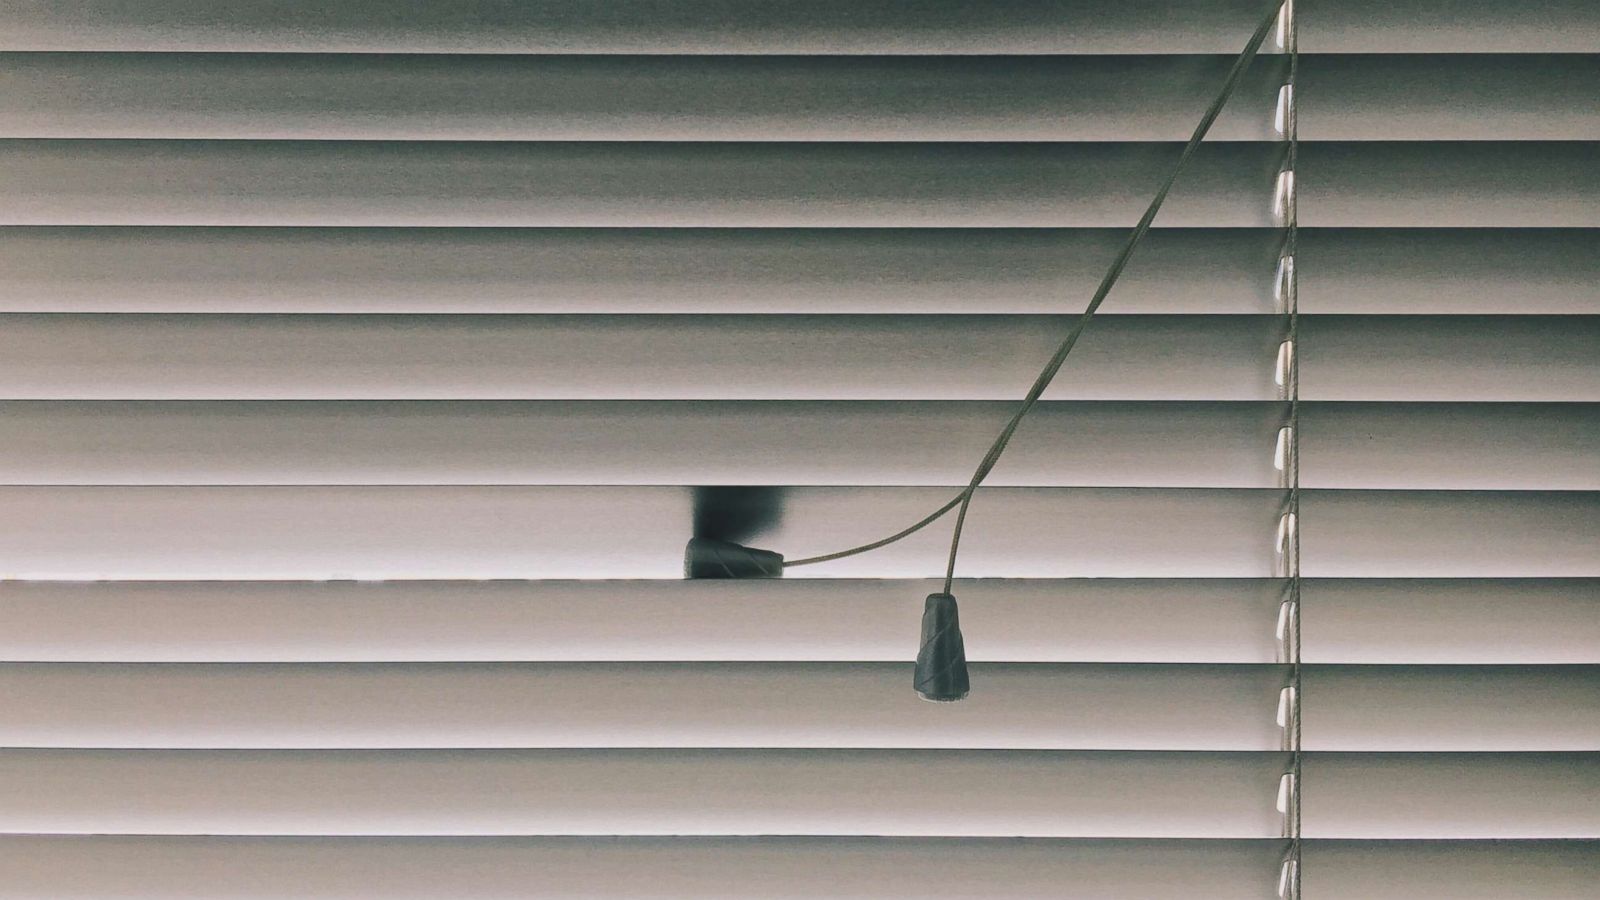
- Gently pull on the control string to raise the blinds. Observe the movement to ensure they raise smoothly and evenly. If you encounter any resistance or the blinds do not raise properly, double-check the string attachment and adjust if necessary.
- Lower the blinds by pulling down on the control string. Again, observe the movement to ensure it is smooth and without any tangles or snags.
- Repeat the raising and lowering process a few times to ensure the blinds’ movement remains consistent and effortless.
- While testing the blinds, pay attention to any unusual sounds or signs of the string rubbing against components or getting caught. If you notice any issues, carefully inspect the string path and make any necessary adjustments or corrections.
If the blinds’ movement is smooth and without any issues, congratulations! You have successfully adjusted the blinds’ string and restored their functionality. Your blinds are now ready to be enjoyed for years to come.
Remember, regular maintenance and periodic checks on your blinds’ string are important to prevent any future issues. If you notice any signs of wear or fraying, it’s recommended to promptly replace the string to avoid further damage.
With Step 6 complete, you have successfully completed the process of adjusting the blinds’ string. Take a moment to admire your handiwork and revel in the satisfaction of a job well done!
Conclusion:
Adjusting the blinds’ string is a simple yet essential maintenance task that can prolong the lifespan of your blinds and ensure they continue to function properly. By following the steps outlined in this guide, you have learned how to effectively replace and adjust the blinds’ string, breathing new life into your window coverings.
Remember to gather all the necessary materials before starting the process, ensuring a smooth and efficient workflow. Take your time when removing the old string, carefully threading the new string through the control mechanism and guides. Once reattached, adjust the string length to achieve the desired appearance, trimming any excess string for a clean and polished look.
Testing the blinds’ movement is a crucial step to guarantee that your adjustments have been successful. Raise and lower the blinds multiple times, ensuring smooth and effortless movement without any tangles or snags. Be vigilant for any signs of wear or fraying and promptly address any issues that may arise.
By following these steps, you have gained the knowledge and skills to confidently adjust the blinds’ string in your home. Regular maintenance and periodic checks will help to keep your blinds functioning optimally for years to come.
We hope this comprehensive guide has been helpful in empowering you to tackle this DIY project. Don’t hesitate to refer back to this article whenever you need a refresher or if you encounter any challenges along the way.
Thank you for taking the time to read our guide. Enjoy your newly adjusted blinds, and may they continue to enhance the beauty and functionality of your space!
Frequently Asked Questions about How To Adjust Blinds String
Was this page helpful?
At Storables.com, we guarantee accurate and reliable information. Our content, validated by Expert Board Contributors, is crafted following stringent Editorial Policies. We're committed to providing you with well-researched, expert-backed insights for all your informational needs.