Articles
How To Adjust Uneven Window Blinds
Modified: December 7, 2023
Learn how to adjust uneven window blinds with step-by-step articles. Find tips and techniques to ensure your blinds are level and functioning properly.
(Many of the links in this article redirect to a specific reviewed product. Your purchase of these products through affiliate links helps to generate commission for Storables.com, at no extra cost. Learn more)
Introduction
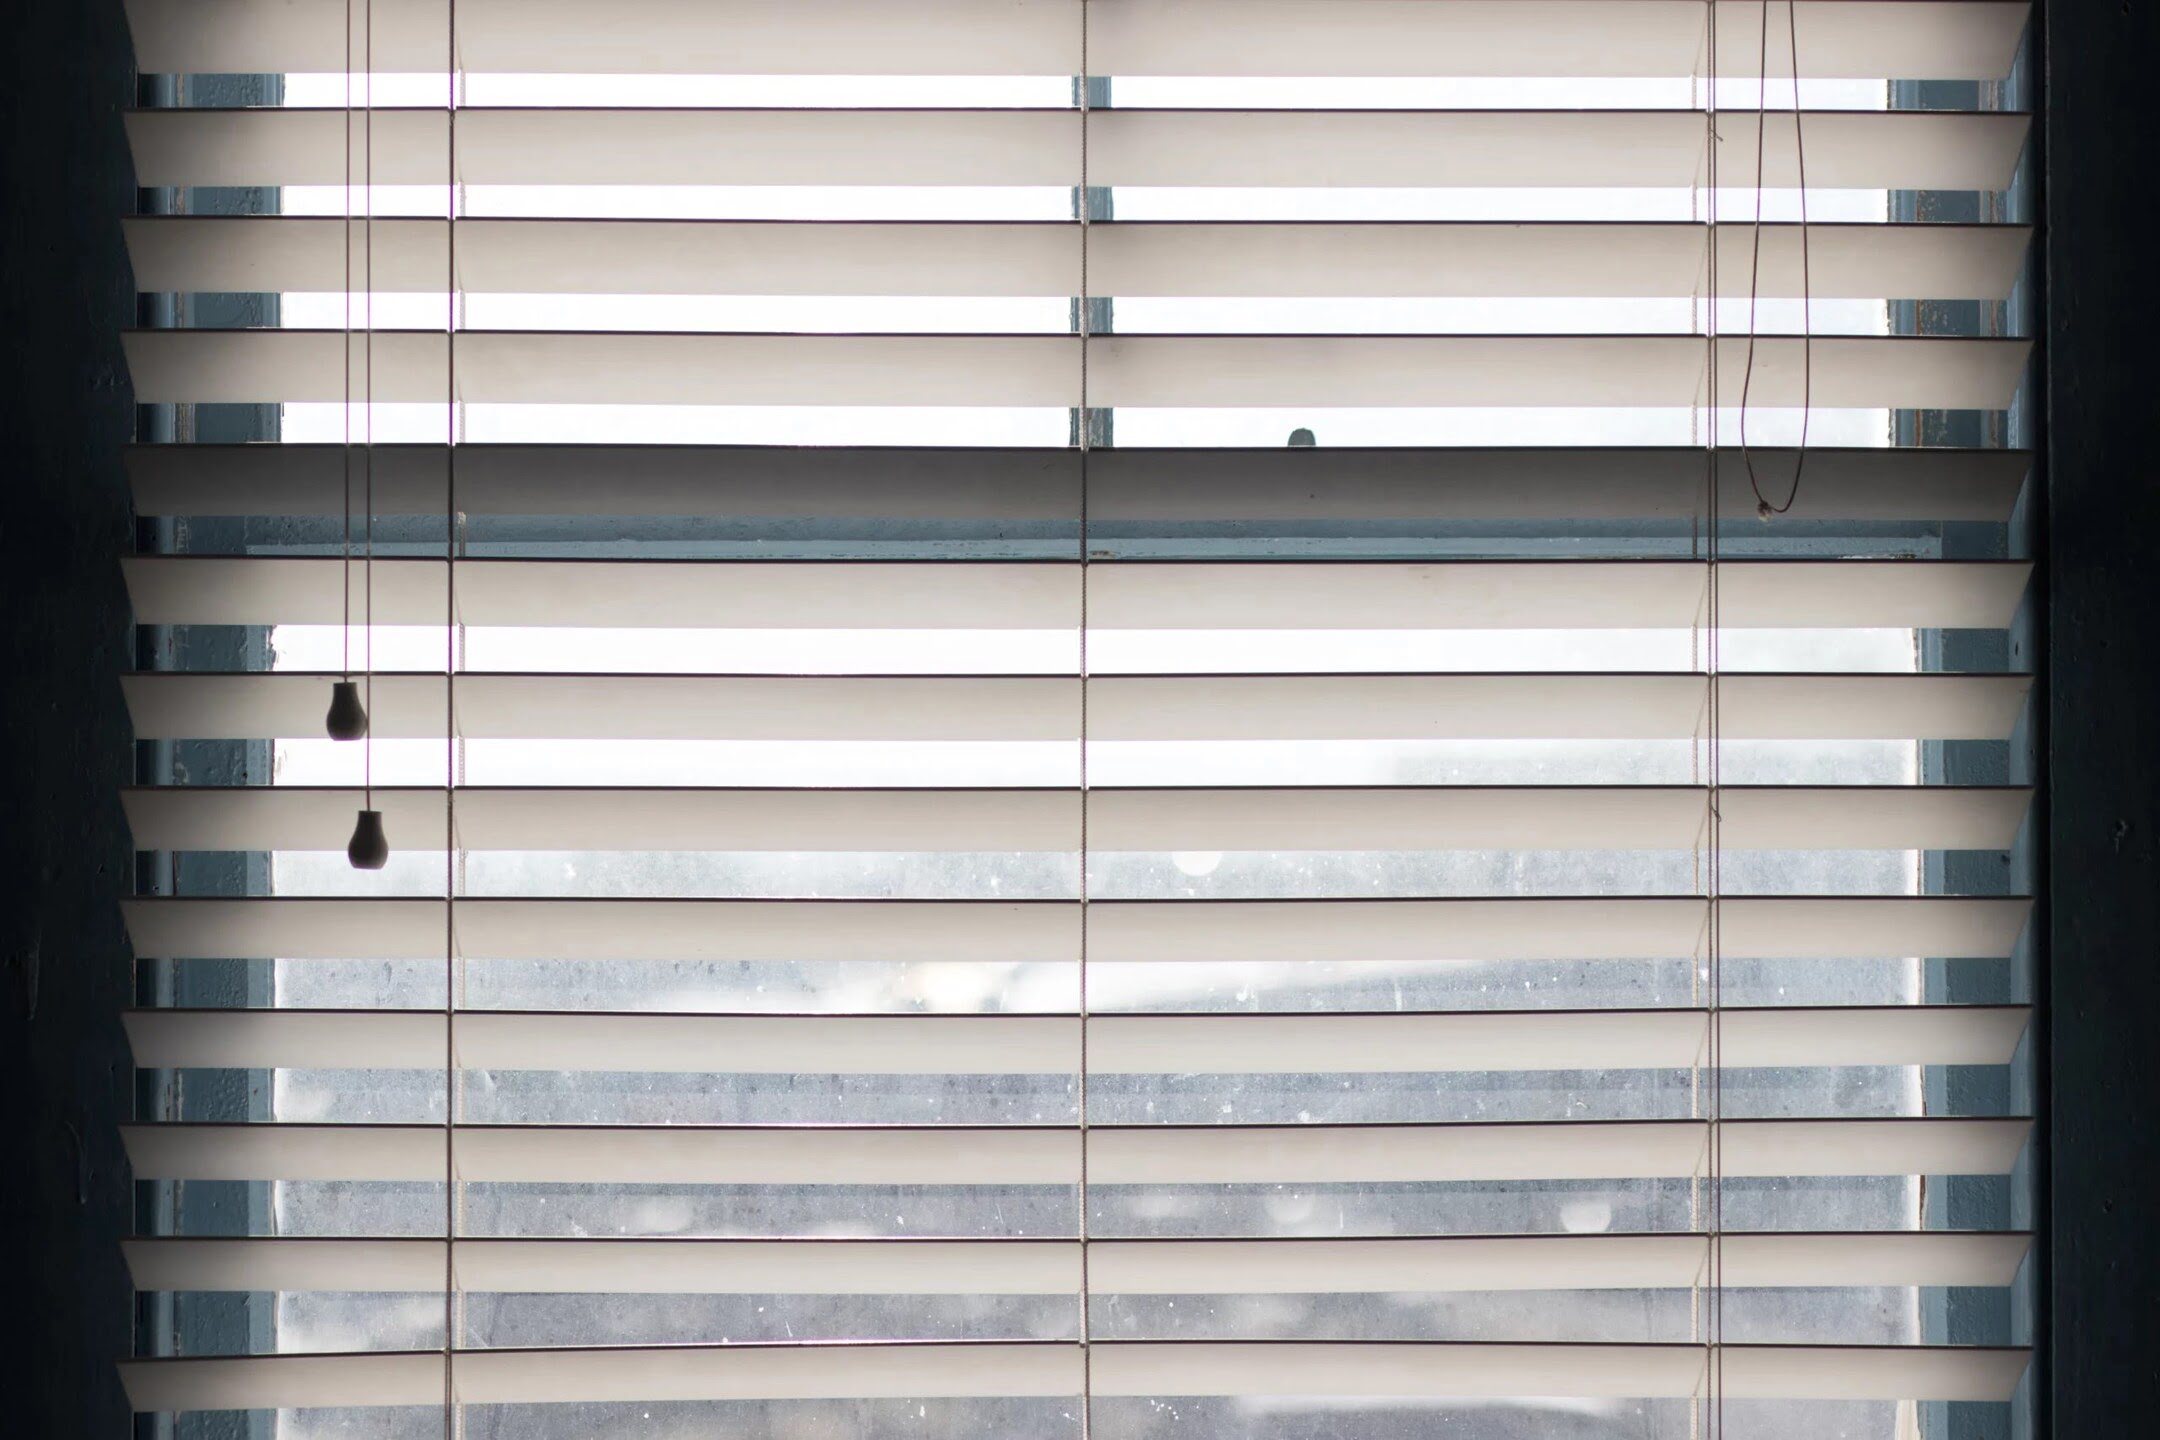
Window blinds are a stylish and functional addition to any home or office. They provide privacy, control the amount of natural light, and add an aesthetic appeal to a room. However, over time, window blinds may become uneven, with slats or panels not lining up properly. This can be frustrating and can compromise the functionality of the blinds.
Uneven window blinds can be caused by a variety of factors, including improper installation, regular wear and tear, or accidental damage. If your blinds are uneven, there’s no need to worry – you can easily adjust them yourself with a few simple steps. In this article, we will guide you through the process of adjusting uneven window blinds to restore their functionality and appearance.
Before diving into the adjustment process, it’s important to identify the root cause of the issue. By understanding the common causes of uneven blinds, you’ll be better equipped to address the specific problem.
Continue reading to learn more about the common causes of uneven window blinds and how to fix them.
Key Takeaways:
- Easily adjust uneven window blinds by identifying the root cause, using simple tools, and following step-by-step instructions for both vertical and horizontal blinds.
- Regular maintenance, including lubricating the blind mechanism and reinstalling the blinds properly, is essential for keeping window blinds aligned and functioning optimally.
Read more: How To Fix Uneven Bali Blinds
Common Causes of Uneven Window Blinds
Uneven window blinds can be caused by a variety of factors. Understanding the common causes can help you pinpoint the issue and determine the best course of action for adjustment. Here are some of the most common causes of uneven window blinds:
- Improper Installation: One of the main reasons for uneven blinds is improper installation. If the blinds were not installed correctly, they may not hang straight, resulting in an uneven appearance. Check if the brackets are aligned properly and securely attached to the window frame. If they are not, you may need to reinstall the blinds to ensure proper alignment.
- Warped or Bent Slats: Over time, the slats of your blinds can become warped or bent, causing them to hang unevenly. This can occur due to exposure to moisture, excessive heat, or accidental damage. Inspect the slats closely to identify any signs of warping or bending. If you notice any damaged slats, you may need to replace them.
- Tangled Cords: If the cords of your blinds become tangled or knotted, it can affect the smooth operation and alignment of the blinds. Gently untangle any knots in the cords to ensure they are free to move and adjust the blinds evenly. If the cords are damaged or frayed, you may need to replace them.
- Uneven Tension: If the blinds have a tension adjustment mechanism, it’s possible that the tension on one side is tighter or looser than the other. This can lead to uneven alignment of the blinds. Check for any tension adjustment screws or mechanisms and make sure they are adjusted equally on both sides.
- Accidental Damage: Sometimes, uneven blinds can be the result of accidental damage, such as a bump or collision that causes the blinds to shift or become misaligned. Inspect the blinds for any signs of damage, such as bent brackets or broken components. If there is damage, you may need to repair or replace the affected parts.
By identifying the specific cause of the uneven blinds, you can address the issue more effectively and adjust the blinds accordingly. In the next section, we will discuss the tools and materials you’ll need to adjust your uneven window blinds.
Tools and Materials Needed
Before you begin adjusting your uneven window blinds, it’s important to gather the necessary tools and materials. Having everything ready beforehand will save you time and make the adjustment process more efficient. Here are the tools and materials you’ll need:
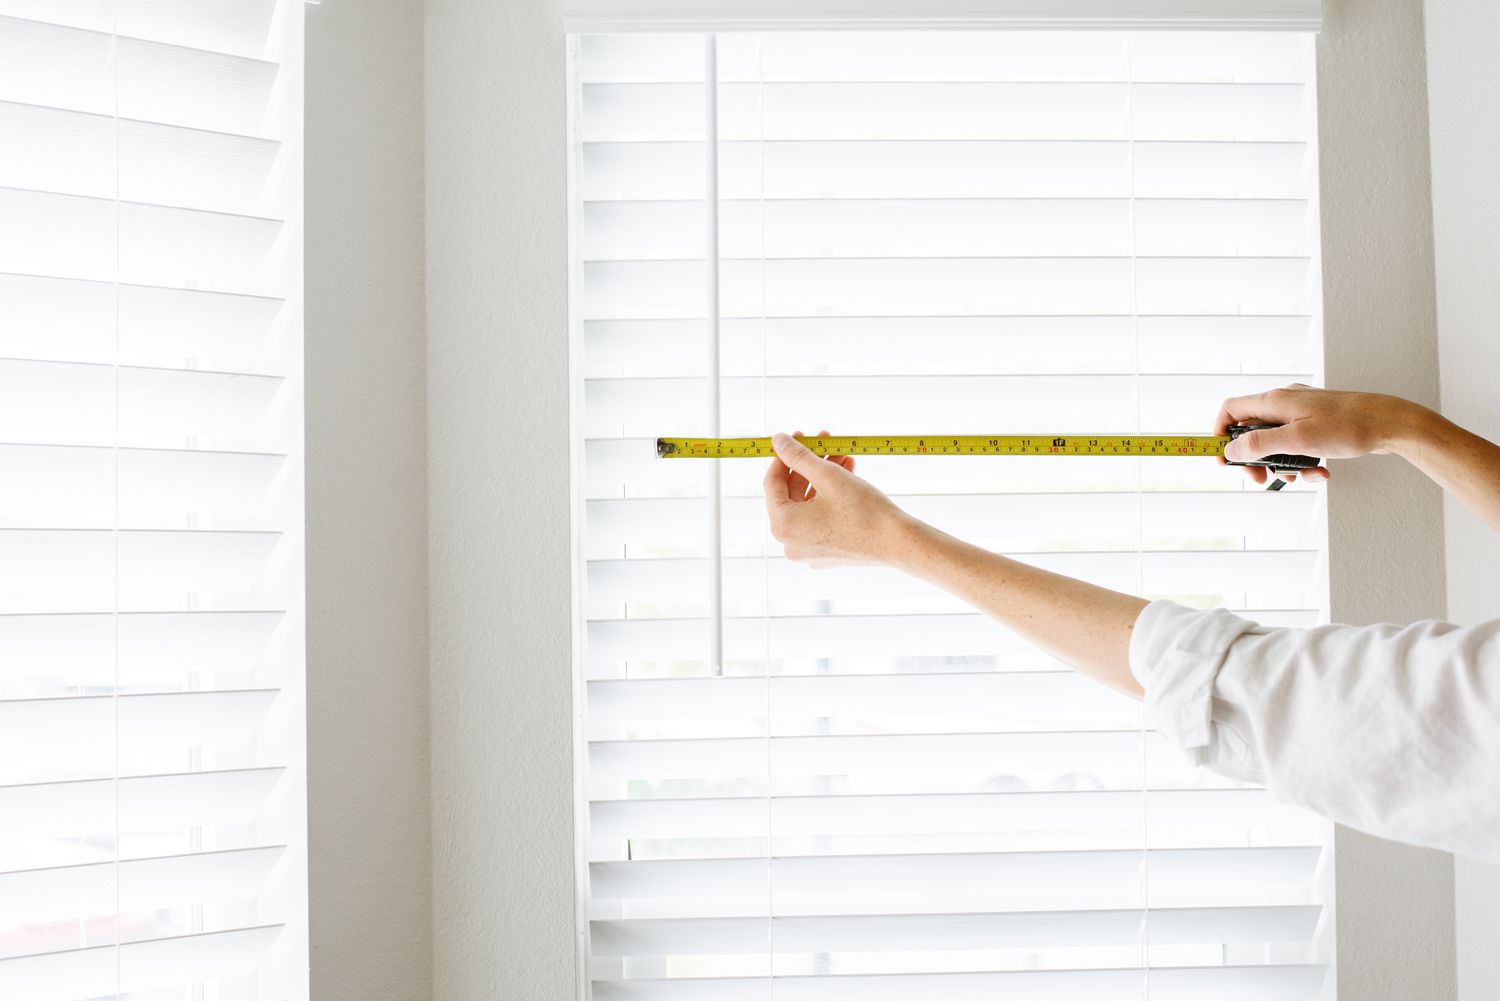
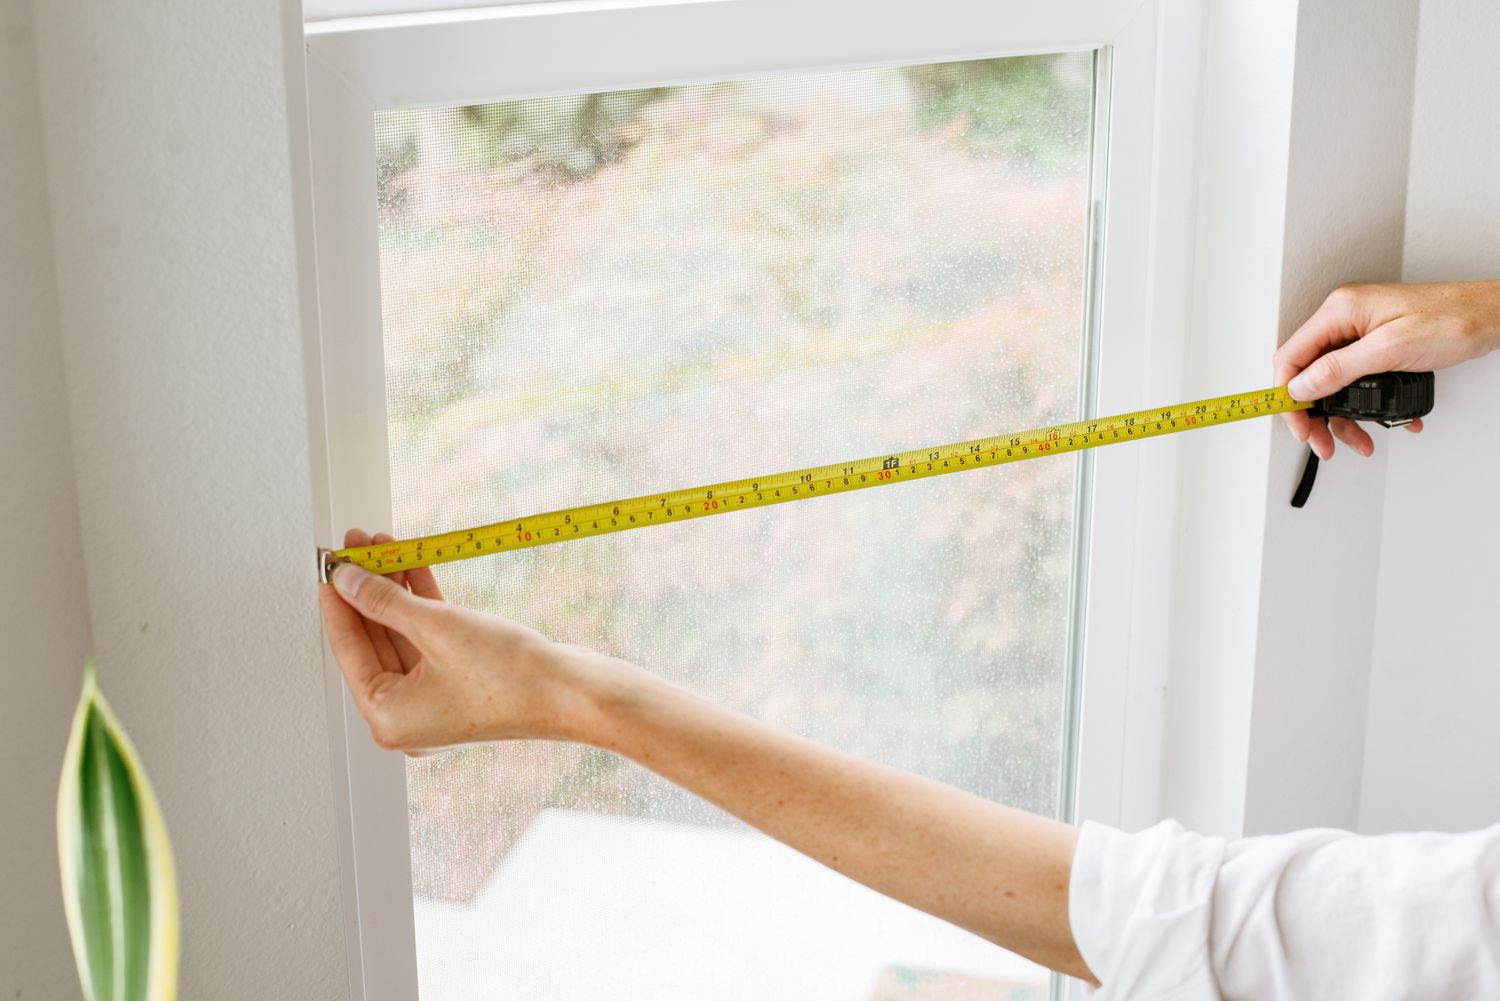
- Tape Measure: A tape measure will come in handy to measure the width and height of your blinds, ensuring proper alignment during adjustment.
- Screwdriver: Depending on the type of blinds you have, you may need a screwdriver to loosen or tighten screws for bracket adjustments.
- Pliers: Pliers can help you untangle any knots or snags in the cords, allowing for smoother operation of the blinds.
- Replacement Slats: If your blinds have damaged or warped slats, you may need to have replacement slats on hand. Make sure to measure and choose slats that match the size and style of your existing blinds.
- Lubricant: A silicone-based lubricant can be useful for lubricating the blind mechanisms, ensuring smooth and even operation.
- Optional: Level: If you want to ensure precise alignment of your blinds, you can use a level to check for any tilts or slopes.
Having these tools and materials readily available will make the adjustment process more convenient and efficient. Now that you’re equipped with the necessary tools, let’s proceed to the step-by-step guide on adjusting your uneven window blinds.
Step 1: Inspect and Identify the Issue
Before you start adjusting your uneven window blinds, it’s important to inspect and identify the specific issue that is causing the unevenness. This step will help you determine the appropriate adjustments needed to fix the problem. Follow these steps to inspect and identify the issue:
- Observe: Take a close look at your window blinds and observe how they are hanging. Notice if the blinds are tilted to one side, if the slats are misaligned, or if the cords are tangled.
- Test the Operation: Test the operation of the blinds by opening and closing them. Pay attention to any sticking points or areas where the blinds are not moving smoothly.
- Check the Brackets: Inspect the brackets that hold the blinds in place. Ensure that they are securely attached to the window frame and that they are not loose or damaged. If needed, tighten any loose screws or replace damaged brackets.
- Examine the Slats: Carefully examine the slats of your blinds. Check if any slats are bent, warped, or damaged. If you notice any issues, make a note of the affected slats for possible replacement.
- Inspect the Cords: Check the cords of your blinds. Ensure that they are not tangled, knotted, or tangled up with the mechanism. Untangle any knots or snags and make sure the cords are free to move smoothly.
By inspecting and identifying the specific issue with your uneven window blinds, you’ll have a better understanding of what adjustments are needed. This will also help you determine if any replacement parts, such as slats or brackets, are required. Once you have identified the issue, you can proceed to the appropriate adjustment steps to fix your uneven window blinds.
Step 2: Adjusting Vertical Blinds
If you have vertical blinds that are uneven, follow these steps to adjust them:
- Tilt Adjustment: Start by adjusting the tilt of the blinds. Use the tilt mechanism, usually located on the headrail, to tilt the slats until they are aligned properly. If the slats are tilting to one side, gently pull the slats in the opposite direction to straighten them. You can also use a level to ensure that the slats are perfectly horizontal.
- Stacking Adjustment: The stacking of vertical blinds refers to how the slats gather when the blinds are fully open. If the stacking is uneven, adjust the stacking mechanism. Most vertical blinds have a chain or cord that controls the stacking. Locate the stacking adjustment mechanism and use it to even out the gathering of the slats. Test the blinds by opening and closing them to ensure that the stacking is even.
- Cord Tension Adjustment: If the cords are loose or too tight, it can affect the overall alignment of the blinds. Check if there is a cord tension adjustment mechanism on the headrail. Use a screwdriver to adjust the tension of the cords, ensuring that they are equally tensioned on both sides. This will help the blinds hang evenly and operate smoothly.
- Slats Replacement: If you notice any damaged or bent slats that cannot be fixed through adjustment, you may need to replace them. Measure the size of the slats and purchase replacement slats that match the style and material of your existing blinds. Carefully remove the damaged slats and replace them with the new ones, ensuring that they are properly aligned.
By following these steps, you should be able to adjust your vertical blinds and achieve a more even and aligned appearance. If you still encounter issues after attempting these adjustments, you may need to consider seeking professional assistance or contacting the manufacturer for further guidance.
Use a small screwdriver to adjust the tension on the blinds’ cord lock mechanism. Turn the screw clockwise to tighten and raise the blinds, or counterclockwise to loosen and lower them.
Read more: How To Adjust Blinds
Step 3: Adjusting Horizontal Blinds
If you have horizontal blinds that are uneven, follow these steps to adjust them:
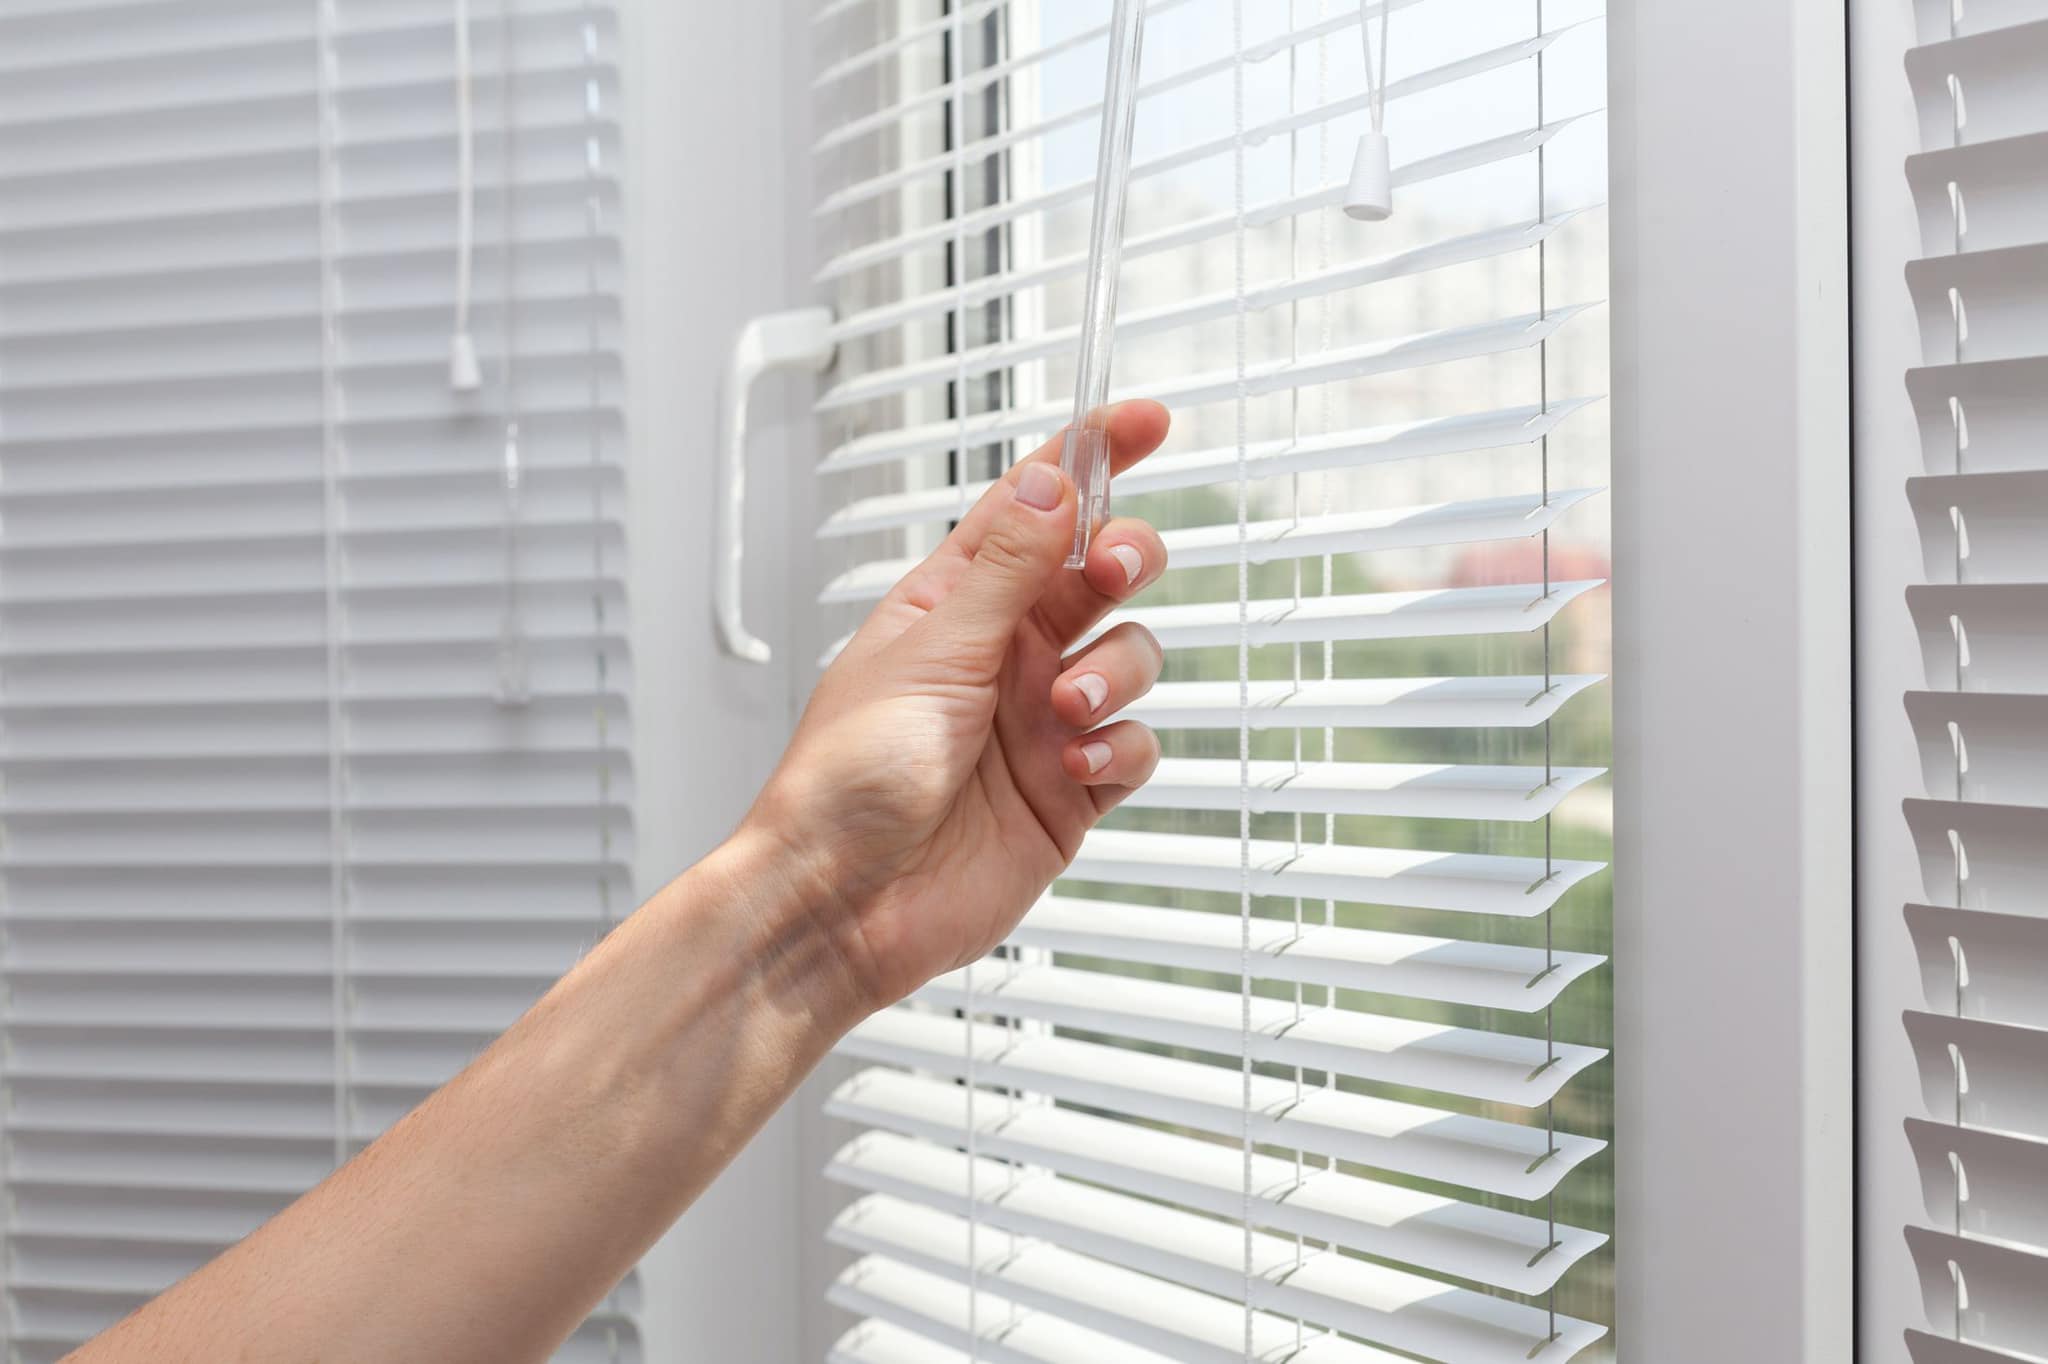
- Slats Adjustment: Start by adjusting the slats of the horizontal blinds. Gently tilt the slats up or down using the tilt wand or tilt cord until they are aligned properly. If the slats are tilting to one side, gently guide them in the opposite direction to straighten them. You can also use a level to ensure that the slats are perfectly horizontal.
- Ladder Tape/Cord Adjustment: If your horizontal blinds have ladder tapes or cords that connect the slats, you can adjust them to ensure even spacing and alignment. Use a ladder tape adjustment tool or your hands to move the ladder tapes or cords along the slats, spreading or gathering them as needed to achieve a uniform look.
- Tilt Mechanism Adjustment: If the blinds are not tilting or closing properly, you may need to adjust the tilt mechanism. Locate the tilt mechanism, typically located on the headrail or in the middle of the blinds. Use a screwdriver to tighten or loosen the tilt mechanism as needed, ensuring that the blinds tilt and close smoothly.
- Lubricate the Blind Mechanism: Over time, the blind mechanism can become stiff, leading to uneven operation. Apply a silicone-based lubricant to the tilt mechanism and any moving parts to ensure smooth and even movement.
- Bent or Damaged Slats: If you notice any bent or damaged slats that cannot be adjusted, you may need to replace them. Measure the size of the slats and purchase replacement slats that match the style and color of your blinds. Carefully remove the damaged slats and attach the new ones, ensuring they are properly aligned.
Following these steps should help you adjust your horizontal blinds and achieve a more even and aligned appearance. Remember to take your time and make small adjustments as needed. If you encounter any challenges or the issue persists, consider seeking professional assistance or contacting the manufacturer for further guidance.
Step 4: Fixing Bent or Damaged Slats
If you have noticed bent or damaged slats on your window blinds, it’s important to address them to achieve a neat and even appearance. Follow these steps to fix bent or damaged slats:
- Identify the Bent or Damaged Slats: Inspect your blinds closely and identify the specific slats that are bent or damaged. Make a note of the number and location of these slats for easier replacement.
- Remove the Slats: Depending on the type of blinds you have, you may need to remove the entire blind unit or just the individual slats to fix the bent or damaged ones. Carefully detach the slats that need to be replaced, following the instructions provided by the manufacturer.
- Purchase Replacement Slats: Measure the size of the slats that need to be replaced and purchase replacement slats of the same size, material, and color. It’s important to match the slats as closely as possible to ensure a seamless look after the repair.
- Attach the Replacement Slats: Once you have the replacement slats, attach them in place of the bent or damaged ones. Follow the manufacturer’s instructions for attaching the slats properly, whether it involves threading them onto strings or inserting them into the clips or holders.
- Ensure Proper Alignment: After attaching the replacement slats, check that they are aligned with the surrounding slats. Make any necessary adjustments to the positioning to ensure a symmetrical and even appearance.
- Reinstall the Blinds: Once you have replaced the bent or damaged slats and achieved the desired alignment, reattach the blinds to the mounting brackets. Ensure everything is securely in place before testing the operation of the blinds.
By following these steps, you can effectively fix bent or damaged slats, restoring the functionality and appearance of your window blinds. If you are unsure about the repair process or encounter any difficulties, it’s advisable to consult professional help or reach out to the manufacturer for guidance.
Step 5: Lubricating the Blind Mechanism
Lubricating the blind mechanism is an essential step in maintaining the smooth and proper operation of your window blinds. Over time, the moving parts of the blinds can become stiff or start to squeak, which can lead to uneven movement and difficulty in adjusting the blinds. Follow these steps to lubricate the blind mechanism:
- Identify the Moving Parts: Take a close look at your blinds and identify the areas where the moving parts are located. This typically includes the tilt mechanism, cord pulley, and other points where there is friction during operation.
- Choose the Right Lubricant: Select a silicone-based lubricant, as it is specifically designed for use on blinds and will not cause damage or leave a greasy residue. Avoid using oil-based lubricants, as they can attract dust and dirt, leading to further complications.
- Apply the Lubricant: Carefully apply a small amount of lubricant to the moving parts of the blind mechanism. Use a cloth or a cotton swab to evenly distribute the lubricant. Be sure to lubricate any hinges, gears, or other points where there is friction or resistance.
- Operate the Blinds: After applying the lubricant, test the operation of the blinds by opening, closing, and adjusting the slats. Pay attention to any improvements in ease of movement and smoothness. If necessary, add additional lubricant and continue testing until you achieve the desired results.
- Remove Excess Lubricant: After lubricating the blind mechanism, use a clean cloth or paper towel to gently wipe away any excess lubricant. This will help prevent accumulation of dust and debris, which can affect the operation of the blinds over time.
Lubricating the blind mechanism on a regular basis will help maintain the smooth functioning of your window blinds and prevent uneven movement. Depending on the usage and environment, it is recommended to lubricate the blinds every six months to a year. Remember to follow the manufacturer’s recommendations for care and maintenance of your specific blinds.
Step 6: Reinstalling the Blinds
After making necessary adjustments and repairs to your window blinds, it’s time to reattach and reinstall them properly. Follow these steps to reinstall your blinds:
- Prepare the Mounting Brackets: Ensure that the mounting brackets are clean and securely attached to the window frame or wall. If the brackets were damaged during the adjustment process, replace them with new ones to ensure proper support for the blinds.
- Align the Headrail: Hold the headrail of the blinds and align it with the mounting brackets. Insert the headrail into the brackets and make sure it sits securely in place. Secure the headrail by screwing it into the brackets using the provided screws.
- Test the Operation: Once the blinds are securely installed, test their operation. Open and close the blinds to ensure they move smoothly and evenly. Tilt the slats to check the functionality of the tilt mechanism. Pay attention to any signs of unevenness or resistance.
- Make Final Adjustments: If you notice any issues during the testing phase, make any necessary final adjustments. Check for proper alignment, even distribution of slats, and smooth operation. If needed, refer back to the previous adjustment steps to fine-tune the blinds.
- Clean and Maintain: Now that your blinds are reinstalled, take the time to clean and maintain them regularly. Dust the slats with a soft cloth or use a vacuum cleaner with a brush attachment to remove any dust or debris. Follow the manufacturer’s recommendations for cleaning, as different materials may require specific cleaning methods.
By following these steps, you can successfully reinstall your window blinds and ensure they are properly aligned and functioning optimally. Regular maintenance and care will help extend the lifespan of your blinds and keep them looking their best.
Read more: How To Adjust Uneven Gas Stove Burners
Conclusion
Having uneven window blinds can be frustrating, but with the right adjustments and repairs, you can restore their functionality and appearance. By following the step-by-step guide outlined in this article, you can easily address common issues that cause uneven blinds.
Inspecting and identifying the specific issue is crucial before proceeding with the adjustment process. Whether it’s improper installation, bent slats, tangled cords, or uneven tension, understanding the root cause will help you make the necessary adjustments.
Adjusting vertical blinds involves tilting, stacking, and cord tension adjustments, while horizontal blinds require slat alignment, ladder tape/cord adjustments, and lubrication of the blind mechanism. Replacement of damaged slats may also be necessary to achieve a uniform look.
Don’t forget to lubricate the blind mechanism regularly using a silicone-based lubricant to maintain smooth operation. Additionally, taking the time to reinstall the blinds properly and testing their functionality is essential to ensure they are aligned and functioning optimally.
Remember to clean and maintain your blinds regularly to maintain their appearance and functionality. Dusting the slats and following the manufacturer’s cleaning recommendations will help extend the lifespan of your window blinds.
In conclusion, adjusting uneven window blinds is a doable task that can be accomplished with a bit of patience and the right tools. By taking the time to inspect, identify, and address the issues, you can enjoy evenly aligned and fully-functional window blinds once again.
Frequently Asked Questions about How To Adjust Uneven Window Blinds
Was this page helpful?
At Storables.com, we guarantee accurate and reliable information. Our content, validated by Expert Board Contributors, is crafted following stringent Editorial Policies. We're committed to providing you with well-researched, expert-backed insights for all your informational needs.