
Articles
How To Adjust Blinds
Modified: January 9, 2024
Learn how to adjust blinds with these helpful articles. Discover tips and techniques for achieving the perfect fit and enhancing your window decor.
(Many of the links in this article redirect to a specific reviewed product. Your purchase of these products through affiliate links helps to generate commission for Storables.com, at no extra cost. Learn more)
Introduction
Blinds are a popular choice for window coverings due to their functionality and aesthetic appeal. They provide privacy, control the amount of light entering the room, and add a touch of style to any space. However, there may be occasions when you need to adjust your blinds to fit different window sizes or to achieve the desired level of light and privacy.
Adjusting blinds may seem like a daunting task, especially if you are new to it. But fear not! In this article, we will guide you through the step-by-step process of adjusting blinds to ensure a perfect fit and optimal functionality.
Before we dive into the specifics of adjusting blinds, let’s first gather the necessary tools. Having the right tools on hand will make the process much smoother and more efficient.
Key Takeaways:
- Don’t be intimidated by adjusting blinds! With the right tools and step-by-step guidance, you can easily customize the fit and functionality of your blinds to create the perfect ambiance in any space.
- From measuring to testing, this article provides a comprehensive guide to adjusting blinds. Take the time to gather the necessary tools, make precise adjustments, and enjoy the benefits of personalized window coverings.
Read more: How To Adjust Blinds String
Step 1: Gather the necessary tools
Before you begin adjusting your blinds, it’s important to have the right tools at your disposal. Here are the essential tools you’ll need:
- Tape measure: This will help you accurately measure the length and width of your blinds.
- Pliers: Pliers will come in handy when removing or adjusting the brackets that hold the blinds in place.
- Screwdriver: A screwdriver is essential for loosening or tightening screws, especially when adjusting the length and width of the blinds.
- Scissors: You will need scissors to trim any excess length from the blinds once you’ve made the necessary adjustments.
- Dust cloth or vacuum cleaner: It’s always a good idea to clean your blinds before and after making adjustments to ensure they look their best.
Once you have gathered these tools, you are ready to move on to the next step: measuring your blinds.
Step 2: Measure the blinds
Measuring your blinds accurately is the key to achieving the perfect fit during the adjustment process. Follow these steps to measure your blinds:
- Start by measuring the length of the blinds. Extend the blinds fully and measure from the top edge to the bottom edge. Take note of this measurement.
- Next, measure the width of the blinds. Measure from one side of the headrail to the other side. Again, jot down this measurement.
- If you have multiple blinds in the same window or different windows, make sure to measure each one separately. Not all blinds may be exactly the same size.
Once you have accurate measurements, you are ready to proceed to the next step: adjusting the length of the blinds.
Step 3: Adjusting the length
Adjusting the length of your blinds is necessary if they are too long for your window. Here’s how you can do it:
- Begin by removing the blinds from the window. This will provide easier access for making the necessary adjustments.
- Locate the lift cords or ladder strings on the blinds. These are the strings that control the raising and lowering of the blinds.
- Identify the locking mechanism on the lift cords or ladder strings. It may be a small plastic device or a knot that secures the cords in place.
- Undo the locking mechanism and gently pull on the lift cords or ladder strings to release tension and lower the blinds to your desired length.
- Once you have adjusted the length, carefully retie or relock the lift cords or ladder strings to secure the blinds in their new position.
- Reinstall the blinds back into the window, making sure they are level and centered.
With the length of your blinds adjusted, you can now move on to adjusting the width, if necessary.
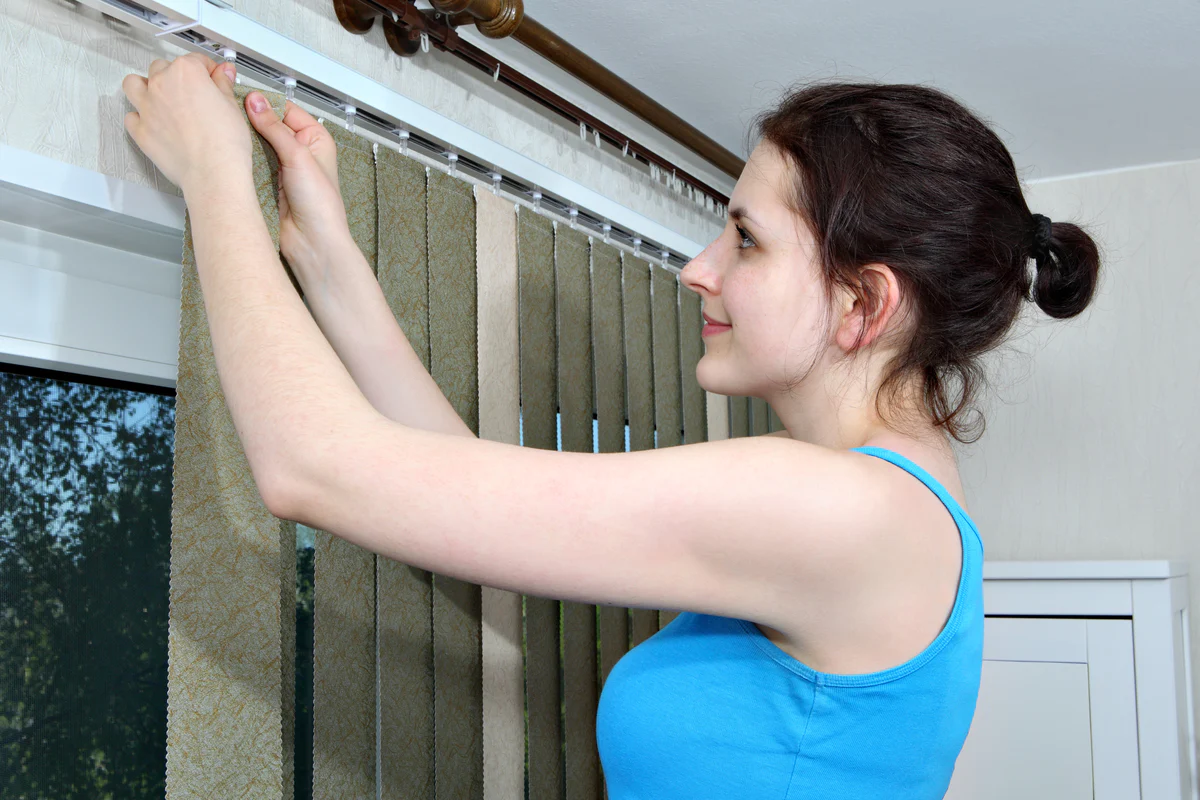
When adjusting blinds, start by ensuring the blinds are fully closed. Then, use the tilt wand or cord to adjust the angle of the slats to control the amount of light and privacy. If the blinds are too loose or too tight, adjust the tension screws on the brackets to achieve the desired level of resistance.
Step 4: Adjusting the width
If your blinds are too wide for your window, it’s important to adjust the width to ensure a proper fit. Follow these steps to adjust the width of your blinds:
- Start by removing the blinds from the window. This will allow you to work on them more easily.
- Identify the brackets that hold the blinds in place. These brackets are typically located on the sides of the headrail.
- Loosen the screws on the brackets using a screwdriver. This will allow you to move the brackets horizontally along the headrail.
- Gently slide the brackets inward to reduce the width of the blinds. Make sure to keep them level and evenly spaced.
- Tighten the screws on the brackets to secure them in their new position.
- Reinstall the blinds back into the window, ensuring they are level and centered.
Now that you have successfully adjusted the width of your blinds, it’s time to move on to adjusting the slats for optimal light control.
Read more: How To Adjust Uneven Window Blinds
Step 5: Adjusting the slats
Adjusting the slats of your blinds allows you to control the amount of light and privacy they provide. Here’s how you can adjust the slats:
- Start by closing the blinds completely. This will ensure that the slats are in the proper starting position.
- Locate the tilt rod, which is usually located on the side of the blinds. The tilt rod is used to adjust the angle of the slats.
- Using your hand or a wand, gently rotate the tilt rod either upward or downward to adjust the slat angle. Experiment with different angles to find the level of light and privacy that suits your needs.
- If your blinds have a cord or a wand control for tilting the slats, follow the manufacturer’s instructions to adjust the slat angle accordingly.
By adjusting the slats of your blinds, you can customize the amount of light and privacy in your space to create the perfect ambiance.
Now that you have made all the necessary adjustments, it’s time to test the functionality of your blinds before concluding the process.
Step 6: Testing the adjustments
After making the necessary adjustments to your blinds, it’s important to test their functionality to ensure that everything is working properly. Here’s how you can test the adjustments:
- First, test the lifting and lowering mechanism of the blinds. Gently pull on the lift cords or operate the control wand to raise and lower the blinds. Make sure that the blinds smoothly move up and down without any obstructions or resistance.
- Next, test the tilt mechanism of the blinds. Use the tilt rod or the cord/wand control to adjust the angle of the slats. Verify that the slats move smoothly and stay in the desired position.
- Check for any misalignments or unevenness in the blinds. Ensure that the blinds hang straight and level when fully lowered.
- Open and close the blinds multiple times to confirm that the adjustments hold and that the blinds operate as intended.
- If you encounter any issues or the adjustments do not meet your desired results, review the previous steps and make any necessary refinements.
By thoroughly testing the adjustments, you can ensure that your blinds are functioning properly and providing the desired level of light control and privacy.
With the adjustments made and tested, you can now enjoy your perfectly fitted blinds!
Conclusion
Adjusting blinds to fit your window size and desired level of light and privacy is a task that can easily be accomplished with the right tools and knowledge. By following the step-by-step process outlined in this article, you can confidently make the necessary adjustments to achieve the perfect fit and functionality.
Remember to gather the necessary tools, including a tape measure, pliers, screwdriver, scissors, and cleaning supplies. Accurate measurements are crucial, so take the time to measure the length and width of your blinds before proceeding.
Next, you can adjust the length by releasing and lowering the lift cords or ladder strings, then securing them in their new position. To adjust the width, simply adjust the brackets on the headrail to move the blinds closer together or farther apart.
Once the length and width are adjusted, you can further customize your blinds by adjusting the slats. Use the tilt rod or control mechanism to change the angle of the slats and control the amount of light and privacy in your space.
Finally, it’s crucial to test the adjustments to ensure that your blinds are functioning properly. Check the lifting and lowering mechanism, the tilt mechanism, and overall alignment to make sure everything operates as intended.
With the adjustments made and tested, you can now enjoy your perfectly fitted blinds that not only enhance the aesthetics of your space but also provide the desired level of light control and privacy.
So go ahead, take on the task of adjusting your blinds with confidence, and enjoy the benefits of a customized window covering solution!
Frequently Asked Questions about How To Adjust Blinds
Was this page helpful?
At Storables.com, we guarantee accurate and reliable information. Our content, validated by Expert Board Contributors, is crafted following stringent Editorial Policies. We're committed to providing you with well-researched, expert-backed insights for all your informational needs.


