Articles
How To Fix The String On Blinds
Modified: December 7, 2023
Learn how to fix the string on blinds with our informative articles. Find step-by-step guides and expert tips for troubleshooting and repairing blinds.
(Many of the links in this article redirect to a specific reviewed product. Your purchase of these products through affiliate links helps to generate commission for Storables.com, at no extra cost. Learn more)
Introduction
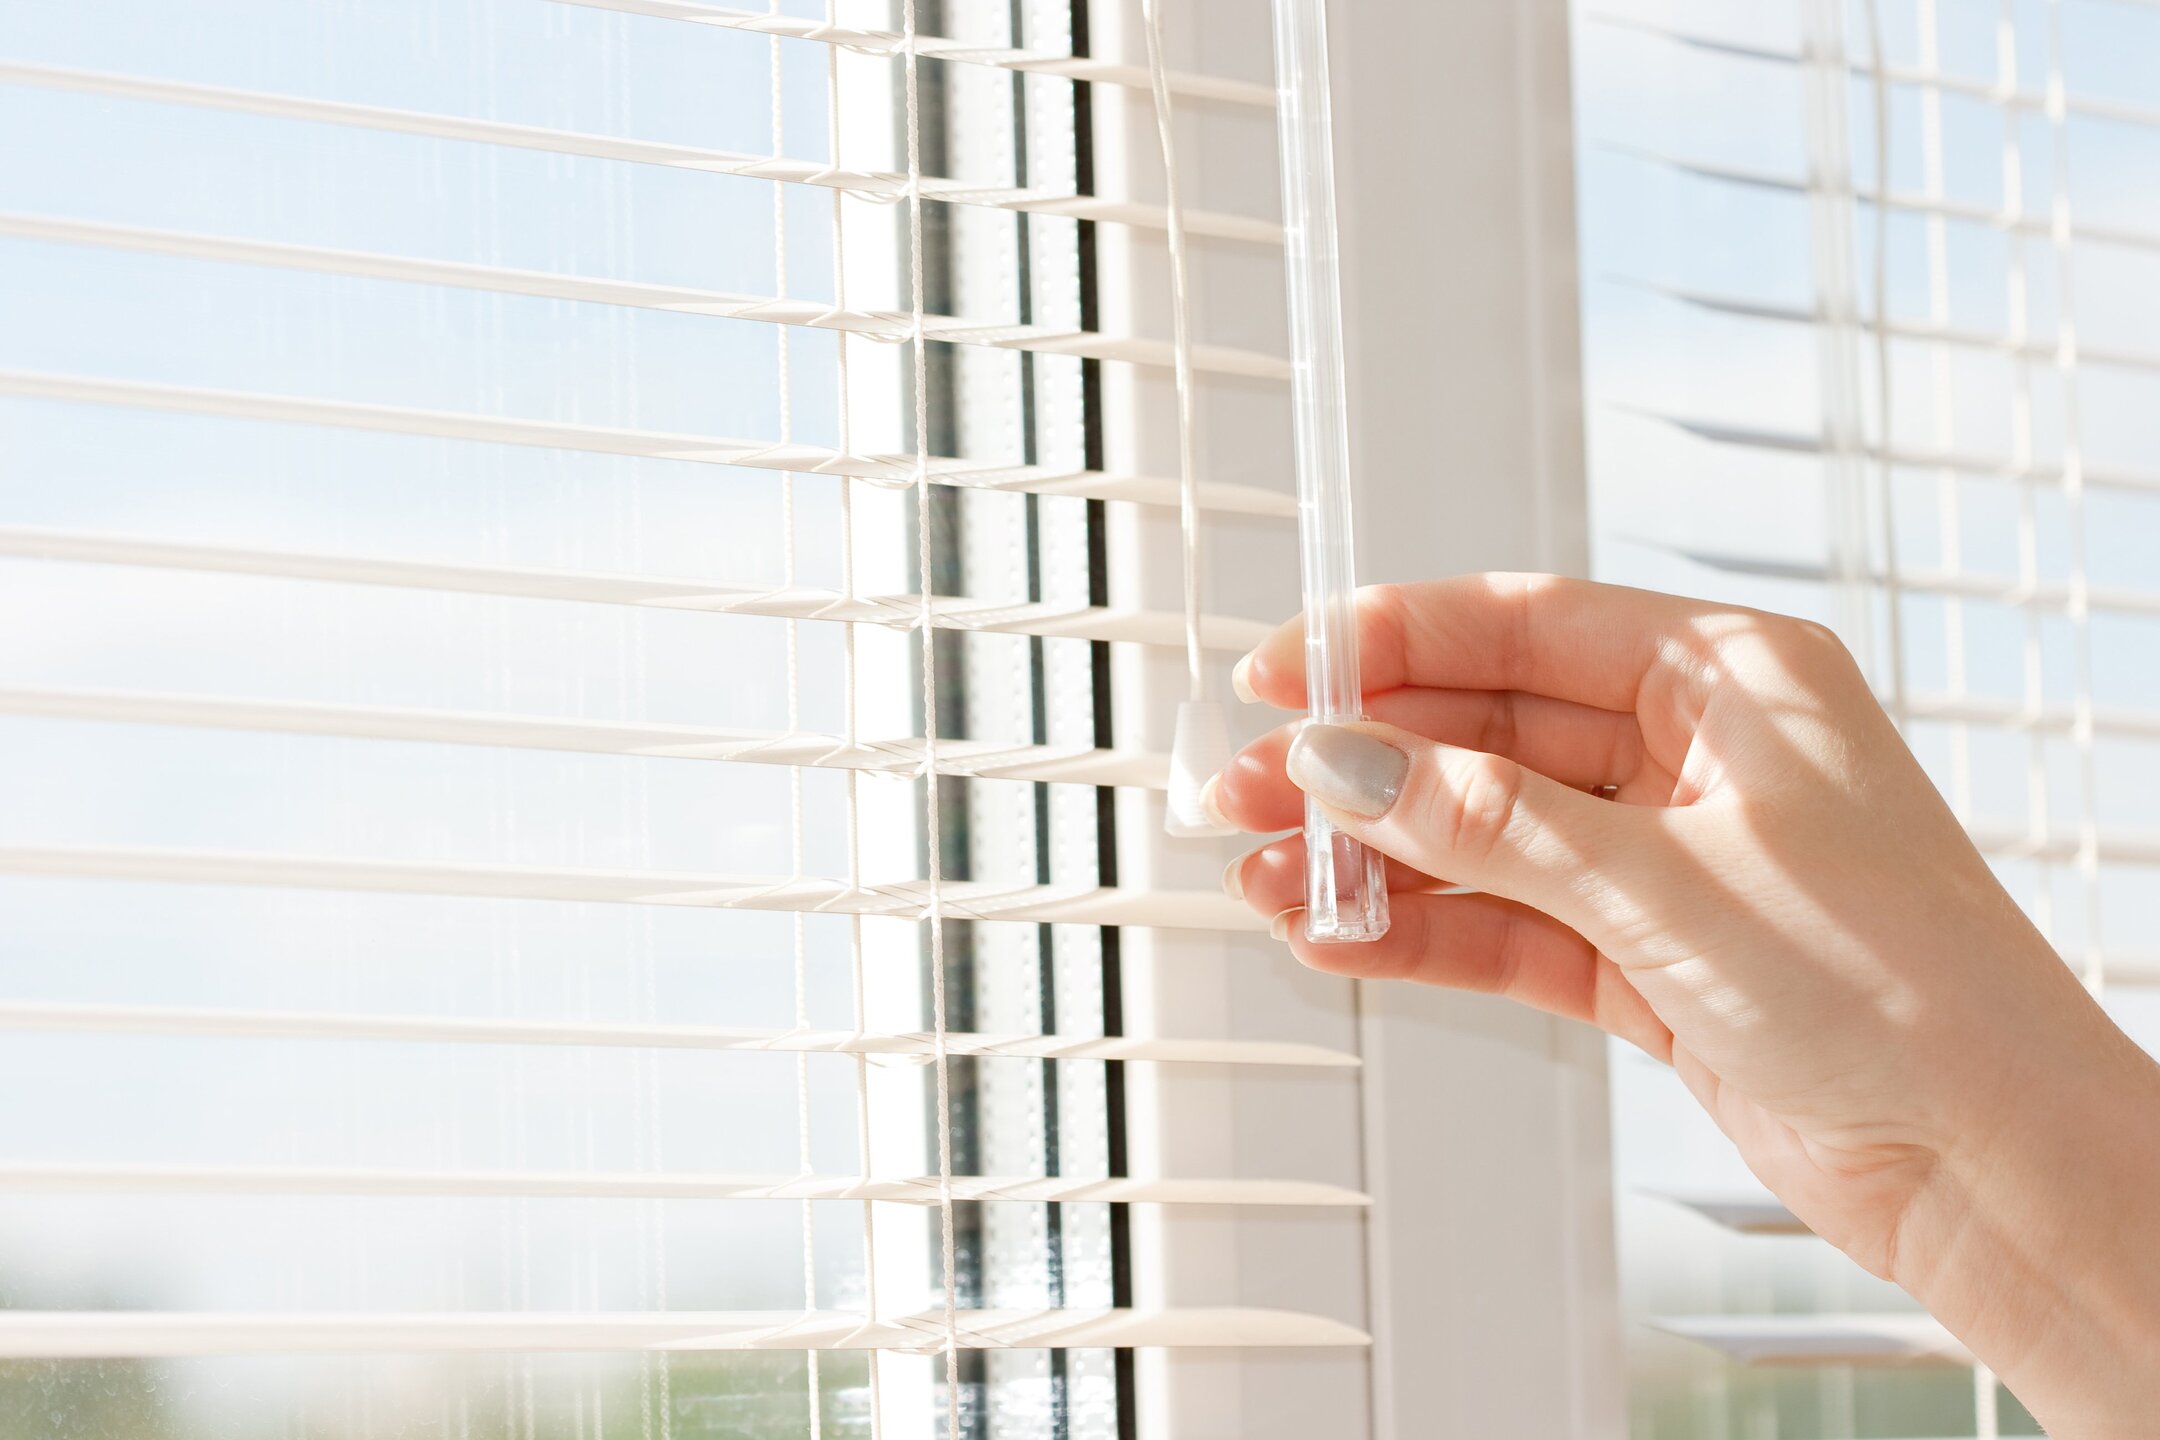
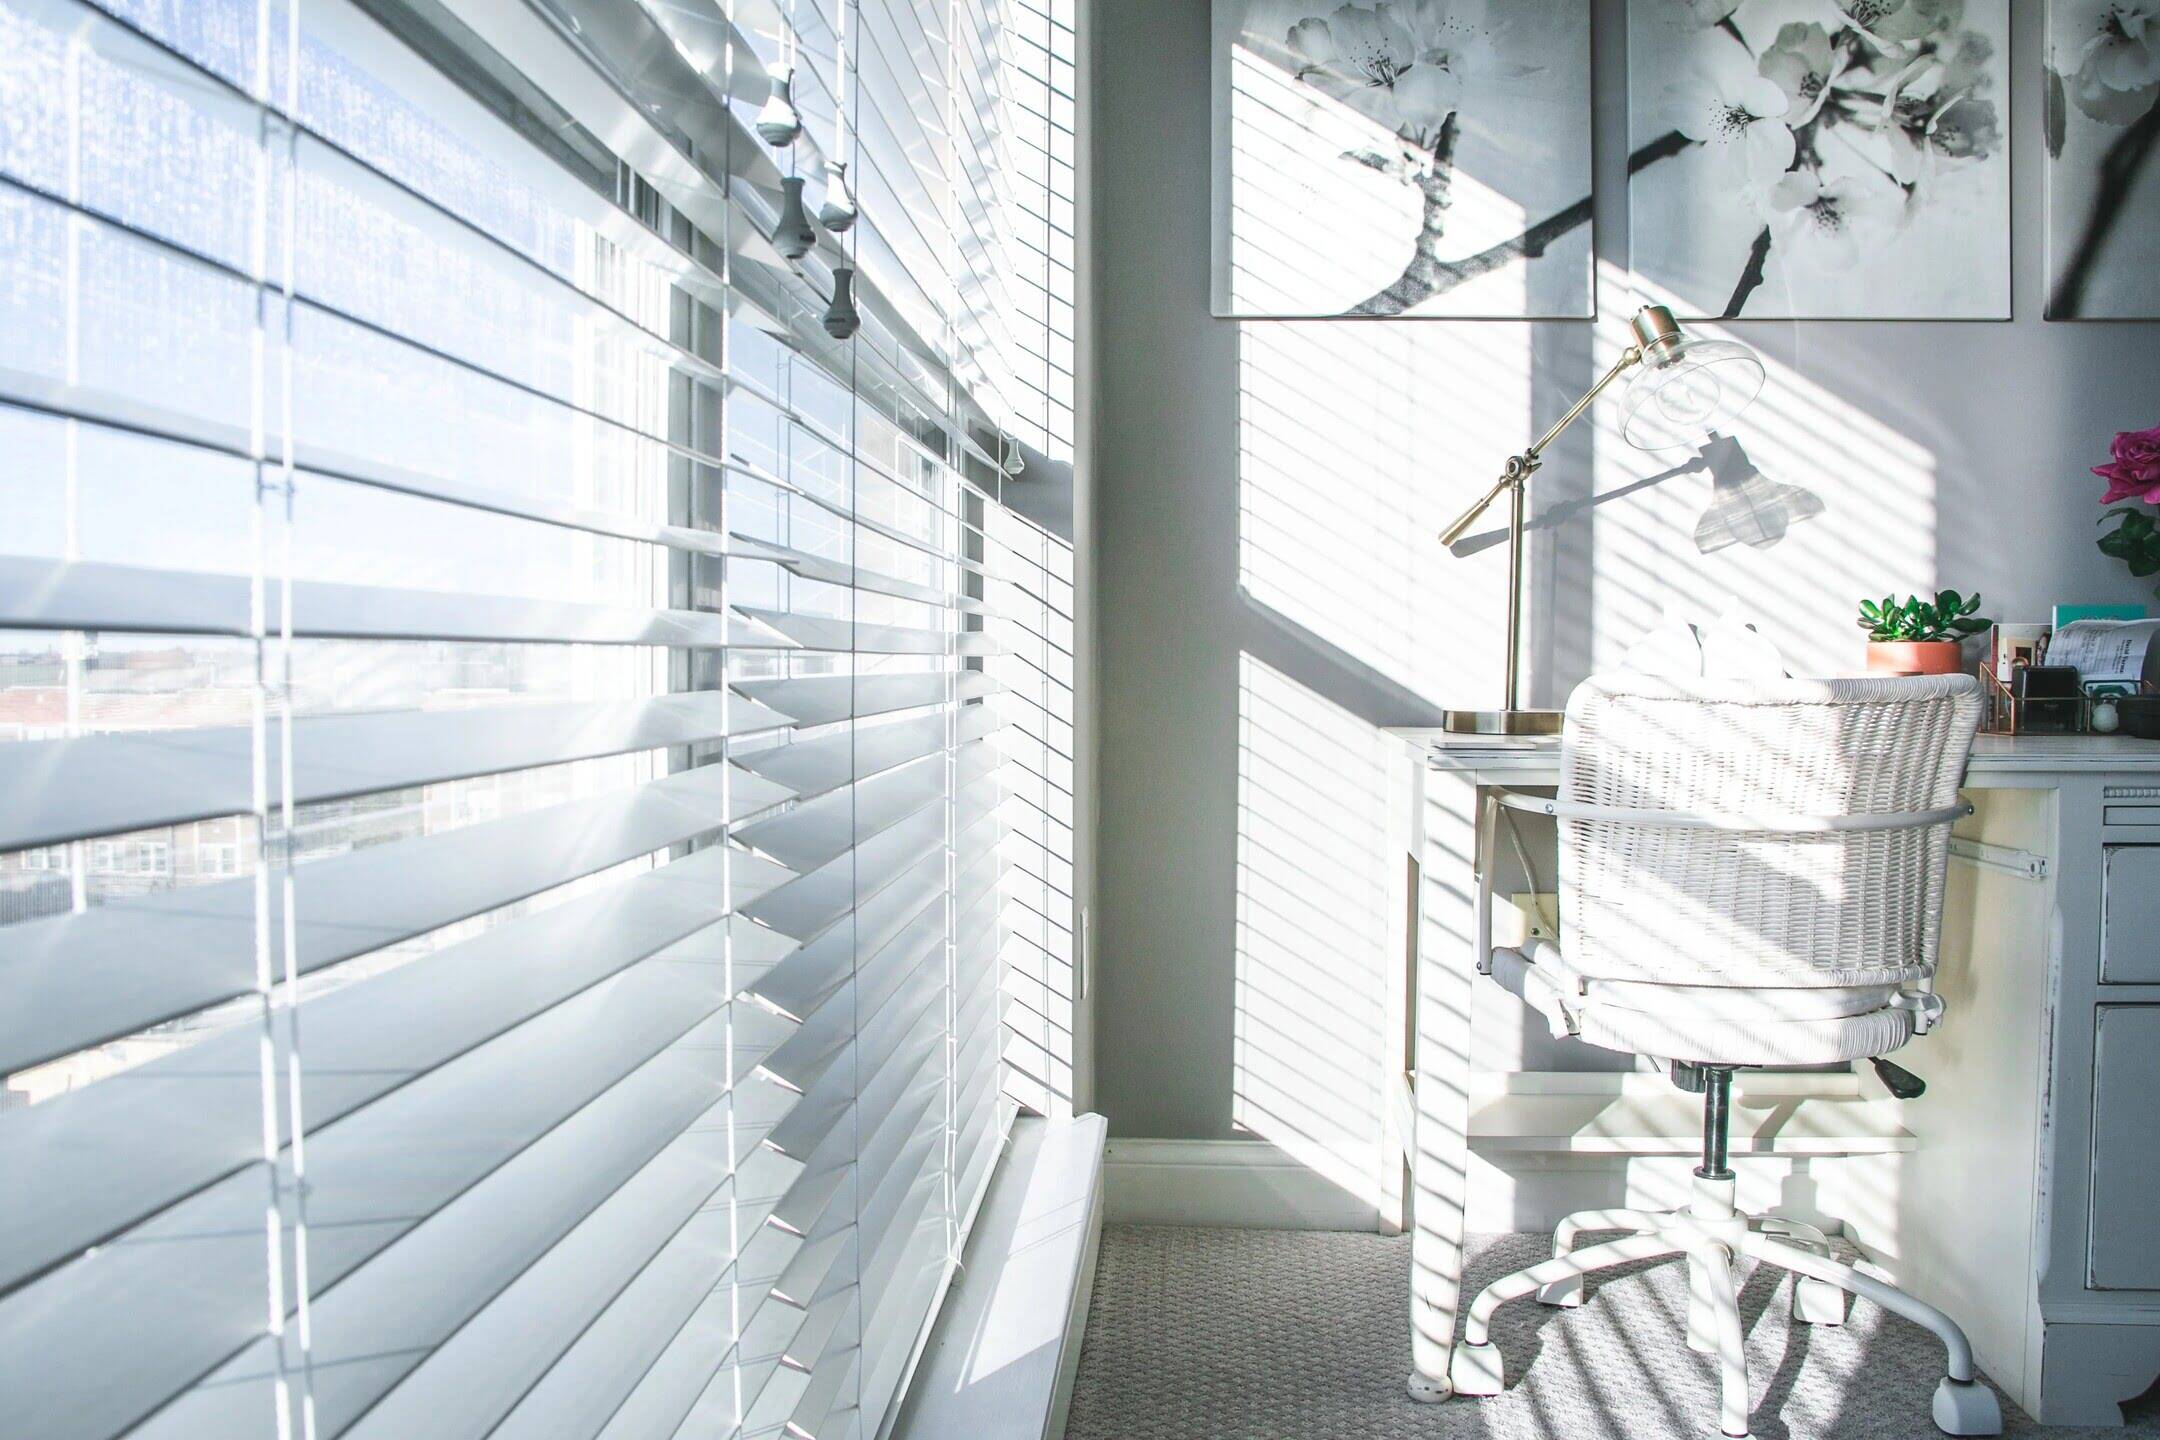
Blinds are a popular window covering option due to their versatility and ability to control light and privacy. However, over time, the strings used to operate the blinds can become worn, frayed, or broken, causing the blinds to malfunction. Fortunately, fixing the string on blinds is a simple and cost-effective solution that can be done yourself with a few basic tools and materials.
In this article, we will guide you through the process of fixing the string on blinds, from identifying common problems to step-by-step instructions on how to replace the string. Whether you have vertical blinds, horizontal blinds, or shades, this article will provide you with the knowledge and confidence to tackle the repair and have your blinds working smoothly again.
Before we delve into the specific steps, let’s take a look at some of the common problems you may encounter with blinds and the tools and materials you will need for the repair.
Key Takeaways:
- Fixing the string on blinds is a simple DIY task that can save you time and money. With basic tools and patience, you can restore the functionality of your blinds and enjoy privacy and light control once again.
- By following step-by-step instructions, you can assess, replace, and test the string on your blinds, ensuring smooth and effective operation. DIY repairs not only save money but also extend the lifespan of your window coverings.
Read more: How To Fix Vertical Blinds String
Common Problems with Blinds
Blinds can experience several common problems that may require you to fix or replace the string:
- Friction and Tension Issues: Over time, the string may become tangled or caught, making it difficult to operate the blinds smoothly. This can lead to uneven movement or blinds that won’t stay in the desired position.
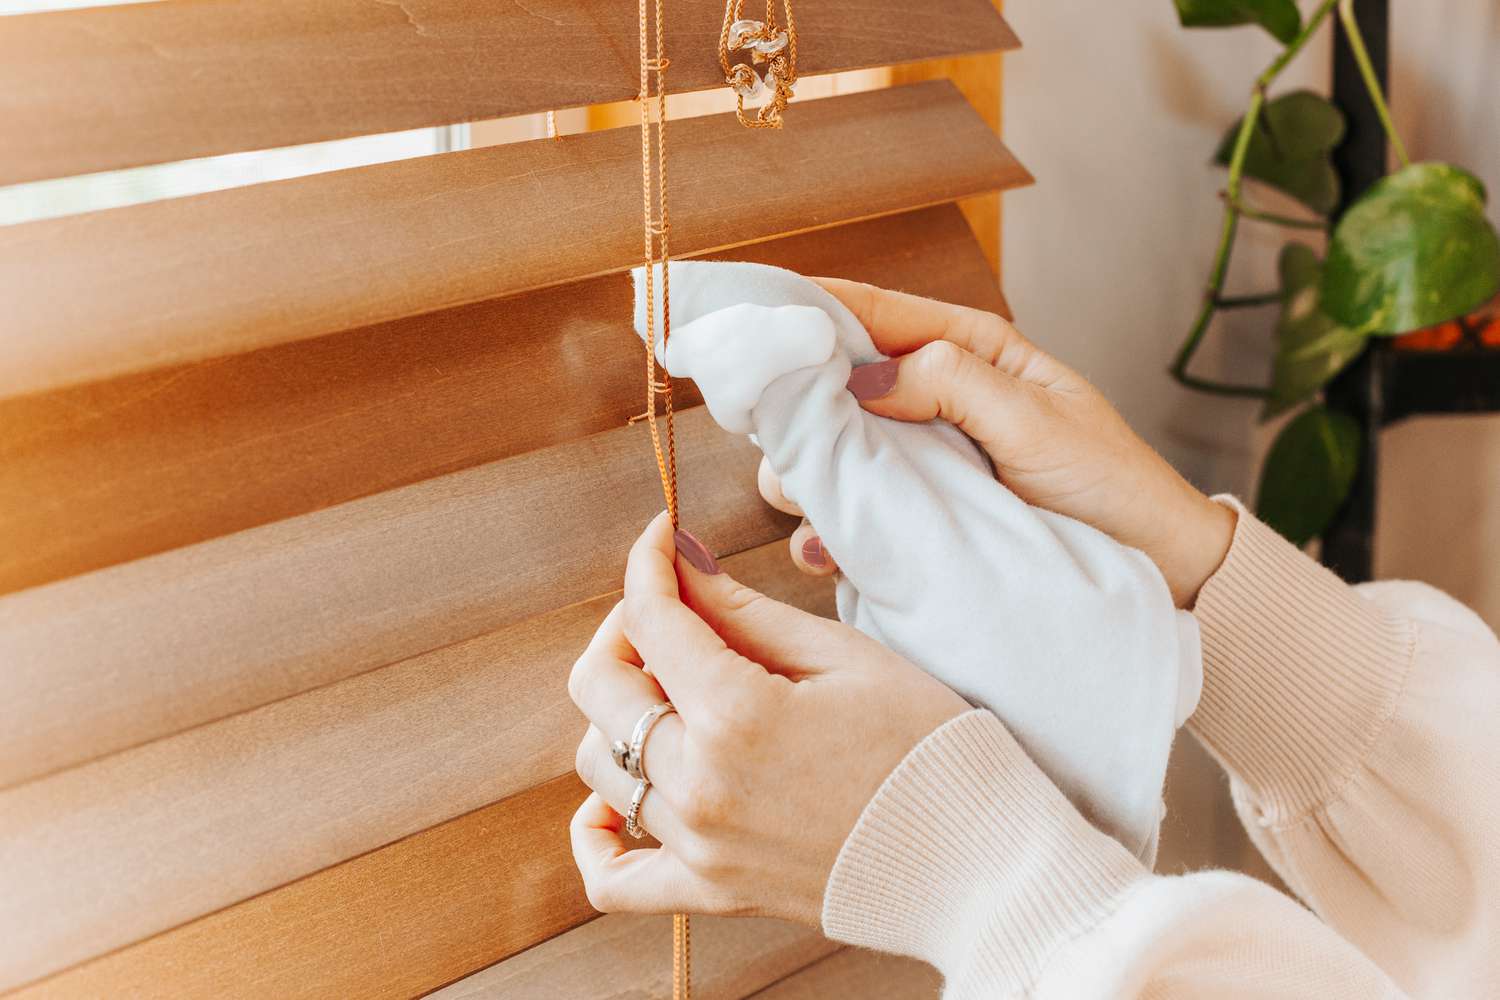
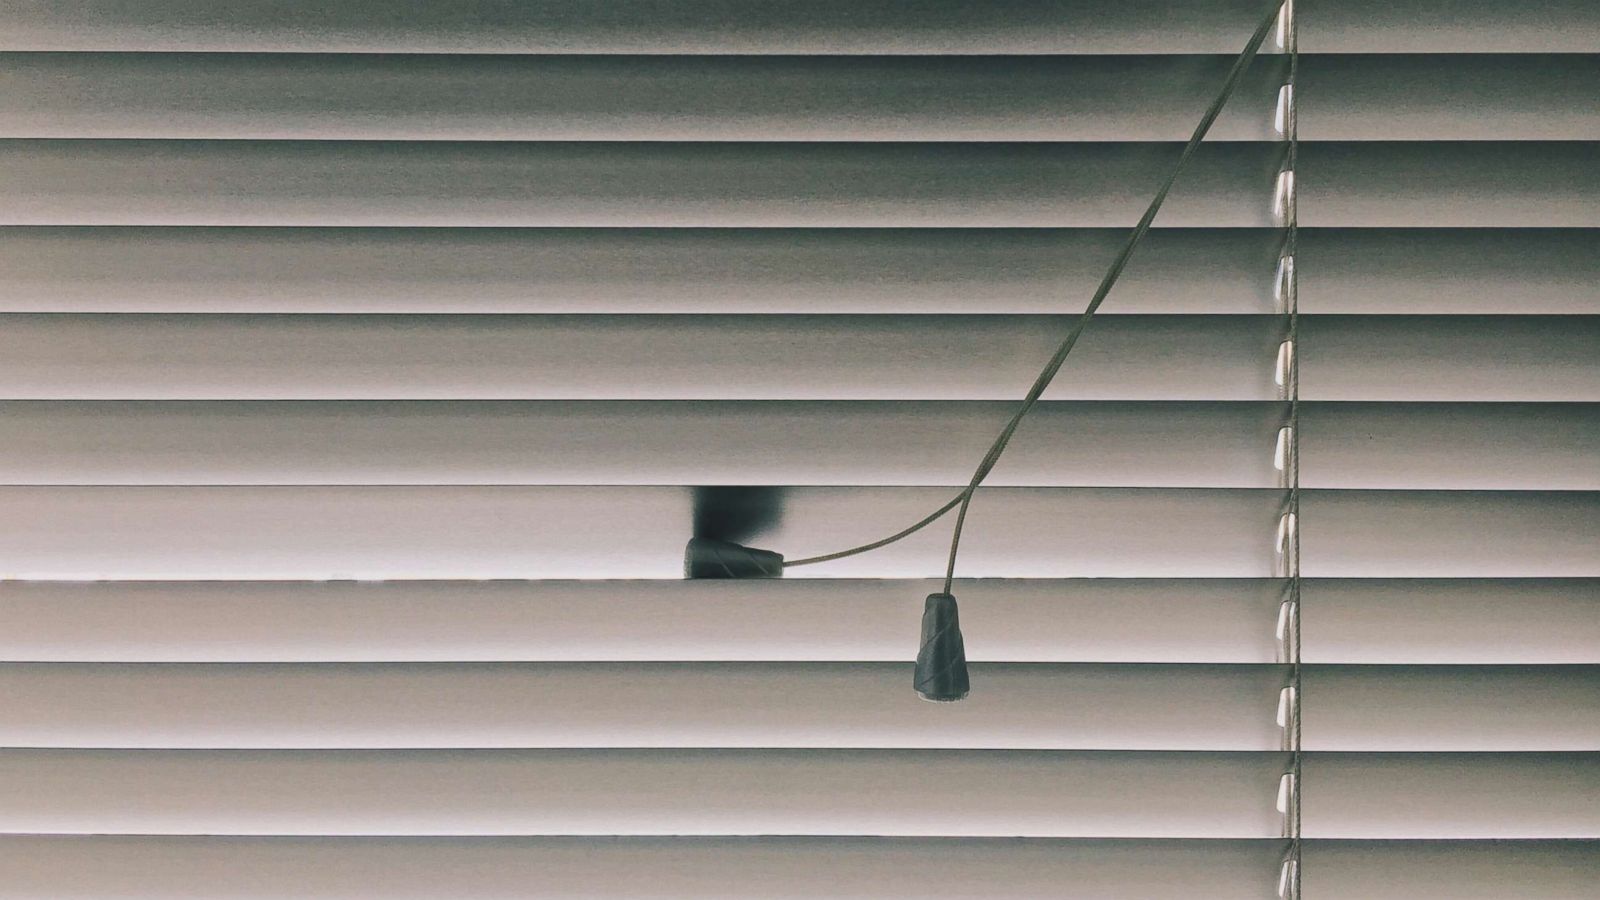
- String Breakage: The string used to raise, lower, or tilt the blinds can break due to regular wear and tear, excessive force, or age. A broken string prevents the blinds from functioning properly.
- Frayed or Worn Strings: Strings can become frayed or worn out from repeated use or exposure to sunlight. Frayed strings are prone to tangling or snapping, which hinders the blinds’ operation.
- Incorrect String Length or Tension: If the string is either too long or too short, it can affect the smooth operation of the blinds. Additionally, if the tension is too loose or too tight, it can cause the blinds to raise or lower unevenly.
Identifying the specific problem with your blinds will help you determine the appropriate fix. Now that we’ve covered common problems, let’s move on to the tools and materials you’ll need to carry out the repair.
Tools and Materials Needed
Before you begin fixing the string on your blinds, gather the following tools and materials:
- Scissors: You will need a pair of scissors to cut the old string and trim the new string.
- Replacement String: Purchase a roll of replacement string that matches the thickness and strength of the original string. You can find replacement strings at home improvement stores or online.
- Tape Measure: Use a tape measure to ensure you cut the replacement string to the correct length.
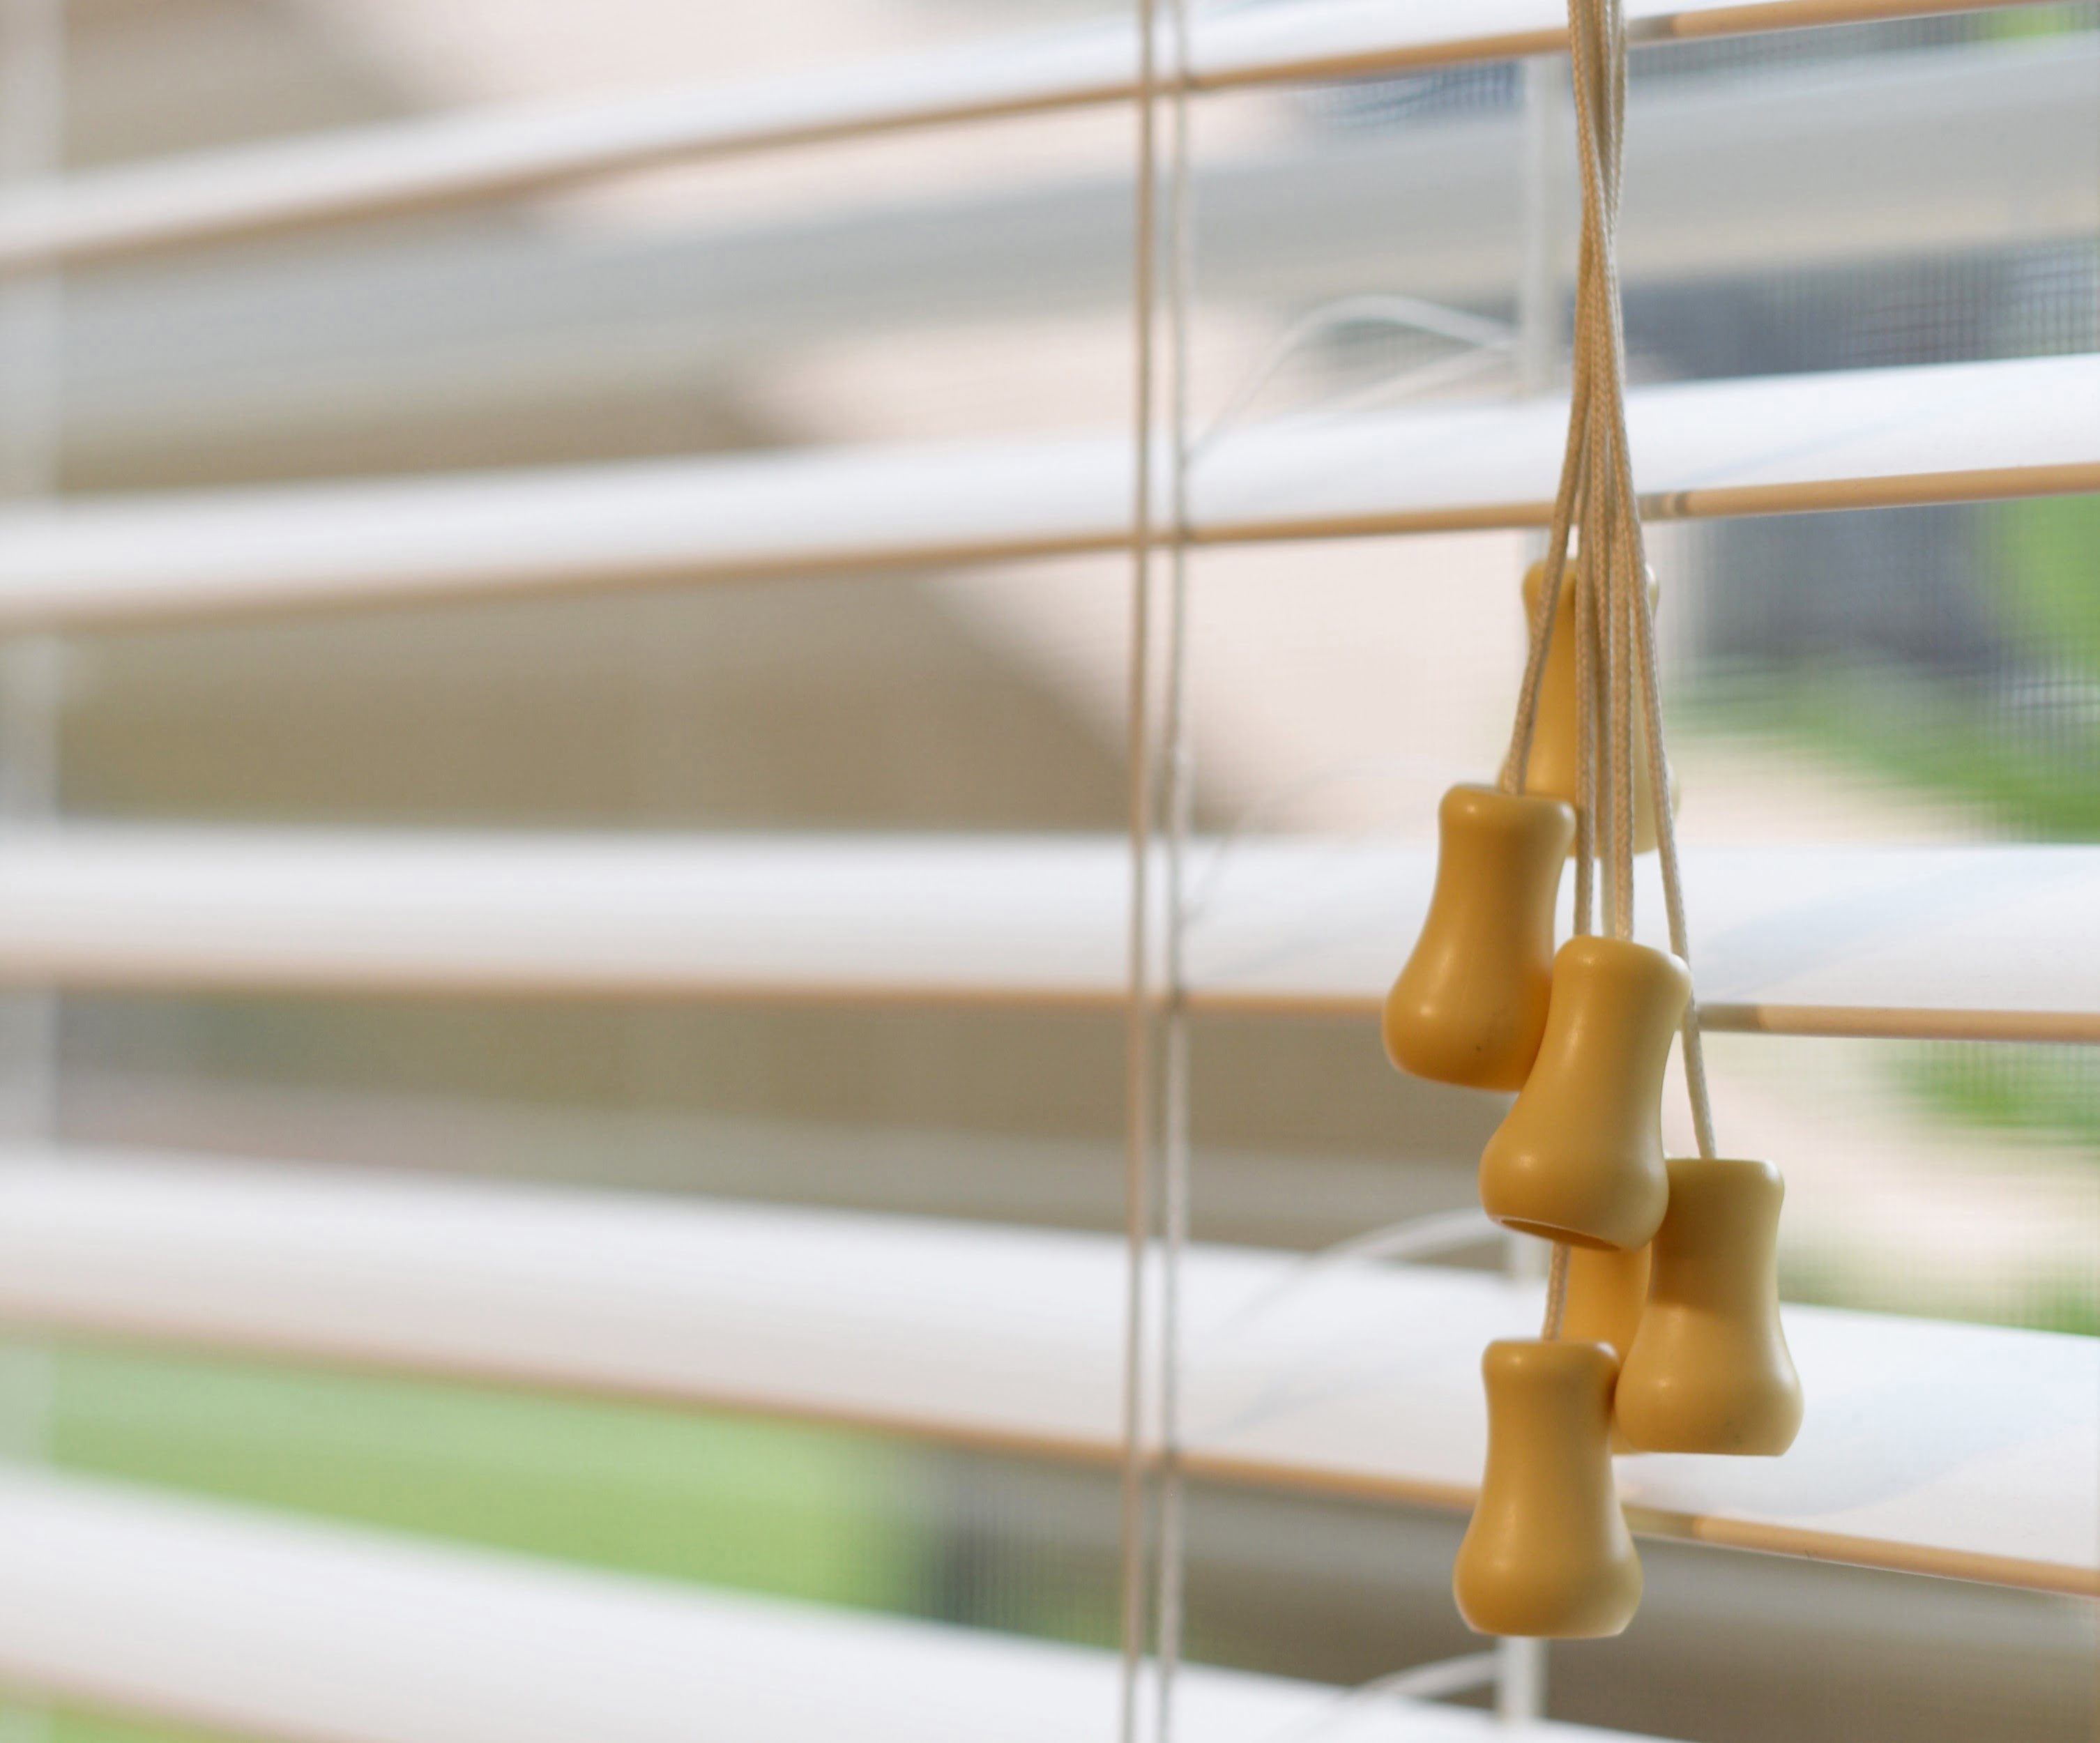
- Needle or Bodkin: A needle or bodkin is useful for threading the replacement string through the blinds’ slats or holes.
- Pliers: Pliers can come in handy for removing any old or damaged string and making adjustments to the blinds’ components.
- Ladder or Step Stool: Depending on the height of your blinds, you may need a ladder or step stool to access them safely.
Having these tools and materials ready will make the repair process more efficient and ensure that you have everything you need to complete the job. With the necessary tools in hand, let’s move on to the step-by-step instructions for fixing the string on your blinds.
Step 1: Assess the Issue
Before you dive into repairing the string on your blinds, it’s important to assess the issue and determine the extent of the repair required. Take a close look at your blinds and consider the following:
- Identify the Problem: Determine if the issue is due to a broken string, frayed or worn-out string, or a problem with the tension or operation of the blinds. Understanding the specific problem will help you better address it.
- Inspect the Blinds: Examine the blinds’ components, including the controls, cords, and mechanisms. Look for any signs of damage or wear such as knots, tangles, or missing parts.
- Check Other Functions: Test the blinds’ other functions, such as tilting or rotating the slats. Note if any of these functions are also affected by the string issue.
By assessing the issue thoroughly, you can determine the appropriate course of action and ensure that you have the necessary tools and materials to carry out the repair effectively. Once you have assessed the issue, move on to the next step of removing the broken string.
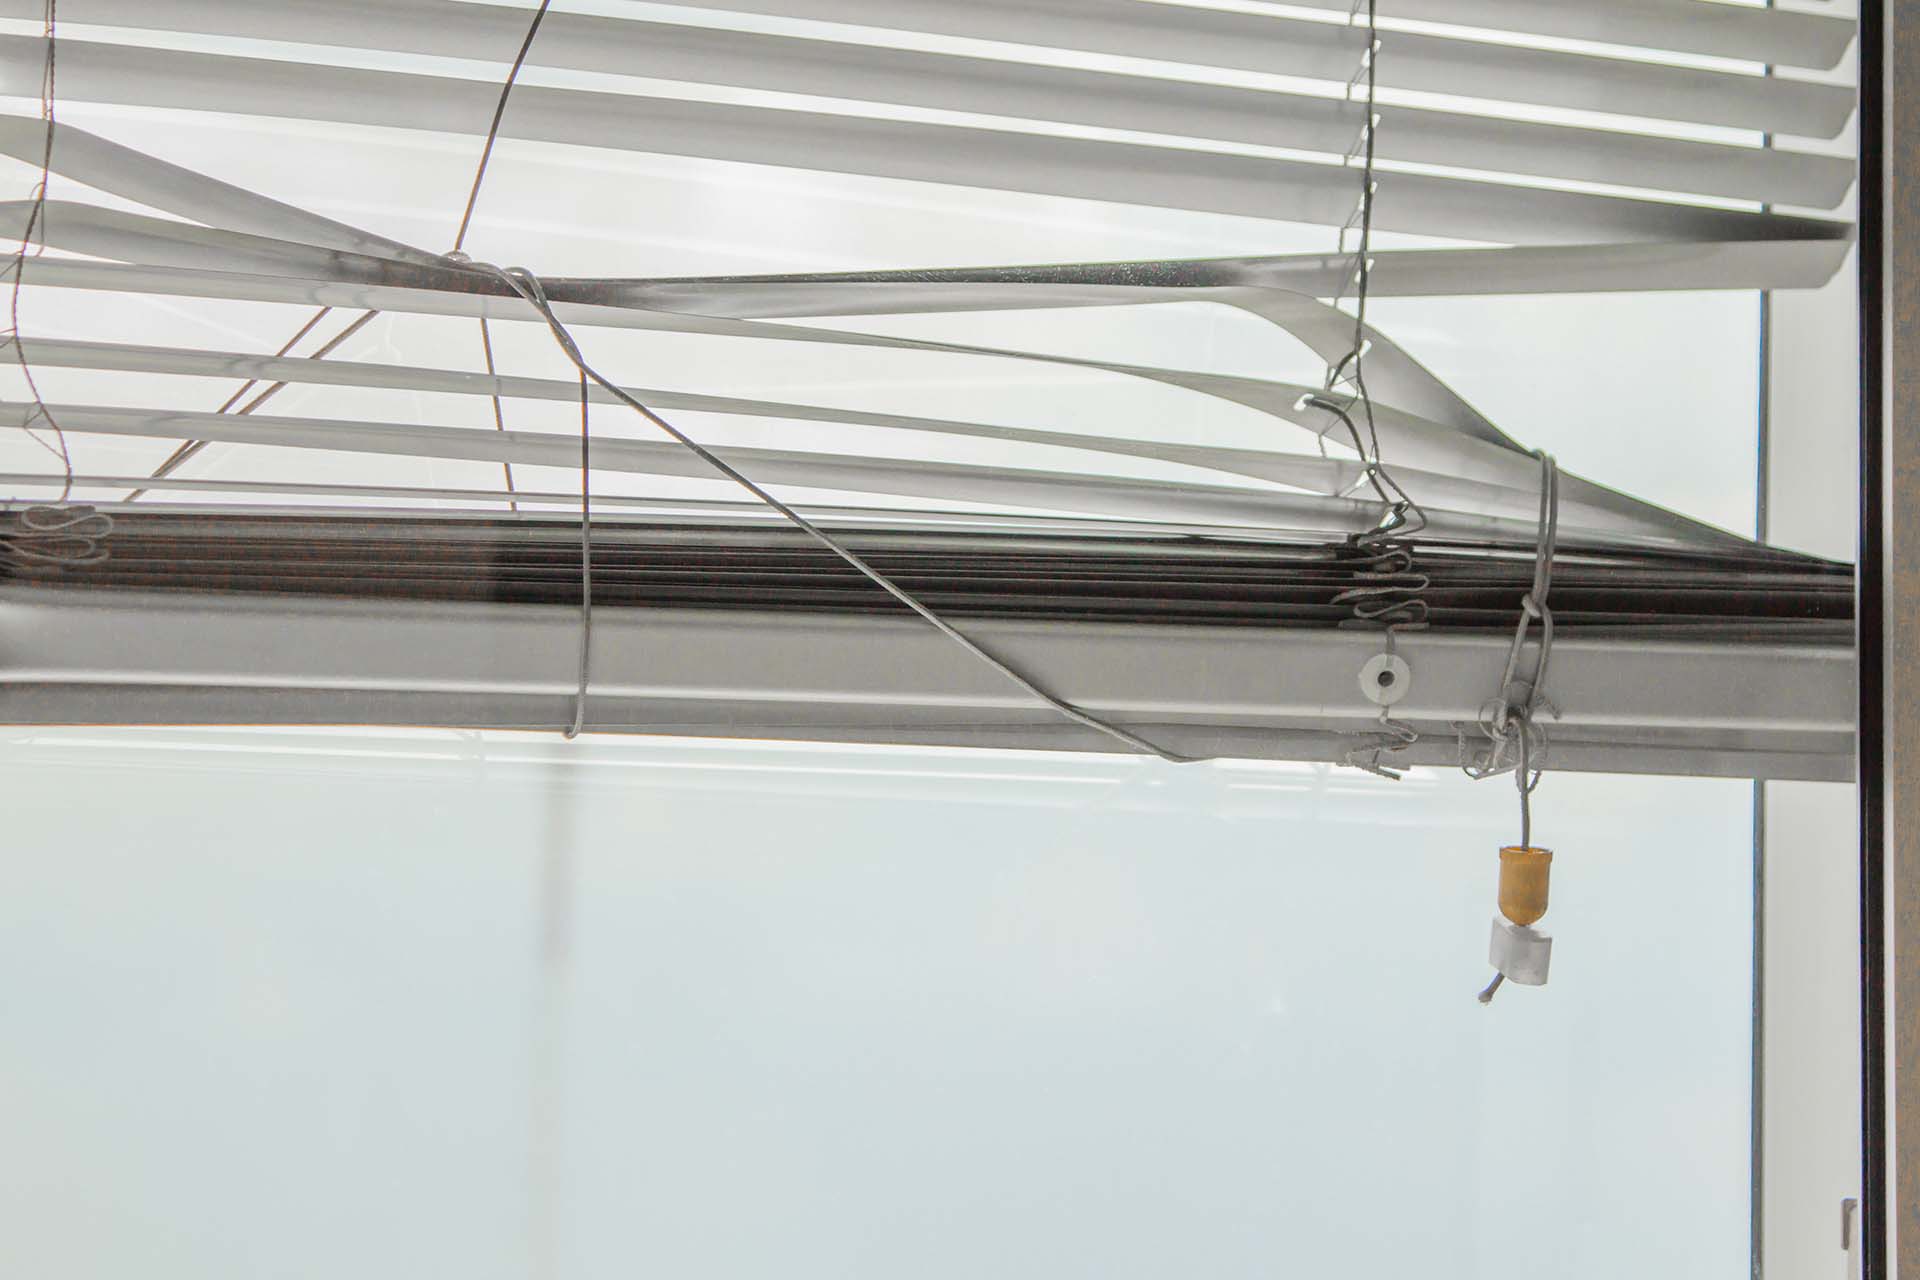
Step 2: Remove the Broken String
Once you have assessed the issue with your blinds and confirmed that the string needs to be replaced, it’s time to remove the old, broken string. Follow these steps to remove the broken string:
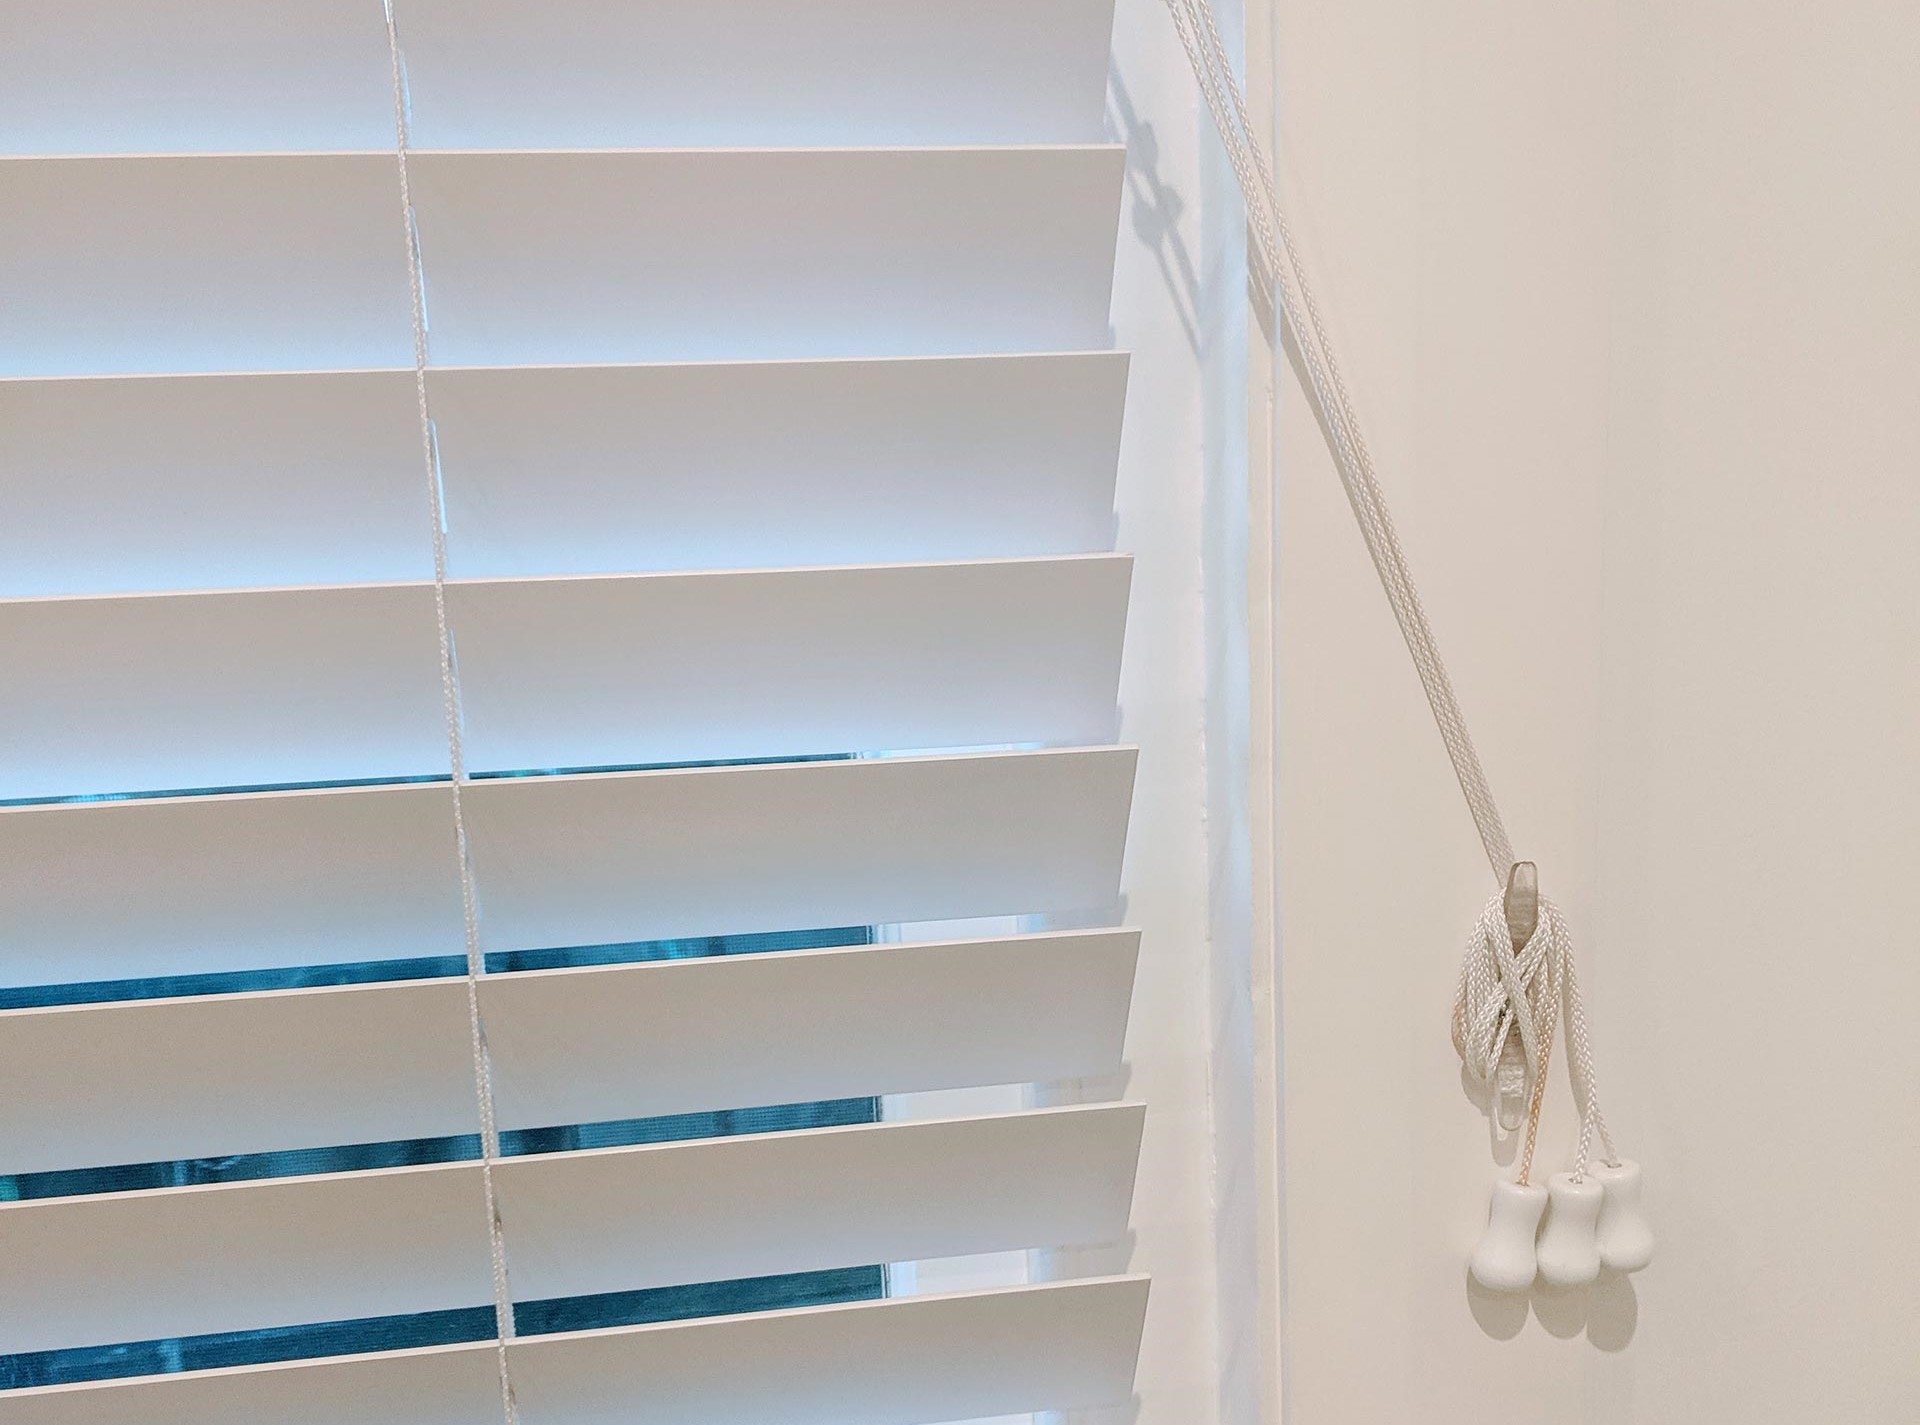
- Locate the Ends of the String: Identify where the broken string starts and ends. The ends are usually attached to the controls and the bottom rail of the blinds.
- Detach the String from the Controls: Carefully remove the string from the control mechanism. This may involve untying knots, unclipping the string from pulleys, or detaching it from any brackets or hooks.
- Remove the String from the Bottom Rail: If the string is threaded through the bottom rail, untie or loosen any knots securing it. Gently pull the string out of the rail, ensuring not to damage any other components.
- Clear the String from Any Slats or Holes: If the string is threaded through the blinds’ slats or holes, carefully slide them out, ensuring not to snag or break any slats in the process.
As you remove the broken string, make a mental note of its length and any unique patterns or threading mechanism involved. This will help later when replacing the string. With the broken string removed, you’re ready to move on to the next step of replacing it with a new string.
To fix the string on blinds, start by removing the end caps and untangling the string. Then, rethread the string through the pulleys and reattach the end caps. If the string is frayed or damaged, consider replacing it with a new one.
Read more: How To Adjust Blinds String
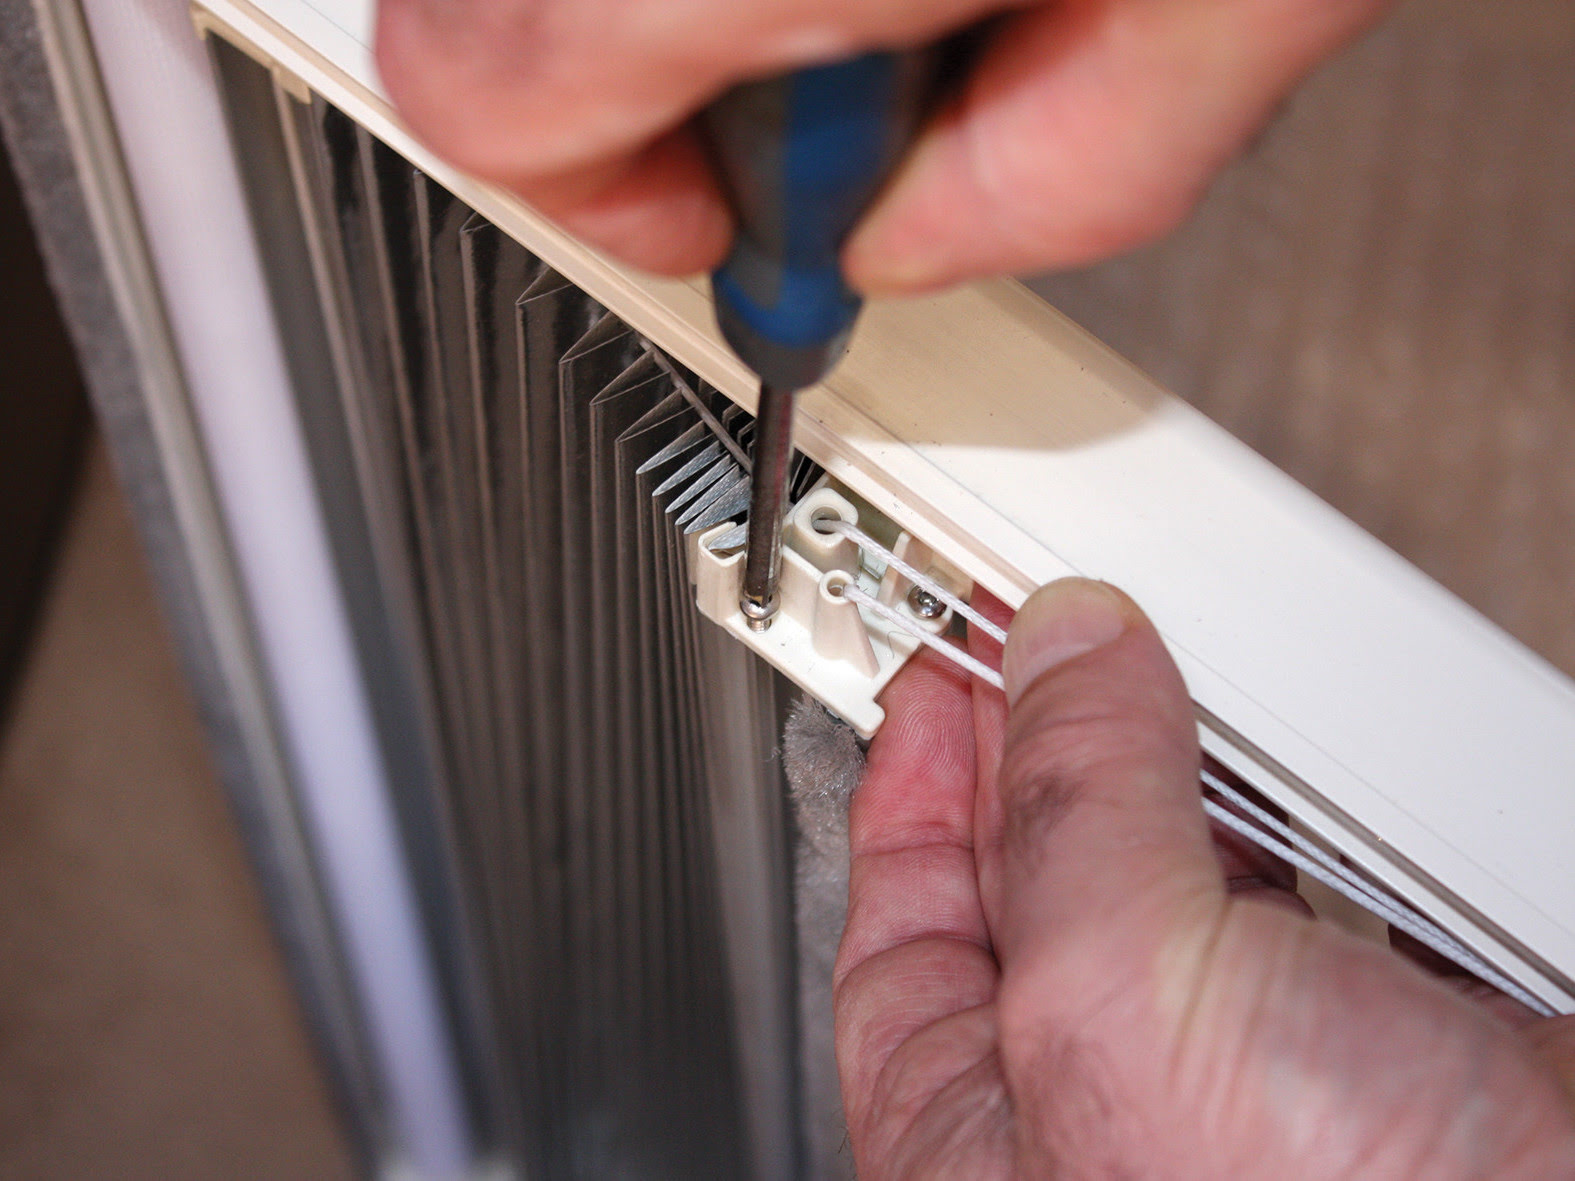
Step 3: Replace the String
Now that you have removed the old, broken string from your blinds, it’s time to replace it with a new one. Follow these steps to replace the string:
- Measure and Cut the Replacement String: Using a tape measure, measure the length of the old string or the distance it covered. Add a few extra inches to compensate for tying knots and threading the string. Cut the replacement string to the measured length.
- Thread the Replacement String: Start by threading one end of the replacement string through the bottom rail of the blinds. If your blinds have slats or holes, carefully thread the string through each one, making sure it follows the original pattern or configuration.
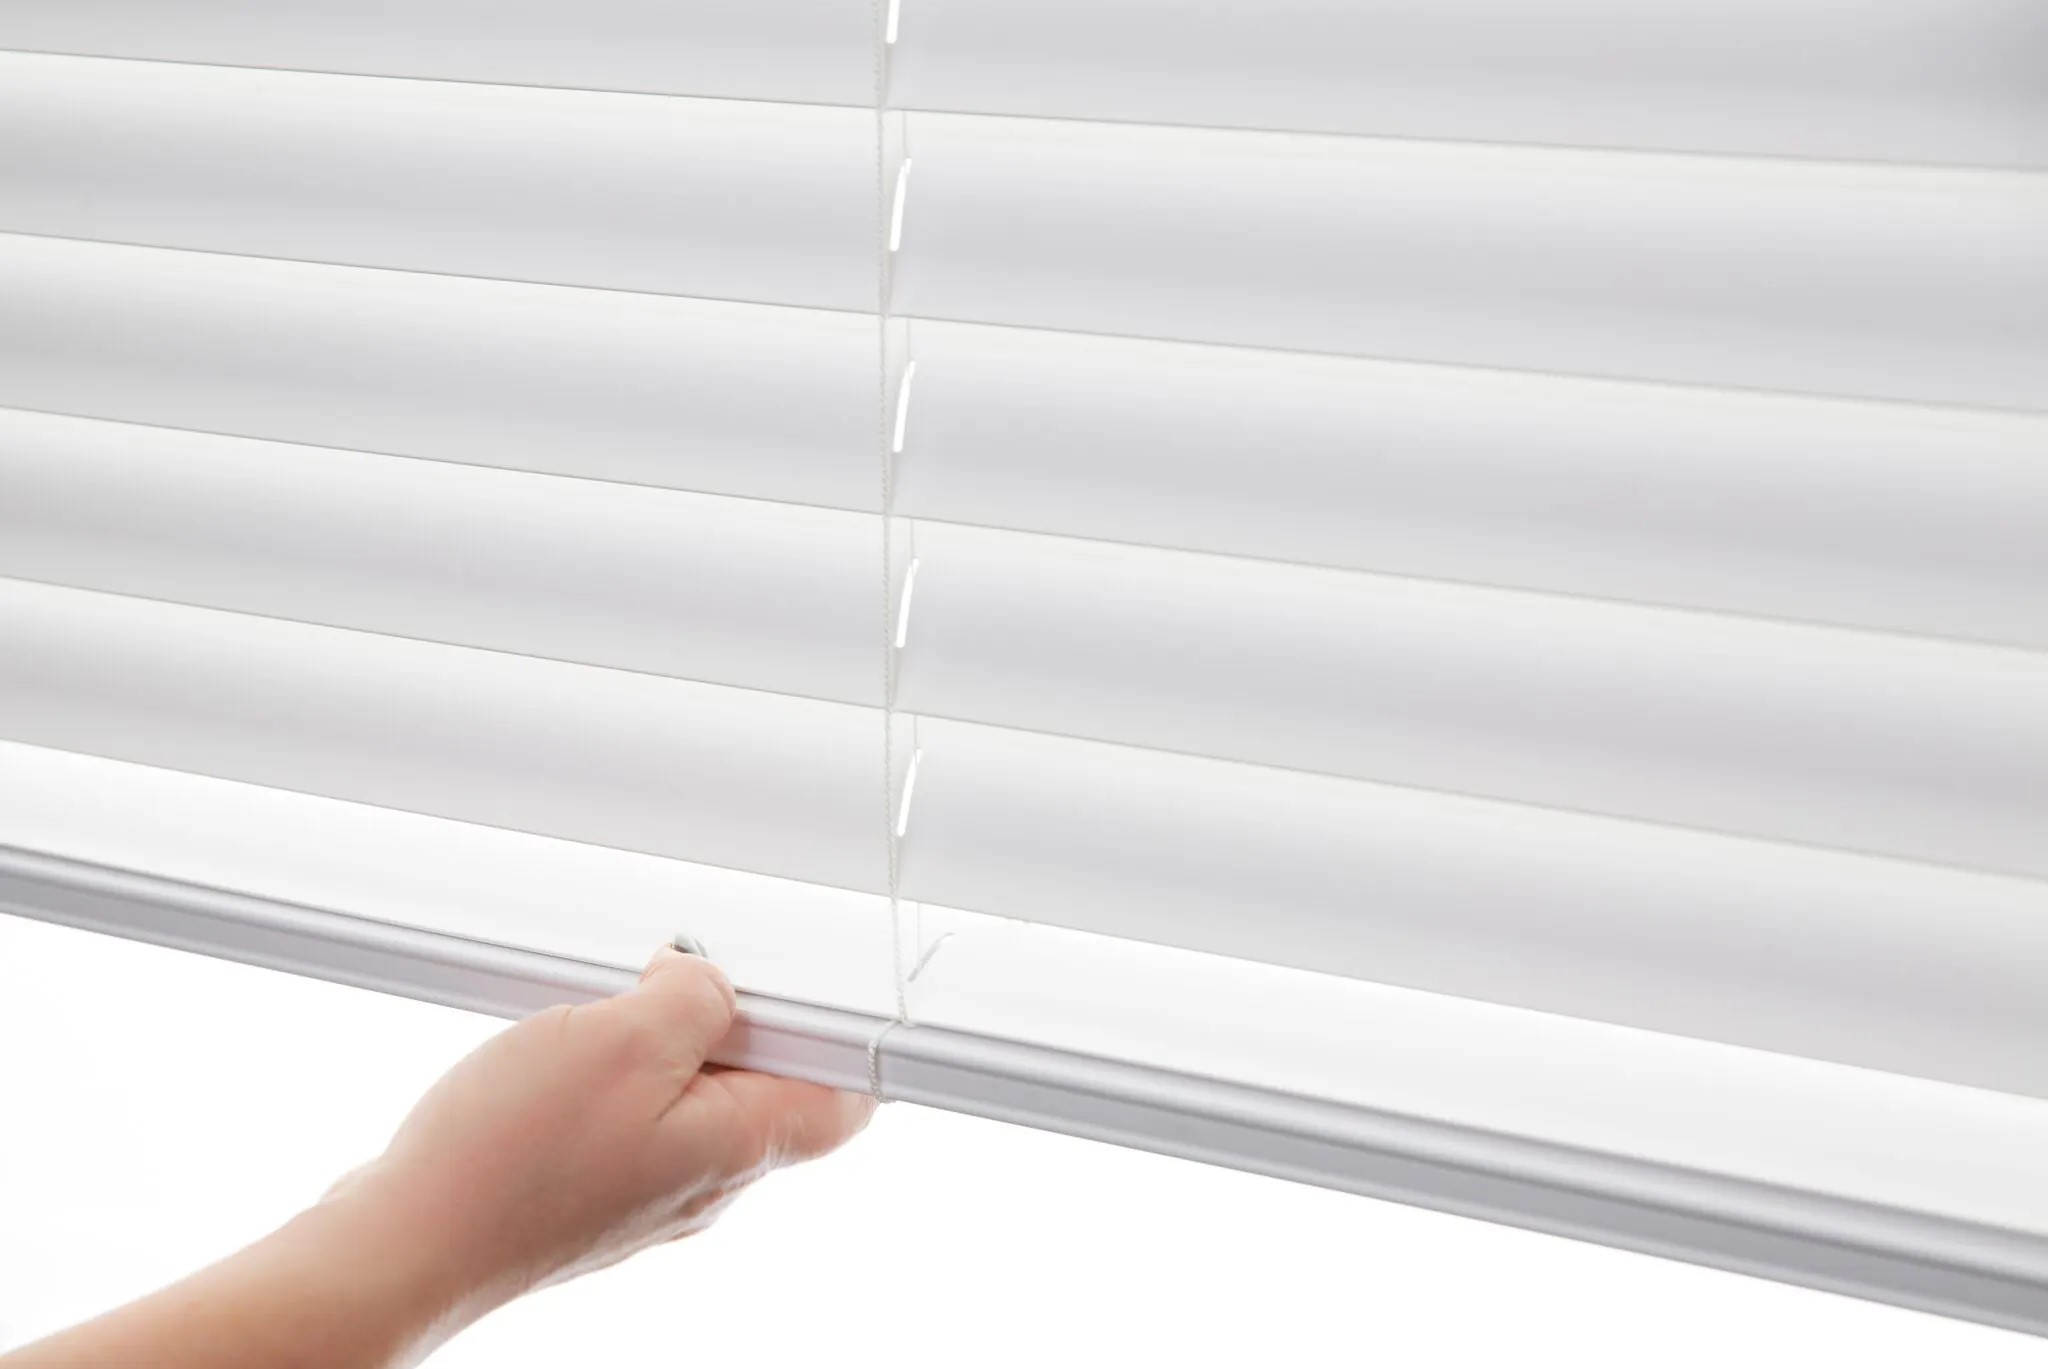
- Secure the String to the Bottom Rail: Once the string is threaded through the bottom rail, tie a secure knot to keep it in place. Ensure the knot is tight, but not so tight that it restricts the movement of the rail.
- Thread the String Through the Controls: Begin threading the replacement string through the control mechanisms or pulleys. Follow the original path of the old string and ensure it operates smoothly through each control point.
- Tie and Secure the String to the Controls: Once the string is threaded through the controls, tie knots or secure the string as necessary to ensure it will not slip or come loose during operation. Double-check that the string is properly aligned and tensioned.
During the replacement process, it’s important to be patient and careful to avoid tangling or damaging the new string. Take your time and ensure the string is threaded correctly and securely at each step. With the replacement string in place, you’re ready to move on to reattaching the string to the blinds’ controls.
Step 4: Reattach the String to the Controls
After replacing the string on your blinds, the next step is to reattach the string to the controls. Follow these steps to reattach the string:
- Identify the Control Mechanisms: Take note of the controls, such as the cords, pulleys, or brackets, to which the string needs to be attached. Refer to your blinds’ manual or documentation if needed.
- Thread the String Through the Controls: Start by threading one end of the string through the designated control mechanisms. Follow the original path of the old string that you noted earlier during the assessment stage.
- Ensure Smooth Operation: As you thread the string through the controls, make sure it moves freely and smoothly. Check for any knots or tangles that may hinder the proper operation of the blinds.
- Tie and Secure the String: Once the string is threaded through the controls, tie knots or secure the string as needed to prevent slippage. Ensure the knots are tight but can still move smoothly through the controls.
- Adjust Tension: Lastly, adjust the tension of the string. If the blinds are too loose or too tight when raised or lowered, make necessary adjustments by loosening or tightening the knots on the string.
By reattaching the string to the controls properly, you’ll ensure smooth and precise operation of your blinds. Take your time to ensure each step is done correctly. With the string securely attached, you’re almost done! The final step is to test the repair.
Step 5: Test the Repair
The final step in fixing the string on your blinds is to test the repair and ensure everything is working smoothly. Follow these steps to test the repair:
- Operate the Blinds: Test the blinds by raising, lowering, and tilting the slats to make sure they move easily and without any obstructions. Pay attention to the smoothness of the operation and the overall functionality.
- Check for Even Movement: Ensure that the blinds raise and lower evenly. If you notice any uneven movement or resistance, double-check the string tension and make necessary adjustments.
- Test the Controls: Test each control mechanism to ensure they are properly connected to the string and are working as intended. Make sure the blinds respond accurately to the control inputs.
- Verify the Slats’ Positioning: If your blinds have slats, check that they tilt or rotate to the desired angle and stay in place. Adjust the tension or alignment of the string if necessary.
- Observe the String’s Durability: Pay attention to the new string’s durability and resistance. It should be able to handle the daily operations of the blinds without fraying or breaking.
Testing the repair will ensure that the string replacement has resolved the initial issue and that your blinds are now fully functional. If any further adjustments or repairs are needed, consult the manufacturer’s instructions or consider seeking professional assistance.
Congratulations! You have successfully fixed the string on your blinds and restored their proper functionality. By following these steps, you’ve saved both time and money by doing the repair yourself. Your blinds are now ready to provide privacy, light control, and aesthetic appeal to your space once again.
Conclusion
Fixing the string on blinds is a straightforward process that can be done with just a few tools and a little bit of patience. Whether you’re dealing with a broken string, frayed cords, or issues with tension, following the steps outlined in this article will help you address the problem and restore the functionality of your blinds.
By assessing the issue, removing the old string, replacing it with a new one, reattaching it to the controls, and testing the repair, you can ensure that your blinds operate smoothly and effectively. Taking the time to fix the string yourself not only saves you money on professional repairs but also allows you to maintain and extend the lifespan of your blinds.
Remember to always follow safety precautions when working with ladders or step stools, and to handle tools with care. If you encounter difficulties or feel unsure about any step of the process, consult the manufacturer’s instructions or consider seeking assistance from a professional.
With your blinds now in proper working condition, you can enjoy the benefits of light control, privacy, and a well-dressed window. Regular maintenance and prompt repairs will help ensure that your blinds continue to function effectively and enhance the aesthetic appeal of your space for years to come.
So go ahead, roll up your sleeves, and fix the string on your blinds. You’ll be proud of a job well done and enjoy the satisfaction of successfully completing a DIY repair project. Happy fixing!
Frequently Asked Questions about How To Fix The String On Blinds
Was this page helpful?
At Storables.com, we guarantee accurate and reliable information. Our content, validated by Expert Board Contributors, is crafted following stringent Editorial Policies. We're committed to providing you with well-researched, expert-backed insights for all your informational needs.