Articles
How To Advance String On Ryobi Trimmer
Modified: December 7, 2023
Learn how to advance the string on your Ryobi trimmer with our comprehensive articles. Discover tips, tricks, and step-by-step instructions to master string advancement.
(Many of the links in this article redirect to a specific reviewed product. Your purchase of these products through affiliate links helps to generate commission for Storables.com, at no extra cost. Learn more)
Introduction
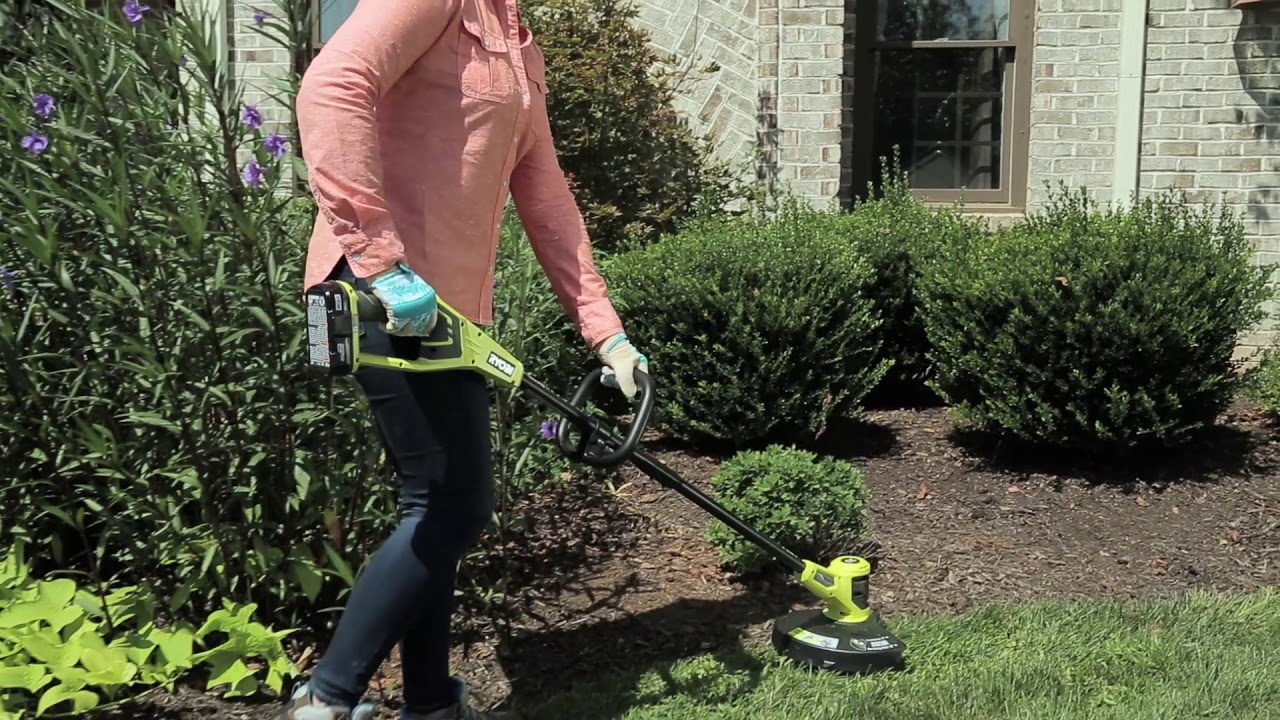
Trimming your lawn is an essential part of maintaining a well-groomed yard. The Ryobi Trimmer is a versatile tool that can quickly and efficiently trim grass and weeds in your garden. However, over time, the trimmer string may become worn out and need to be replaced. Knowing how to advance the string on your Ryobi Trimmer is a crucial skill to ensure that your yard continues to look its best.
In this article, we will guide you through the step-by-step process of advancing the string on your Ryobi Trimmer. Whether you’re a seasoned gardener or a novice in yard maintenance, this guide will help you replace the trimmer string with ease.
Before we begin, make sure you have all the necessary tools and materials to complete the task:
Read more: How To Replace Ryobi String Trimmer Line
Tools and Materials Needed:
- Ryobi Trimmer
- Replacement trimmer string
- Protective gloves
Now that you have all the required tools, let’s proceed to the first step of removing the old string from your Ryobi Trimmer.
Key Takeaways:
- Easily advance the string on your Ryobi Trimmer by following simple steps, from removing the old string to testing the trimmer’s functionality. Ensure a well-groomed yard with this essential skill.
- Gather the necessary tools, prepare the new string, and wind it onto the spool with ease. Secure the string and test the trimmer for optimal performance. Enjoy a well-maintained lawn or garden!
Tools and Materials Needed
Before you begin the process of advancing the string on your Ryobi Trimmer, it’s important to gather all the necessary tools and materials. Having everything ready beforehand will make the task much more efficient. Here’s a list of what you’ll need:
- Ryobi Trimmer: The trimmer itself is, of course, the main tool you’ll be using. Make sure it is in good working condition before starting.
- Replacement Trimmer String: You’ll need a fresh spool of trimmer string that matches the specifications of your Ryobi Trimmer. Check the user manual or the packaging of the string for compatibility.
- Protective Gloves: It’s always a good idea to wear protective gloves when working with power tools. They will protect your hands from any potential injuries or irritation.
With these tools and materials in hand, you’re now ready to proceed with advancing the string on your Ryobi Trimmer. Follow the step-by-step instructions provided in the following sections to complete the task effectively.
Step 1: Remove Old String
Before advancing the string on your Ryobi Trimmer, you need to remove the old string. Follow these steps to safely remove the worn-out string:
- Ensure that your Ryobi Trimmer is turned off and disconnected from any power source.
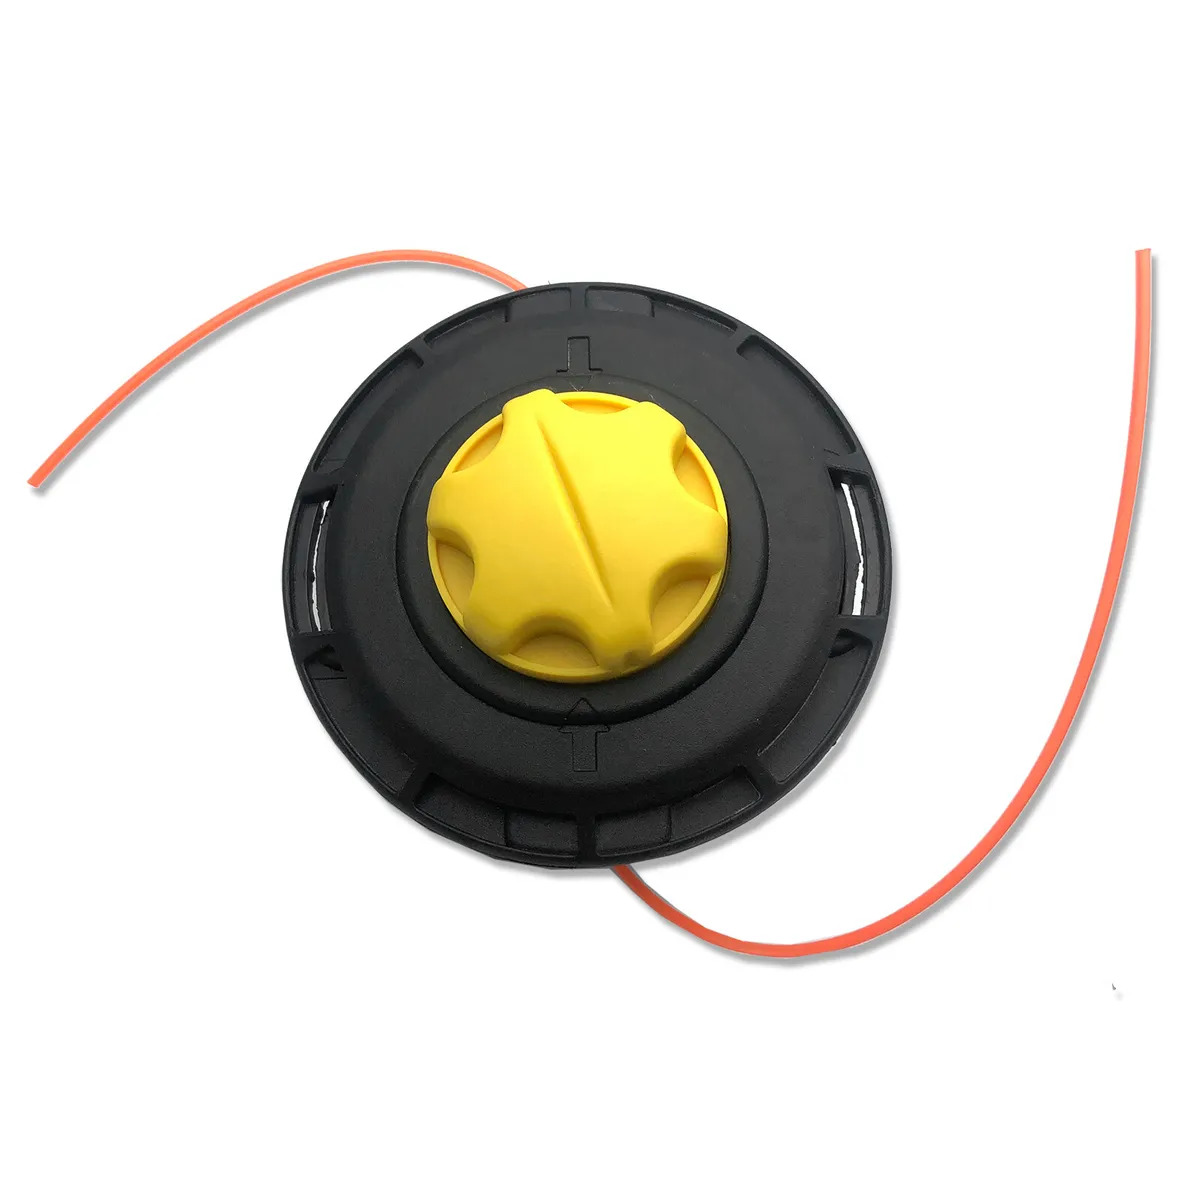
- Locate the string head of your trimmer. This is usually positioned at the bottom of the trimmer shaft and is covered by a string head assembly or a bump knob.
- Using your hands or a screwdriver (depending on your trimmer model), carefully remove the cap covering the string head assembly or bump knob.
- Once the cap is removed, you will see the spool of string inside. Gently pull the string spool out of the head assembly.
- Locate the end of the old trimmer string that is wound around the spool. Unwind the string from the spool, ensuring that it is completely removed.
- Inspect the string head assembly for any dirt or debris. Clean it if necessary to ensure smooth string advancement in the next steps.
- With the old string removed and the string head assembly cleaned, you’re now ready to advance the new string onto your Ryobi Trimmer. Proceed to the next step for detailed instructions.
By carefully following these steps, you can safely remove the old string from your Ryobi Trimmer in preparation for the advancement of the new string. Take your time and exercise caution to avoid any accidents or damage to your trimmer.
Step 2: Prepare New String
With the old string removed from your Ryobi Trimmer, it’s time to prepare the new string for installation. Follow these steps to ensure that the new string is ready for winding:
- Take the replacement trimmer string and unravel a sufficient length from the spool. Refer to the user manual or the packaging of the trimmer string for the recommended length.
- Trim the end of the string to create a clean, straight edge. This will make it easier to wind the string onto the spool without any tangles.
- Inspect the string to make sure there are no knots or kinks in it. These can cause issues during the winding process or affect the trimmer’s performance.
- If your Ryobi Trimmer has a dual-line system, repeat these steps to prepare a second length of trimmer string. Ensure that both lengths are of equal size.
By preparing the new string properly, you are setting yourself up for a successful winding process in the next step. Take the time to trim and inspect the string, ensuring its quality before moving forward.
Step 3: Wind the String
Now that you have prepared the new trimmer string, it’s time to wind it onto the spool of your Ryobi Trimmer. Follow these steps to ensure a smooth and even winding process:
- Locate the line-loading holes on the trimmer head assembly. These are small openings designed for feeding the trimmer string through.
- Take one end of the trimmer string and insert it into one of the line-loading holes. Make sure the string is inserted securely and that a small portion is left protruding from the hole.
- Hold the string firmly and start winding it onto the spool in the direction indicated by the arrow on the spool. Maintain even tension as you wind to ensure the string is tightly wound.
- If your Ryobi Trimmer has a dual-line system, repeat the same process with the second length of trimmer string, inserting it into the adjacent line-loading hole.
- Continue winding the string until you reach the desired line length. Refer to the user manual or the trimmer’s specifications to determine the appropriate length for your specific model.
- Once the desired line length is achieved, secure the ends of the string in the retaining slots or notches on the spool. Make sure the string is firmly secured to prevent it from unraveling.
By following these steps, you can effectively wind the new trimmer string onto the spool of your Ryobi Trimmer. Take your time and ensure even tension and a secure fastening of the ends to achieve optimal performance.
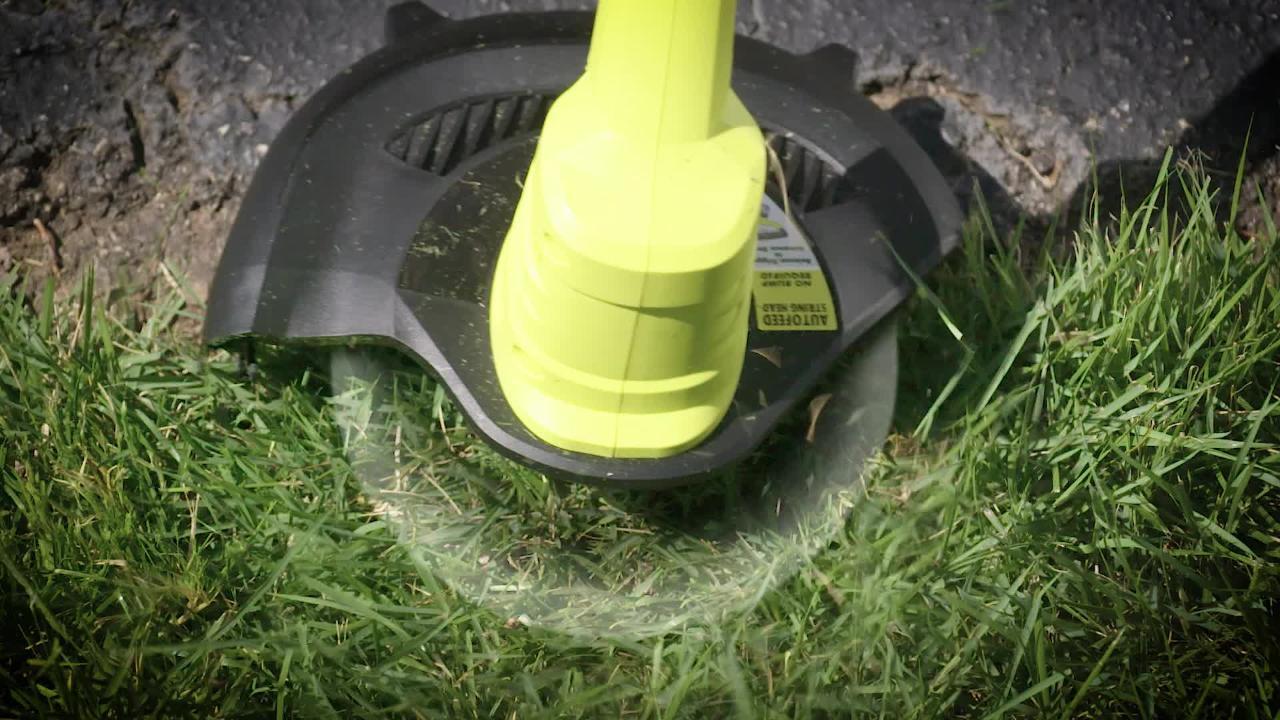
To advance the string on a Ryobi trimmer, simply tap the trimmer head on the ground while the trimmer is running to release more line. Make sure to use the correct size and type of trimmer line for your specific model.
Step 4: Secure the String
With the new trimmer string wound onto the spool of your Ryobi Trimmer, it’s important to secure it properly to ensure smooth operation. Follow these steps to securely fasten the trimmer string:
- Make sure the ends of the trimmer string are secured in the retaining slots or notches on the spool. Double-check that they are firmly held in place to prevent any unraveling during use.
- If your Ryobi Trimmer has a bump knob, align it with the line-loading holes on the head assembly and press it down firmly until it clicks into place. This will secure the string and allow for easy advancement during operation.
- If your trimmer has a string head assembly, carefully insert the spool with the wound string back into the head assembly until it fits snugly. Follow the manufacturer’s instructions or any designated locking mechanism to secure the spool in place.
- Tighten the cap or knob back onto the string head assembly, ensuring it is securely fastened. This will protect the spool and trimmer string from any damage or debris during use.
By properly securing the trimmer string, you can ensure that it stays in place during operation, allowing for effective trimming performance. Take the time to check the tightness of the retaining slots, bump knob, and cap, as a secure fit will prevent any issues while using your Ryobi Trimmer.
Step 5: Test the Trimmer
After advancing the new string and securing it on your Ryobi Trimmer, it’s essential to test the trimmer to ensure everything is working correctly. Here’s how you can test your trimmer:
- Connect your Ryobi Trimmer to a power source and turn it on.
- Hold the trimmer with a firm grip and engage the cutting head.
- Observe the rotation of the string head and check if the string advances properly.
- If the string is not advancing or if there are any issues with the trimming performance, turn off the trimmer and reassess the string installation.
- If everything is working as expected, proceed with trimming your lawn or garden, making sure to monitor the performance of the trimmer string periodically.
Testing the trimmer after advancing the string will give you confidence in the functionality of your Ryobi Trimmer and ensure a smooth trimming experience. If any issues arise, refer to the user manual or consult a professional for assistance.
Remember to always follow safety precautions when operating power tools and wear protective gear, such as safety glasses and ear protection, if required. Regularly inspect the trimmer string for wear and replace it when necessary.
Conclusion
Advancing the string on your Ryobi Trimmer is a straightforward process that is essential for maintaining a well-groomed lawn or garden. By following the step-by-step instructions outlined in this guide, you can easily remove the old string, prepare and wind the new string onto the spool, and secure it for optimal performance.
Remember to gather all the necessary tools and materials before starting, including the Ryobi Trimmer, replacement trimmer string, and protective gloves. Take your time during each step to ensure a proper and secure installation.
Once the new string is in place, it’s crucial to test the trimmer to ensure everything is functioning correctly. By engaging the cutting head and observing the string rotation, you can verify that the string advances properly. If any issues arise, turn off the trimmer and reassess the string installation.
Regular maintenance and inspection of the trimmer string will help prolong its lifespan and ensure optimal trimming performance. Replace the string as needed and always adhere to safety precautions when operating power tools.
With your Ryobi Trimmer now equipped with a fresh string, you can confidently tackle the task of trimming your lawn or garden. Enjoy the satisfaction of a well-maintained outdoor space, thanks to your skill in advancing the string on your Ryobi Trimmer.
Happy trimming!
Frequently Asked Questions about How To Advance String On Ryobi Trimmer
Was this page helpful?
At Storables.com, we guarantee accurate and reliable information. Our content, validated by Expert Board Contributors, is crafted following stringent Editorial Policies. We're committed to providing you with well-researched, expert-backed insights for all your informational needs.


0 thoughts on “How To Advance String On Ryobi Trimmer”