Articles
How To Change Ryobi Pressure Washer Nozzle
Modified: October 20, 2024
Discover the step-by-step guide on how to change the nozzle on your Ryobi pressure washer with our informative articles. Improve your cleaning efficiency today!
(Many of the links in this article redirect to a specific reviewed product. Your purchase of these products through affiliate links helps to generate commission for Storables.com, at no extra cost. Learn more)
Introduction
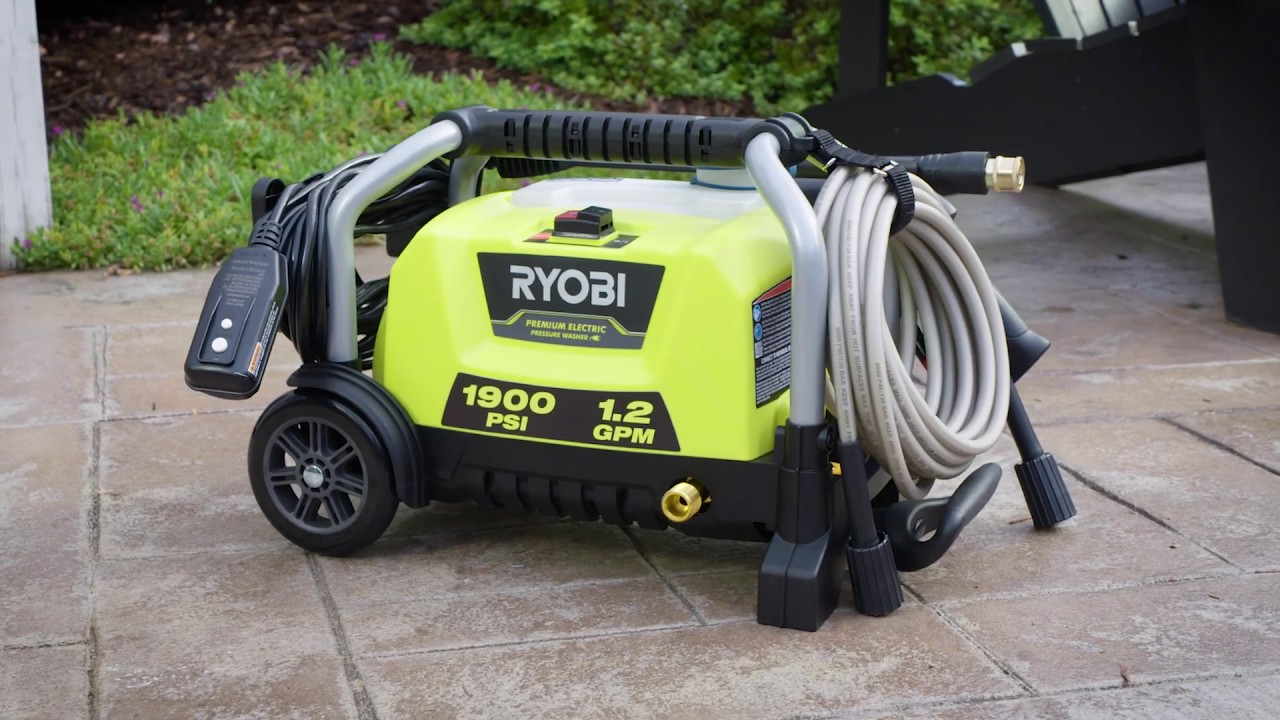
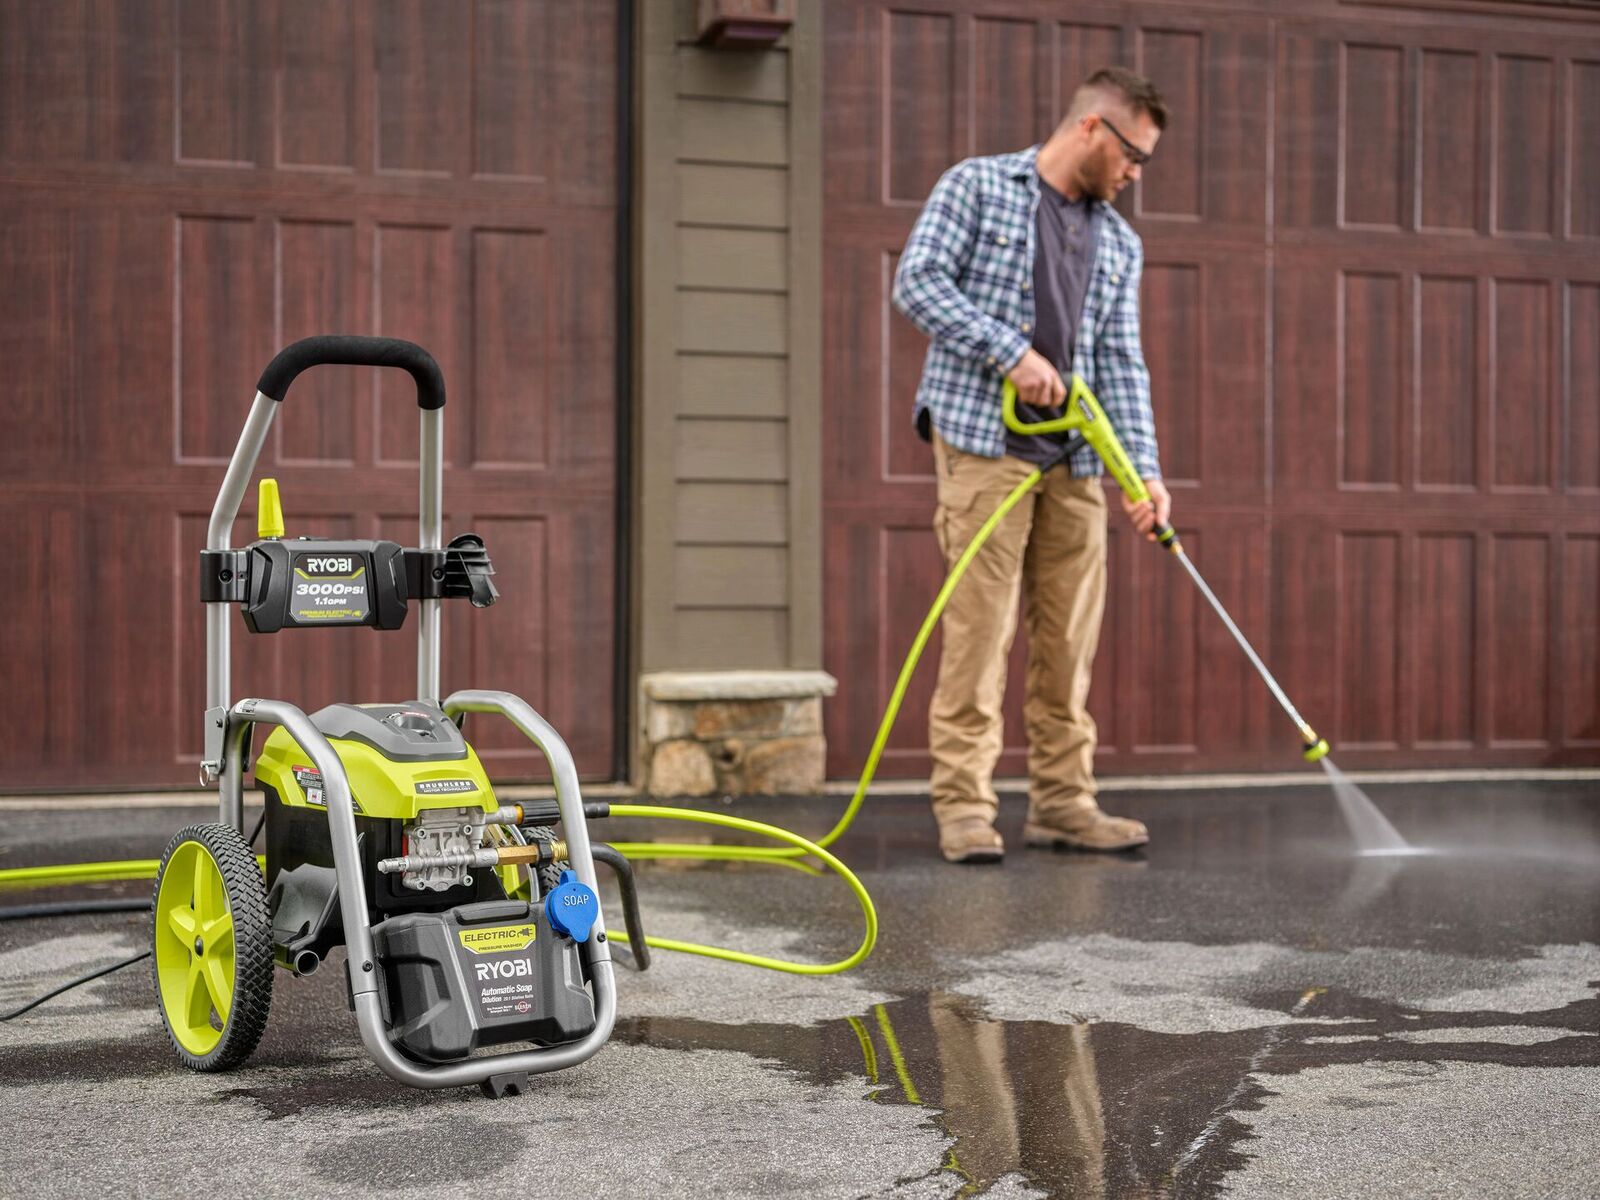
When it comes to tackling tough cleaning tasks, a pressure washer can be a valuable tool. And if you own a Ryobi pressure washer, you may be wondering how to change the nozzle to optimize its cleaning power. The nozzle plays a crucial role in determining the pressure and spray pattern of the water coming out of the pressure washer. By changing the nozzle, you can adjust the pressure and spray pattern to suit different cleaning needs.
In this article, we will guide you through the steps of changing the nozzle on your Ryobi pressure washer. Whether you’re looking to switch to a nozzle with a higher pressure for stubborn stains or a wider spray pattern for larger surface areas, we’ve got you covered. Read on to find out how to change the Ryobi pressure washer nozzle and enhance the performance of your cleaning arsenal.
Please note that different models of Ryobi pressure washers may have slight variations in the process of changing the nozzle. It is always a good idea to consult your pressure washer’s manual for specific instructions. Without further ado, let’s get started with the first step.
Key Takeaways:
- Enhance Cleaning Power
Changing the Ryobi pressure washer nozzle allows you to customize spray patterns and pressures for different tasks, making cleaning more efficient and effective. Select the right nozzle to tackle tough stains and cover larger surface areas with ease. - Safety First, Optimal Results
From gathering tools to testing the new nozzle, following the step-by-step process ensures safety and optimal performance of your Ryobi pressure washer. Consult the manual, choose the right nozzle, and enjoy cleaner surfaces with ease.
Read more: How To Remove Pressure Washer Nozzle
Step 1: Gather the necessary tools
Before you begin the process of changing the nozzle on your Ryobi pressure washer, it’s important to gather all the necessary tools. Having everything ready will make the job easier and more efficient. Here are the tools you will need:
- Adjustable wrench
- Nozzle set (if you have multiple nozzles to choose from)
- Gloves (to protect your hands)
The adjustable wrench is essential for loosening and tightening the nozzle. It will help ensure a secure connection and prevent leaks during operation. The nozzle set is useful if you have different nozzles that offer various spray patterns and pressures. And finally, wearing gloves will help protect your hands from any potential injuries or discomfort.
Once you have gathered all the necessary tools, you are ready to move on to the next step: turning off the pressure washer.
Step 2: Turn off the pressure washer
Before you proceed with changing the nozzle on your Ryobi pressure washer, it is crucial to ensure that the machine is turned off and the engine is completely shut down. Safety should always be a top priority when working with any power equipment.
To turn off the pressure washer, follow these steps:
- Locate the power switch on your Ryobi pressure washer.
- Switch off the power by flipping the power switch to the “Off” position.
- If your pressure washer is gasoline-powered, make sure to turn off the engine by following the manufacturer’s instructions.
By turning off the pressure washer and shutting down the engine, you eliminate the risk of accidental sprays or injuries while changing the nozzle. Additionally, it is recommended to disconnect the pressure washer from the power source if it is an electric model.
Once the pressure washer is turned off and the engine is shut down, you can proceed to the next step: locating the nozzle connection.
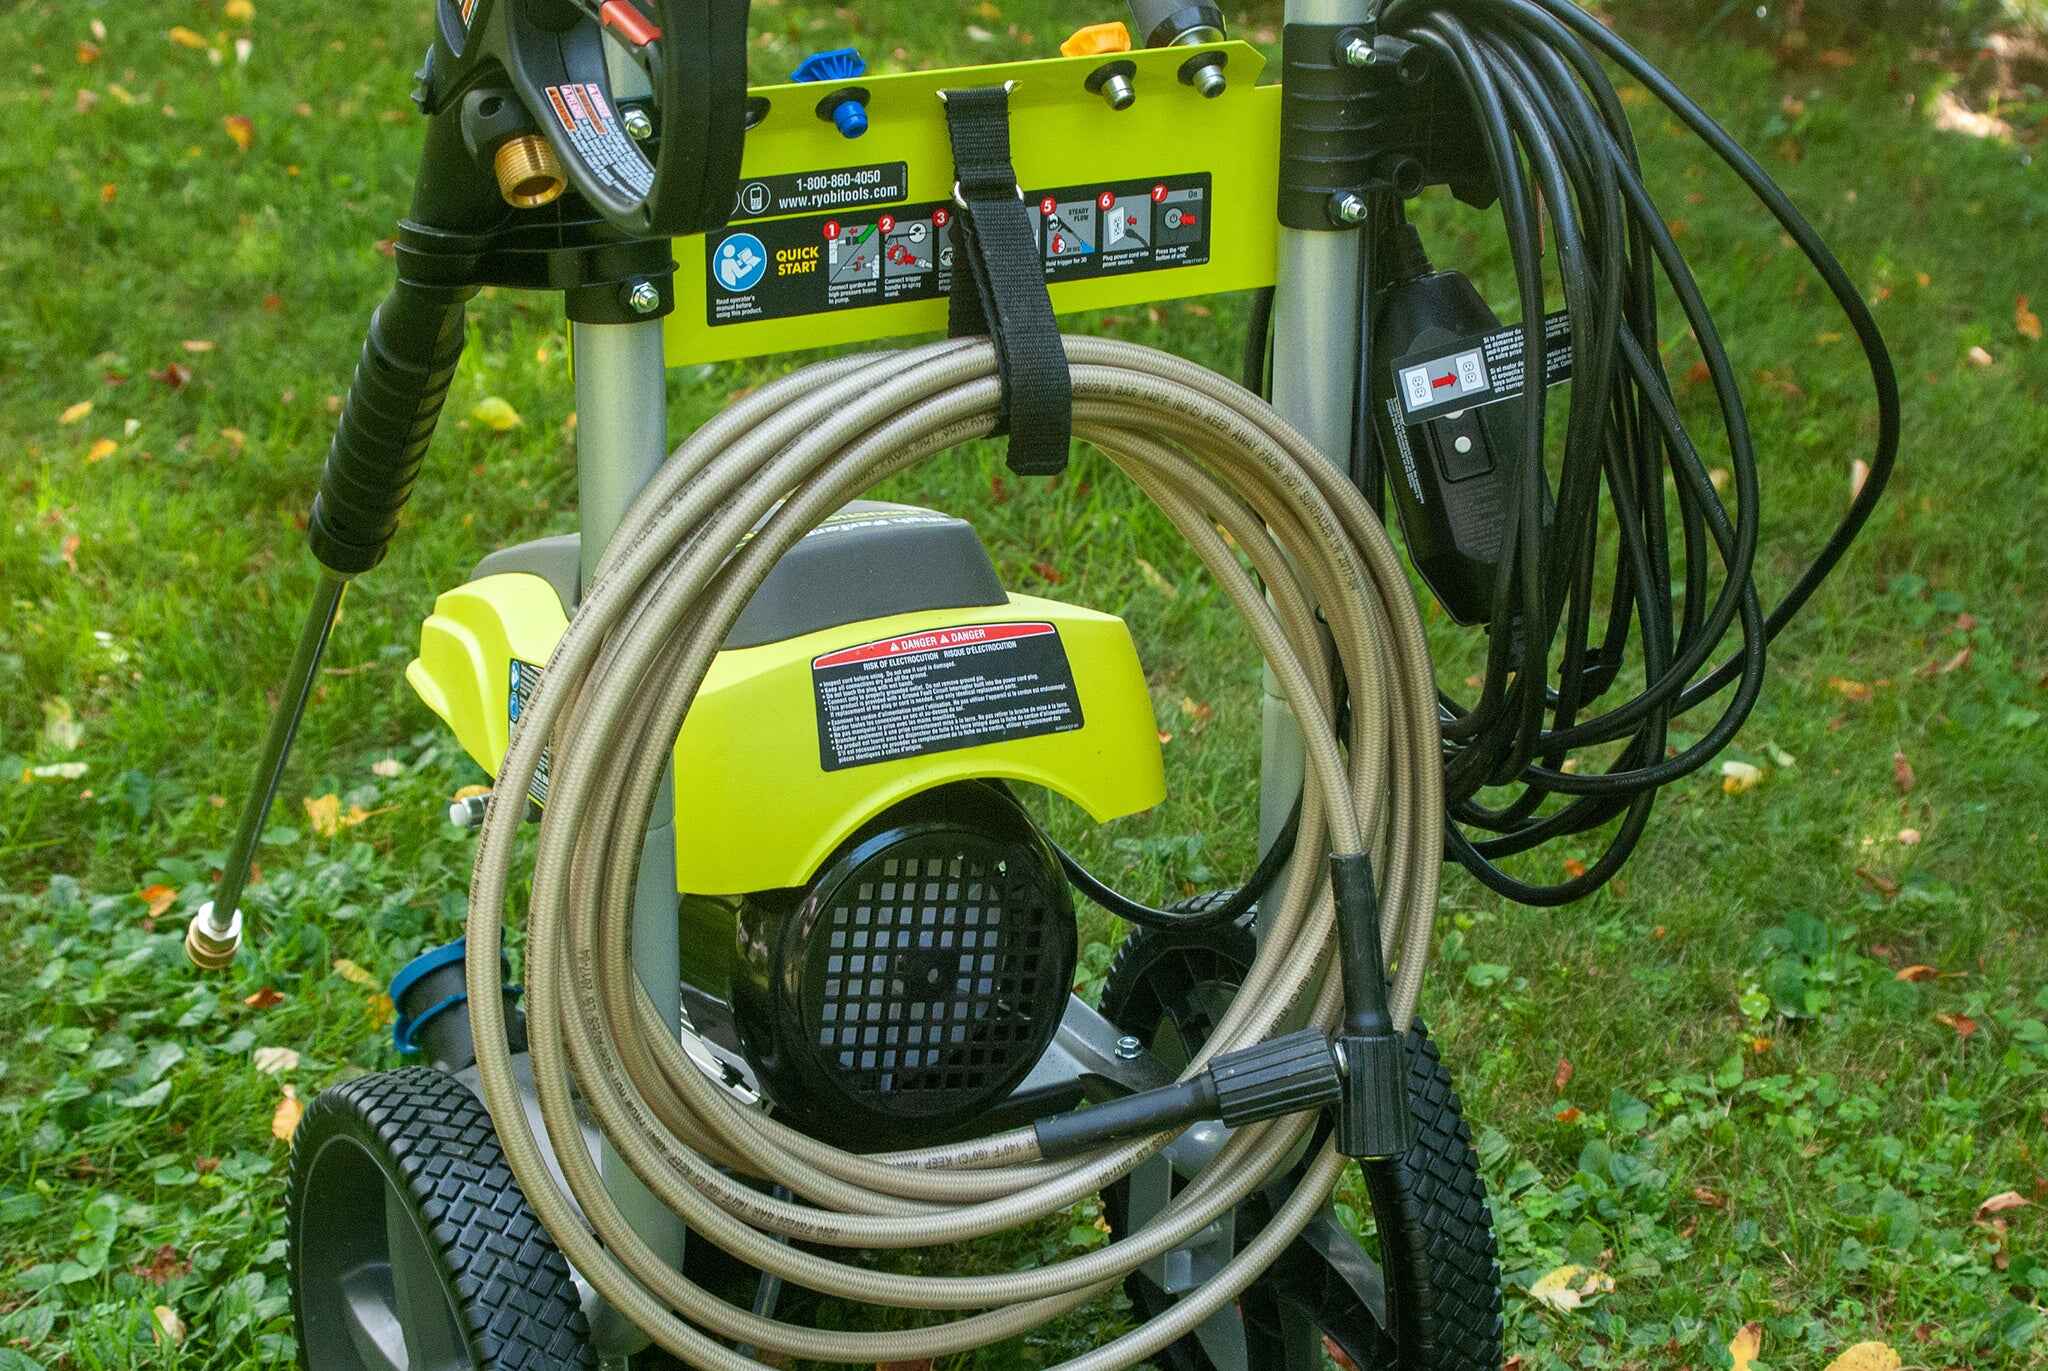
Step 3: Locate the nozzle connection
After turning off the pressure washer, the next step is to locate the nozzle connection. The nozzle connection is where the current nozzle is attached to the spray wand or lance of the pressure washer. By finding the nozzle connection, you will be able to remove the old nozzle and replace it with a new one.
The nozzle connection can typically be found at the end of the spray wand or lance. It is usually a threaded connection that secures the nozzle in place. Look for a small metal or plastic piece with threading on the end of the wand or lance.
Here are the steps to locate the nozzle connection:
- Identify the spray wand or lance of your Ryobi pressure washer.
- Inspect the end of the spray wand/lance and look for a small metal or plastic piece.
- You may notice threading on the nozzle connection.
Once you have located the nozzle connection, you are ready to move on to the next step: disconnecting the current nozzle.
Step 4: Disconnect the current nozzle
Now that you have located the nozzle connection, it’s time to disconnect the current nozzle from your Ryobi pressure washer. By removing the old nozzle, you’ll create space to attach the new nozzle and optimize the spray pattern and pressure for your cleaning needs.
Follow these steps to disconnect the current nozzle:
- Ensure that the pressure washer is still turned off and the engine is shut down.
- Put on your gloves to protect your hands.
- Using an adjustable wrench, grip the nozzle connection firmly.
- Rotate the wrench counterclockwise to loosen the nozzle connection.
- Continue to rotate until the current nozzle is completely disconnected from the spray wand or lance.
- Set aside the old nozzle in a safe place.
It is essential to be gentle yet firm while loosening the nozzle connection to avoid any damage to the spray wand or lance. If you encounter significant resistance, double-check that the pressure washer is turned off and the engine is shut down before proceeding.
Once you have successfully disconnected the current nozzle, you’re ready to move on to the next step: choosing the new nozzle.
When changing the nozzle on a Ryobi pressure washer, make sure the machine is turned off and the pressure is released. Use a wrench to carefully unscrew the old nozzle and replace it with the new one, making sure it is securely tightened.
Read more: Which Pressure Washer Nozzle For Car
Step 5: Choose the new nozzle
With the old nozzle removed, it’s time to choose the new nozzle for your Ryobi pressure washer. The right choice of nozzle will allow you to customize the spray pattern and pressure, ensuring optimal cleaning performance for different tasks.
Here are some factors to consider when selecting the new nozzle:
- Pressure Rating: Different nozzles have different pressure ratings, typically measured in PSI (pounds per square inch). Choose a nozzle with a higher pressure rating for tougher cleaning jobs and a lower pressure rating for more delicate surfaces.
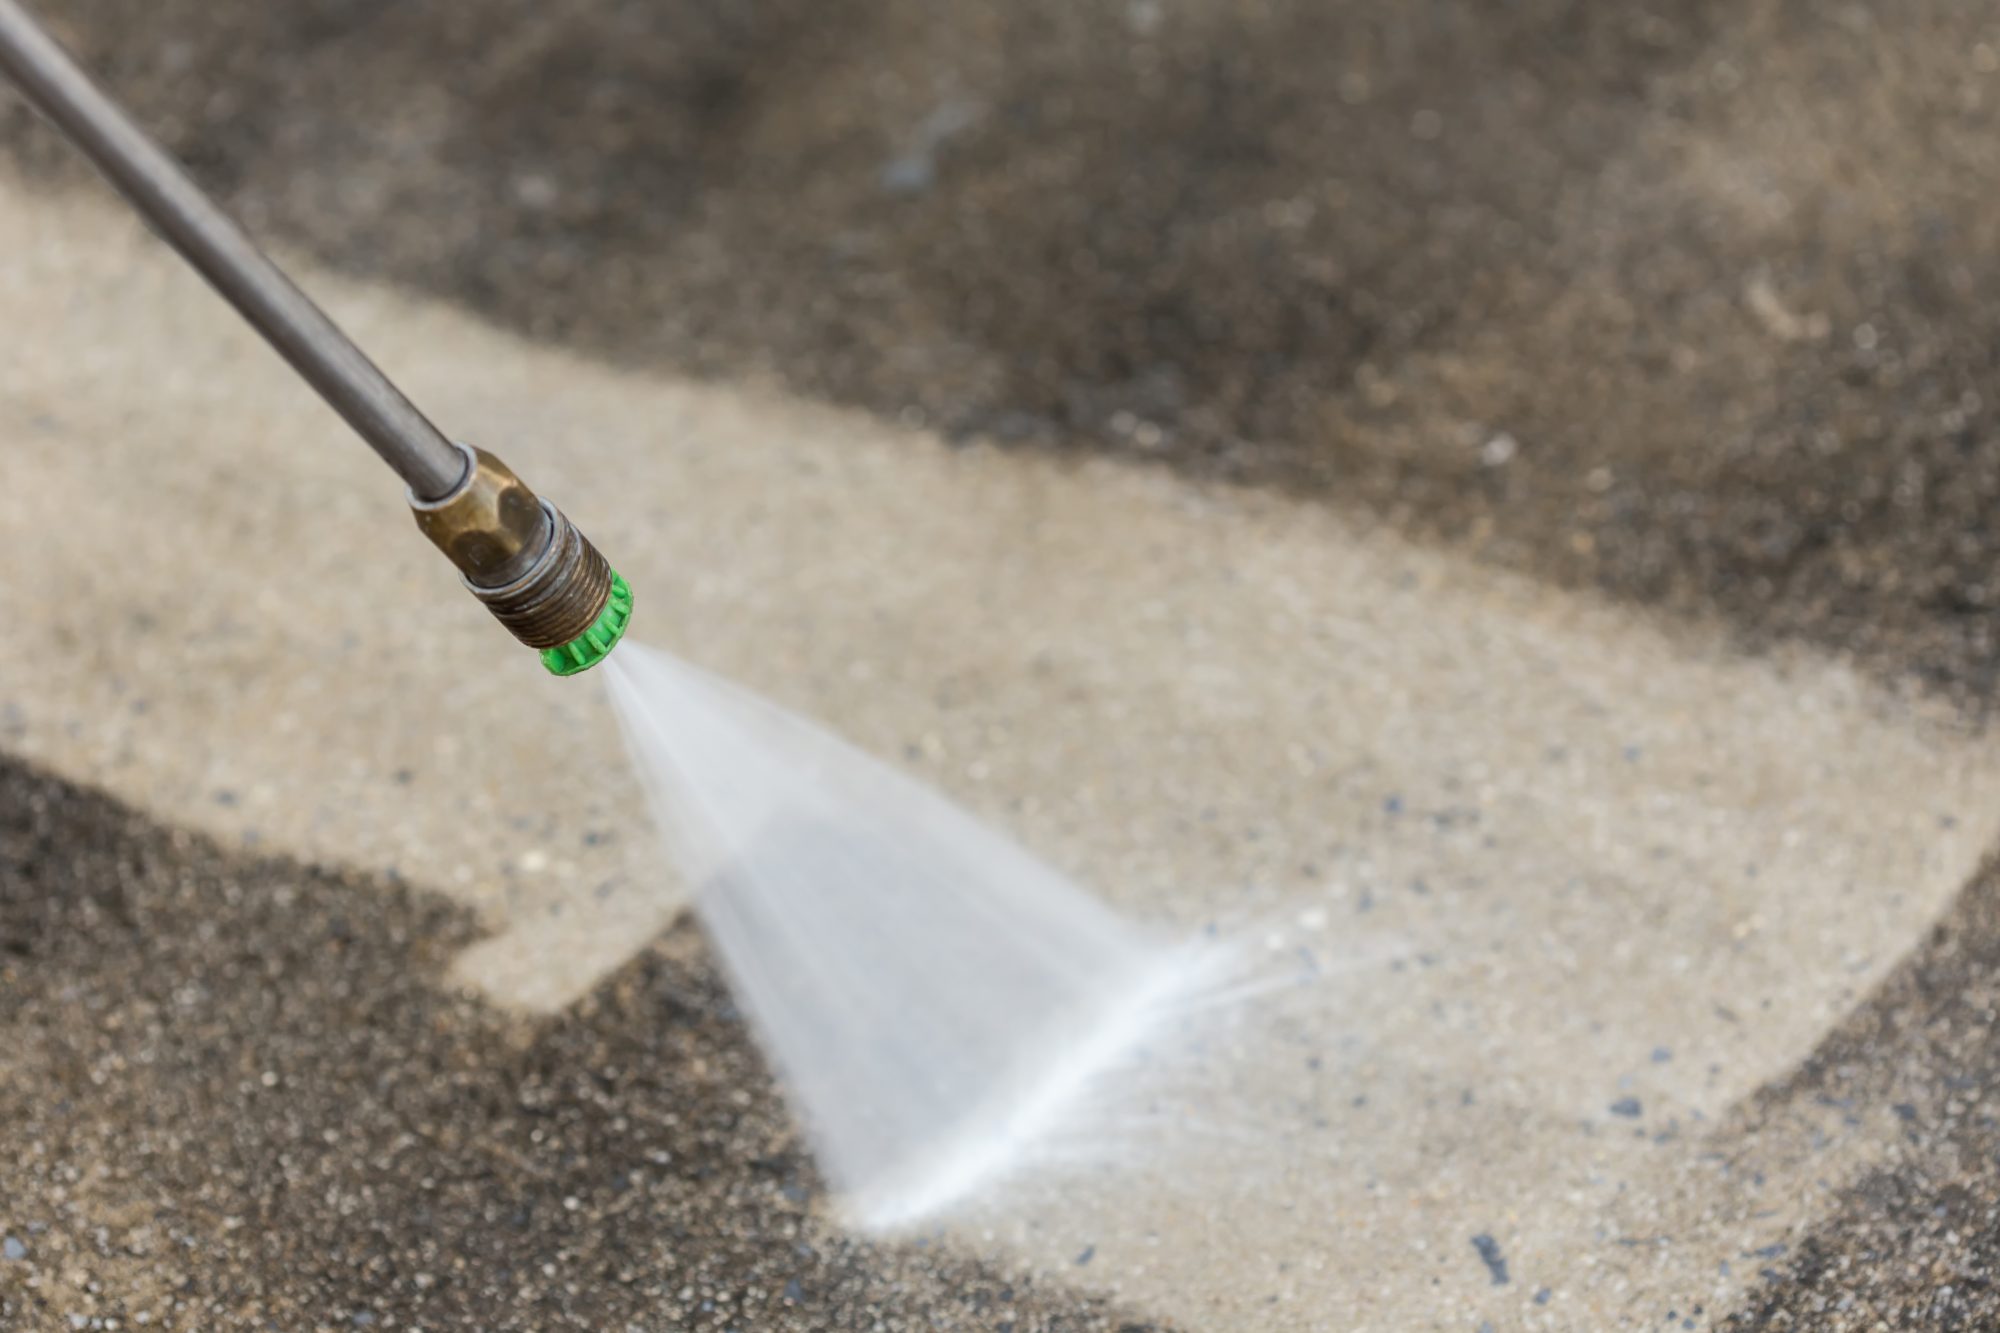
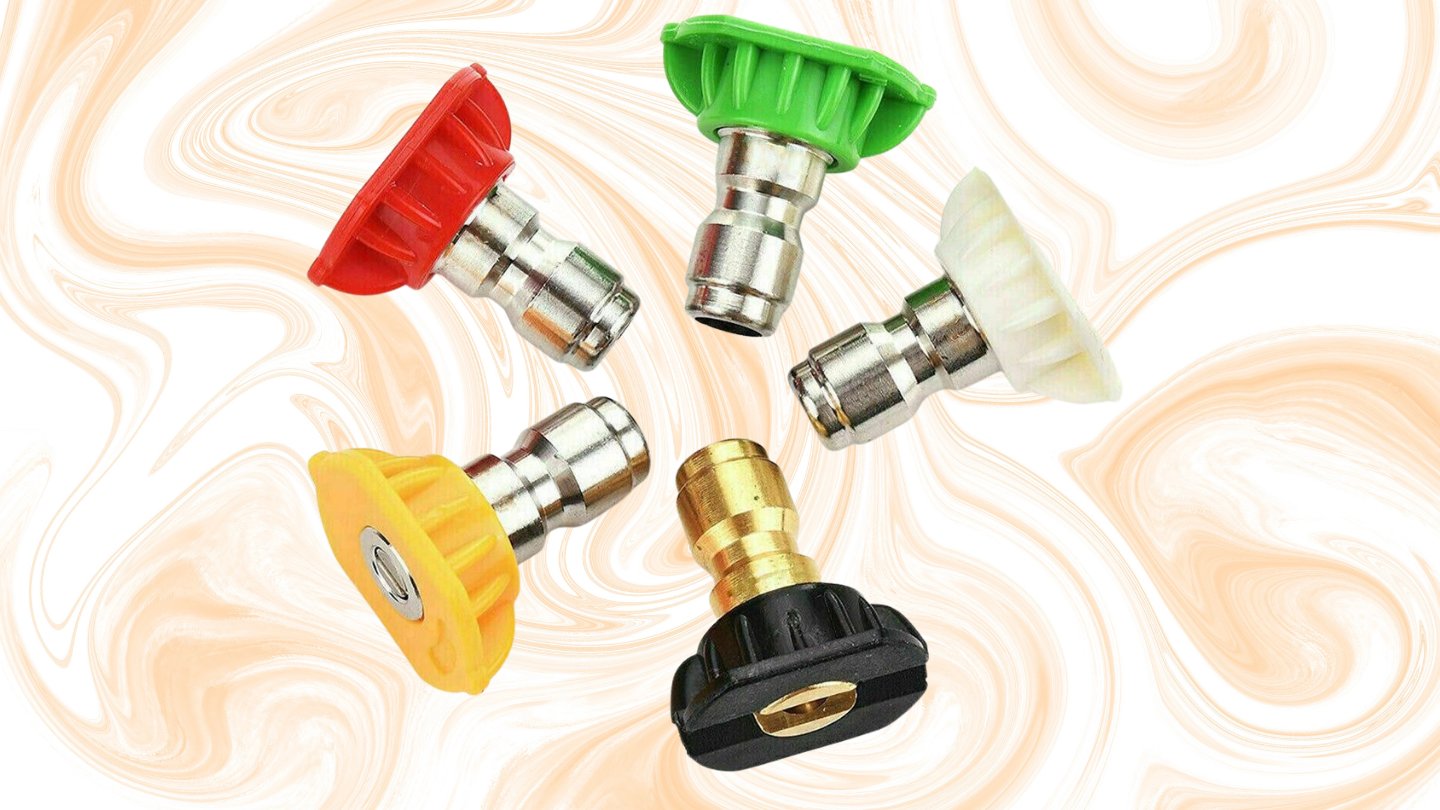
- Spray Pattern: Nozzles are available in various spray patterns, such as 0-degree, 15-degree, 25-degree, and 40-degree. A narrower spray pattern provides a more focused and powerful stream, while a wider spray pattern covers a larger area with less intensity.
- Cleaning Task: Consider the specific cleaning tasks you will be performing with your pressure washer. For example, a 15-degree or 25-degree nozzle is suitable for removing stains and dirt from driveways, while a 40-degree nozzle is ideal for general cleaning of vehicles and siding.
Consult the manual of your Ryobi pressure washer or nozzle set to understand the characteristics and recommended use of each nozzle. It’s always a good idea to have a few different nozzles on hand to cater to various cleaning needs.
Once you have selected the new nozzle, it’s time to proceed to the next step: attaching the new nozzle.
Step 6: Attach the new nozzle
Now that you have chosen the new nozzle for your Ryobi pressure washer, it’s time to attach it to the spray wand or lance. Properly attaching the new nozzle will ensure a secure connection and prevent any leaks during operation.
Follow these steps to attach the new nozzle:
- Ensure that the pressure washer is still turned off and the engine is shut down.
- Put on your gloves to protect your hands.
- Take the new nozzle and align its threading with the nozzle connection on the spray wand or lance.
- Once aligned, start turning the new nozzle clockwise by hand to begin the threading process.
- Continue to tighten the nozzle by hand until it is snugly in place.
- Using an adjustable wrench, grip the nozzle connection and give it a quarter turn clockwise to ensure a tight and secure fit.
Be sure not to overtighten the new nozzle, as this may damage the threading or cause leaks. Tightening it just enough to create a snug fit is sufficient.
After attaching the new nozzle, ensure that it is properly aligned and facing in the desired direction. With the new nozzle securely in place, you’re ready to move on to the final step: testing the pressure washer with the new nozzle.
Step 7: Test the pressure washer with the new nozzle
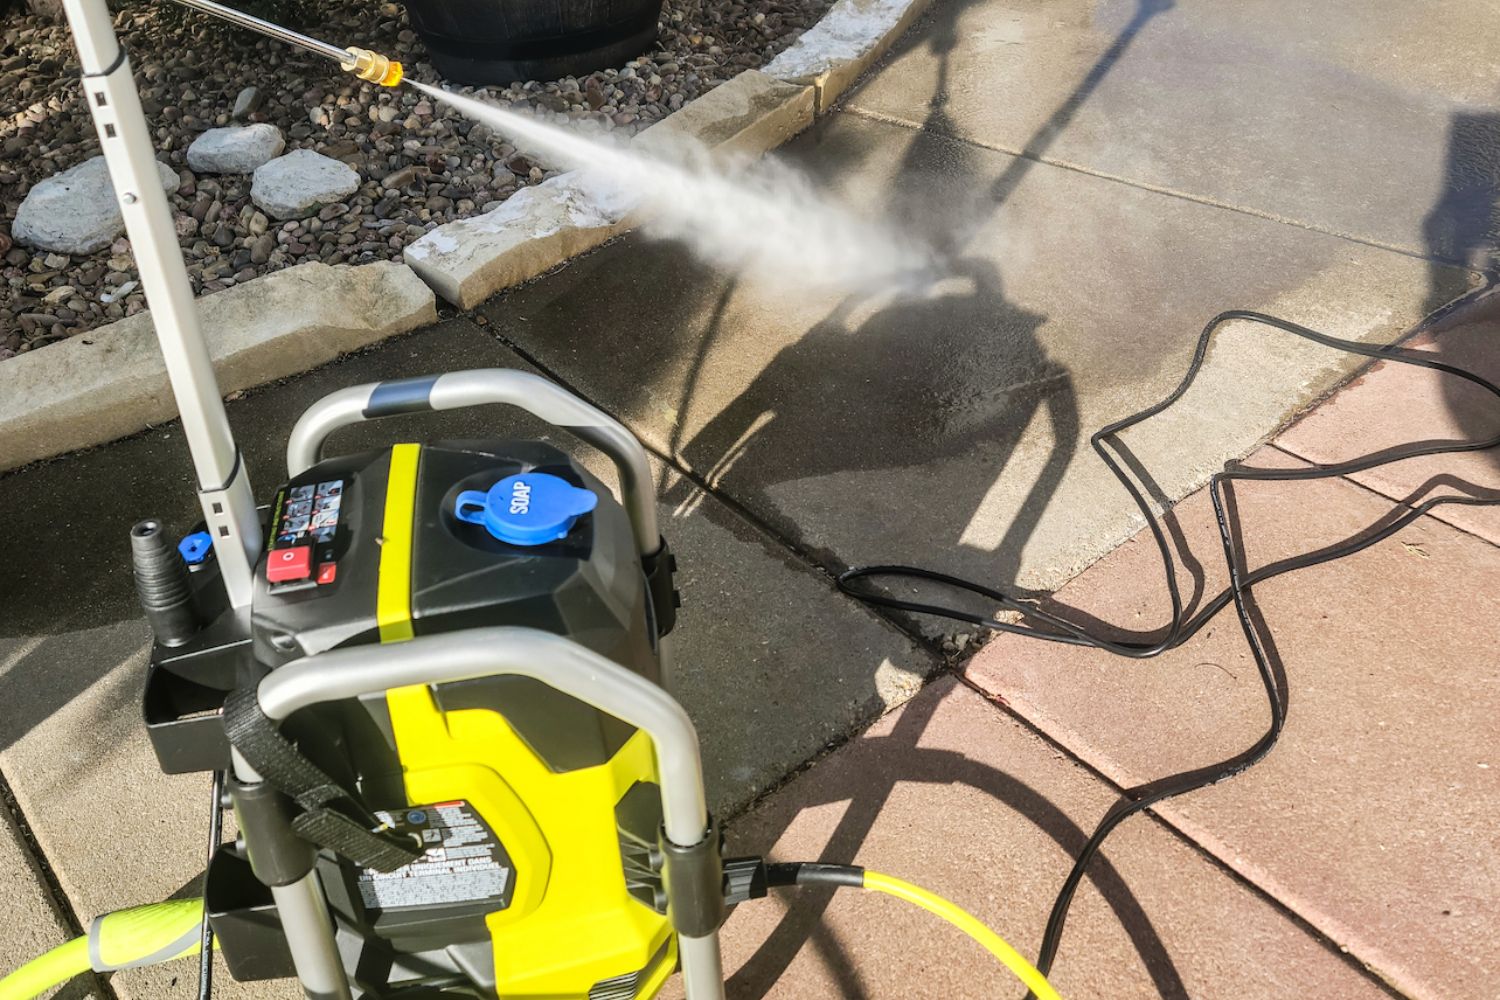
With the new nozzle successfully attached to your Ryobi pressure washer, it’s time to put it to the test. Testing the pressure washer with the new nozzle will allow you to ensure that everything is working properly and that the spray pattern and pressure meet your cleaning requirements.
Follow these steps to test the pressure washer with the new nozzle:
- Ensure that the pressure washer is properly plugged in or that the engine is running if it is a gasoline-powered model.
- Turn on the pressure washer by flipping the power switch to the “On” position, or following the manufacturer’s instructions.
- Squeeze the trigger on the spray wand or lance to engage the water flow.
- Observe the spray pattern and pressure coming out of the nozzle to see if it meets your desired requirements.
- If necessary, adjust the nozzle to a different spray pattern or pressure rating to achieve the desired cleaning effect.
During the testing process, ensure that the water flow is consistent and that there are no leaks or abnormal sounds coming from the pressure washer. If you encounter any issues or concerns, refer to the manufacturer’s manual for troubleshooting steps.
Once you are satisfied with the performance of the pressure washer with the new nozzle, you have successfully changed the nozzle on your Ryobi pressure washer. You are now ready to tackle your cleaning tasks with enhanced spray patterns and pressures.
Conclusion
Changing the nozzle on your Ryobi pressure washer is a simple yet crucial step to optimize its cleaning power for different tasks. By selecting the right nozzle, you can adjust the spray pattern and pressure to effectively tackle a variety of cleaning needs.
In this guide, we walked you through the step-by-step process of changing the nozzle on your Ryobi pressure washer. We started by gathering the necessary tools, then turned off the pressure washer to ensure safety. We located the nozzle connection, disconnected the current nozzle, and chose a new nozzle based on pressure rating, spray pattern, and cleaning task.
After attaching the new nozzle and ensuring a secure fit, we concluded by testing the pressure washer with the new nozzle to verify its performance and make any necessary adjustments.
Remember, always consult your pressure washer’s manual for specific instructions and safety precautions. By following the steps outlined in this guide, you can confidently change the nozzle on your Ryobi pressure washer and maintain its optimal cleaning effectiveness.
With the ability to adjust the spray pattern and pressure, you can achieve cleaner surfaces, remove stubborn stains, and make your cleaning tasks more efficient and effective. So, grab your Ryobi pressure washer, change that nozzle, and get ready to conquer your next cleaning project with ease!
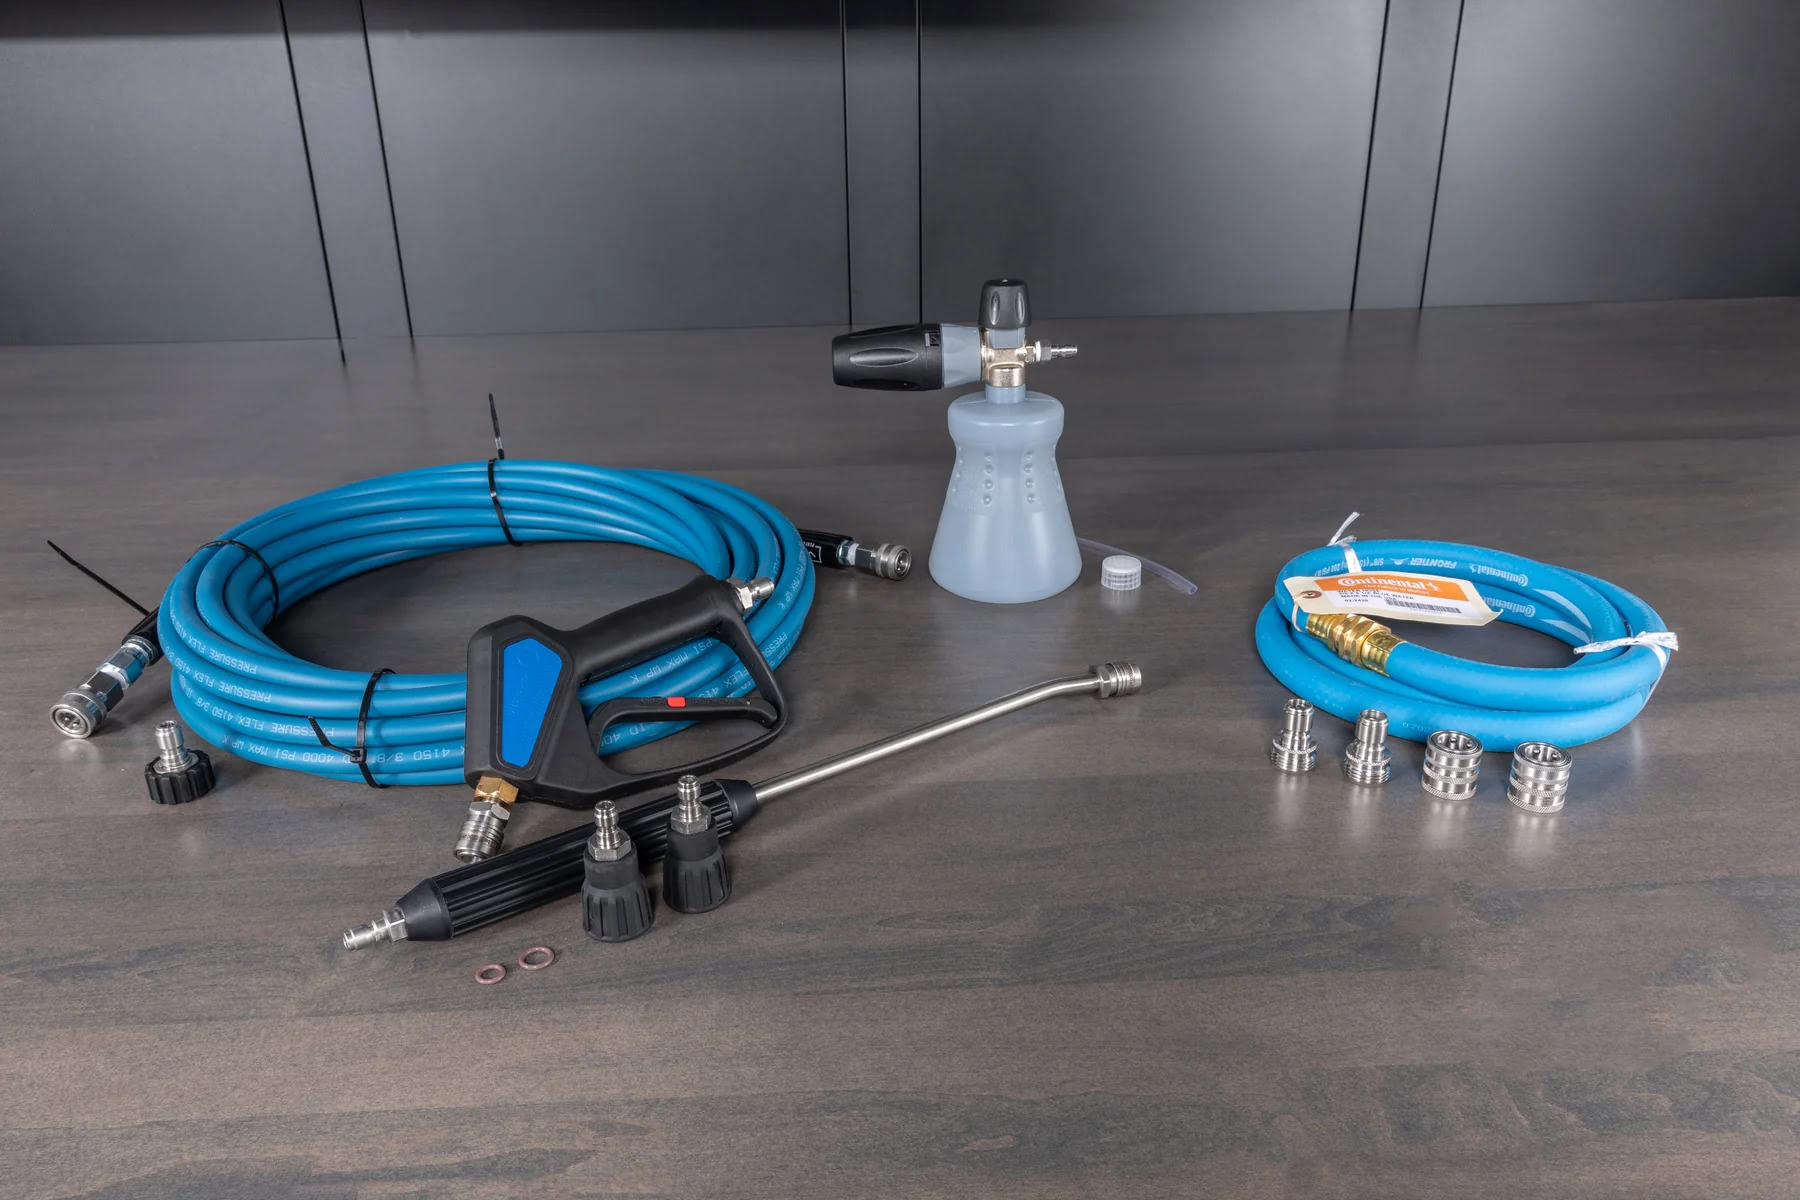
Now that you've mastered swapping out nozzles on your Ryobi pressure washer, why stop there? Enhance your cleaning prowess with our curated selection of must-have add-ons. Our featured article on the best pressure washer accessories for 2024 offers a comprehensive look at tools that can transform your routine cleaning into a fast, efficient, and even enjoyable task. Dive into our guide and find out how simple upgrades can significantly boost your pressure washing results.
Frequently Asked Questions about How To Change Ryobi Pressure Washer Nozzle
Was this page helpful?
At Storables.com, we guarantee accurate and reliable information. Our content, validated by Expert Board Contributors, is crafted following stringent Editorial Policies. We're committed to providing you with well-researched, expert-backed insights for all your informational needs.

0 thoughts on “How To Change Ryobi Pressure Washer Nozzle”