Articles
How To Adjust Ryobi Miter Saw
Modified: October 18, 2024
Discover the step-by-step guide on how to adjust your Ryobi miter saw with helpful articles that provide expert tips and tricks.
(Many of the links in this article redirect to a specific reviewed product. Your purchase of these products through affiliate links helps to generate commission for Storables.com, at no extra cost. Learn more)
Introduction
Welcome to our comprehensive guide on how to adjust your Ryobi miter saw. Whether you are a DIY enthusiast or a professional woodworker, having a properly adjusted miter saw is crucial for achieving accurate and precise cuts. Understanding how to make these adjustments can greatly enhance the performance of your tool and the quality of your projects.
In this article, we will walk you through the step-by-step process of checking and adjusting the blade, adjusting the miter angle, adjusting the bevel angle, fine-tuning the cuts, lubrication and maintenance, and troubleshooting common issues. By following these instructions, you will be able to optimize your Ryobi miter saw to ensure it operates at its best.
Before we dive into the specific adjustments, it’s important to emphasize the importance of safety. Working with power tools can be hazardous, so it’s crucial to take necessary precautions to protect yourself. Always wear appropriate safety gear, including safety glasses and ear protection. Additionally, disconnect the saw from the power source before making any adjustments and follow the manufacturer’s guidelines at all times.
Now, let’s jump right into the process of adjusting your Ryobi miter saw to ensure optimal performance and precise cuts.
Key Takeaways:
- Mastering the adjustments of your Ryobi miter saw, from blade alignment to fine-tuning cuts, ensures precise and professional woodworking results while prioritizing safety and maintenance.
- By following safety precautions, regular maintenance, and troubleshooting tips, you can optimize your Ryobi miter saw’s performance, achieve accurate cuts, and unleash your woodworking potential.
Read more: How To Unlock A Ryobi Miter Saw
Safety Precautions
Before starting any work with your Ryobi miter saw, it’s essential to prioritize safety. By taking the following precautions, you can minimize the risk of accidents and ensure a safe working environment:
- Wear proper safety equipment: Always wear safety glasses to protect your eyes from debris. Additionally, use hearing protection to prevent hearing damage due to the loud noise produced by the miter saw.
- Secure your workpiece: Before making any cuts, ensure that your workpiece is securely clamped or held firmly in place on the saw’s table. This will prevent it from moving or slipping during the cutting process.
- Keep your hands away from the blade: Avoid placing your hands too close to the blade’s path while operating the saw. Always use the provided handles or a push stick to guide the workpiece through the cut.
- Disconnect power: Before making any adjustments to the saw or changing blades, make sure to disconnect it from the power source. This will prevent any accidental starts or injuries.
- Wait for the blade to stop spinning: After each cut, allow the blade to come to a complete stop before moving the workpiece or performing any other actions. This will minimize the risk of injuries from accidental contact with the blade.
- Keep the area clear: Ensure that the work area is free of any clutter or obstacles. This will provide you with a clear and safe working space and reduce the chances of tripping or falling.
- Read the manual: Familiarize yourself with the manufacturer’s instructions and guidelines provided in the user manual. Understanding the proper operation and maintenance of your Ryobi miter saw is important for your safety.
By following these safety precautions, you can create a secure working environment and minimize the risk of accidents while operating your Ryobi miter saw. It’s important to prioritize safety at all times and never compromise on any of these precautions.
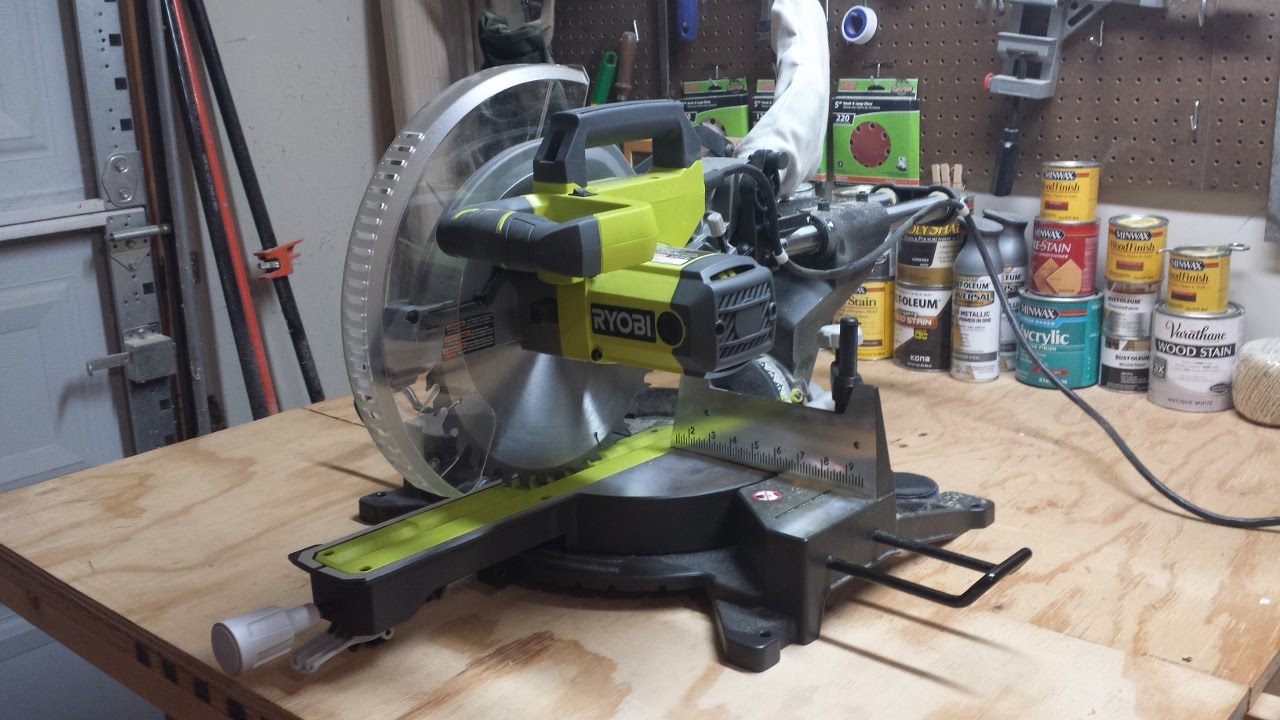
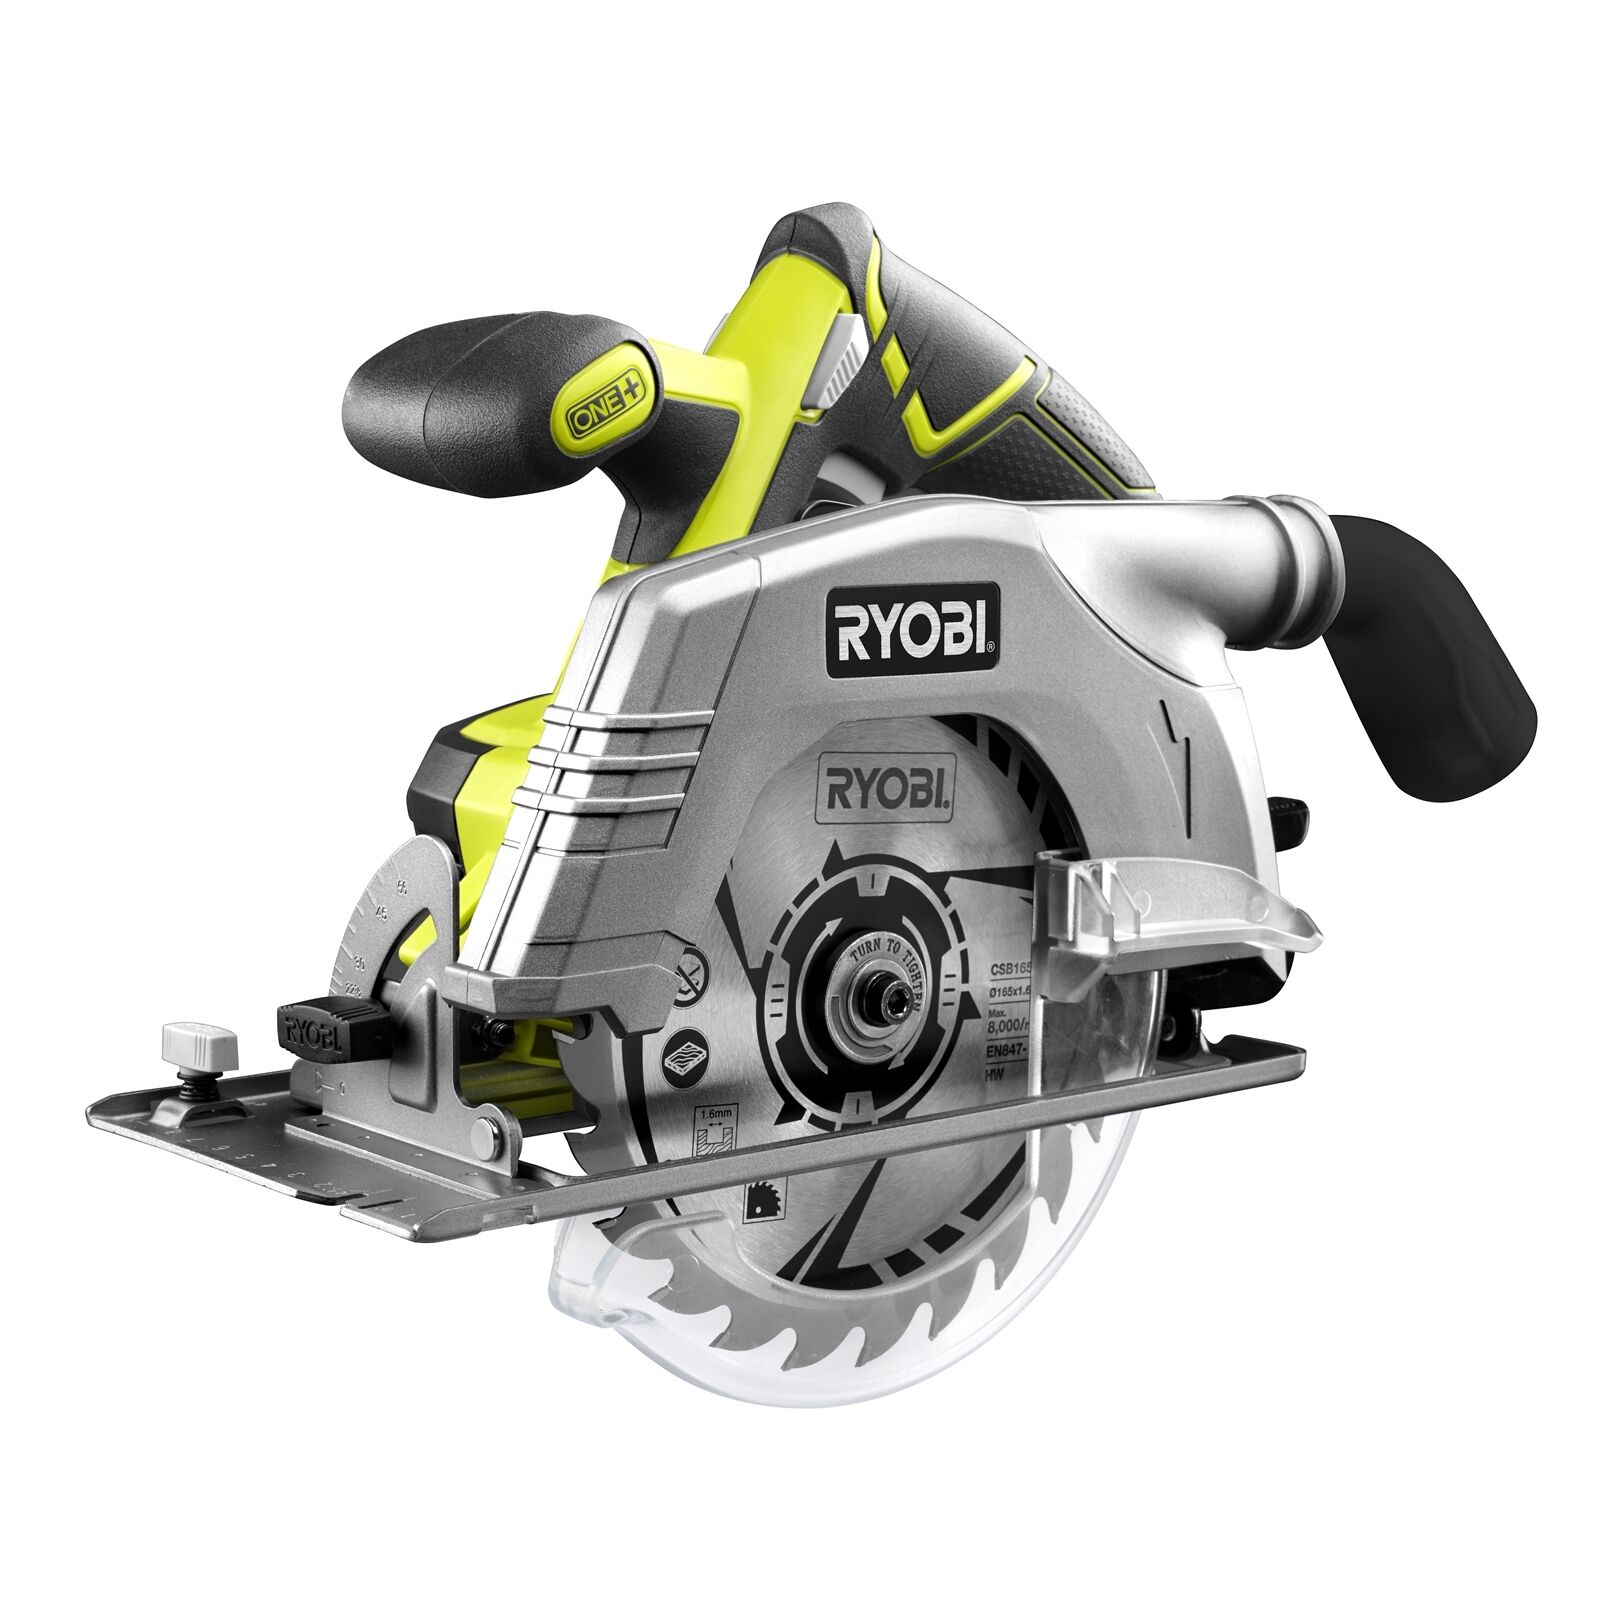
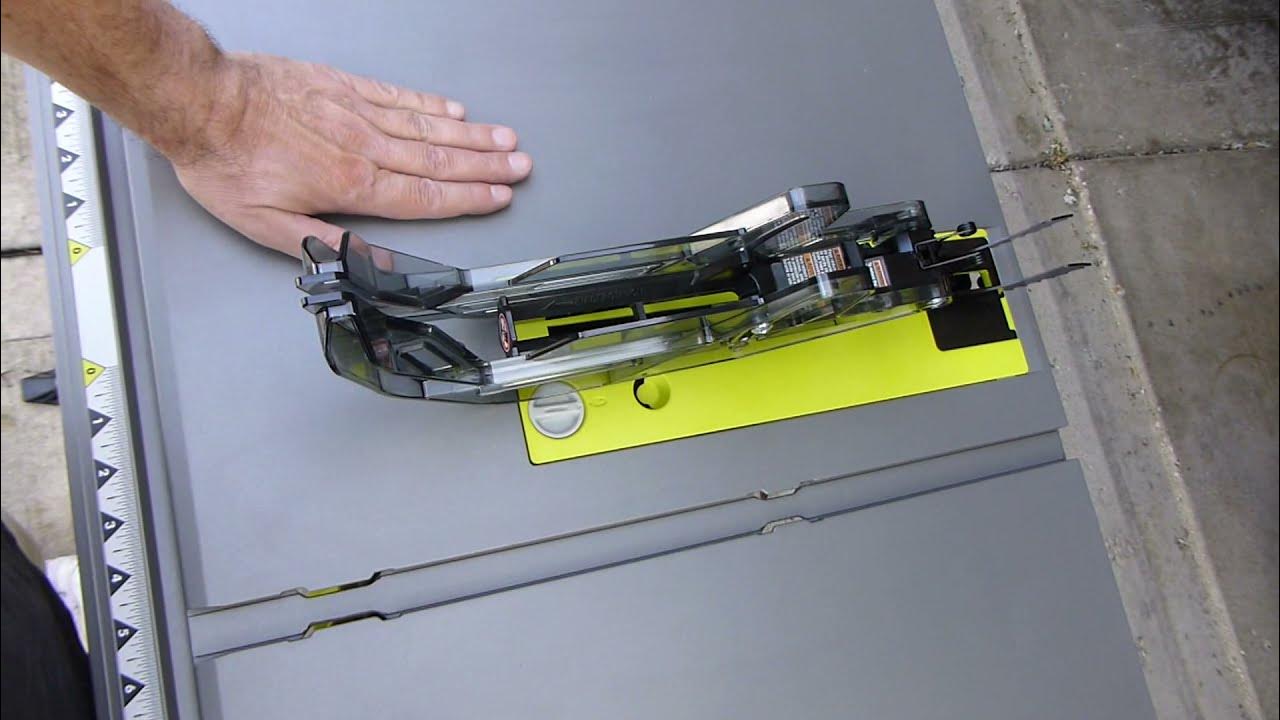
Checking and Adjusting the Blade
One of the first steps in ensuring accurate cuts with your Ryobi miter saw is to check and properly adjust the blade. Here’s how you can do it:
- Disconnect the power: Before working on the blade, make sure to unplug the miter saw from the power source to prevent any accidents.
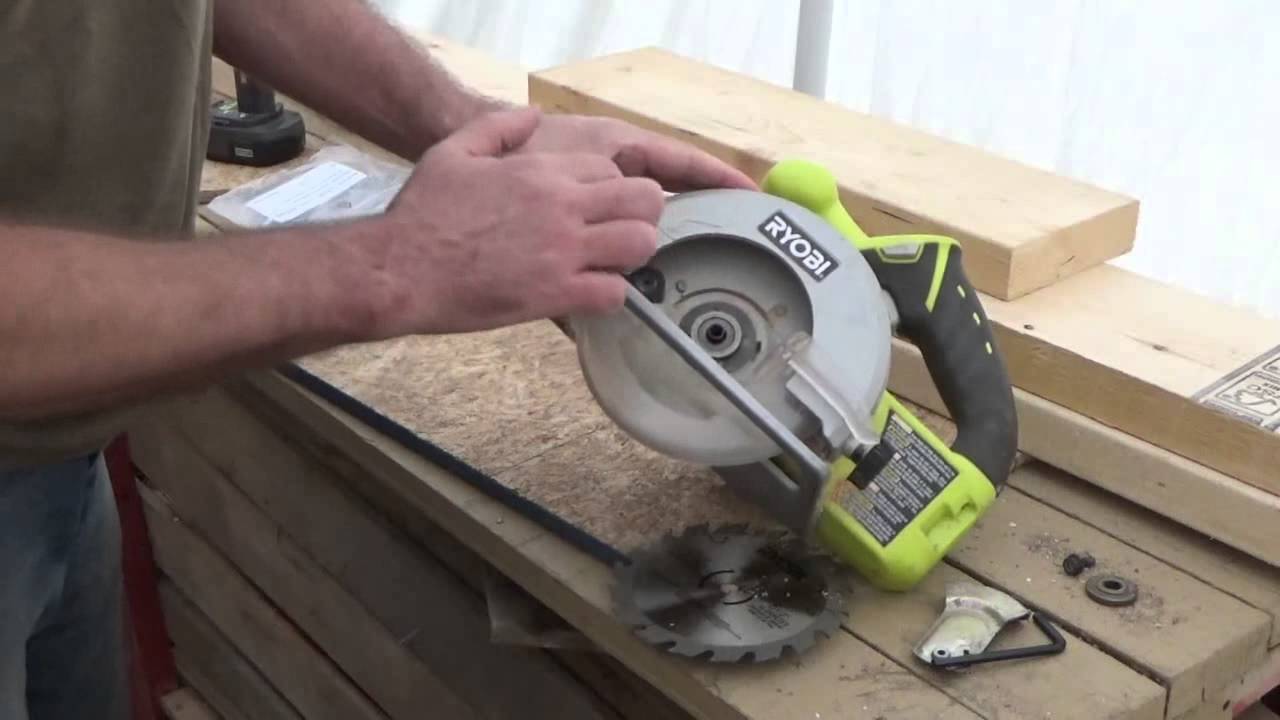
- Inspect the blade: Carefully examine the blade for any signs of damage or dullness. If you notice any chips, cracks, or missing teeth, it’s time to replace the blade. Dull blades can lead to imprecise cuts and cause strain on the motor.
- Check for blade alignment: Use a combination square or a dedicated blade alignment tool to ensure that the blade is perfectly perpendicular to the table. Place the square against the blade teeth and adjust the saw’s tilt or bevel settings until the blade is perfectly square.
- Tighten the blade: Check if the blade is secure on the arbor. If it feels loose, use the wrench provided with the saw to tighten the blade nut. Ensure that you follow the manufacturer’s guidelines regarding the blade’s tightening torque.
- Perform a test cut: Once the blade is properly aligned and tightened, make a test cut on a scrap piece of wood. Check the quality of the cut and make any necessary adjustments if the cut is not clean or accurate.
By regularly checking and adjusting the blade on your Ryobi miter saw, you can ensure optimal cutting performance and achieve precise, clean cuts in your woodworking projects. Remember to always follow the manufacturer’s instructions for blade installation and maintenance.
Adjusting the Miter Angle
The miter angle adjustment is a crucial feature of a Ryobi miter saw that allows you to make angled cuts. To adjust the miter angle, follow these steps:
- Loosen the miter lock: Locate the miter lock lever or knob on your Ryobi miter saw. Loosen it to unlock the miter base and allow it to rotate.
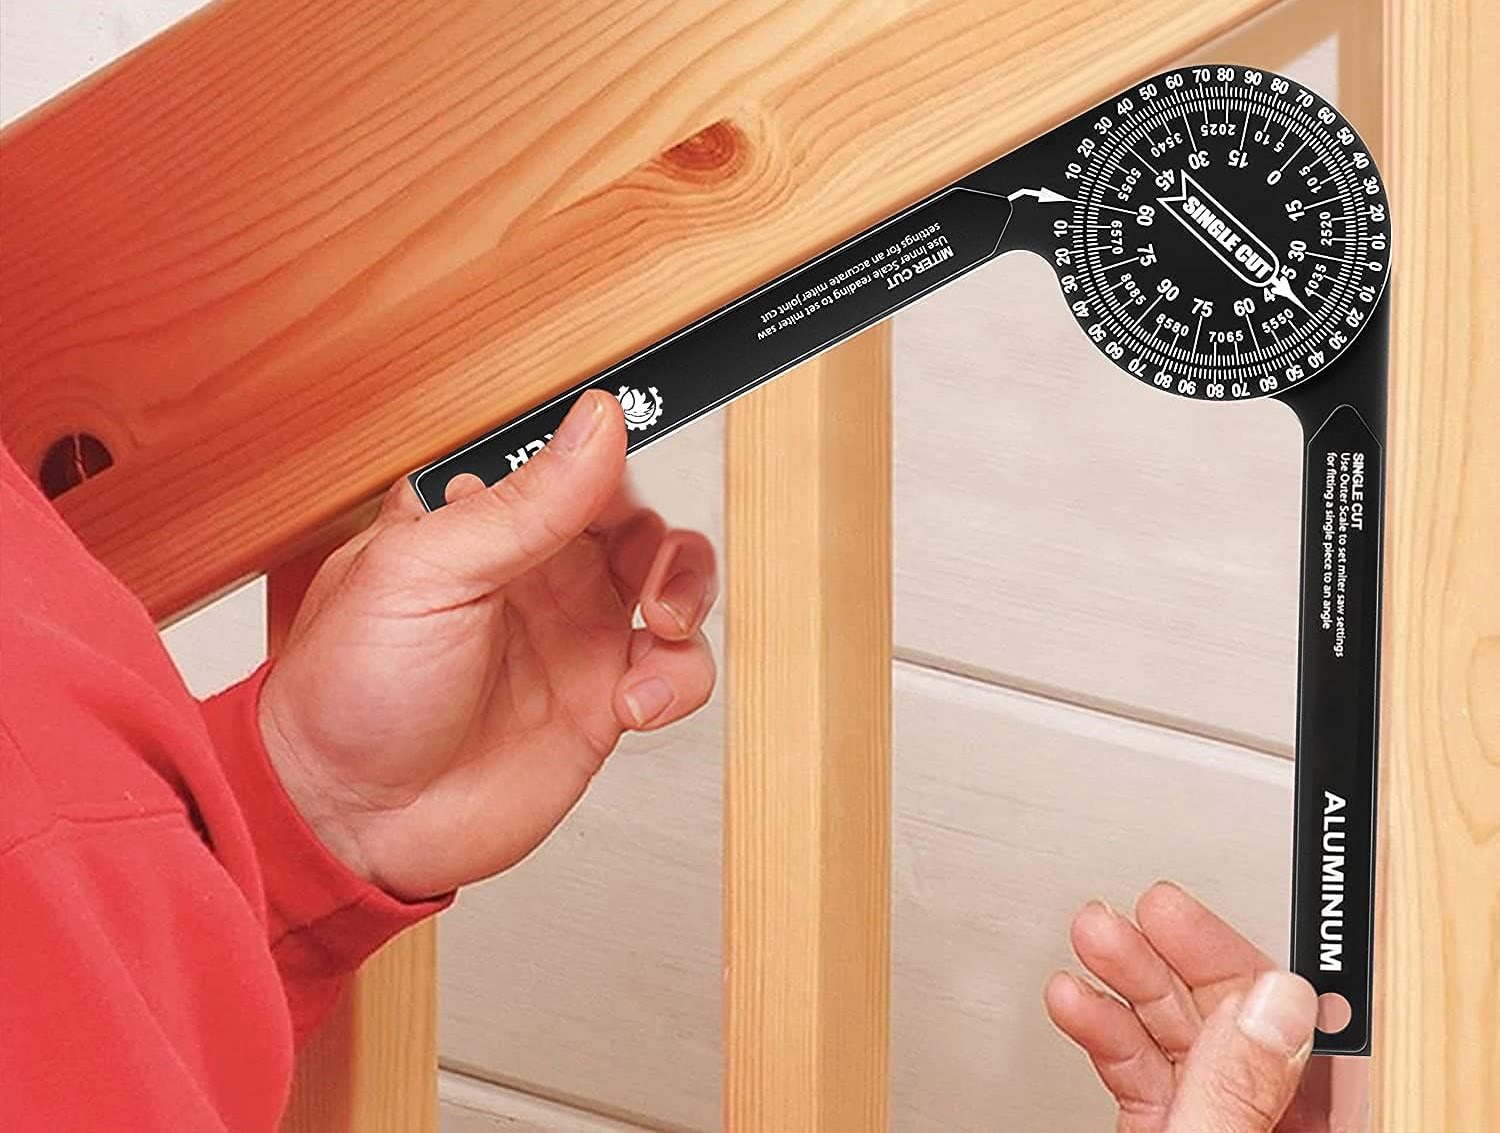
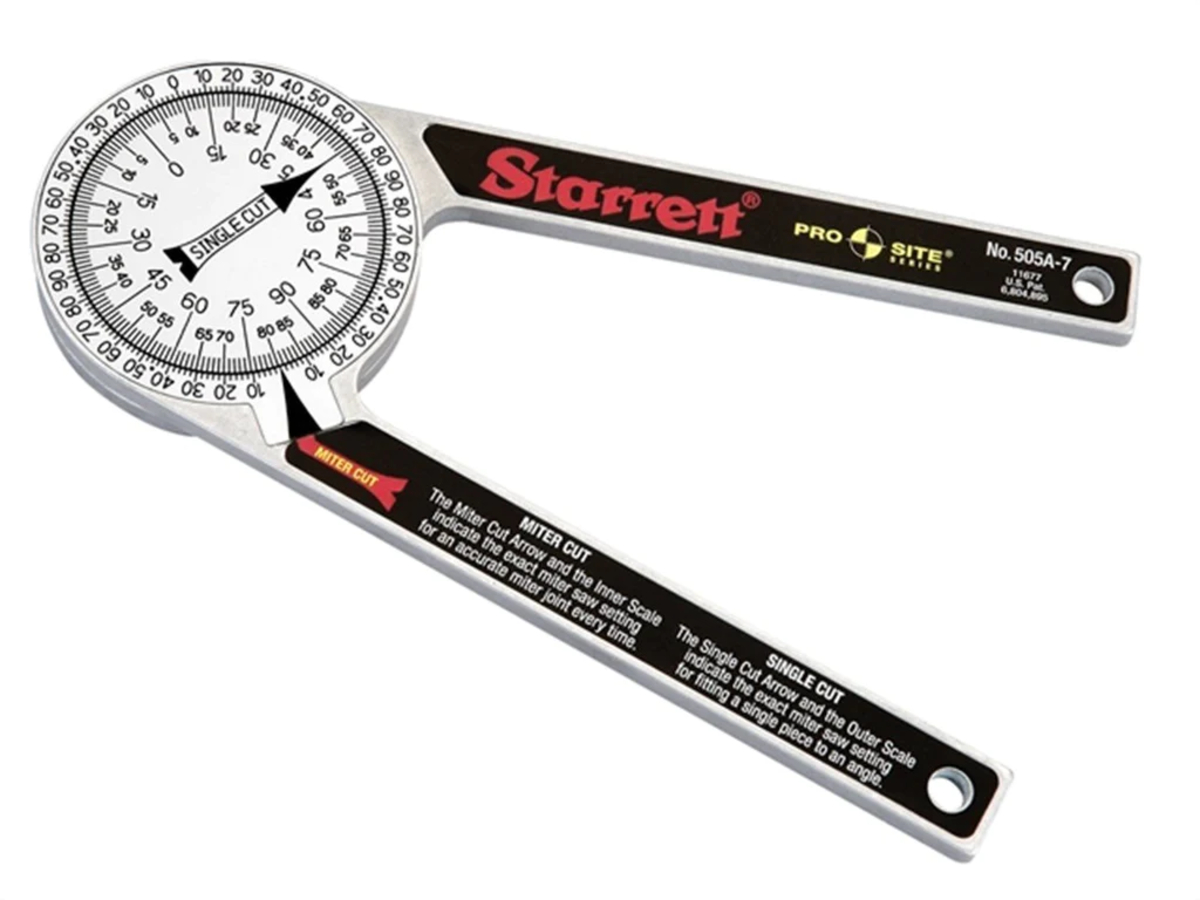
- Select the desired angle: Consult your project plans or use a protractor to determine the precise miter angle you need for your cut. Many Ryobi miter saw models have preset detents for common angles such as 45 degrees.
- Align the miter gauge: With the miter base unlocked, rotate the miter gauge to align the desired angle on the miter scale. Ensure that it clicks securely into place on the detent if using a preset angle.
- Tighten the miter lock: Once the desired miter angle is set, tighten the miter lock lever or knob to secure the miter base in position. Ensure that it is tight enough to hold the miter angle firmly.
- Perform a test cut: After adjusting the miter angle, make a test cut on a scrap piece of wood to confirm the accuracy of the angled cut. Adjust as necessary until the desired angles are achieved.
By mastering how to adjust the miter angle on your Ryobi miter saw, you can create precise angled cuts for a variety of woodworking projects. Remember to double-check the accuracy of your setting before making any actual cuts.
Adjusting the Bevel Angle
The bevel angle adjustment on your Ryobi miter saw determines the tilt of the blade, allowing you to make beveled cuts. To adjust the bevel angle, follow these steps:
- Loosen the bevel lock: Locate the bevel lock lever or knob on your Ryobi miter saw. Loosen it to unlock the bevel mechanism and allow it to tilt.
- Select the desired bevel angle: Determine the specific bevel angle required for your project by referring to your plans or using a protractor. Most Ryobi miter saws have a bevel scale indicator that shows the angle of tilt.
- Align the bevel gauge: With the bevel mechanism unlocked, adjust the bevel gauge to align with the desired angle on the scale. Ensure that it clicks securely into place on the detent if using a preset angle.
- Tighten the bevel lock: Once the desired bevel angle is set, tighten the bevel lock lever or knob to secure the bevel mechanism in place. Make sure it is tight enough to hold the bevel angle securely.
- Perform a test cut: After adjusting the bevel angle, make a test cut on a scrap piece of wood to confirm the accuracy of the beveled cut. Make any necessary adjustments to achieve the desired angle.
Accurate bevel angle adjustment is essential for creating precise beveled cuts on your Ryobi miter saw. Take your time to ensure the angle is correctly set before making any cuts to achieve the desired results in your woodworking projects.
When adjusting a Ryobi miter saw, always refer to the user manual for specific instructions. Common adjustments include calibrating the miter and bevel angles, checking the blade alignment, and ensuring the fence is square to the blade.
Read more: How To Change The Blade On Ryobi Miter Saw
Fine-tuning the Cuts
While adjusting the miter and bevel angles is crucial for achieving accurate cuts on your Ryobi miter saw, fine-tuning the cuts themselves can take your woodworking projects to the next level. Here are some tips for fine-tuning your cuts:
- Use a laser guide: If your Ryobi miter saw has a built-in laser guide or you can attach one, it can greatly assist in achieving precise cuts. Align the laser with your cutline to ensure accuracy.
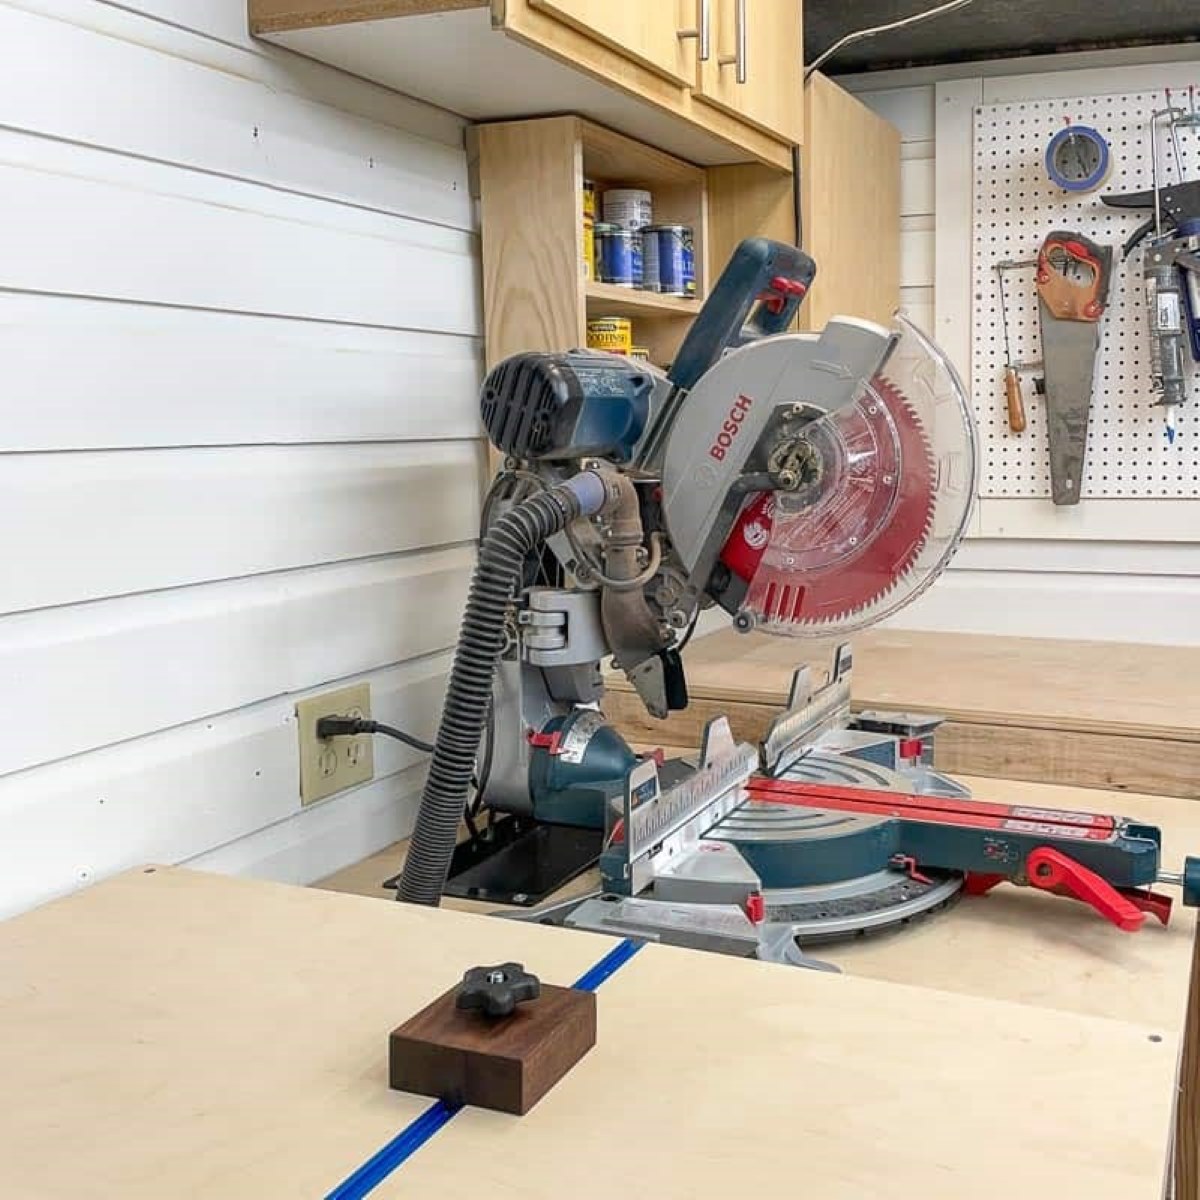
- Use a stop block: A stop block can be a useful tool for repetitive cuts. By setting a stop block at a specific distance from the blade, you can ensure consistent and accurate cuts without having to measure each time.
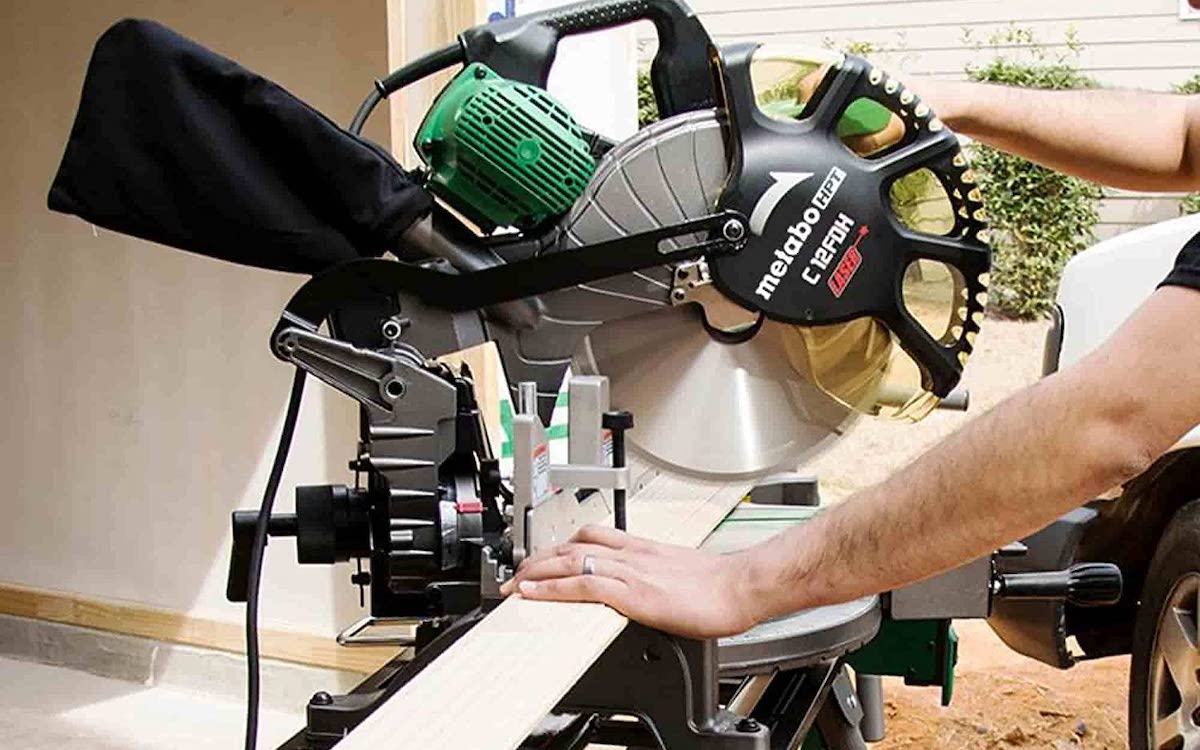
- Make test cuts: Before cutting into your final workpiece, it’s always a good idea to make test cuts on scrap material. This allows you to check the accuracy of the cut and make any necessary adjustments before cutting into your project wood.
- Consider using a zero-clearance throat plate: A zero-clearance throat plate can help reduce tear-out and improve the quality of your cuts, especially when working with delicate or prone-to-chipping materials.
- Check and adjust the fence: Ensure that the fence on your Ryobi miter saw is perfectly aligned with the blade. Use a straight edge or combination square to verify its alignment. If necessary, adjust the fence to ensure it is parallel to the blade.
- Keep the blade clean: Regularly clean the blade and remove any pitch or resin buildup. This helps maintain optimal cutting performance and prevents any hindrances that can affect the quality of your cuts.
By implementing these fine-tuning techniques, you can achieve precise and clean cuts on your Ryobi miter saw. Each adjustment and refinement contributes to the overall accuracy and quality of your woodworking projects.
Lubrication and Maintenance
Proper lubrication and maintenance of your Ryobi miter saw are essential for its longevity and optimal performance. Regular upkeep and attention to the following areas will keep your saw running smoothly:
- Clean the saw: After every use, remove any dust, debris, or wood chips from the miter saw. Use a brush or compressed air to clean all the nooks and crannies, including the blade guard, fences, and motor housing.
- Lubricate moving parts: Apply a few drops of lubricating oil to the moving parts of your miter saw, such as the pivot points, slide rails, and bevel mechanism. This will help reduce friction and ensure smooth operation.
- Check the blade guard: Inspect the blade guard for any damage or wear. Ensure that it moves freely and doesn’t interfere with the blade during cuts. If it’s loose or damaged, replace it immediately.
- Inspect the power cord: Regularly check the power cord for any fraying, cuts, or damage. If you notice any issues, replace the cord to prevent electrical hazards.
- Inspect the blade: Examine the blade for any signs of wear, dullness, or damage. Replace it if necessary to maintain precise cutting performance. Remember to always follow the manufacturer’s guidelines for blade replacement.
- Check the accuracy of the angles: Periodically verify the accuracy of the miter and bevel angles by using a reliable angle measuring tool. If you notice any discrepancies, make the necessary adjustments to ensure accurate cuts.
- Store properly: When not in use, store your Ryobi miter saw in a dry and clean area to prevent rust and damage. Use the provided blade guard and make sure the power cord is neatly coiled.
By following these maintenance practices, you can extend the lifespan of your Ryobi miter saw and ensure its continued performance and accuracy. Regular cleaning and lubrication will keep your saw operating smoothly, while periodic inspections and adjustments will help maintain the precision of your cuts.
Troubleshooting Common Issues
While Ryobi miter saws are known for their reliability and performance, occasionally, you may encounter some issues. Here are some common problems that can arise and troubleshooting steps to address them:
- Blade wobbling: If you notice that the blade is wobbling during operation, check if it is properly tightened on the arbor. If the blade is secure, inspect the arbor for any damage or wear. Replace the arbor if necessary.
- Inaccurate cuts: If your cuts are consistently inaccurate, double-check the miter and bevel angles to ensure they are properly set. Realign if necessary. Additionally, ensure that your workpiece is secure and properly positioned against the fence.
- Poor cutting performance: If the cuts are rough or the blade is struggling to cut through the material, check if the blade is dull or worn out. Replace the blade with a sharp one suitable for your cutting needs. Also, make sure the saw is properly lubricated for smooth operation.
- Miter or bevel locks not holding: If the miter or bevel locks do not hold the desired angles, inspect the locks for any damage or wear. Clean and lubricate the locks and ensure they are tightened securely. If the problem persists, seek professional assistance.
- Motor issues: If the motor is not starting or running properly, ensure that the power cord is securely connected to a functioning outlet. Check for any blown fuses or tripped circuit breakers. If the problem persists, have the motor inspected by a qualified technician.
- Excessive vibration: Excessive vibration during operation can be caused by an unbalanced blade or loose components. Check the blade for any damage or debris buildup. Ensure that all screws and bolts are properly tightened. If the vibration continues, consult a professional.
If you encounter any issues with your Ryobi miter saw that are beyond your ability to troubleshoot, it is always recommended to consult the manufacturer’s manual or contact their customer support for further assistance. They will be able to provide guidance tailored to your specific saw model.
Conclusion
Adjusting your Ryobi miter saw is a fundamental skill that every woodworker should possess. By understanding how to check and adjust the blade, miter angle, and bevel angle, you can achieve precise and accurate cuts for your woodworking projects. Additionally, fine-tuning the cuts, practicing proper lubrication and maintenance, and troubleshooting common issues will ensure the longevity and optimal performance of your saw.
Throughout this comprehensive guide, we have provided you with step-by-step instructions and valuable tips to help you get the most out of your Ryobi miter saw. Remember to prioritize safety by following the necessary precautions and always referring to the manufacturer’s guidelines.
Whether you are a DIY enthusiast or a professional woodworker, having a well-adjusted miter saw is instrumental in achieving high-quality results in your projects. Take the time to regularly inspect and maintain your saw, as well as fine-tune your cuts for optimal precision.
By implementing the techniques and recommendations outlined in this guide, you can unleash the full potential of your Ryobi miter saw and enjoy the satisfaction of creating beautiful, accurate, and professional-looking woodworking projects.
Happy woodworking!
Frequently Asked Questions about How To Adjust Ryobi Miter Saw
Was this page helpful?
At Storables.com, we guarantee accurate and reliable information. Our content, validated by Expert Board Contributors, is crafted following stringent Editorial Policies. We're committed to providing you with well-researched, expert-backed insights for all your informational needs.


0 thoughts on “How To Adjust Ryobi Miter Saw”